• Skip to main content
  • Skip to primary sidebar
  • Skip to footer
  • Blog
  • About
  • Contact
  • FAQ
  • Sponsor

see kate sew

sewing, crafts, tutorials, DIY

  • Patterns
    • Free Patterns
    • Pattern of the Month
  • Tutorials
    • Accessories
    • Bags and Pouches
    • Clothing
    • Costumes
    • Crafts
    • Cricut Projects
    • Holiday
    • Household
    • Kids
    • Maternity
    • Quilting
  • Topics
    • Baby
    • Boy
    • Christmas
    • dog
    • Dolls
    • Easter
    • Girl
    • Halloween
    • Lookbook
    • Party
    • pet
    • Printables
    • Training
    • women
  • No Sew
  • Sewing 101
  • Sew4Good
  • Pet
  • Sewing Room
    • DreamBox
  • Reviews
Home
  • Patterns
    • Free Patterns
    • Pattern of the Month
  • Tutorials
    • Accessories
    • Bags and Pouches
    • Clothing
    • Costumes
    • Crafts
    • Cricut Projects
    • Holiday
    • Household
    • Kids
    • Maternity
    • Quilting
  • Topics
    • Baby
    • Boy
    • Christmas
    • dog
    • Dolls
    • Easter
    • Girl
    • Halloween
    • Lookbook
    • Party
    • pet
    • Printables
    • Training
    • women
  • No Sew
  • Sewing 101
  • Sew4Good
  • Pet
  • Sewing Room
    • DreamBox
  • Reviews

02.10

[seam finishes part 1]

Welcome to See Kate Sew! If you’re new here, sign up for my email newsletter for access to free patterns, tutorials and all the latest sewing news! Tour my sewing room HERE!

[seam finishes without a serger]

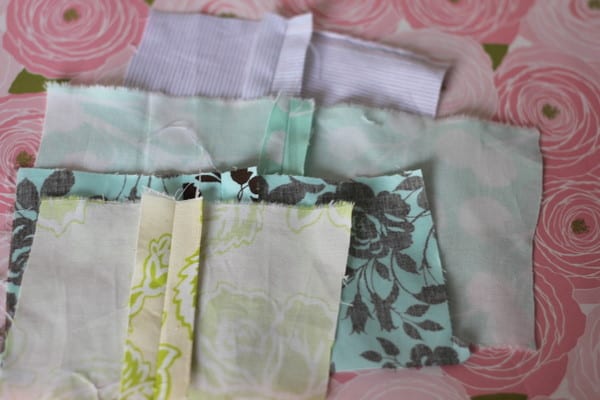
My favorite way to finish a seam edge is with a serger. It’s so easy and looks professional. But you don’t need to have serger to have nice looking seams. Sometimes I feel like I leave out a whole group of people when I say “serge your seams.” So here are a few other easy ways to finish your seams sans serger.
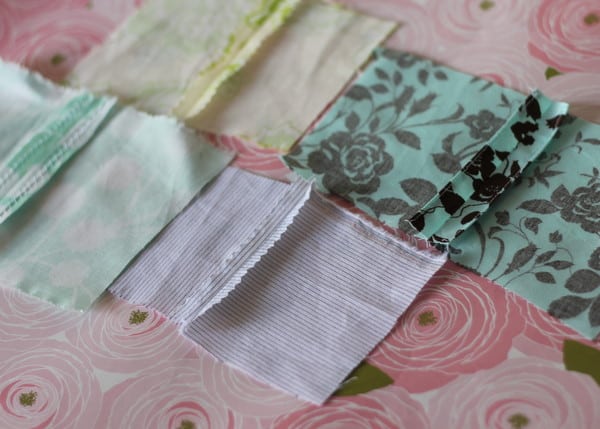

Pinking
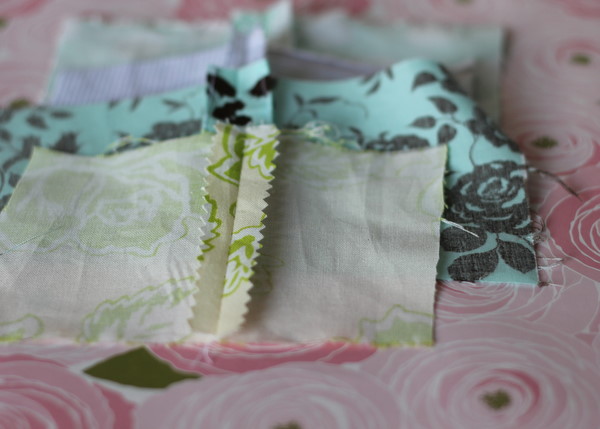
You need a pair of pinking shears for this one, but all you do is cut the seam allowance with these babies and you’ve got yourself a mostly un-fray-able seam. Pinking shears cut triangles on the bias of your fabric. Pinking it will help the fabric fray less, but if you want to prevent fraying more, stitch the seam allowance first and then pink it.
Pinked:

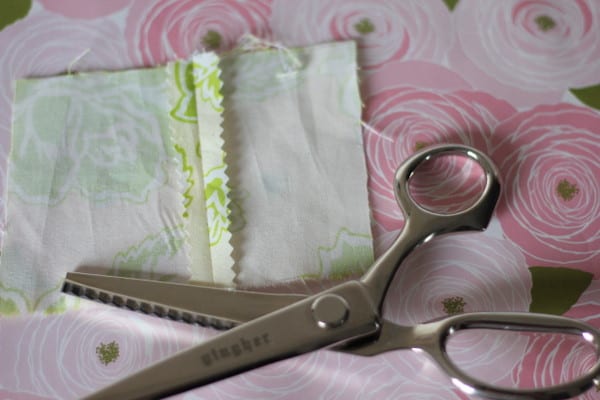
Stitched and Pinked: (If you look close you can see the line of stitching)
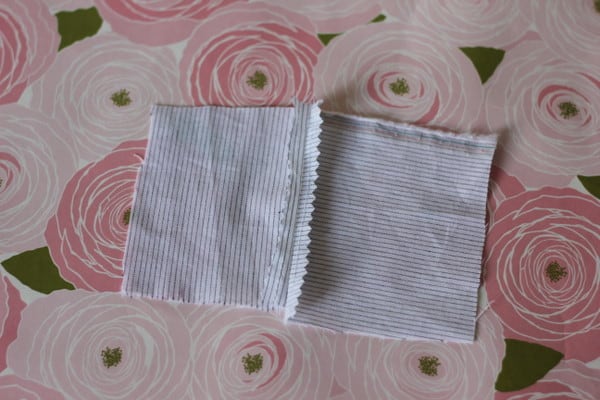
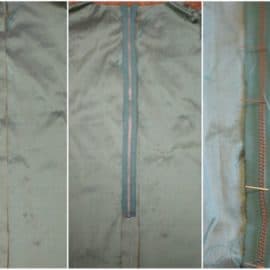
Turned and stitched
If you want to whip out your iron, this method looks pretty slick. Just turn under your seam allowance 1/8″, press it and stitch close to the edge. 
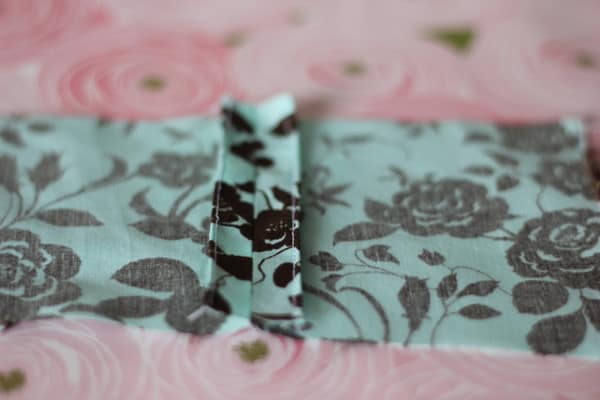
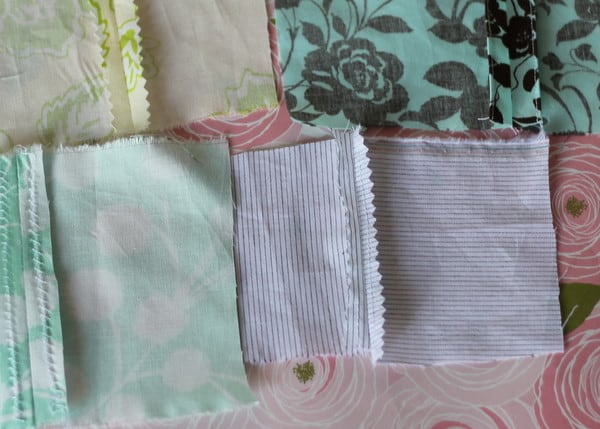
Zig Zag
Using your zig-zag stitch, stitch along edge of seam allowance and trim it down.

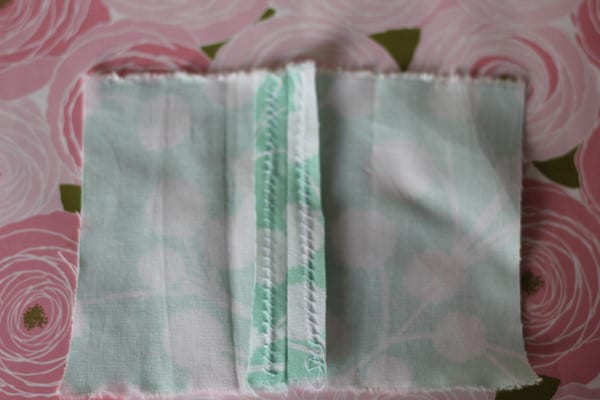
And now you have happy seams!


There are lots more ways to finish a seam, so I’ll show you some more later! What’s your favorite way? I’m partial to serging, but I love the way pinking looks. And I love the color pink. So there you go.
Happy sewing!

8 Comments | Sewing 101

Exclusive Free PatternRuffled Apron

Sign up for my email newsletter and receive my ruffled apron pattern totally FREE!

We take your privacy seriously. See our privacy policy here. Unsubscribe at any time.

You may also like these posts...

sewing 101: basic sewing machine maintenancesewing 101: basic sewing machine maintenanceGuide to Fabric Shopping Online- Great Resource!FAQ: Guide to Fabric Shopping Online[fabric grain explained]How to install a walking foot

Reader Interactions

8 Comments

  1. Amanda

    02/10 at 6:51 PM

    Thank you for sharing this! As an amateur seamstress I really appreciate this information! I recently learned how to sew a French Seam for finishing my projects. The result is very clean looking, but can be bulky inside clothing. Glad to have more options!

  2. Jennifer

    02/10 at 7:12 PM

    Thanks! I’m loving this whole “learn to sew” series since I just got my first machine at Christmas, but esp this post cause I don’t have a serger! :)

  3. Kahler and Katy

    02/10 at 7:33 PM

    thanks for this! i hope you keep doing more sewing 101 posts! i’m learning (slowly) and these posts are great!

  4. Jayna Rae

    02/10 at 9:09 PM

    I totally forgot about pinking. Thanks for the reminder.

  5. elise

    02/11 at 12:01 AM

    Gosh, I can’t tell you how timely this is for me
    I’m doing the Vogue 1102 pattern to wear to a wedding and wanted to do the seams nicely. Thank you for this post it’s serendipitous !

    Best,
    Elise

  6. the little wife

    06/27 at 8:14 PM

    I use french seams whenever possible! it just looks so much neater, and it makes me feel like the seam is just a little bit stronger (even though I don’t think it really is.) But thanks so much for these tips, now I know what to do when I can use a french seam.

  7. Lindsay

    04/15 at 8:09 PM

    Just what I needed! Thanks!

  8. lizalizaliza

    07/17 at 5:48 AM

    Thank you so much for all your helpful tips!! I’ve been wanting to buy a serger so my seams don’t unravel, but your other alternatives are good enough for the mean time! :) Thanks!! :)

Primary Sidebar

  • Facebook
  • Twitter
  • Instagram
  • Pinterest
  • Email

Exclusive Free PatternRuffled Apron

Sign up for my email newsletter and receive my ruffled apron pattern totally FREE!

We take your privacy seriously. See our privacy policy here. You can unsubscribe at any time.

Don’t miss these popular posts!

easy baby dress pattern for the summertime

easy baby dress pattern for the summertime

modern ombre + b/w triangle quilt tutorial + pattern

modern ombre + b/w triangle quilt tutorial + pattern

Fabric

Quilted Cosmetic Case Kiss Me KateKiss Me, Kate FabricOne Hour Granny Square Quilt Tutorial | See Kate SewModern Granny Square Quilt Whole Cloth

Pattern Hacks

Easy Baby Summer Dressthe EMMA pattern | See Kate SewThe EMMA Dress

Footer

Hello friends!

My name is Kate, a twenty something fashion lover and mother of two. When I’m not chasing kids you can find me at my sewing table or daydreaming up new designs. You can read more about me here. Thank you for visiting!

8a918f8da8e0e69102dc0f33a718de85a99c31a57283e0e3e2

FOLLOW ME HERE

  • Facebook
  • Twitter
  • Instagram
  • Pinterest
  • Email
  • Blog
  • About
  • Contact
  • FAQ
  • Sponsor

Copyright © 2025 See Kate Sew  •  All Rights Reserved  •  Privacy Policy  •  Site Design by Emily White Designs