This post, Fabric Cutting Machine for Quilts with Cricut + Riley Blake, is sponsored by Cricut!
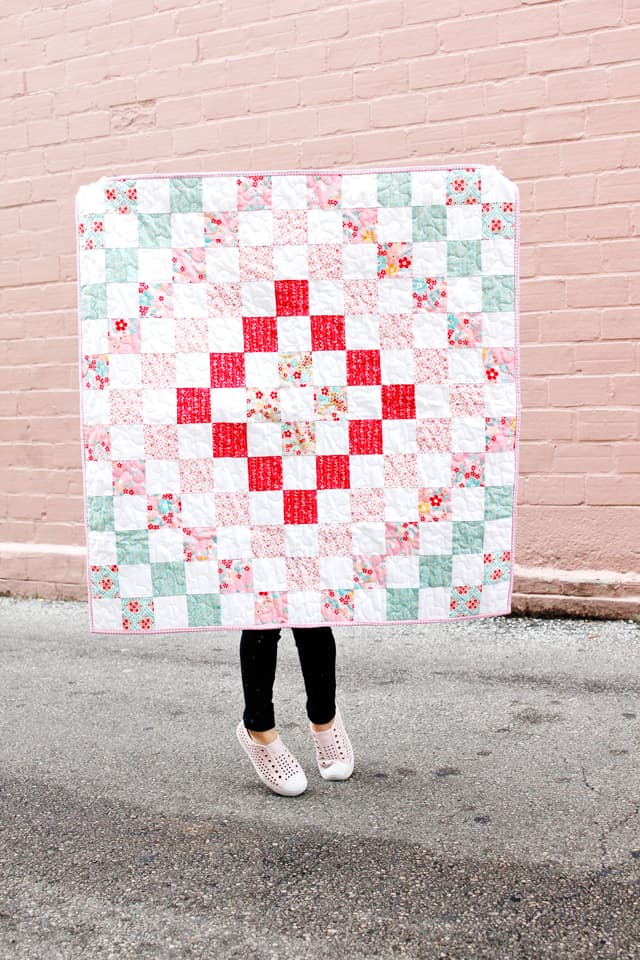
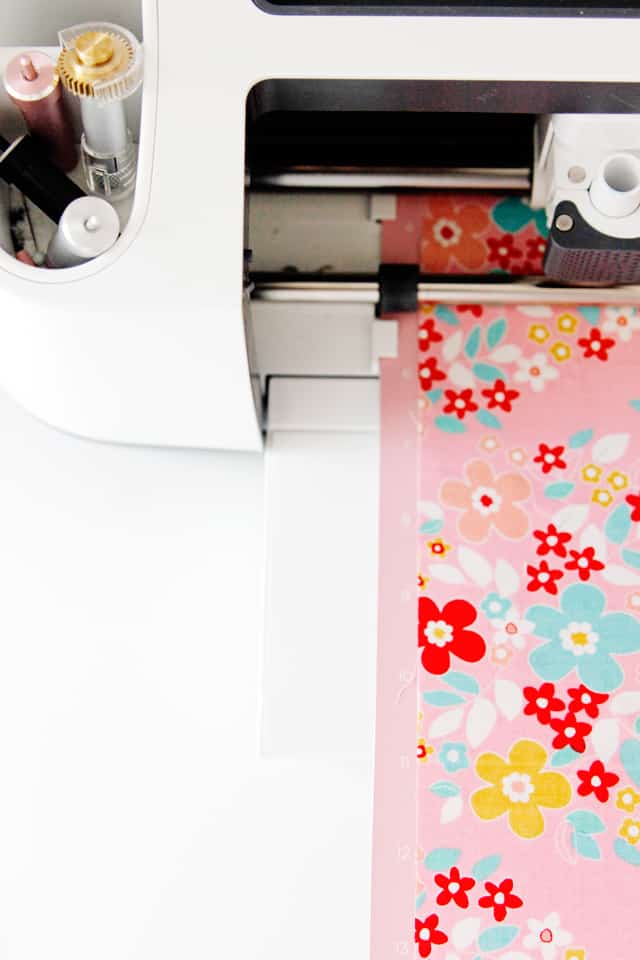
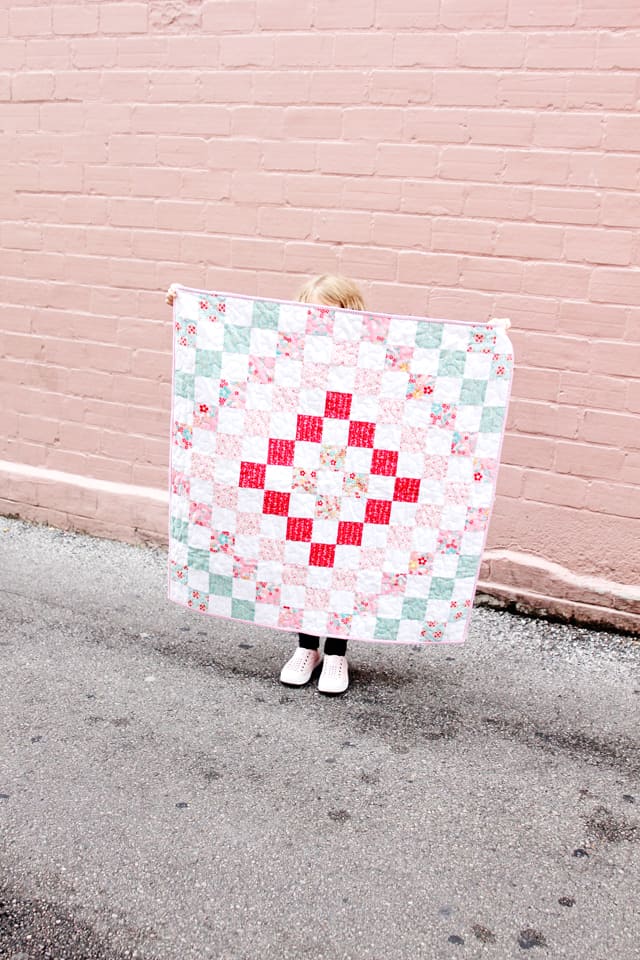
I’m so excited to reveal my Around We Go Baby Quilt that I made entirely with a fabric cutting machine – the Cricut Maker which I’ve been raving about for over a year now. This was the first time I’d ever used a Riley Blake quilt kit and the process was so easy since the kit was prepackaged with all the fabric I needed and the Cricut Maker cut the fabric out for me. I loved the fabrics in the kit, there are a few florals, and bright, pretty colors. In this post I am going to show you how I pieced the quilt together, a few tips for that and give an overall review of using the Cricut Maker for quilting. This is my third and final post about this process, so be sure to read my first post about where to find the quilt patterns and kits and the second post about cutting the fabric out with the Maker.
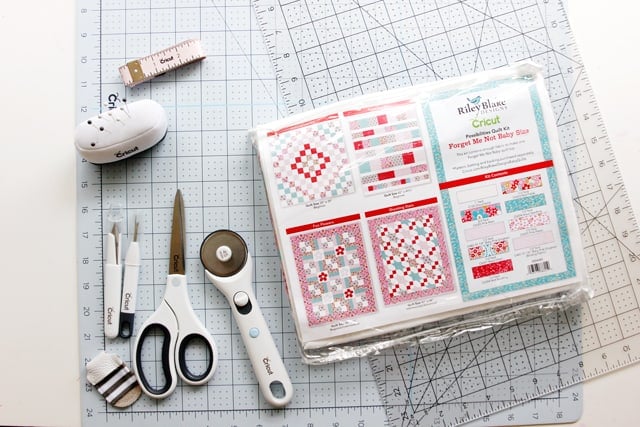
Materials//
–Riley Blake Forget Me Not Quilt Kit
–Around We Go Pattern in Design Space
–Rotary Cutter & Mat Set
–FabricGrip Mats, you only need 1 but I recommend 1-3 to make it faster
–White Thread
–Cricut Maker
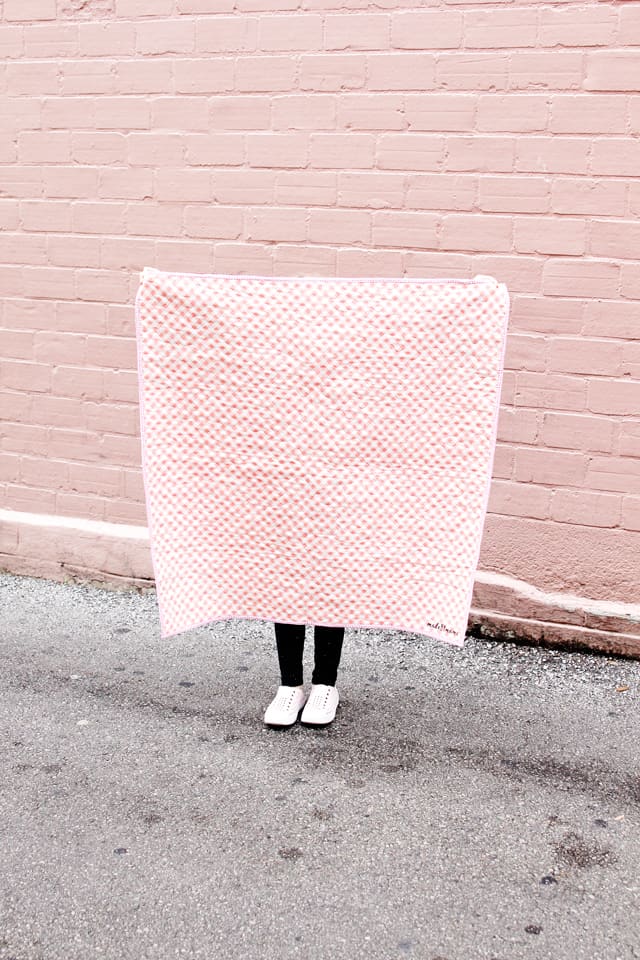
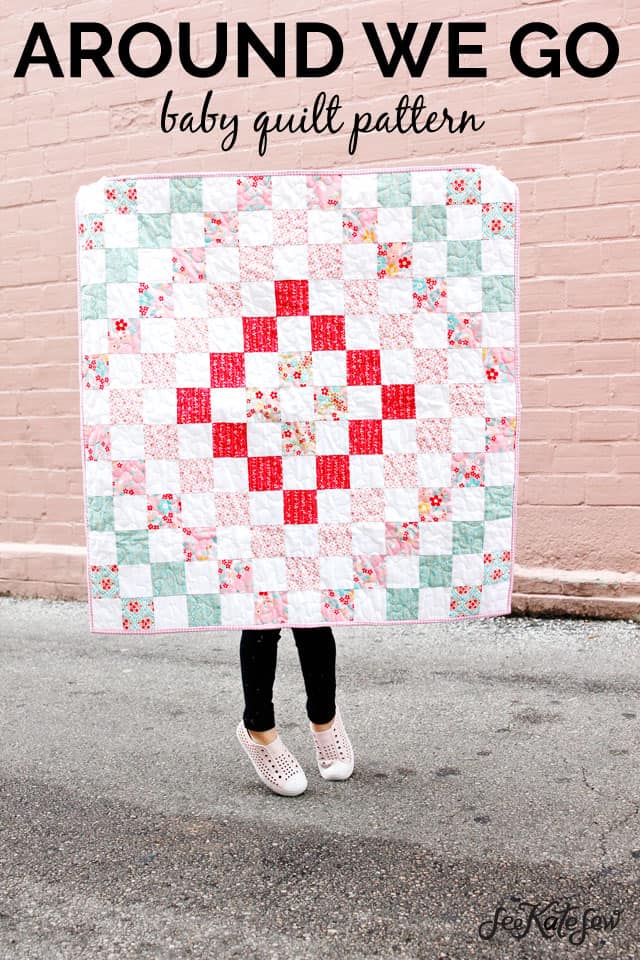
This is a little baby quilt, which is great for a beginner project since it comes together quickly! And smaller blankets are really nice to have for babies. I think we’ll probably use it as a stroller quilt, it’s a great size for stashing in the diaper bag, too. I had my 5 year old hold the quilt up for scale, you can see her little feet and head sticking out in the photo above!
PIECING THE QUILT//
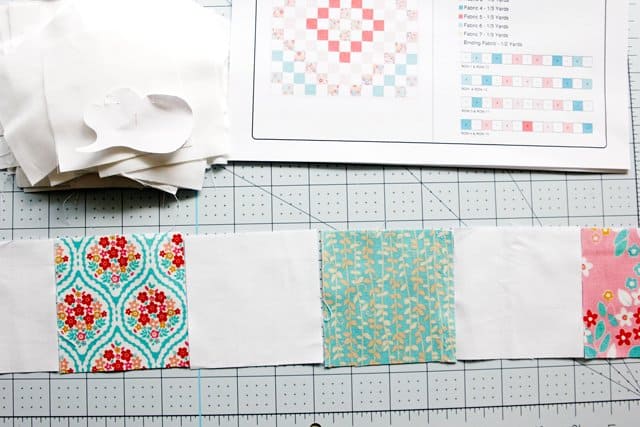
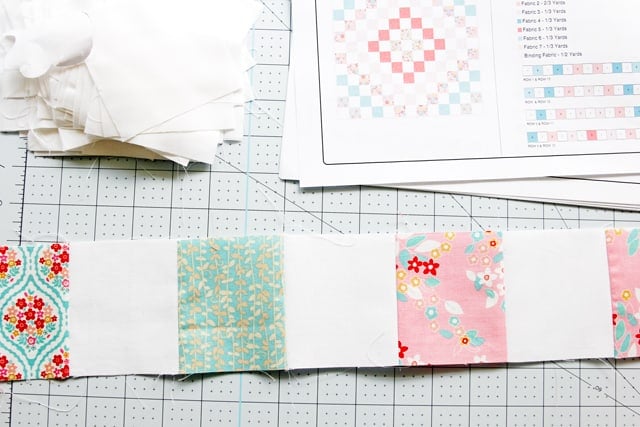
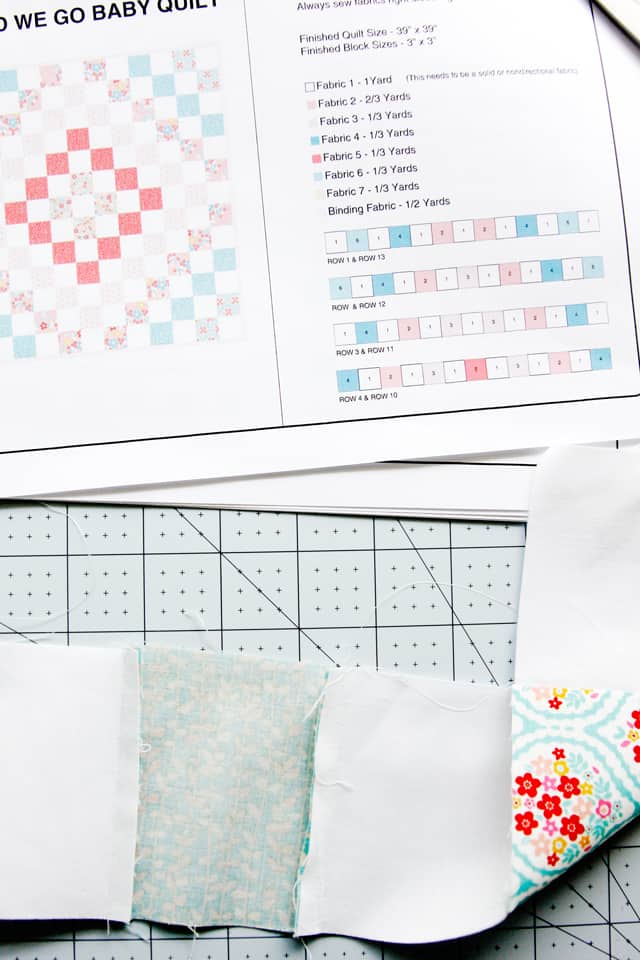
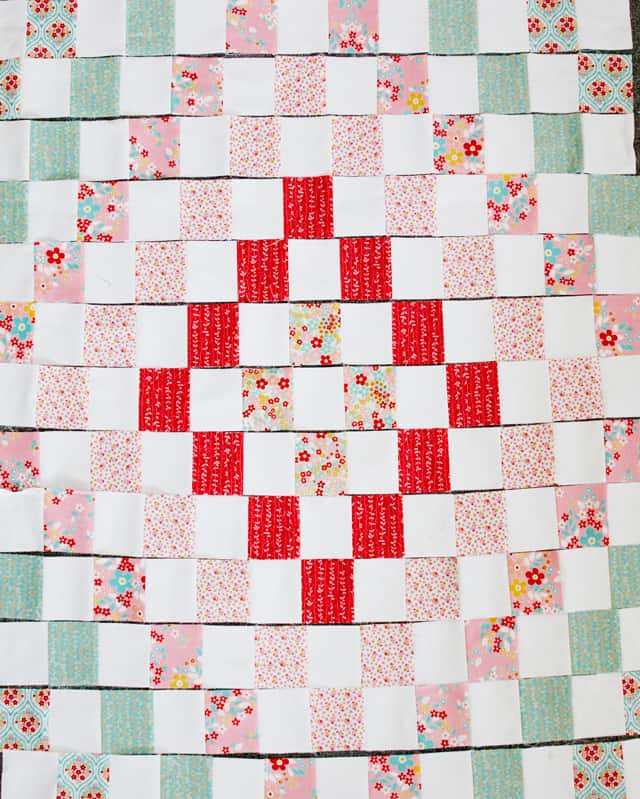
You will follow the pattern instructions to piece this quilt row by row. The diagrams in the pattern instructions are super easy to understand, especially if you have all your pieces in piles labeled by Fabric number. I have always found piecing squares therapeutic, it’s just so mindless and a good break at the end of the day.
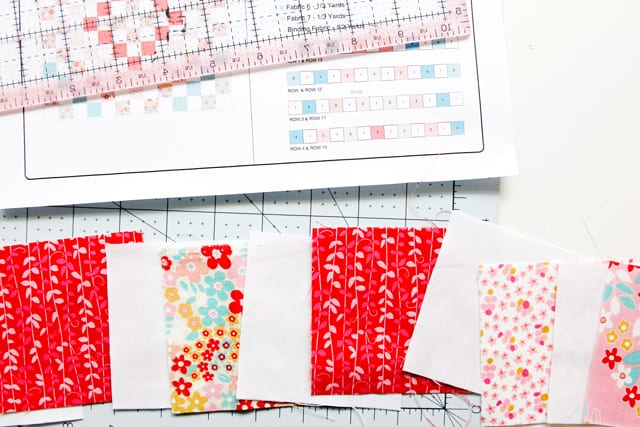
Here are a few tips for piecing.
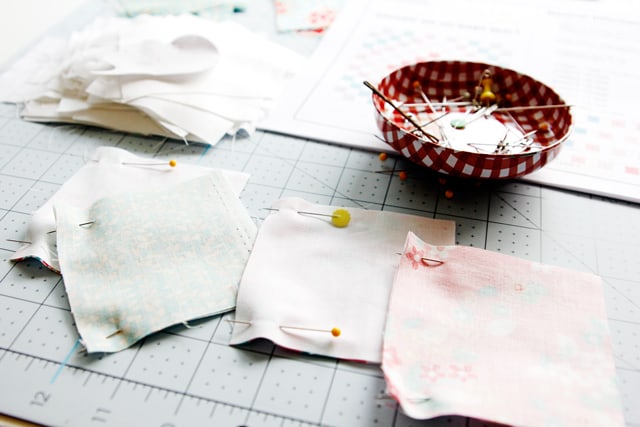
- Use a 1/4″ seam foot if you have one. This foot has a little metal bar on one side, which helps you get an exact 1/4″ seam every time. Although squares are super easy to piece, it is also easy for the lines of squares to be a bit off from each other. This foot will help with that precision.
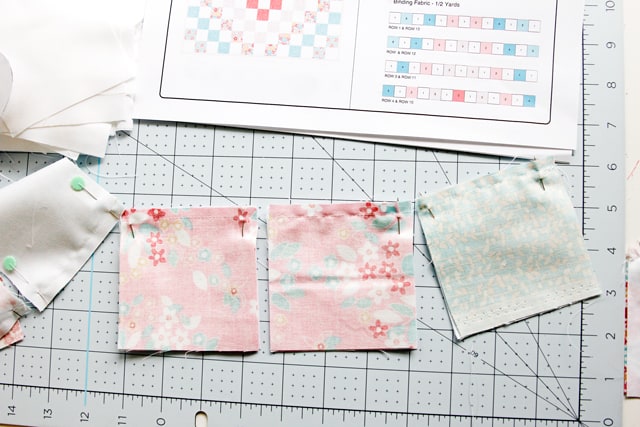
- I like to line up the whole row and then sew the squares up 2 at a time without stopping in between. This makes it a little faster. Once the pieces are sewn 2 together, I line them up again and pin together in a strip. I have to realign them to make sure I don’t get them out of order, or at least reference my pattern again just to check. Measure twice, sew once!
- When you’ve finished a row, press the seam allowances towards the colored fabric. Sometimes I press the seams open, but since my base color is white, it’s better to press them towards the darker color so it is less likely that they will show through the fabric.
- When sewing the rows together, be sure to pay attention to seam allowances. They need to match up to get straight squares. Use pins to help align the seam allowances.
Longarm quilting + Binding//
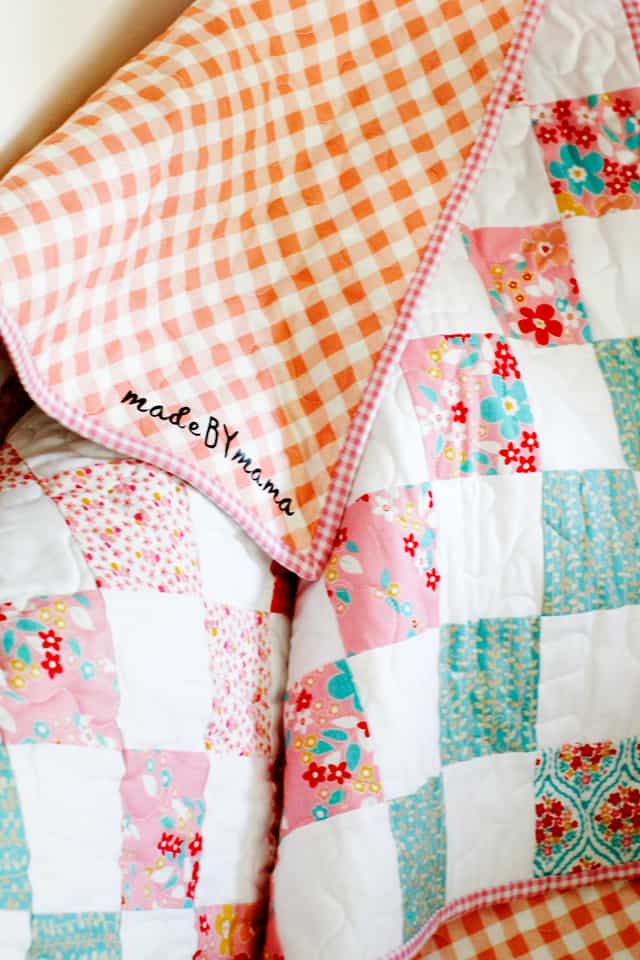
I took my quilt top and a backing to my local quilt shop to have it quilted. There is usually a month long wait which is the worst part about this whole process. I chose a basic quilting pattern that looks like squiggles and a larger gingham print for the back. I think it’s so cute and I can’t wait to snuggle a new baby up in it!
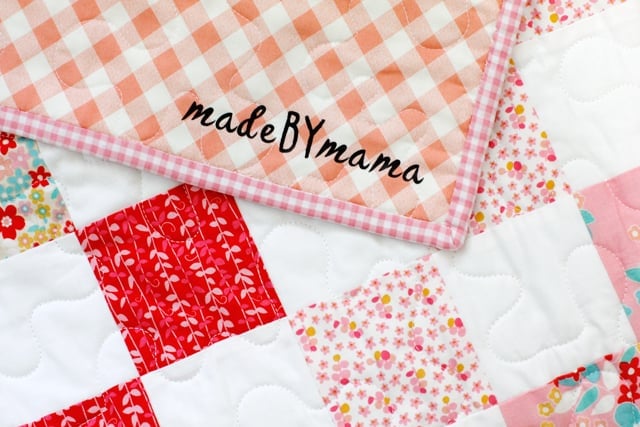
I added a little vinyl iron-on label to this one! I have a tutorial for that here, along with a list of 10 ways to use the Cricut Maker for Quilting! Once you start, you’ll be flowing with ideas!
To make the binding, cut strips of the provided gingham fabric 2.5″ wide.
Overall Thoughts//
Overall, quilting with the Cricut Maker and Riley Blake Quilt kits made the process literally and figuratively PAINLESS! No wrist and finger pain from all the rotary cutting. No traumatic rotary cutter cuts and resulting permanent nerve loss (speaking from experience, most of my sewing friends have one of these cuts hah..). And the process was much easier. It’s fun to think of all the time savers, the things I didn’t have to do with this project:
- No cutting out, pinning and unpinning a paper pattern.
- No cutting endless squares with rotary cutting and ruler.
- No measuring.
- No messing up squares and having to recut them.
- No trips to the fabric store to get more fabric because you miscalculated or messed up.
The Maker did all of those things for me. And the Riley Blake Quilt Kit made it even simpler since all the materials were right in front of me. So I got to just jump into sewing! The best!
This is a sponsored conversation written by me on behalf of Cricut. The opinions and text are all mine.




Thank you for this post, I’ve wondered if it really was a time saver or not. I’ll be using it for my next quilt.