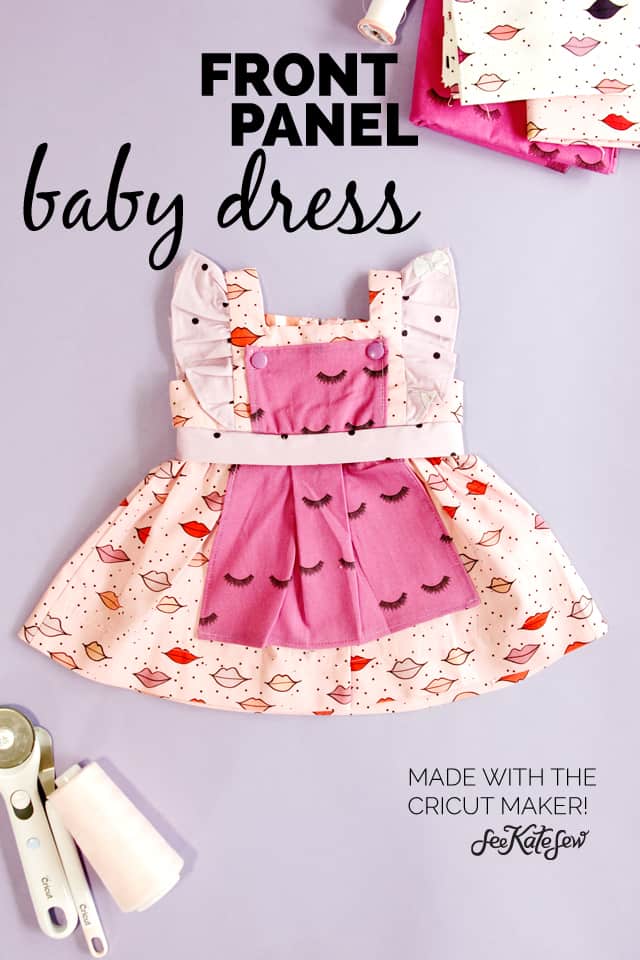
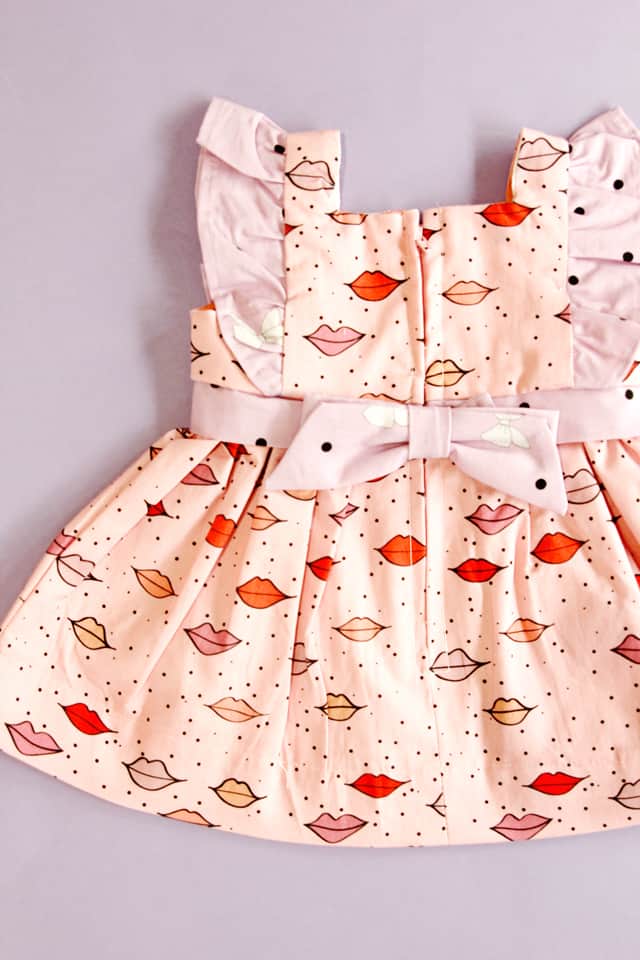
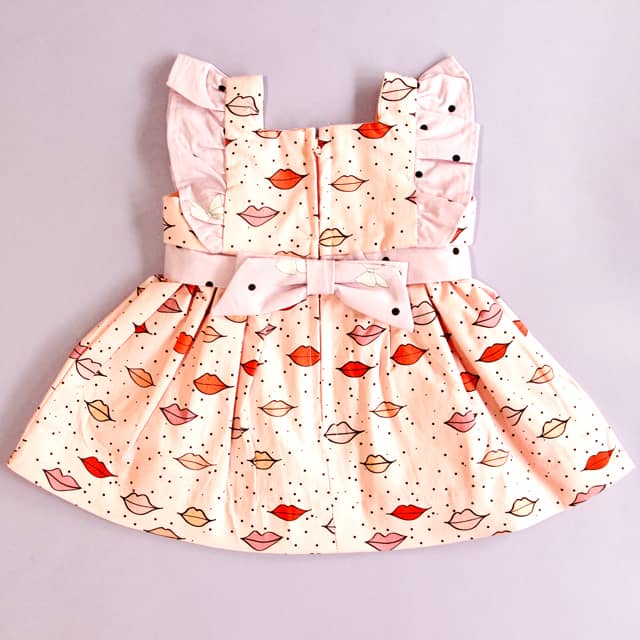
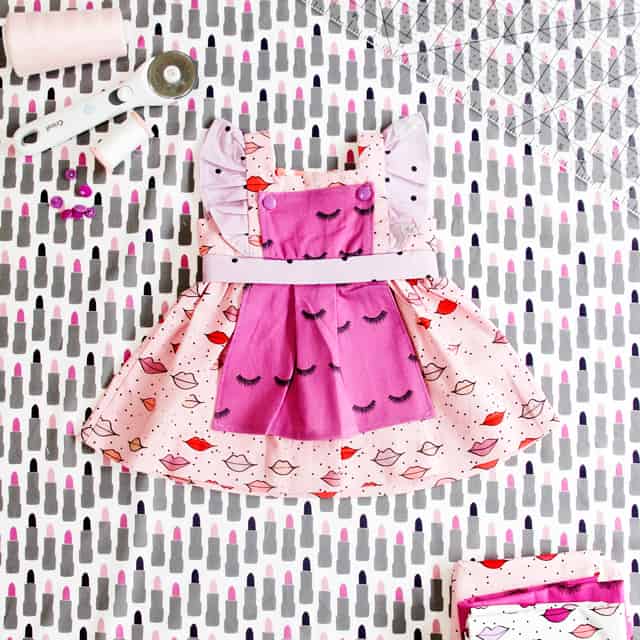
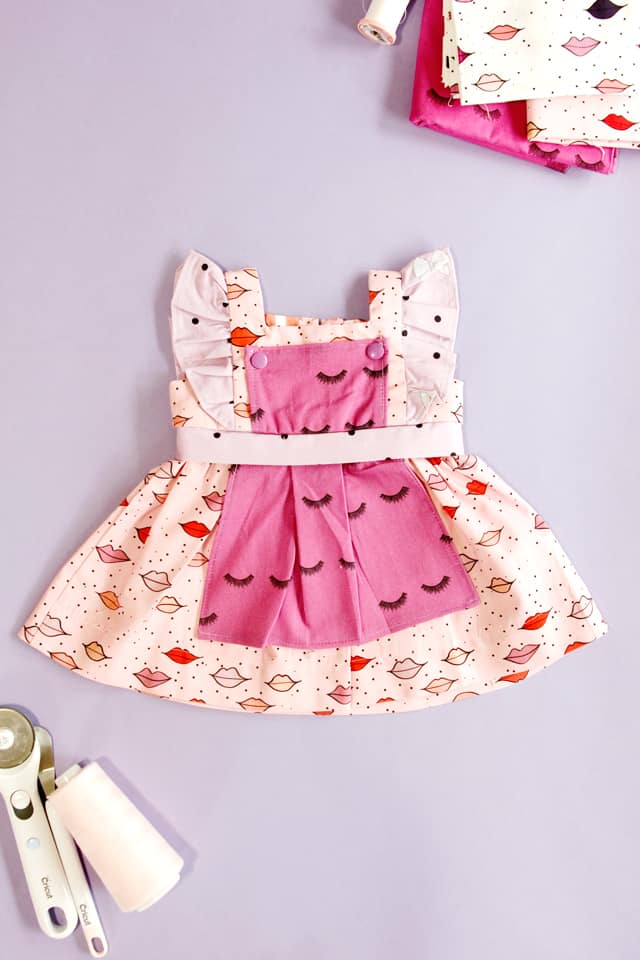
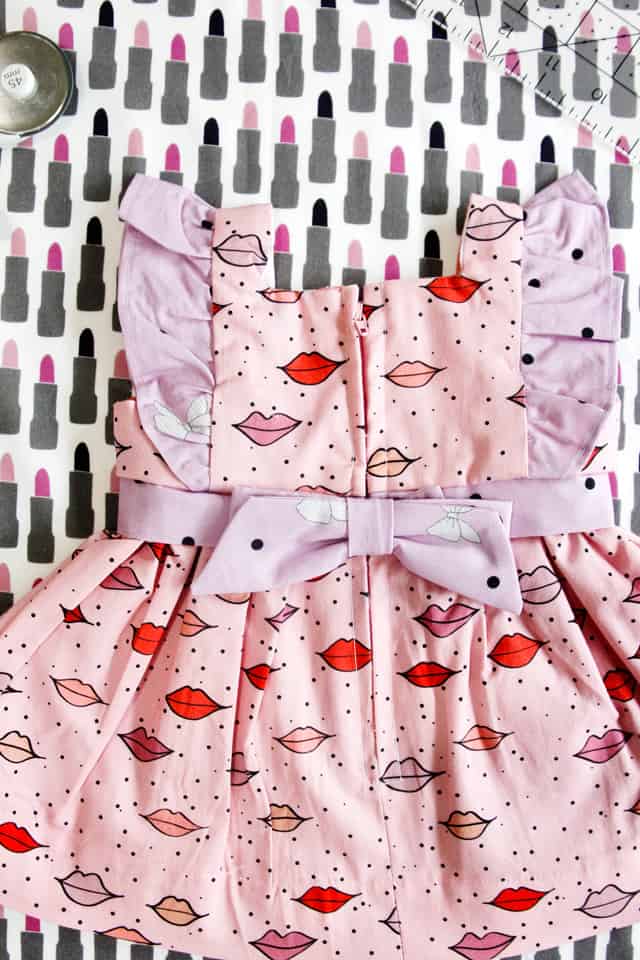
I’m so excited about this cute frilly Simplicity baby girl dress pattern that I made using the CRICUT MAKER! I loved using my new fabric line for this and think this layered dress is the perfect to showcase a fabric line or squeeze as many prints that you love into one project. Sometimes it’s hard to pick which fabric to use on a project, but with this one you get to use a bunch at once! The pattern has a professional finish but it is fairly easy overall – and even easier since there are no paper pattern pieces to deal with!
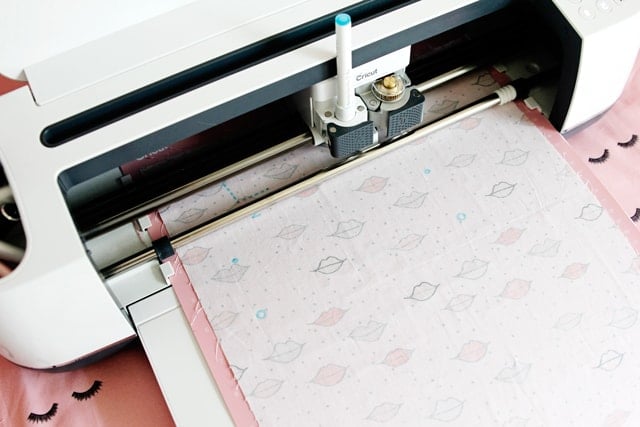
Cricut partnered with Simplicity patterns to create a streamlined pattern-to-sewing process. Instead of using a printed pattern, cutting that out and then marking the pattern before even starting to sew….the Cricut Maker just cuts the fabric right out for me AND (here’s the kicker) ALSO marks the fabric with a washable fabric pen. And they are all preloaded into the Cricut Design Space interface, hundreds are available! So, we can skip from pattern to sewing in just a few minutes!
Processes eliminated by the Cricut Maker:
- Printing or obtaining a printed pattern
- Taping and cutting out printed pattern
- Pinning pattern to fabric
- Marking fabric with pattern markings
- Unpinning fabric from pattern
Whew! 5 different (not-super-fun) things replaced with one simple process- run the fabric through the Cricut Maker! Which means….your SEWING project is a SEWING project and not a full-day of paper strewn everywhere and then finally sewing! Yahoo! I know, it sounds too good to be true, but it’s not!
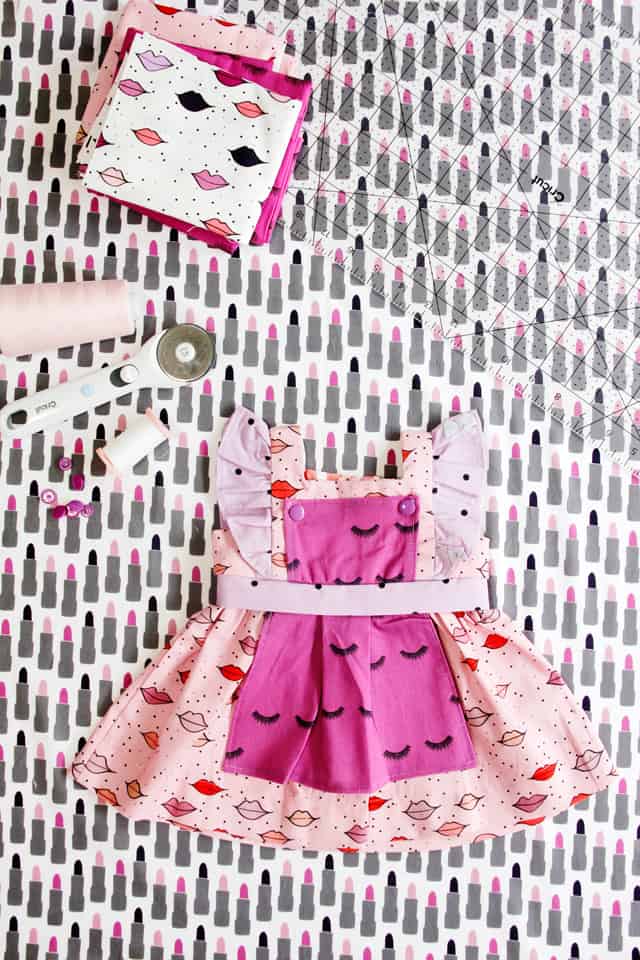
I made this newborn size front panel baby dress for my October baby. It’s so tiny and cute and is making me pretty excited! I think this cute dress is the perfect wow-factor baby gift, too. Everyone will ooh and ahh over it and you can use so many different lightweight fabrics for it (and the Cricut Maker will cut them all!) including quilting cottons, which are always fun to use!
Materials// These are also included on the Design Space Project
–Front Panel Baby Dress Pattern (in Cricut Design Space!)
-about 1/3 – 3/4 yards each of 4 coordinating prints
-2 small buttons (1/4″ – 5/8″) – I used two size 20 KAM snaps instead!
–9″ zipper (or longer)
-1 snap for back – the pattern calls for a sew-in snap, but I used a KAM snap again.
-ric rac or lace (optional)
Cricut Supplies//
–Cricut Maker, the Maker is the only machine of Cricut’s that will cut fabric as well as vinyl and hundreds of other materials. I recommend the Materials Bundle, it’s the best deal!
–12″ by 24″ Fabric Grip Mats
–Washable Fabric Pen
Optional Supplies//
–Cricut Designer fabric is precut to the right size for your machine mats (convenient!)
–The Cricut Rotary Cutter set comes with a mat, and a ruler the size of the largest mat which makes cutting fabric down to size super fast! I used this set for this project and loved it!
If you prefer a video walkthrough, view my Facebook Live Video and sew along!
Let’s get sewing!
In Design Space, click on the project and click make. You can download and print the sewing instructions if you want, or use an iPad to read them near your sewing machine.
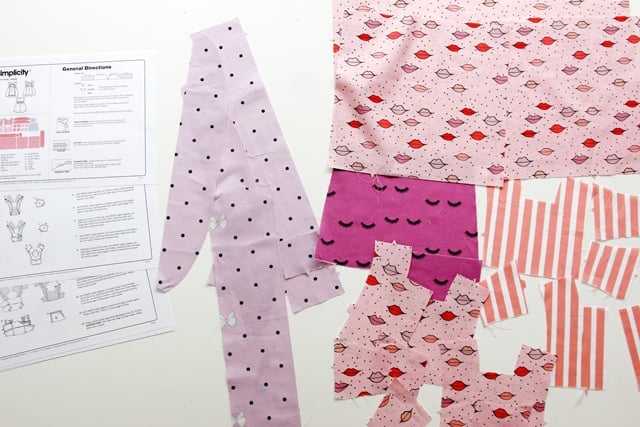
I printed my instructions and then prepped my fabric by cutting it down to size to fit the mat. You can see how I do that in this post about the Simplicity baby shoes!
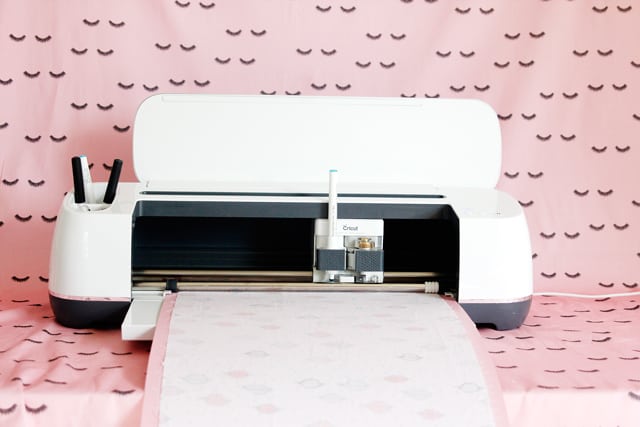
To prep each mat, lay the fabric printed side down and press down.
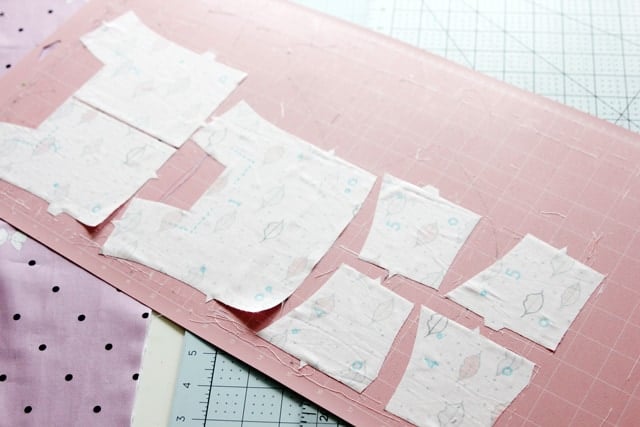
The result will be a pattern piece cut out with markings drawn on the back!
There are quite a few little pieces in this dress, but by following the cut screen with all 7 mats in Design Space, you’ll be sure you have all of them!
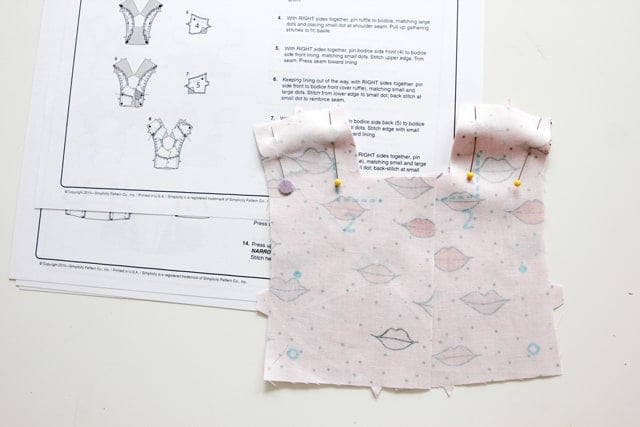
The first step is to sew the bodice pieces together at the shoulder seams. The seam allowance on this pattern is 5/8″ so it is bigger than I am used to but since the pattern is well marked, I never forgot!
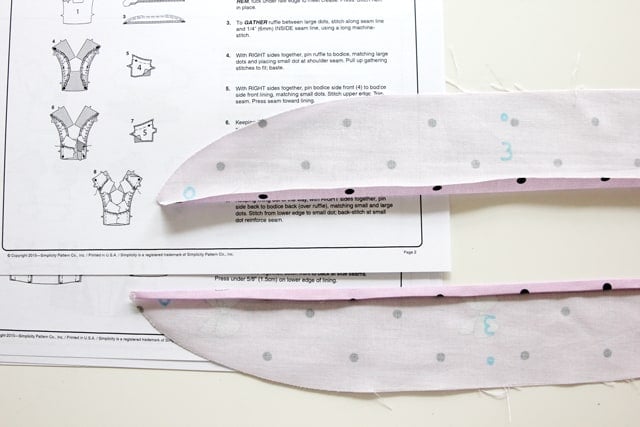
Hem the sleeves with a narrow rolled hem. I couldn’t find the hem allowance on the pattern so I used about 1/2″, or 1/4″ folded over twice.
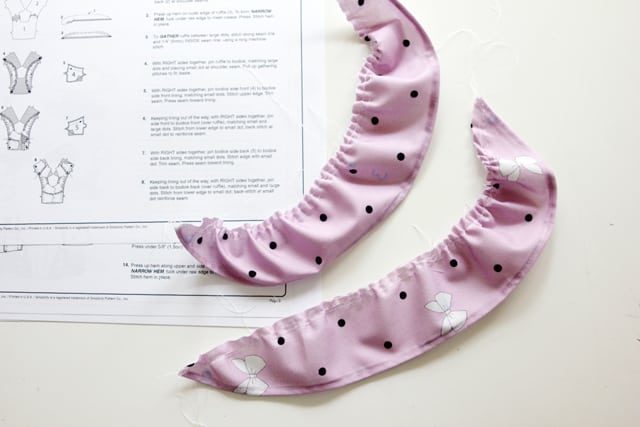
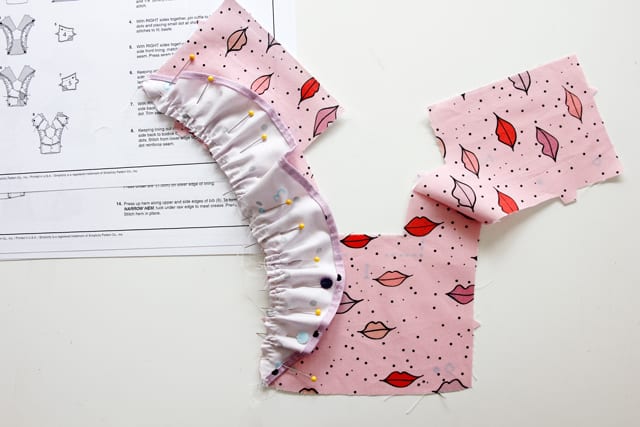
Gather the top of the ruffle sleeves with 2 rows of basting.
Sew the ruffle into the dress. The dots and notches make it easy to gather the fabric perfectly. Repeat on the other side.
Sew the side pieces to the side lining pieces and press seam allowance towards the lining.
Sew the side pieces to both the front and the back.
Sew the lining to the bodice as instructed.
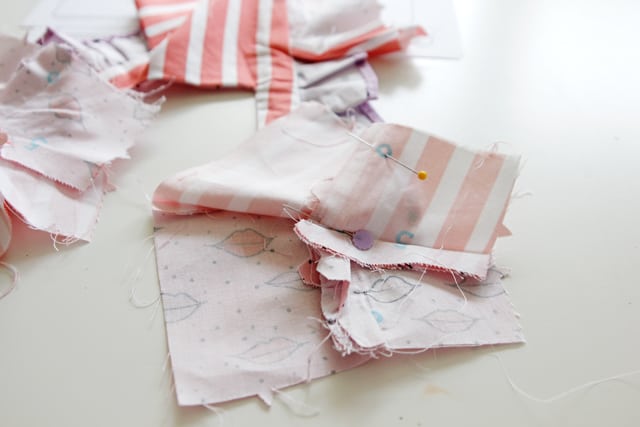
Then finish up the lining by sewing the lining back to the lining side back and the lining front to the lining side front.
This is a bit tricky, but the end result is a super nice finish underneath the arm!
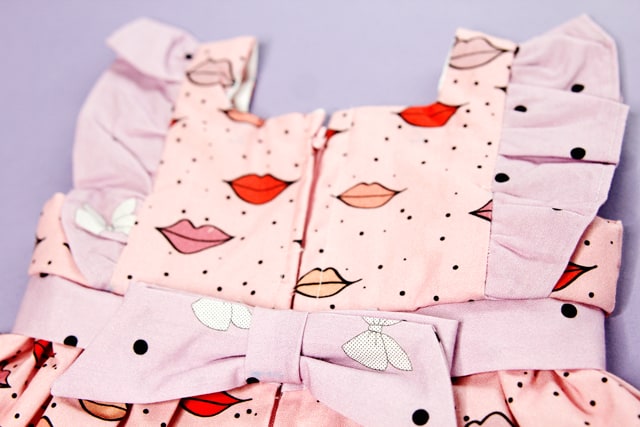
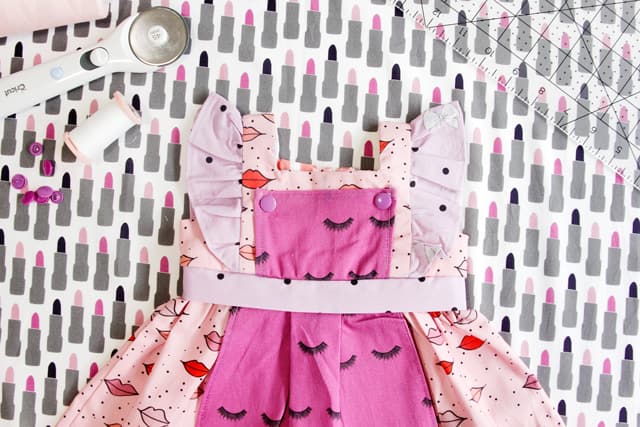
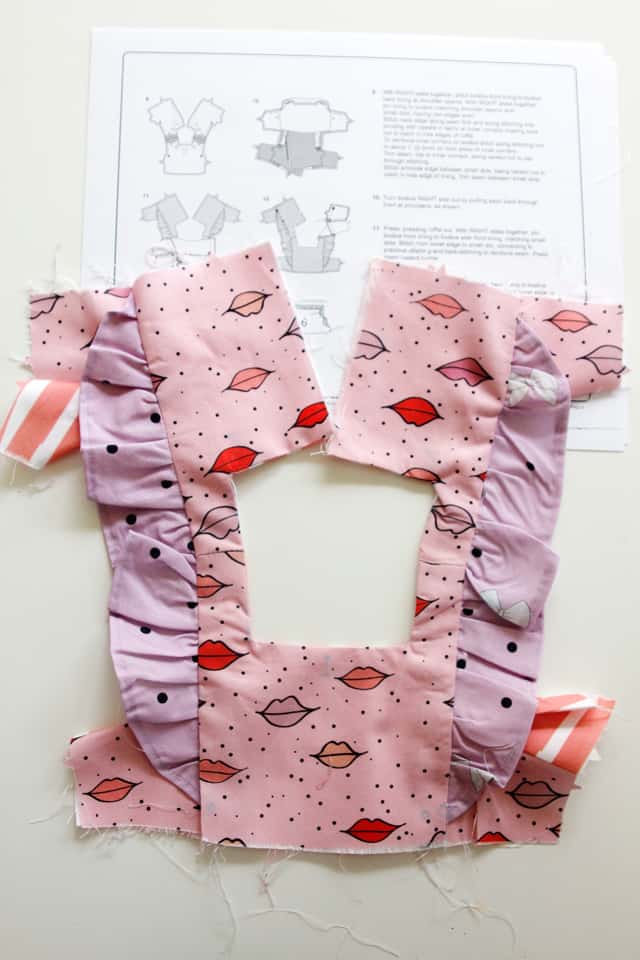
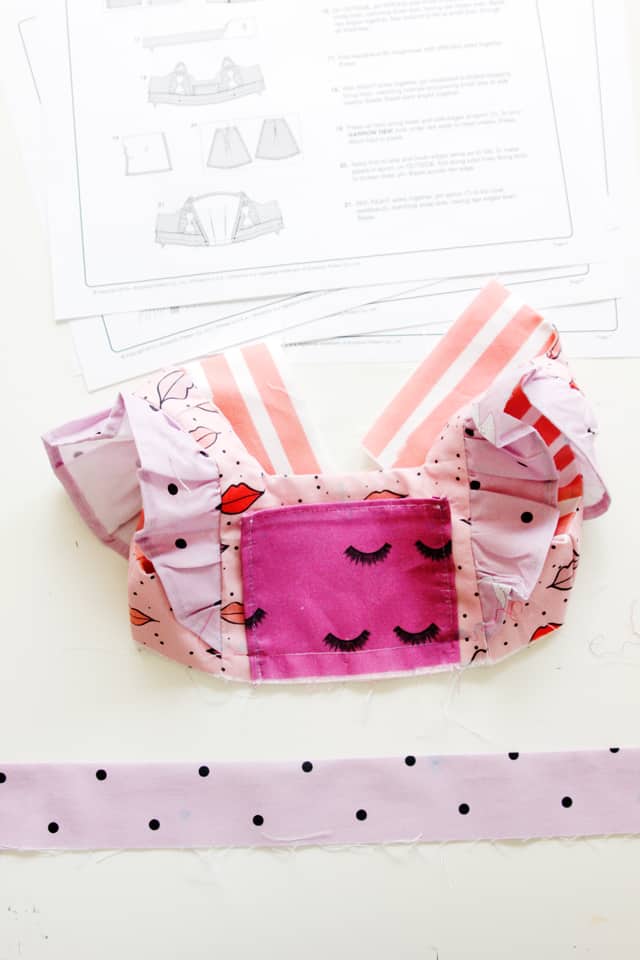
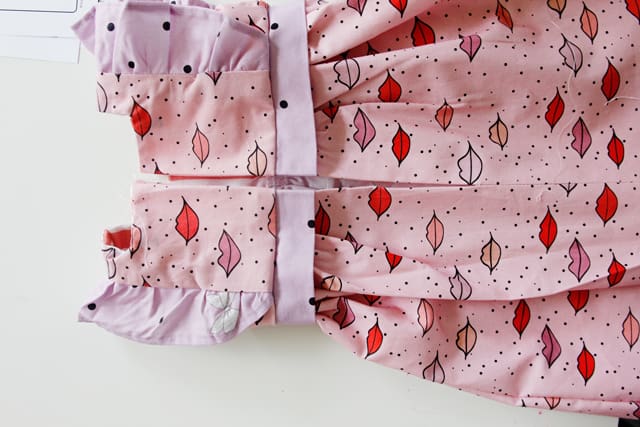
Finish the bib around the sides and top and then baste to the bodice. The pattern calls for 2 buttons but I used two little KAM snaps to keep the bib up and I love how it looks!
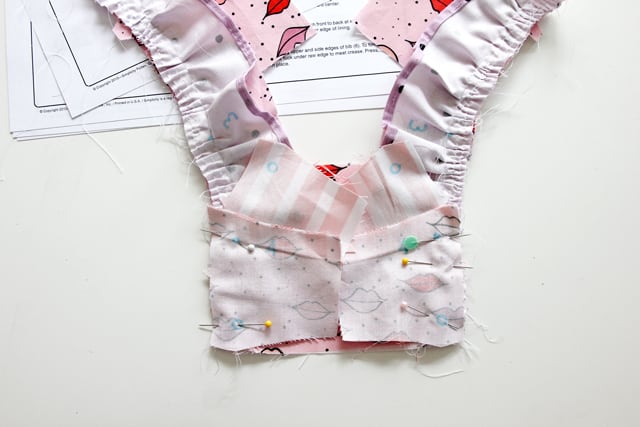
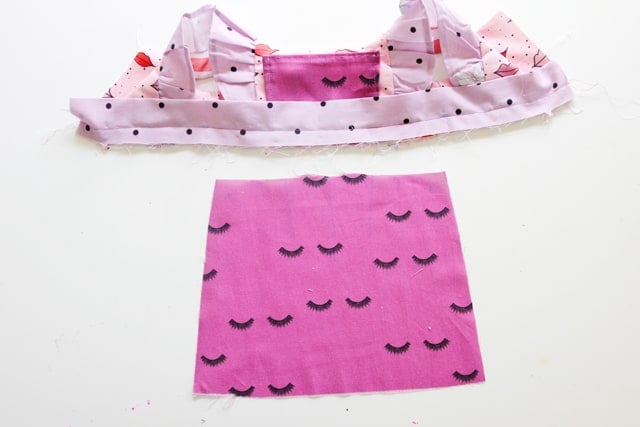
Sew the band to the bodice.
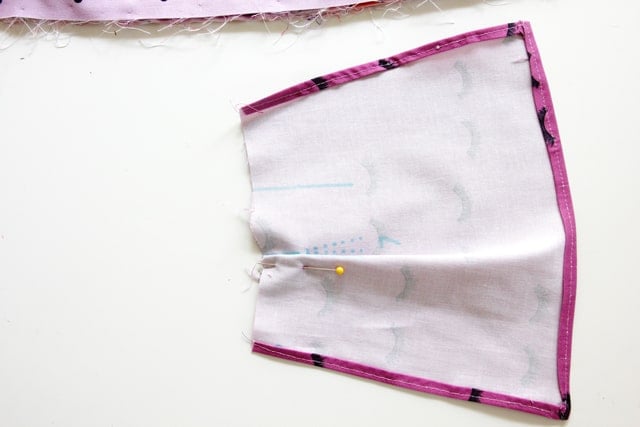
Pleat the front panel using the marks on the back! So easy!
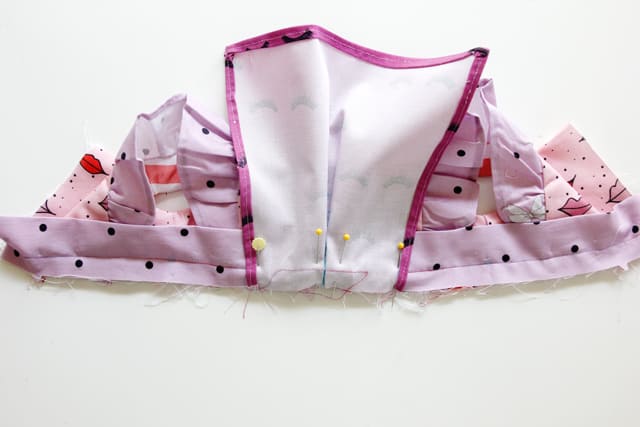
Pin the panel in place and sew.
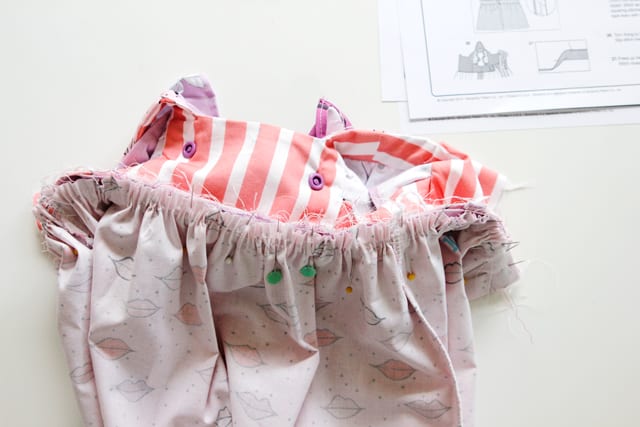
Gather the skirt and then sew to the bodice.
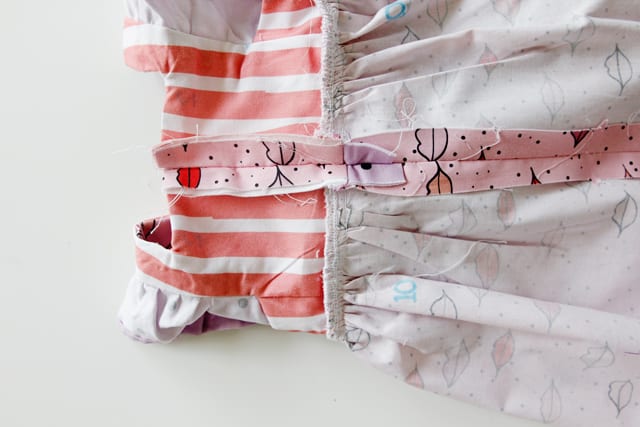
Press everything super well and press the skirt seam allowance UP. I strayed from the instructions a bit for the zipper insertion. Instead I pressed the seam allowance 1/2″ and then basted it together as if I were sewing the center back together.
Press it open and lay flat.
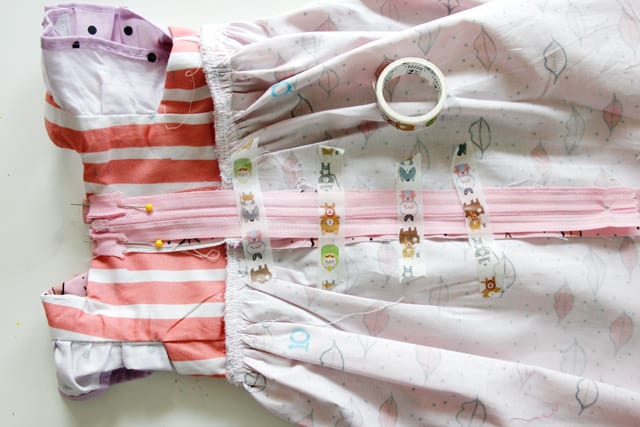
Then I used a few pins and washi tape to hold the zipper in place! Look away professionals, you won’t like this! (hahah) Turn the dress right side out and topstitch around the center back seam, securing the zipper in place. Be sure to backstitch at the top and around the bottom where you pivot. Seam rip the center back seam open so your zipper is usable.
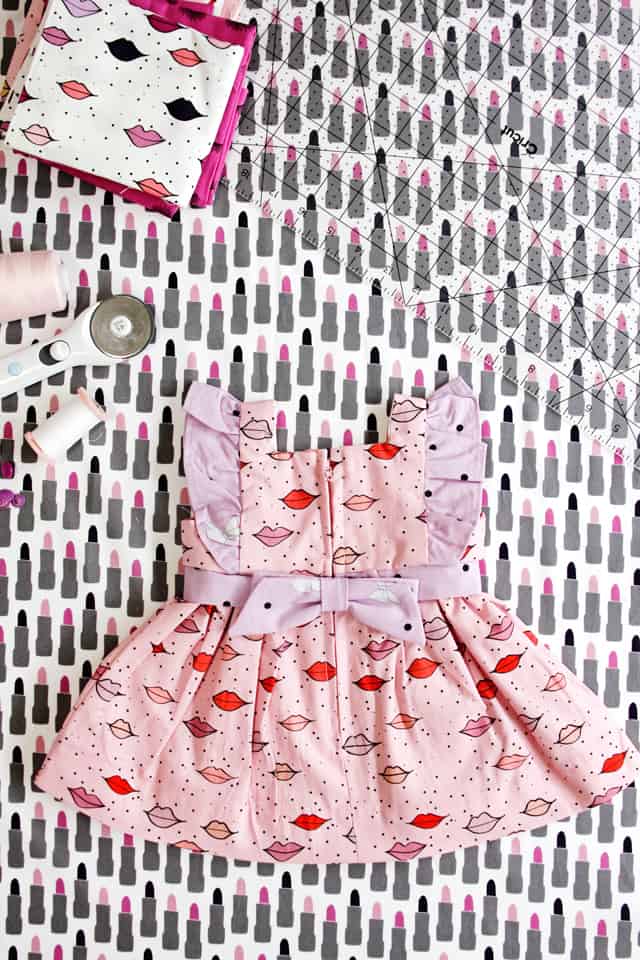
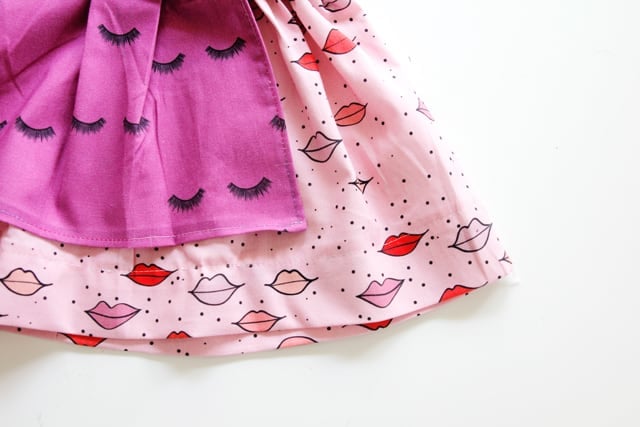
Finish the hem and attach the bow and you’re done!
This is a sponsored conversation written by me on behalf of Cricut. The opinions and text are all mine.






Gorgeous
So cute! Great tutorial!