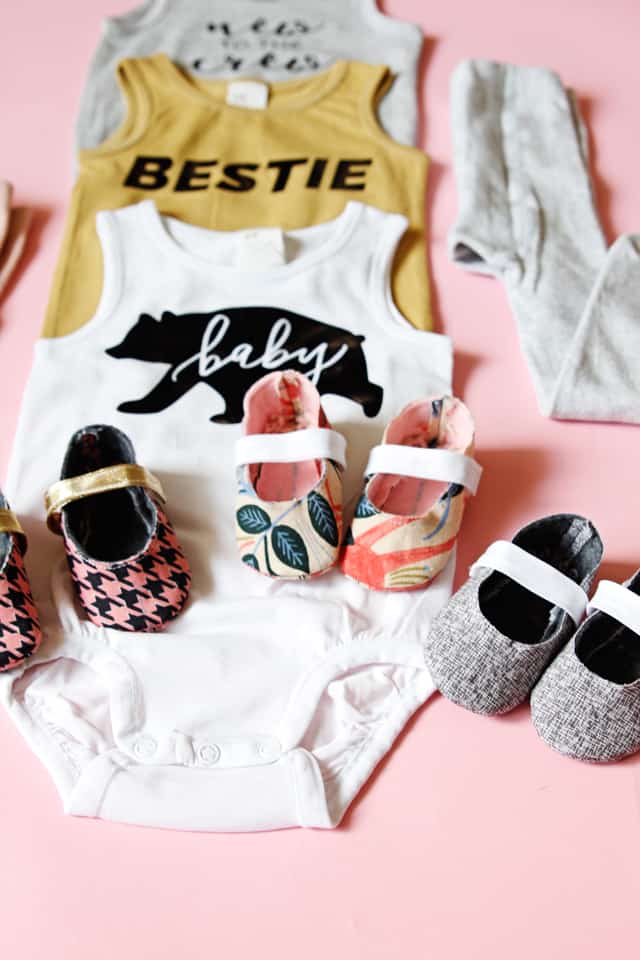
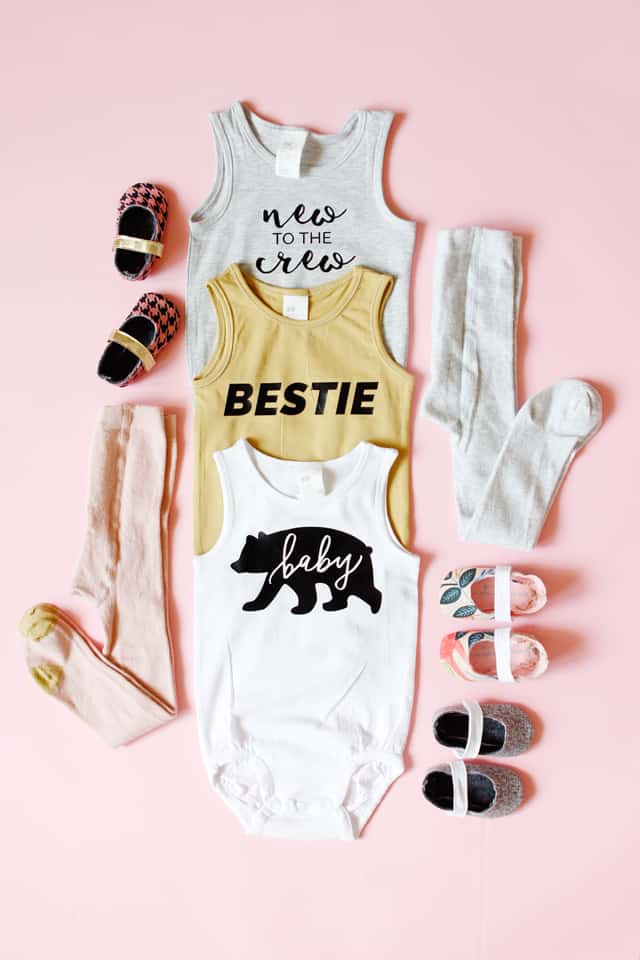
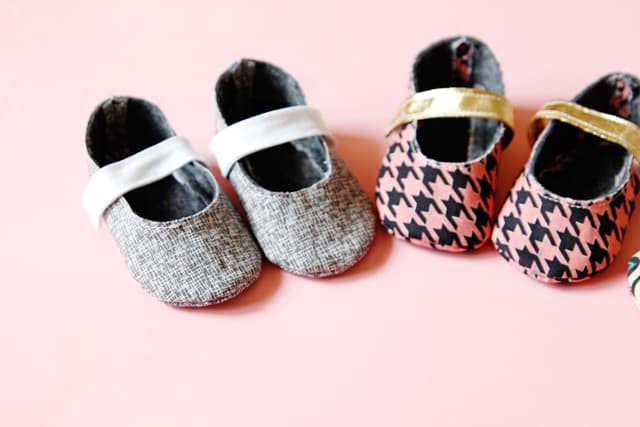
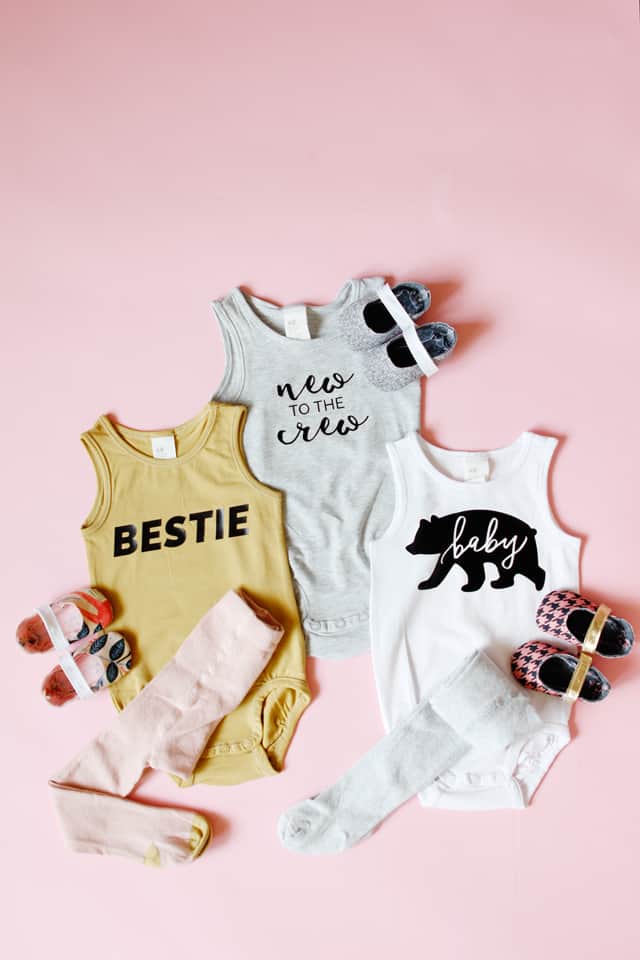
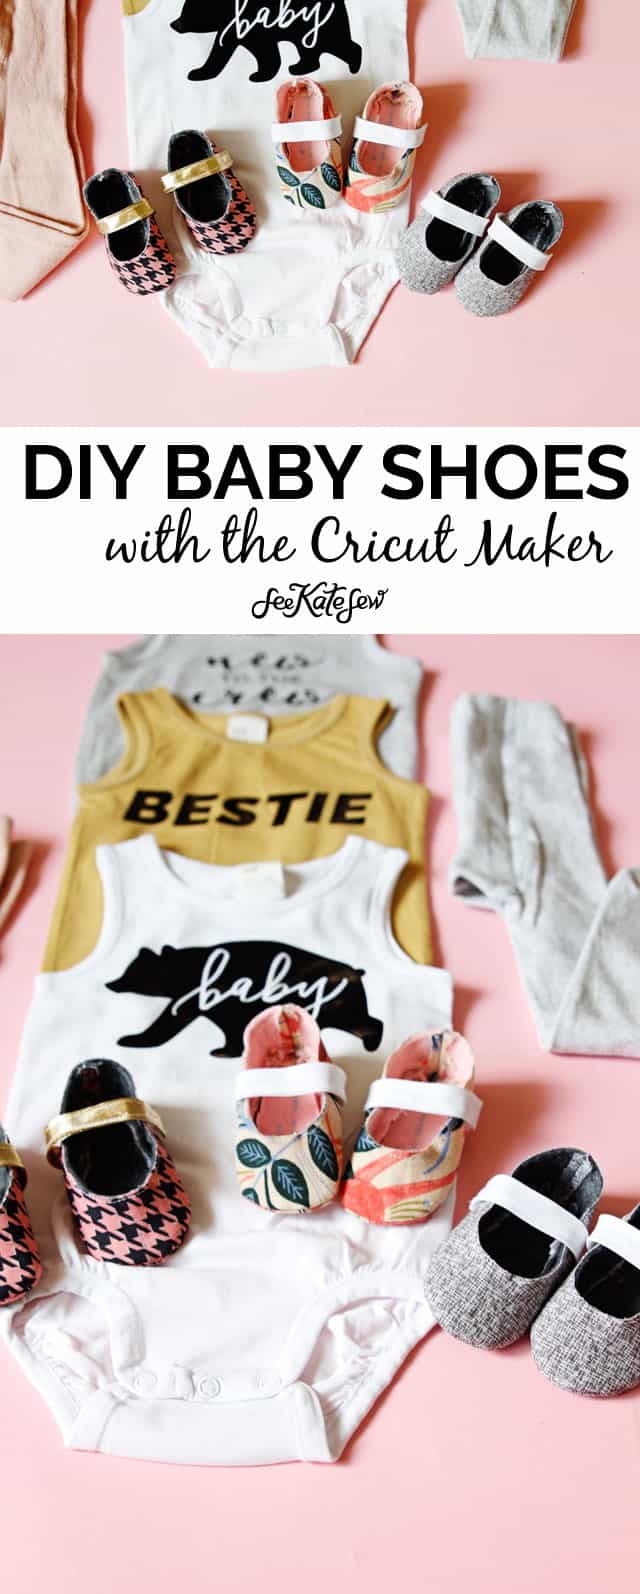
Nothing is cuter than tiny baby shoes! I’m so excited to share a few CricutXSimplicity patterns over the next few weeks and this is the very first one! I chose this pattern because it’s adorable and because its such a fun project for anticipating baby! But mostly, adorable!
I always get a little baby-sewing crazy when I’m pregnant and I think that’s okay! The best part about this pattern is you can use any kind of fabric so you can make it for a boy or a girl. I chose some fun & bright prints and also a few more rugged fabrics. I pulled from my current fabric stash for this, you only need small scraps for this project! I have to say these do get a little bit addicting to make — especially since the Cricut MAKER cuts all the fabric for you!
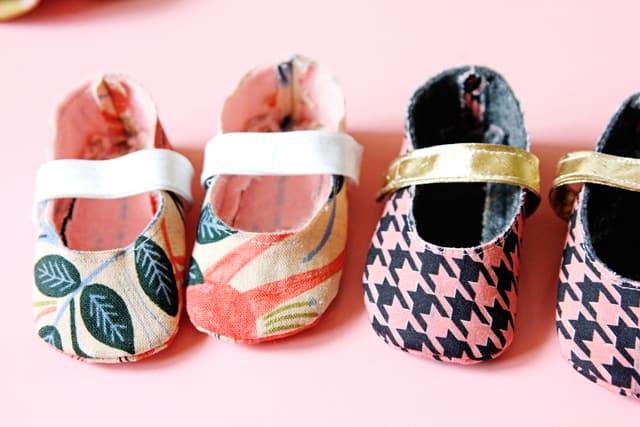
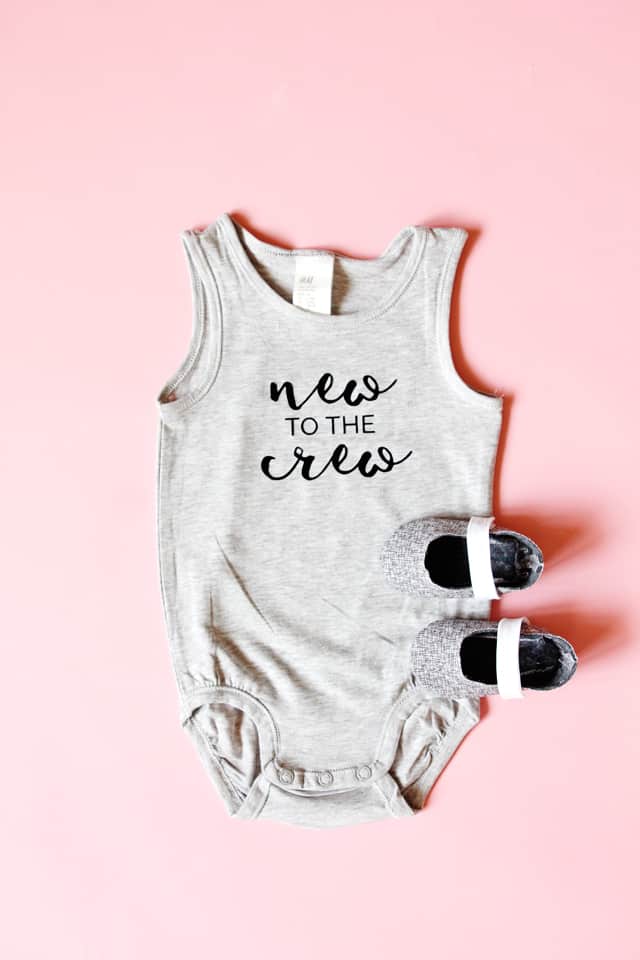
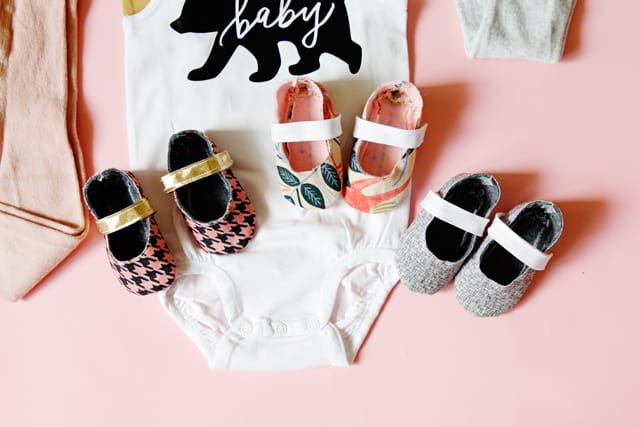
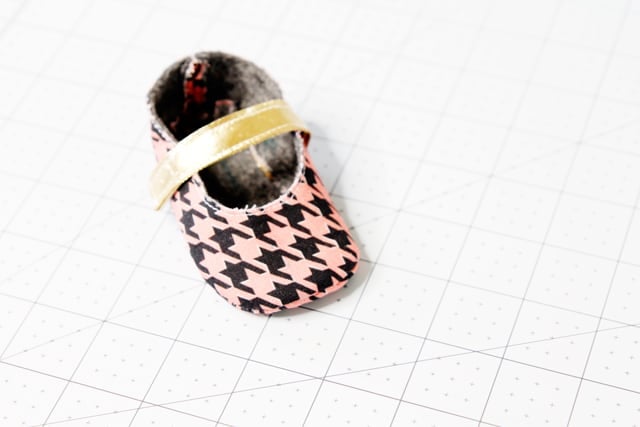
This pattern makes the XS size, which is about 4″ long or perfect for a tiny newborn! I paired them all with a DIY onesie, I’ll share the cut files for those soon! I think tiny baby shoes and a handmade onesie is the perfect little gift! Maybe add a teether or pacifier clip to finish it off!
Materials//
–Simplicity Baby Shoes Pattern
-felt
-cotton or similar outer material
-ribbon (I’m using gold bias tape instead!) & optional button
-1/2″ sew-in velcro
-fusible web with a paper backing I used two different types of fusible web and like the way the heat n bond holds the fibers the best!
–Cricut Maker
–Cricut Rotary Cutter & Mat Set
–washable fabric pen
–FabricGrip Mats
Instructions//
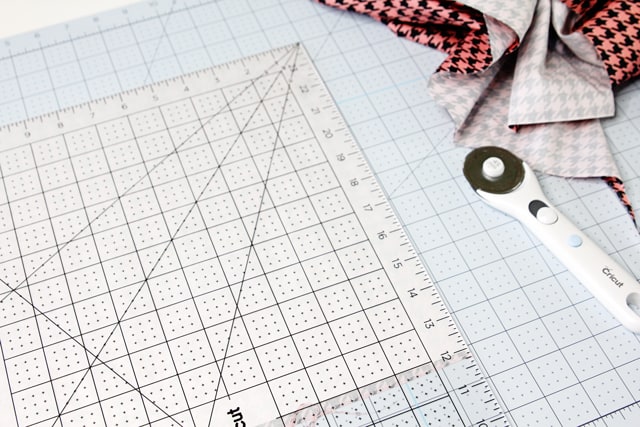
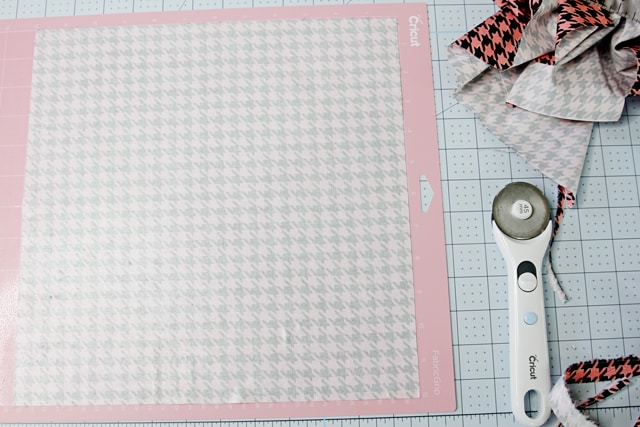
Prep fabric! If you use Cricut fabric, it’s precut for you and fits right on the mat! If not, the new Rotary Cutter & Mat set makes it super easy. The ruler is 12″ by 24″ which is the size of the largest FabricGrip mat. Since this is a smaller project, I used half the ruler to cut and easy 12″ by 12″ square. I’m going to be using this set all the time! No quick math when cutting, hah! Do the same with your felt if you are using yardage.
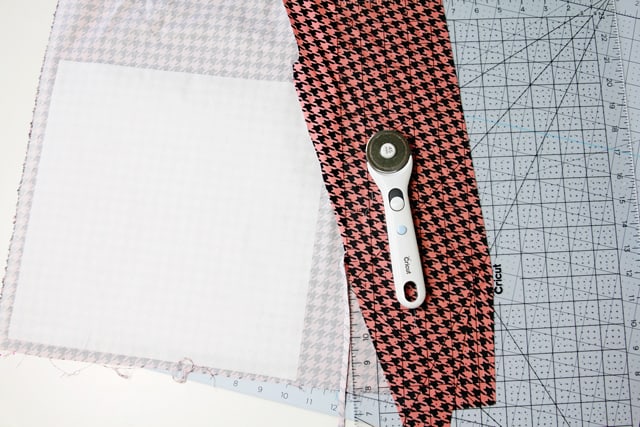
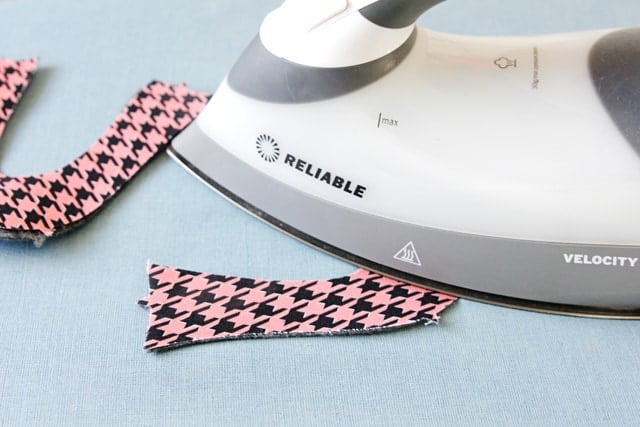
Fuse web to outside fabric and then remove the paper part before pressing it to the mat. You’ll be left with a glossy “glue” layer that will help the threads not fray when we remove the fabric. Usually it doesn’t matter as much, but these shoes allow ZERO seam allowance at the top around the foot, just because of the construction of it. So it’s extra important to keep the fibers together.
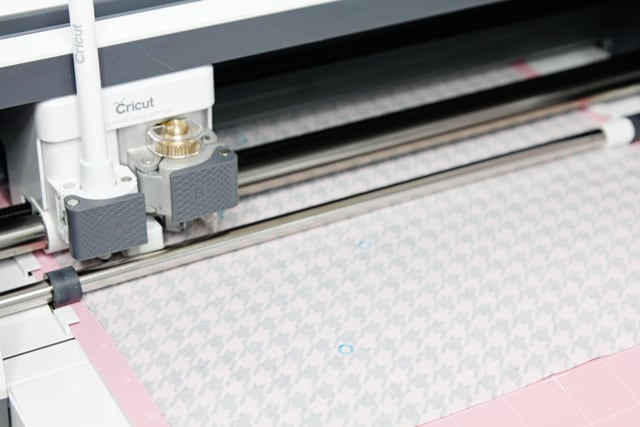
Cut the fabric layer with the web side UP.
The Simplicity patterns are loaded into Design Space so that they take you straight to the pattern page. It doesn’t let you customize it so you don’t mess it up, hah! So it’s very straight-forward! Just make sure the materials are set correctly and get sewing.
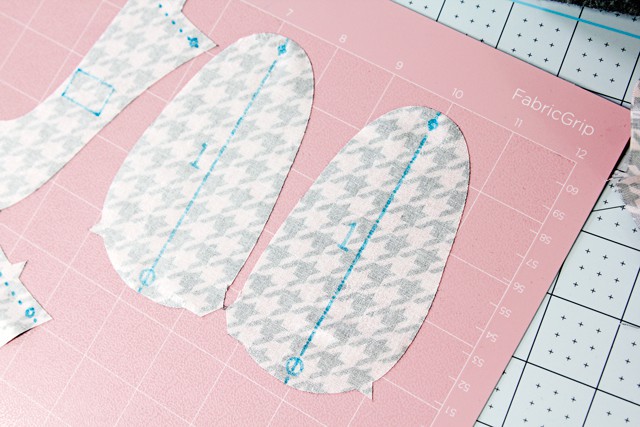
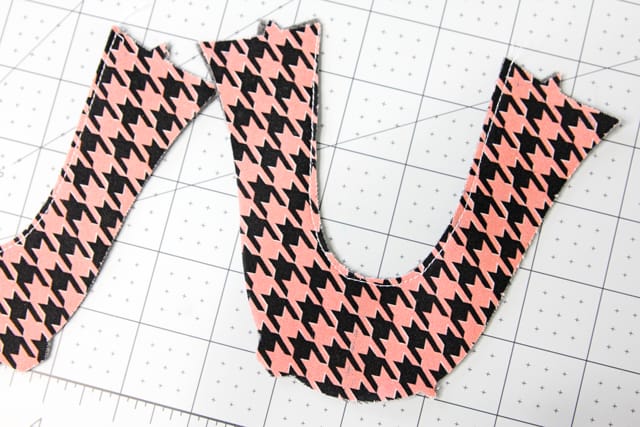
This is what you’ll have when it’s finished cutting:
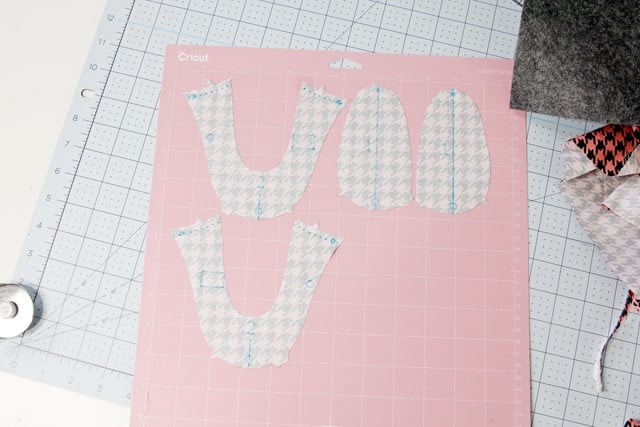
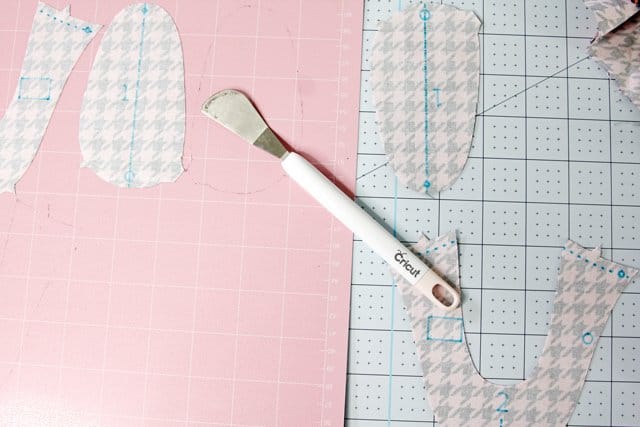
Check out those markings! Amazing!
To peel the fabric off the mat, I love this flat tool that comes in the Cricut essentials kit. It helps you pull the fabric edges up so you have minimal fraying. The best way to do that is to find the widest part of the fabric, or a spot cut on an angle and start pulling from there.
Cut the felt layer next. If your felt has a nicer side, put that side down. The Maker is the only Cricut machine that can cut fabric and felt like this! It can even cut leather, amazing!
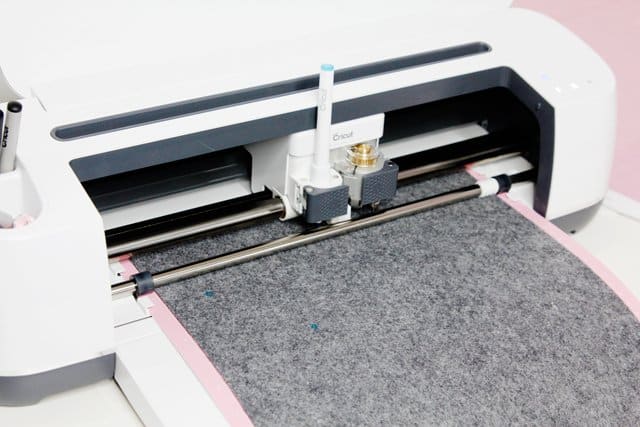
Be sure to change the material type from Cotton to Felt when cutting the second sheet. I cut my fabric as basic cotton (even though it had a layer of fusible web) and it worked well.
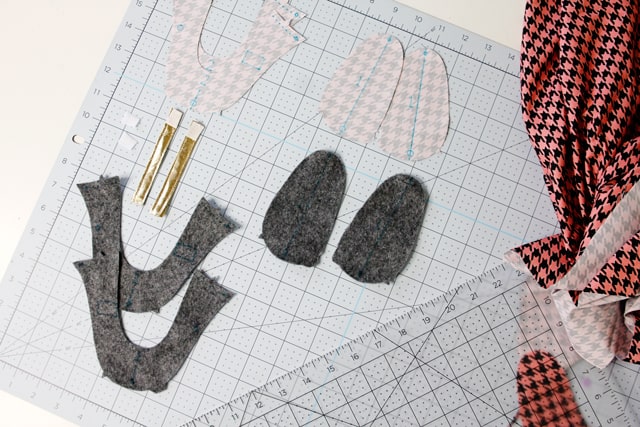
**While you cut** Since I wasn’t not actively cutting, I went ahead and did step 2 (sewing the ribbons together) while the machine cut for me!
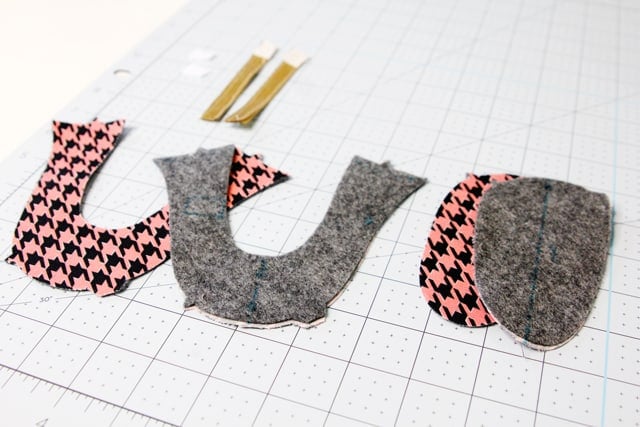
Check point!
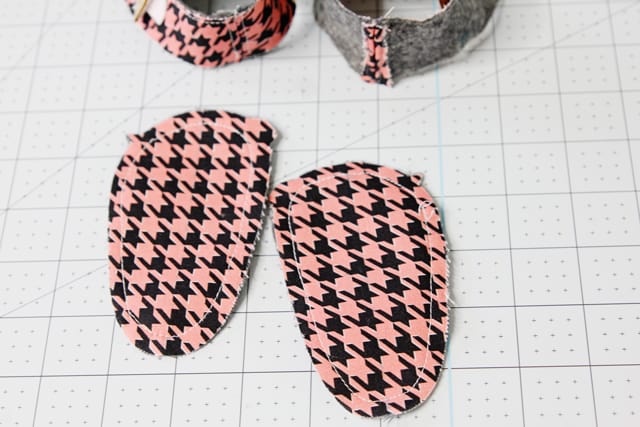
This is what you’ll have cut out:
Time to sew! The project includes full instructions. They are illustrated and read just like a paper simplicity pattern. It was only two pages so I printed it out for reference, but you can also read it on your computer or tablet.
The instructions are super clear and simple! I added 2 little steps to make it a bit easier, I’ll share them as we go..
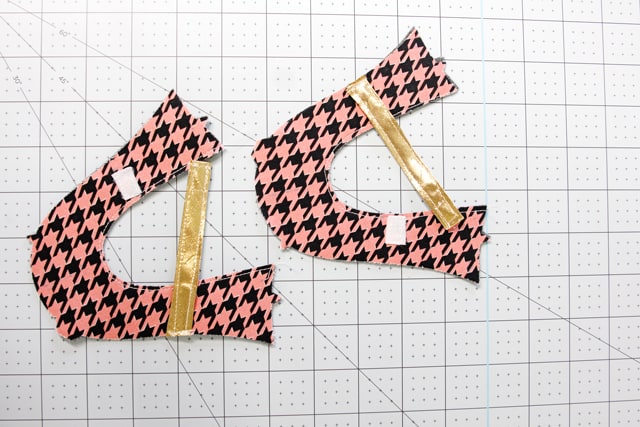
First fuse the fabric to the felt and stitch along the top curve to keep them together. I fused them together with the markings showing on the felt so I could still see them. The markings will end up in the inside of the shoe so it’s totally fine!
Cut 2 pieces of ribbon 8.25″ each and fold them in half. Stitch together along both edges.
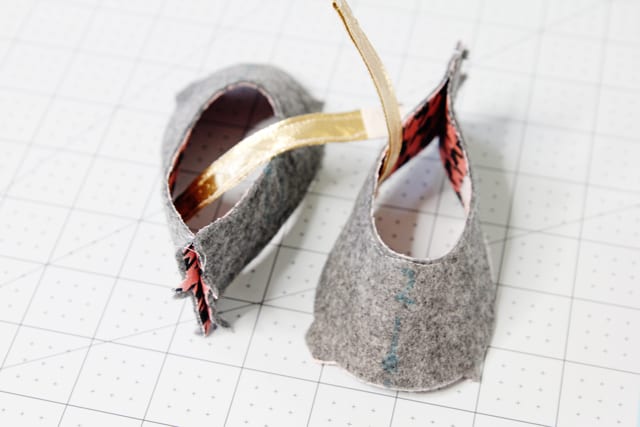
Cut the velcro down to 1/2″ and sew half to the bottom of the ribbon. Sew the other half to the outside of the shoe where indicated on pattern.
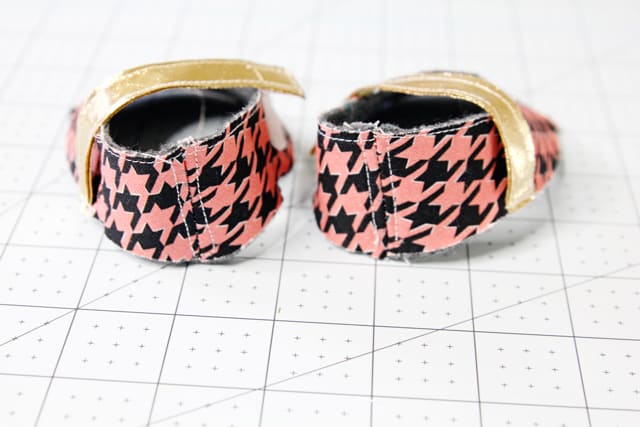
Sew the back of the shoe together with right sides together. The instructions call for you to trim the seam allowance down but I actually liked to leave it bigger and then stitch along both sides of the seam allowance so that the shoe has a nice rounded shape.
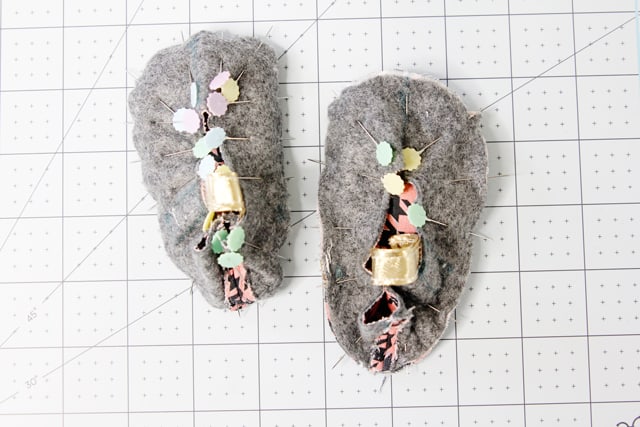
Here’s the second modification I made! Before the next step, ease stitch around the sole at 1/4″. The ease stitching will help you get curved pieces together. Curved pieces can be a bit tricky to sew without tucks but easing the fabric right where the seam goes will help you do that EASILY. Sewing puns. Hilarious.
Okay, then sew the sole to the top with right sides together. Match the center lines and the notches.
Clip the seam allowances, especially around the curves and turn. Remove any ease stitching you can see and then give the shoe opening a little trim. I applied a tiny bit of fray check around this edge after the shoe was finished just to make sure it stays looking polished!
This is a sponsored conversation written by me on behalf of Cricut. The opinions and text are all mine.
This is a sponsored conversation written by me on behalf of Cricut. The opinions and text are all mine.


I love this! However, I own a different cutter than cricut. Is there a way to get this pattern formatted for another cutter, or to manually cut it out?
Most the patterns in Design Space are for newborn…….is there anyway to alter for bigger sizes ???