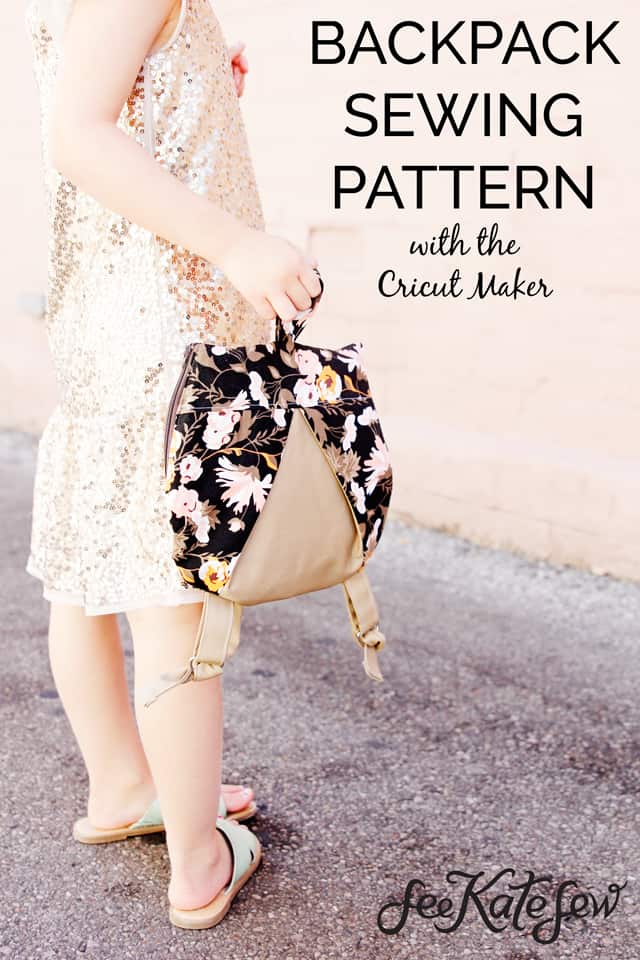
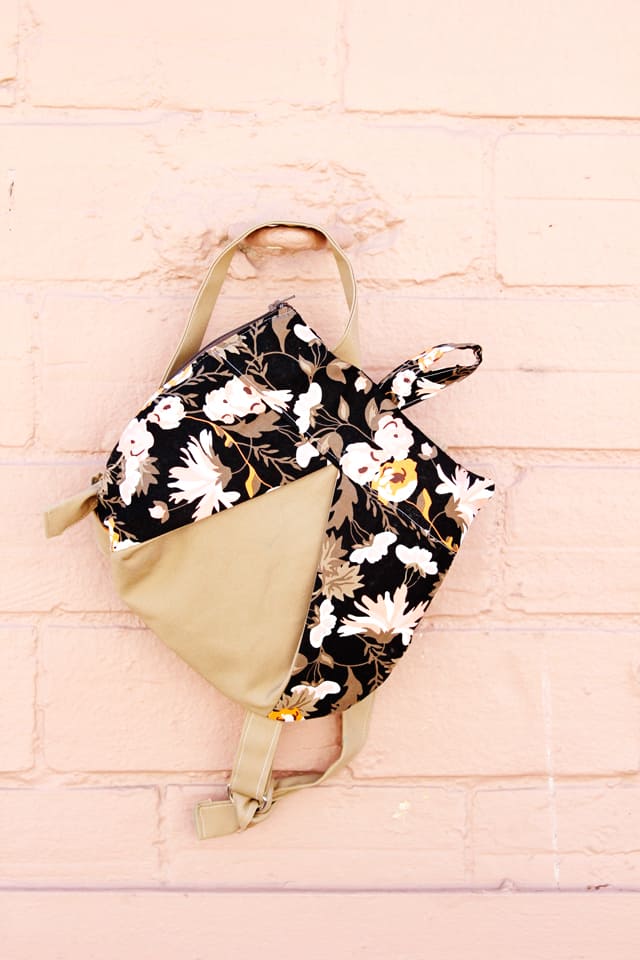
I was thrilled to work with Simplicity and Cricut to make another sewn item! This backpack sewing pattern is way cute and super simple to sew! I was actually really surprised at how quickly the pattern went together – which made it super fun and rewarding! The pattern is preloaded into Cricut Design Space, a free interface, then sent directly to my Cricut Maker – which meant I didn’t have to cut any of the pattern pieces by hand! Amazing! I’ve written about two other things I’ve made with Simplicity patterns and the Cricut Maker – this front panel baby dress and these adorable baby shoes!
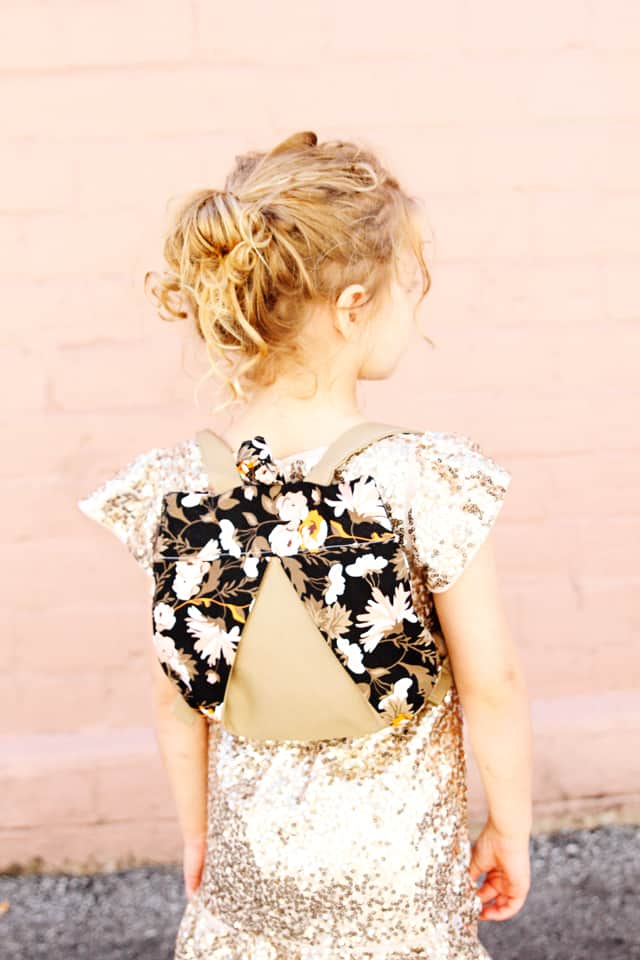
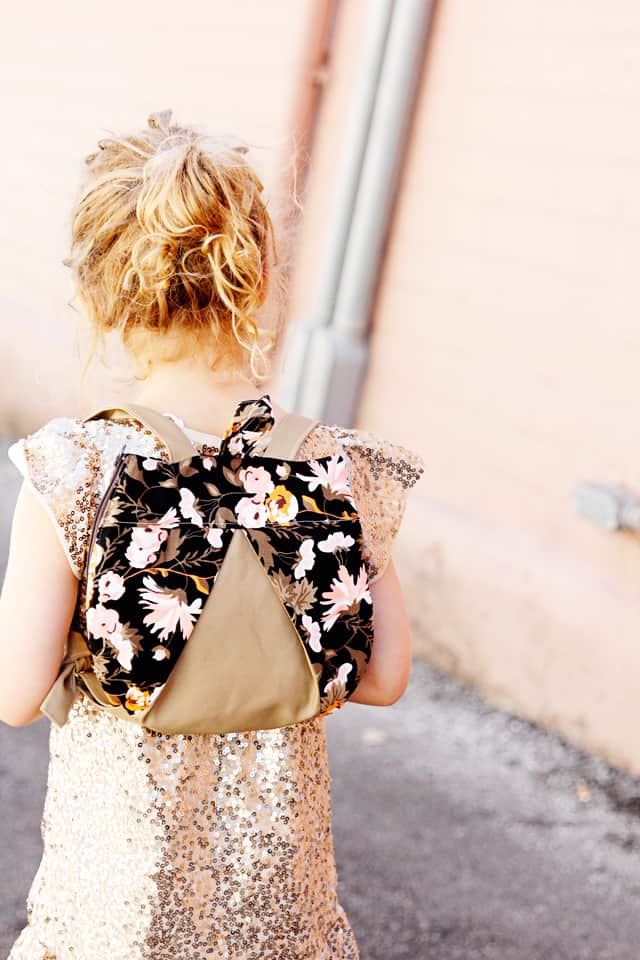
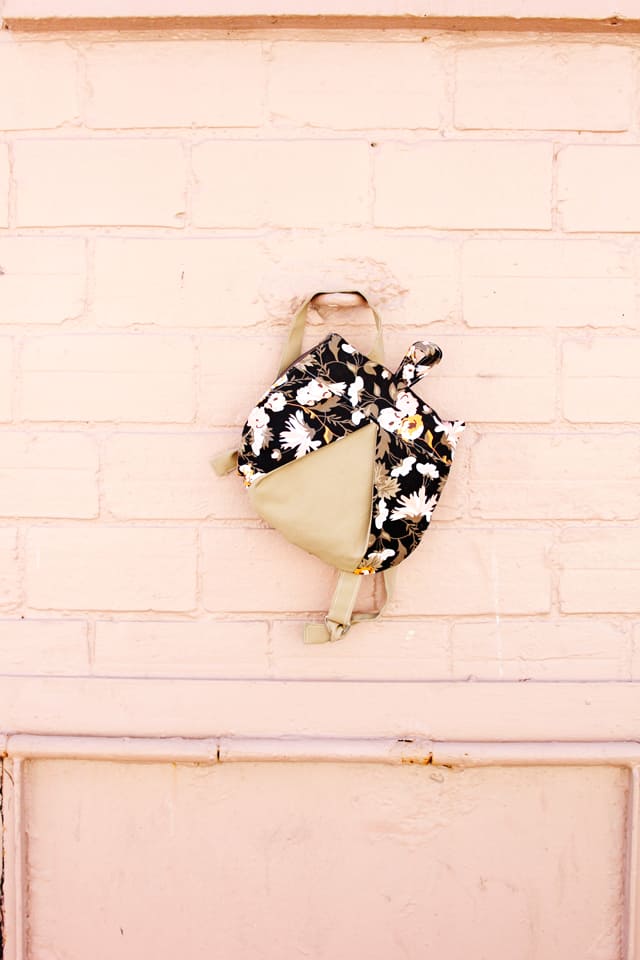
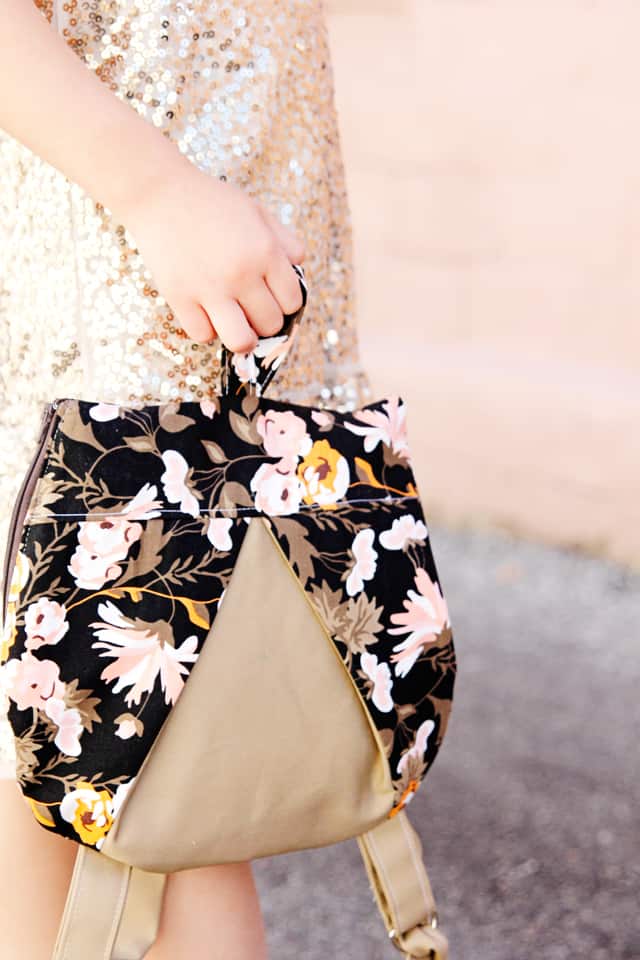
This pattern is called the “Girl’s Backpack” but you can easily make it for a boy as well – just use the fabrics your boy might like! The pattern calls for a ribbon bow on the front but I left it off for a more modern look. I loved using Cricut fabric for this pattern – the fabric is precut to the exact size needed for the mat! So easy! I paired it with a tan canvas, which I love the look of. Canvas is a fun choice for this backpack because it adds a little more stability and durability! I ended up lining the inside with the same canvas material which adds to the shape of the backpack.
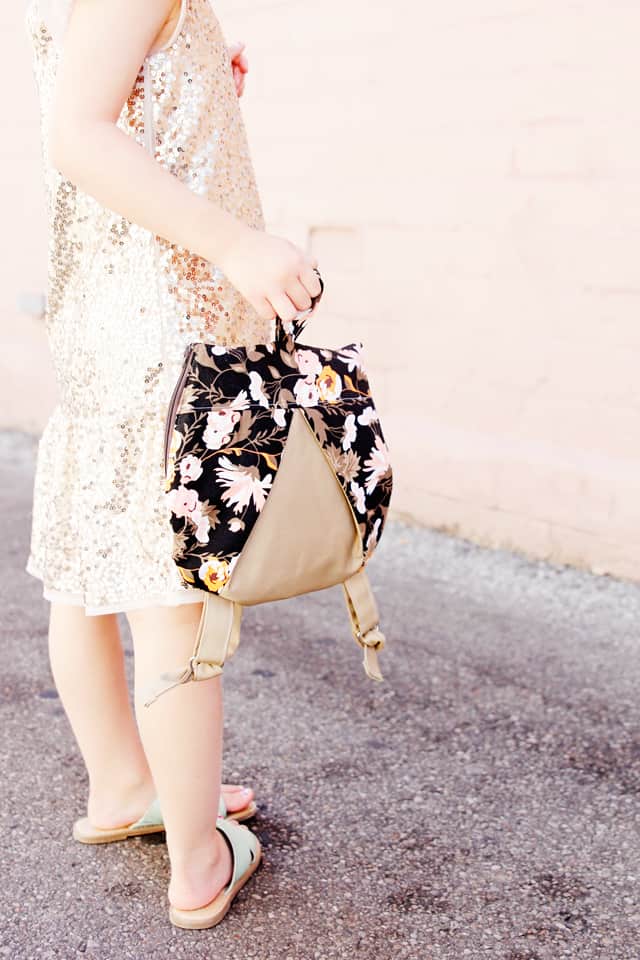
This cute little backpack is the perfect daypack for a playdate – it’s big enough for a few little toys and a snack or drink. The best part about sewing this using the Cricut machine is that I didn’t spend ANY time cutting fabric. While the Cricut Maker was cutting the fabric out for me with it’s rotary blade, I was organizing the instructions and starting to sew. The pattern is loaded fully – with notches and all pattern markings in the pattern. I enabled the washable fabric marker so the Cricut Maker also drew markings and fold lines for me! I have mentioned this amazing feature before and it has become my favorite thing about the Maker – I am a little bit of a lazy sewer sometimes (maybe I shouldn’t tell you that!?) but I often leave off notches and markings and just wing it. I just want to be sewing already! But since the Cricut Maker does this while simultaneously cutting my fabric – it’s a double win for me! Less time cutting and marking and more time sewing with my precisely cut fabric. The whole process took me less than an hour – even though I thought it would take 2 or 3 when I started!
Ready to make one? The pattern is located here – along with hundreds of other Simplicity patterns to choose from! To start working, you just click on the pattern. You can print the instructions if you want, or read them on a tablet or computer, and then Design Space will direct you straight to cutting! The mats are all set up for you and color coded for each fabric type.
Materials//
–Cricut Fabric Pack (2)
–Canvas Material
-Fusbile interfacing – the pattern calls for a heavyweight interfacing if you are using cotton. I used a lightweight since I had a thicker canvas and it worked well.
-D-rings and ribbon (optional)
Cricut Supplies//
– Cricut Maker with Rotary Blade (comes in box!)
–Cricut Rotary Cutter & Mat Set
–Cricut Washable Fabric Marker
–Cricut Maker
Instructions//
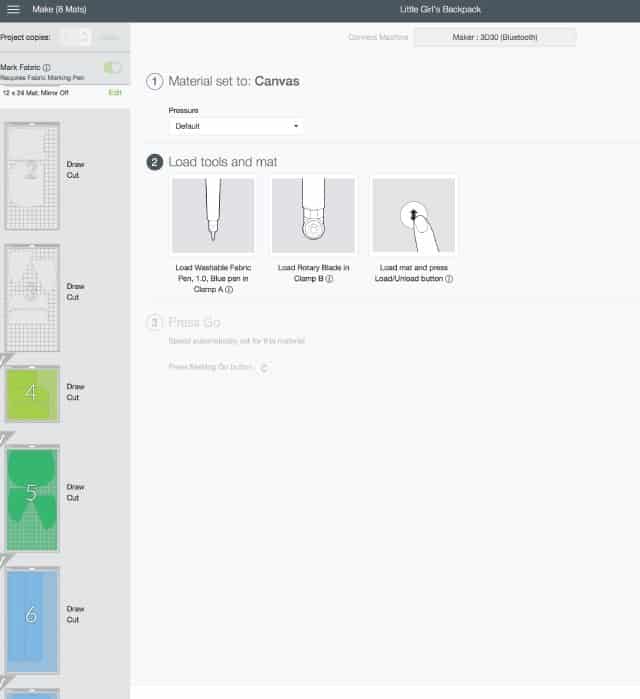
Cut all the fabric, according to the mats on your screen. The “mats” are all shown on the left side, with colors based on which fabric you will be using. I cut the first 3 with interfacing, the second 2 with cotton and then last 3 with canvas.
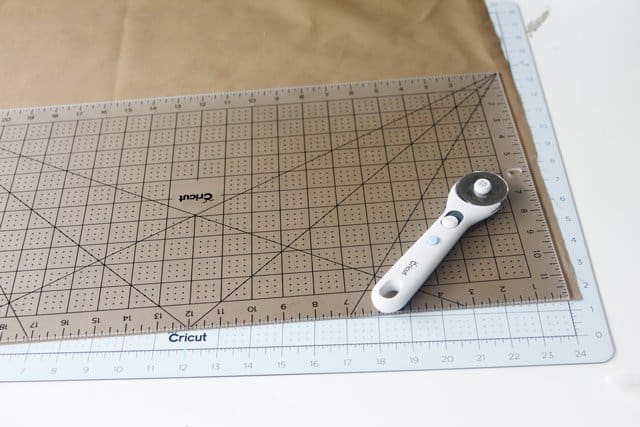
Since the canvas isn’t precut to fit on the mat, I used the Cricut Rotary Cutter + Ruler set, which sizes it perfectly for the mat!
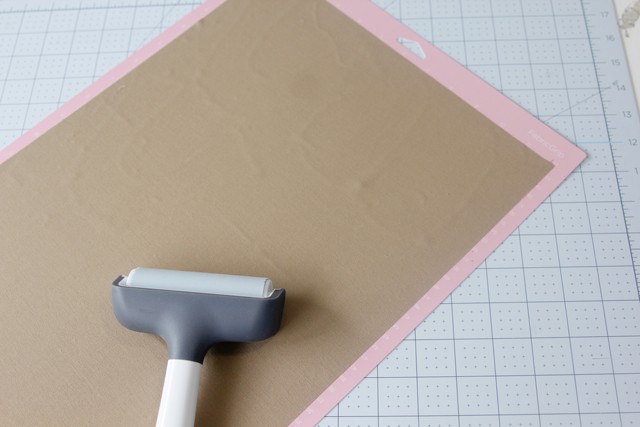
This braying tool helps the fabric stick a little better for a cleaner cut.
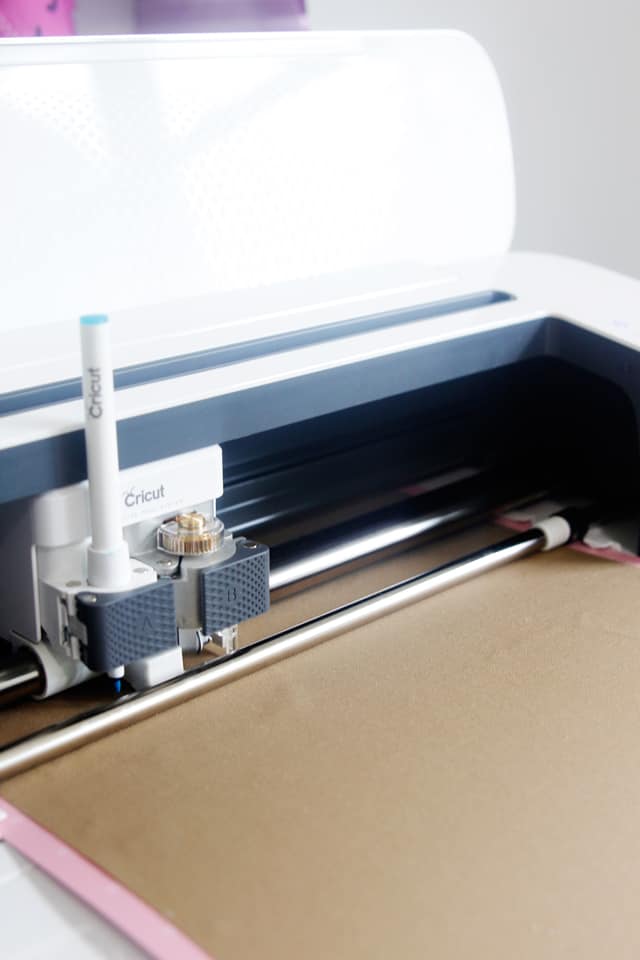
Be sure to load your washable fabric marker! It sticks in the pen slot on the left of the Adaptive Tool System.
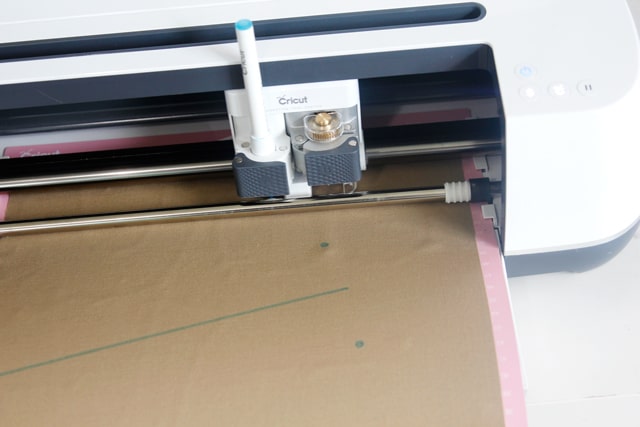
And cut! The Maker will draw all the markings first, then cut with the rotary cutter.
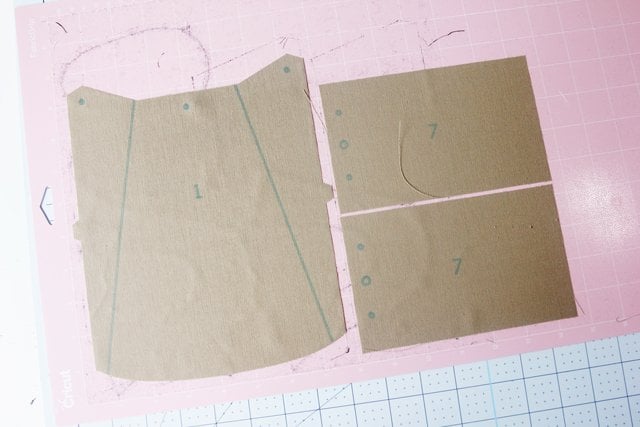
And this is the result!
Fuse interfacing to the backs of all the pieces.
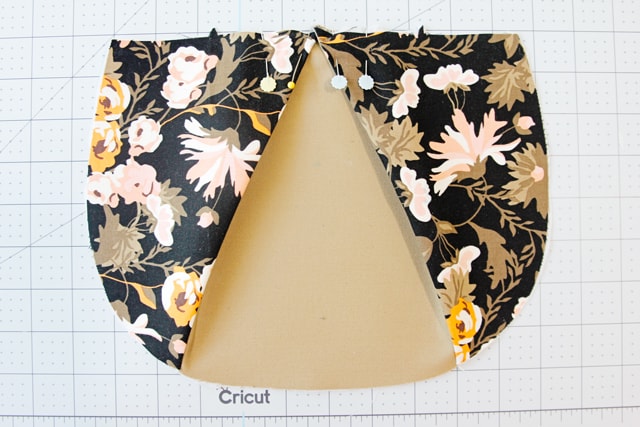
Sew the side fronts to the front middle and then pleat the front like this:
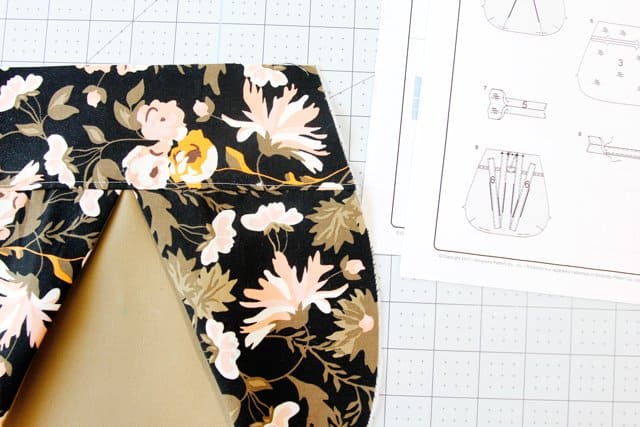
The pleating was pretty easy since there were perfect lines drawn on the back of the pieces! Then sew the top to the front of the bag.
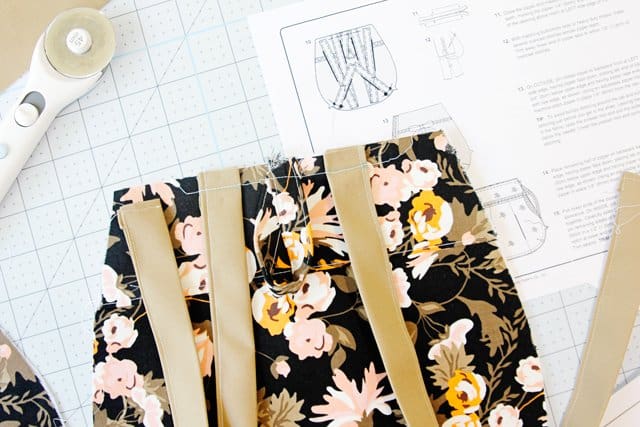
The back piece goes together the same way. Then baste the loop and straps to the top. The zipper is inserted at this step, it’s a pretty simple insertion method and the instructions explained it very well!
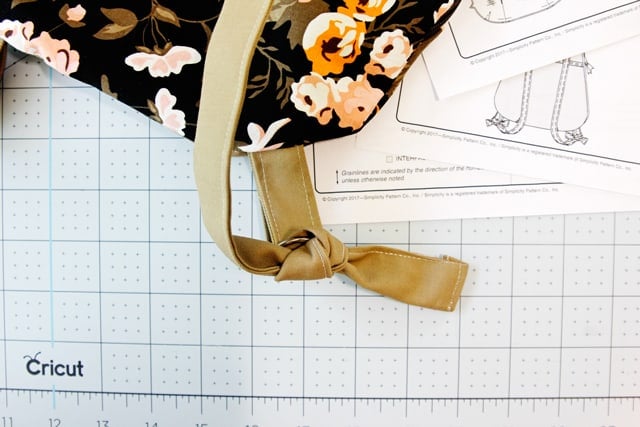
You will also have two little straps at the bottom of the bag. Some of the pictures had D rings in them and some didn’t, so there are two ways to create the bottom straps.
Now pin the front and back together with right sides together. Be sure not to catch any of the strap in the seam. Sew it up!
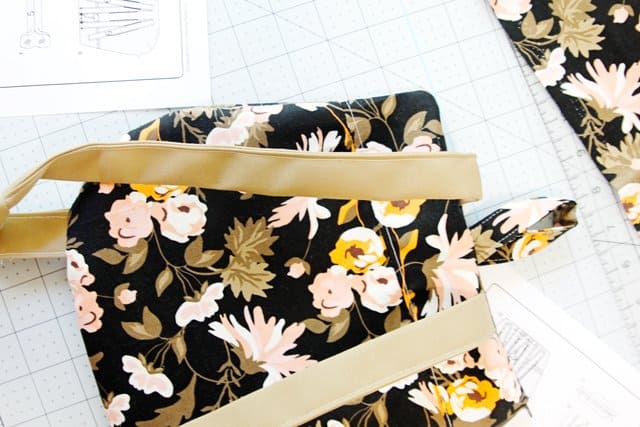
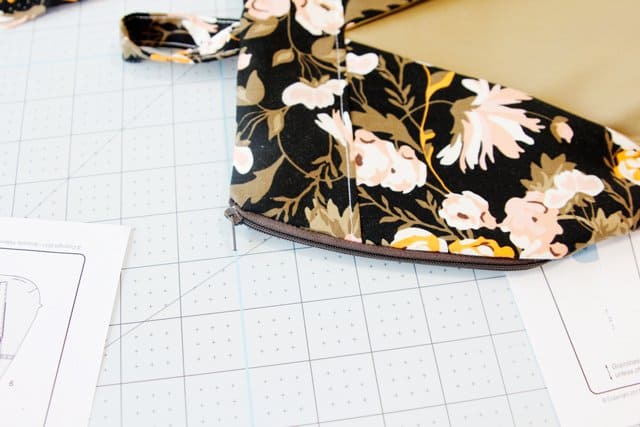
The outside is now complete! The zipper on the side is so nice and I was excited to have done this insertion method!
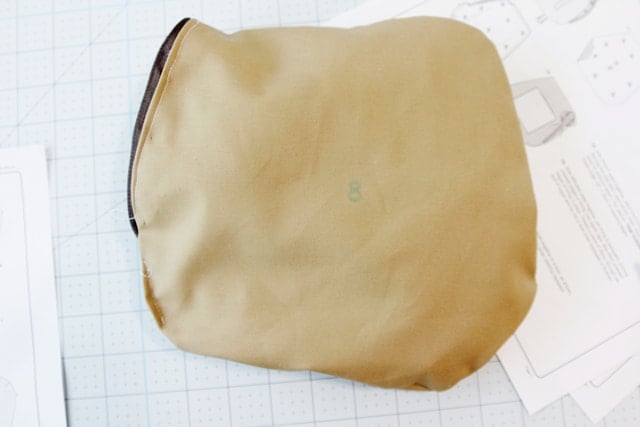
Now sew the front and back lining together. Turn the bag inside out and place the lining over it, wrong sides together. The side of the lining will be open, fold over the seam allowance and sew to the inside of the zipper. The instructions tell you to do this by hand but I did it on my machine from the outside.
Turn it back right side out and you’re done!
This is a sponsored conversation written by me on behalf of Cricut. The opinions and text are all mine.






This is so super cute….is it a pattern also available for those of us without a Cricut?
How can I make this without a Cricut?
I love this but don’t own a Cricut…is there just a sewing pattern available too?