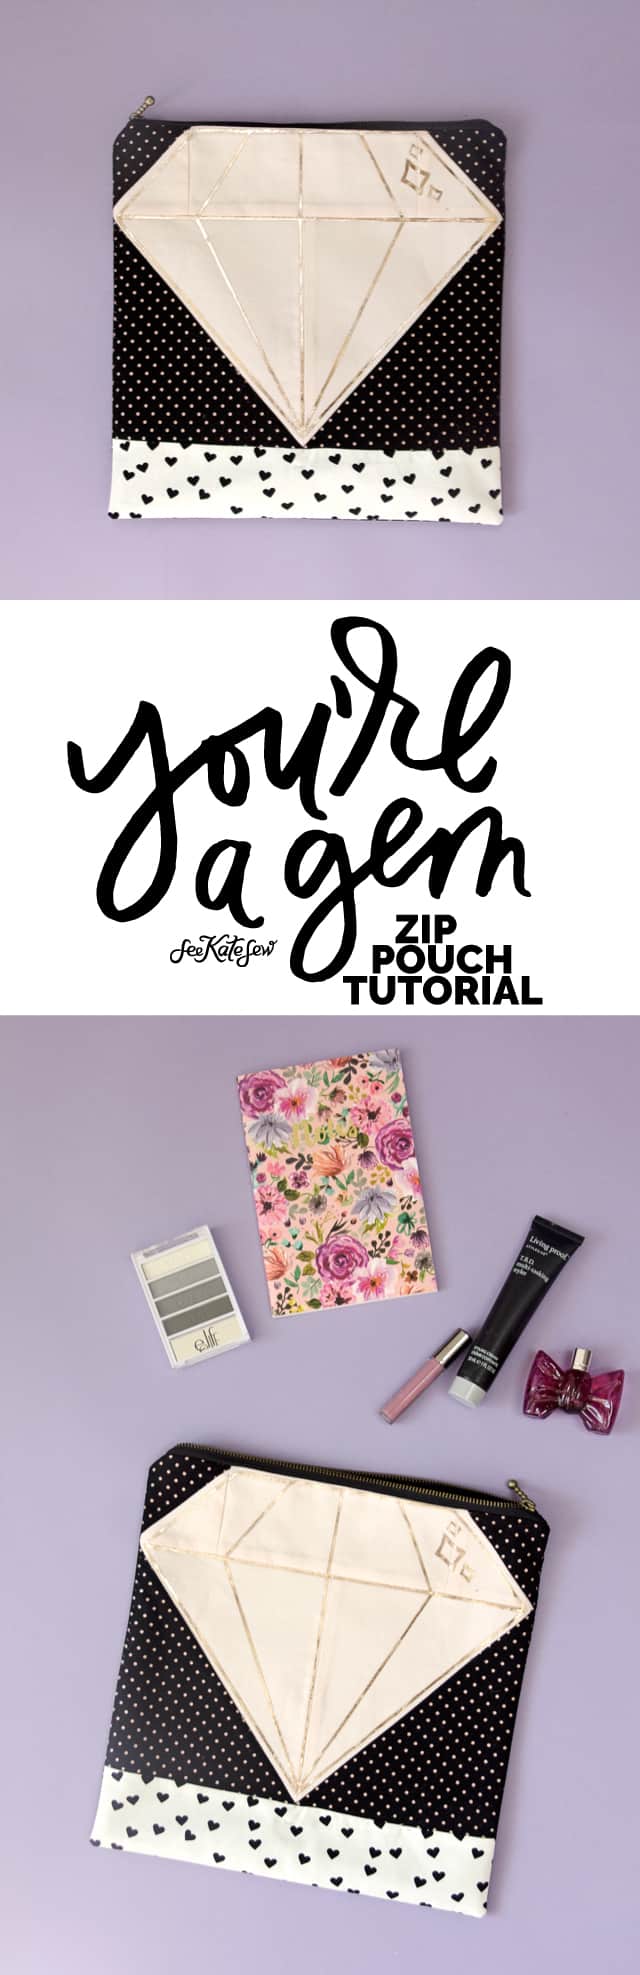
On Friday, I posted a new quilting project – a FREE quilt pattern called You’re a Gem! The pattern is made up of 20 identical blocks. If you liked it, but didn’t like the idea of quilting, try this little offshoot project!
You only need 1 quilt block to make it (just enough to get your feet wet) and you’ll finish with a shiny, gift-able pouch!
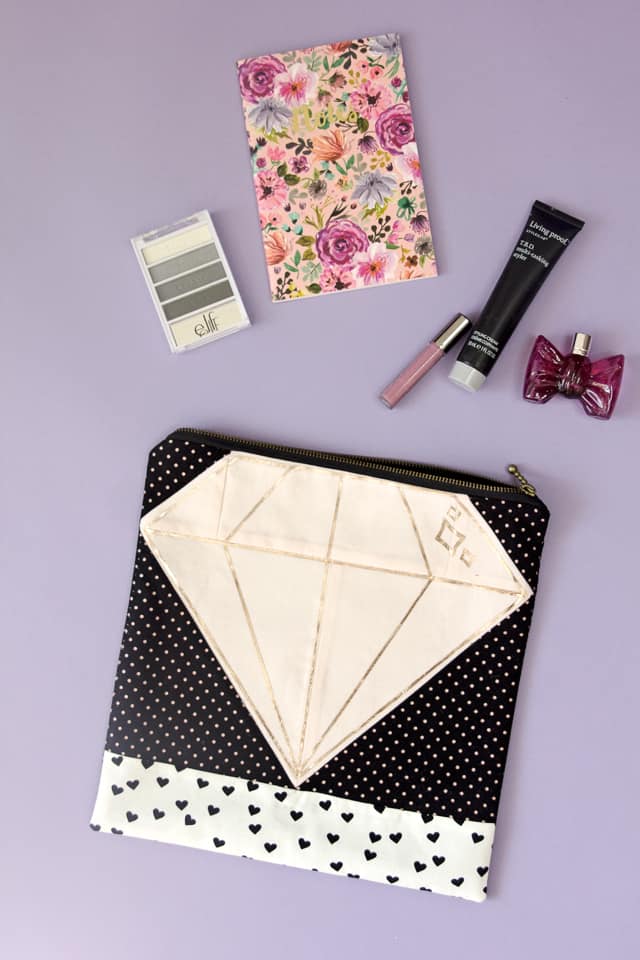
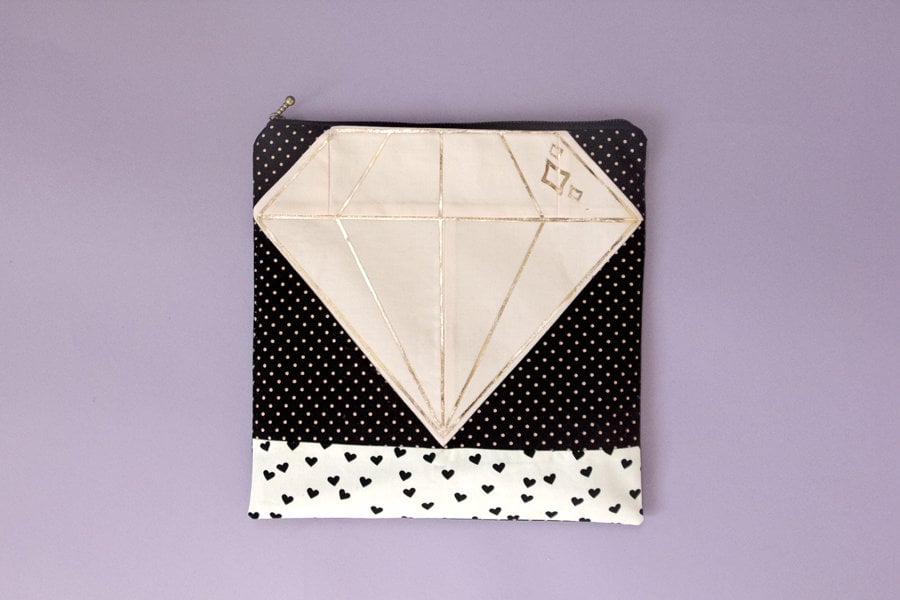
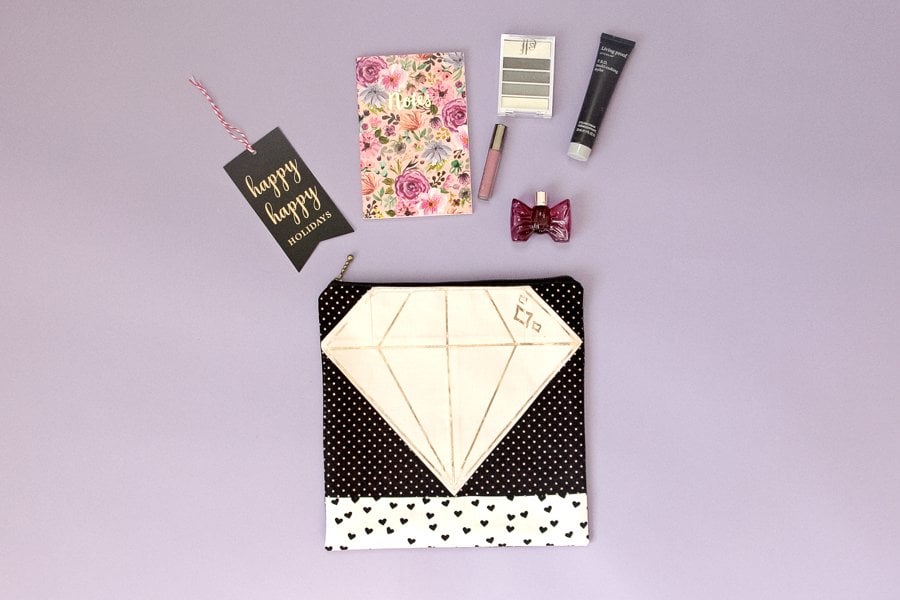
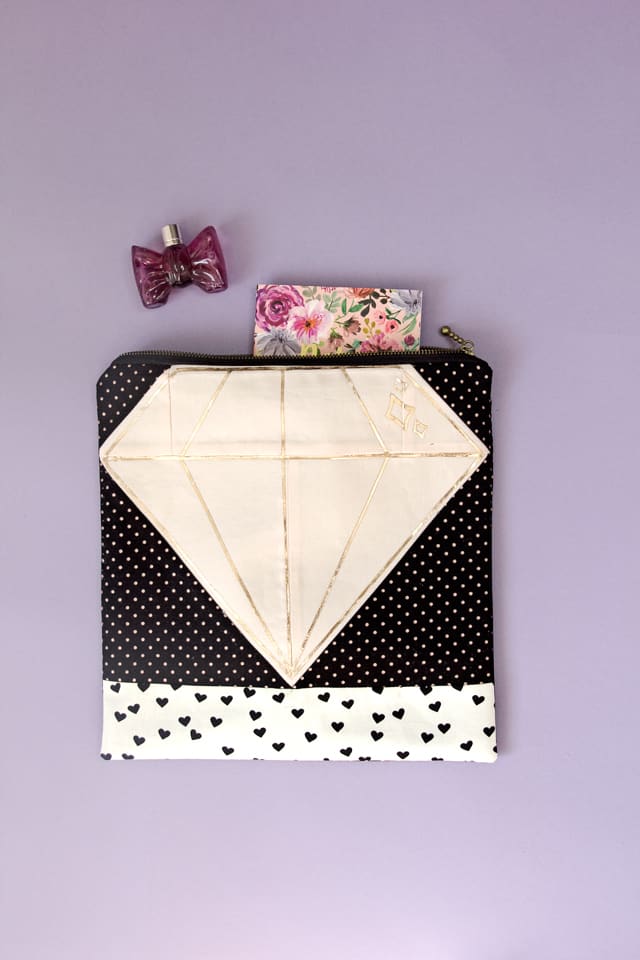
The Diamond Zip Pouch can be made in any fabric or color combinations and uses the same pattern as the You’re a Gem Quilt. I love sticking little gifts into a handmade zipper pouch for the holiday season – especially gift cards, chapstick, stationary, lotion, etc.
Materials//
-1/4 yard each 3 fabrics for block, or use scraps
-1/3 yard fabric for back and lining (or use more scraps!)
–lightweight fusible interfacing
-1 roll Rose Gold Iron-on Foil
-Downloads for quilt pattern and foil gem overlay (FREE, in this post!)
Tools//
–Cricut Maker (this bundle on sale!)
–Cricut EasyPress (on sale!)
Instructions//
This pouch is really fun to make! It’s also fun knowing that you can finish it in about an hour! So let’s get started!
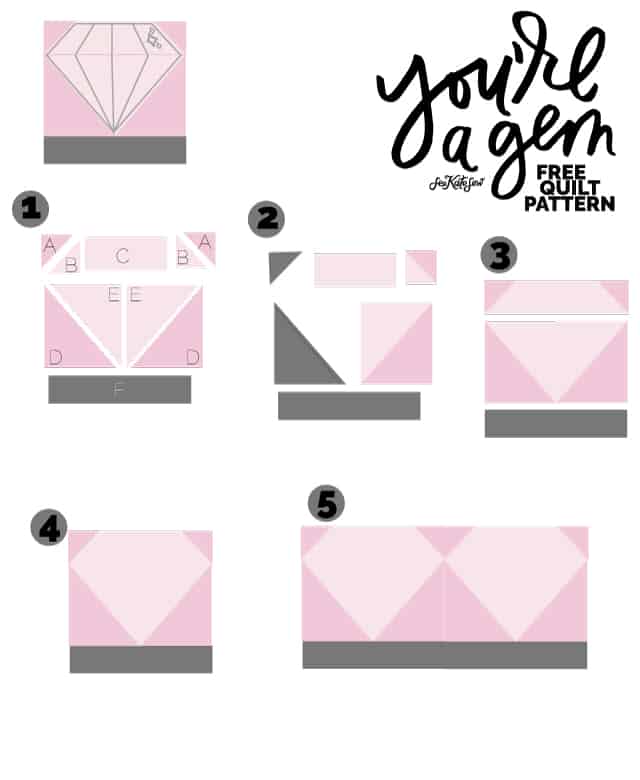
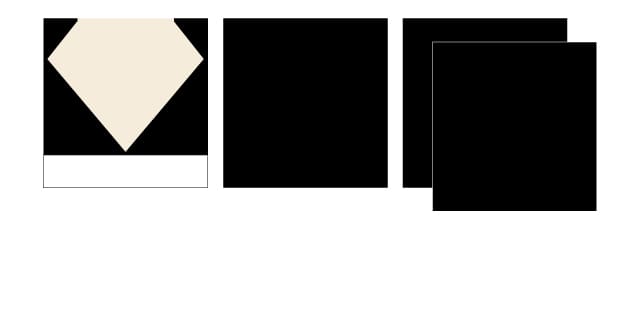
To start, create the quilt block.
- Cut out the following pieces:2 background triangles small (A)2 gem small triangles (B)1 gem rectangle (C)2 background large triangles (D)2 gem large triangles (E)
1 grey base (F)
You can cut them by hand using the PDF file in the download, or by using the Maker.
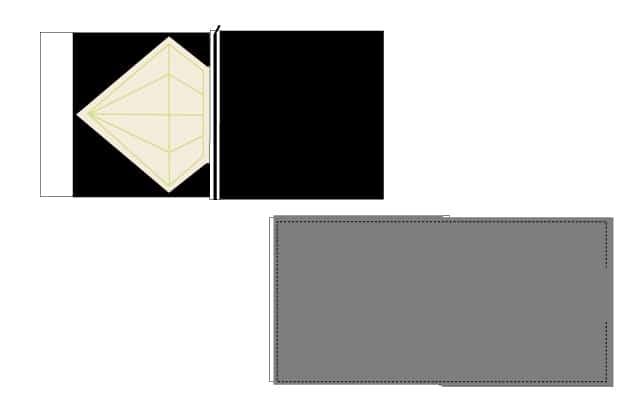
2. Sew A and B triangles together along the hyptonuse (hey, geometry!). Repeat with triangles D and E.
3. Sew the two squares on the top row to either side of C. Sew the DE squares together. Press seam allowances open or to one side.
4. Sew the rows together. Press seam allowances open or to one side. Skip step 5, you are done with the block!
Iron on fusible interfacing to the back of the block.
Cut the gem overlay file out, stretching it to 9.5″ wide in Design Space. Iron foil onto the quilt block.

Cut out 3 pieces of fabric to match the size of the quilt block. 1 will be the back of the pouch and the other two will be the lining.
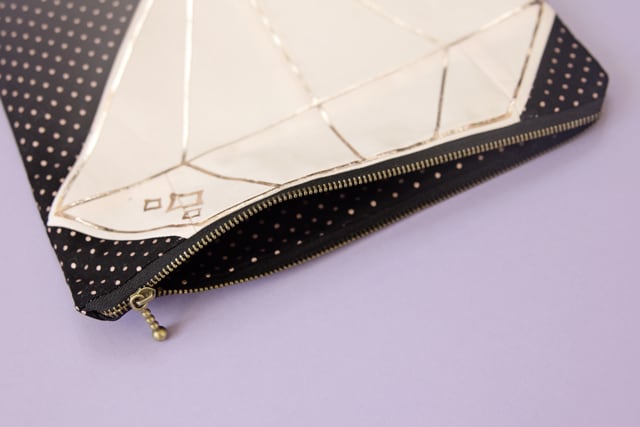
Finish the pouch using these basic zipper pouch instructions.
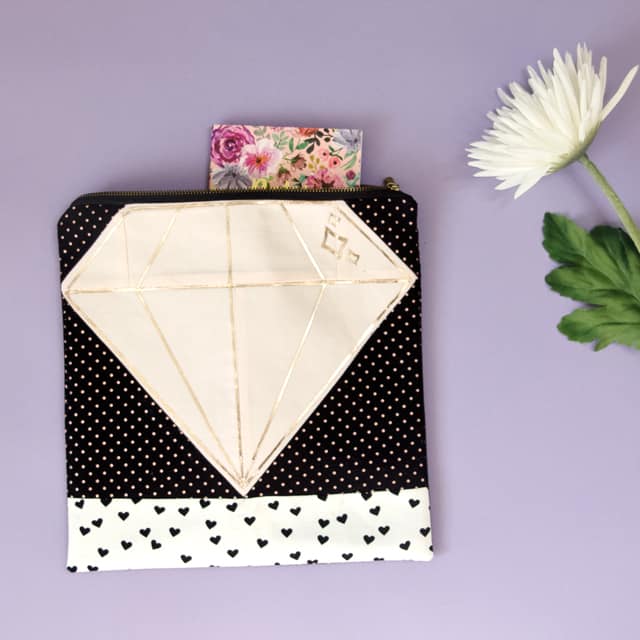
And you’re done! Give the pouch a good final press and stuff it with goodies!


Lovely DIY, thanks for sharing! Keep up the good work ^^