This is a sponsored conversation written by me on behalf of Cricut. The opinions and text are all mine.
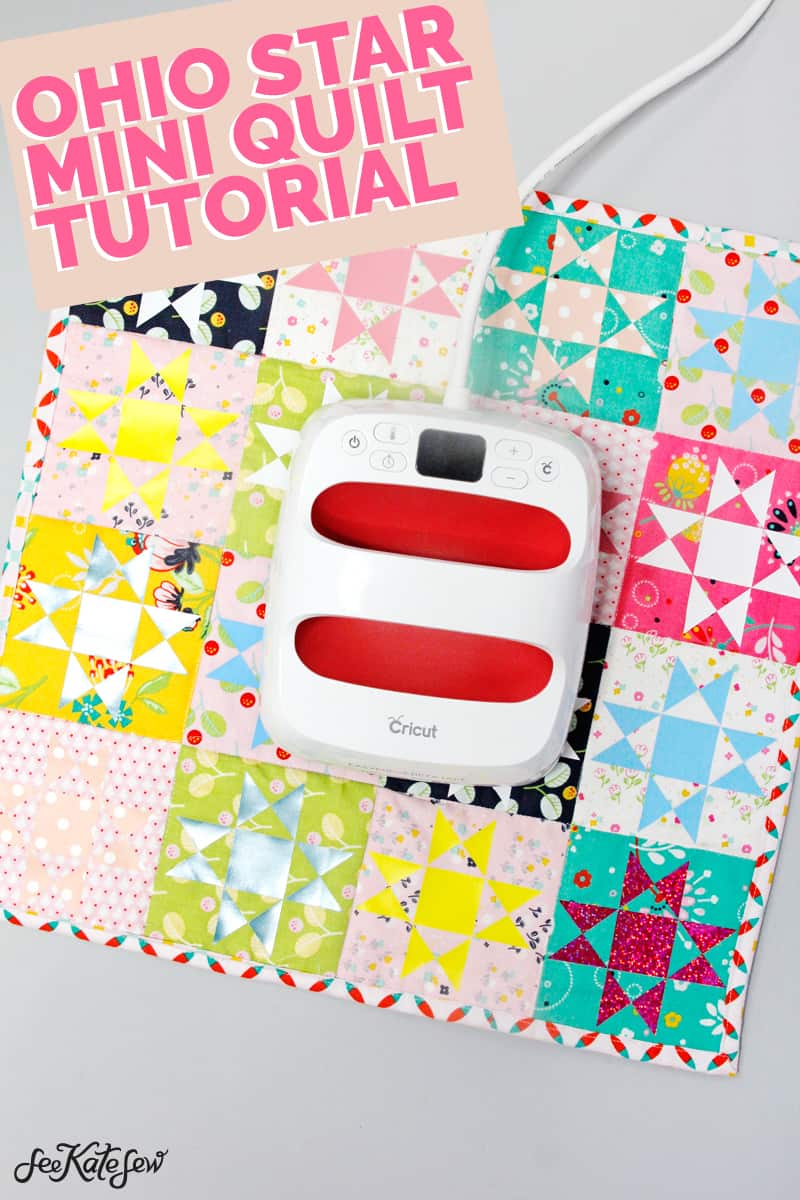
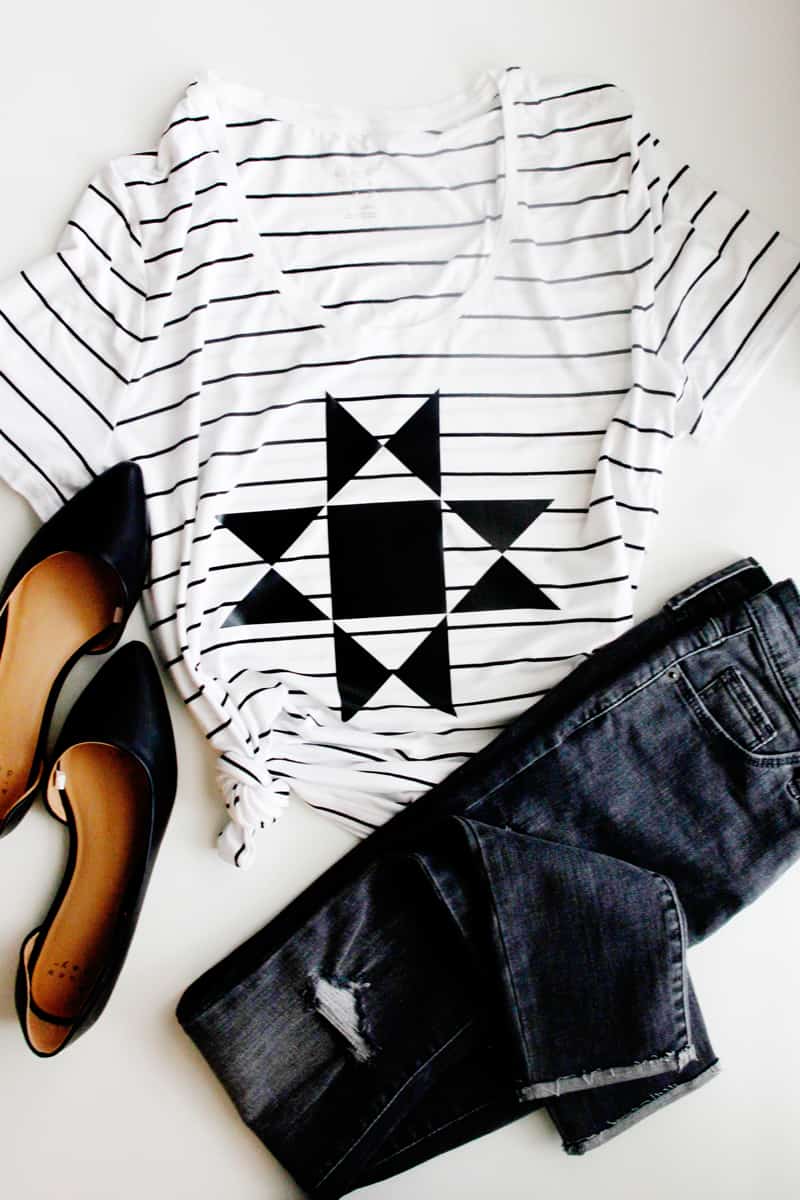
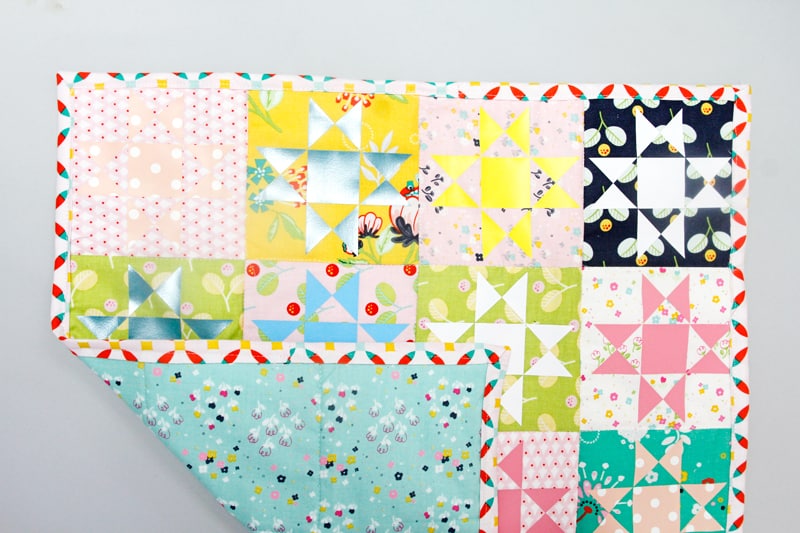
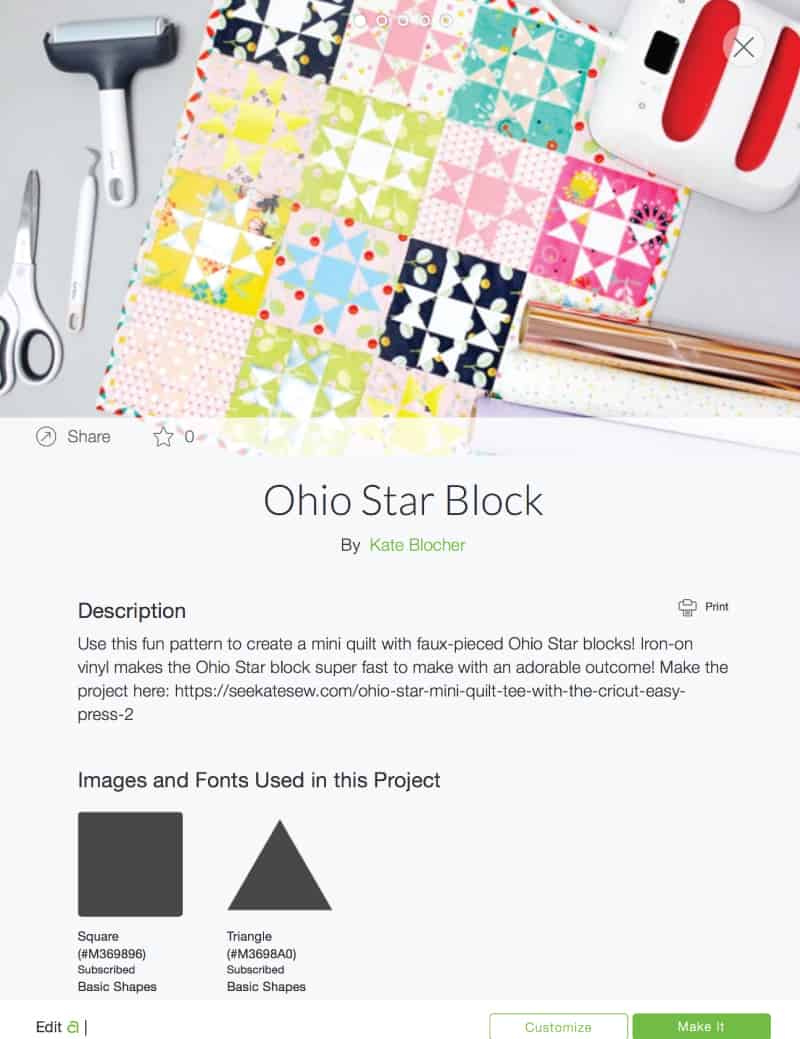
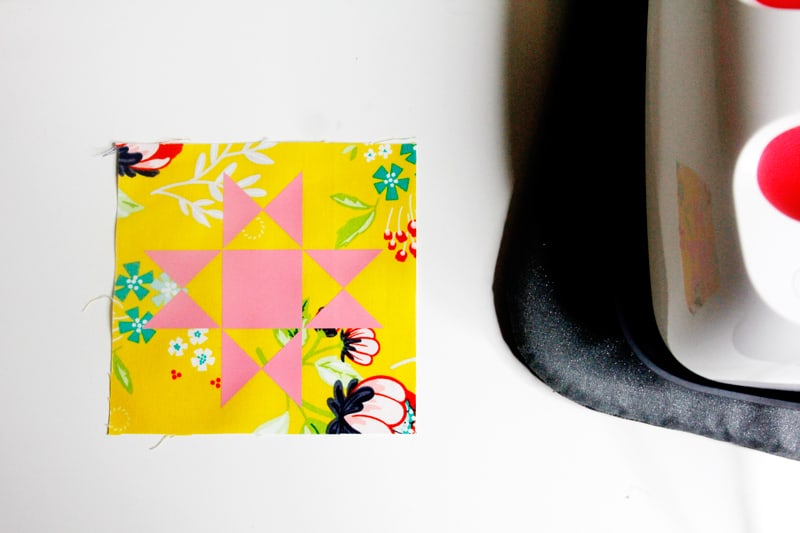
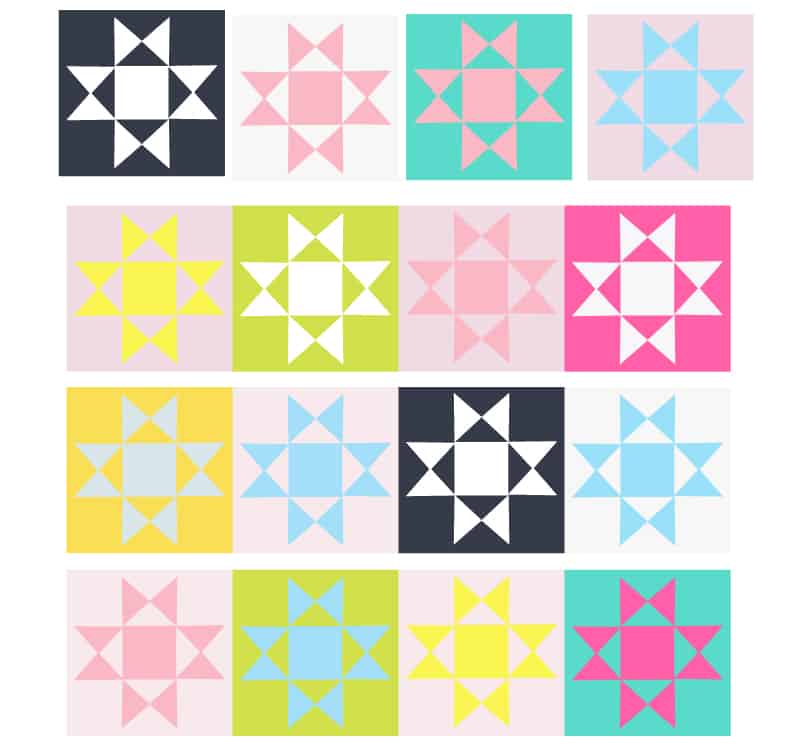
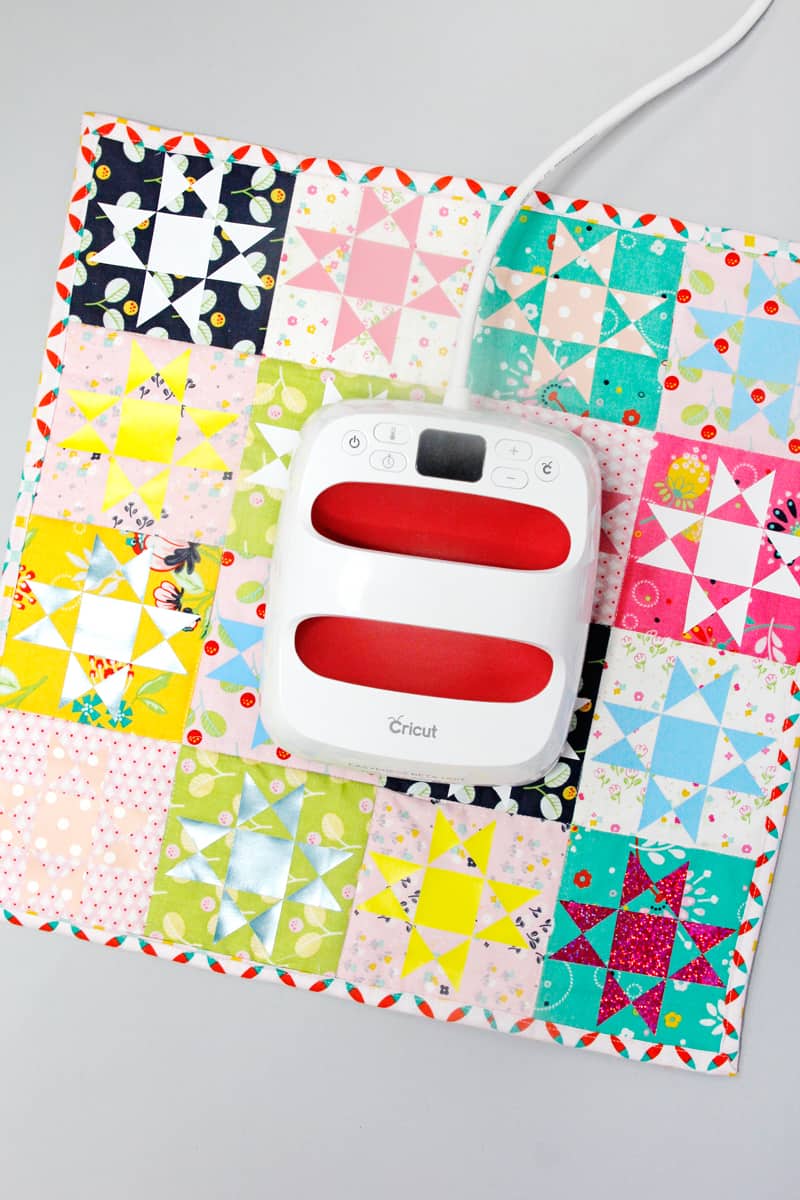
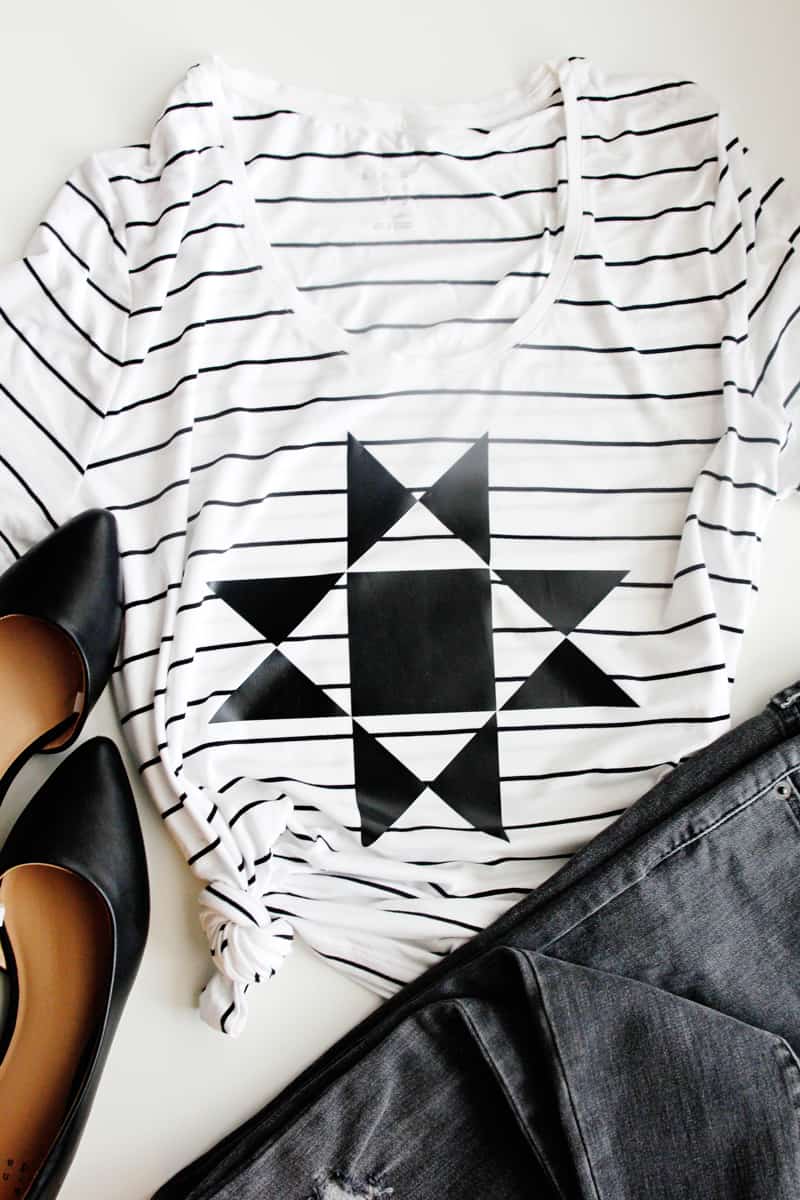
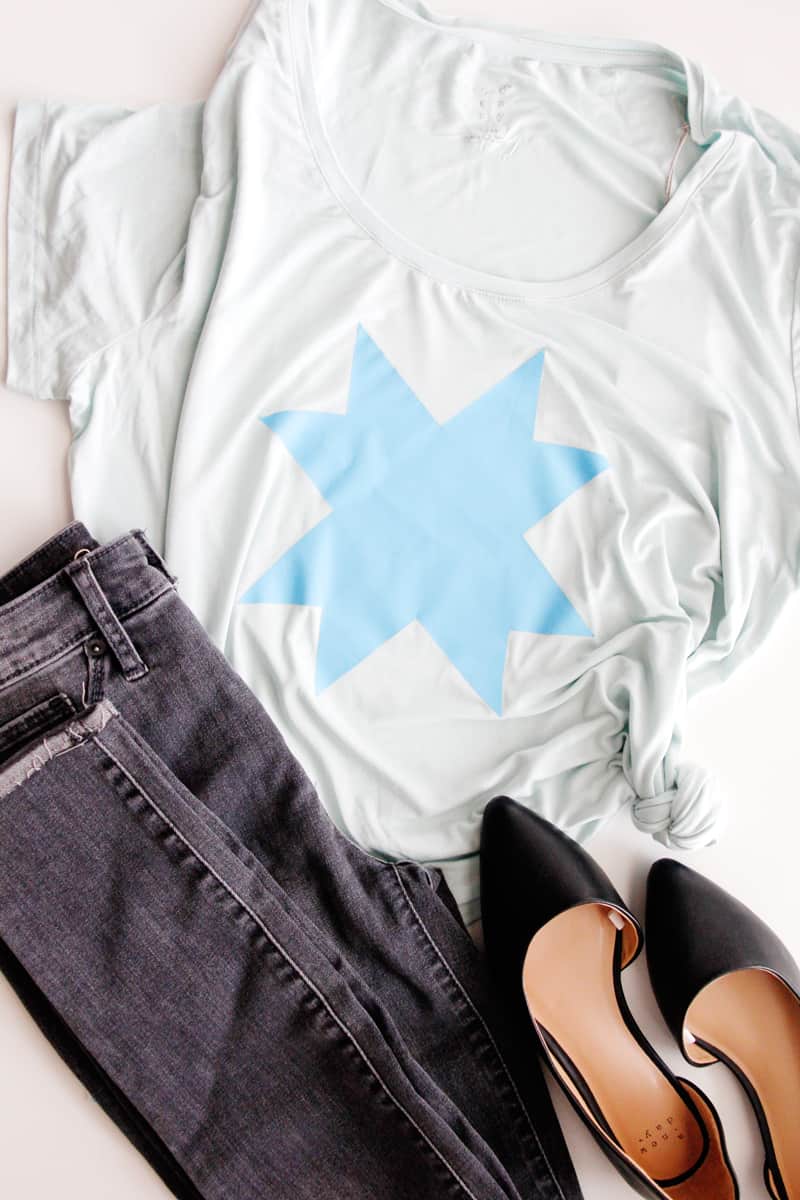
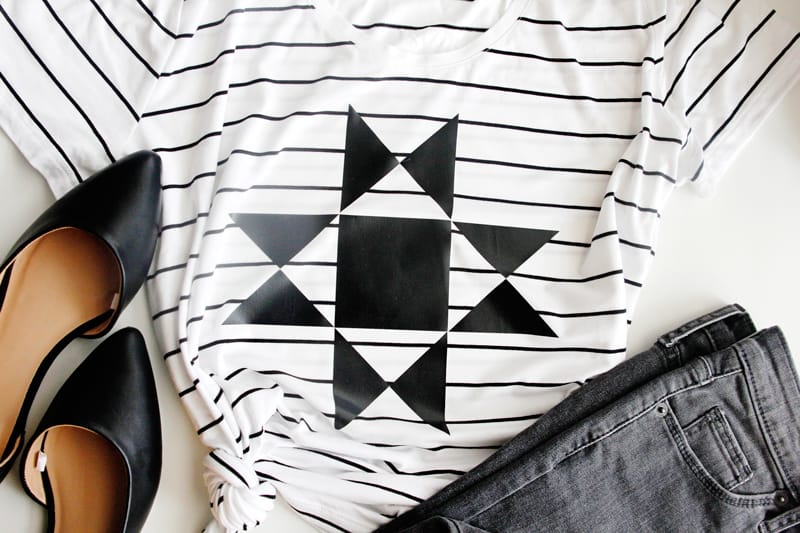
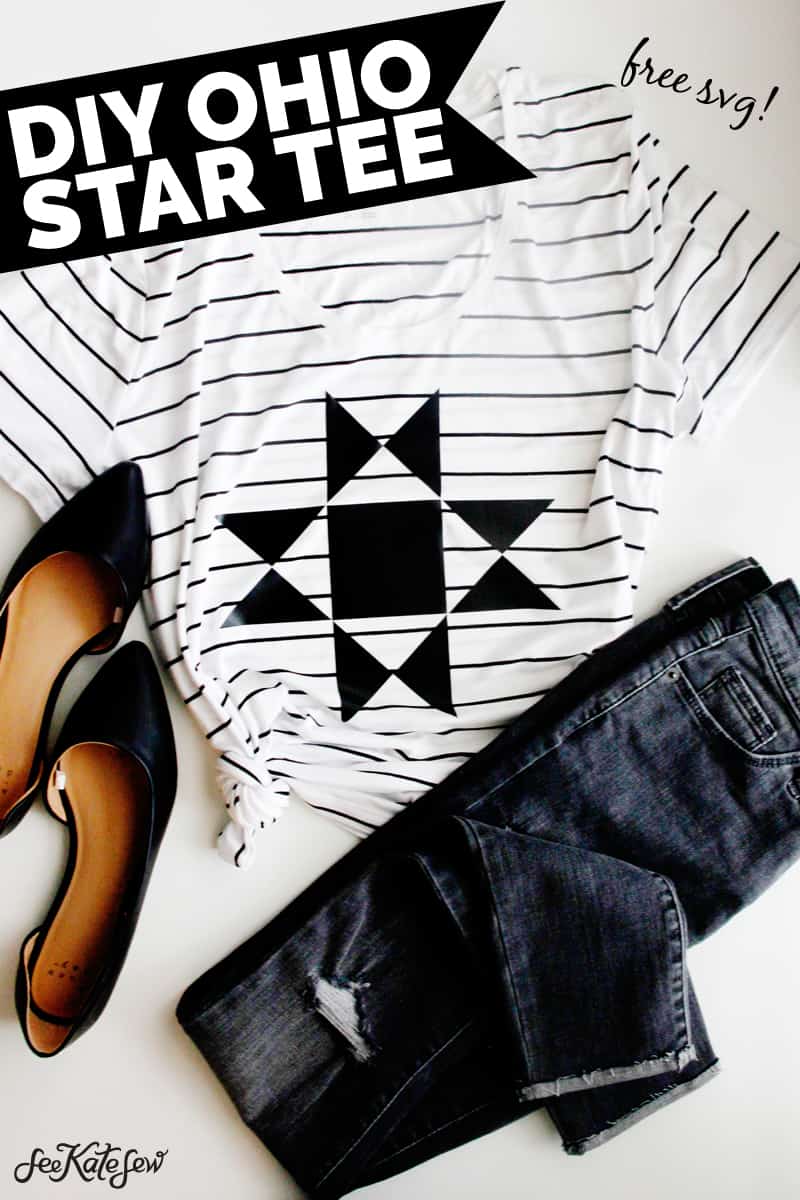
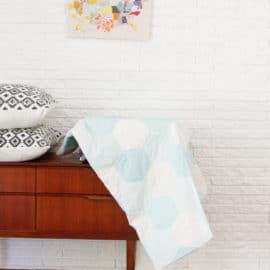
Want the look of intricate piecing without the work?! This is a fun and quick faux-quilting project made with iron-on vinyl and the Cricut Easy Press 2! I made 3 basic quilt block designs and cut them out of iron-on vinyl to make a unique mini quilt and tees for quilters! These were seriously fun to make and I love how tricky the mini quilt is – it looks like real piecing! The three designs included are the Ohio Star, Sawtooth and Ribbon Blocks. You can mix and match them to create a varied mini quilt and make a whole set of tees to fill your closet! The fun thing about the EasyPress is you can really put these designs on ANYTHING! If you’re new to the EasyPress, read this post covering a few FAQs.
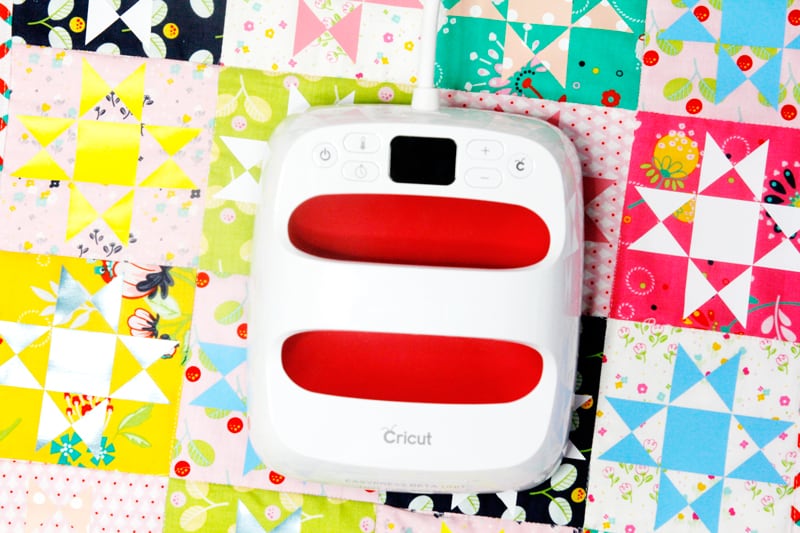
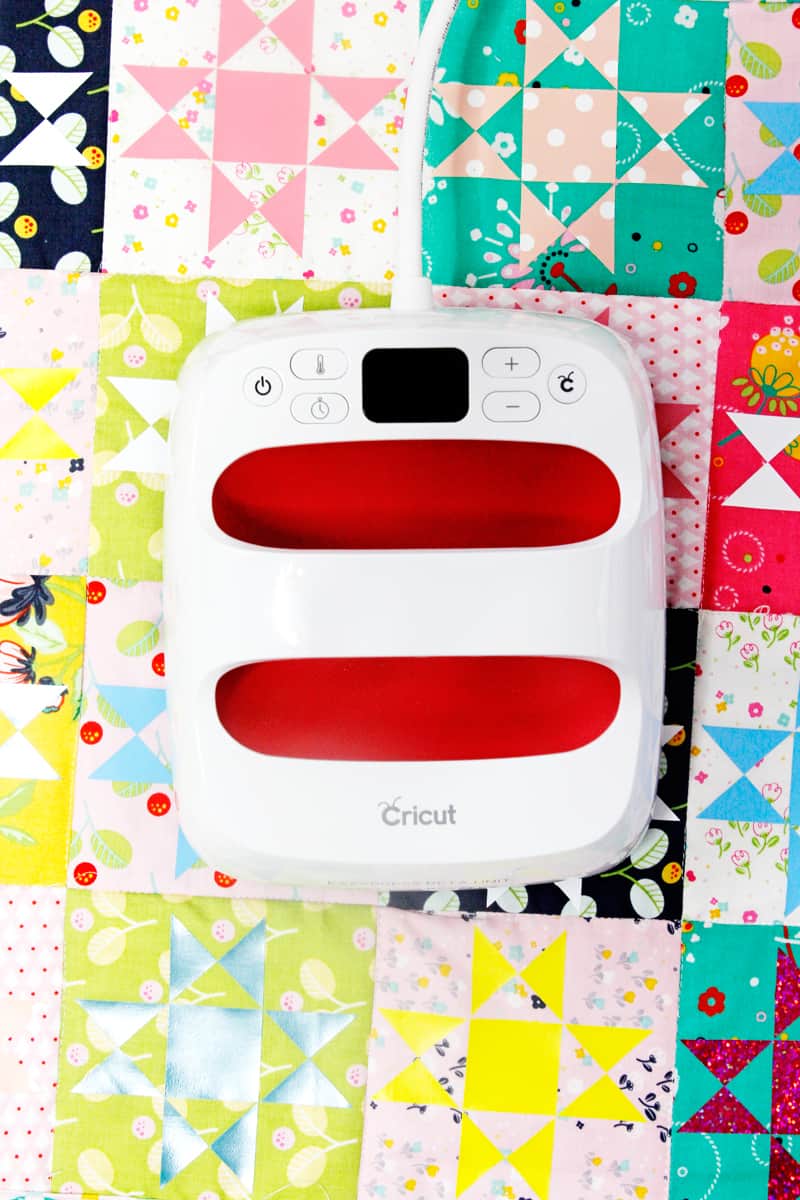
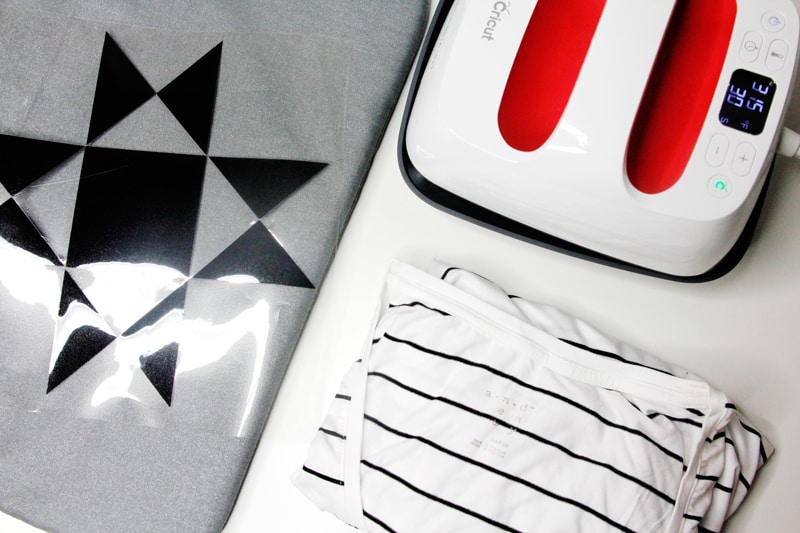
The EasyPress is sold in 3 sizes, I think the 6″ by 7″(shown above) has become my favorite! It’s small and easy to store!
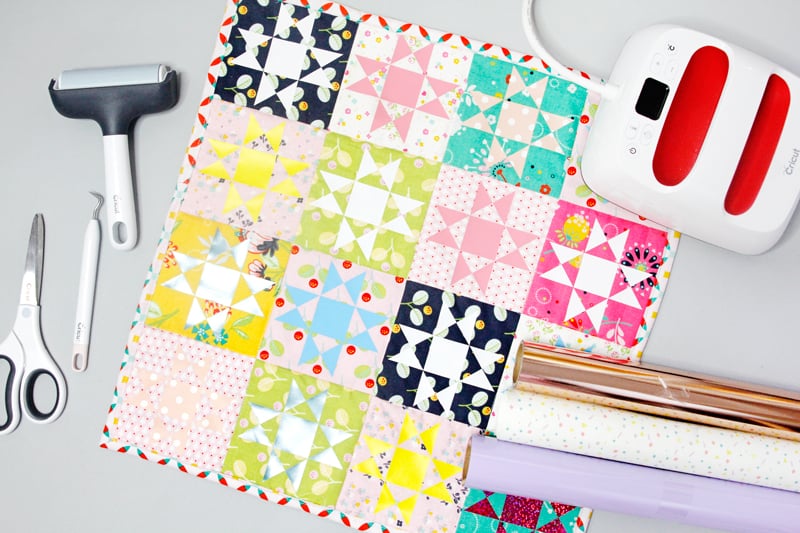
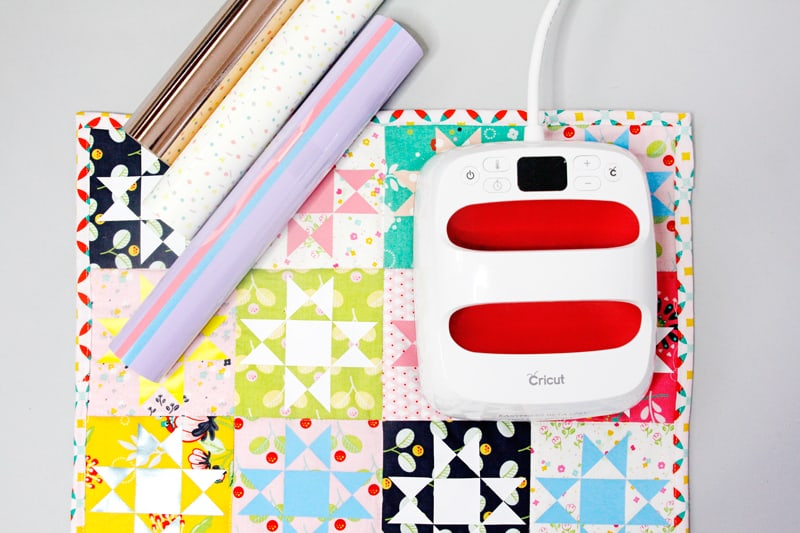
MINI QUILT Materials//
–Cricut Maker (or Explore Air 2, see the differences between the two machines in this post!)
–Cricut EasyPress 2
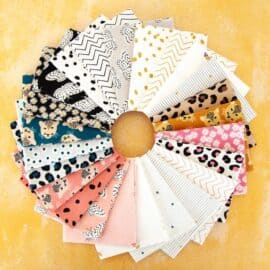
–Jubilee Fabric Fat Quarter stack
–scraps of Everyday Iron-on Vinyl in assorted colors
–scraps of Patterned Iron-on
–scraps of Holographic Sparkle iron-on
–batting
–Cricut Rotary Cutter and Mat Set
–Ohio Star Faux Quilt Block Design in Design Space (click on this from a desktop while signed into Cricut.com!)
-Quilt binding or use these 2″ Binding Strips in Design Space to easily cut your own with the Maker!
VIDEO//
INSTRUCTIONs//
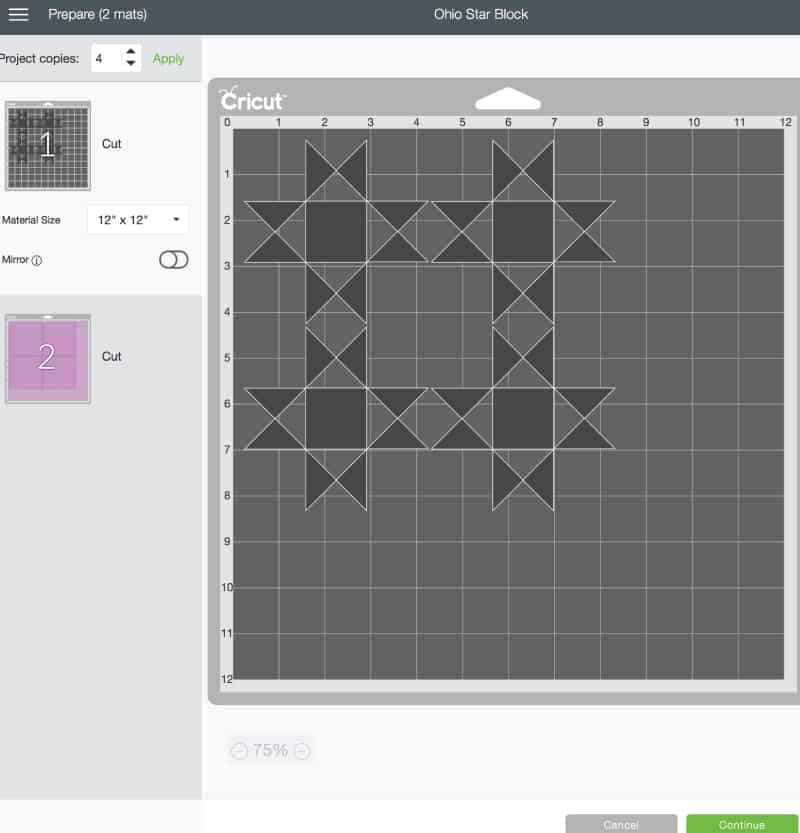
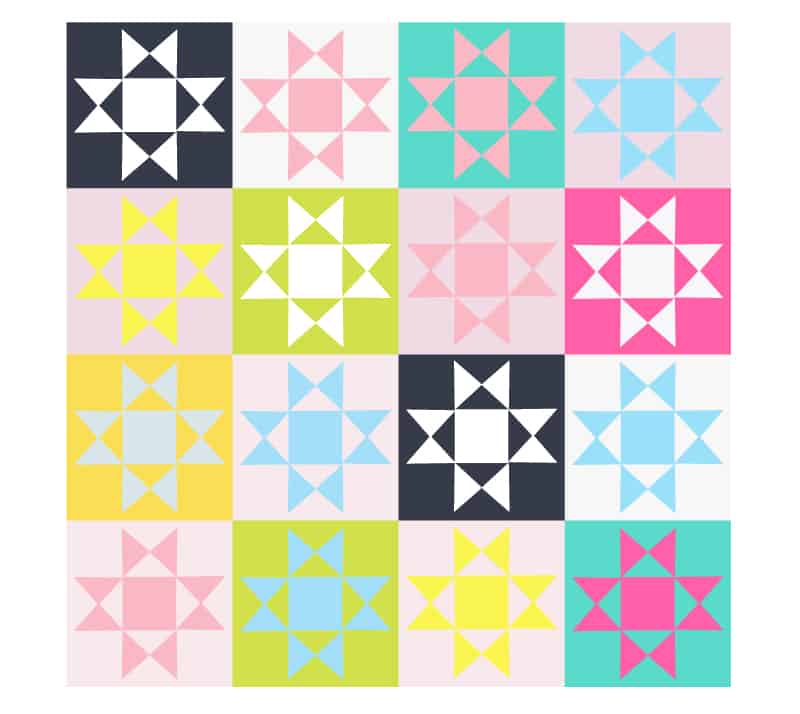
Pull up the project in Design Space. This is sized for a 5″ by 5″ fabric square.
You can adjust the # of stars per mat to make it faster! One 12″ by 12″ mat will fit 4 unless you move them around. The black mat is iron-on vinyl and the purple mat is fabric.
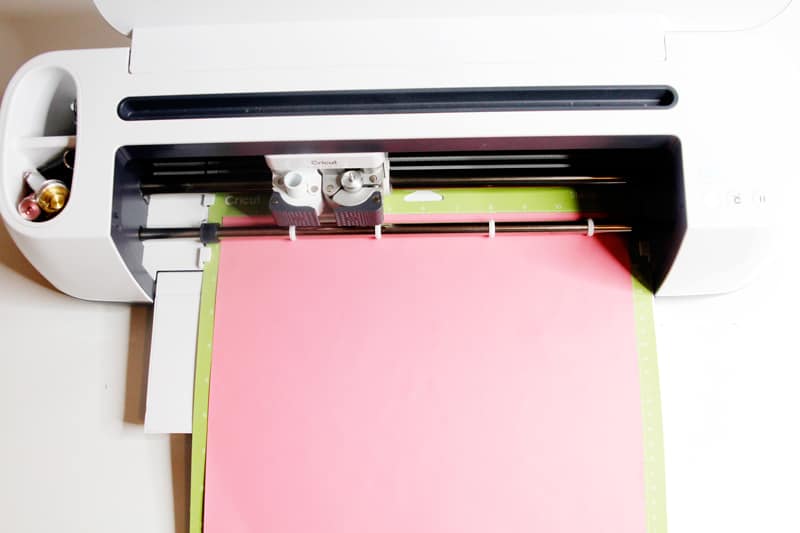
Cut out 16 stars and 16 fabric blocks.
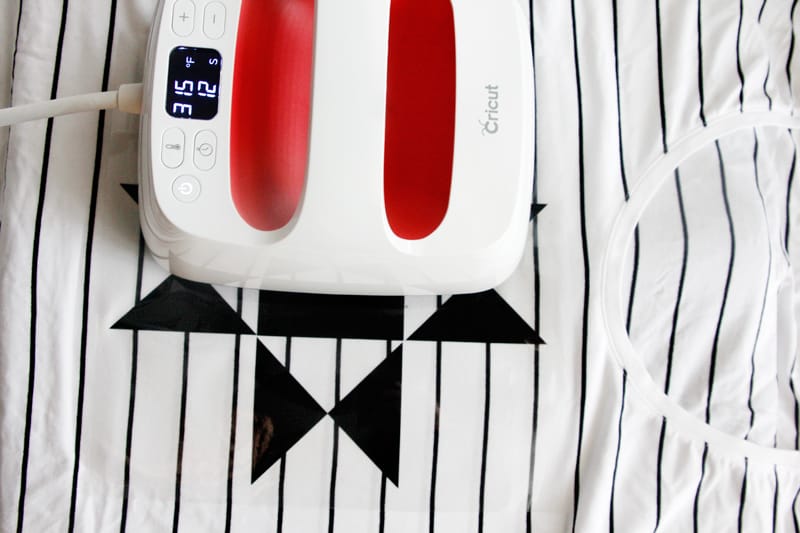
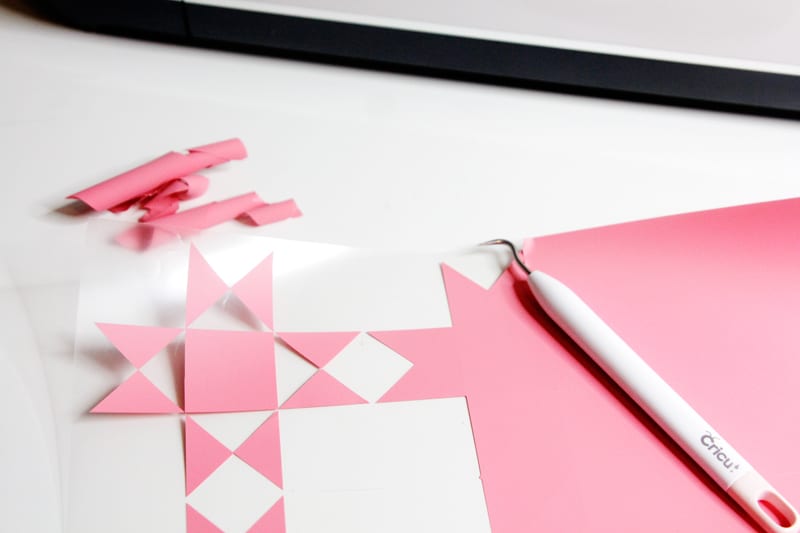
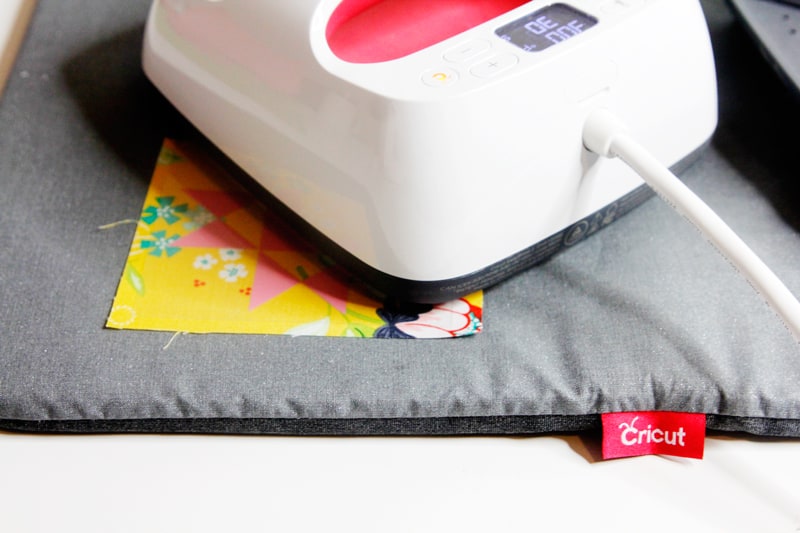
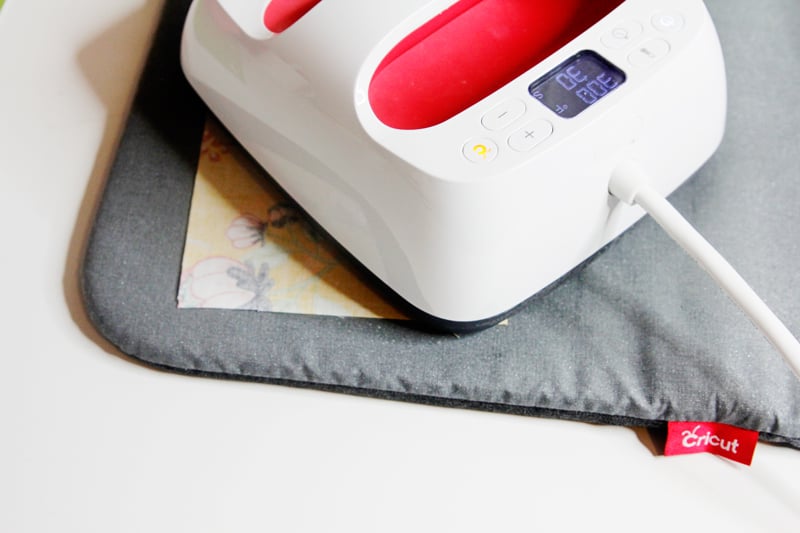
Iron each star to a piece of fabric with the EasyPress 2. Set the EasyPress to 315 Degrees. When it’s hot, press the fabric for 5 seconds to warm up the fabric.
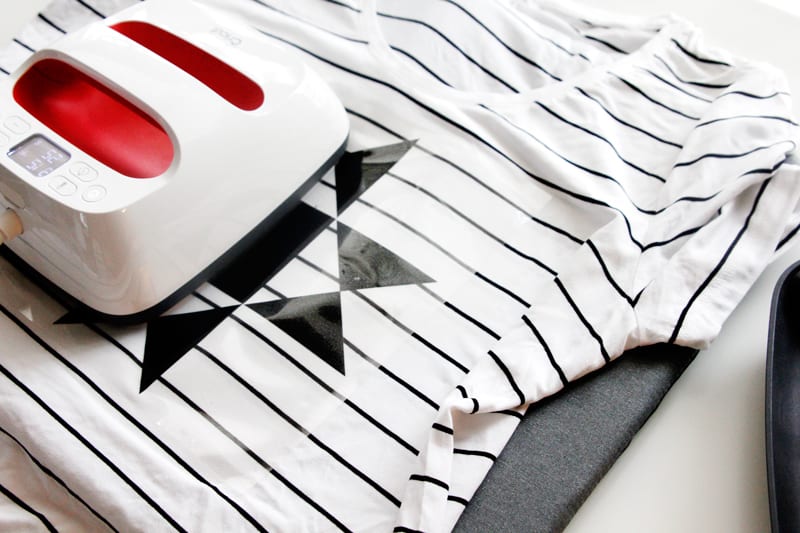
Then center the quilt block design and apply heat for 30 seconds.
Flip the block over and apply heat to the back for 15 seconds. Peel off the plastic sheet while the design is still warm. Repeat until they are all finished!
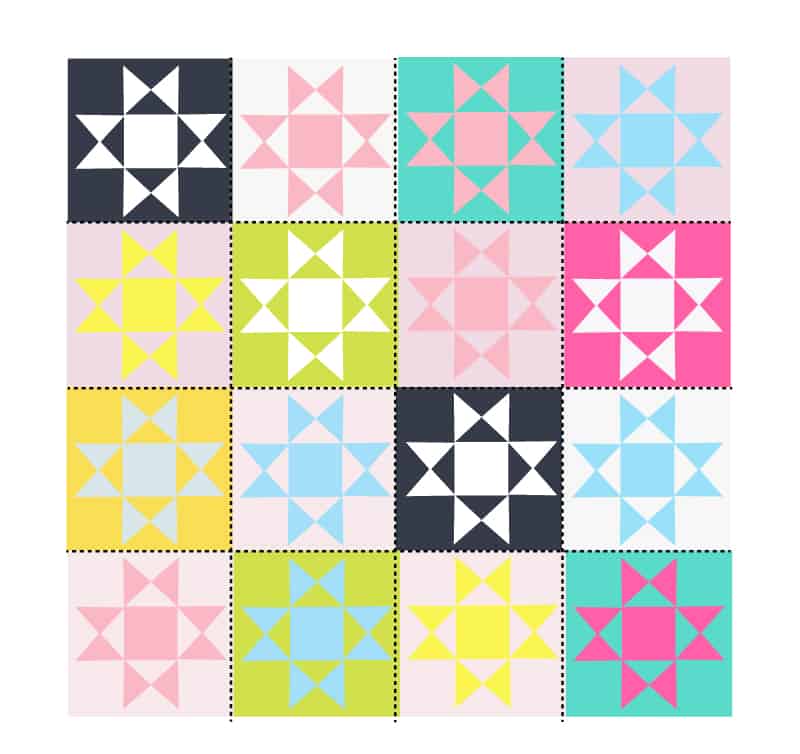
Sew 4 blocks together to create a row.
Then sew the rows together.
Layer batting and a backing fabric underneath the mini quilt and quilt it along the seams.
Use the 2″ binding strips here to cut binding and bind the edges.
Give it a good press with the EasyPress and find a place to display it!
QUILT BLOCK TEE Materials//
–Cricut Maker (or Explore Air 2, see the differences between the two machines in this post!)
–Cricut EasyPress 2
-blank tee
–1 roll iron-on vinyl
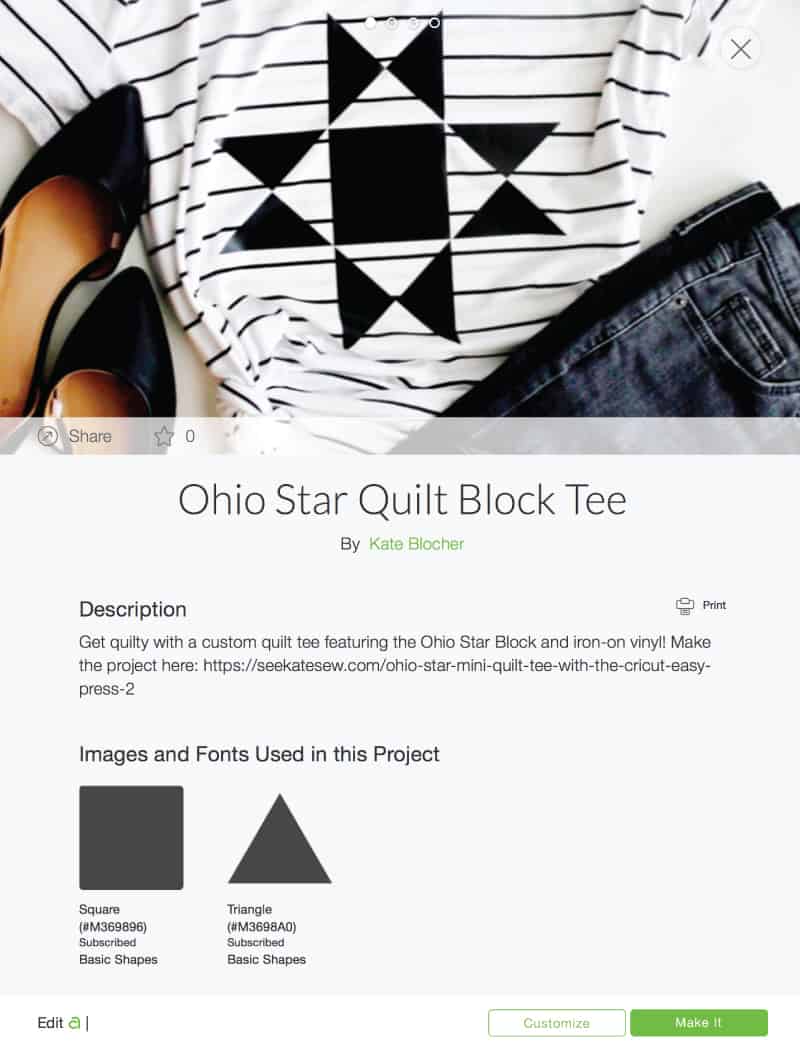
–Ohio Star Tee Design in Design Space (click on these links from a desktop while signed into Cricut.com!)
–Ribbon Star Tee Design in Design Space
–Sawtooth Block Tee Design in Design Space
or download the SVG files and upload them to your cutting machine software!
Quilt Block SVG Designs
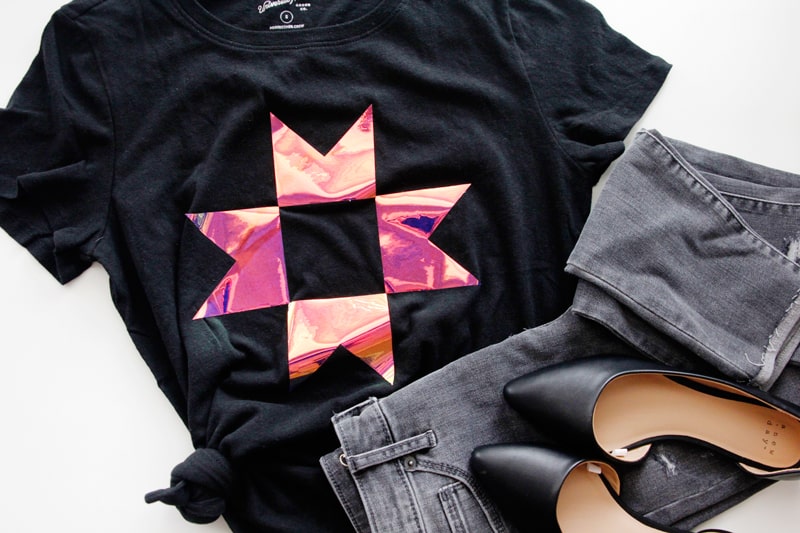
INSTRUCTIONs//
Pull up the design in Design Space and hit MAKE IT. If you want to adjust the size of the design, click on the CUSTOMIZE button and it will take you to the canvas.
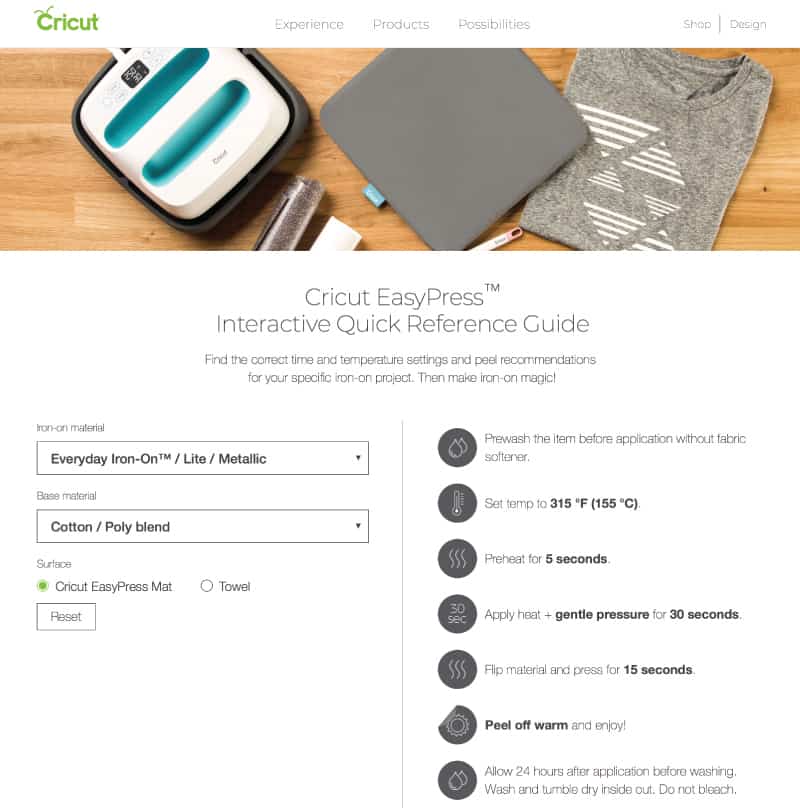
Pull up the EasyPress Interactive Quick Reference Guide and find the material that matches your t-shirt fabric.
The reference guide will pull up the heat settings and instructions – 315 degrees for 30 seconds on the front and 15 seconds on the back!
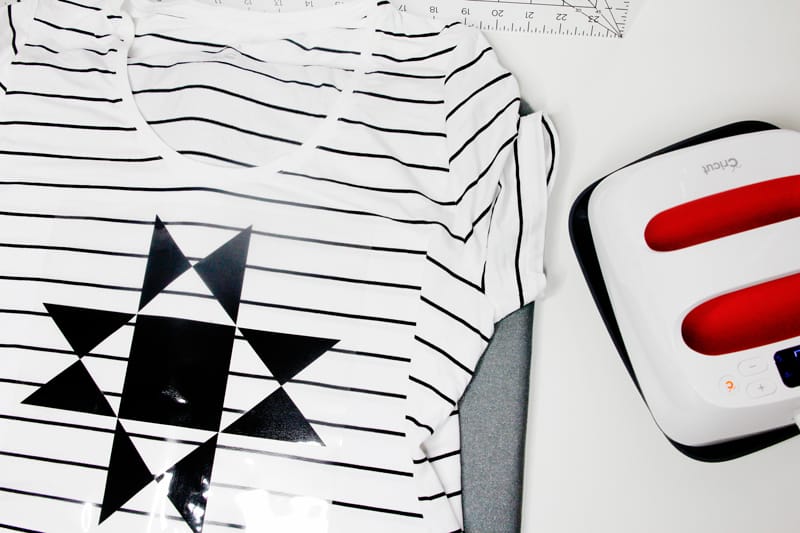
You can apply iron-on vinyl with an iron, but the EasyPress and heat settings chart takes all the guesswork out for the perfect application every time! SO EASY!
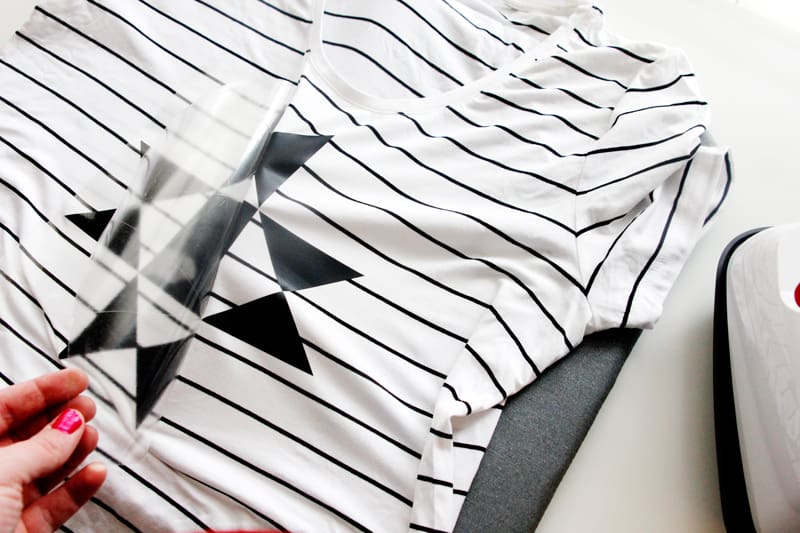
Peel off the transfer paper while the design is still warm.
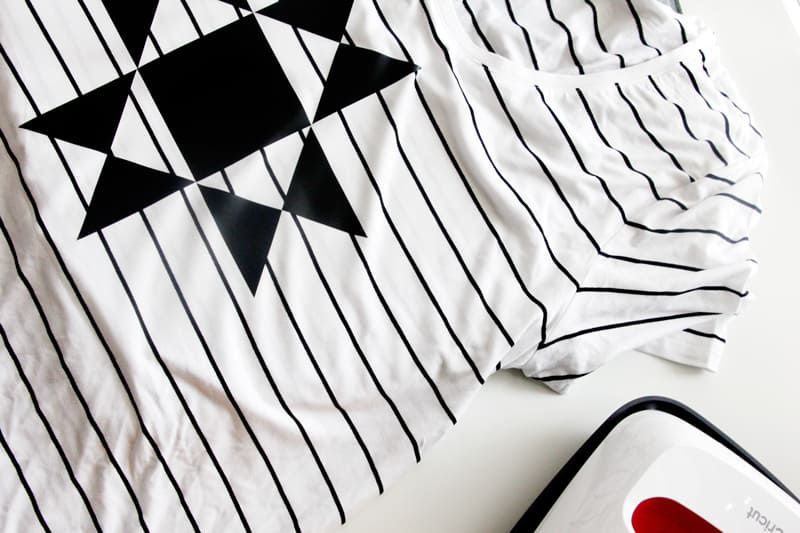
And you’re ready to go! SEW on point!
