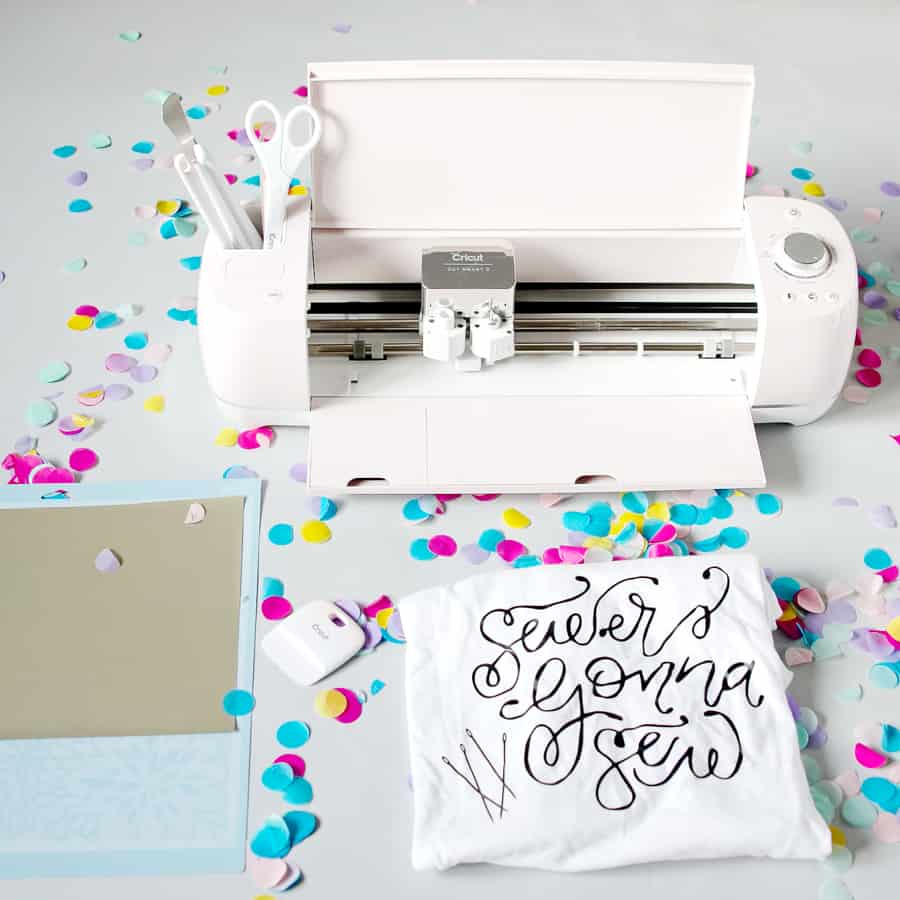
Since I stopped selling screen printed t-shirts (those days were fun!) I’ve been wanting to take all my sewing-themed quotes and designs and turn them into projects YOU can do with any t-shirt! I partnered with Cricut to create this SVG (cutting) file that you can use to make your very own Sewers Gonna Sew tee! Or tote! Or wall decal! You can make anything you want with it!

Sewers Gonna Sew Cut File and Tutorial ///
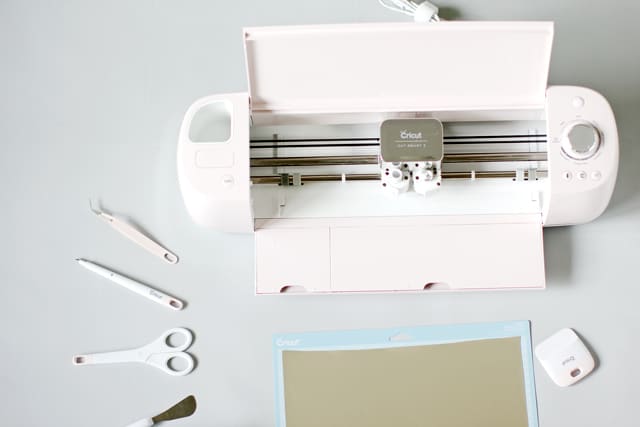
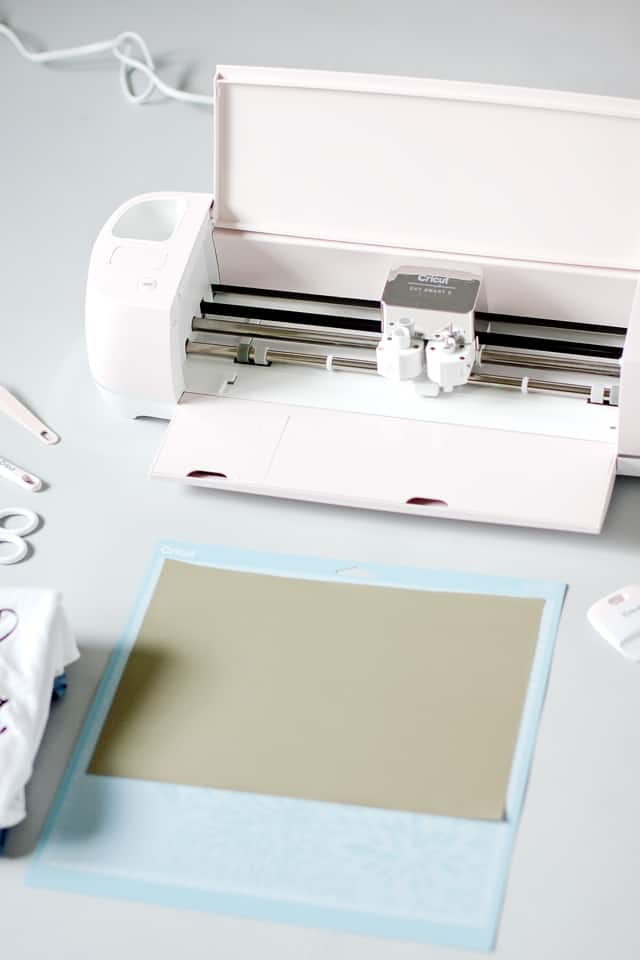
You can use any vinyl cutting matching for this, but might I suggest this PINK Cricut Explore Air 2! This little beauty is the most current Cricut machine and it also comes in a beautiful mint or light blue. I had a bit of an internal dilemma on which color I should pick, but I still chose pink in less than 10 seconds. ALWAYS PINK!
Materials:
-Blank Tee
–Cricut Explore Air 2
–Iron-On Lite Vinyl, I’m using Gold and Black
-SVG File Download, see below
Sewers Gonna Sew Cut File
I also recommend the Cricut tool kit. I use the squeegee tool and hook tool every time I create something.
Instructions ///
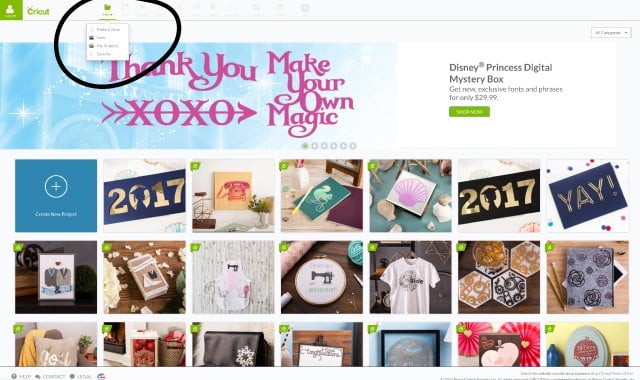
Download the cut file and upload it to Cricut Design Space. Login and create a NEW file.
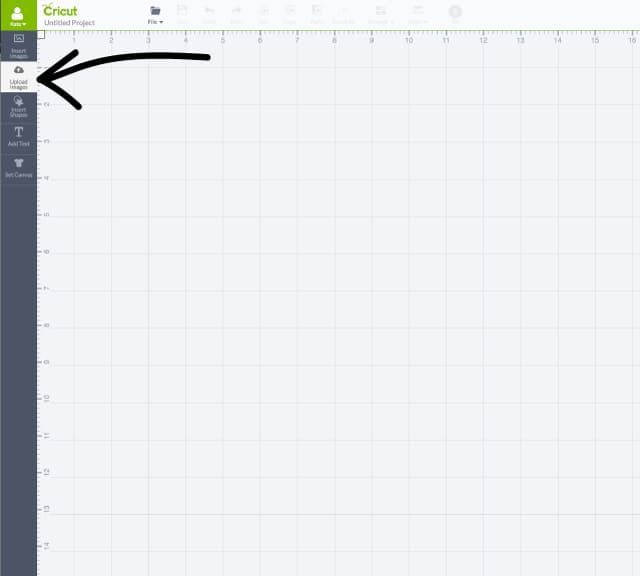
On the left hand sidebar click “Upload Image”
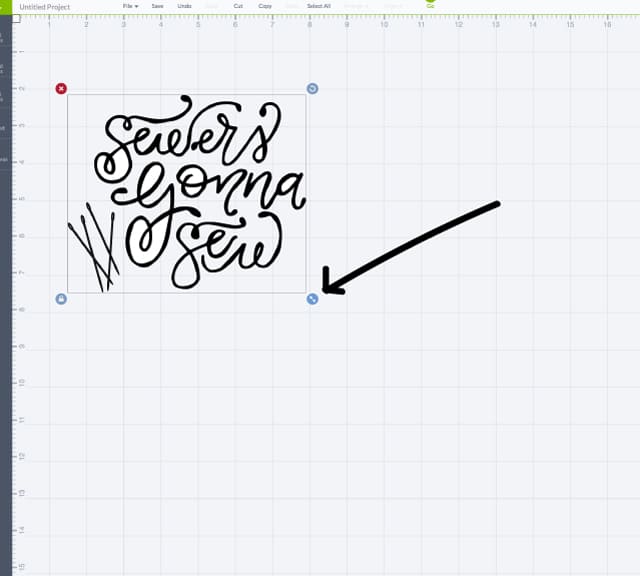
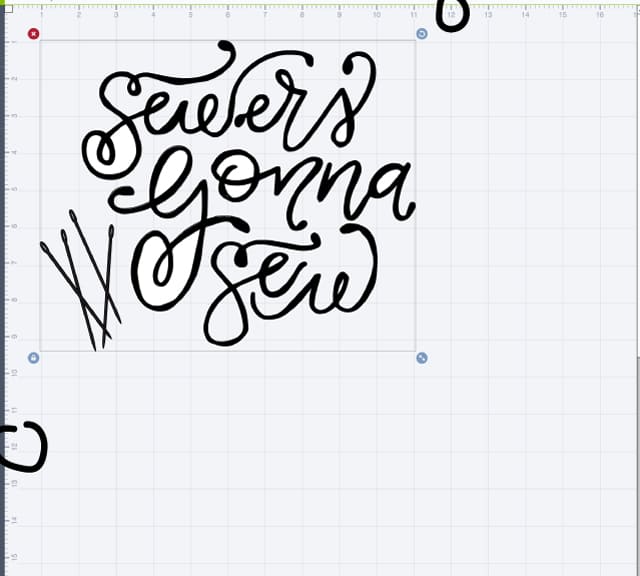
Use the blue drag tool to make the file larger.
Make the file as big as you want, keeping in mind that the basic cutting mat is 12″ x 12″.
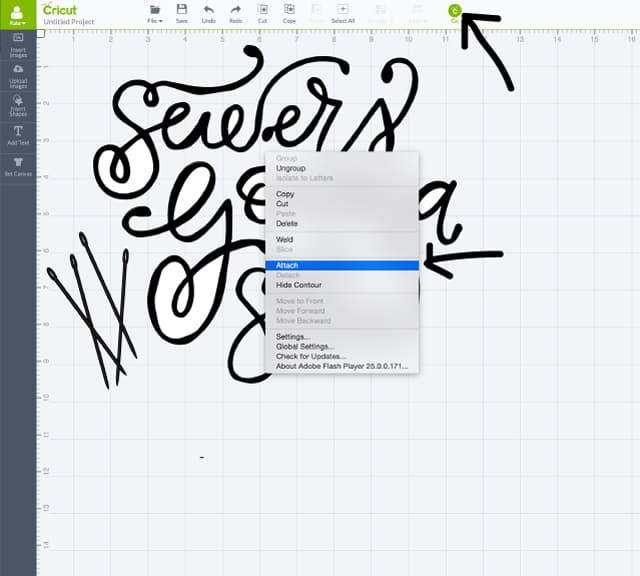
Right click the image and find “Attach”. Then click the big green “GO” circle.
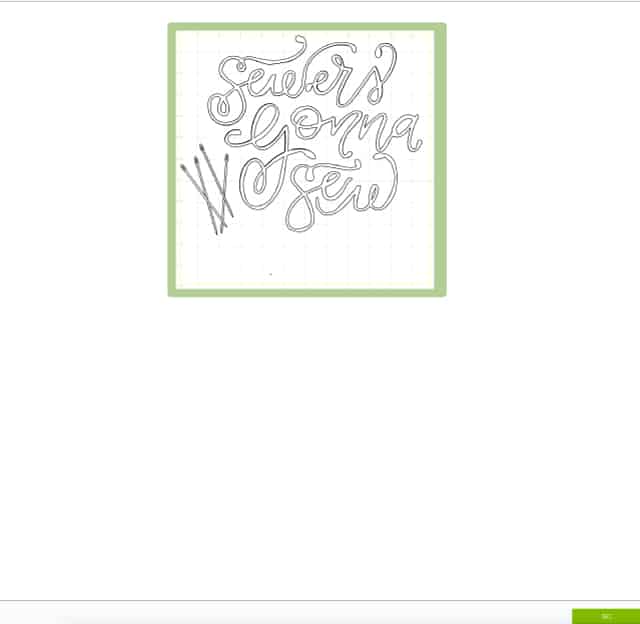
You’ll be taken to a preview screen.
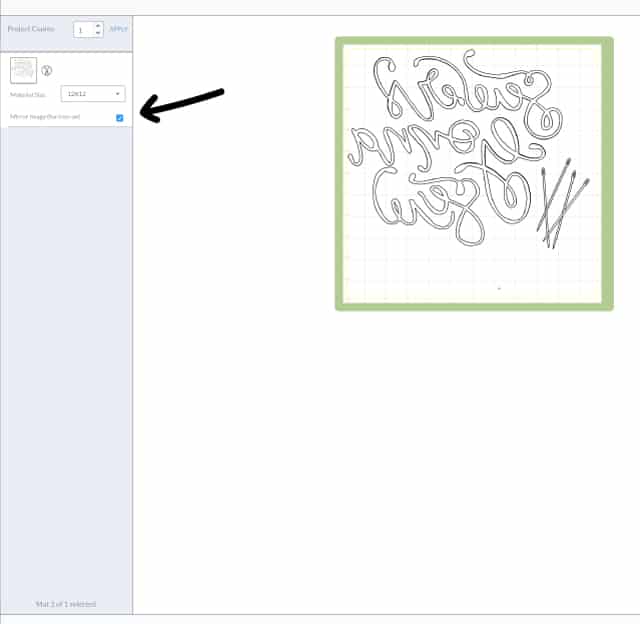
Be sure to MIRROR the image so it cuts out reverse for iron-on.
And then click the green GO button at the lower right and follow the instructions on the page to cut your file. You’ll have to make sure your machine is plugged into a power source AND your computer.
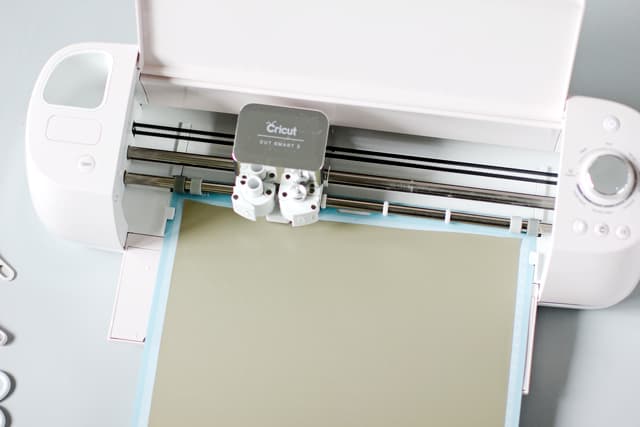
To prep your mat, cut a 12″ by 12″ piece of iron-on vinyl. Stick the vinyl on your adhesive mat, LINING side down. Use the presser tool to make sure the vinyl is flat with no air bubbles.
Load it and press CUT! The load button will light up when it’s on and ready to load. It has a double arrow on it. The “C” with antenna is the Cut button and that will light up when the vinyl is loaded.
When the file is done cutting, weed out all the pieces that you don’t need. Leave the lining on the whole time.
Press your shirt area to keep it flat and also heat it up in preparation for your vinyl!
Place the design vinyl side down on your shirt and press for 30 seconds on each side. Let the design cool and then peel off the lining super carefully!
And you’re all done! This is addicting for sure, so you may want to stock up on vinyl! :)


I’m excited to share more Cricut projects soon!
Outfit details: Fawn Design Bag High waisted jeans (super comfy!) Gigi Pip Hat
Stay tuned for a fun giveaway….!








Thank you x
Thank you Kate.
Yippee! Stuff for my Cricut! Thank you!
love it! thanks so much :-)
Will this work on silhouette?
Thank you for the SVG file. You are so generous.