Let’s sew the cutest pincushion ever! In this sewing tutorial I’ll show you how to make a little plush pincushion – the pins will be the hedgehog’s spines! This hedgehog pincushion tutorial also has a hidden secret – inside is steel wool that sharpens the pins every time you poke them in!
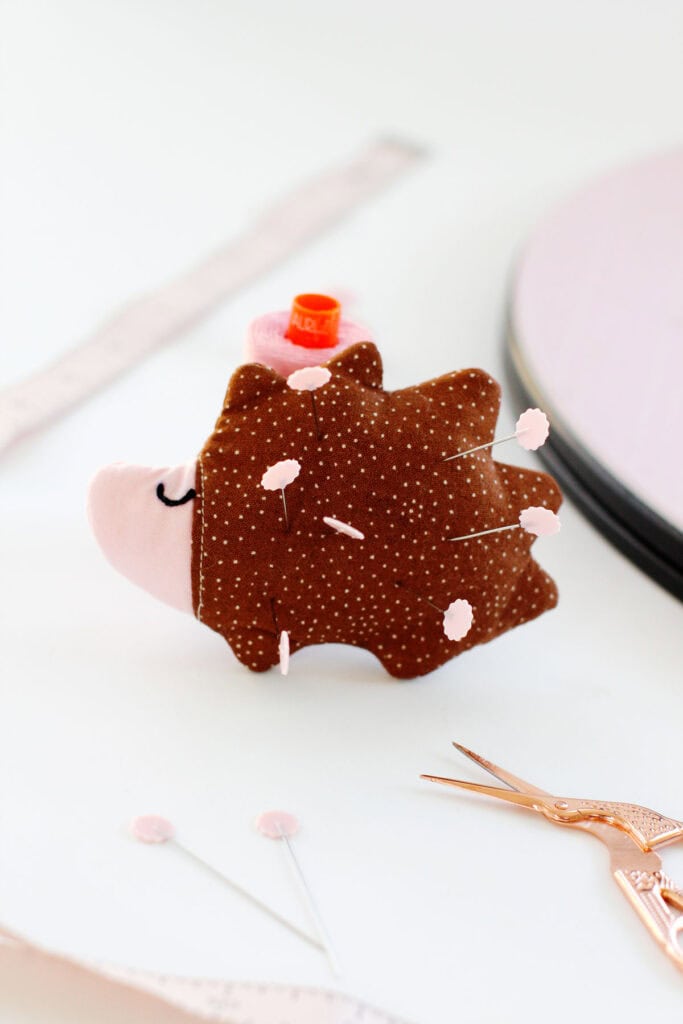
It’s always fun to have a new pincushion to brighten up your sewing space and this one is just the cutest and also functional! When your pins start snagging you can stick them in here to give them a little sharpen. This one is so adorable you will not want your old pincushion anymore!
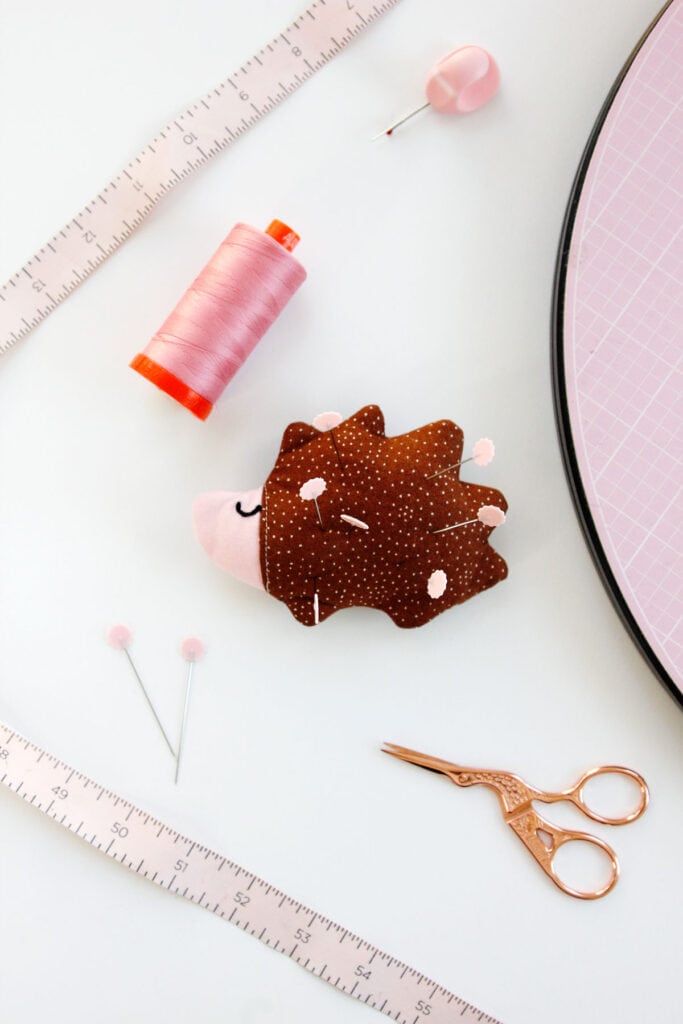
These also make great little plush toys (without the steel wool of course!) and it makes a great gift for a fellow crafter! The pins become part of the design as little hedgehog spikes!
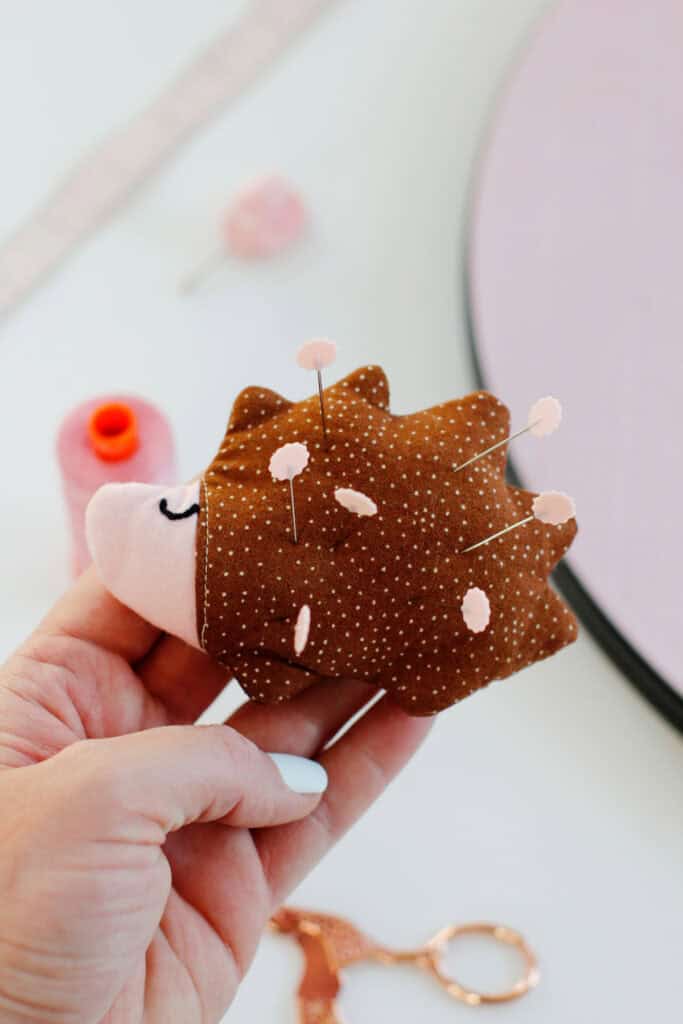
This is a great scrap buster project – you only need a few little pieces of quilting cotton. I like to use a solid for the face and a pattern for the body.
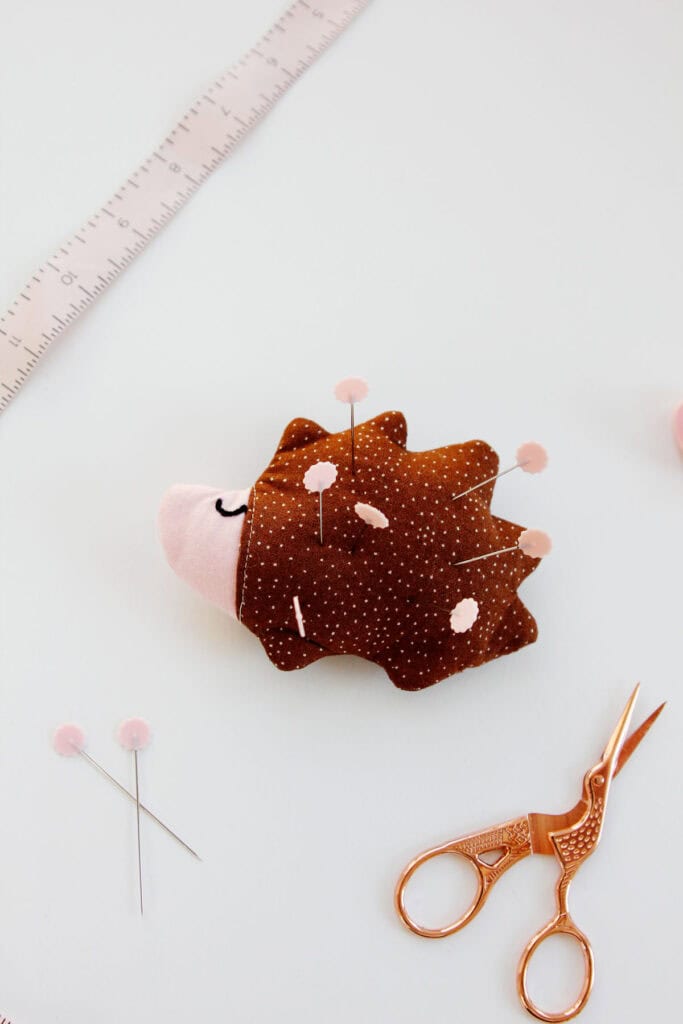
This is a fun project that makes a perfect addition to your craft room! So gather your supplies and let’s start sewing!

Hedgehog Pincushion Materials
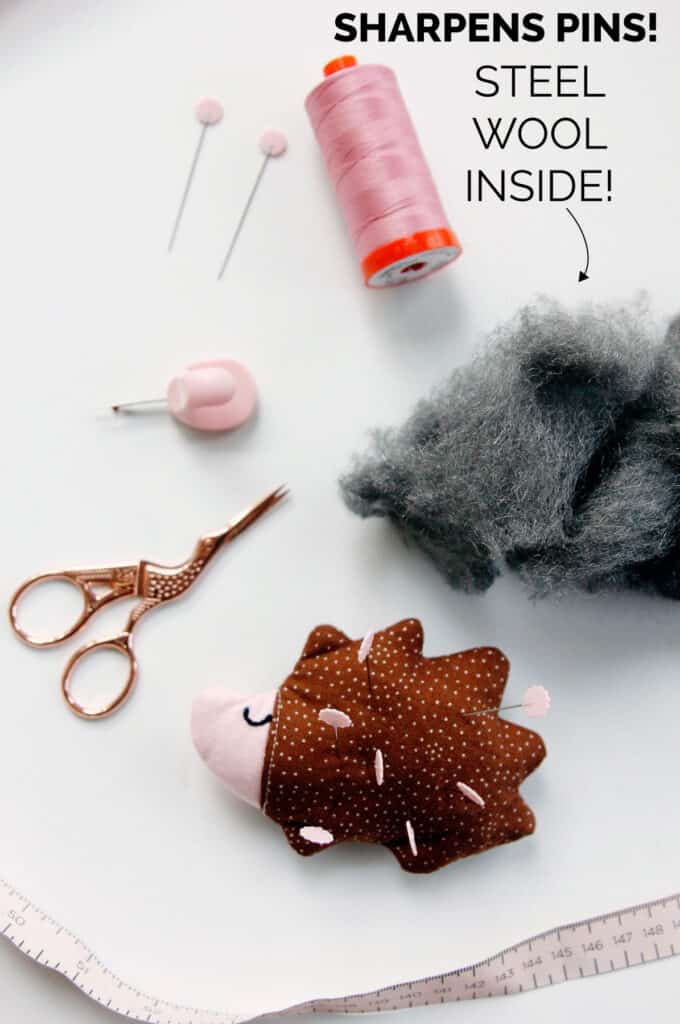
This cute little hedgehog pincushion requires a few materials that you probably have and a few you might not!
- Fabric scraps
- Lightweight fusible interfacing (affiliate links)
- Quilt batting scraps
- Black or brown embroidery floss or yarn and embroidery needle for eye
- Thread and needle for hand sewing
- Fiberfill stuffing
- Superfine steel wool #0000
- Fabric marker
- Spray baste

Hedgehog Pincushion Pattern Download

Click on the pink button below to sign up for the newsletter and download the hedgehog pattern pieces. If you have trouble accessing the pattern, try using a different browser.
Print the templates at 100% or DO NOT SCALE to get the correct sizing. This PDF is one page and there are two pattern pieces – a base piece and a face piece.

hedgehog shaped pincushion tutorial step-by-step instructions
Use a 1/4″ seam allowance.
Back your fabric scraps with interfacing. Use TWO layers of interfacing for the hedgehog’s face fabric.
Cut out 2 face pieces and 2 body pieces. The pieces should be mirror image of each other.

Use your fabric marker to draw the eye on from the pattern piece, or draw your own face.

Then use an embroidery needle and black embroidery thread to trade the eye shape with a backstitch or chain stitch. (See the video in post if you have never done embroidery stitches before!) Tie off the thread.

Lay the hedgehog face right side down on the body piece, matching them up at the bottom of the pieces. The hedgehog face will curve a bit.


Press open and topstitch 1/8″ from the seam line.

Use spray baste to baste a layer of batting to the back of each side of the pincushion.

Trim around the fabric to remove excess batting.

Pin the hedgehog pieces together with right sides together and sew just under 1/4″ from the edges, all the way around. Leave a little space behind the hedgehog’s back foot for turning.

Stuff the pincushion
Clip the edges of the points and into the corners. Trim the seam allowance just a little. Then turn right side out though the opening. This will be tricky since the opening is so small but use a chopstick to help you! Press well and then stuff the face and points with regular stuffing. Then stuff the rest of the body with the steel wool, pushing it in with the chopstick.

Sew the opening of the hedgehog closed and your hedgehog pin cushion is ready to use! Go find a dull needle to stick in!


