Raid your scrap pile for this simple project! Learn how to make mason jar pincushions – these easy little jars are the cutest way to store pins and other sewing supplies!
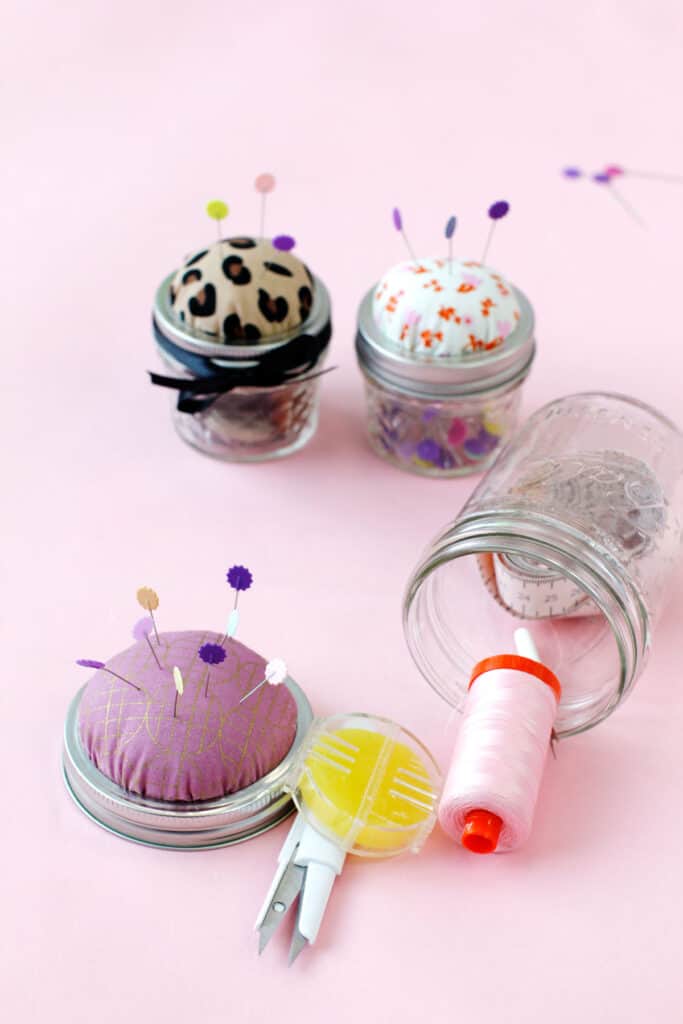
This project is so easy and so rewarding! A mason jar pincushion is an adorable addition to your sewing space. This project is a great beginner project.

You can even use a bigger jar to make an adorable sewing kit! This cute jar makes a fun gift for a college student or sewing friend! Stick some “fabric money” in the kit for a great way to give cash.
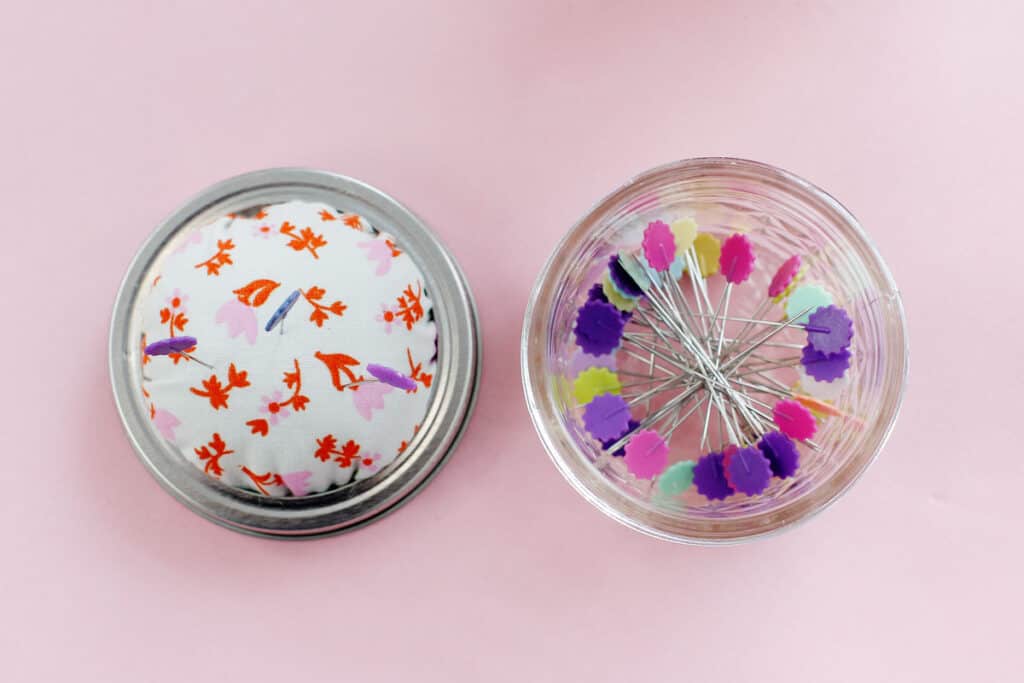
Use your favorite cute fabric from other sewing projects for this jar! It’s the best place to keep a small scissors, and a needle and thread for quick sewing projects or even an embroidery kit.
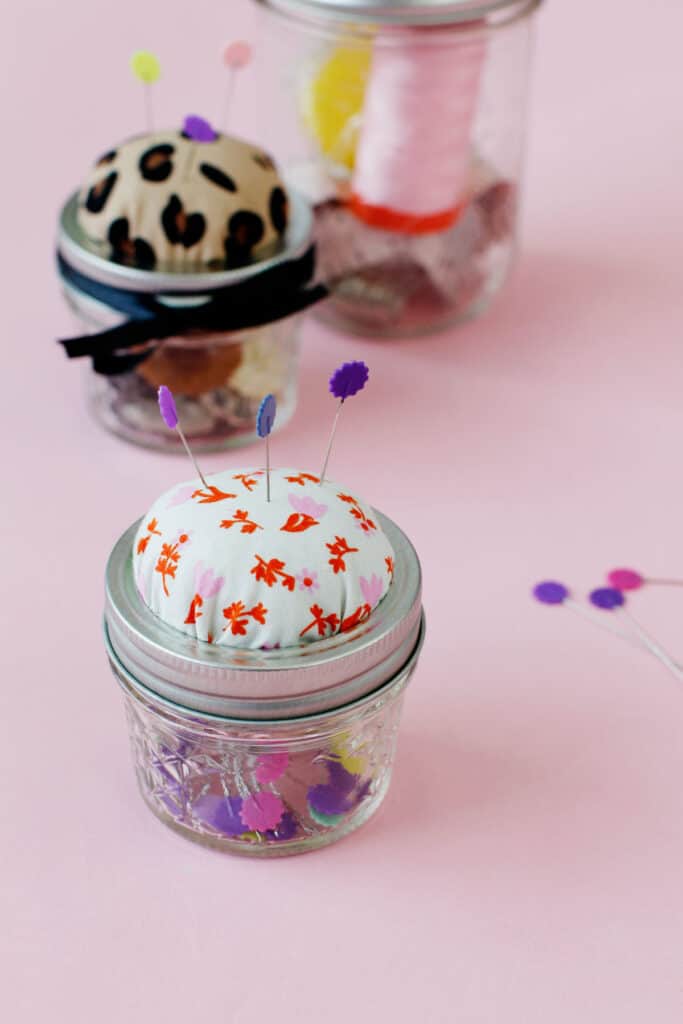
Mason Jar Pincushions Materials
- Mason jar
- Use a quarter pint jelly jar for pins or get wide mouth pint jar for a full mason jar sewing kit! There are templates for both sizes in this post!
- Fabric scraps for the top part of the pincushion, use 100% cotton
- You’ll just need enough for a fabric circle
- Use colorful fabric for the pincushion top
- Fusible interfacing, or a piece of fusible fleece
- Fiberfill stuffing, polyester or cotton stuffing
- Hot glue gun and glue sticks
- Sewing clips
- Optional: decorative ribbon or lace
- Mason Jar Pincushion Template, see below
Jar Pincushion Template Download
Download the template below by signing up for the See Kate Sew newsletter. Click the button and enter your email. Then download and print! Print the jar pincushion pattern at 100% or DO NOT SCALE.
How to make a Pincushion from a Mason Jar
To make the pincushion, interface the wrong side of the top fabric. Fuse interfacing to the fabric before cutting out the pattern piece for best results.
Remove the mason jar sleeve and lid from the glass part of the jar.
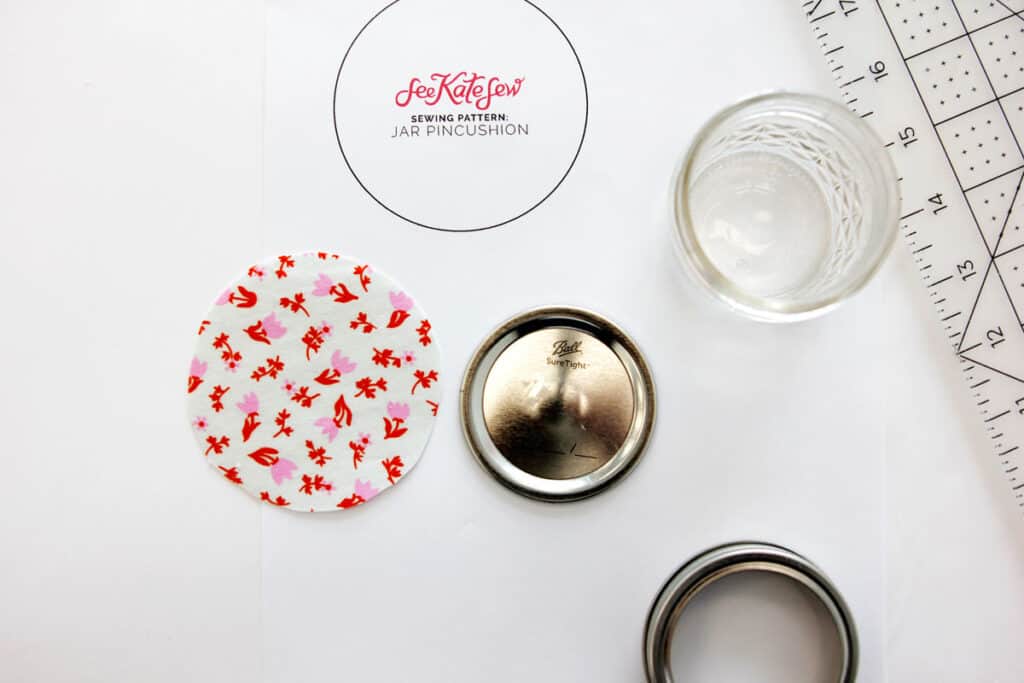
Then cut 1 circle of fabric from your fabric scrap using the template.
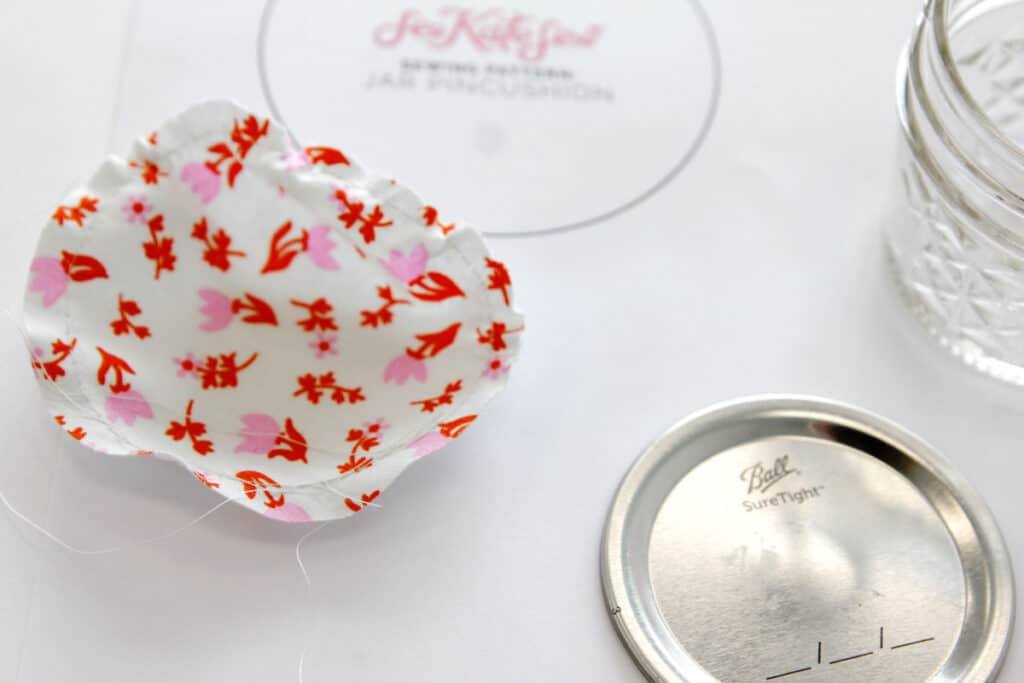
Baste stitch around the circle 1/4″ from the edge of the fabric, these will be gathering stitches. Don’t back stitch. Pull basting threads to gather the fabric into a dome shape.

Clip the dome shaped fabric onto the flat lid piece of the jar. Then start gluing with dabs of hot glue. Clip the fabric down over the glue and lid as it dries to keep the glue as flat as possible.
Continue gluing until you have just a spall space left to glue.
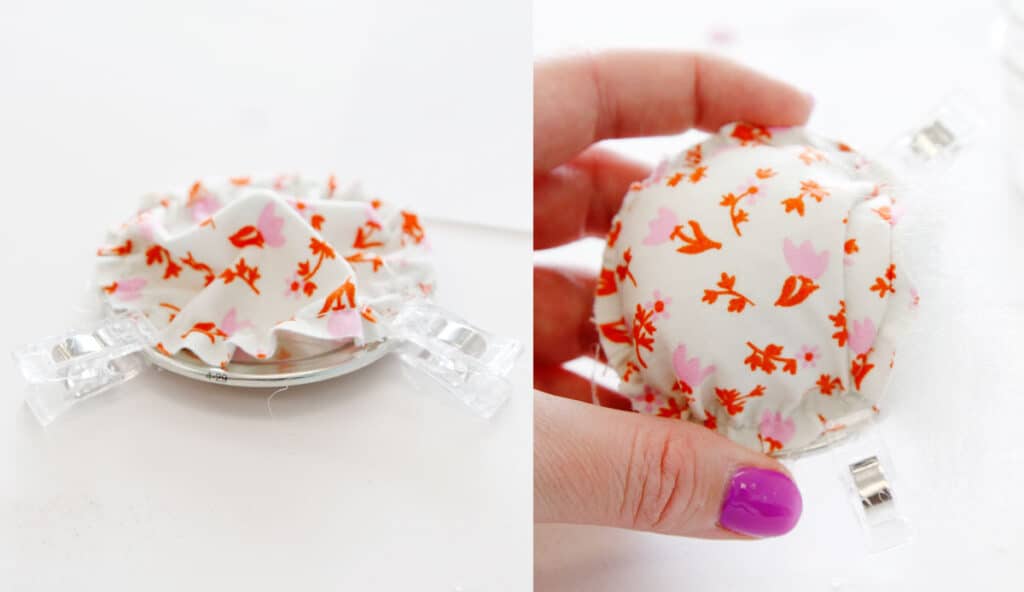
Stuff the pincushion with fiberfill stuffing to your liking. Then use glue and clips to finish closing the dome over the mason jar lid.
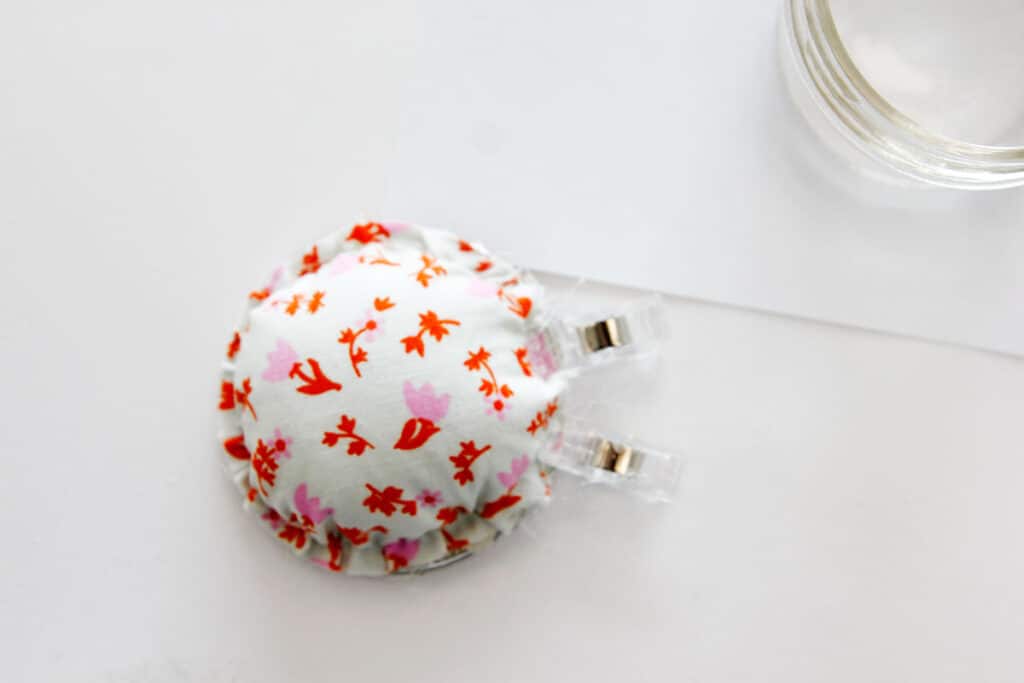
Place a thin bead of glue around the entire screw band (or jar ring) of the jar, then press the fabric dome inside. Quickly screw the top of the jar onto the bottom of the jar while it is still drying. This will help your glue squish flat so it still fits on the top of the mason jar.
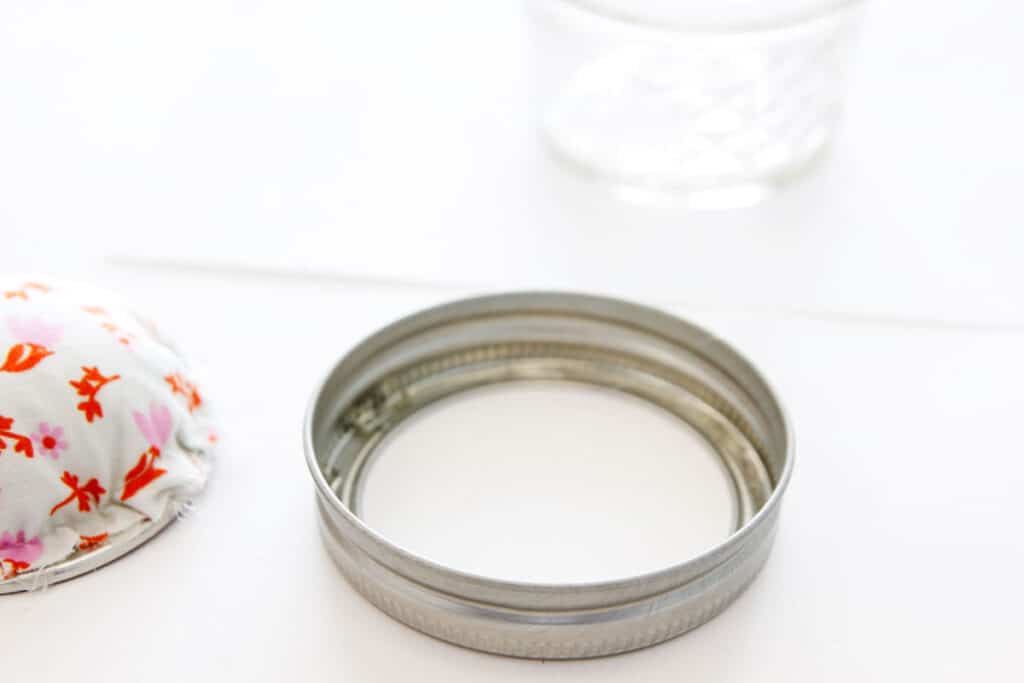
Let it dry, then open it up and fill up your mason jar pin cushion with sewing supplies! You may need to remove the baste stitches from right above the top of the ring.
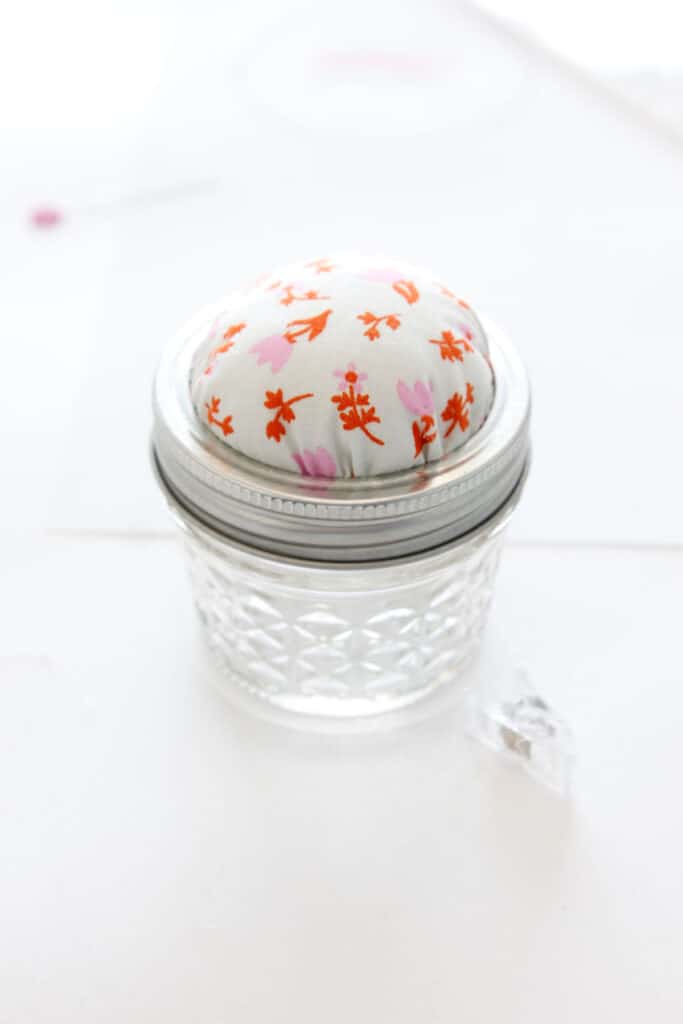
If you want, glue a small piece of ribbon around the outside of the lid ring. Use more extra ribbon add a little bit of color or to create a bow.

Make a mason jar sewing kit
A mason jar sewing kit makes a cute gift! Add various items or craft supplies to complete the kit. Here are a few suggestions:
- Little scissors
- Needle and thread
- Buttons
- Measuring tape
- Thimble
There are all sorts of fun sewing things you can add to this jar!

More sewing room accessories to make:
- Scissor Pouch Pattern
- Sewing Machine Dust Cover
- Pattern storage solution
- Sewing Machine Mat
- DIY Ironing Board Cover
- The Spools Quilt Pattern
Follow See Kate Sew on Pinterest and join the Facebook Community!


