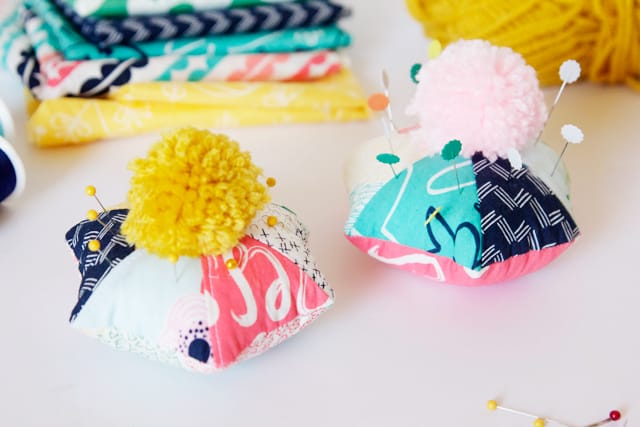
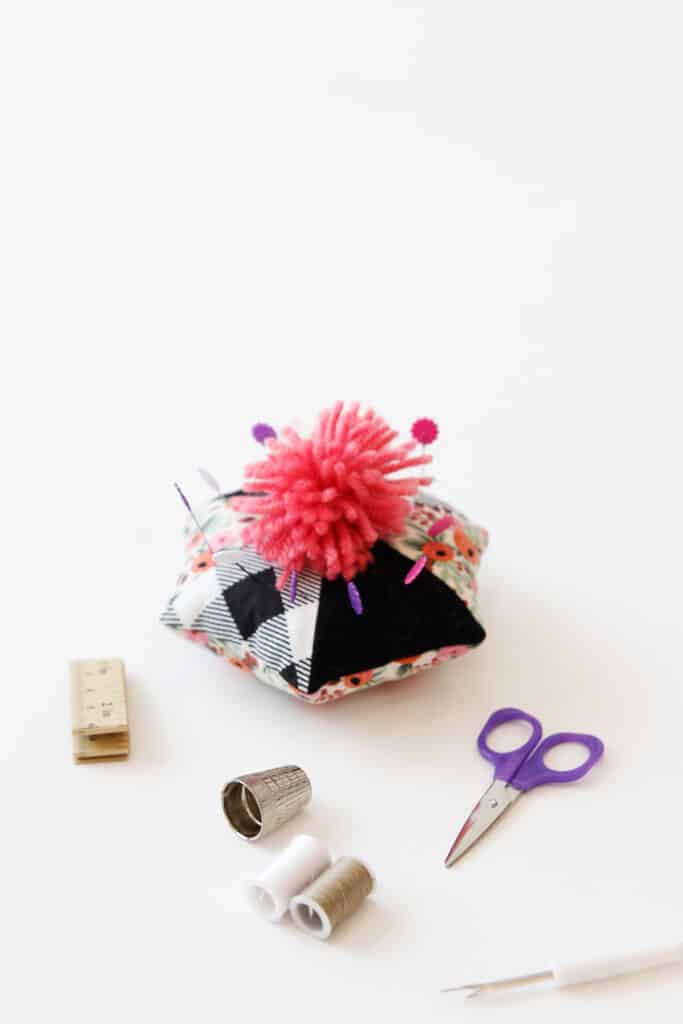
Long time no blog! I’ve been busy working on a few big projects, but this new fabric was the perfect excuse to break and make something fun and quick! I made a few Pom Pom pincushions.
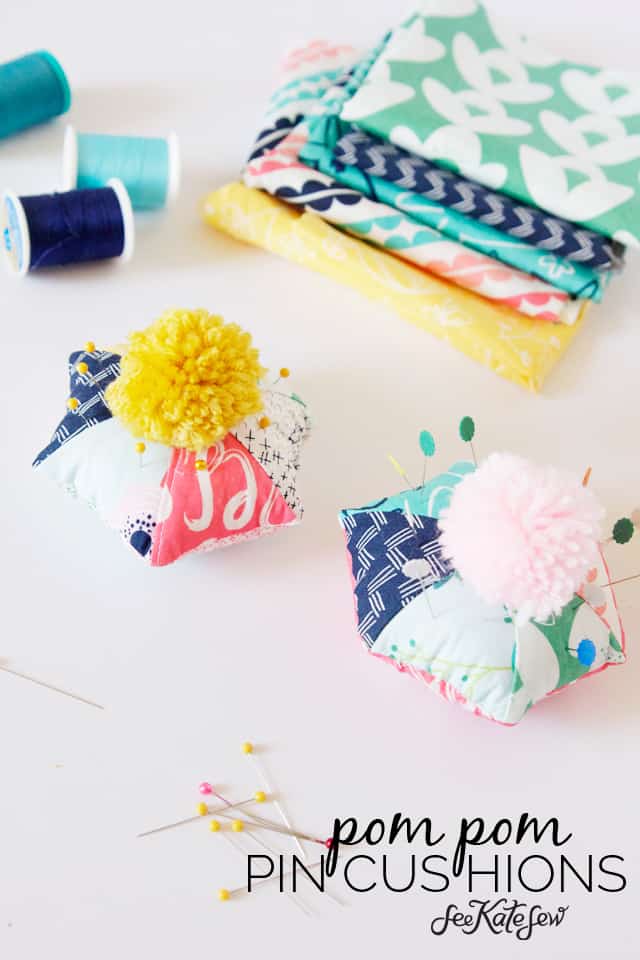
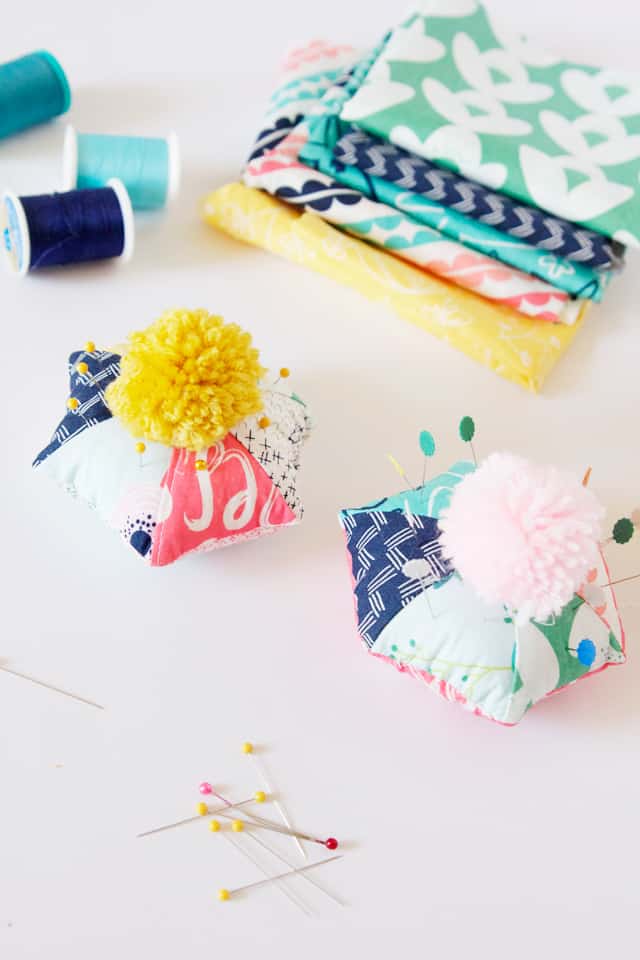
Sew Caroline sent me some of her new Happy Home collection fabrics, the colors are so happy and bright! I used them to make hexagon pom pom pincushions and then topped each one with a yarn pom pom. I don’t know what is better than hexagons and pom poms!
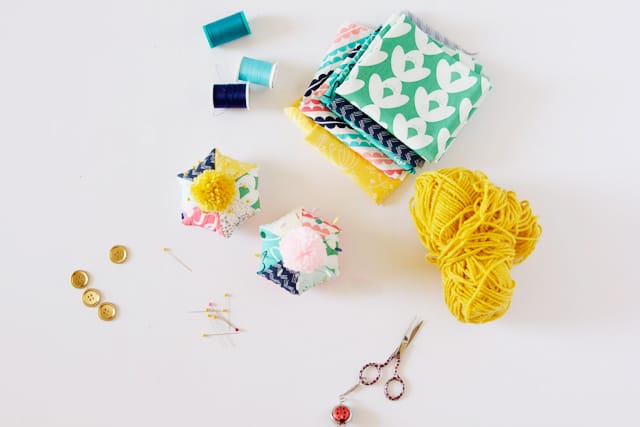
The best part of this is you can use up to 7 different fabrics for each pincushion! The top has 6 little triangles that make up a hexagon and the bottom is one solid hexagon.
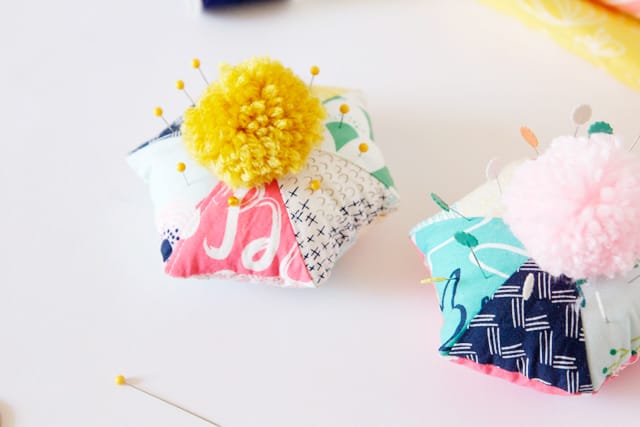
Although, you could piece the bottom part, too, and include 12 fabrics! It’s fun to use a whole line of fabric for one project. I guess that is a normal thing to do, especially for quilters, but I don’t do it much! But maybe I will use whole lines more often now!
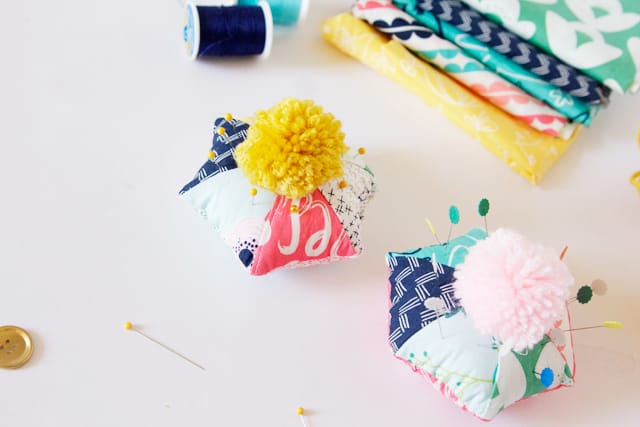
This project is fast! It will give you a little quilting experience, or if you’re already a quilter, you will whip it out really quickly!
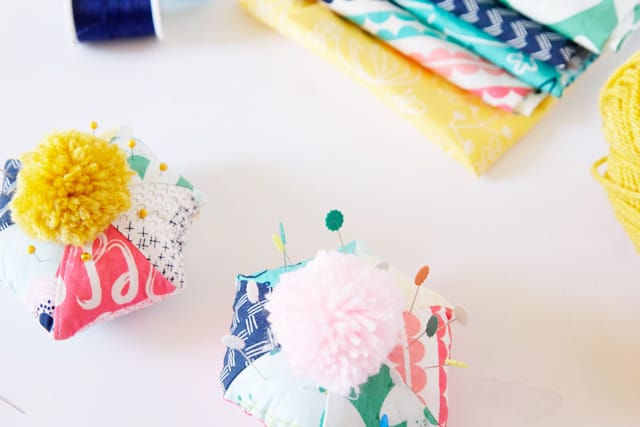
The pom pom is optional, but if you do top the pincushion with a pom pom, you don’t have to worry about sharp points on the triangles. The pom pom will hide the points!
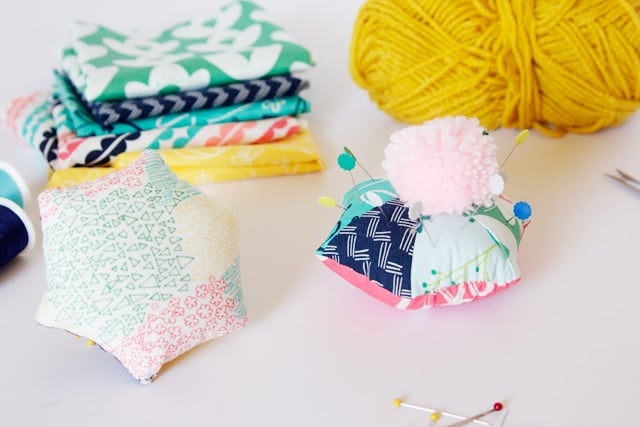
So let’s get sewing!
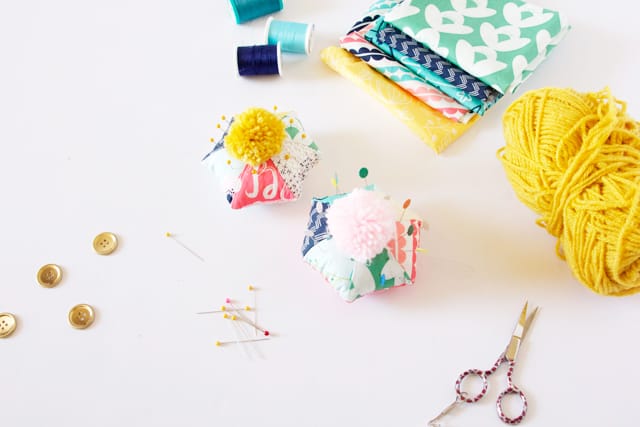
Pom Pom Pincushion Materials
- Happy Home Fabrics
- Yarn
- 2.5″ pom pom maker (the green one – affiliate link)
- Lightweight fusible interfacing
- Fiberfill stuffing
- Printable download, see below
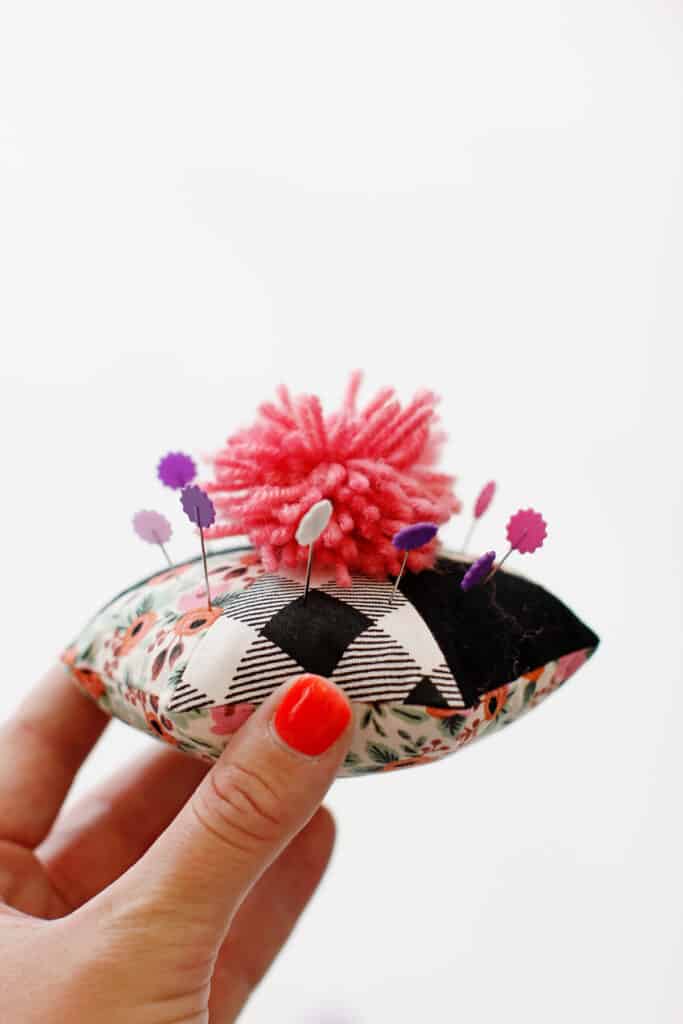
Pom Pom Pincushion Tutorial
Print out the pattern piece and cut 6 triangles, and one hexagon back. Cut 2 hexagons from interfacing. Make your pom pom, leaving two strands really long for tying later.
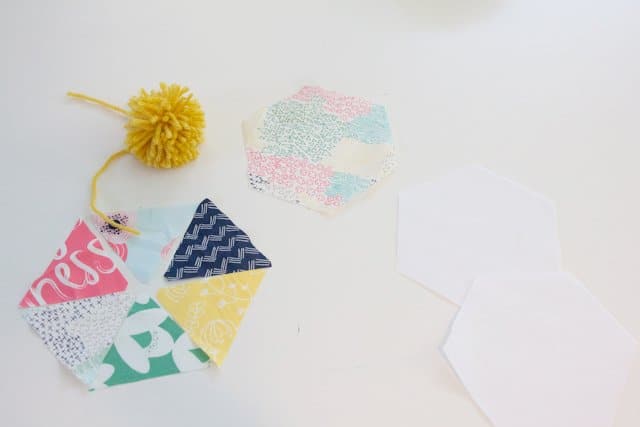
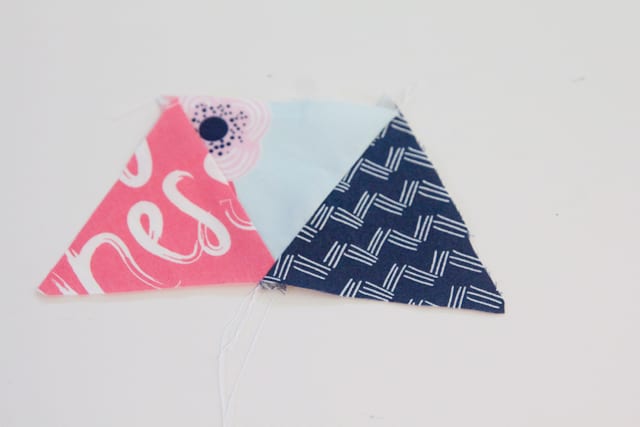
Sew 3 triangles together, making sure the seam allowance is a consistent 1/4″.
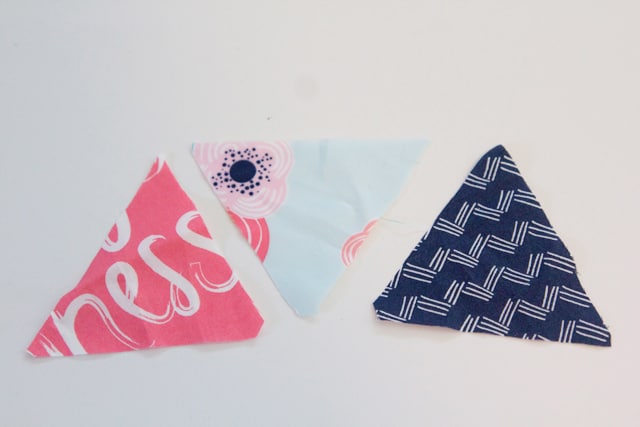
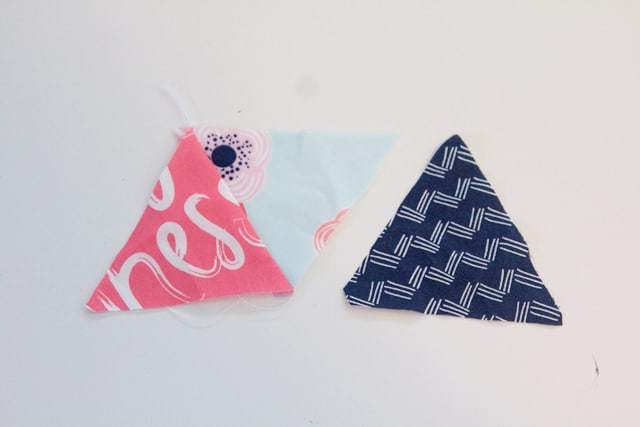
Sew the 3rd triangle. There will be 1/4″ at the tip of the middle triangle, which will create a sharp point later. Read my post about getting sharp triangles for more help.
Repeat with bottom triangles.
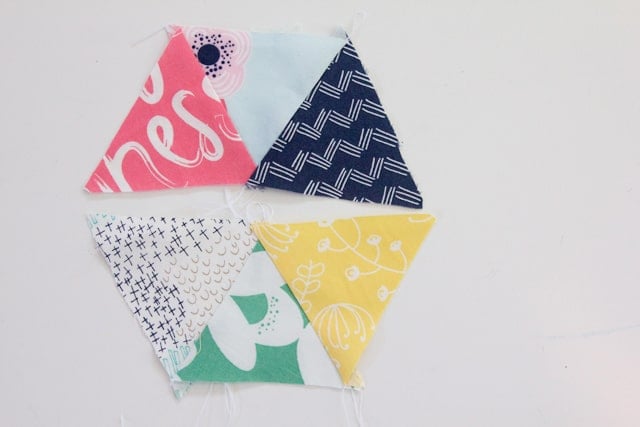
Stitch these two pieces together along the center.
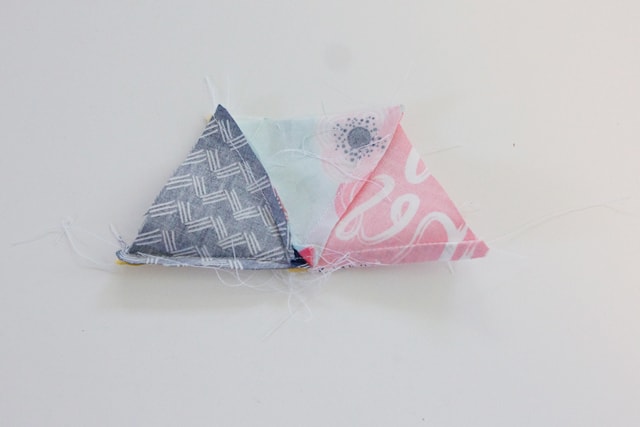
Press open.
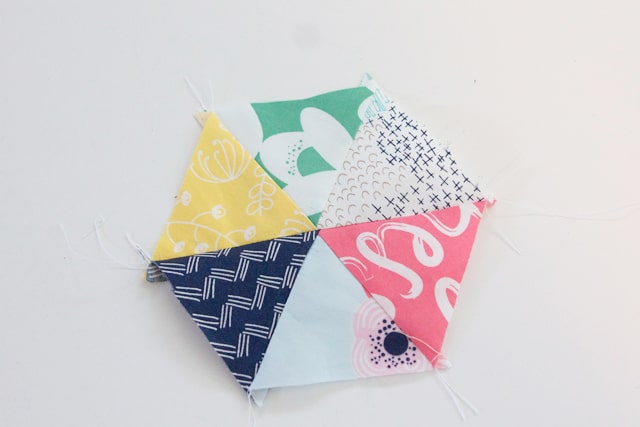
Fuse interfacing to top and bottom of the pincushion.
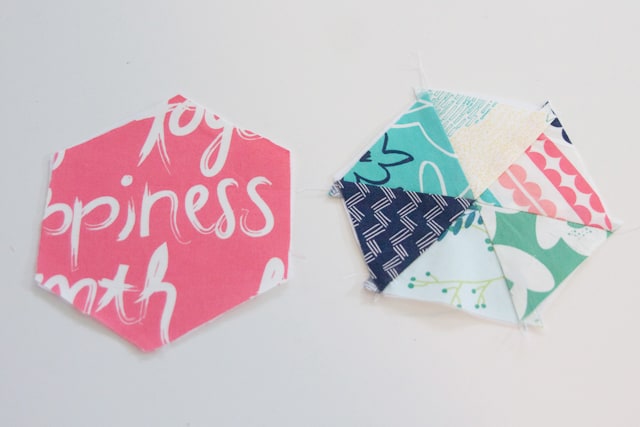
Pin hexagons together and sew.
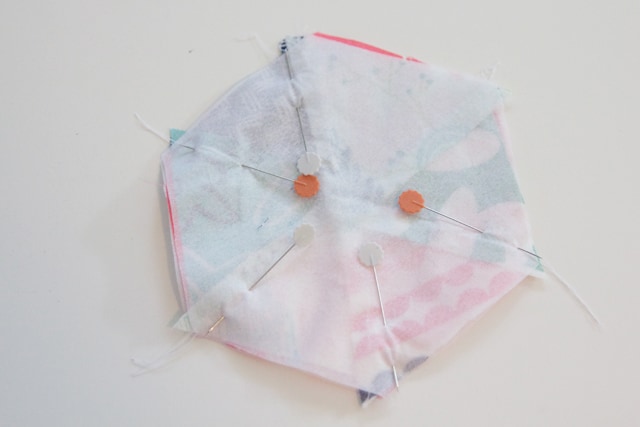
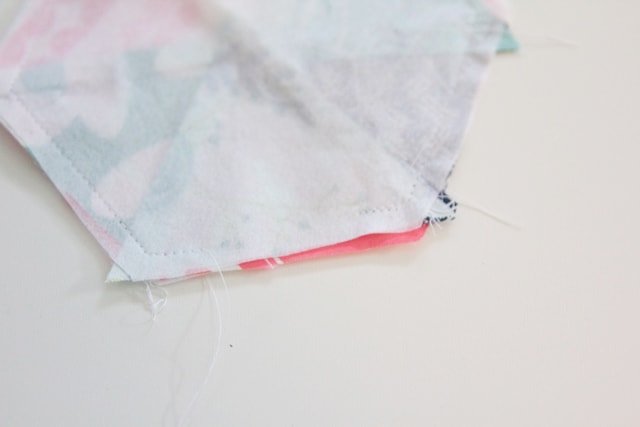
Pivot at each point and leave about 1-2″ open on one side.
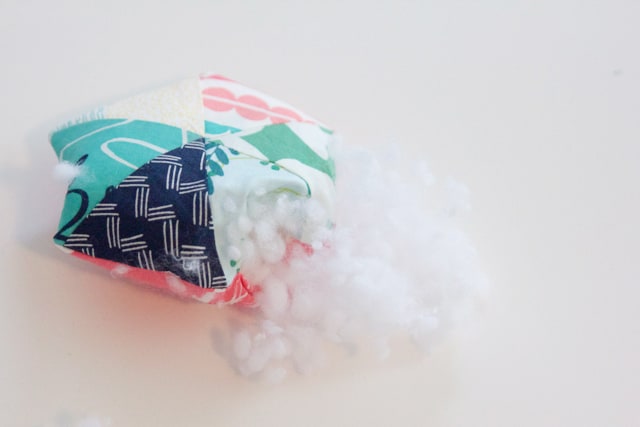
Turn and stuff.
Fold over 1/4″ on the opening and pin together.
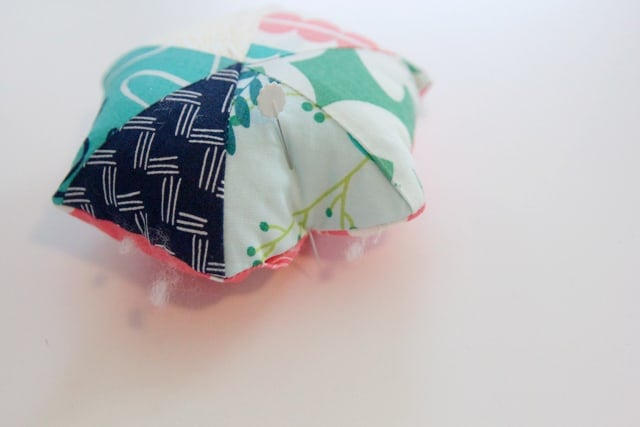
Use a needle and thread to sew together.
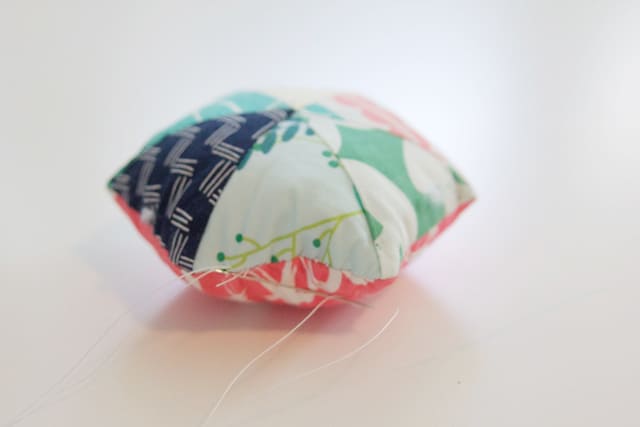
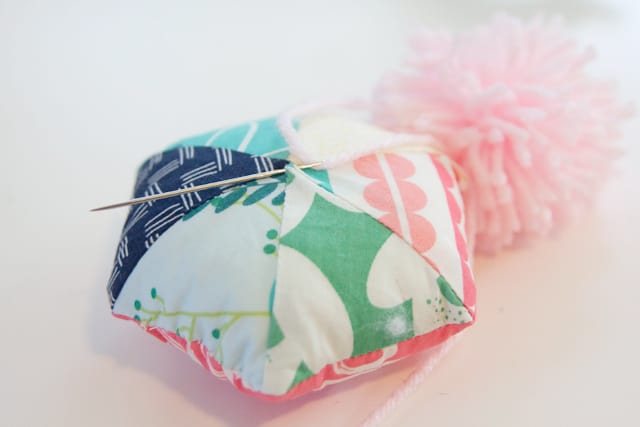
Attach the pom pom with a yarn needle. Tie the yarn tight and you’re done! I trimmed my pom pom a little bit after sewing it on, because I wanted to be able to see more of the fabric prints.
Stick in some pins and keep sewing!







This is so cute :)) I will definitely sew one for myself! Sophia
http://www.littlesewingmachine.blogspot.de
Fun project. My son has informed me that he needs one of these, since he is oddly anti magnetic cushion, though he did veto the pom-pom because he was worried the cat would claim it. Probably a fair concern lol. We’ll have to dig through his scrap bucket!
Kate
These are just adorable.
I just have to share them on my FB page. I know so many young sewers looking for starter projects to gain confidence with – and this is perfect for them!
<3
Pia
loooooove!!! I’ve got a Craft Gossip post scheduled for this afternoon that links to your tutorial: http://sewing.craftgossip.com/?p=83598 –Anne
LOVE these adorable pin cushions, Kate! Thanks so much for the tutorial and for sewing them out of Happy Home Fabrics =)
Sew cute! Can’t wait to make one! Thanks for sharing :)
The cutest pin cushion ever! I love the fabric you used and the pom pom is just perfect!
Thank you so much for the great tutorial! They are so cute! Great way to use little pieces of fabrics and nice gifts for friends and yourself.
Thank you, :)!