This post, DIY Mermaid Costume, is sponsored by Cricut!
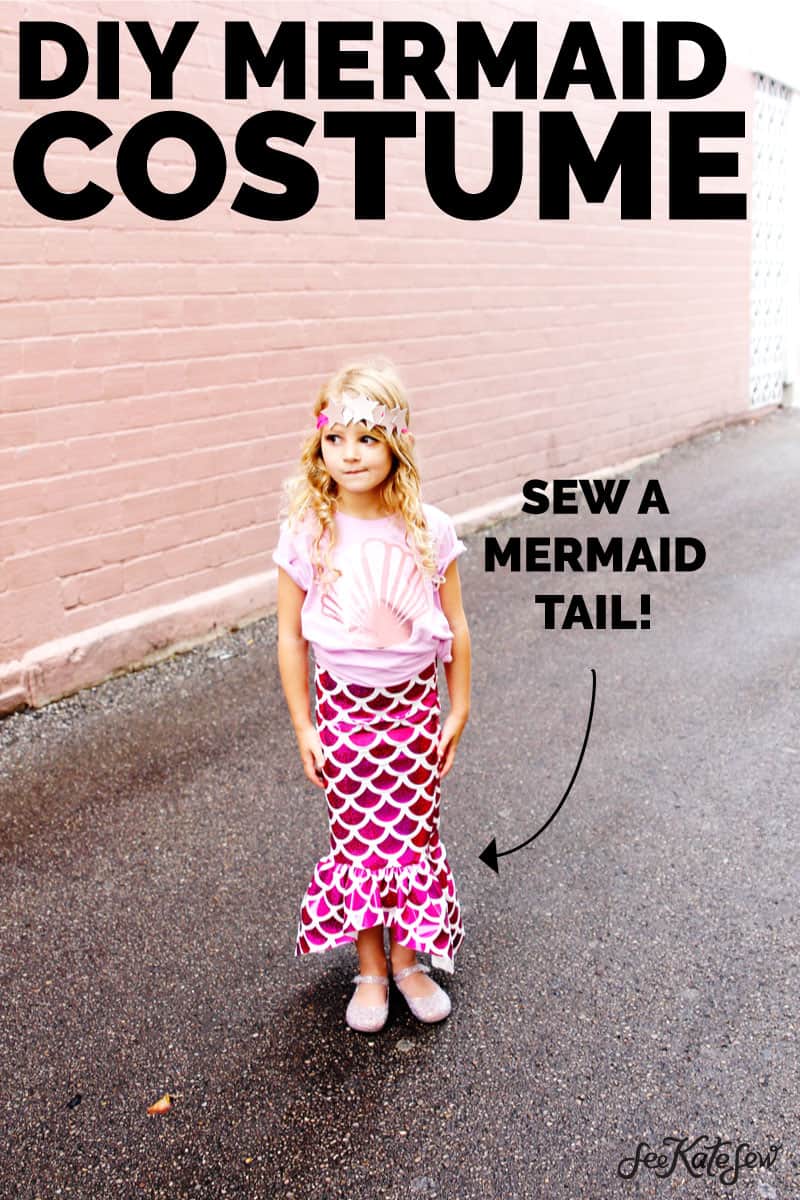
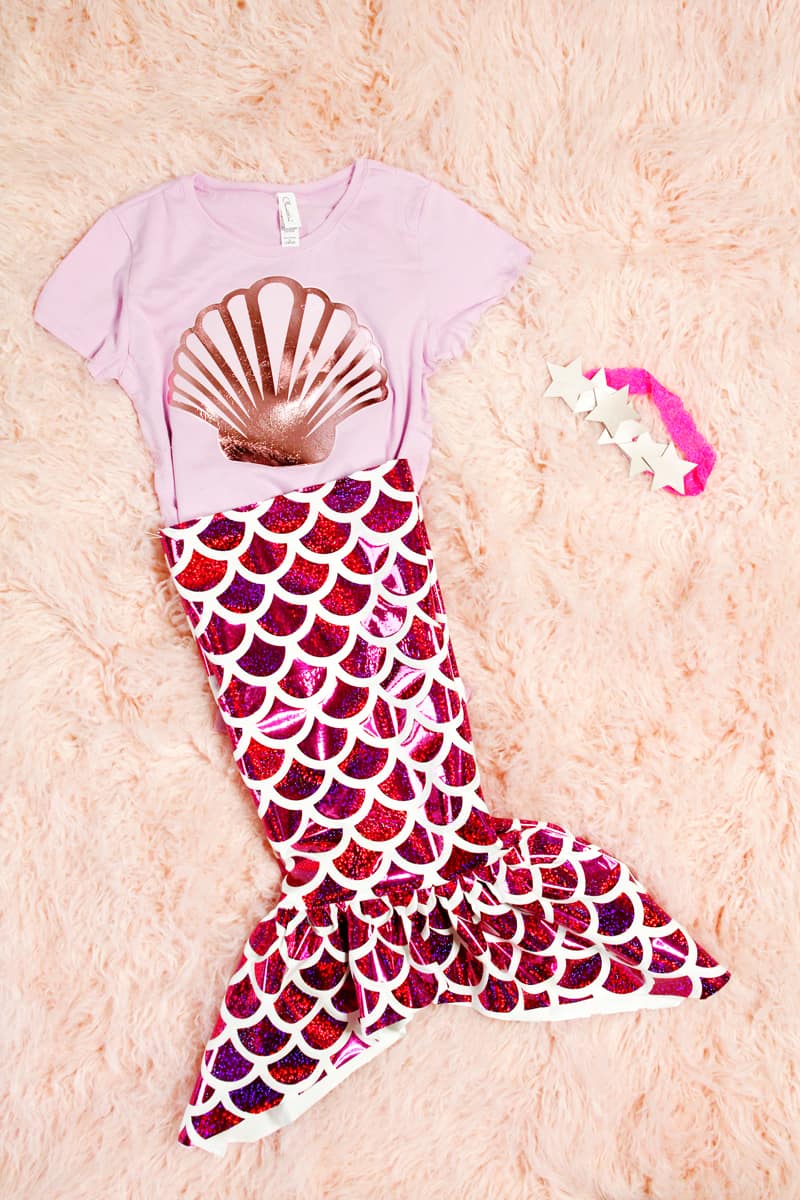
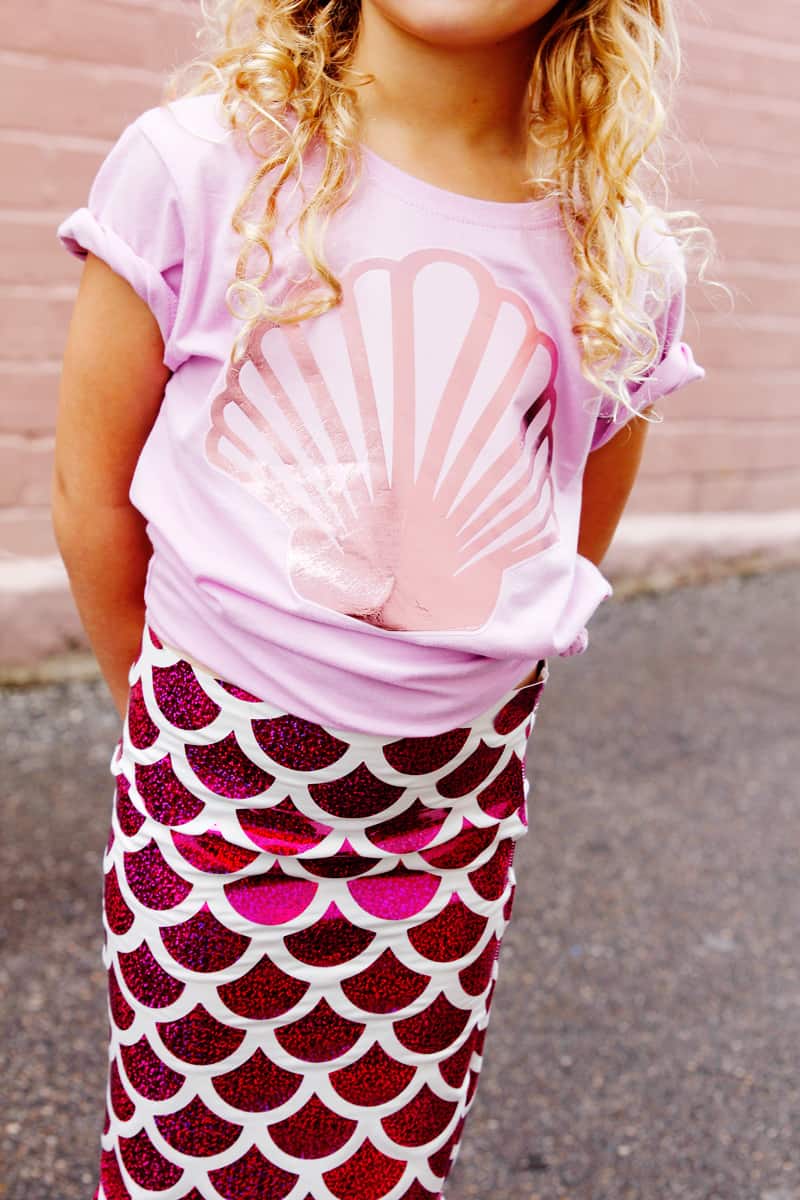
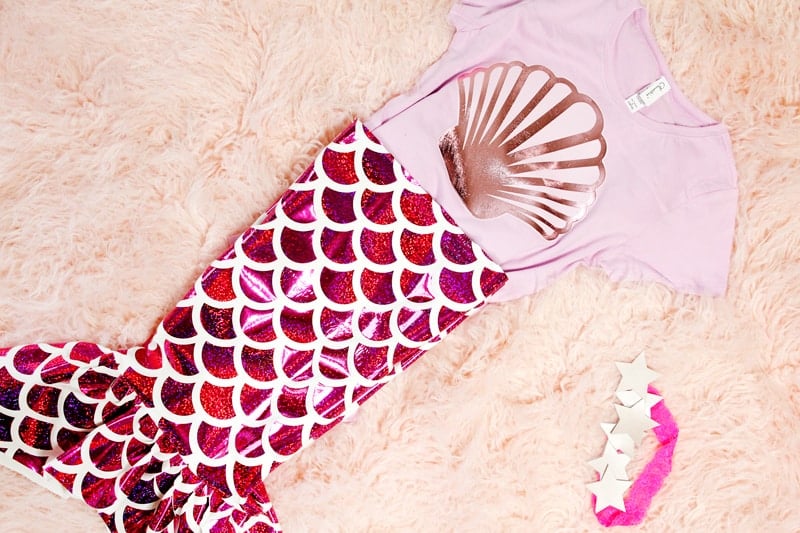
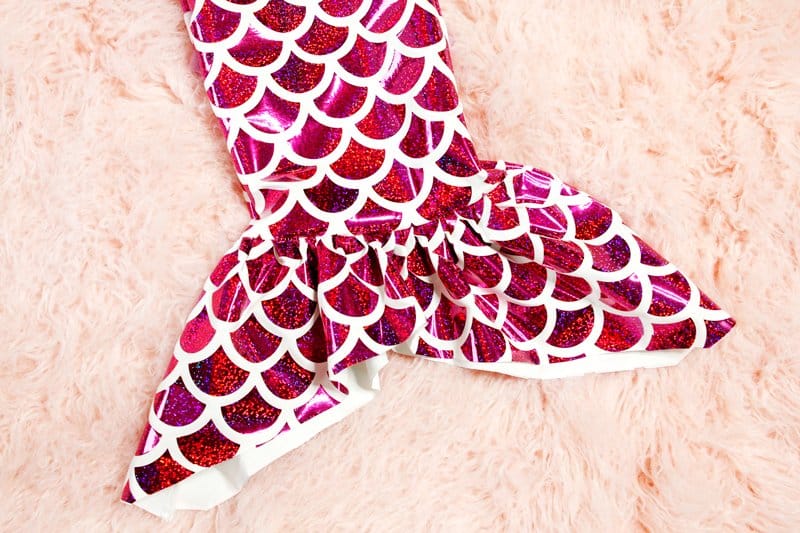
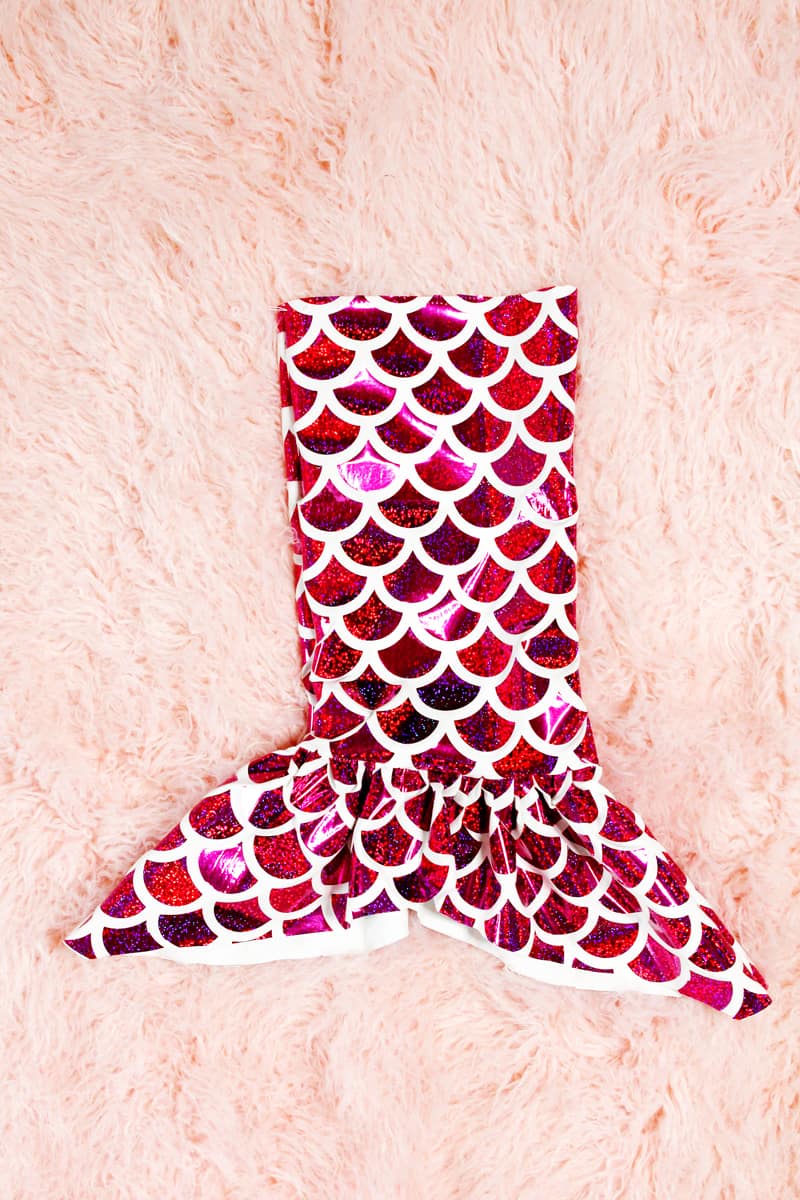
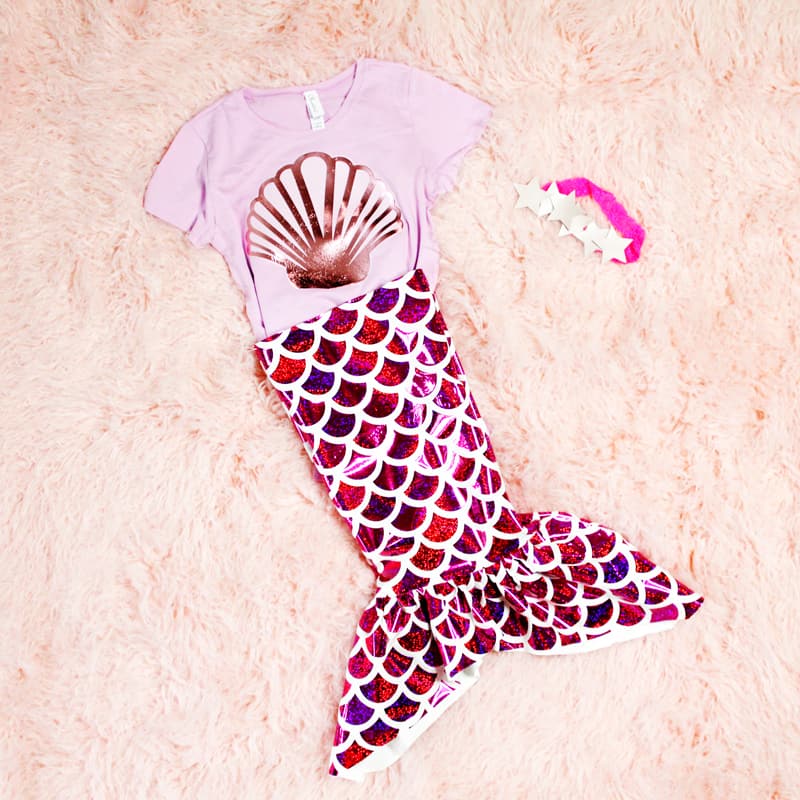
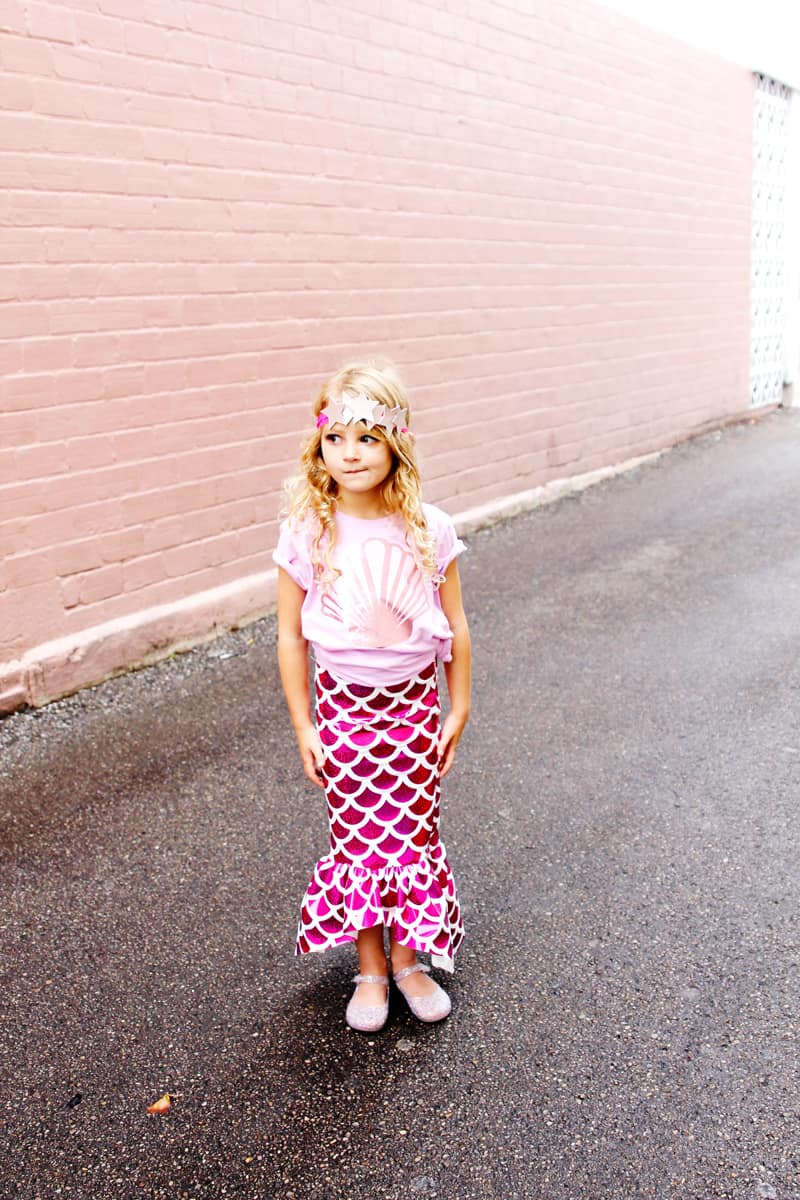
Halloween is the PERFECT time to try something new when it comes to sewing! And this project is super fun – I used Cricut Iron-on Vinyl to create my own glam mermaid fabric to use to sew the perfect DIY mermaid costume! This handmade mermaid costume is 3 pieces – a top, a mermaid tail skirt and a leather headband. The main piece of the costume is the holographic fabric skirt – and the secret about it is that I MADE THE FABRIC WITH THE MAKER and the new Cricut EasyPress 2!! You can find mermaid fabric on the market, but making it yourself makes it totally customizable. You can choose the colors, shine factor, etc. The base fabric can be a color if you want (I used white!) and the iron-on vinyl gives it enough stiffness to really be scaly – this technique would also be perfect for cosplay costumes! The top of the mermaid costume starts with a basic tee, so it’s a quick make! And just for fun we added a starfish headband to top it off! All-in-all this handmade Halloween costume wasn’t hard and it was really fun to make!
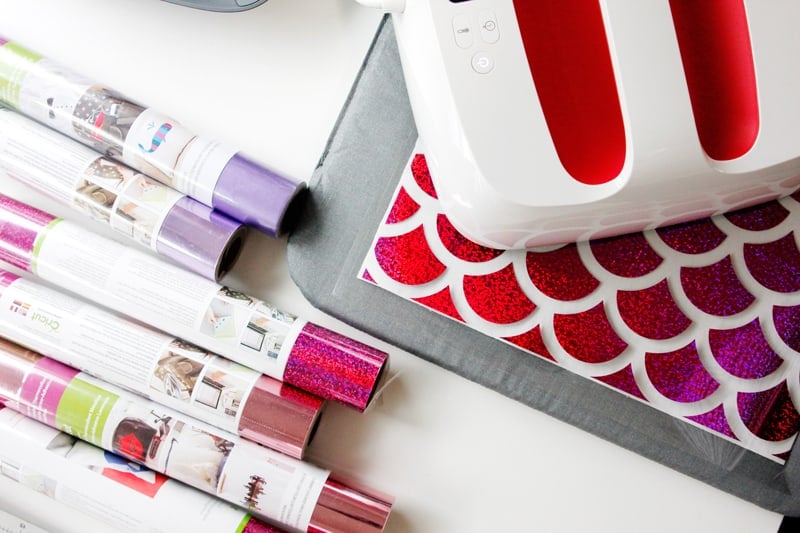
This costume can be made with any colors, so you can make it a specific mermaid, or just a generic one! I used the Cricut Maker and Cricut EasyPress 2 for the project. The Maker cut the holographic vinyl and even leather for the project! The Cricut EasyPress 2 is essential for this costume! Since we are adhering so much iron-on vinyl to the fabric in larger pieces, I used the largest size of the EasyPress 2, 12″ by 10“, in the cutest raspberry color! I’ve been using an EasyPress for over a year now and it has totally changed the way I think about and use iron-on vinyl! I was always nervous to use iron-on vinyl before because it was tricky to get it to adhere evenly, etc. With the EasyPress 2, the flat ceramic plate heats evenly, quickly and has specific settings for every material.
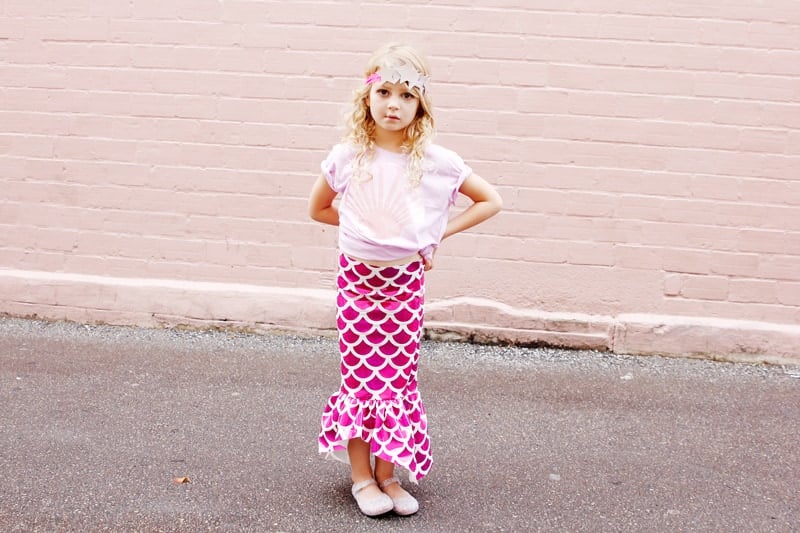
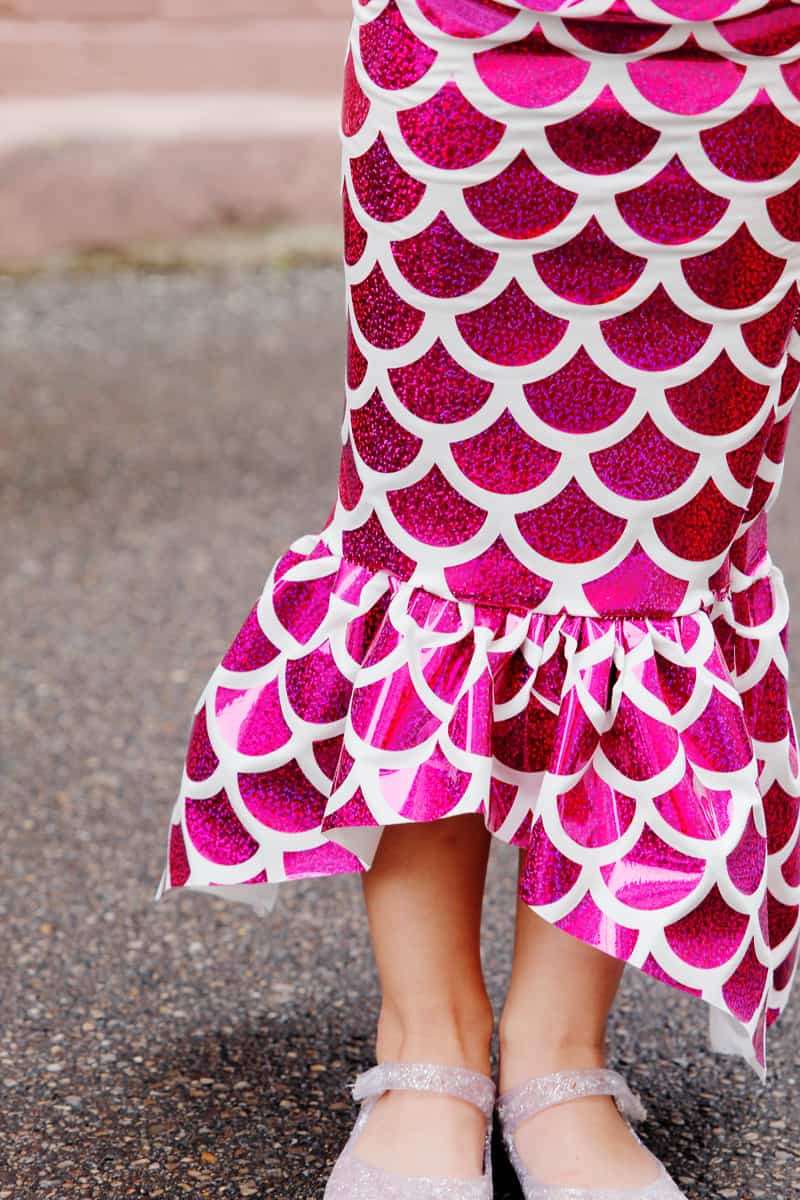
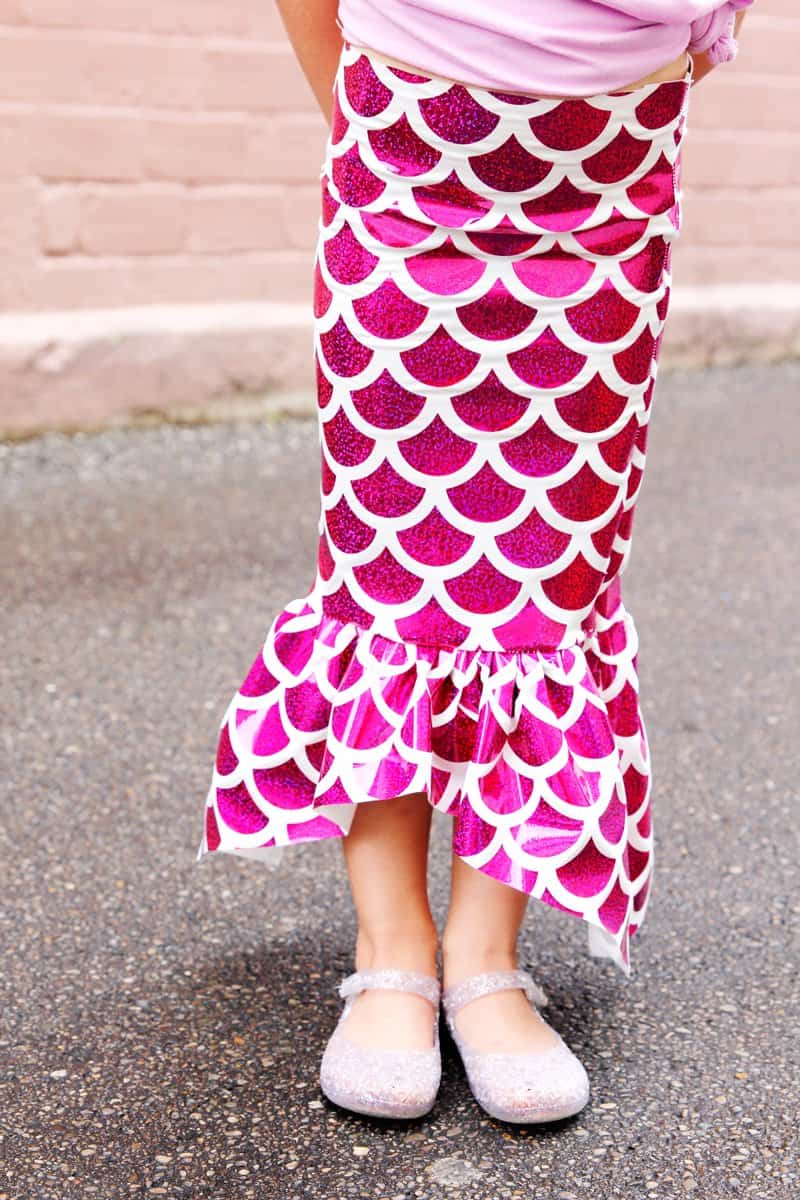
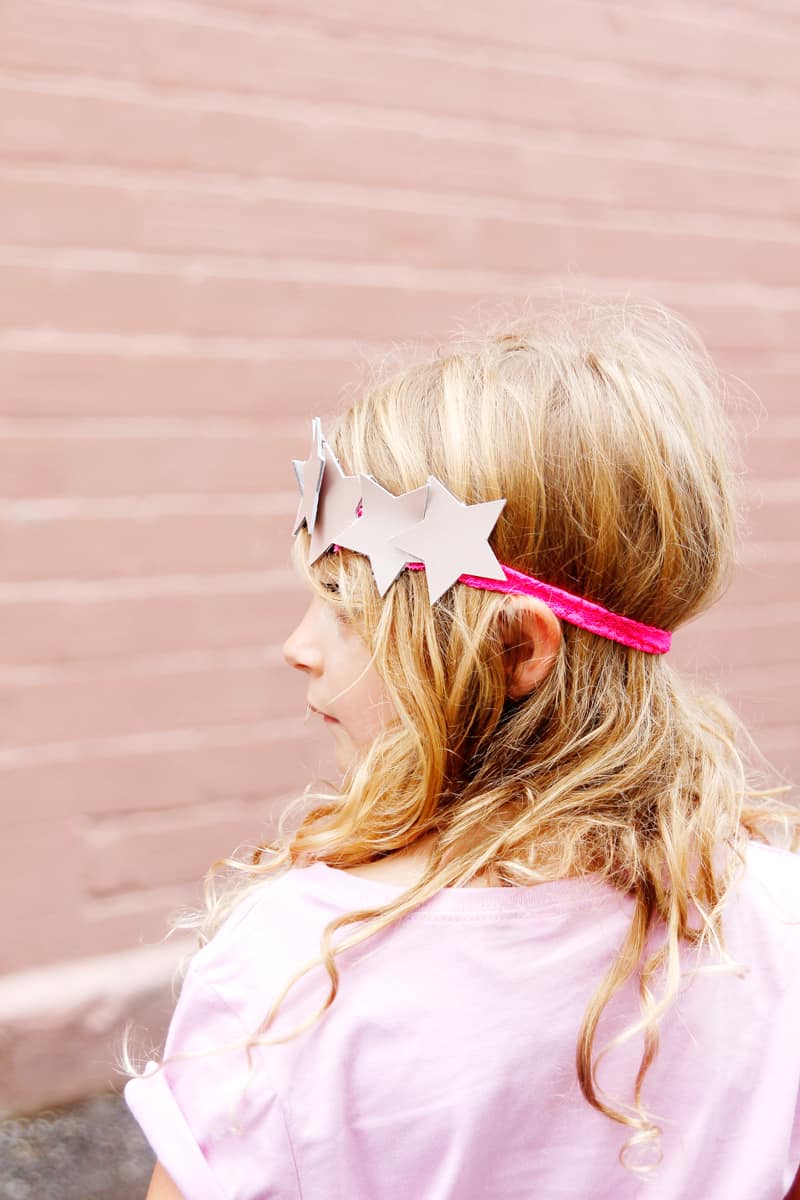
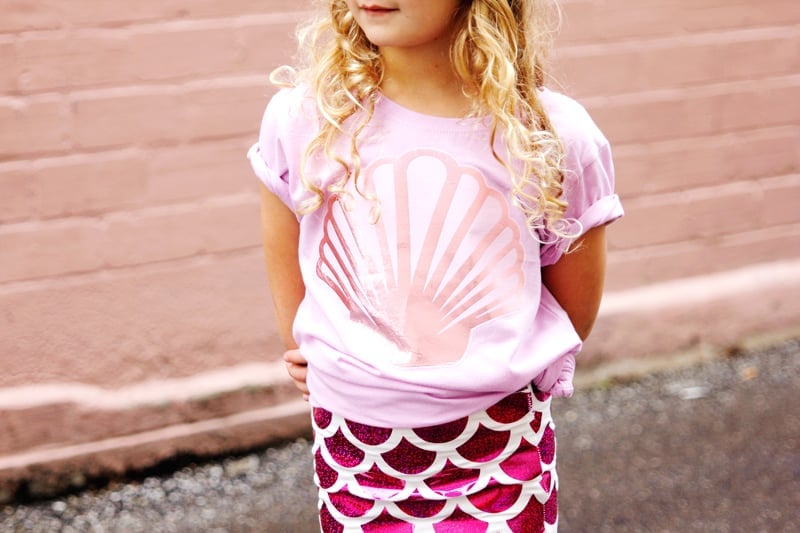
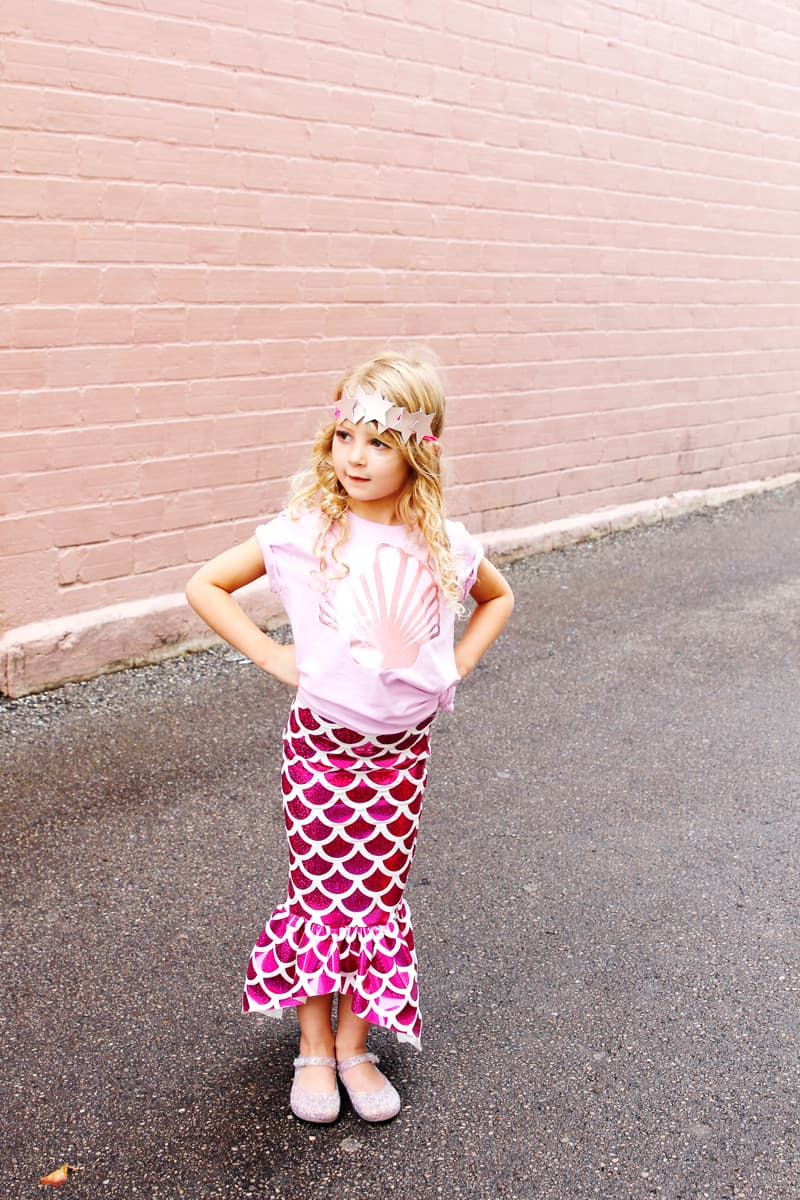
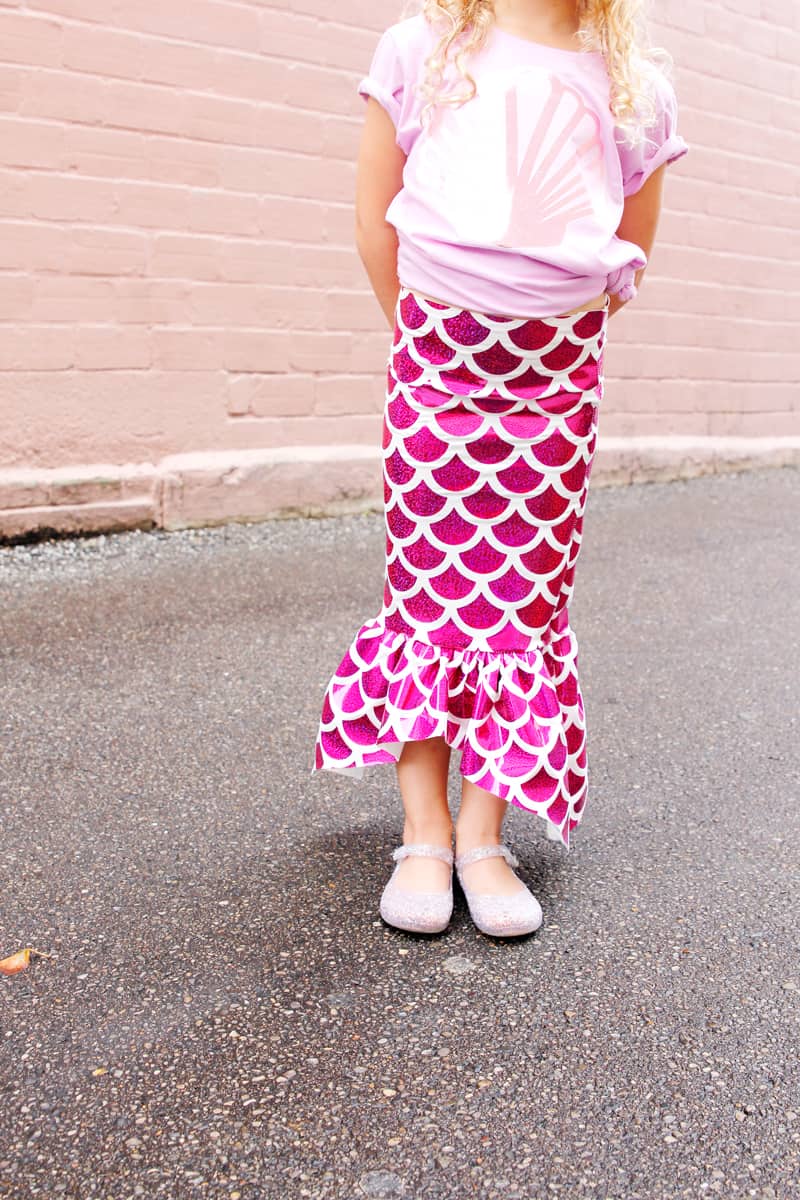
This is a costume your little girl will not forget! It’s so shiny and so mer-fect! Since the skirt is made with measurements, you can even make one for yourself or anyone!
I almost bailed on the holographic vinyl and used pink metallic iron-on but I’m SO glad I used the holographic. I think it is perfect for a mermaid and perfect for halloween. It has such a pretty coloration and turns ombre with the light. And, of course, it has the wow-factor my daughter loves!
Materials//
–Cricut Maker
–Cricut Knife Blade or Deep Point Blade for leather (depending on how thick your leather is!)
–Cricut EasyPress 2 & Mat
–Cricut Sewing Kit
SKIRT
–1-2 yards white knit fabric
–Holographic Iron-on Vinyl in Fuchsia
SHIRT
–lilac t-shirt
–Iron-on Foil in rose gold
–iron-on vinyl in light pink
HEADBAND
–1″ lace elastic
–Cricut Leather in Rose Gold
-glue gun
Designs//
–Shell Design for T-shirt Iron-on
–Star design in Design Space
–Scallop design in Design Space
INSTRUCTIONs//
Make the T-shirt >
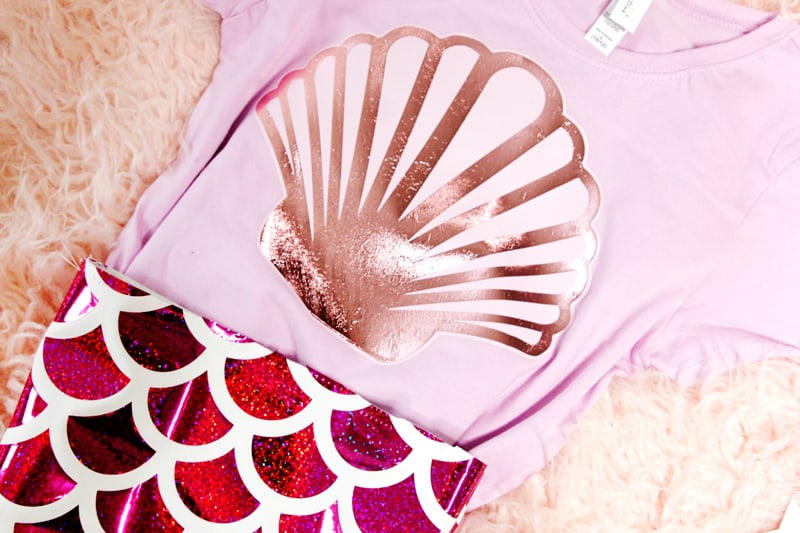
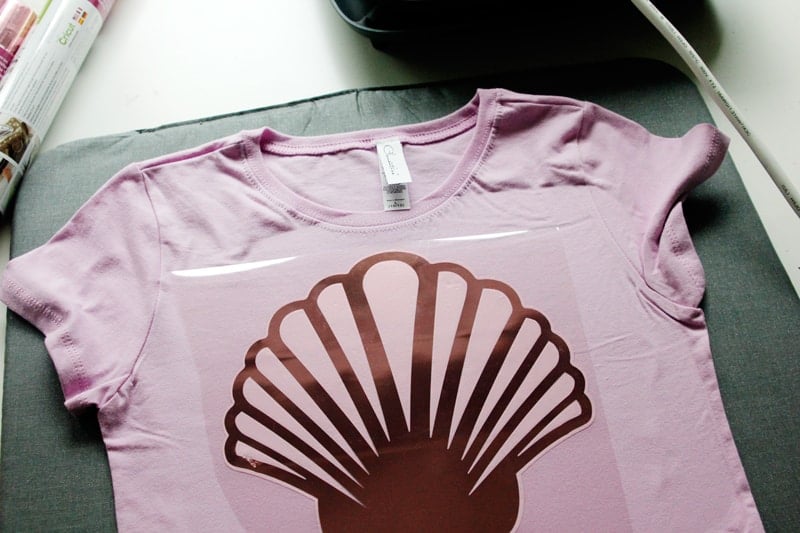
The top part of this costume is super easy – just a t-shirt with a cute iron-on design! The shell design is straight from Cricut Design Space, find it here! Instead of doing a traditional shell bra, I decided to do one big shell which is a little more appropriate for a little girl haha :).
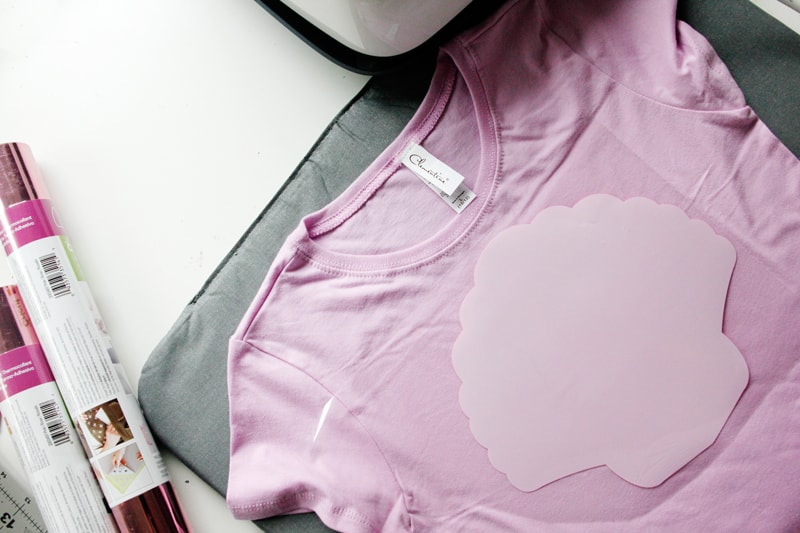
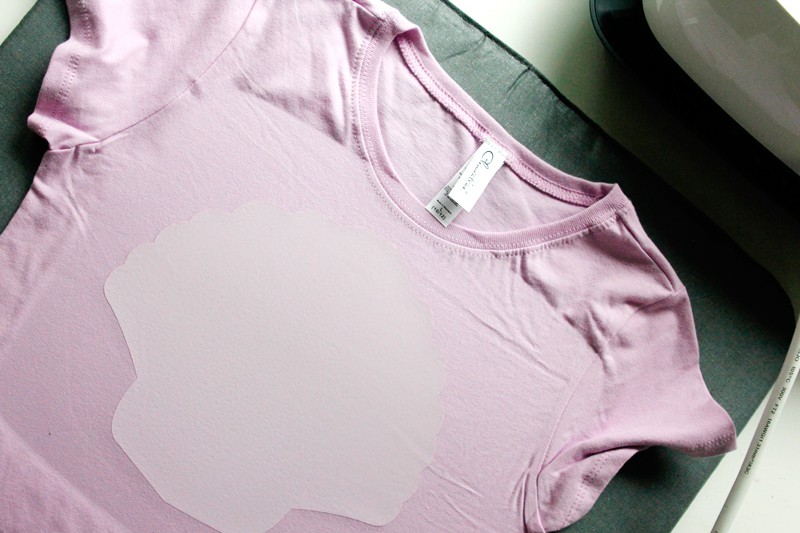
To make the t-shirt, use the shell design in Design Space. I resized the design and saved it so you can access it just how I used it. Cut out the back part from light pink vinyl and the top shell design from rose gold vinyl. Fuse them on using the Cricut EasyPress.
First place the shell background on the shirt, centered. Fuse it down with the EasyPress 2.
Then lay the second layer on top and fuse it again. I find that metallic vinyl needs more pressure but otherwise, it was simple to layer these two vinyls!
Make the skirt >
This is the funnest part of the costume – so much iron-on and its so pretty! I don’t usually use holographic iron-on but felt like this costume was the perfect chance to use it!
First we will cut out the pattern pieces from fabric and then cover them with the vinyl mermaid scales before sewing. To make the pattern, we’ll use measurements from your child. We’re not adding ease here besides seam allowance since mermaid tails are typically tight. This will help keep the costume on also!
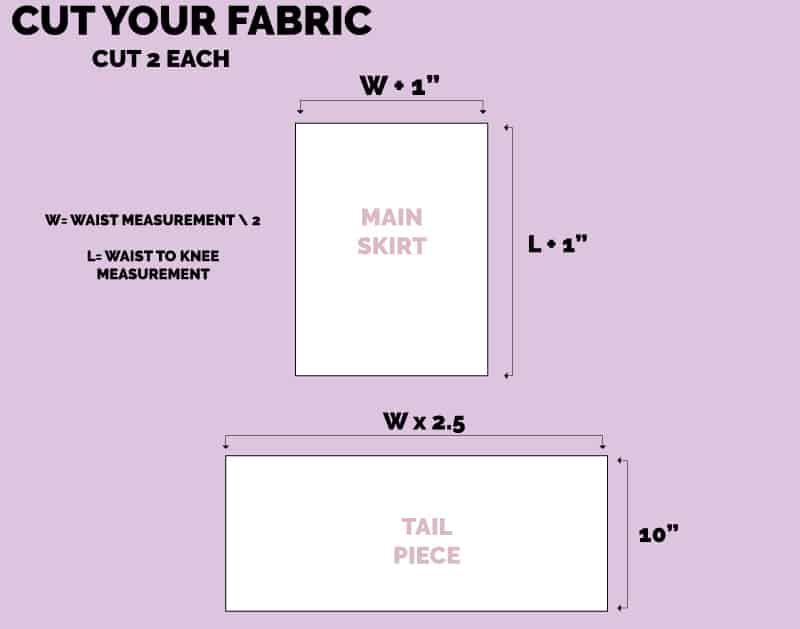
Fold the tail pieces in half and cut out the center creating a curve. Start about 3″ from the raw edges and create a curve that goes about 5″ high in the middle. Cut the fabric out.
Now we will cut the mermaid scales and fuse them on!
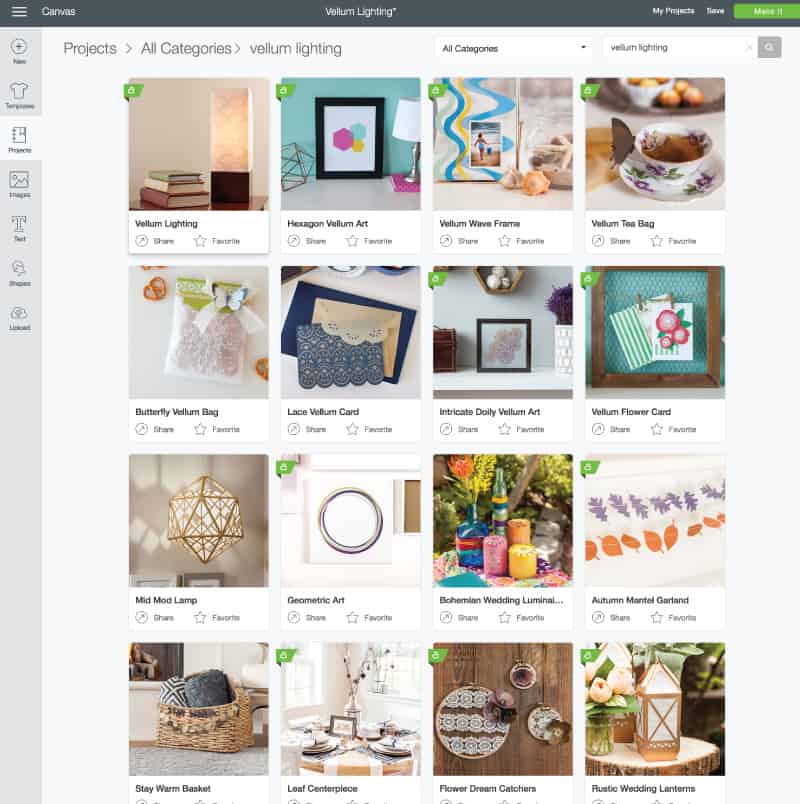
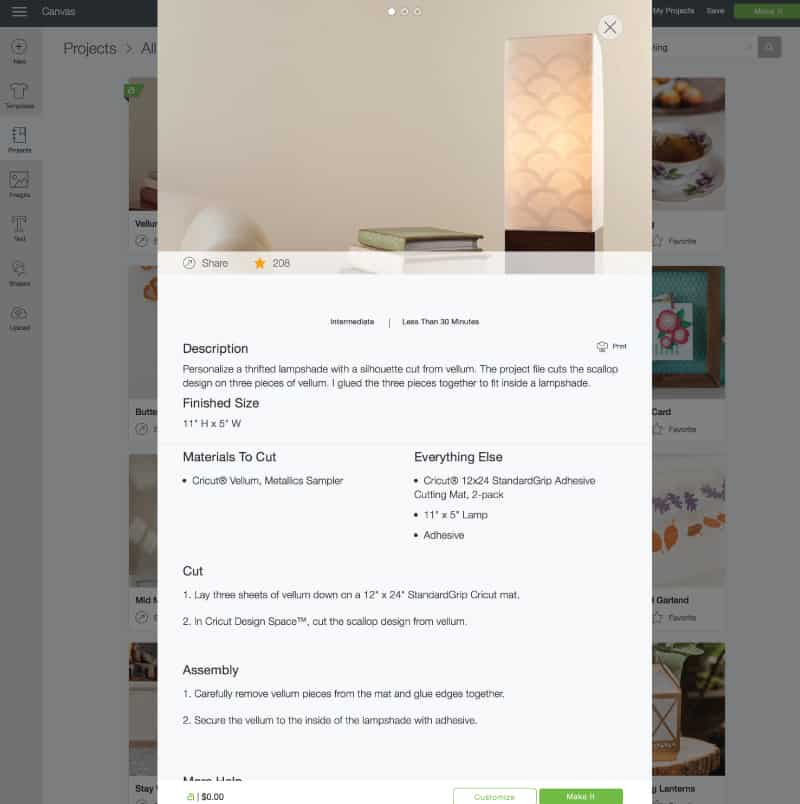
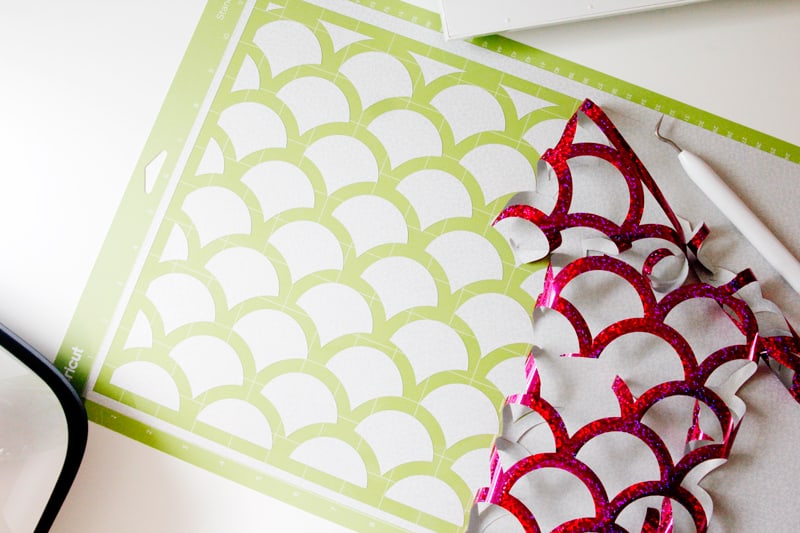
I actually used a Vellum Lamp project on Cricut Design Space because it had the perfect mermaid scales design! I’ll show you how I did this so you can apply the same technique to any other design in Design Space. But I also saved the mermaid scales in the exact size I used in this Cricut Community Project so you can get them exactly right!
Pull up the Vellum Lighting project and click Customize.
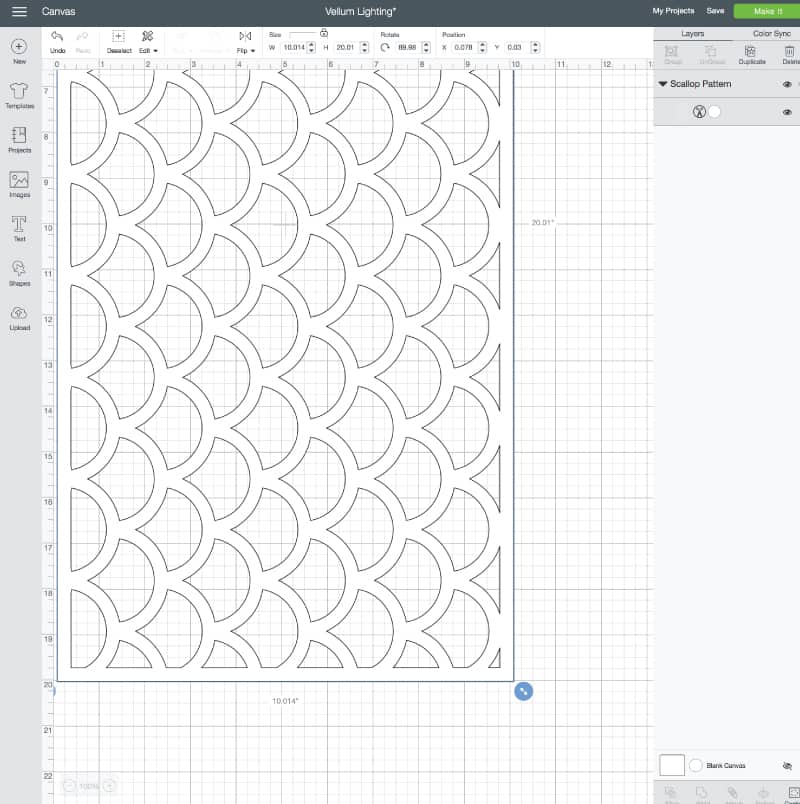
Resize the mermaid scales so they are as big as they go – the canvas can extend up to 11.5″.
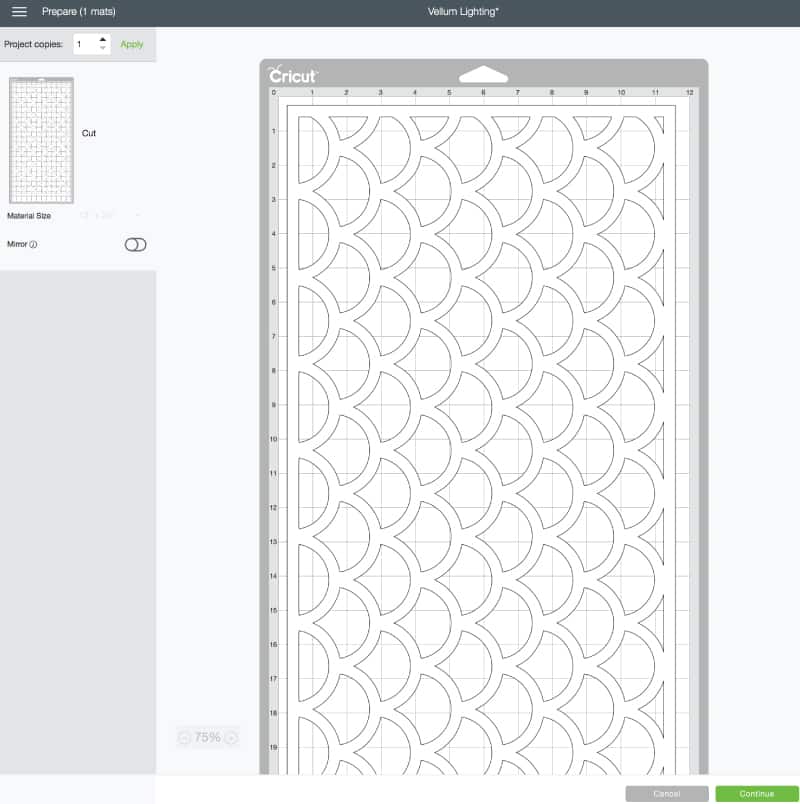
Proceed to the next screen to set up the mats.
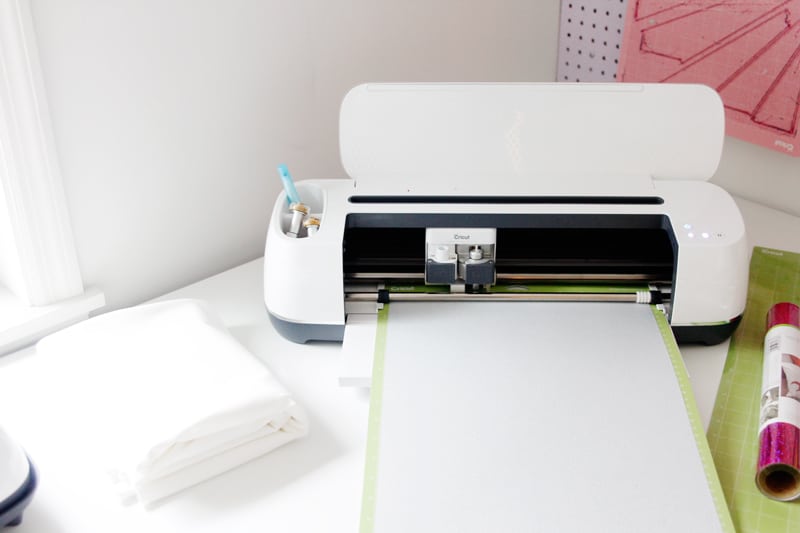
Roll the iron-on material face down on your mat.
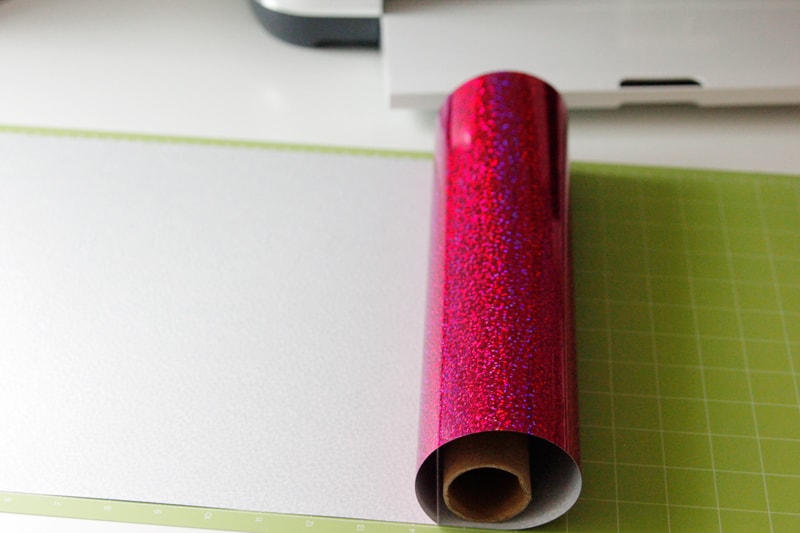
Load it into the machine as prompted and cut!
Weeding this design is super easy since the white space is all connected.
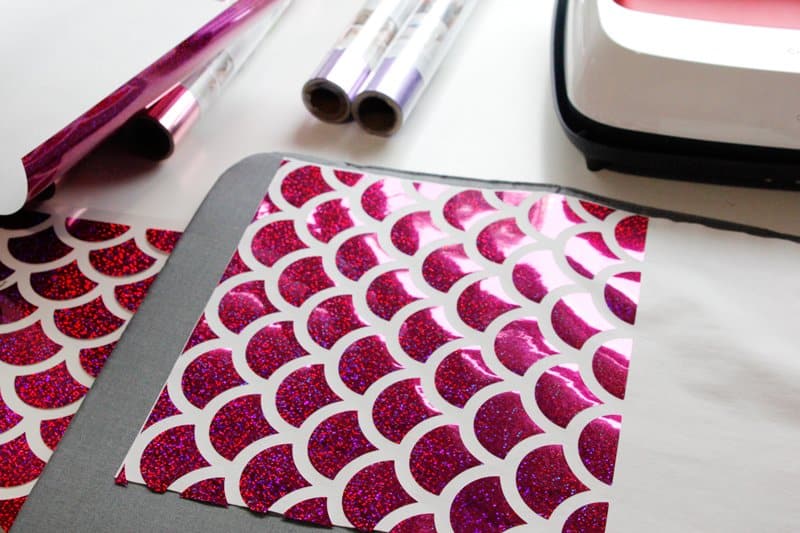
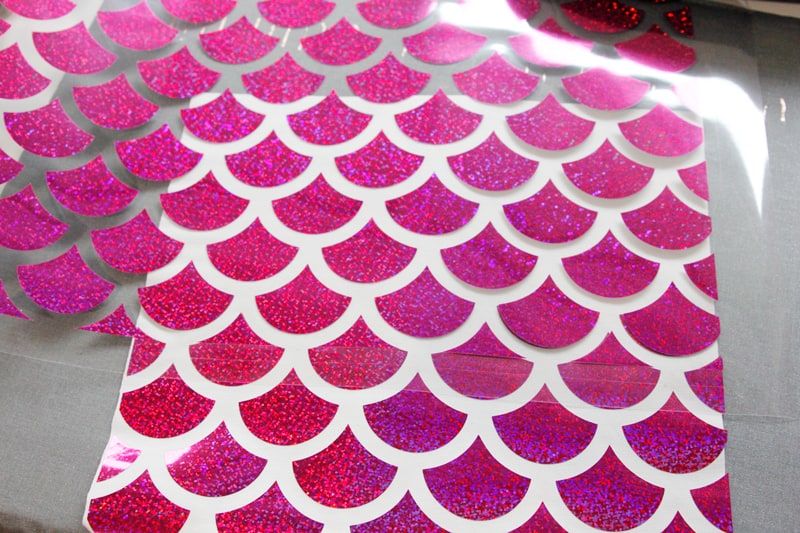
Then use the EasyPress 2 to press it to the fabric pieces. You will have to do this in sections since the mermaid skirt fabric is too big for the design.
Heat the back for 5 seconds after to let the vinyl adhere a little bit better. 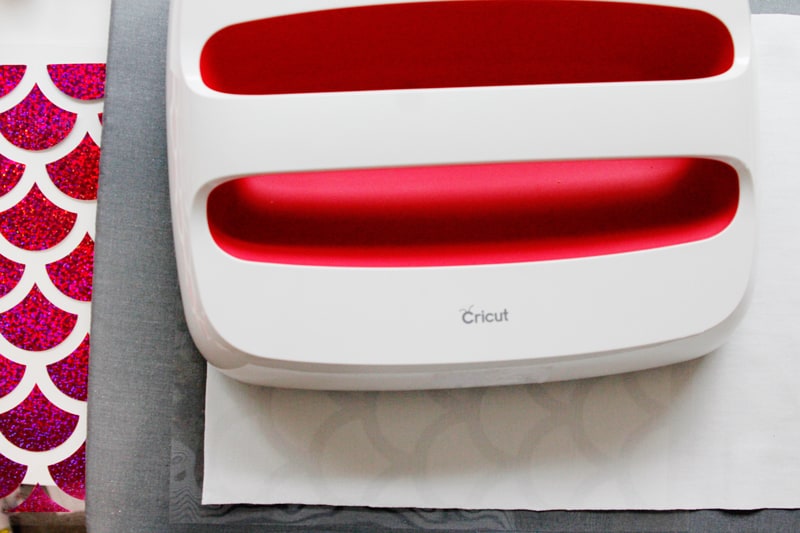
To continue the fabric in sections, match up the scallops so they overlap. Do this until you have finished covering them!
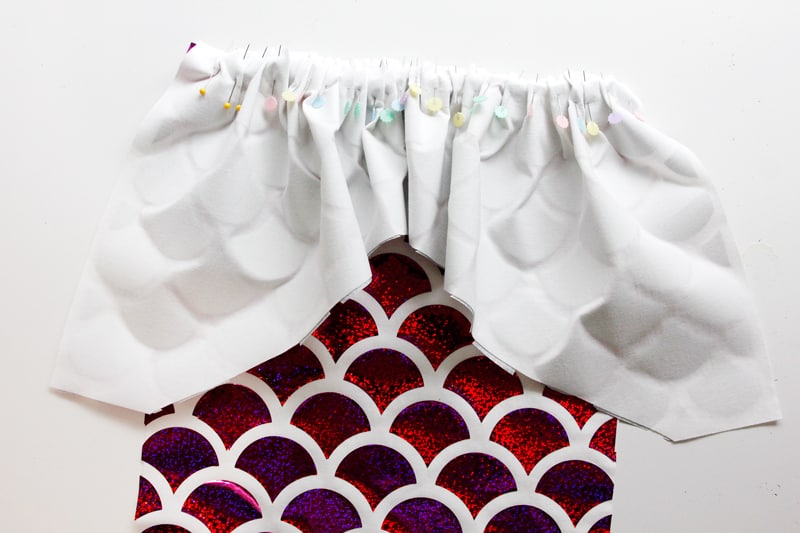
*NOTE: I learned from experience that this holographic vinyl isn’t super easy to sew through (go figure, hah!) so when fusing the design onto the fabric, avoid the 1/2″ seam allowances on the sides and top and bottom.
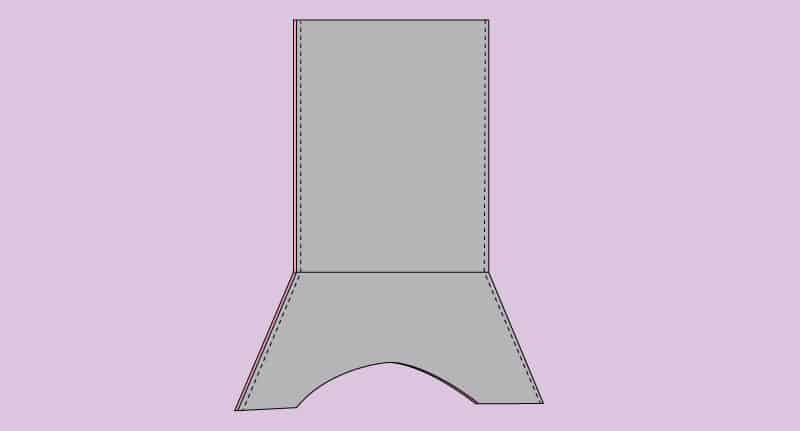
Now we’ll sew it together! Place the tail piece face down on the skirt piece and pin them together in the center. Create little pleats from the center to both sides, matching up the side seams.
Sew.
Repeat with the back pieces and then sew them together along the side seams, right sides together!
Make the HEADBAND
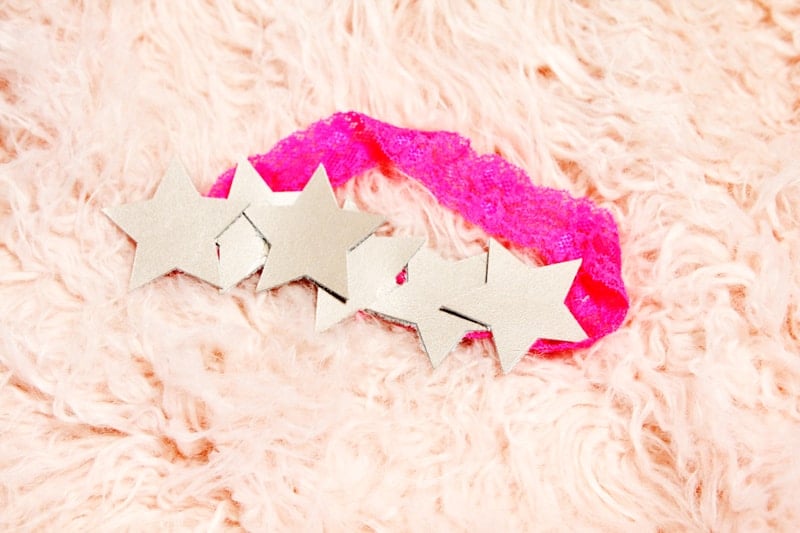
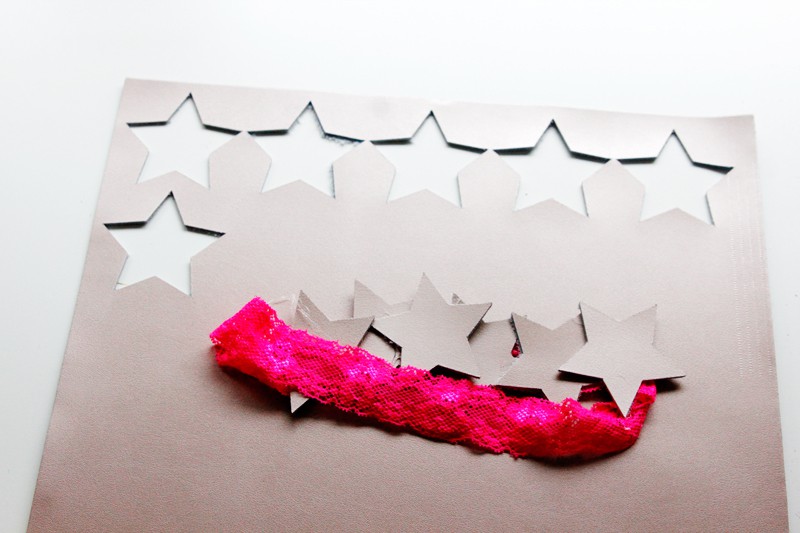
To make the headband, cut out 5-6 stars using this design in Cricut Design Space. Use a glue gun to adhere them to lace elastic.
My daughter is in love with this costume! I think it will become a dress-up box favorite after Halloween!
This is a sponsored conversation written by me on behalf of Cricut. The opinions and text are all mine.





I’ve saved this design. My 6 year old is all things mermaid and unicorn and I need ideas for the upcoming birthday. Very simple design and something I hadn’t thought of yet. So thank you for sharing.
Also, your daughter’s eyelashes are looking so beautiful. God bless your family. :)
About how much htv did you use to complete the skirt?