Snag the Maker in this Maker Everything Bundle on sale right now!
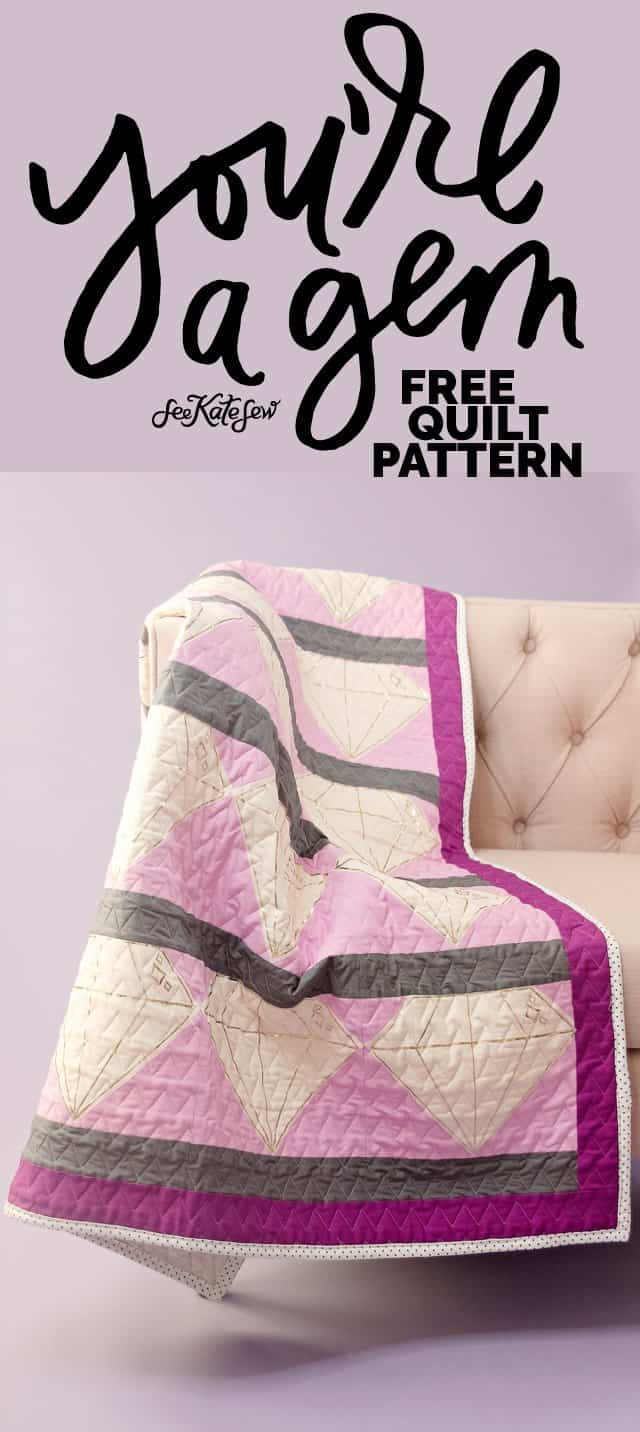
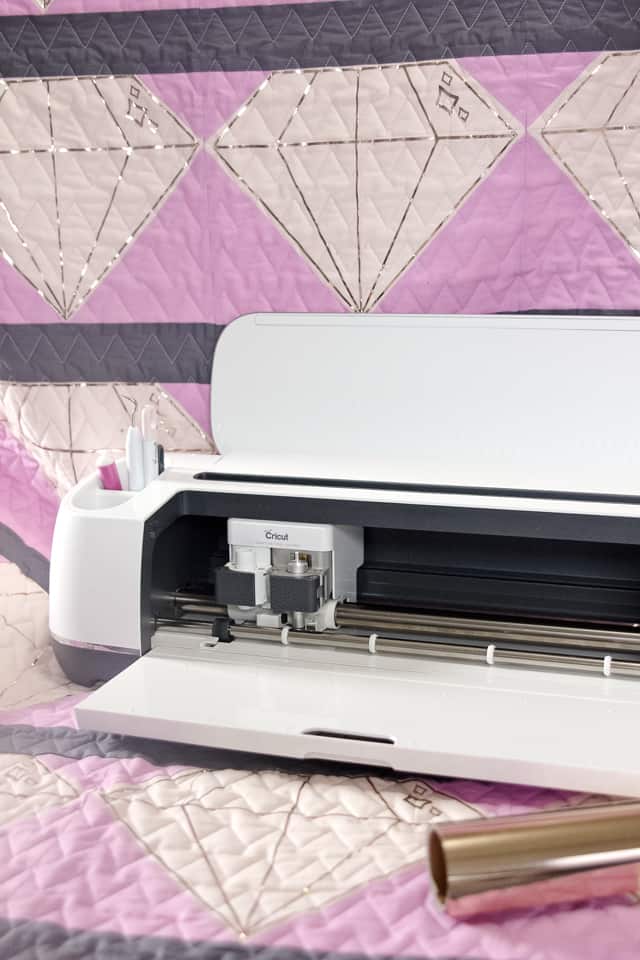
Hey friends! I’m SOOOO SEW excited about today’s post because I’m launching a new series! I’ve been itching to get more into quilting for a long time now, but the Cricut Maker pushed me over the edge. As soon as I heard about this machine I knew it was time, in fact, I designed it the night after I found out about the Maker and it’s capabilities.
I couldn’t sleep until I had this drawn up. I’m thrilled that it’s finally here, and I’m sharing this pattern for free! (I think the Maker would look nice under your Christmas tree, wink, wink! The Maker EVERYTHING bundle is a super good deal right now!) ????
I’m introducing this fun series – Quilt Block of the Month – to the blog! Each month (or so) there will be a new quilt block! You can sew up lots of the same block to create one quilt OR sew 1 little block each month and then sew them all together as you go! The blocks are all the same size so you can mix and match them to create your own unique quilt.
Doing 1 block at a time is a fun way to quilt because you can practice different designs and techniques. It’s a great “sampler” for a new quilter or just a fun project for a seasoned one! And each month I’ll share an alternate project you can use the block for, stay tuned for tomorrow’s post where I’ll explain more about that!
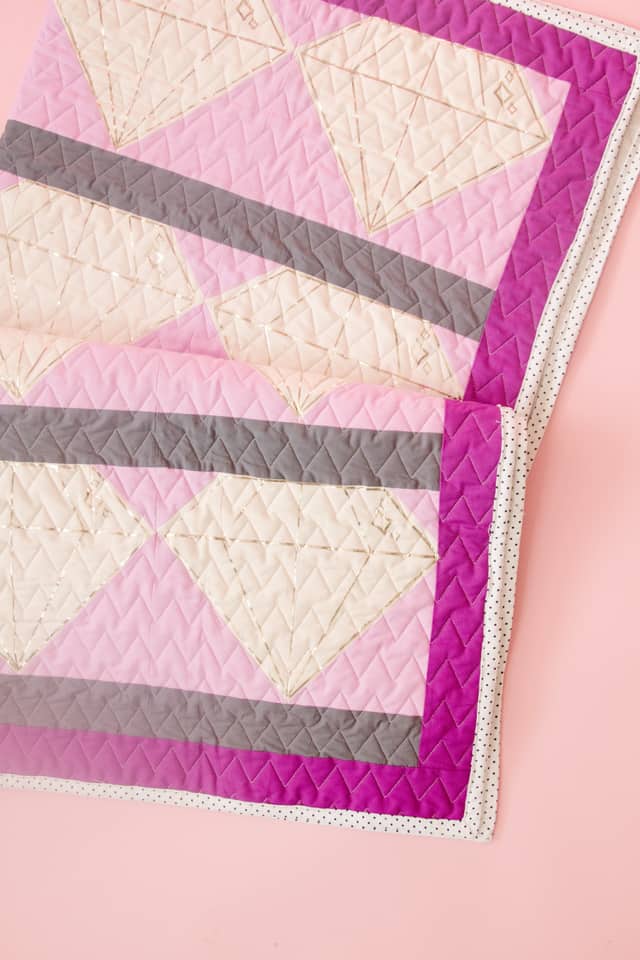
The Cricut Maker cuts out all the pieces for you so you just get to sew! It took a lot of the fear of quilting away from me. Not only does it cut down (cut – get it?! – so punny!) quite a bit of time, but it also creates super precise cuts. If your quilt cuts are just a bit off the quilt gets wonky fast, which is no good and totally intimidating! So with those two factors out of the way, quilting sounds super fun and your finished project is bound to be great. (oh my gosh, bound another great quilt pun!)
And since you’re not cutting the pieces, you can use non-standard piece shapes, which means more possibilities!
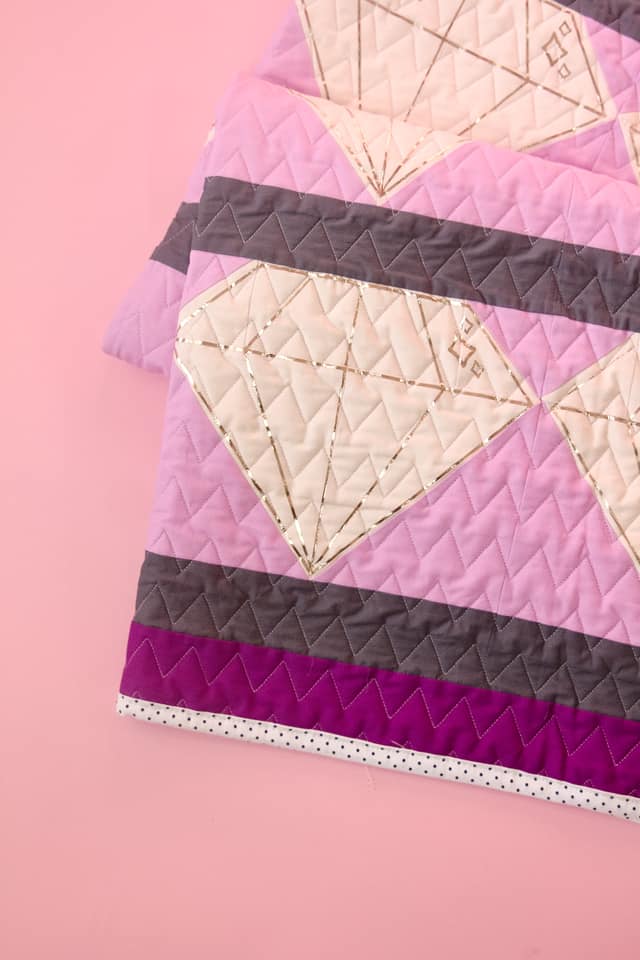
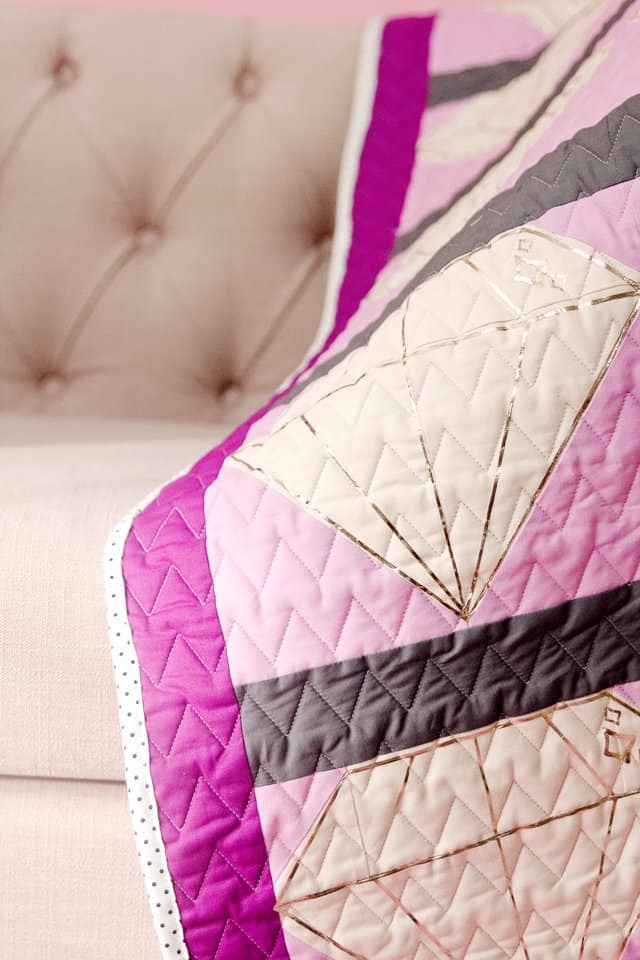
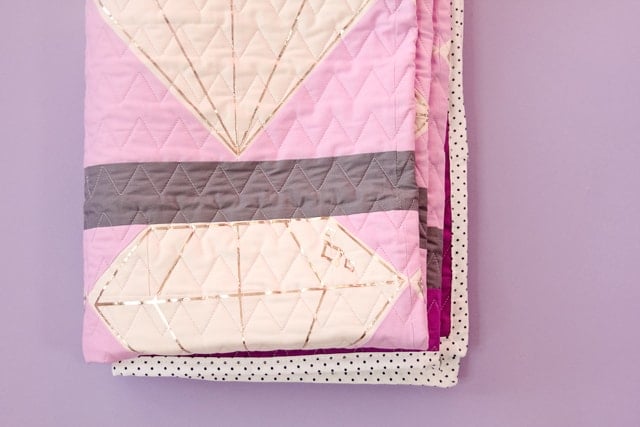
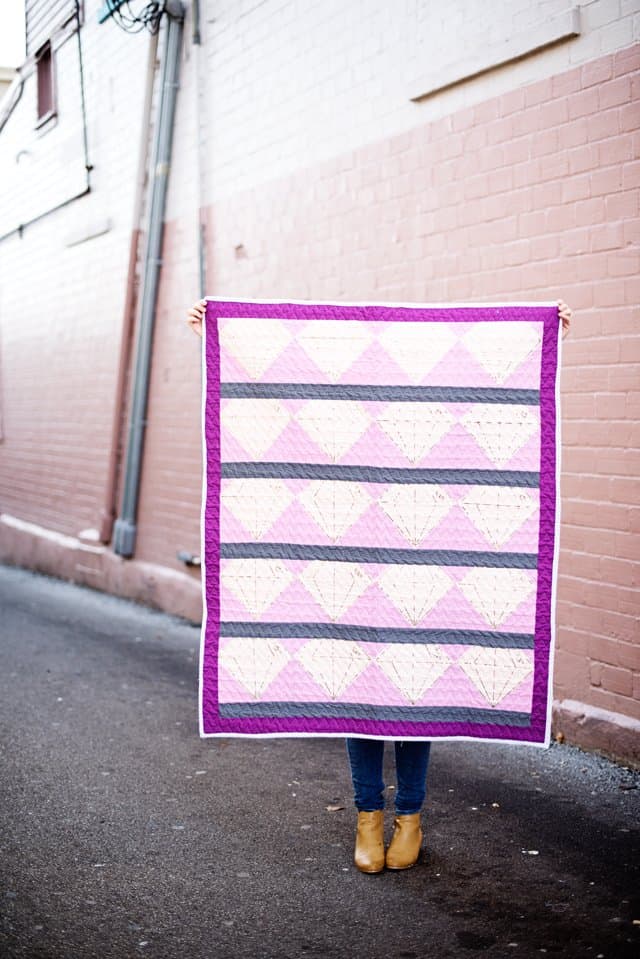
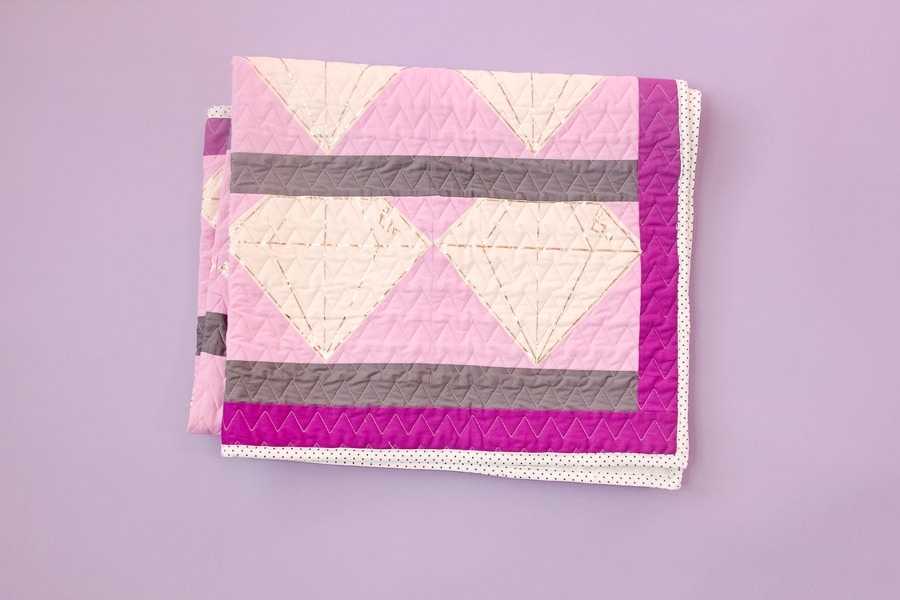
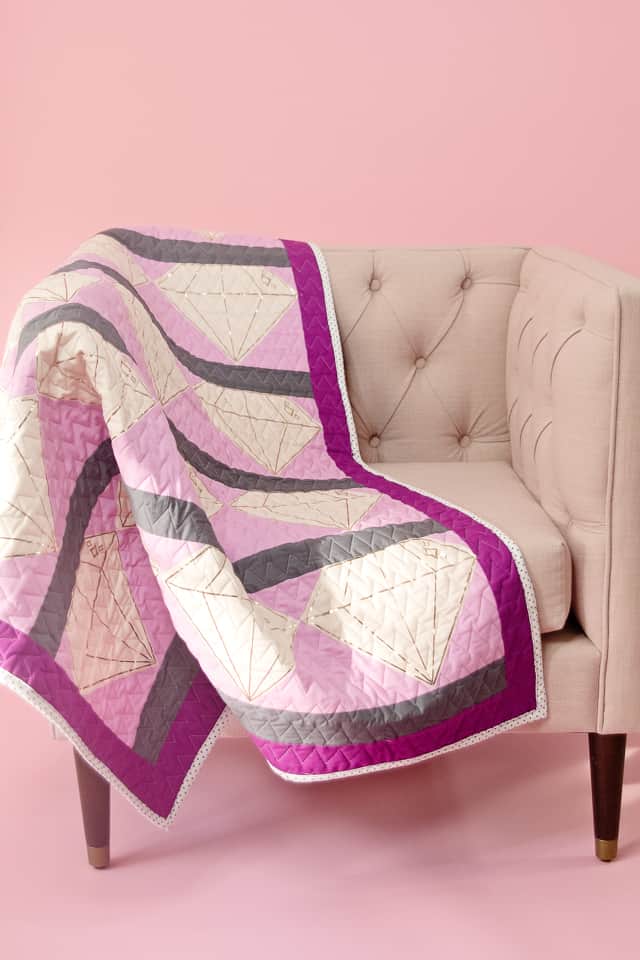
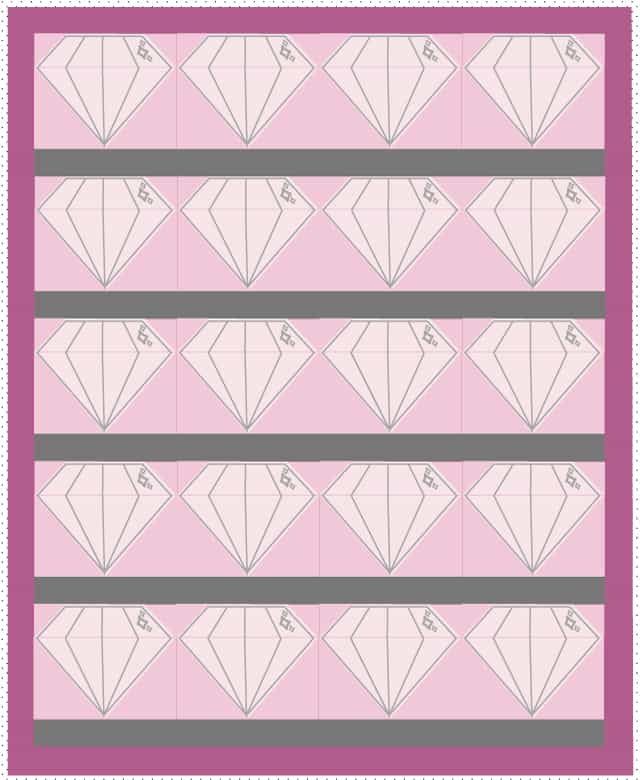
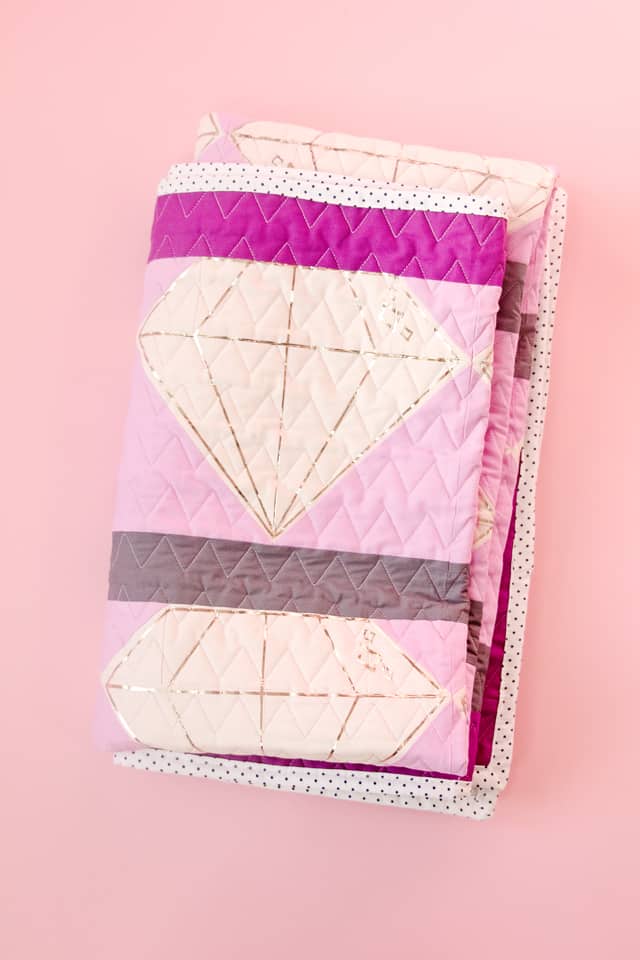
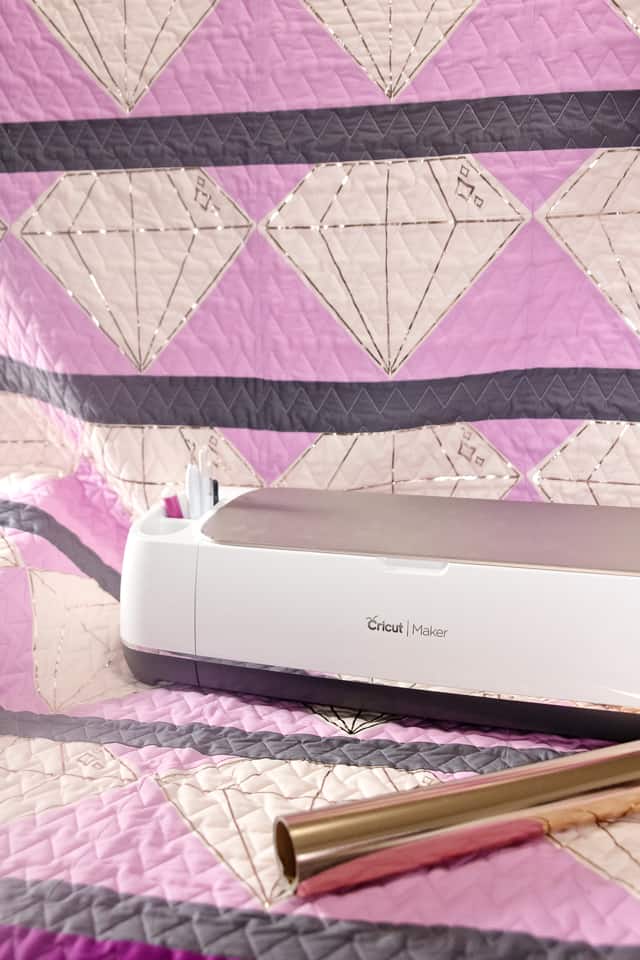
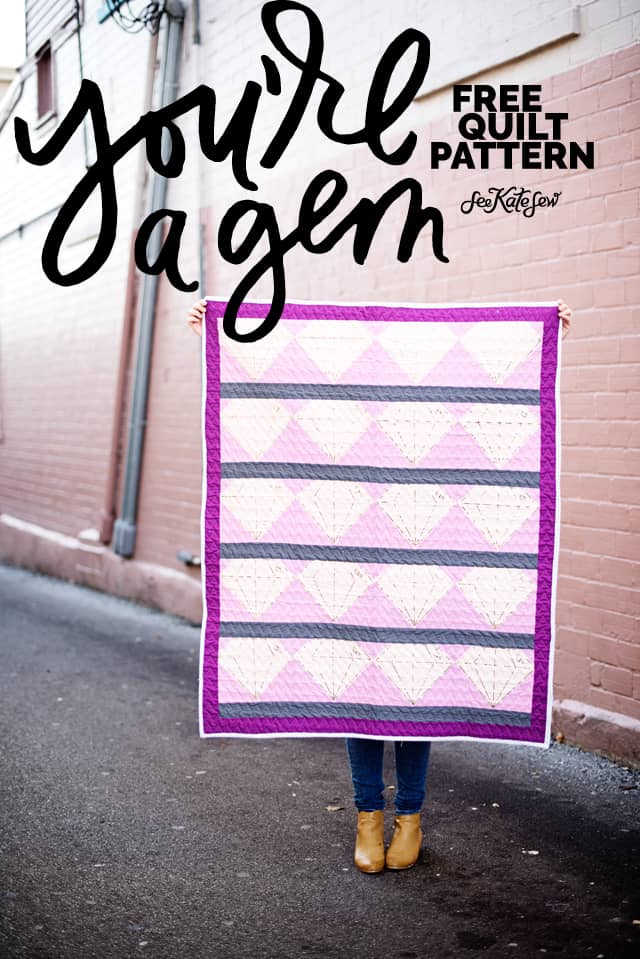
This quilt block is called the You’re a Gem Block and 20 of them create a baby or throw quilt! These little diamonds are so geometric and so cute! I used pinks, purple and grey with a polka dot binding and think it’s just right! ????
I used Cricut Iron-on foil on this project which gives the diamonds a little glitz! Vinyl on a quilt??? This vinyl has been tested in washing machines over and over and over and will last! So it’s a mixed media project that can still function! Rose gold is my favorite color of iron-on. (Well, I’m partial to black as well, but this is my favorite foil.) I had a vision of a shimmery quilt and knew it had to happen. Iron-on over the quilted fabric took more effort than normal because of the thickness and creases of the quilt but it was worth it. I used the Cricut EasyPress to get the iron-on vinyl to fuse to the quilt. The foil is almost like liquid metal when you melt it on, it’s gets pliable and it’s really cool!
I think this quilt would be a great baby gift, or a fun throw blanket for a little gem in your life!
I’d love to see you share your blocks in the See Kate Sew Facebook group, so be sure to join the fun!
Ready to get started? This is a crib or throw size, but you can make more blocks to create a larger quilt.
Quilt Block measurements
Block Finished Size: 10″ by 10″
Finished Quilt Size Approx: 44″ by 55″
Gem Quilt Materials
-1.5 yard each Kona Cotton in colors:
- Kona Cotton Ballerina Solid
- Kona Cotton Flesh
- Solid Grey
–1 Yard Riley Blake Swiss + Dots for binding
-2 yards Kona Cotton Geranium Solid for border
-1.5-2 yards backing fabric (similar here)
-8 rolls Rose Gold Iron-on Foil
-You’re a Gem Quilt Files (svgs, jpgs, pdf, and overlay files)
Or sign up below to get a whole bunch of patterns to use in your crafting!
*Materials will make 20 blocks + the border, back and binding! If you are making one block, you can use scraps or reduce yardage significantly.
Block of the Month Tools
–Cricut Maker (this bundle on sale!)
–Cricut EasyPress (on sale!)
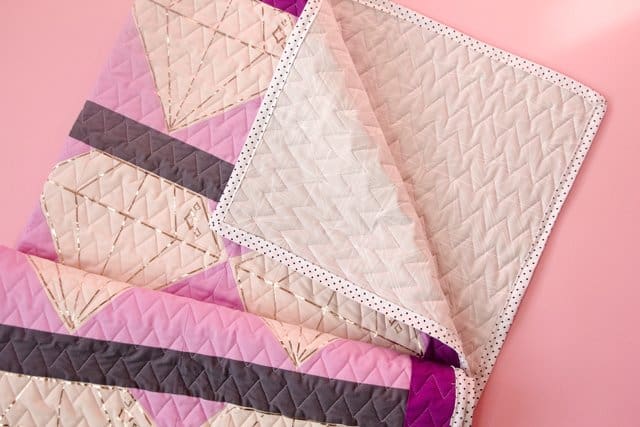
You’ll also need professional quilting services to get the best finish! CrinkleLove is a mail-in quilting service that provided the quilting for this project! It was a flawless process – mail the quilt in with the backing fabric and get it in the mail a few weeks later all pretty and quilted! Once it came back I just had to iron-on the rose gold foil (which is technically optional, but I mean so PRETTY!) and then bind it up! You can opt to send your batting in or just have CrinkleLove use theirs! When you are ready to send in your quilt, just fill out this form and send it to the address listed! This size quilt will cost about $40 + shipping!
Instructions//
All seam allowances are 1/4″.
Cut your fabrics!
Use the You’re a Gem Quilt Zip file listed above. If you’re using the PDF download you can use the pattern to cut your blocks by hand. These are not standard quilting block sizes, which makes using the Cricut Maker even better!
Each block requires:
2 background triangles small (A)
2 gem small triangles (B)
1 gem rectangle (C)
2 background large triangles (D)
2 gem large triangles (E)
1 grey base (F)
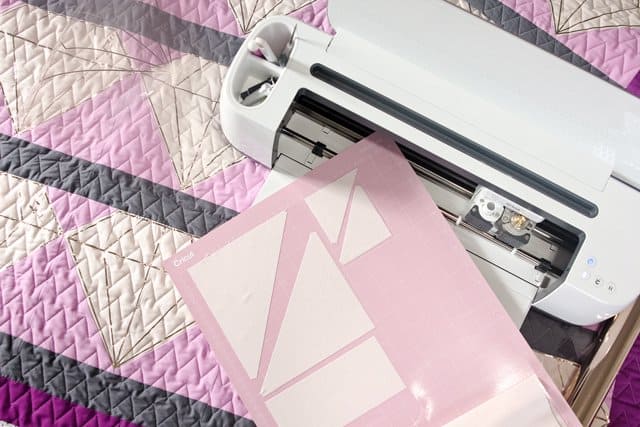
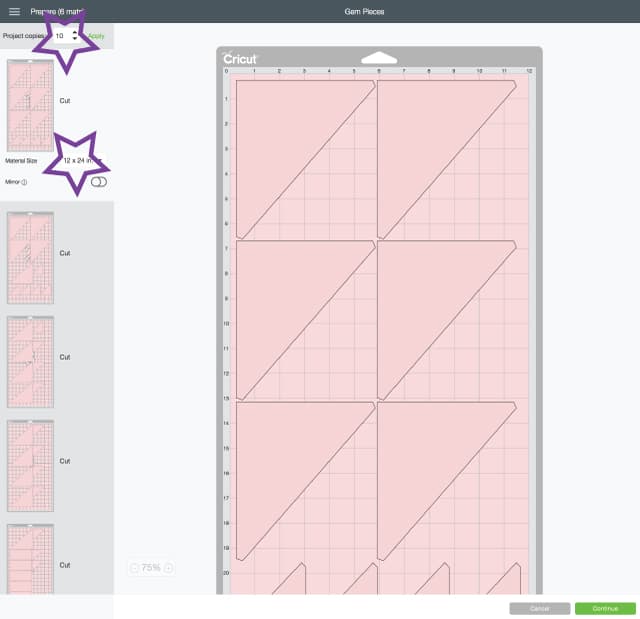
Upload the SVG files to Design Space to cut out the pieces using your Maker. The files are separated by fabric color so there are 3 files. You can set the Maker to cut any amount of each at the same time. When making multiple blocks at the same time, set your mat to 12″ by 24″.
From here, you can drag the pieces between mats if you want to create a more efficient layout to save more fabric. Or just cut as is to save time. Once one mat cuts, you’ll be promoted to take it out and load another mat with fabric.
Because the triangles aren’t quite symmetrical, be sure you keep them facing the same way you cut them (don’t flip them over unless you flip them all over!).
The quilt also requires:
-Two 2.5″ by 49″ for side borders and 2.5″ by 43″ strips for top and bottom borders.
-1/2-1″ binding
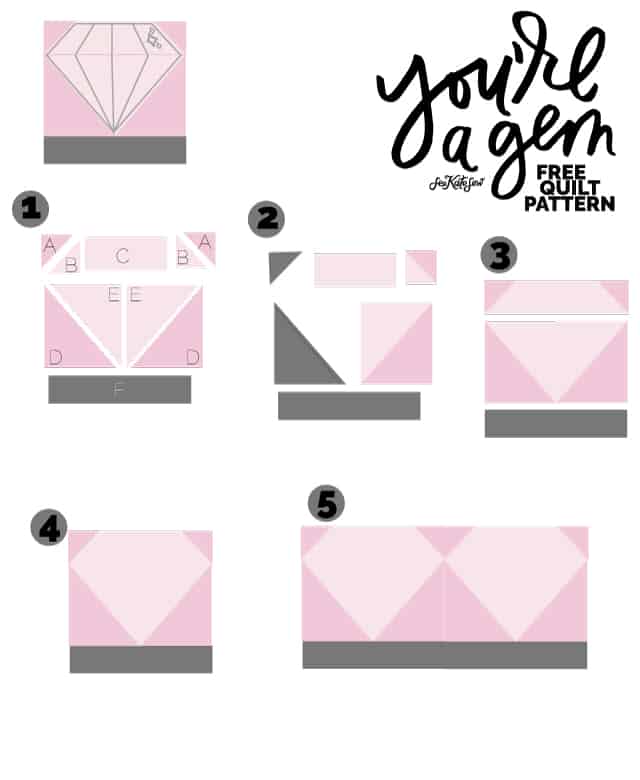
Piecing the quilt is broken down into rows. I like to lay all my pieces out as shown in step 1. The gem triangles and the background triangles look similar but be very careful that they are aligned correctly.
2. Sew A and B triangles together along the hyptonuse (hey, geometry!). Repeat with triangles D and E.
3. Sew the two squares on the top row to either side of C. Sew the DE squares together. Press seam allowances open or to one side.
4. Sew the rows together. Press seam allowances open or to one side. You’re done with a block, yahoo!
5. Sew 4 blocks together to create a row. Then sew 5 rows together to create your quilt!
To finish the quilt, add a the border to the sides of the quilt. Press well and then add it to the top
Send your quilt top off to CrinkleLove at this point. When you get it back bind it up and iron-on the gem overlays.
Use the SVG Gem Overlay File, available here and use the Maker to cut the vinyl. Stretch it so the width is 9.5″ on the Design Space canvas. When cutting the foil, be sure to cut it “Mirror On”. Weed out the excess and then use the EasyPress to iron it on.
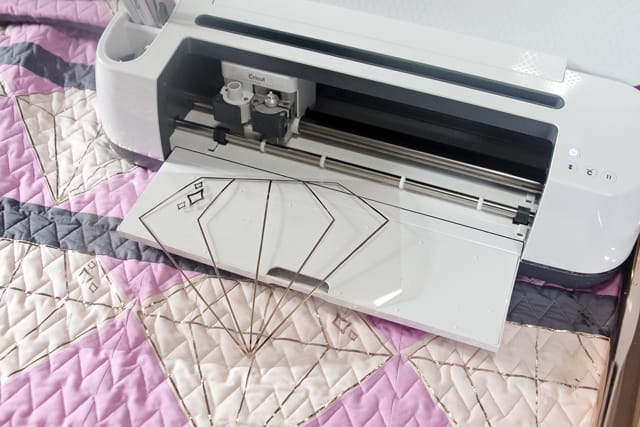
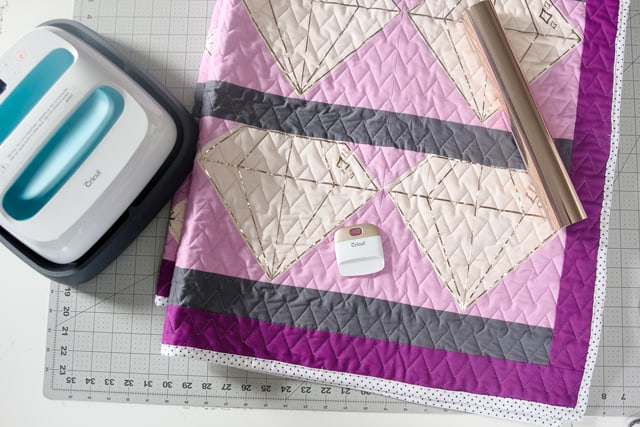
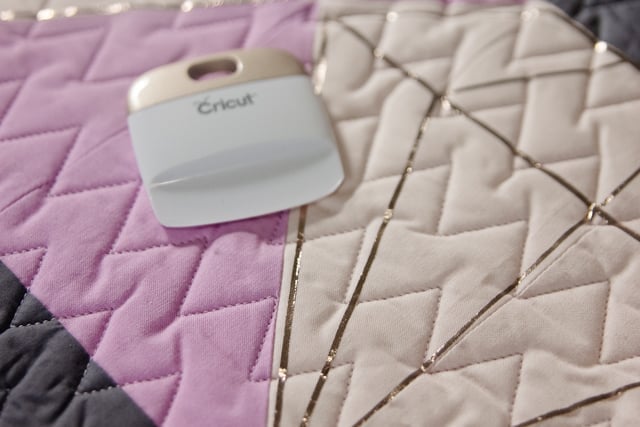
You’ll want to use the braying tool to press the vinyl into the creases of the quilt as you iron it on. Just press right over the clear plastic and continue to heat until you feel like it is sticking well. Use the iron-on setting for foil and 100% cotton. Wait until the foil is cool before removing the plastic.

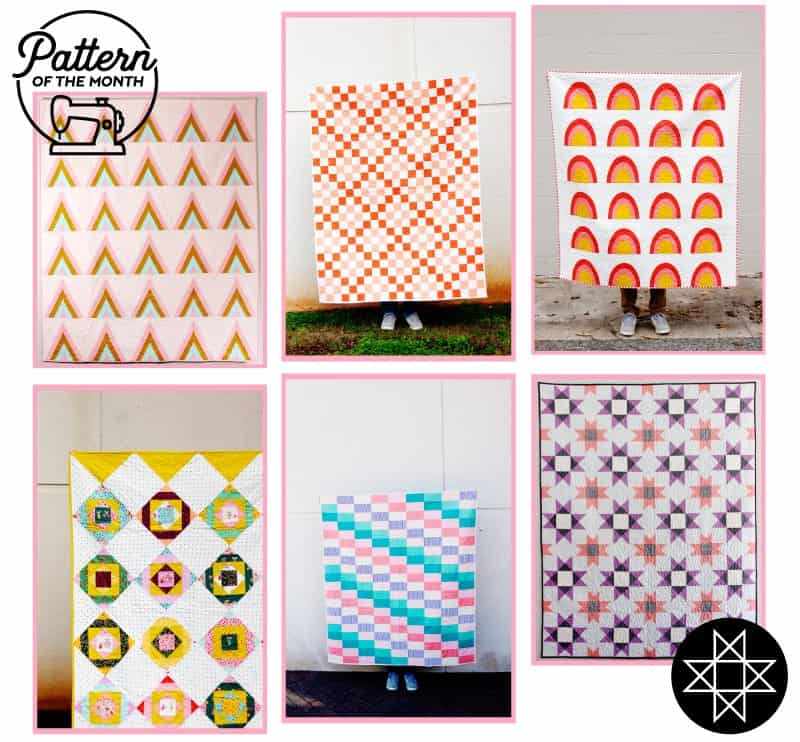
Love quilting? Join Pattern of the Month and get a new modern quilt pattern emailed to you EVERY SINGLE MONTH!




Your Easy Press link doesn’t work.
Looks really great! I so wanna make this for my girlfriend, think it’s be an awesome gift!