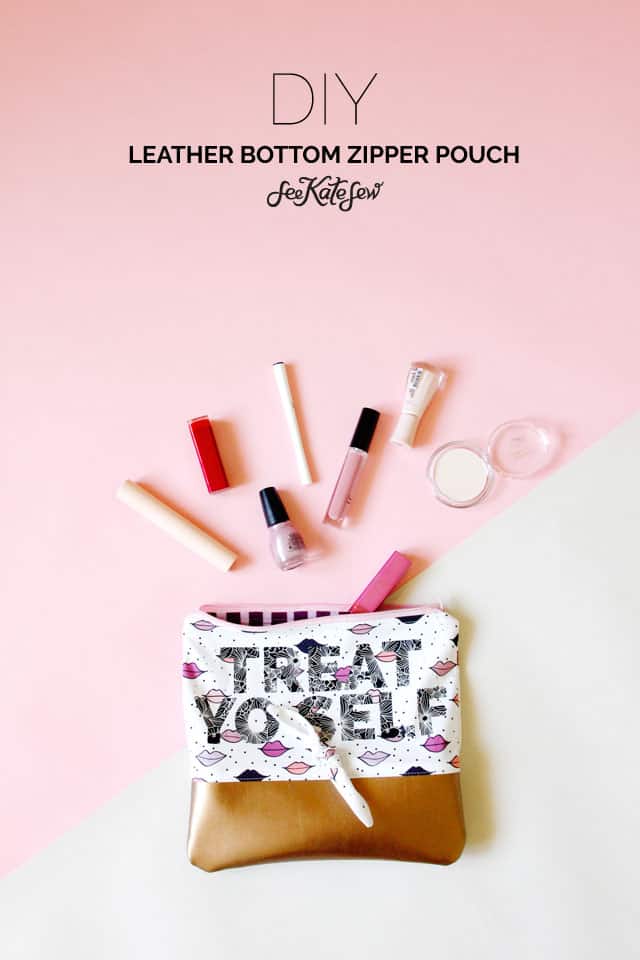
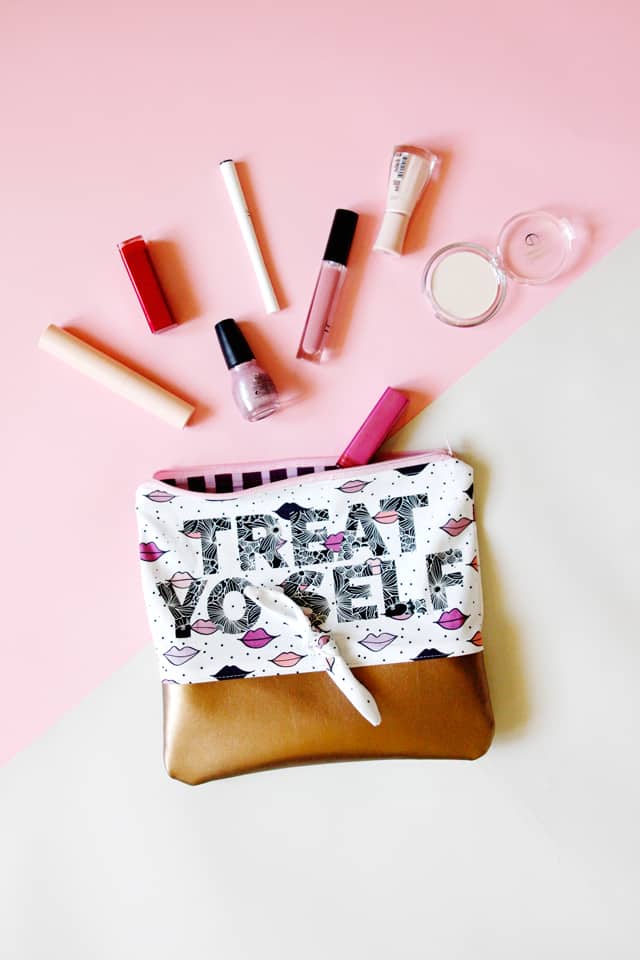

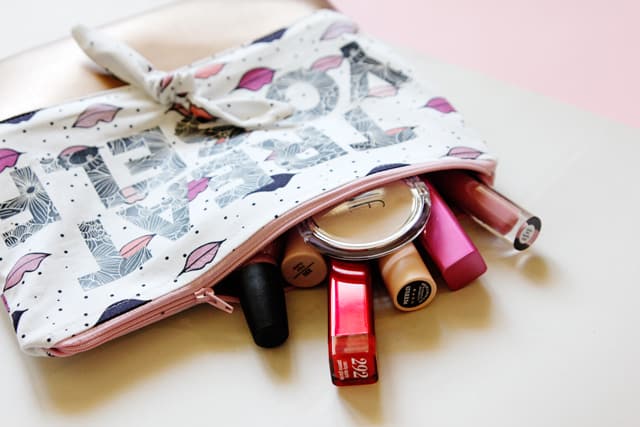
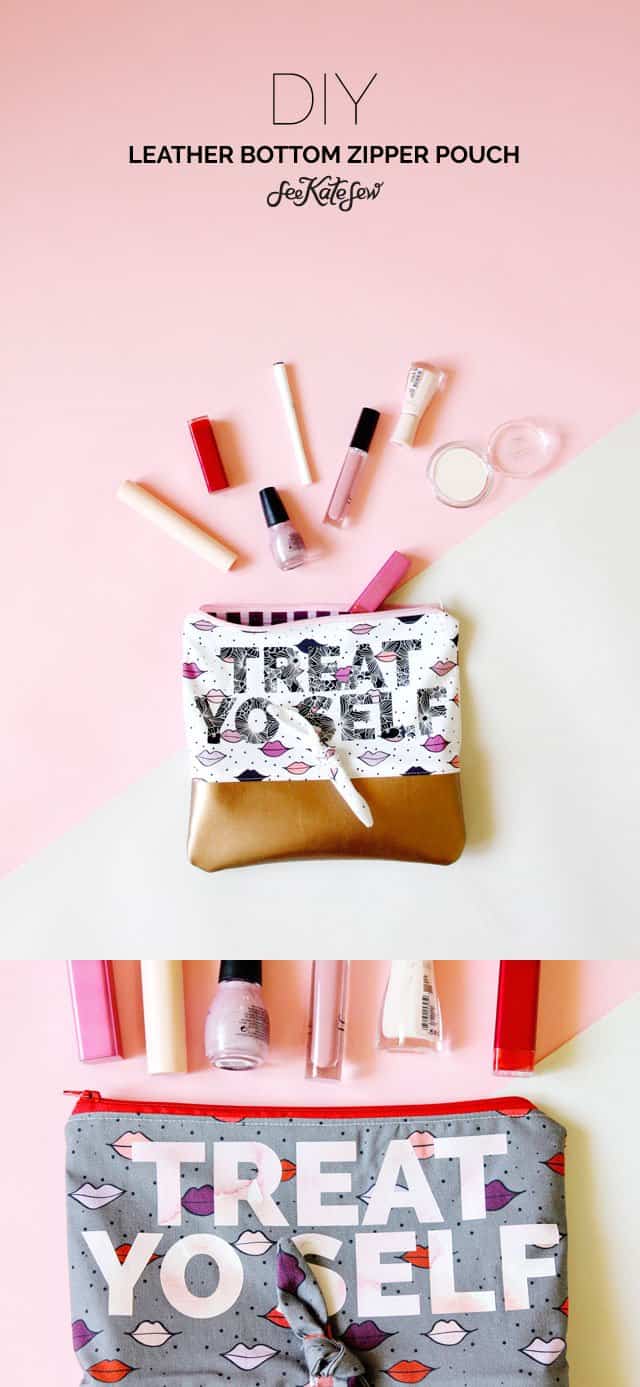
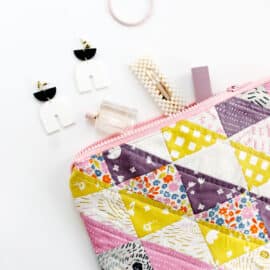
Channeling my inner Tom Haverford with this cute leather pouch – Treat Yo Self! These make great gift card holders and they double as a cosmetic pouch! Stuff it with a gift card to Target, Sephora or just a Visa gift card. Maybe add some lip balm or something fun to amp it up!
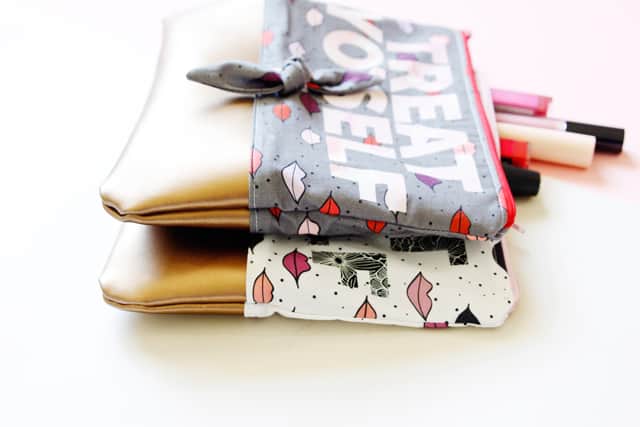
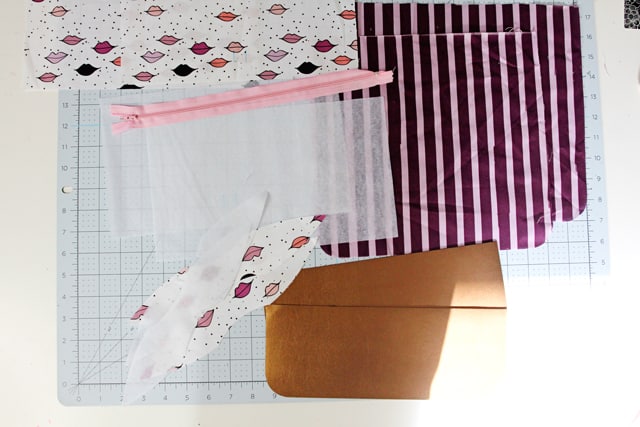
These pouches have leather on the bottom – and it’s metallic! Stepping into sewing with leather is much less daunting when you just use it for part of your project! This post includes templates for the DIY zipper pouch that you can send to the Cricut Maker to have them cut out for you! You can also print the templates and use them as a regular sewing pattern.
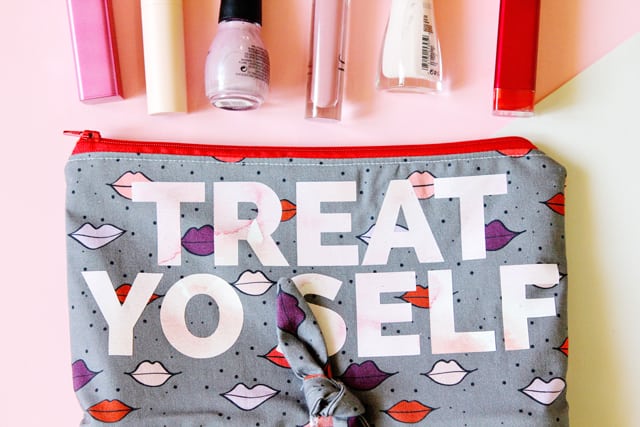
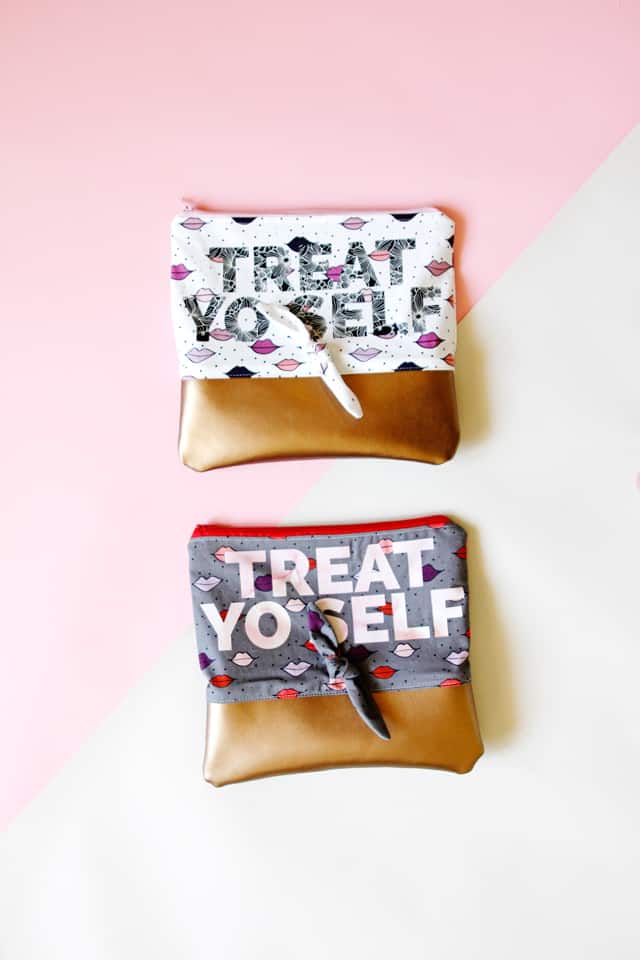
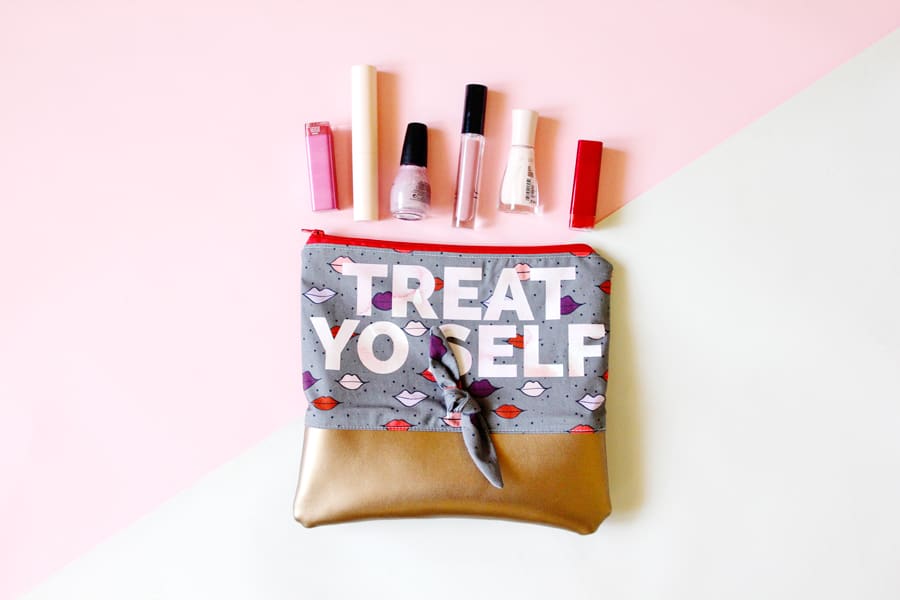
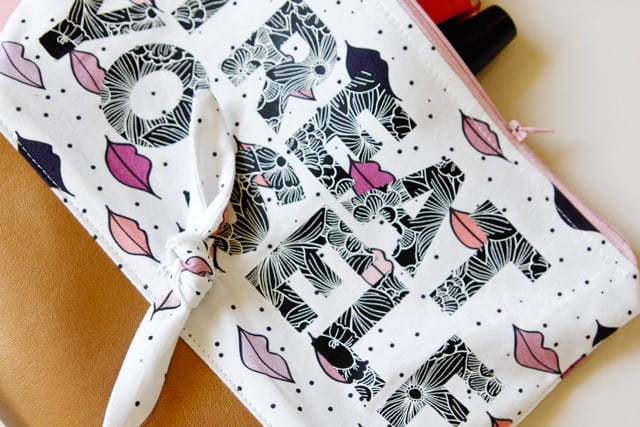
There is also a cute little bow feature on the front. I cut all the pieces out with the Cricut Maker, even the leather and the interfacing, so it was super easy to assemble. The Treat Yo Self wording is added with patterned iron-on, which gives the whole pouch and extra layer of pattern! I used two patterns that pulled the one of the same colors from the fabric out into the vinyl. So it’s mix and matchy but still goes!
Materials//
–Cricut Metallic Leather Bronze
-1/3″ yard cotton fabric for outer (this is my new fabric line Kiss Me, Kate. It’s not out yet but I will tell you when it is!)
-1/3″ yard cotton coordinate for lining
-1/3″ yard fusible interfacing
–12″ zipper
-buttonhole foot
-patterned iron-on vinyl, I’m using the pink watercolor from the Natalie Malan Sunset Blossom line, and the black white floral from the Anna Griffin Charlotte line
-pattern download + SVG Cut file, in SVG and PDF (sign up below to get the files in your inbox!)
Cricut Supplies//
–Cricut Maker
–FabricGrip Mats
–Rotary Cutter & Mat Set
–Cricut EasyPress + Mat
Instructions//
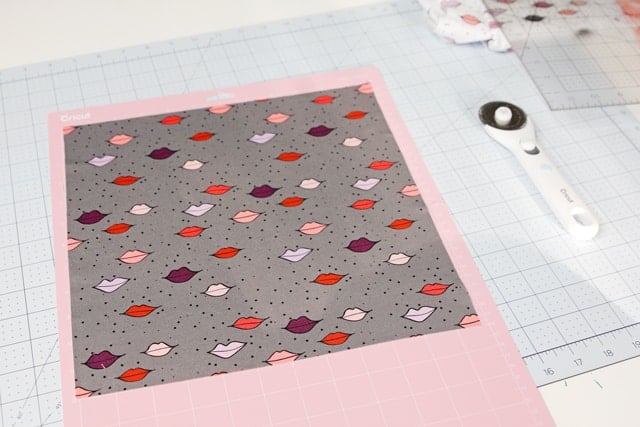
Cut the following pieces with the Cricut Maker:
(2) Top + bow pieces with main fabric (turn off marker for second piece – you only need buttonhole markings on the front)
(2) top + bow pieces with interfacing (cut with bumpy side up)
(2) lining pieces with coordinate fabric
(2) bottom pieces with leather, the pouch is too big to fit on the Maker mat so cut these by hand.
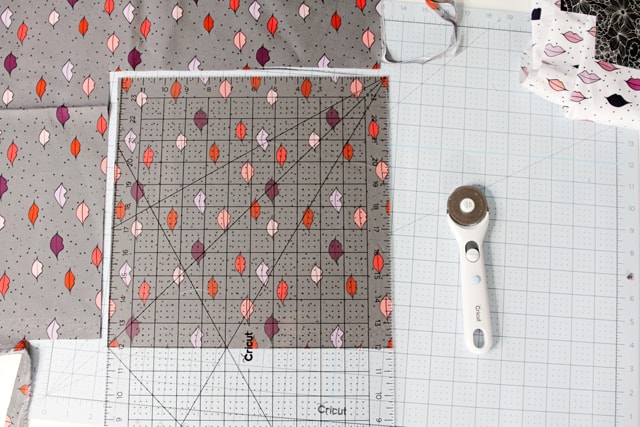
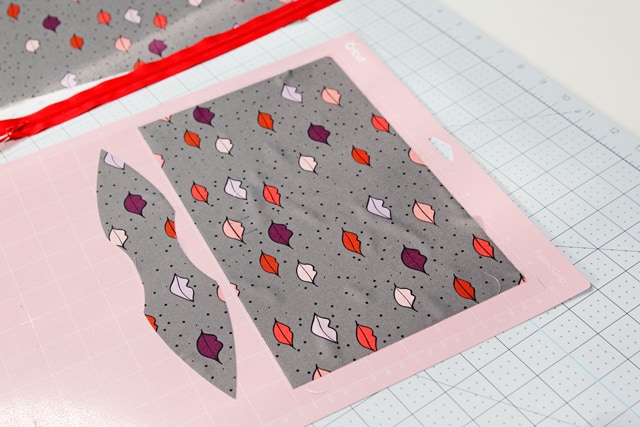
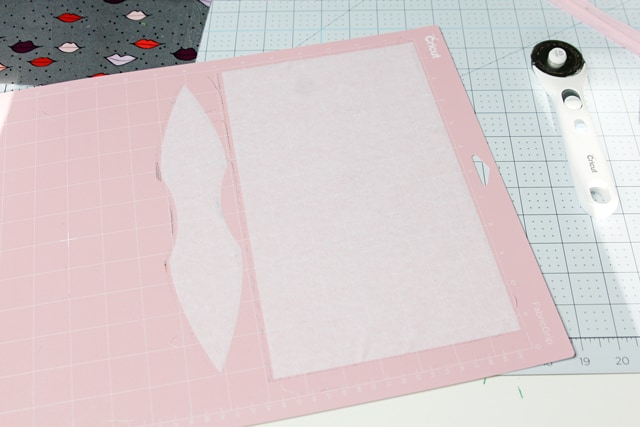
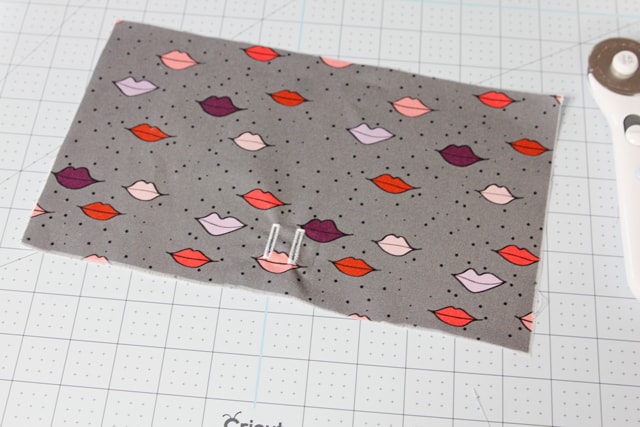
Prep your fabric for the cutting mats! Cricut recently released a special rotary cutting kit that has a 12″ by 24″ ruler, which is the exact size of the large mat and double the size of the regular size 12″ by 12″ mat. This makes it SUPER EASY to cut fabric down to size. Since this pattern requires a 12″ by 12″ mat, I lined up the 12″ square at the corner of my fabrics and interfacing and just cut right around the corner. So easy! Ive never had such a big ruler and I love it. I’ll probably use it for lots of my sewing projects!
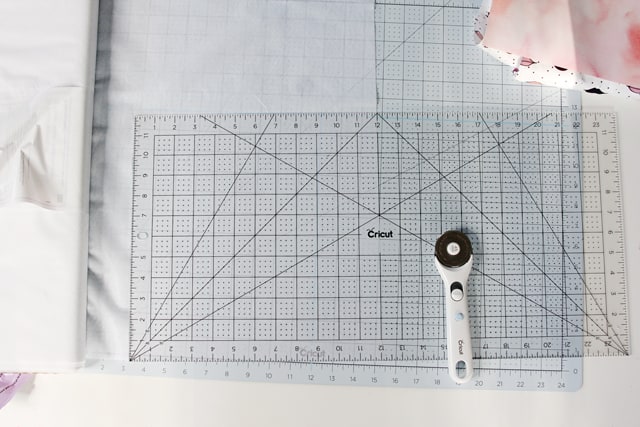
Press the fabric down on the mat. I’m using a large mat here, but like I said above, either works!
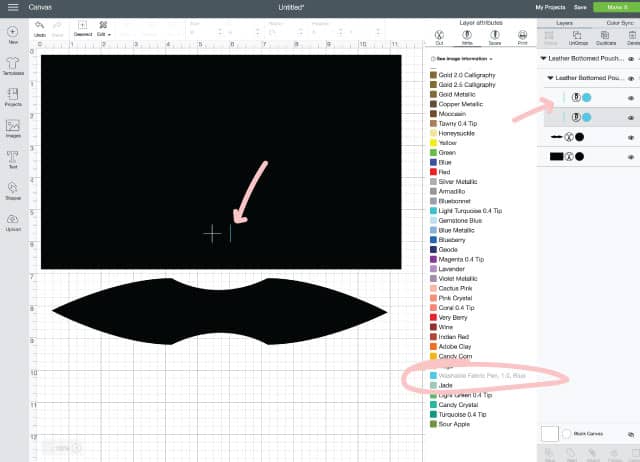
Upload the top file to Cricut Design Space. There are two lines in there for pattern markings – these will show you where to put the buttonholes that will hold the bow. Change the color from black (a cut line) to a blue marking line.
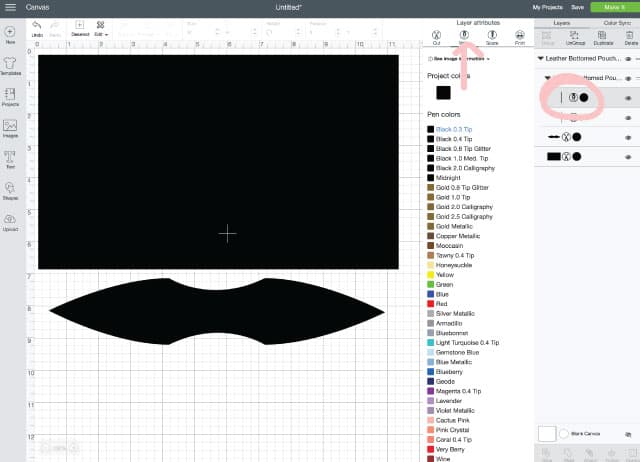
This tells the machine to draw the line with the washable fabric pen instead of cutting it. When you cut the second layer, turn the two lines OFF by pushing on the eyeball so a line appears through it. You don’t need buttonholes on the back of the pouch, just the front.
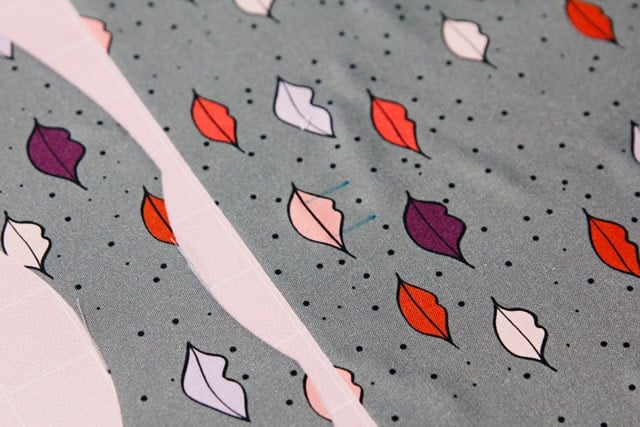
Look at those markings! It’s amazing that the Maker cuts fabric but give me fabric markings, too? They thought of everything.
The Maker also cuts interfacing!
Fuse the interfacing to the back of the main and bow pieces.
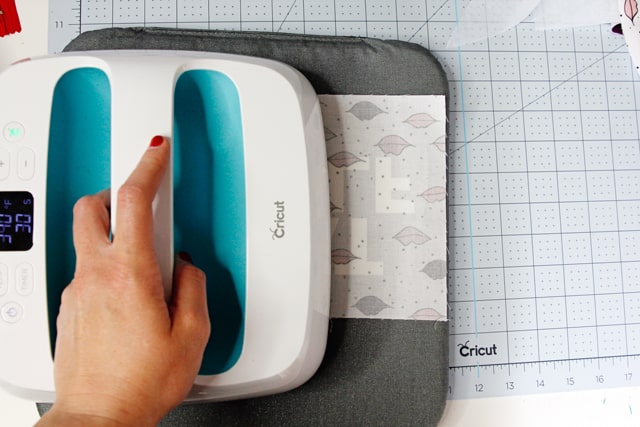
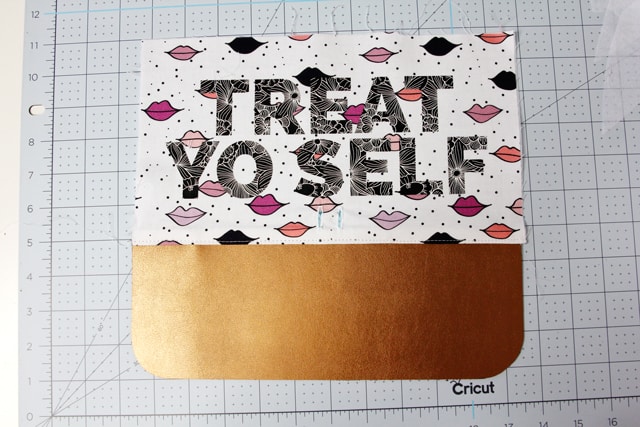
Fuse TREAT YO SELF onto the front piece with the EasyPress.

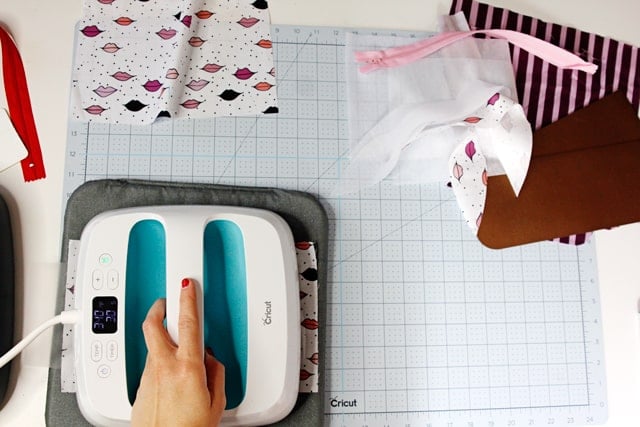
The EasyPress settings for patterned Iron-on on cotton fabric are 340* for 30 seconds. After you’ve done that, turn the project over and heat the back for 15 seconds.
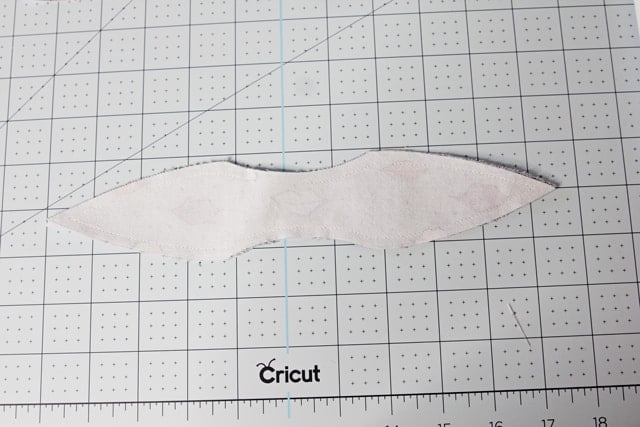
Assemble bow by sewing together with right sides together. Leave a small opening in the middle of the bow. Clip edges of the bow and clip seam allowance.
Create two buttonholes over the lines that the Maker drew for you.
Sew the top piece to the bottom piece with a 3/8″ seam allowance. Press seam allowance up. Topstitch along the bottom edge.
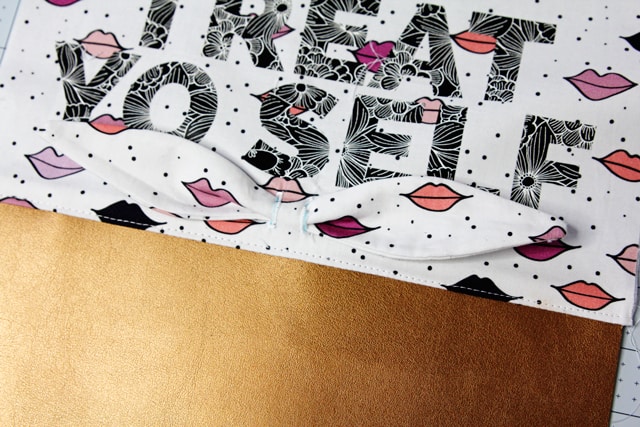
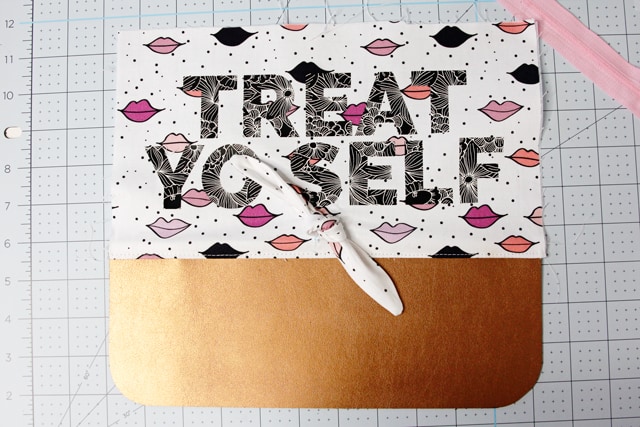
Cut open the buttonholes and slip the edges of the bow through each side. Tie a knot in the front. Repeat with back piece (minus the bow and buttonholes).
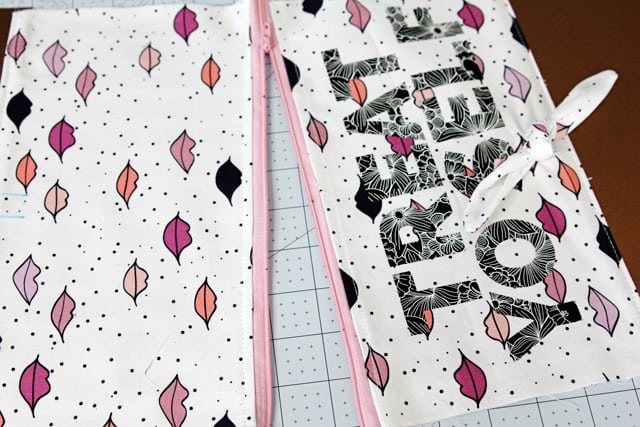
Now we’ll assemble the zipper pouch. Get your zipper and lining pieces ready.
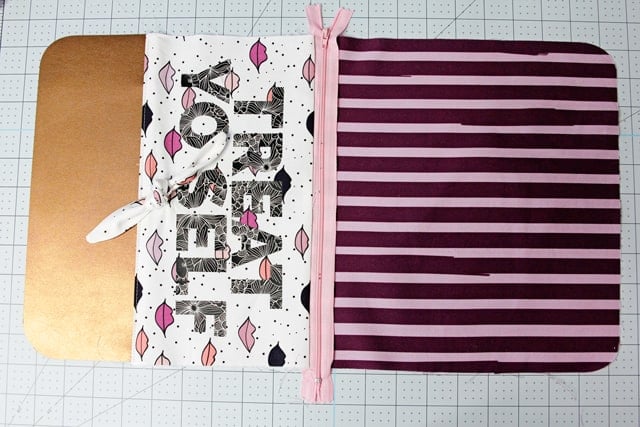
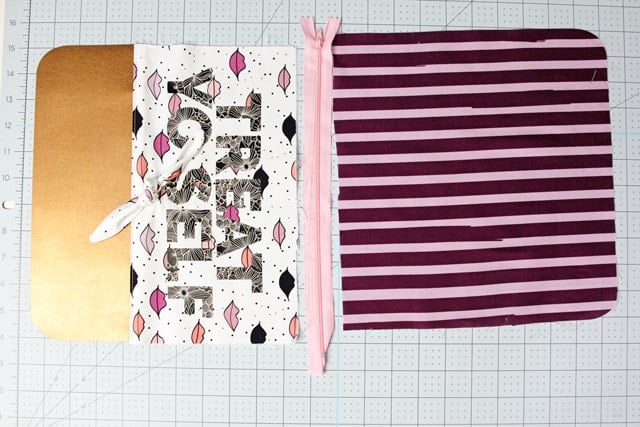 Lay your zipper face down on the front piece.


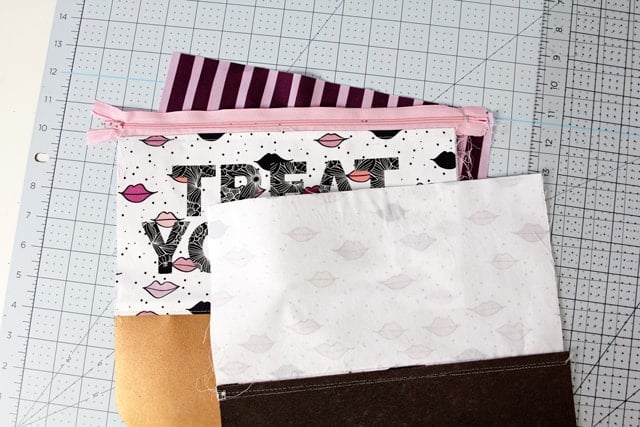
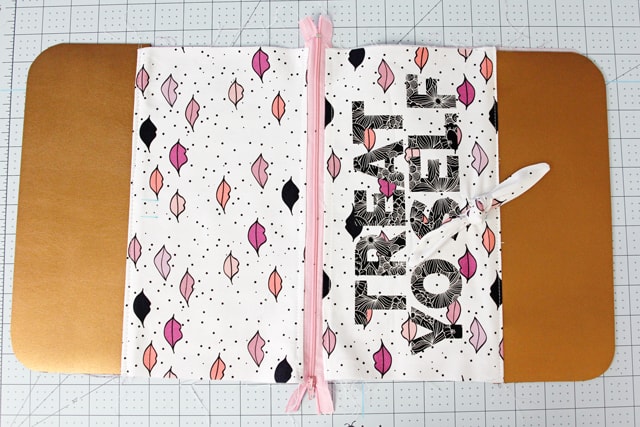
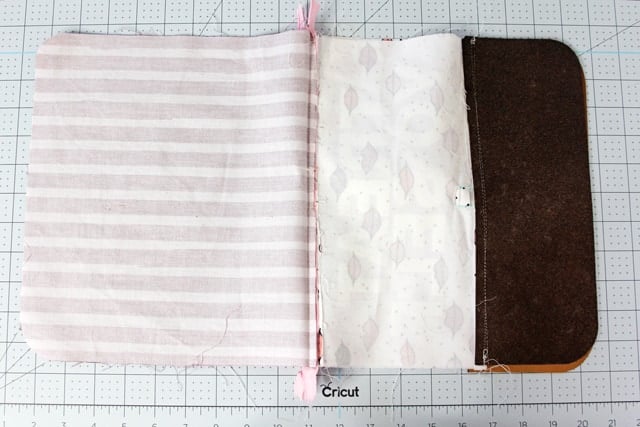
Pin back and front right sides together and lining pieces right sides together. The end of the zipper should be pinned to the lining pieces. Sew it up with a 3/8″ seam allowance, leaving a few inches open at the bottom of the lining.

This is a sponsored conversation written by me on behalf of Cricut. The opinions and text are all mine.


that lipstick fabric is just to die for! please let me know the release date! :) xx
This is adorable, and will allow me to make use of the (many) small lengths of fabric that I just love and cannot bear part with! FYI, and maybe other readers have thought of this, but bags this size make wonderfully useful clutch bags that can be carried alone or tucked inside of a tote for work. I typically like to “travel light,” so this is a bonus! Thanks!
Hi Kate,
I just checked in to see whether you still blog. And indeed there are tons of blogposts that I haven’t seen. Somehow your bloglovin page hasn’t changed since Feb 2017. Could you try and find out what’s going wrong? I’m really bumped to have missed all your posts of more than a year :(
Any suggestions on how to cut with my silhouette? I don’t have the maker, just the regular cricut cutter. I love the how simple you made it seem! Can’t wait to give it a go!