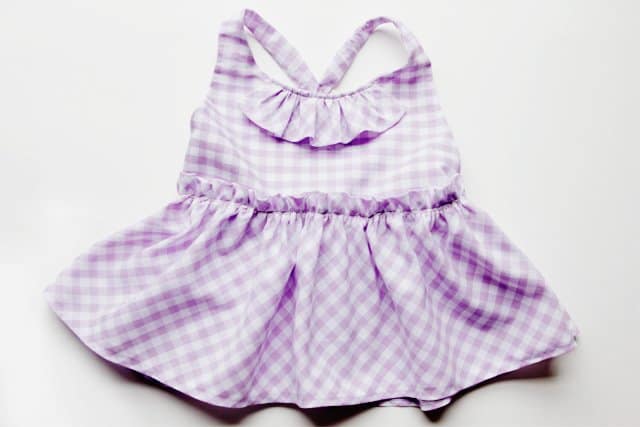
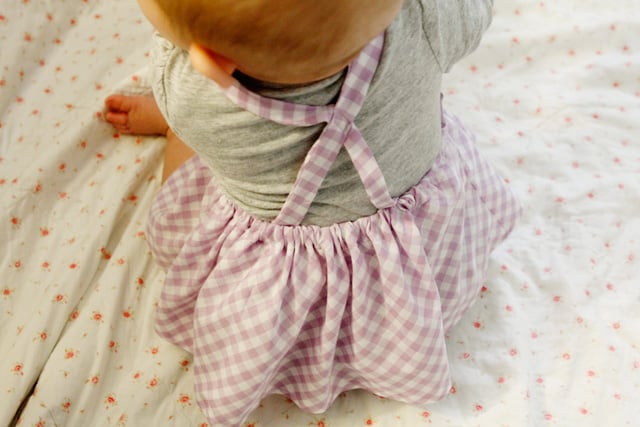
I actually designed this free baby jumper dress pattern in October when I was playing with plaidy fabrics. I’ve had the pattern pieces sitting around for all that time, sheesh. I wasn’t quite sure about the pattern but once I tried it on the baby I loved it. 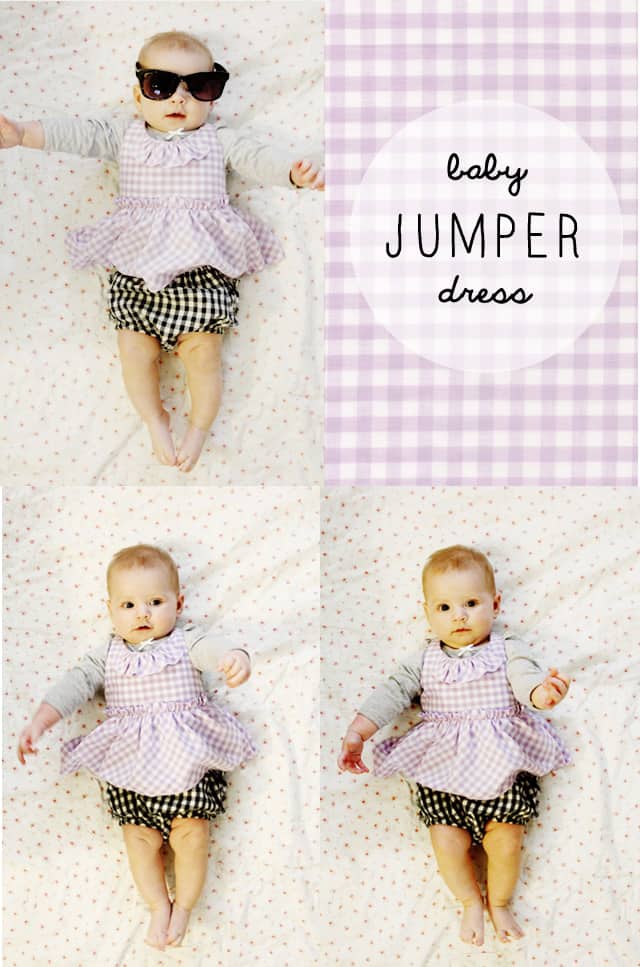
Sometimes it’s hard to tell if something is cute until you put it on, especially for baby clothes. So I made another one in gingham and all of the sudden it screams summer.
Materials:
Baby Jumper Dress 3-6M Downloadpdf (size 3-6 months)
1/2 yard gingham fabric (or any fabric, but this is gingham style after all!)
1/4″ elastic
sunglasses (optional)
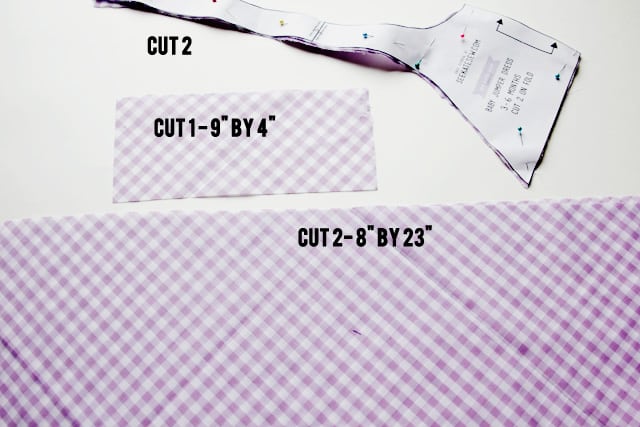
1 ruffle rectangle: 9″ by 4″
2 skirt rectangles: 8″ by 23″
First print off the pattern piece and tape it together. This is a totally weird shaped pattern, haha, but trust me!
Now cut 2 bodice pieces, 1 rectangle for a ruffle (9″ by 4″, optional) and 2 skirt rectangles (8″ by 23″). Cut the ruffle and skirt on the bias if you want! (I did!)
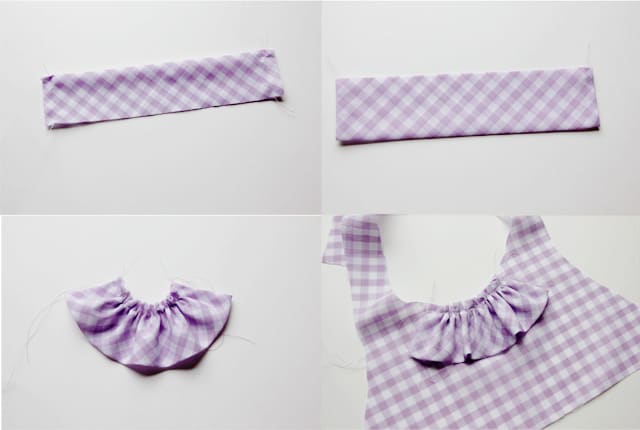
To create the ruffle, fold the 9″ by 4″ rectangle in half and sew up the side seams. Trim the seam allowance, clip the corners and turn the rectangle. Press. Use a baste stitch to gather the open edge. The finished ruffle will be about 3.5″ at the top. Pin to the center of the bodice neckline and baste it on. (*Basting means using a wide stitch length so the stitching is easy to gather or pick out later.)
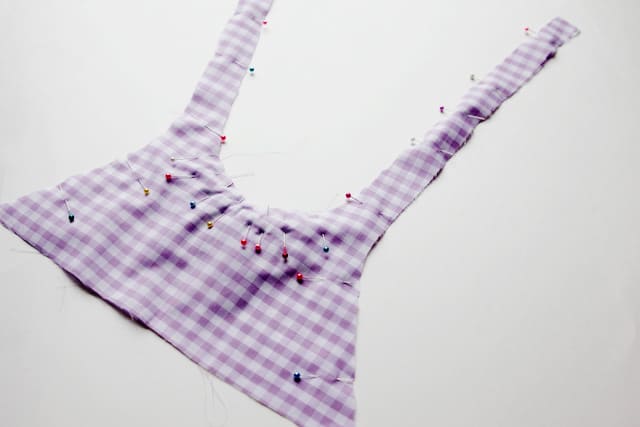
Pin the bodice lining to the bodice front. Sew up the straps, sides and neckline. Use a 1/4″ seam allowance for the straps. Trim seam allowances, turn and press.
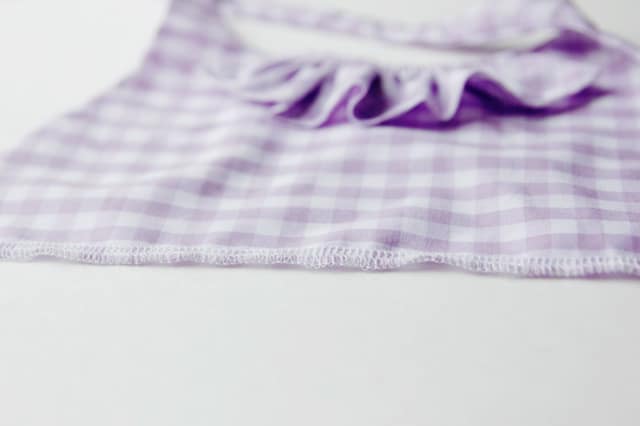
The ruffle will likely stick up, so pin it down and topstitch at about 1/4″ to make it lay flat.
Serge or zig zag the bottom edge of the bodice piece.
SKIRT:
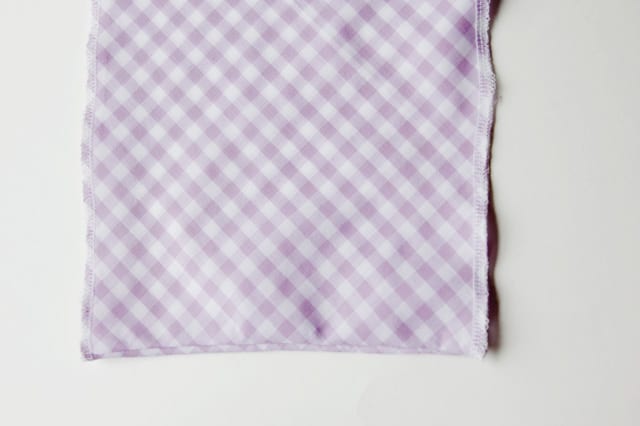
Sew the two skirt pieces together at the side seams. Finish seam allowances and serge or zig zag the top and bottom edges of the skirt.
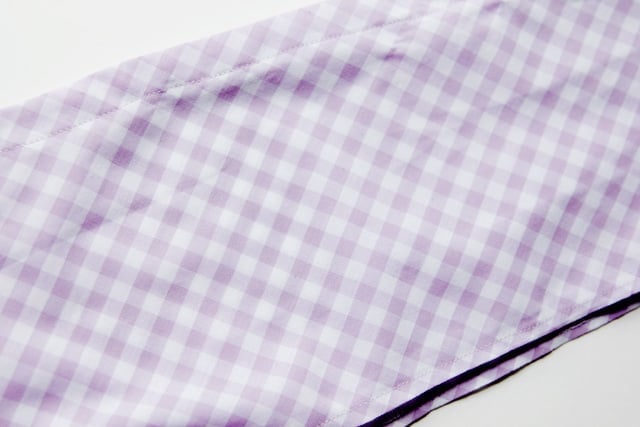
Now fold up and press 3/4″ on the top and 1/2″ on the bottom. Topstitch at 1/4″ at the bottom. (Sorry I didn’t get a good picture of this, but here is the topstitching.) Topstitch the top front with a baste stitch (we’ll be gathering it soon.) Topstitch the top back with a regular stitch, starting and stopping at each side seam, to create a casing.
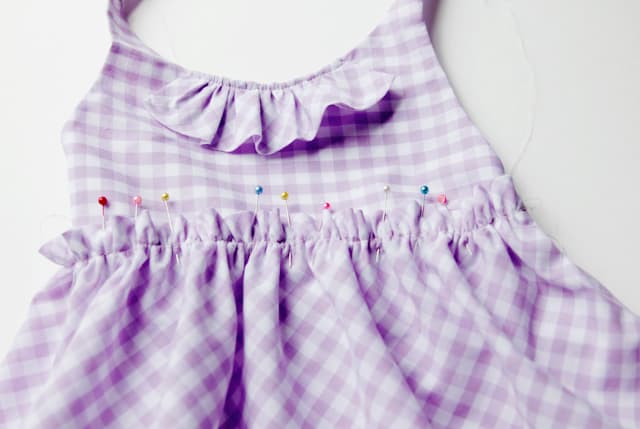
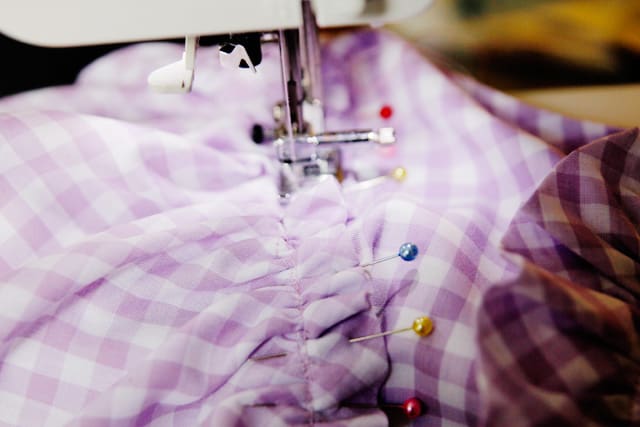
Pull the basting thread in the front of the skirt to gather the fabric creating a soft ruffle. Gather it up to match the length of the bottom of the bodice. Pin the skirt ruffle on top of the bodice.
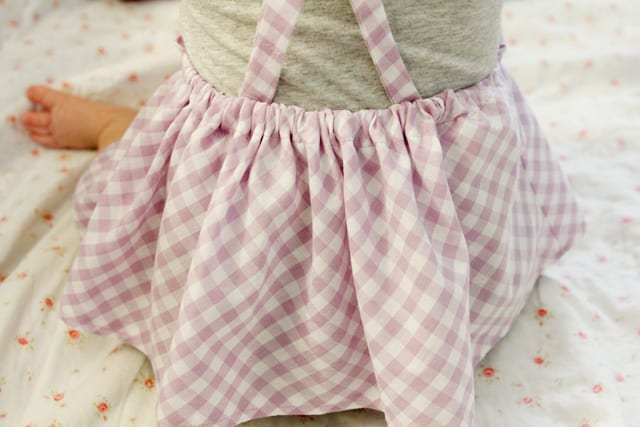
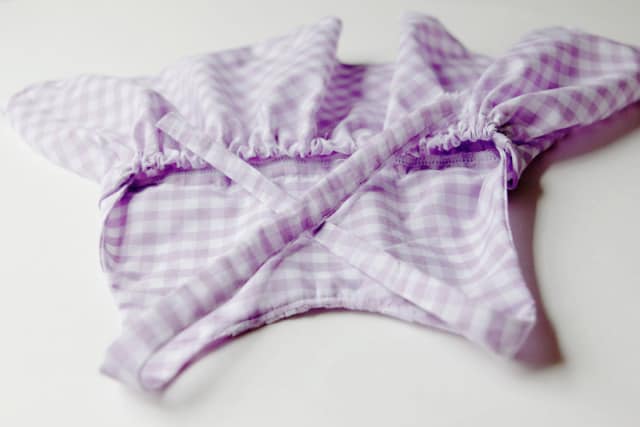
Now cross the straps over the back and stitch them on. You can also sew them together where they meet if you want.
And you’re done!
more gingham style posts:
introduction
bow sunglasses case tutorial
Here’s a little sneak peek of the next gingham style tutorial:
lilac gingham c/o Fashion Fabrics Club
black gingham: upcycled








Kate, this is precious! She’s growing up so fast!
Gingham style? That is hilarious!
And, man, that little jumper is cute!
Super cute jumper, Kate. Lena is adorable!
ohmygosh, that is sooo adorable!
This is so cute! Yay for an awesome free pattern! :)
Nawwww! That’s too cute! Love the Gingham style… haha.
Thanks for sharing lovely x
Oh Kate, Lena is so beautiful! Such a pretty baby. And the jumper is adorable! Isn’t it fun having a girl?!