This post, Free Tote Bag Pattern with the Cricut Easypress 2, is sponsored by Cricut!
I love the Cricut EasyPress – it was designed with the purpose of fusing iron-on vinyl easily and it has made me iron-on CRAZY! I have the EasyPress handy in my sewing room and I pull it out all the time! There are so many ways to use the EasyPress with sewing projects.
So I was excited when Cricut announced 3 new EasyPress versions in August and they just launched! The EasyPress 2 comes in THREE sizes! I am using the largest size in this post – it’s 12″ by 10″. This size is perfect for making adult t-shirts and larger projects!
The original EasyPress is a nice size, with a plate that is 9″ square, but it is a bit too small for some projects. With the new, larger size, pressing is faster and more efficient!
They also introduced a smaller size, 6″ by 7″ which is so great for making kids and baby wear! They just thought of everything!
My first thought with the bigger size was to make my own fabric designs on larger pieces of fabric! I am addicted to iron-on vinyl lately and making my own fabric designs easily and quickly is so fun.
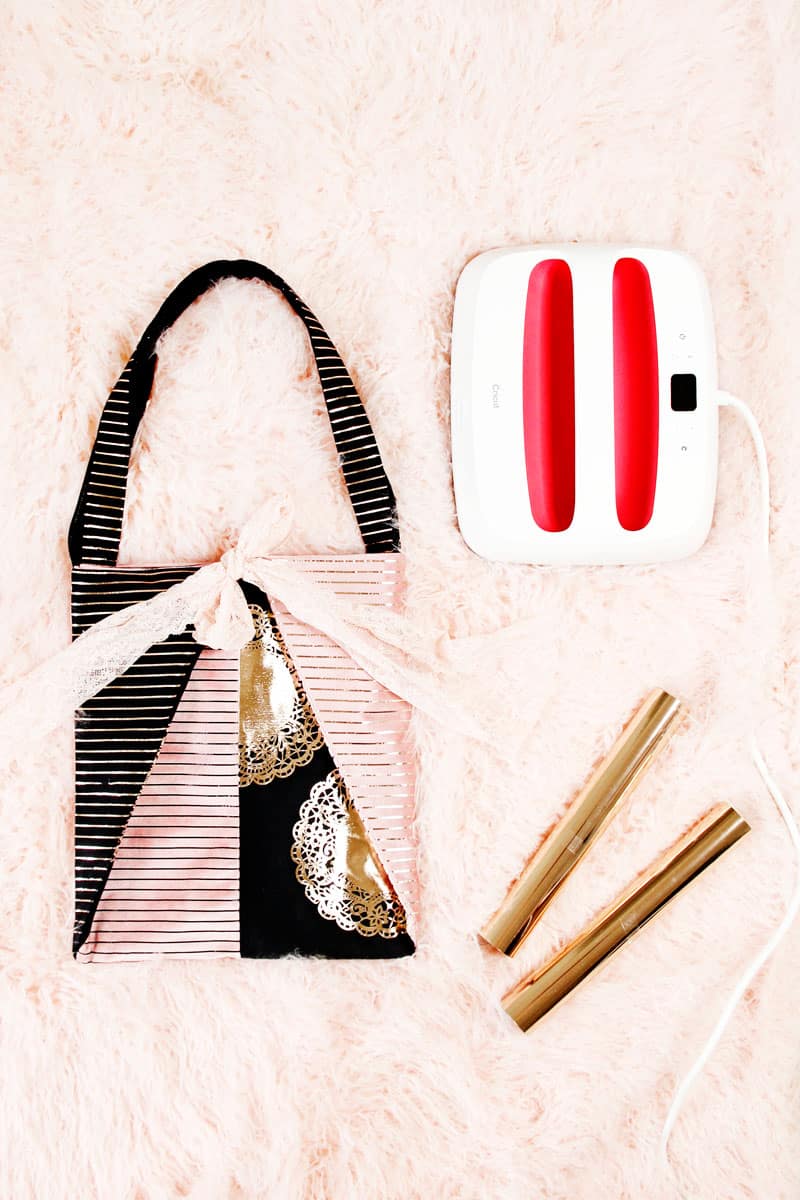
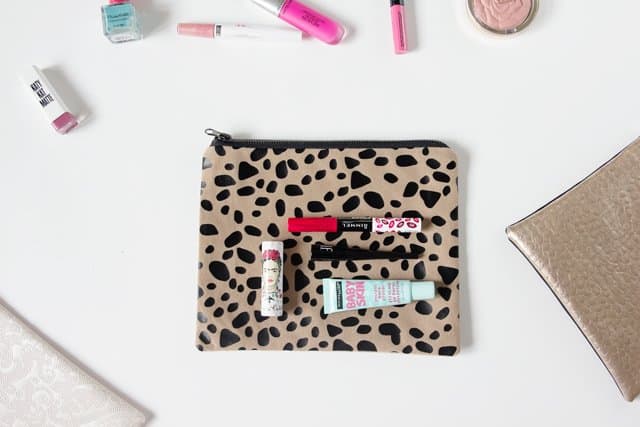
I usually use it to add words to a project, but sometimes I like to do an all-over design, like in this leopard print pouch! The EasyPress2 is not only available in more sizes, but also heats up faster, has a higher heat max and saves the settings from your last press!
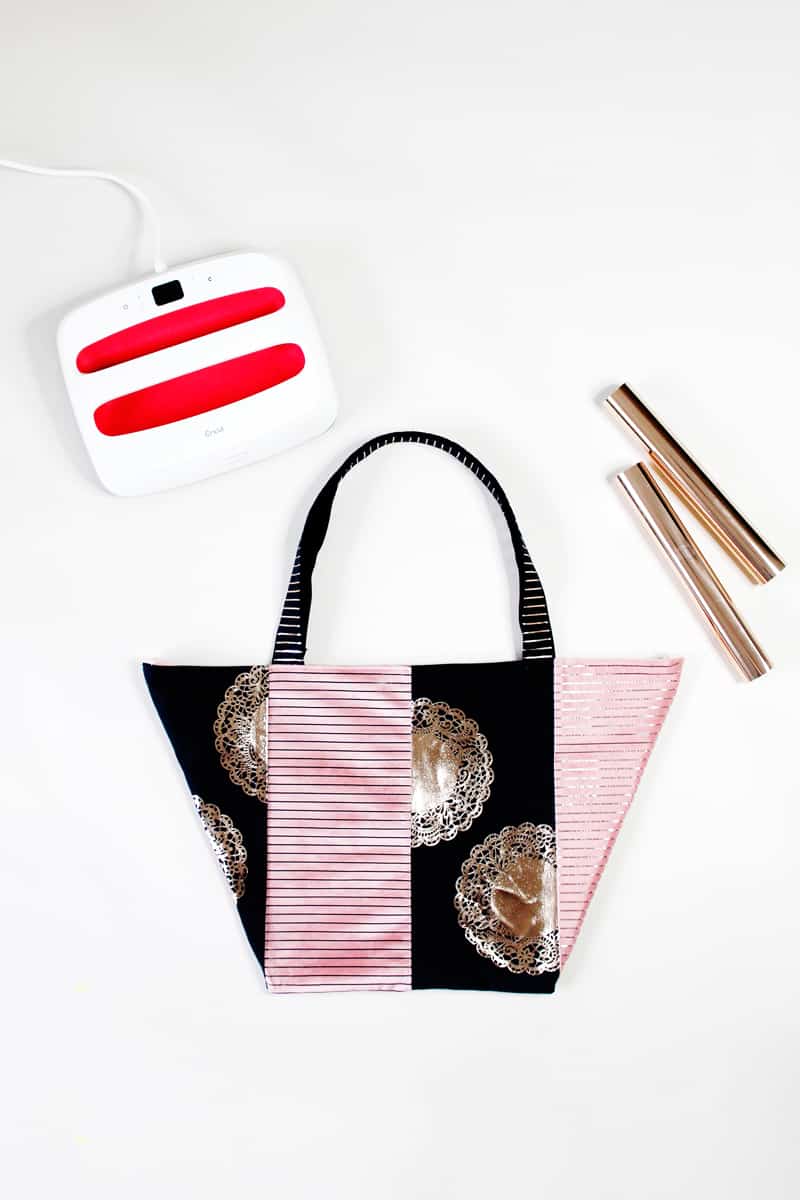
So adding designs to a fabric piece before sewing it is super quick and makes the project totally unique! And all the EasyPress2 models are a cute raspberry color!
The ceramic-covered plate heats up easily and really quickly. Select vinyls now come with the StrongBond Guarantee, meaning it will last 50+ washes or you can replace it for free!
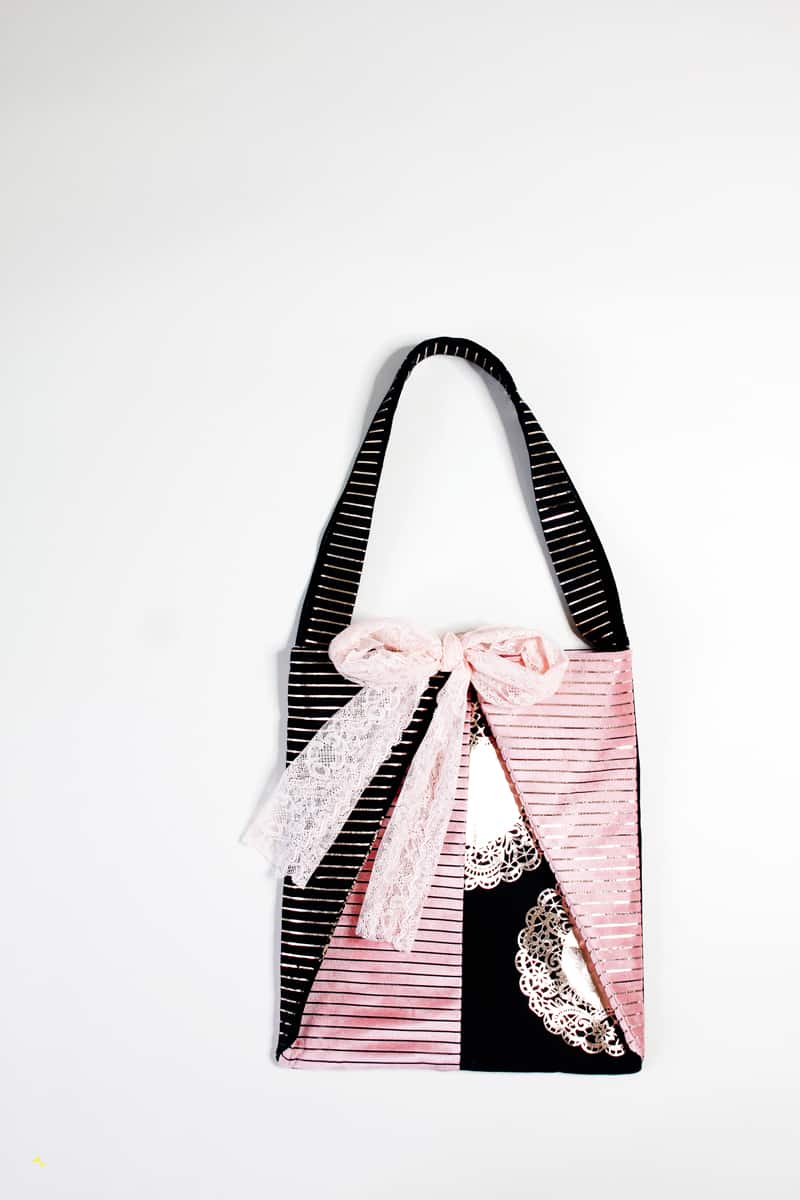
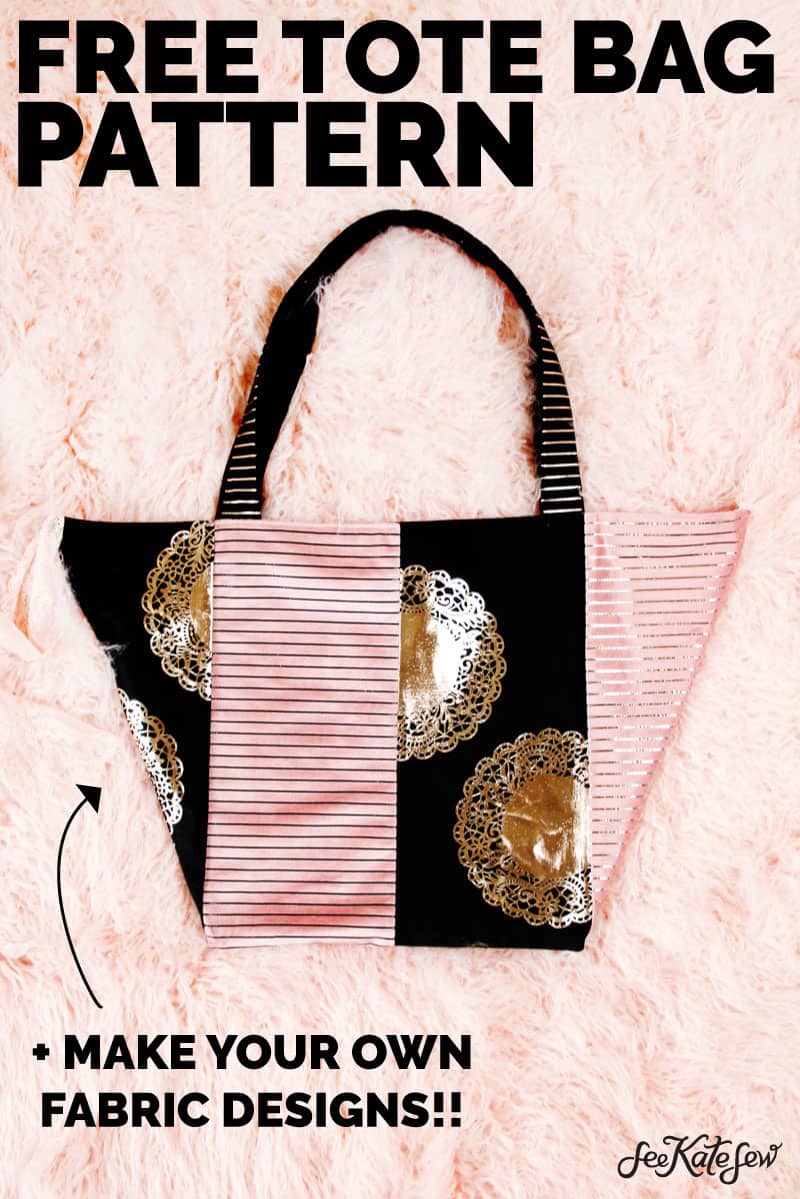
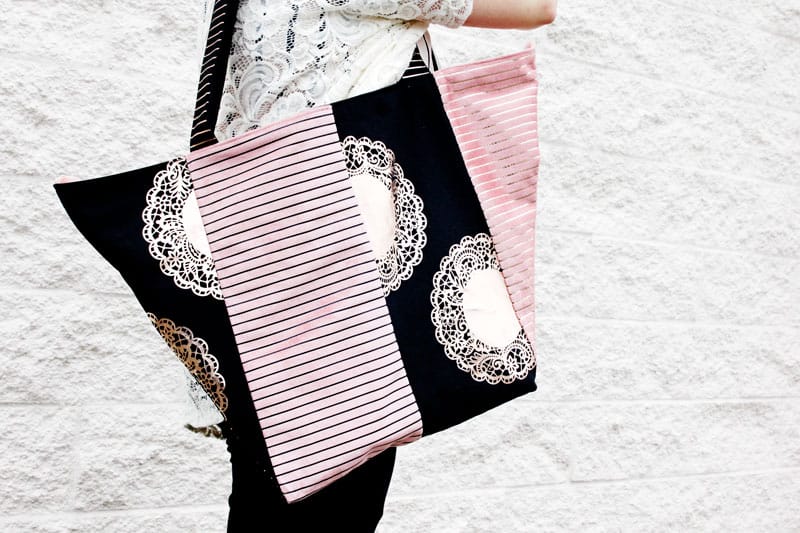
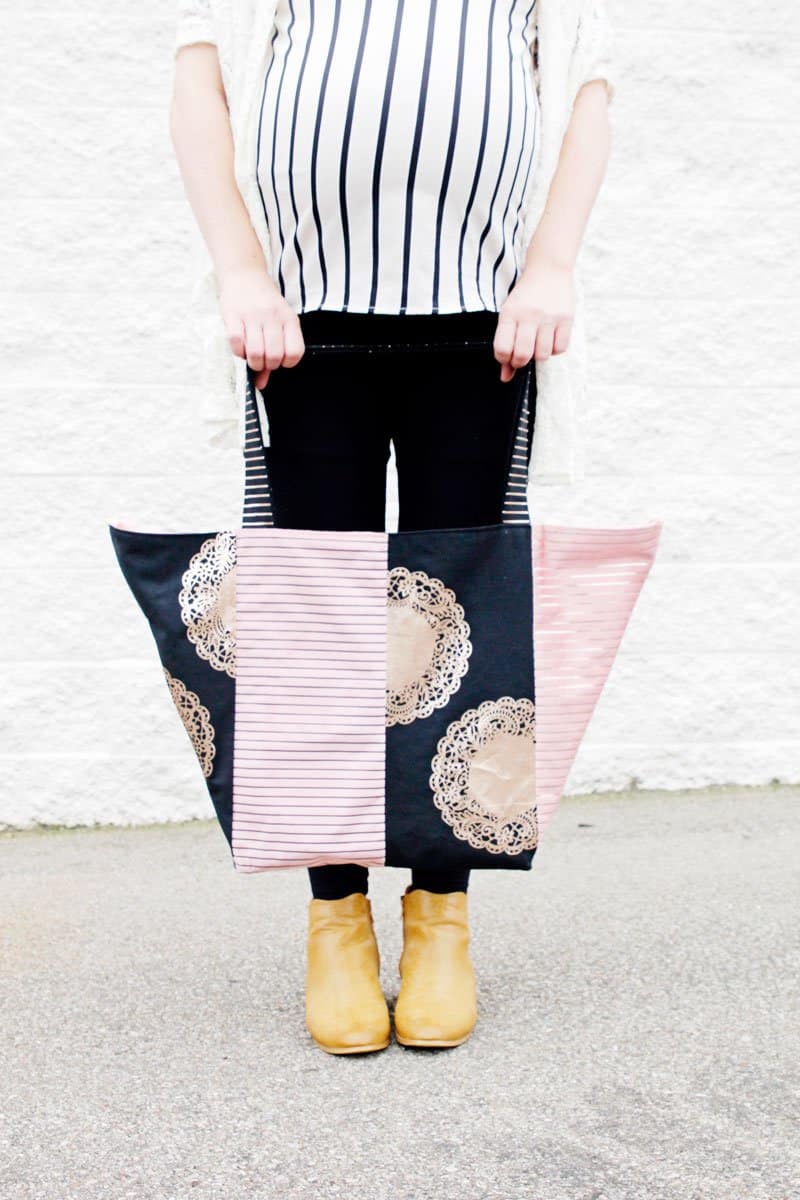
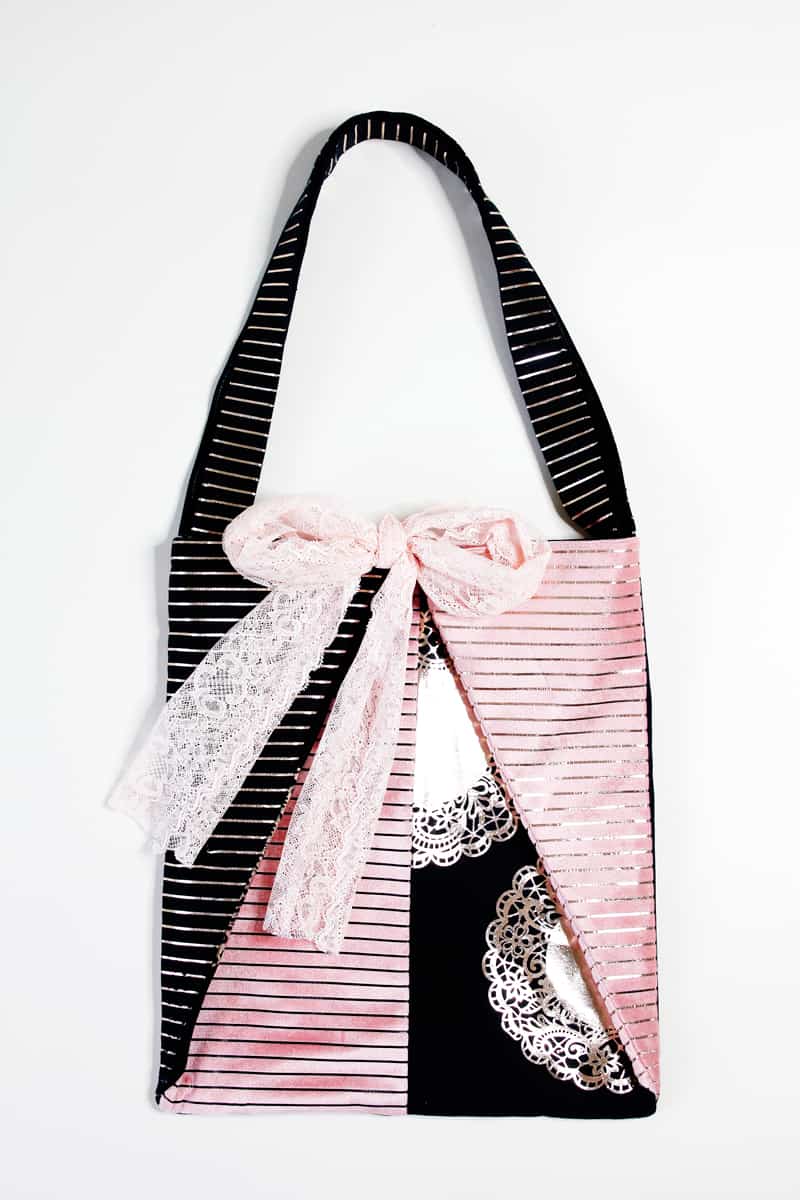
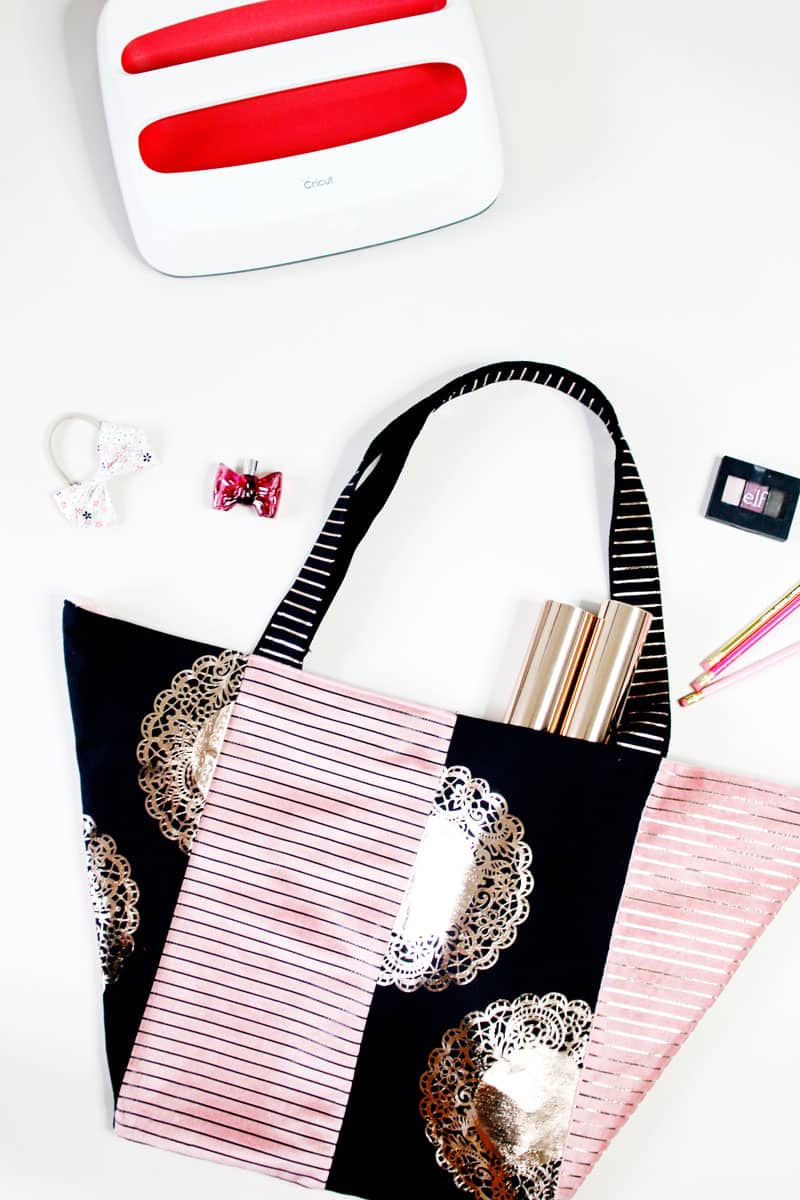
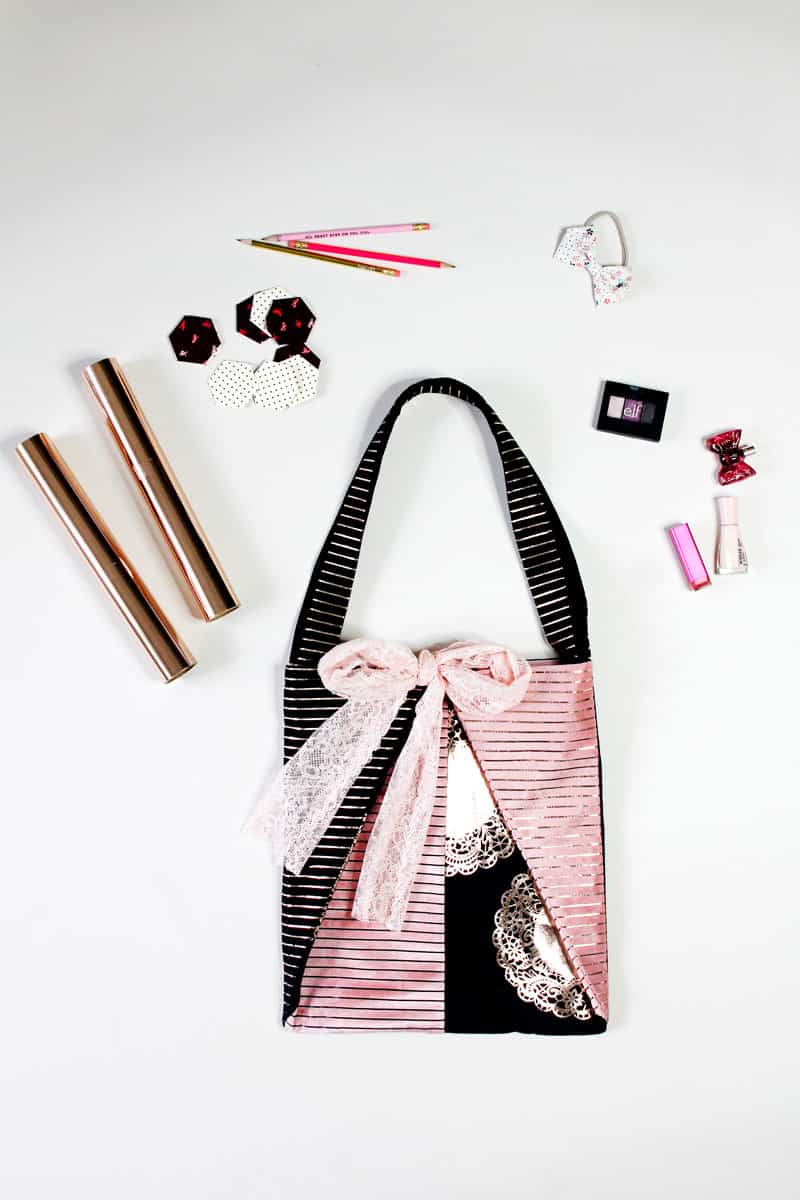
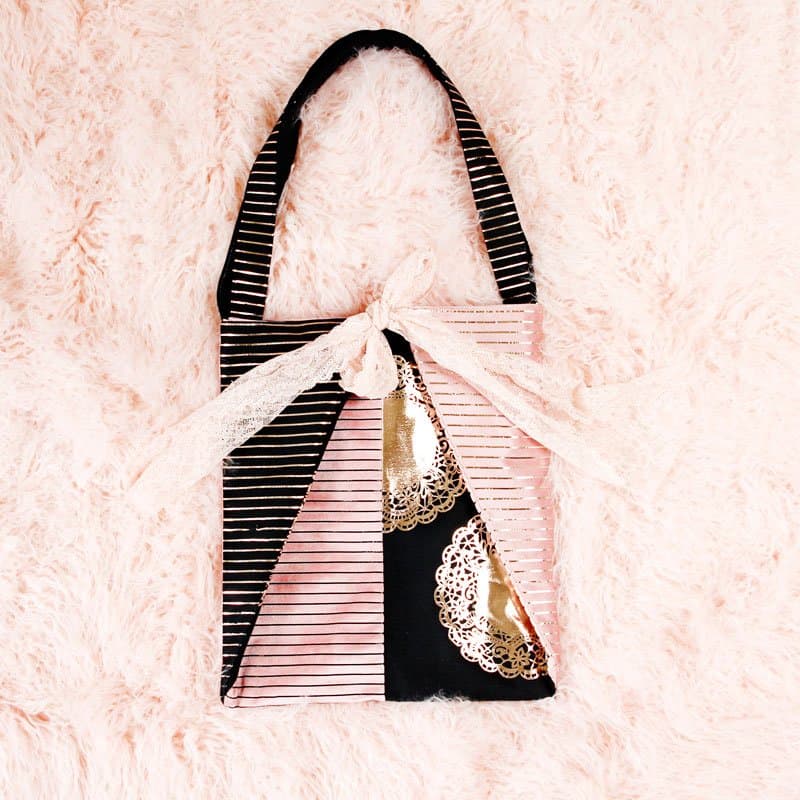
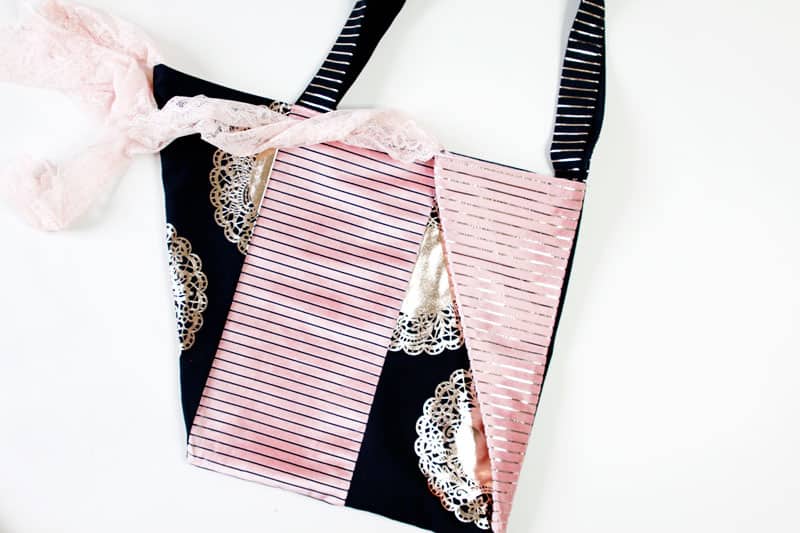
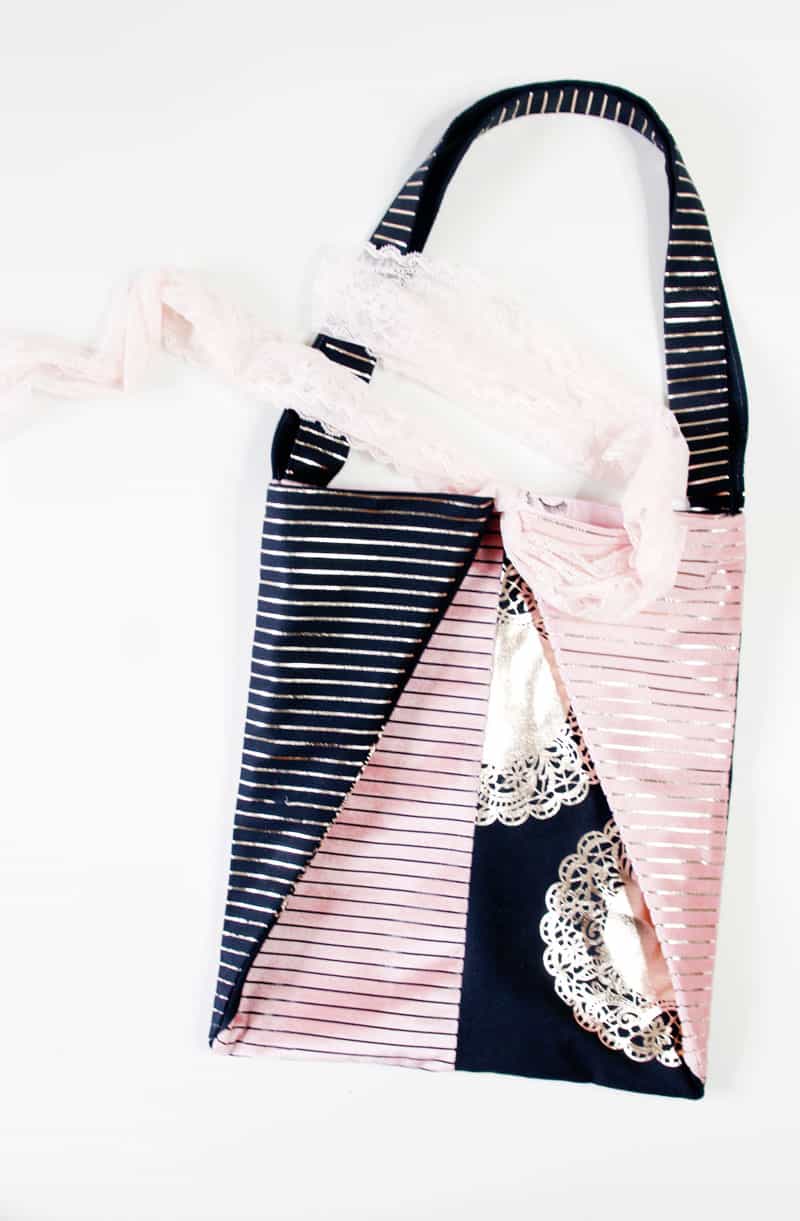
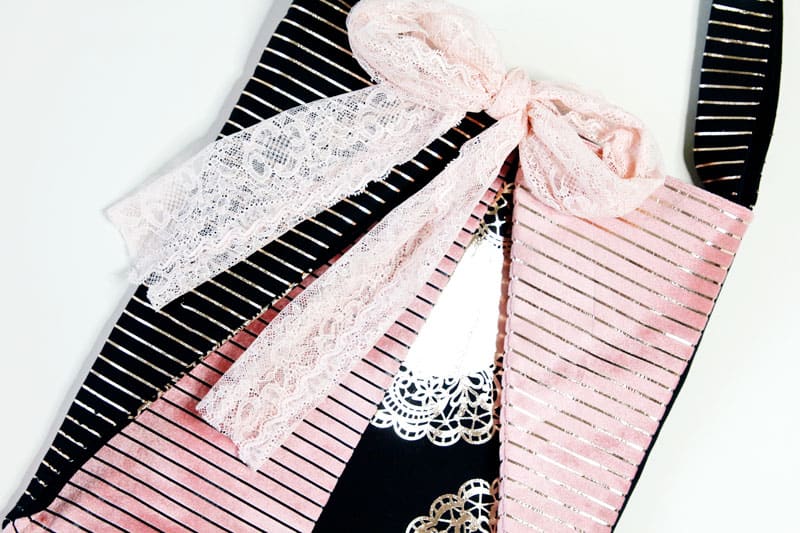
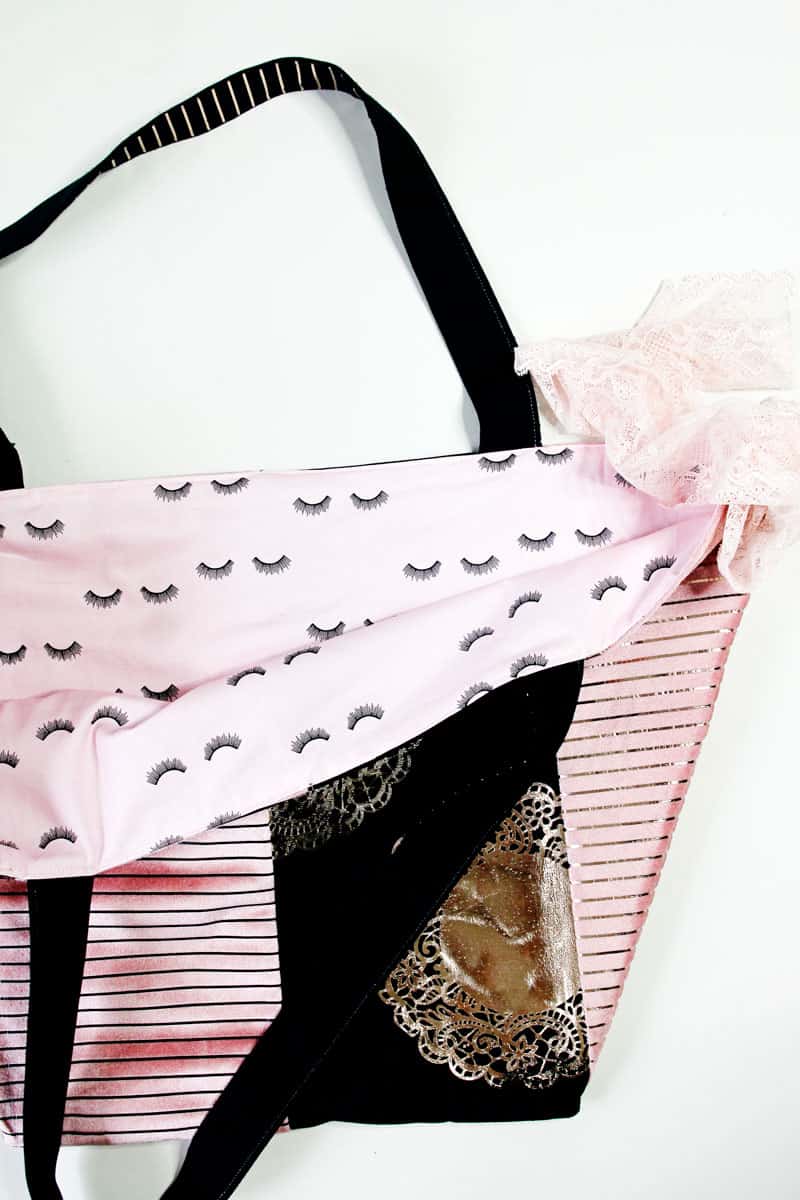
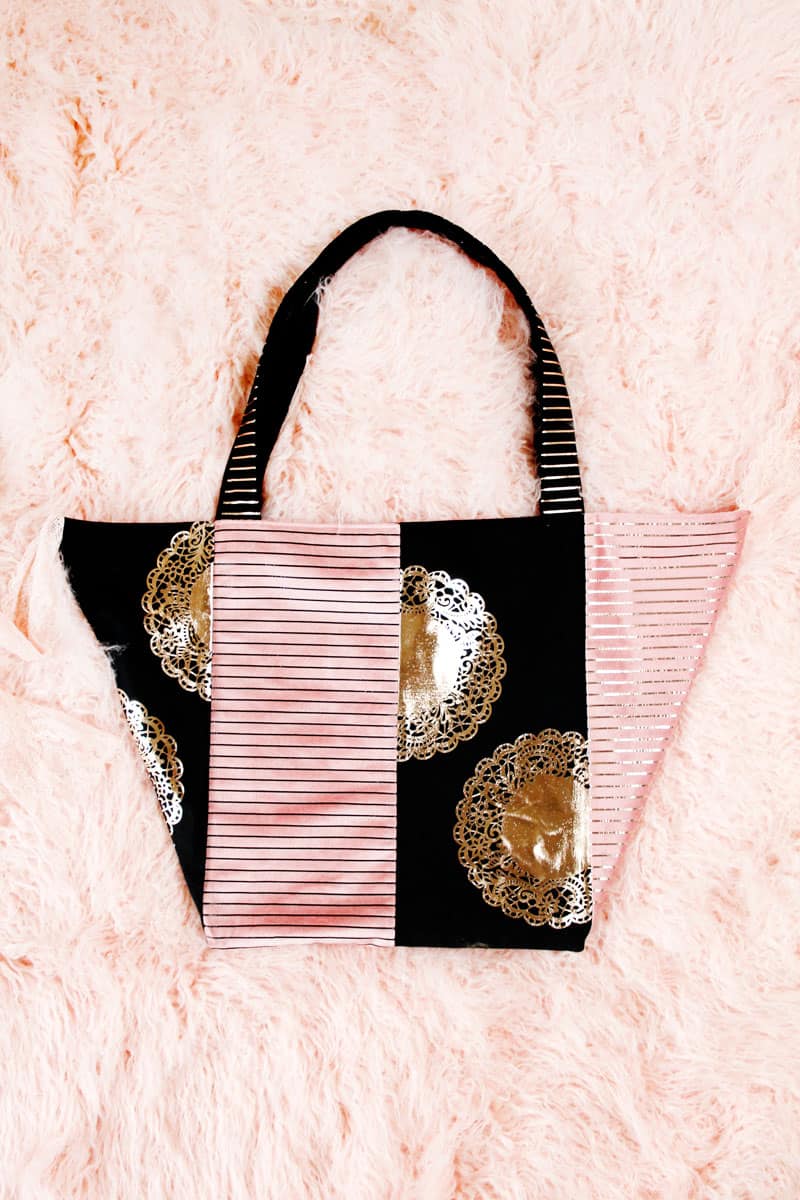
So taking that to a bigger scale opens up more project ideas! This project is a free tote bag pattern with an all-over stripes and lace design that is made with Iron-on applied with the EasyPress 2! I included templates for the tote bag for cutting either by hand or with the Cricut Maker!
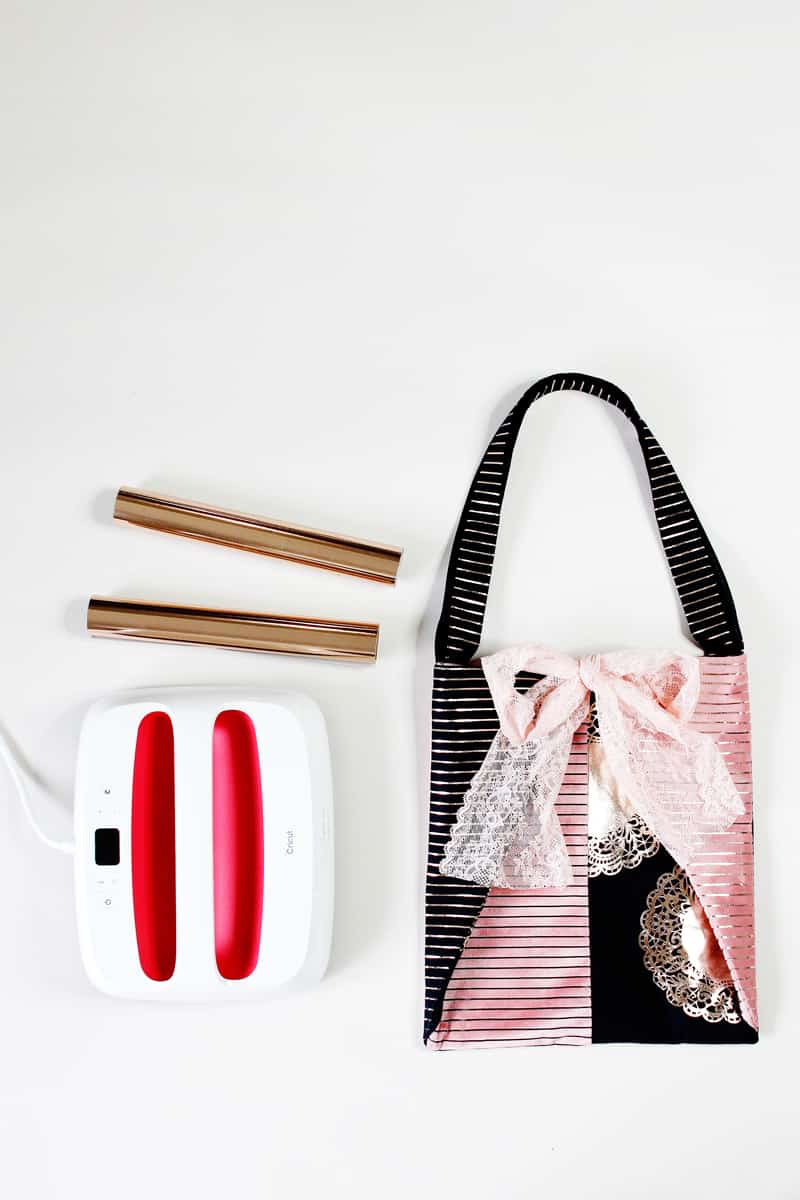
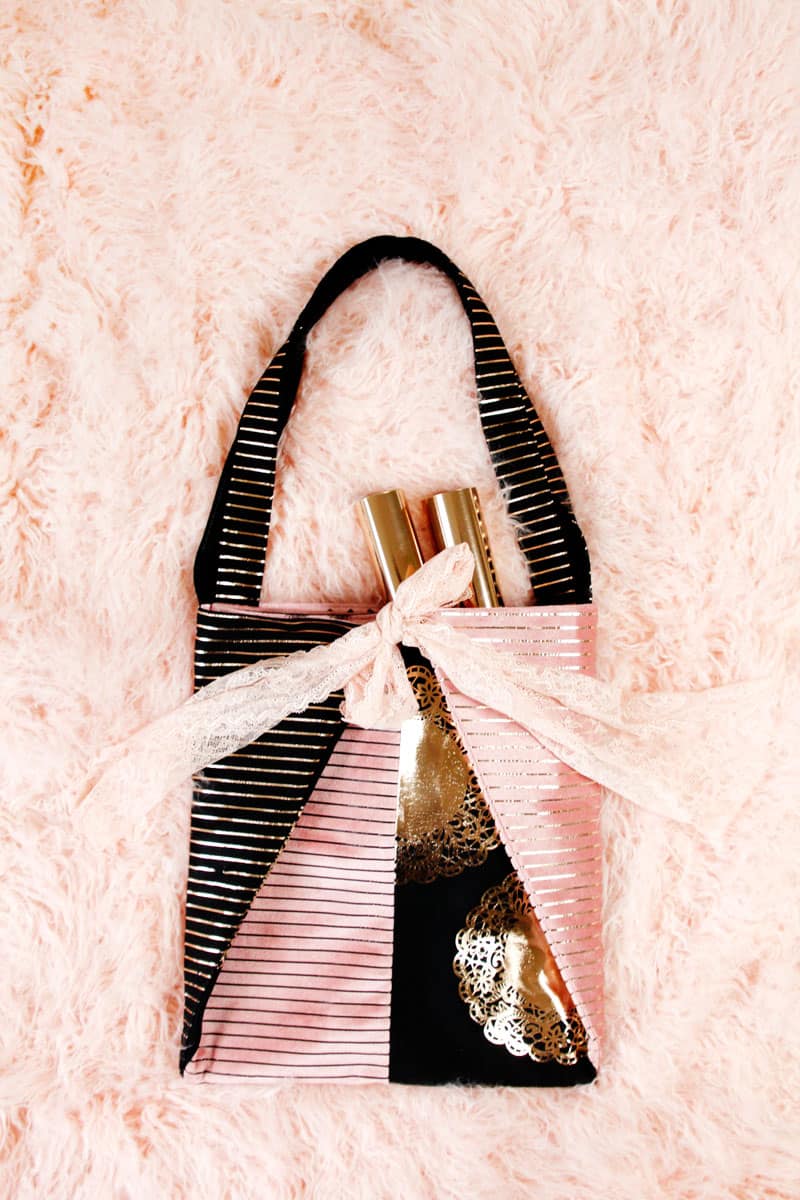
This tote bag is a rhombus shape but the sides tie together in a bow to make the bag more of a rectangle shape. This is just a fun design element but also makes the bag smaller for days when you aren’t hauling like Mary Poppins. You can use ribbon or lace for the ties or make your own fabric ties.

Materials//
–Cricut Maker
–Cricut EasyPress 2 12″ by 10″ & Mat
–rose gold iron-on vinyl
–black iron-on vinyl
-1 yard black canvas
-1 yard pink velvet
-1 yard cotton for lining fabric
-2 yards 7″ lace, cut to 28″ pieces
HELPFUL TOOLs//
–Cricut Rotary Cutter + Mat Set
–Cricut Sewing Kit
–Cricut Essential Tool Set
DESIGNS (FREE IN DESIGN SPACE)//
–Doily shape in Cricut Design Space
–stripes in Cricut Design Space
-PDF Tote Bag Pieces (download below!)
Tote Bag Pattern Tutorial
Cut the fabric //
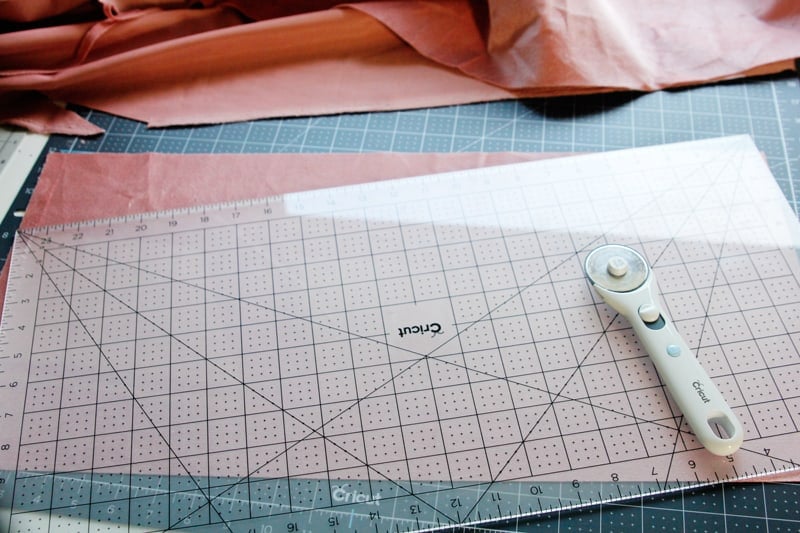
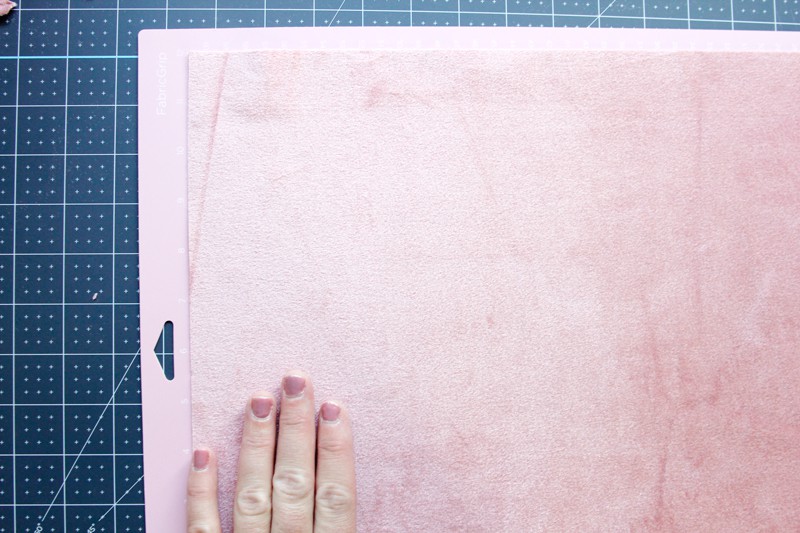
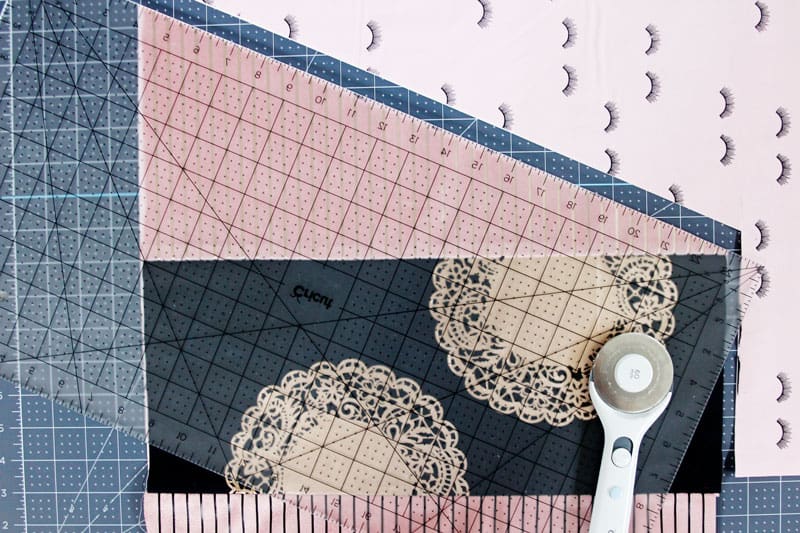
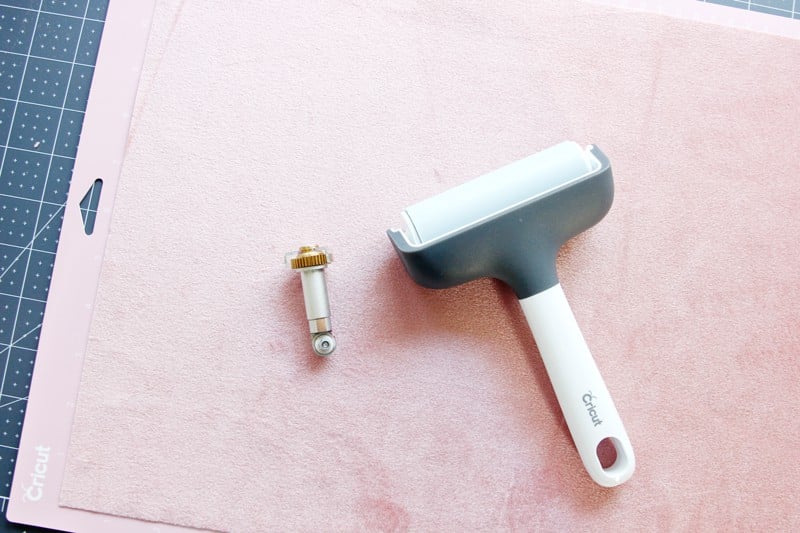
The Cricut Maker cuts all kind of fabric including canvas! To cut the tote bag pattern pieces using the Cricut Maker, press fabric to a 12″ by 24″ FabricGrip mat. The Cricut Rotary cutting set has a pre-sized ruler exactly those measurements, so you just have to trace it with the rotary cutter!
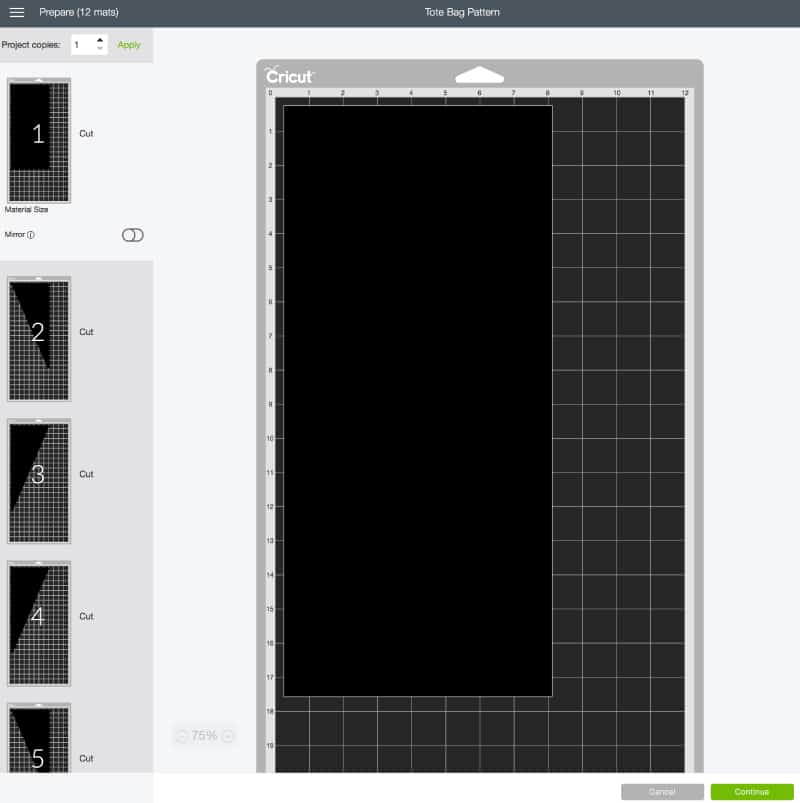
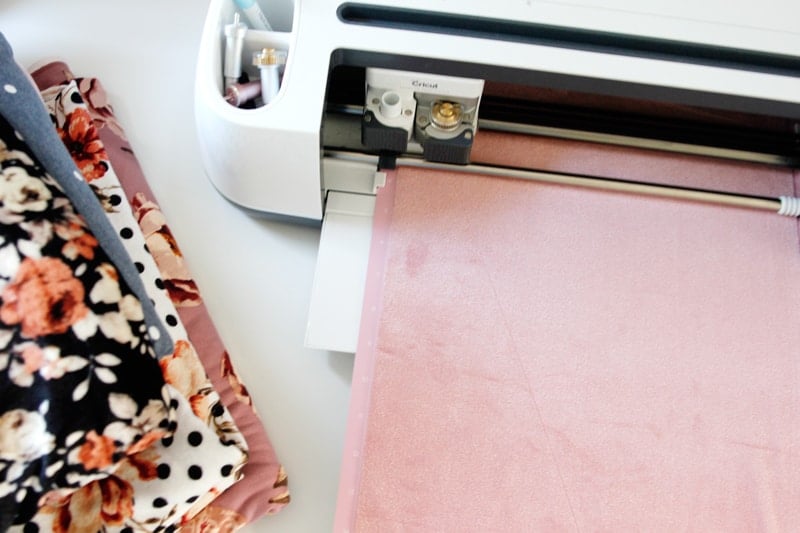
Load the mat and let the Maker work its magic!
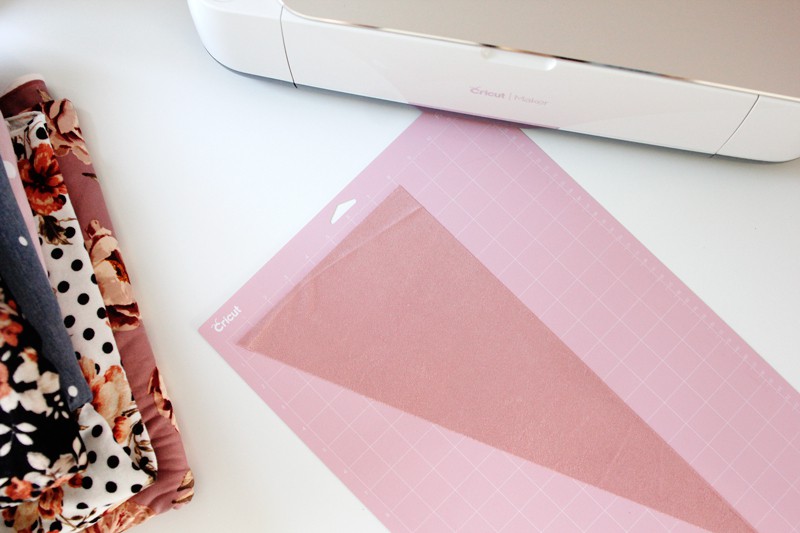
If you’re using the PDF to cut by hand, print out the patterns pieces and tape the pages together as shown, trimming off the excess paper:
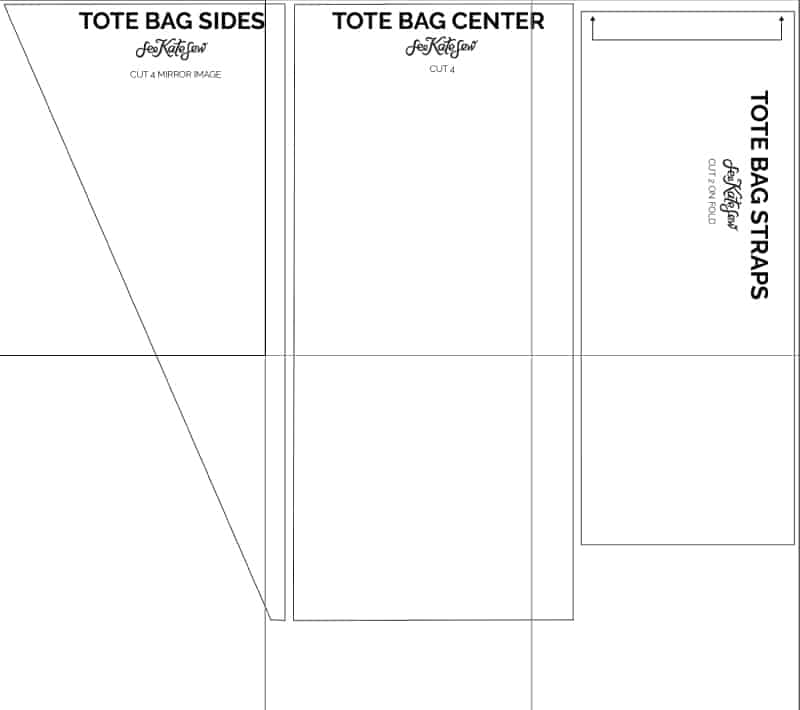
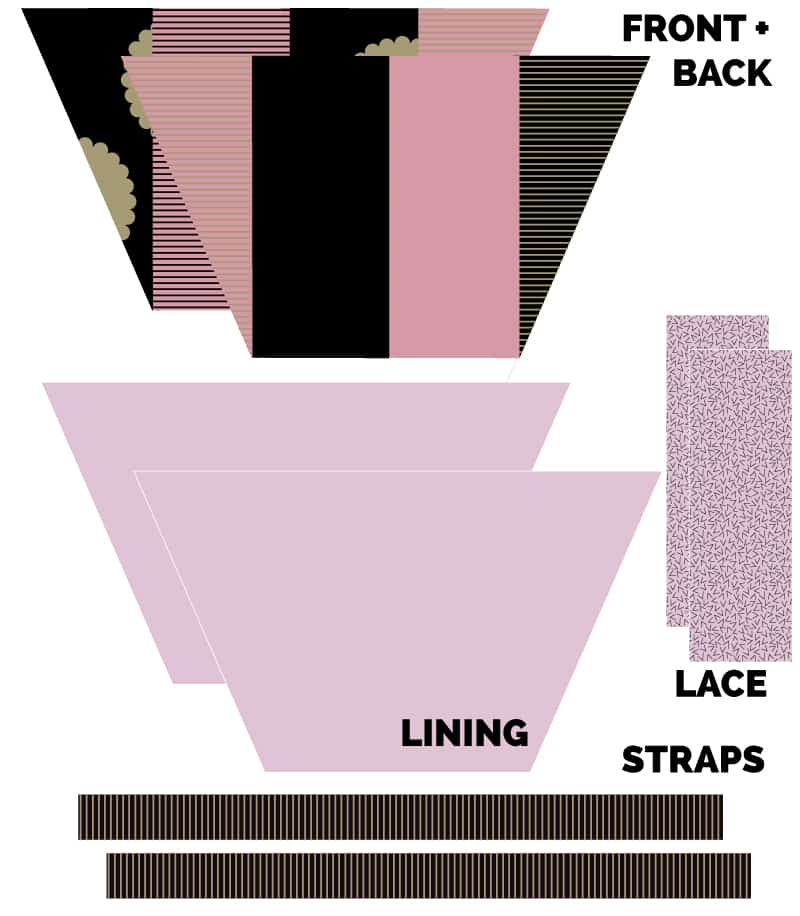
Cut 2 left bag sides and 2 right, one of each color. Cut 2 of each color Center pieces. And cut 2 Strap pieces on the fold using black canvas.

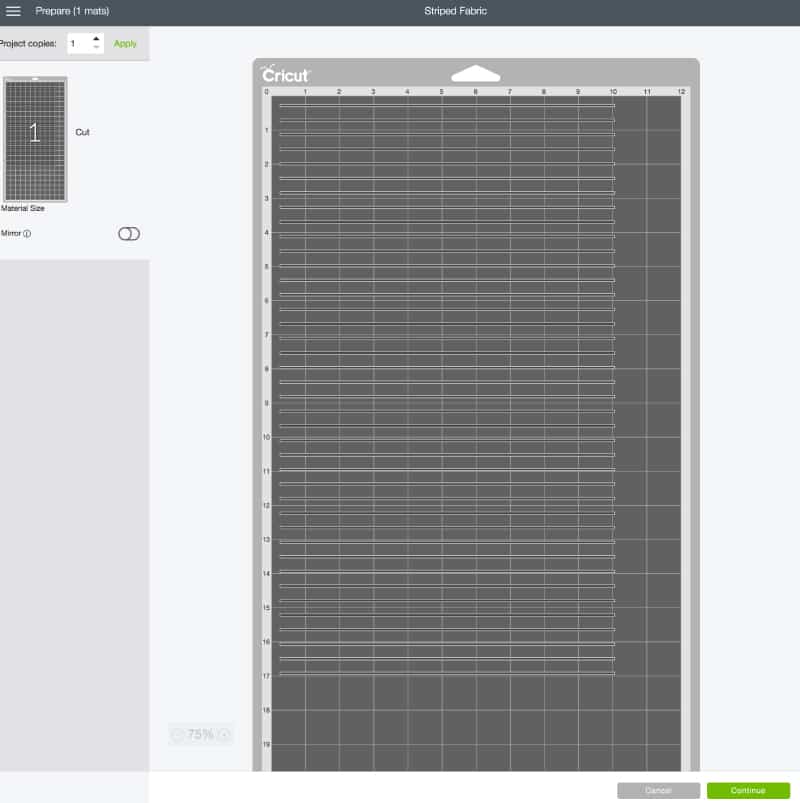
HOW TO MAKE STRIPES IN DESIGN SPACE //
You can make SO many designs using the basic shapes in Design Space – and they’re always free! You can even save your designs so you can use them again or share them with the Cricut community.
I used my two favorite iron-on vinyl colors – rose gold metallic and black iron-on lite to add texture and dimension t the bag. I think it’s a fun little extra that makes the bag look extra glam! To make a bold stripe design, use the square tool.
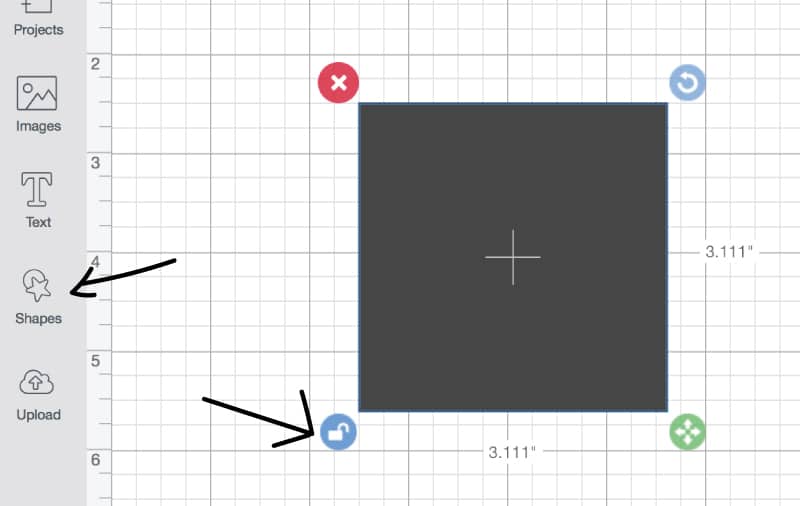
To turn the square into a stripe, click on the unlock button to let you alter ratios.

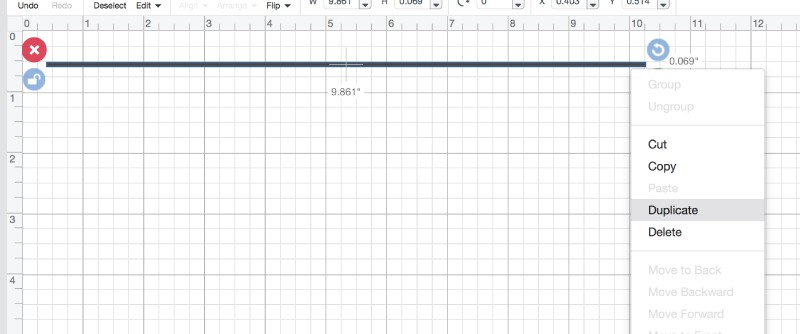
Use the Align tool to Align Left and Distribute Vertically until you like the pattern
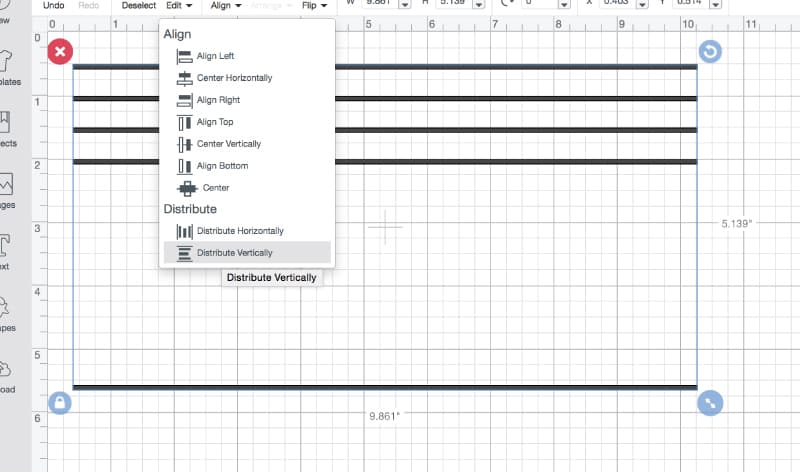
Or just click on my premade stripes RIGHT HERE!
CUT THE LACE DESIGN IN DESIGN SPACE //
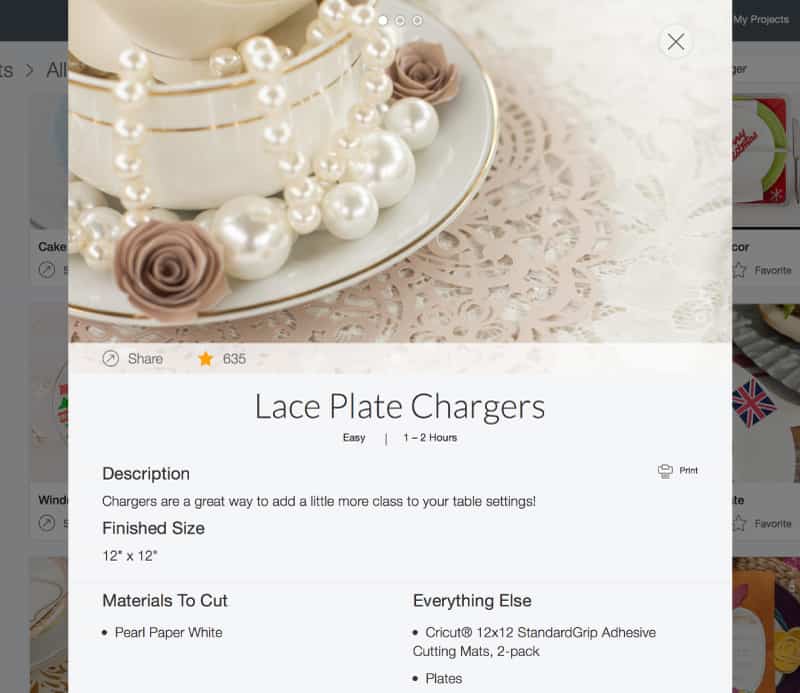
These lace doilies are a design from this plate charger project in Design Space. I love to find designs that are already made and ready to use, even if the project is totally different than what I’m doing! You can grab design elements from lots of different types of projects, sometimes you just have to hide the parts you don’t want!
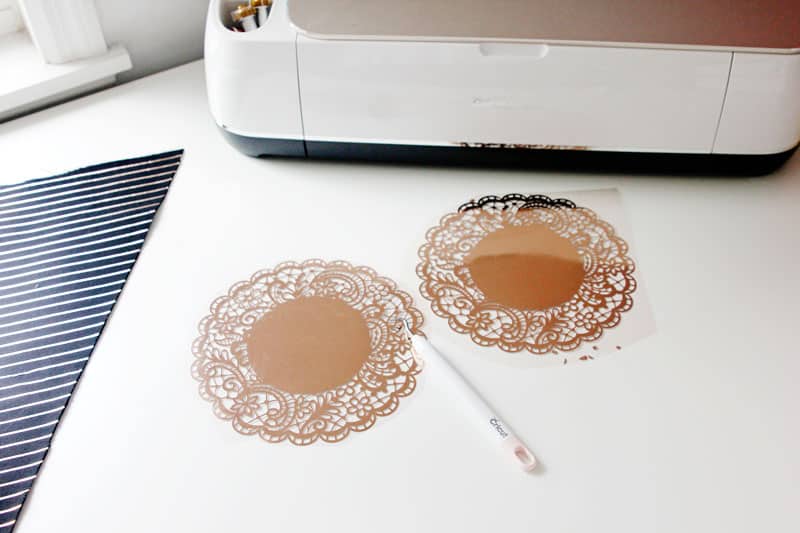
This lace design is really intricate and gorgeous! It looks so pretty in metallic iron-on! Weeding the excess vinyl out of these took a while, but it is the perfect thing to do while watching TV!
FUSE //
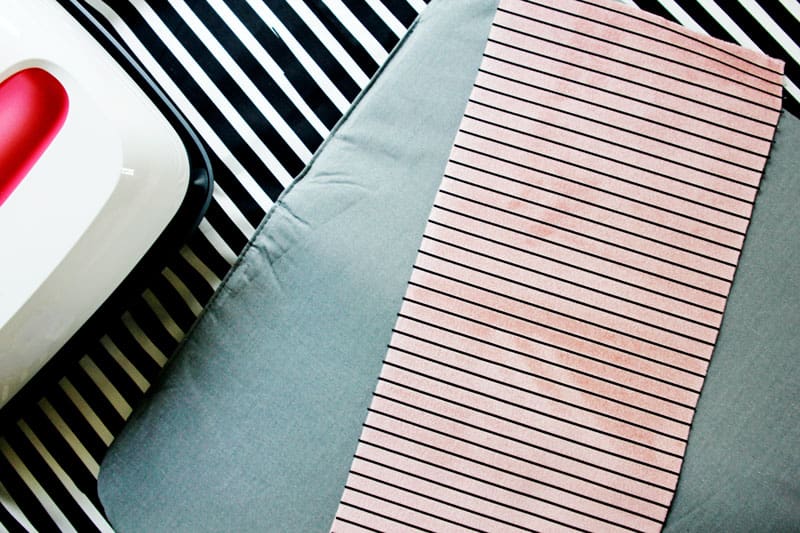
Use the EasyPress 2 to fuse the vinyl to the fabric pieces, following the placement chart below.

To find the correct heat settings for your project, use this handy interactive Quick Reference Guide. For most iron-on vinyl, it only takes 30 seconds!
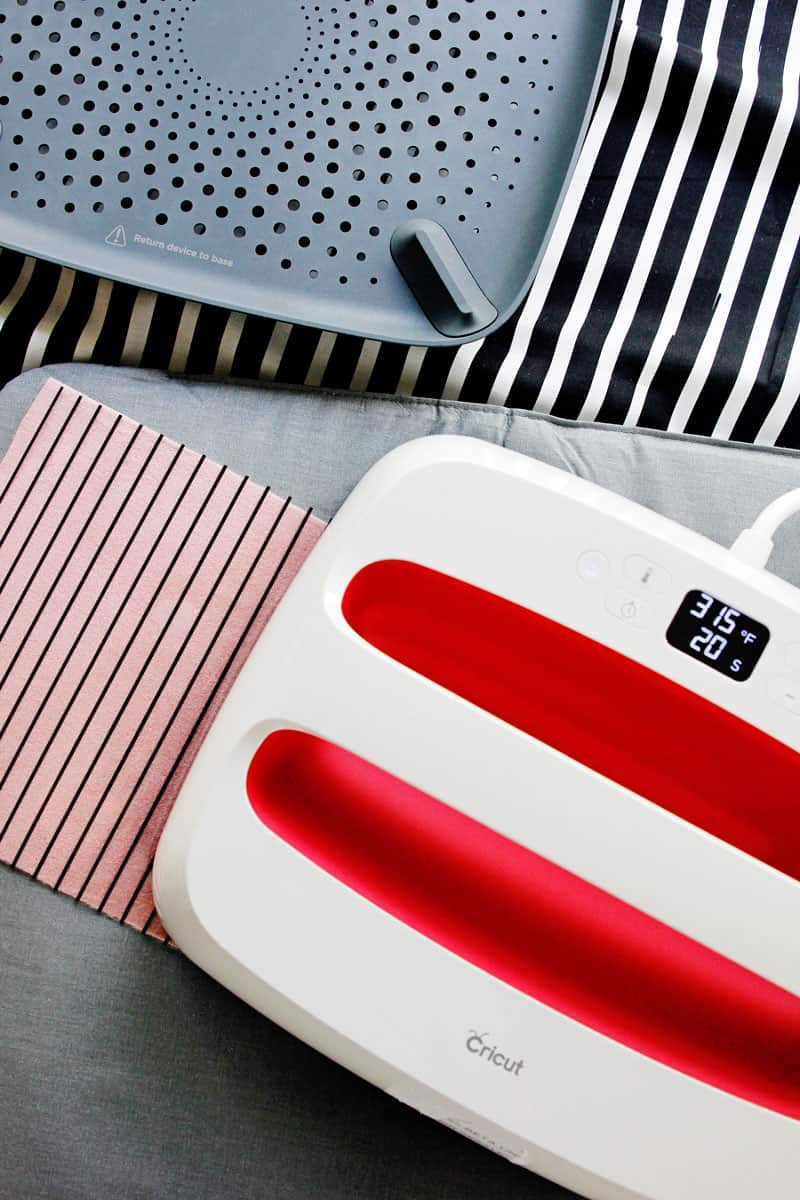
The EasyPress 2 provides perfectly even heat, so the project is ready in no time!
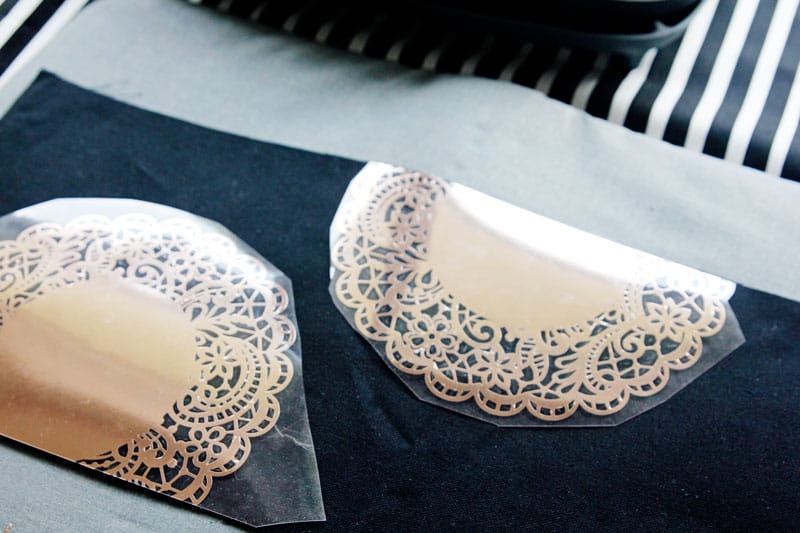
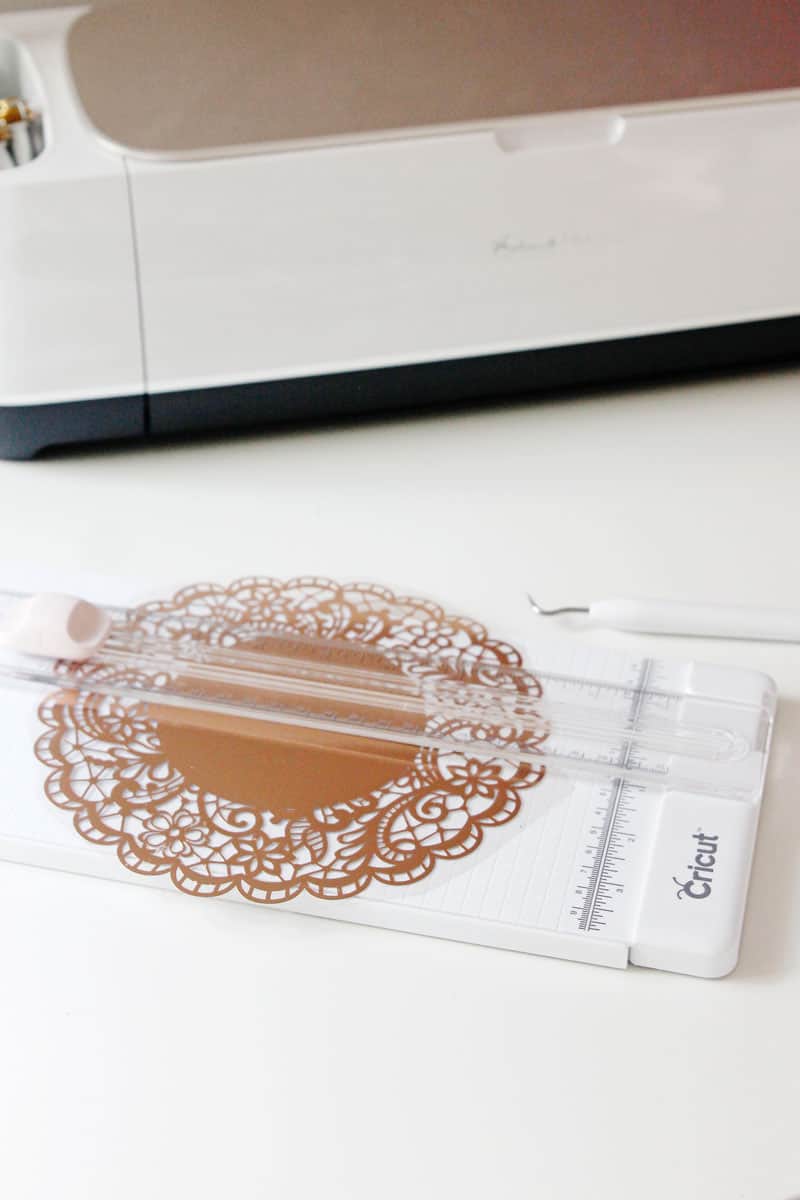
Trim the doilies in half using a paper cutter and place them on the edges of your fabric pieces.
Fuse them to the fabric. With iron-on metallic, I’ve found it is good to press the vinyl after heat and before pulling the plastic off. The result of the metallic is so gorgeous!
ASSEMBLE BAG //
Use a 3/8″ seam allowance.
Now that everything is cut and decorated, we’re ready to assemble the bag.
Let’s make the straps first! If you cut the strap pieces out with your Maker, sew the short edges together so you have a long strap.
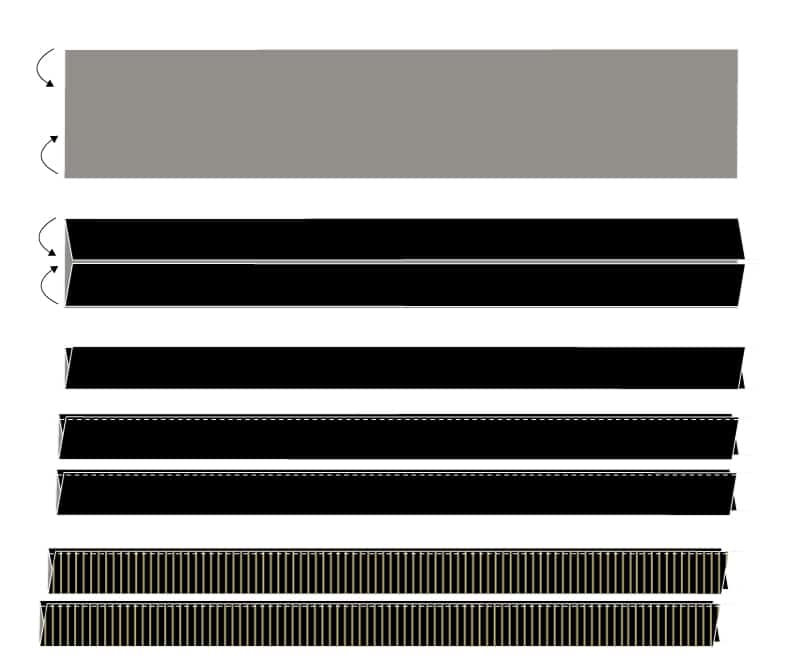
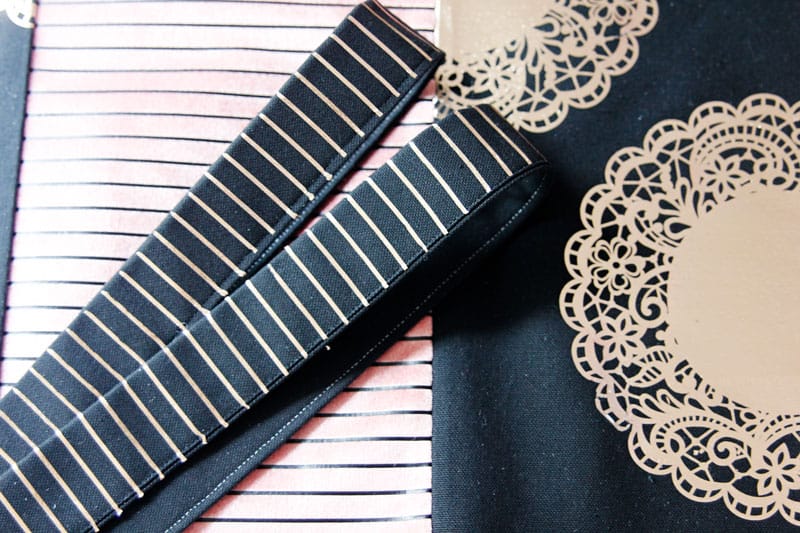
To turn the rectangle into a strap, fold the edges into the center, long ways and press. Repeat so you have a 4-layer strap with all raw edges enclosed. Sew close to the edges, 1/4″. Repeat with second strap.
Use scraps of the line vinyl to decorate the right sides of the straps.
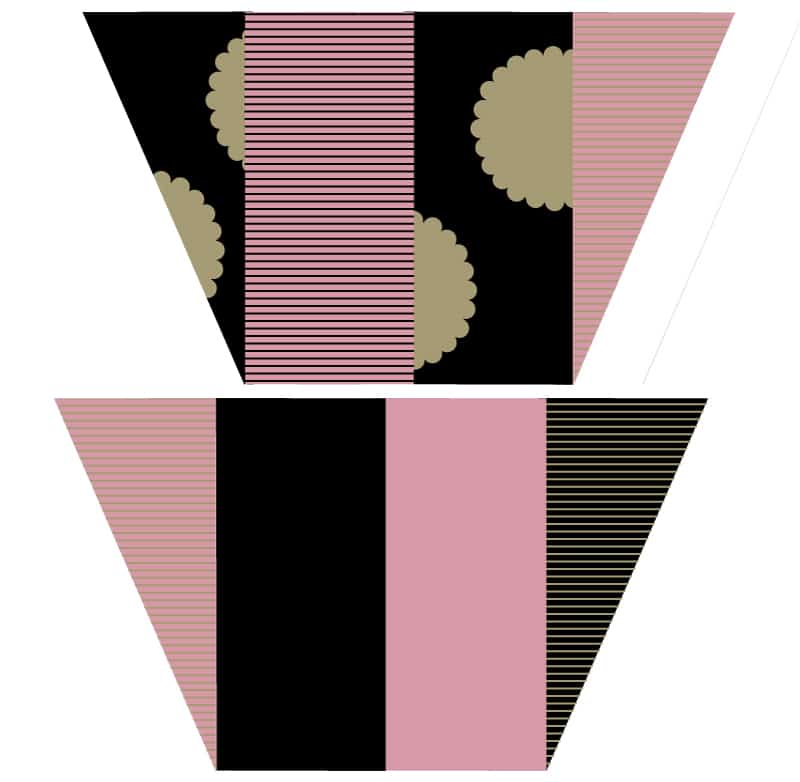
Sew all 4 front pieces together, in the following pattern. The back pieces will be the opposite pattern, but when the two pieces are assembled, the pink side with match with the pink side etc.
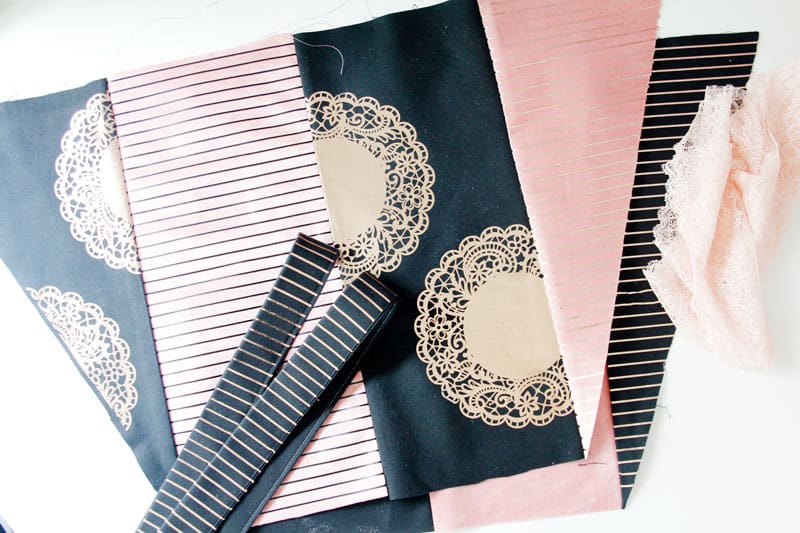
To create the tote bag’s lining, lay the front piece on folded lining fabric. Match the center of the front tote piece to the fold of the cotton.
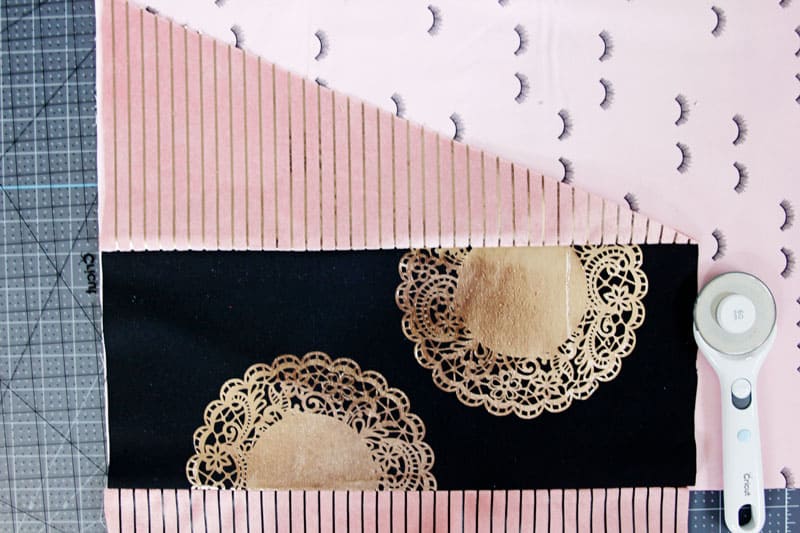
Use an acrylic ruler and rotary cutter to trace the front piece. Cut 2 of these lining pieces. Fuse fusible interfacing to the backs of the lining pieces if you want the tote bag to have a little more stability.
All our pieces are ready and the last few steps are assembling the bag.
Sew front and back pieces together with right sides together along the side and bottom seams. Clip the corners of the seam allowance.
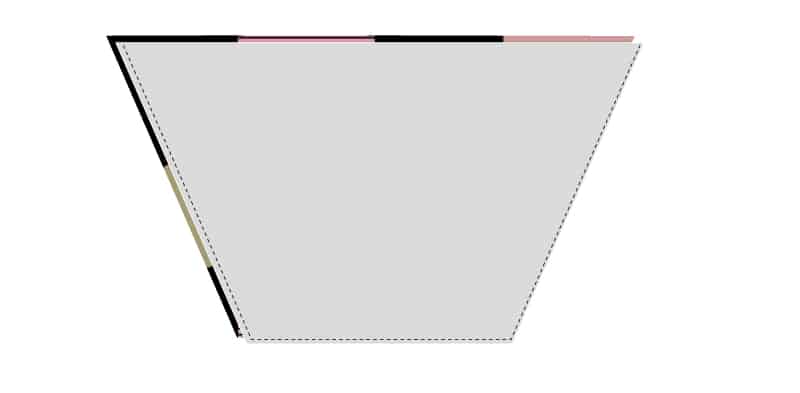
Sew the front and back linings together with right sides together. Sew the sides and bottom, leaving about 5-7″ at the bottom of the lining OPEN to turn later.
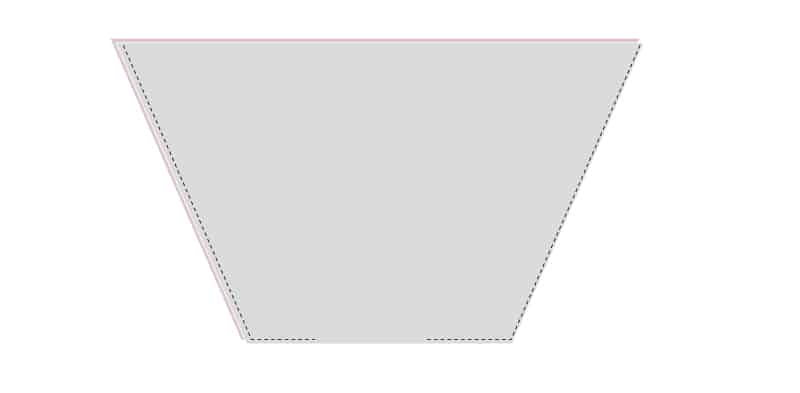
Pin the straps right side down right where the center pieces meet the side pieces. Pin on either side of the tote and baste.
Bunch up the lace pieces and pin to the side seams of the tote bag. Baste
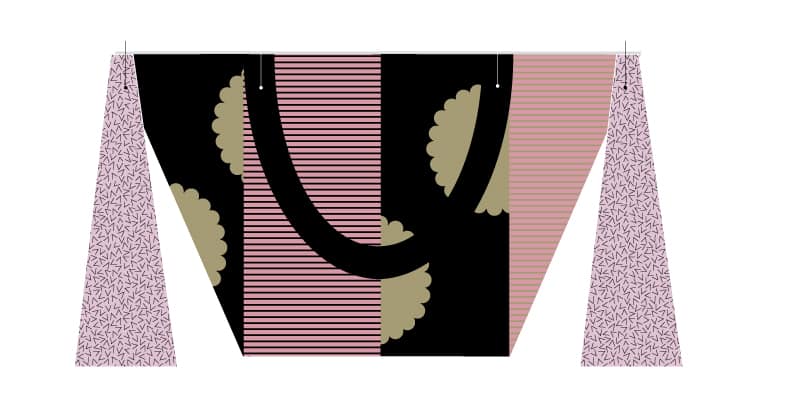
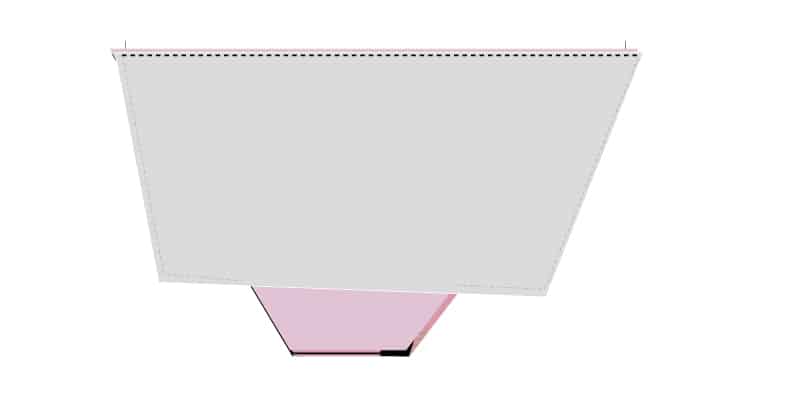
Pin the top of the lining over the main tote piece, with all the straps and lace inside. Pin all the way around. The right sides of these two pieces will be together. Pin and sew. Then turn the tote right side out, press, and stitch the lining opening shut.
More EasyPress Projects!
Canvas Book Bag Pattern
Unicorn Makeup Brush Roll
Days of the Week Sweatshirts
This is a sponsored conversation written by me on behalf of Cricut. The opinions and text are all mine.

