• Skip to main content
  • Skip to primary sidebar
  • Skip to footer
  • Blog
  • About
  • Contact
  • FAQ
  • Sponsor

see kate sew

sewing, crafts, tutorials, DIY

  • Patterns
    • Free Patterns
    • Pattern of the Month
  • Tutorials
    • Accessories
    • Bags and Pouches
    • Clothing
    • Costumes
    • Crafts
    • Cricut Projects
    • Holiday
    • Household
    • Kids
    • Maternity
    • Quilting
  • Topics
    • Baby
    • Boy
    • Christmas
    • dog
    • Dolls
    • Easter
    • Girl
    • Halloween
    • Lookbook
    • Party
    • pet
    • Printables
    • Training
    • women
  • No Sew
  • Sewing 101
  • Sew4Good
  • Pet
  • Sewing Room
    • DreamBox
  • Reviews
Home
  • Patterns
    • Free Patterns
    • Pattern of the Month
  • Tutorials
    • Accessories
    • Bags and Pouches
    • Clothing
    • Costumes
    • Crafts
    • Cricut Projects
    • Holiday
    • Household
    • Kids
    • Maternity
    • Quilting
  • Topics
    • Baby
    • Boy
    • Christmas
    • dog
    • Dolls
    • Easter
    • Girl
    • Halloween
    • Lookbook
    • Party
    • pet
    • Printables
    • Training
    • women
  • No Sew
  • Sewing 101
  • Sew4Good
  • Pet
  • Sewing Room
    • DreamBox
  • Reviews

04.04

Wipeable Foldable Portable Changing Mat Tutorial (with snaps!)

Welcome to See Kate Sew! If you’re new here, sign up for my email newsletter for access to free patterns, tutorials and all the latest sewing news! Tour my sewing room HERE!

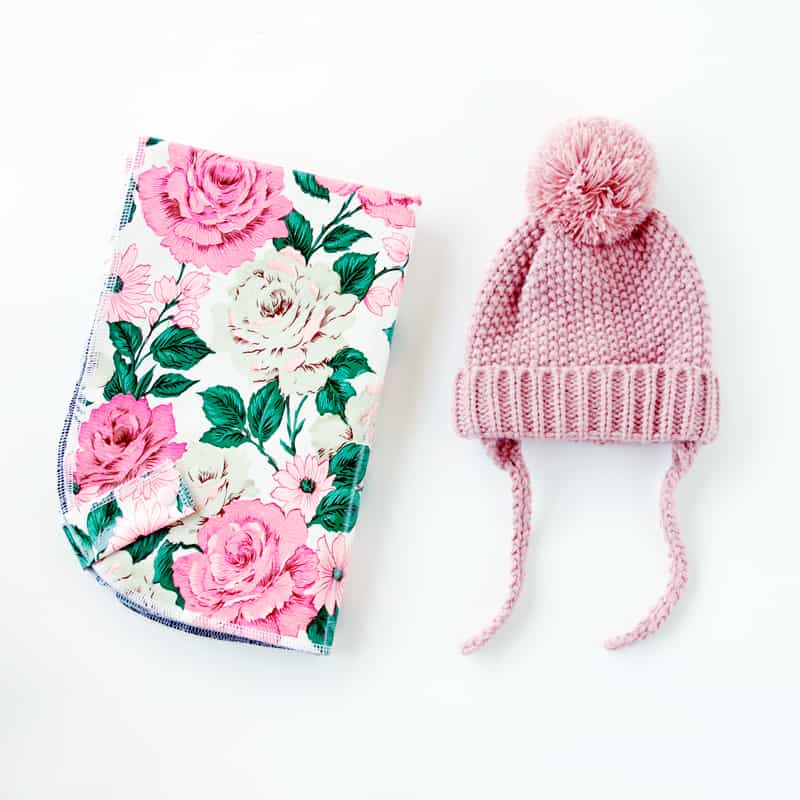
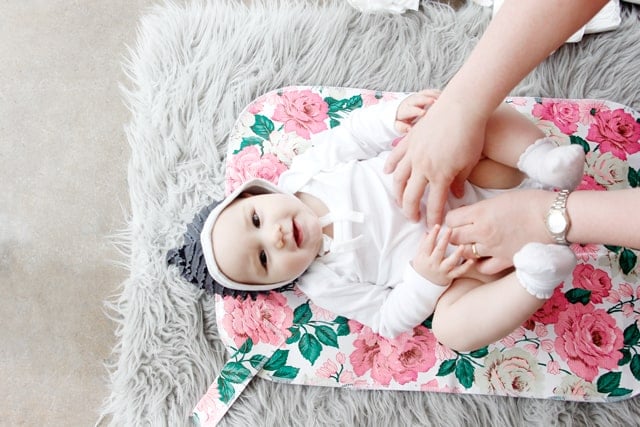
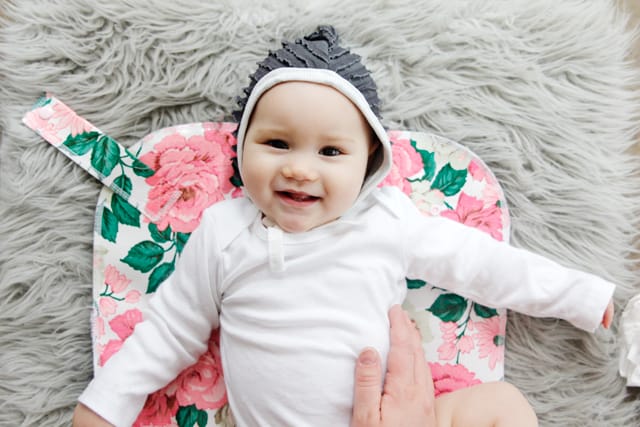
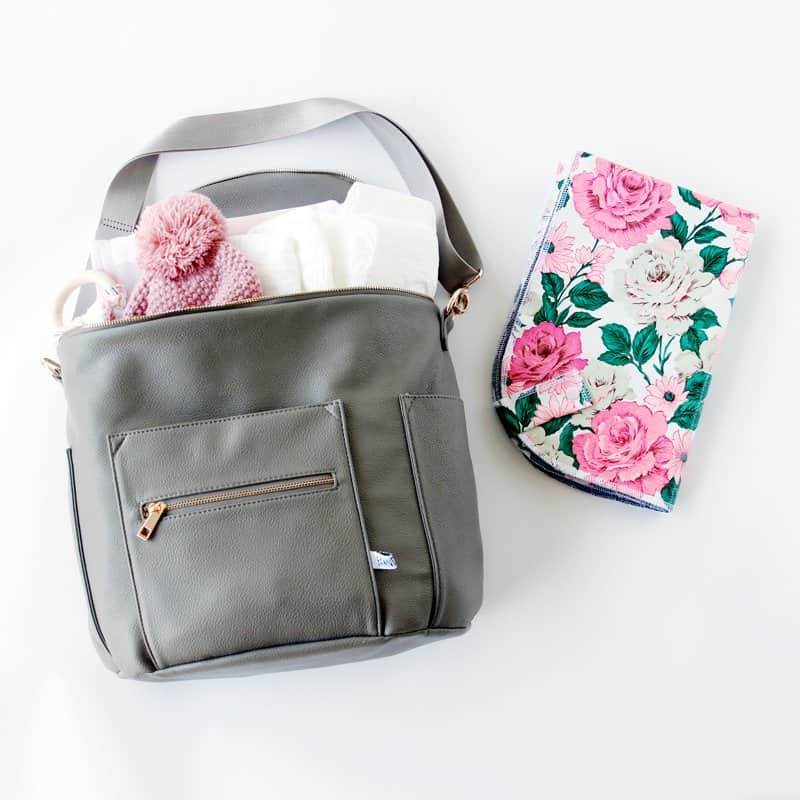
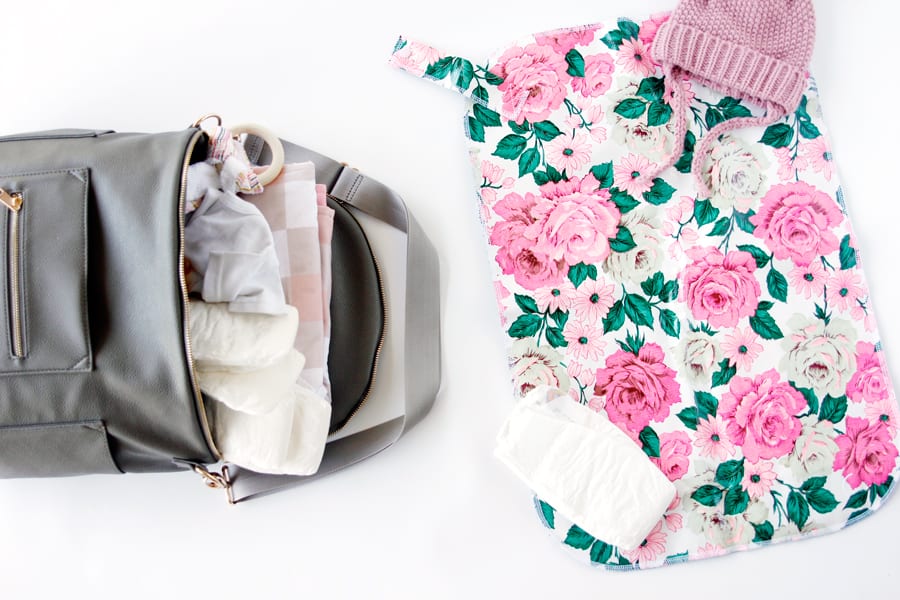
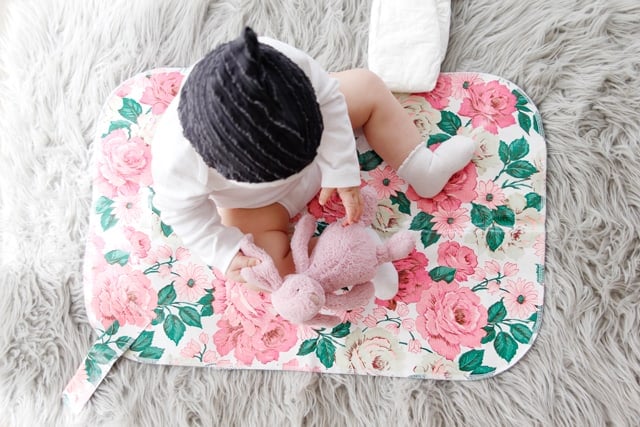
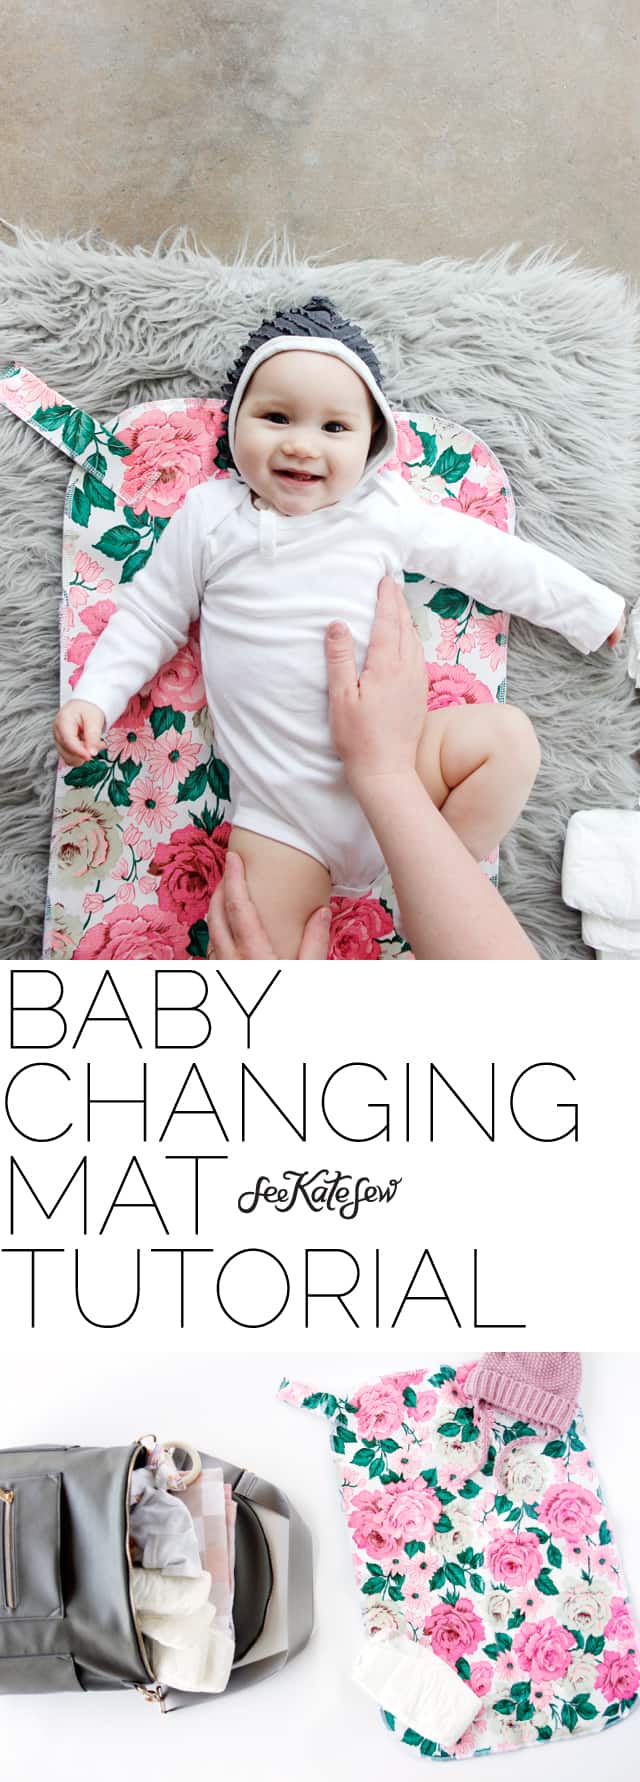
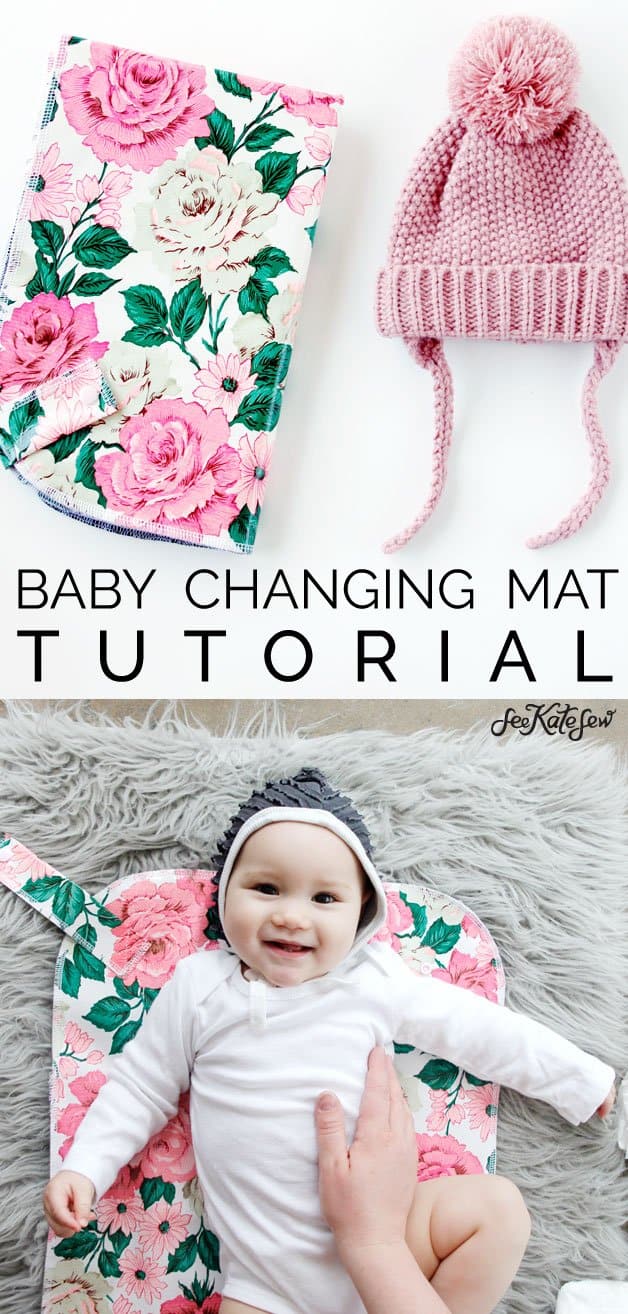
I’ve been hoarding this pretty floral oilcloth for years now and finally thought up the perfect project for it! This is a super simple changing mat with a few great features! The oilcloth makes it wipeable and it folds up into a little rectangle with a strap and snap to hold it together. This changing mat tutorial includes a pattern and is the perfect size for baby’s first year and has a layer of batting for a bit of softness.

DIY Baby Changing Mat Tutorial | handmade baby changing mat | diy baby accessories | baby changing mat pattern | sewing tutorials | free sewing patterns || See Kate Sew #babychangingmat #diybaby #babyaccessories
Oilcloth Changing Mat Tutorial | See Kate Sew

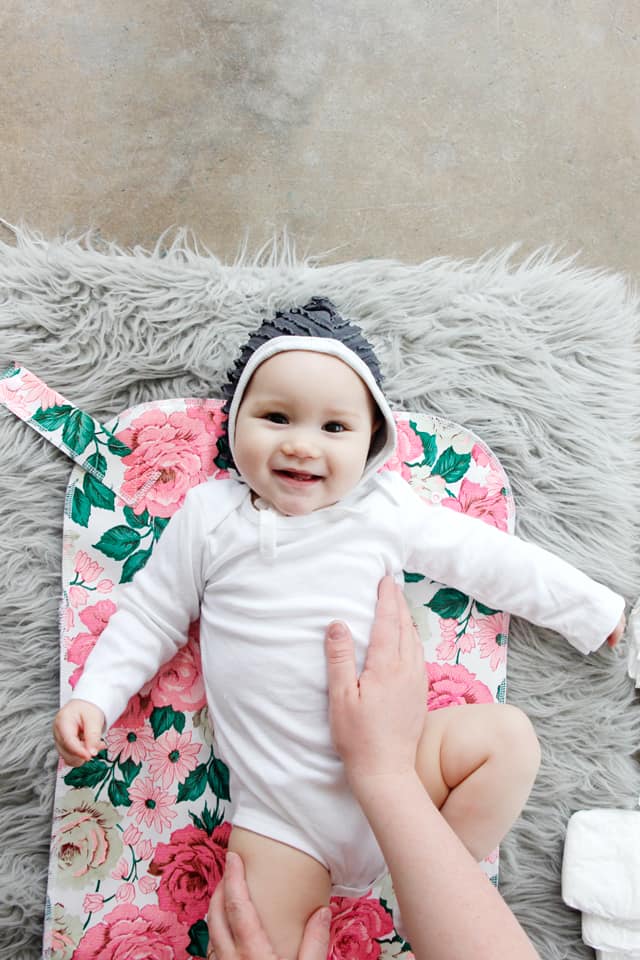
Is it making me excited to change baby diapers for the first time in over 6 months??? MAYBE! The power of a sewing project, I tell ya.

Oilcloth Changing Mat Tutorial | See Kate Sew

I serged the edges of this project, because I love the look of serging. (Plus, it’s National Serger Month!) Serging is also an easy way to finish oilcloth because you don’t have to turn the fabric, leaving bulky seam allowances. If you don’t have a serger, there are 2 options for easy finishing: use a tight zig-zag stitch for a similar effect OR use bias tape to bind around the edges (and add a pop of color).

Oilcloth Changing Mat Tutorial | See Kate Sew

I used my serger machine for this project. It’s a simple sew, makes a fun shower gift, and might even make you excited about baby poop!

Changing Mat Tutorial


-1/2 yard Oilcloth
-1/2 yard cotton, canvas, or other for backing. (I’m using denim)
-1/2 yard batting, my favorite is Warm & Natural, it’s felted and easy to work with.
–Kam Snap + Pliers
-pattern (see button below!)

Oilcloth Changing Pad Tutorial | See Kate Sew
Oilcloth Changing Mat Tutorial | See Kate Sew

I got this floral at a fabric shop and can’t find it online. But here are some other cute options:
–Cherry Blossom Floral
–Hibiscus Floral
–Green Apple Oilcloth
–Yellow Apple 
–b/w Polka Dot

Oilcloth Changing Mat Tutorial | See Kate Sew

Instructions:

To start, print out the pattern piece and tape together. There are just two pages. Cut out the pattern pieces.

Oilcloth Changing Mat Tutorial | See Kate Sew

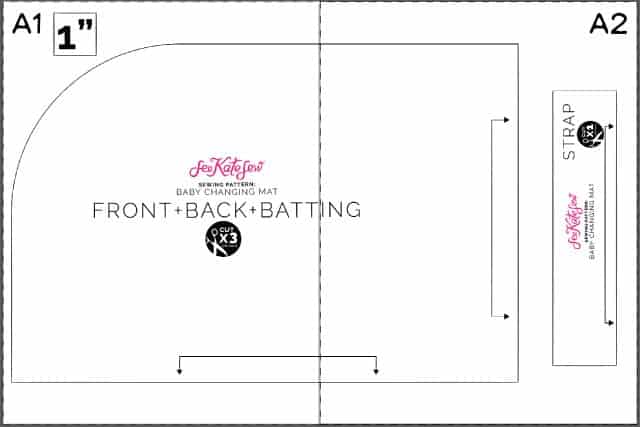
Cut 1 main piece from your front fabric, backing fabric and batting. You’ll have 3 pieces. Cut 1 strap from front fabric.

Oilcloth Changing Mat Tutorial | See Kate Sew

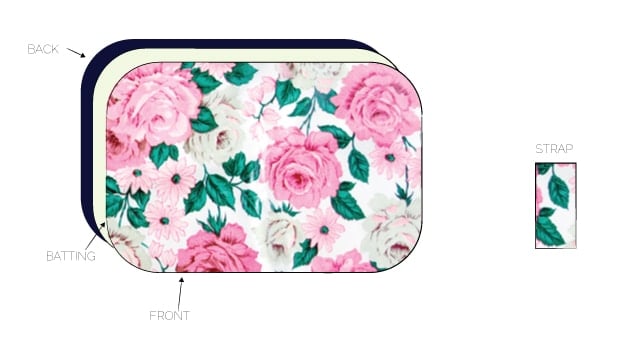
Stack main pieces as shown above, with the right side of the front facing up and the right side of the back fabric facing DOWN. And the batting in the middle. Line up all the edges. Use sewing clips to hold it together and serge edges, shown in grey.

DIY Baby Changing Mat Tutorial | handmade baby changing mat | diy baby accessories | baby changing mat pattern | sewing tutorials | free sewing patterns || See Kate Sew #babychangingmat #diybaby #babyaccessories

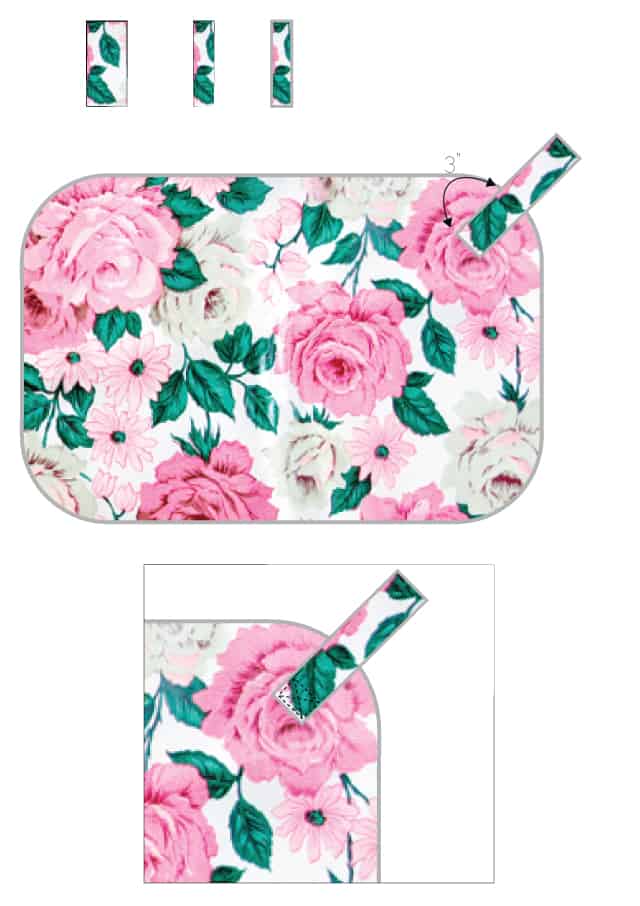
Fold strap in half and match long edges. Serge around raw edges of strap. Sew to a corner of the mat, 3″ from the corners edge.

DIY Baby Changing Mat Tutorial | handmade baby changing mat | diy baby accessories | baby changing mat pattern | sewing tutorials | free sewing patterns || See Kate Sew #babychangingmat #diybaby #babyaccessories

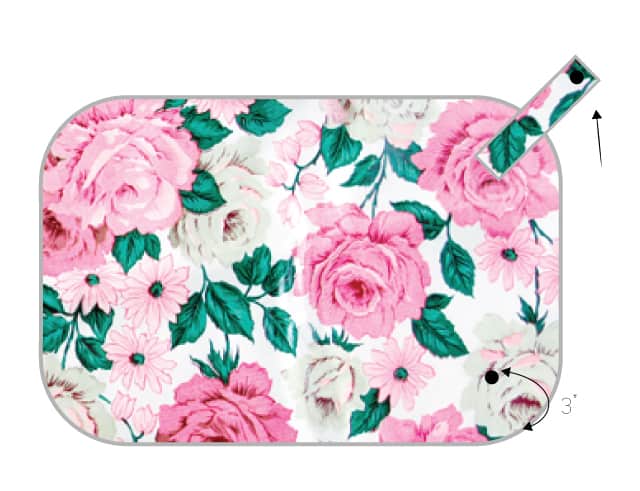
Place a snap at the end of the strap. And a corresponding snap at the same spot on the other top corner of the mat, 3″ from the corner. Fold up your mat before placing the snaps to make sure you get the right side of the snap where it needs to go.

Oilcloth Changing Mat Tutorial | See Kate Sew

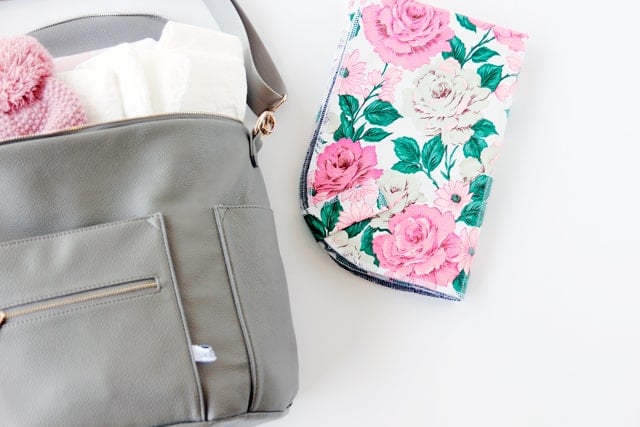
That’s it! Fold it up and stick it your diaper bag!

Oilcloth Changing Mat Tutorial | See Kate Sew
DIY Baby Changing Mat Tutorial | handmade baby changing mat | diy baby accessories | baby changing mat pattern | sewing tutorials | free sewing patterns || See Kate Sew #babychangingmat #diybaby #babyaccessories

Accessories:
Grey Diaper Bag // c/o Fawn Design
Pink Baby Hat // Zara
Pixie Baby Hat // Pattern

DIY Baby Changing Mat Tutorial | handmade baby changing mat | diy baby accessories | baby changing mat pattern | sewing tutorials | free sewing patterns || See Kate Sew #babychangingmat #diybaby #babyaccessories

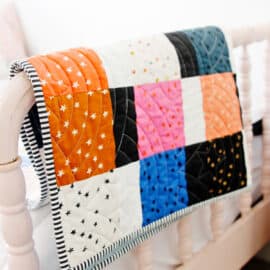
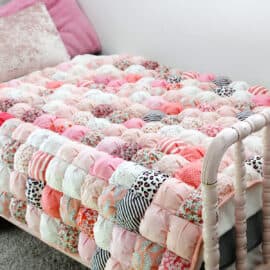
Check out this post of 50+ MORE Baby Sewing Projects!

SaveSaveSaveSave

DIY Baby Changing Mat Tutorial | See Kate Sew

5 Comments | Household

Exclusive Free PatternRuffled Apron

Sign up for my email newsletter and receive my ruffled apron pattern totally FREE!

We take your privacy seriously. See our privacy policy here. Unsubscribe at any time.

You may also like these posts...

FREE baby bonnet brim patternburp cloth tutorialKnit Headbands for Baby + ToddlerDIY Halloween Costumes – 30 Easy Costume Tutorials!

Reader Interactions

5 Comments

  1. Christina

    04/04 at 6:13 PM

    So cute! I’m not too familiar with oil cloth, but could this be done with laminated cotton too? Is it washable? I worry about the backside getting dirty. Thank you!!!

  2. Lolly Jane

    04/05 at 6:59 PM

    This is too cute. You are so talented and that baby is darn adorable!

    XO

  3. Hilde

    04/07 at 4:15 AM

    The perfect project for that cool cactus print oilcloth I saw the other day. To the fabric shop!

  4. Anne

    04/07 at 2:47 PM

    The snaps are so smart!! I’ve got a Craft Gossip post scheduled for tomorrow morning that features your tutorial: http://sewing.craftgossip.com/?p=87457 –Anne

  5. daffy

    04/18 at 12:41 AM

    Awesome project. Baby is adorable!

Primary Sidebar

  • Facebook
  • Twitter
  • Instagram
  • Pinterest
  • Email

Exclusive Free PatternRuffled Apron

Sign up for my email newsletter and receive my ruffled apron pattern totally FREE!

We take your privacy seriously. See our privacy policy here. You can unsubscribe at any time.

Don’t miss these popular posts!

easy baby dress pattern for the summertime

easy baby dress pattern for the summertime

modern ombre + b/w triangle quilt tutorial + pattern

modern ombre + b/w triangle quilt tutorial + pattern

Fabric

Quilted Cosmetic Case Kiss Me KateKiss Me, Kate FabricOne Hour Granny Square Quilt Tutorial | See Kate SewModern Granny Square Quilt Whole Cloth

Pattern Hacks

Easy Baby Summer Dressthe EMMA pattern | See Kate SewThe EMMA Dress

Footer

Hello friends!

My name is Kate, a twenty something fashion lover and mother of two. When I’m not chasing kids you can find me at my sewing table or daydreaming up new designs. You can read more about me here. Thank you for visiting!

8a918f8da8e0e69102dc0f33a718de85a99c31a57283e0e3e2

FOLLOW ME HERE

  • Facebook
  • Twitter
  • Instagram
  • Pinterest
  • Email
  • Blog
  • About
  • Contact
  • FAQ
  • Sponsor

Copyright © 2023 See Kate Sew  •  All Rights Reserved  •  Privacy Policy  •  Site Design by Emily White Designs