Today I’m excited to be participating in the Wonderland Fabric Blog Tour with these Quilted Coasters! I shared a peek of this fabric on Instagram a few weeks ago and it’s now available through Riley Blake!
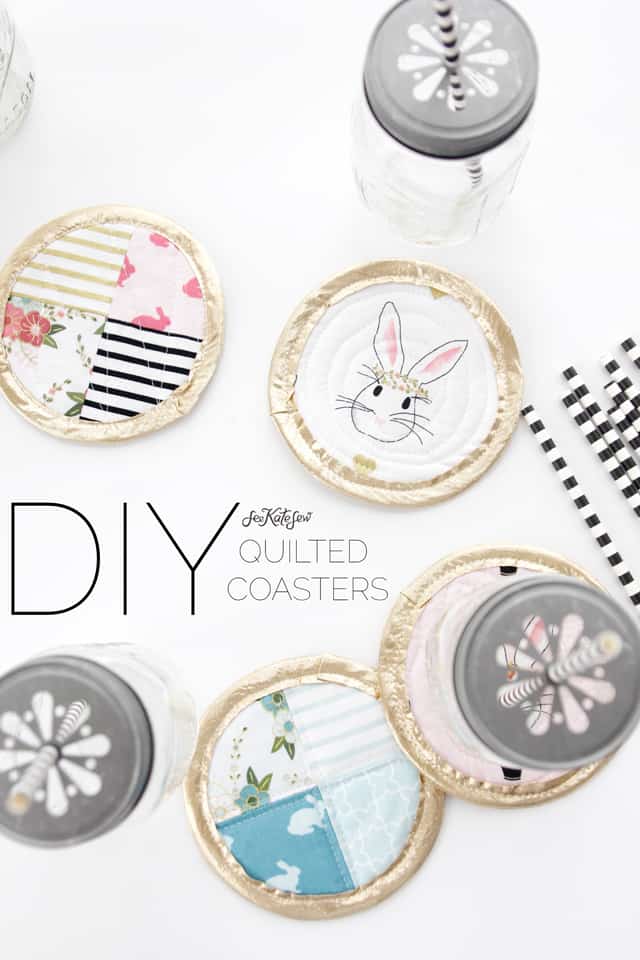
Melissa of the Polka Dot Chair is the designer of this line, it’s just as cute as her last line! I especially love the big bunny print and the black and white stripes.
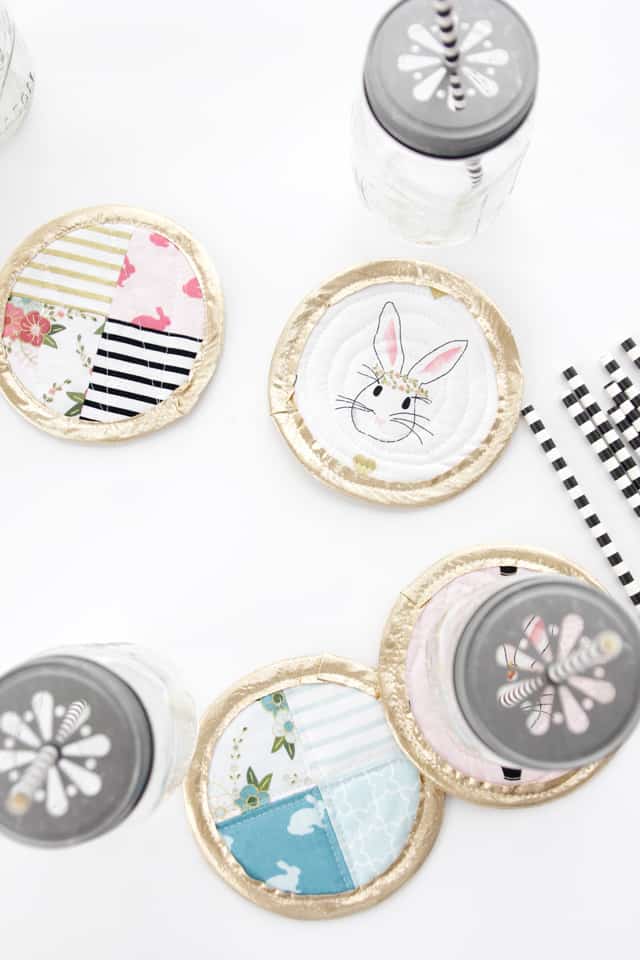
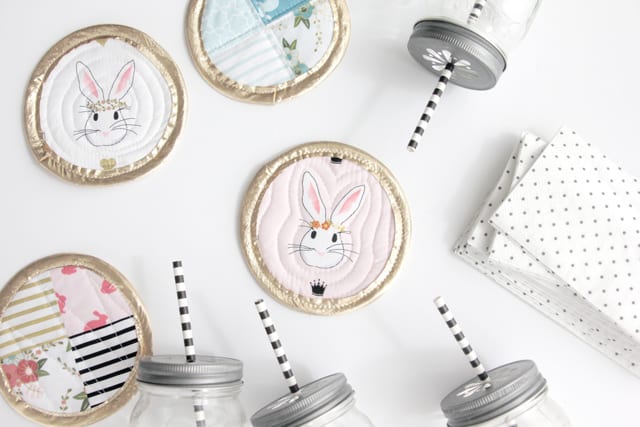
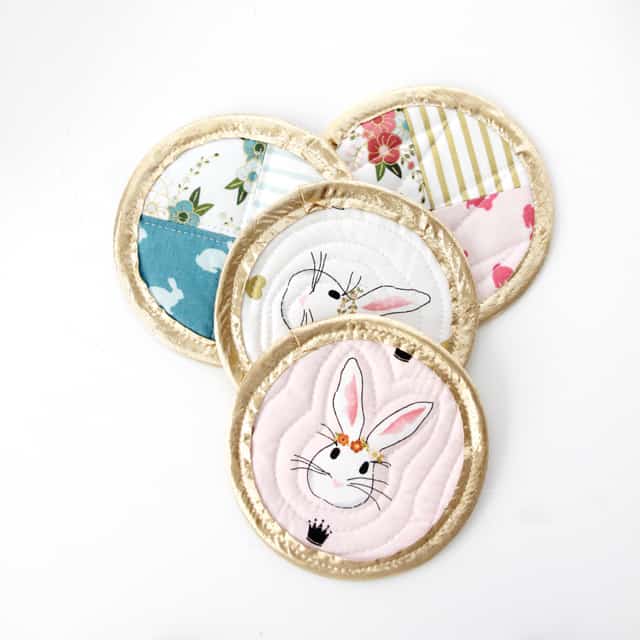
This line lends itself perfectly to Easter sewing, but basic coasters are great for everyday use! Protect your tables with quilted fabric coasters.
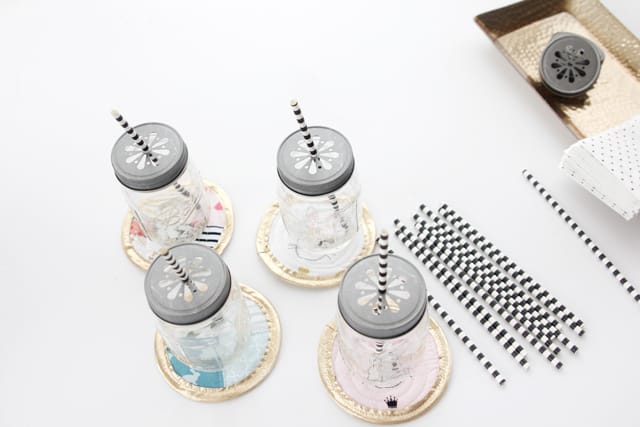
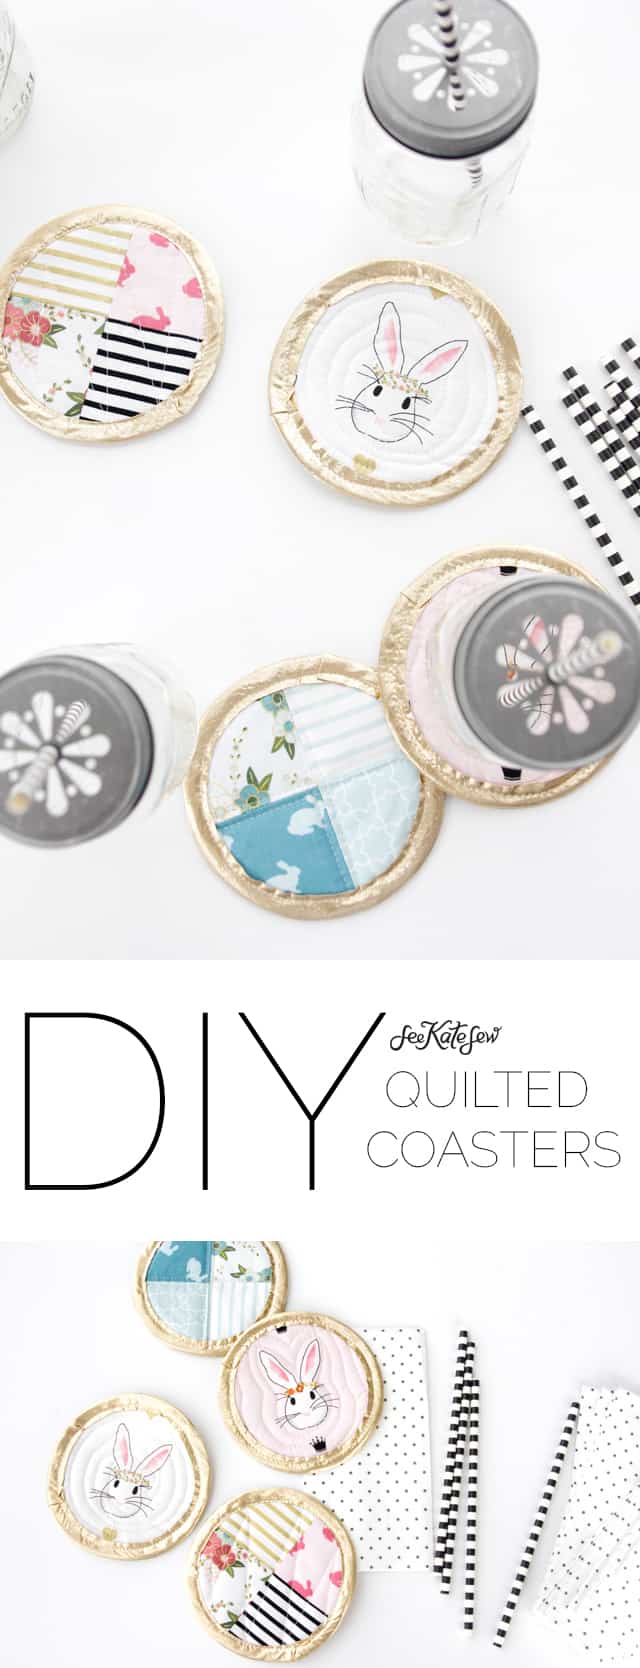
Quilted Easter Coasters
I’ll show you how to make these easy coasters. Download the template and find some fabrics to use.
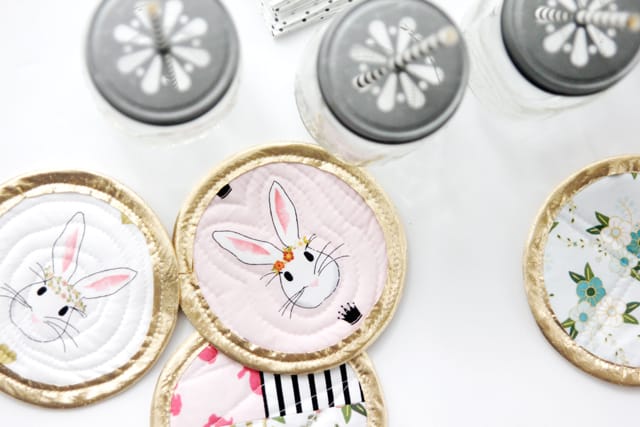
DIY Coasters Materials
- Wonderland Fat Quarters
- Gold Lame Bias Tape (affiliate link)
- Batting scraps
- Fusible Interfacing
- Wonderland coasters template
Coasters Sewing Tutorial Instructions:
These coasters are super simple! You can make them with a pieced side or two circular sides. The pieced sides come together using 4 squares, included in the printable template. Sew them together to create a quilted coaster.
Cut 4 squares of different fabrics for the piece side of the coaster. For the back, cut 1 circle piece of main fabric. Also cut 1 circle of batting and 1 of interfacing.
Fuse the interfacing to the back of the main fabric.
Sew 2 squares together. Repeat with other two. Then press seam allowances open and sew all 4 together.
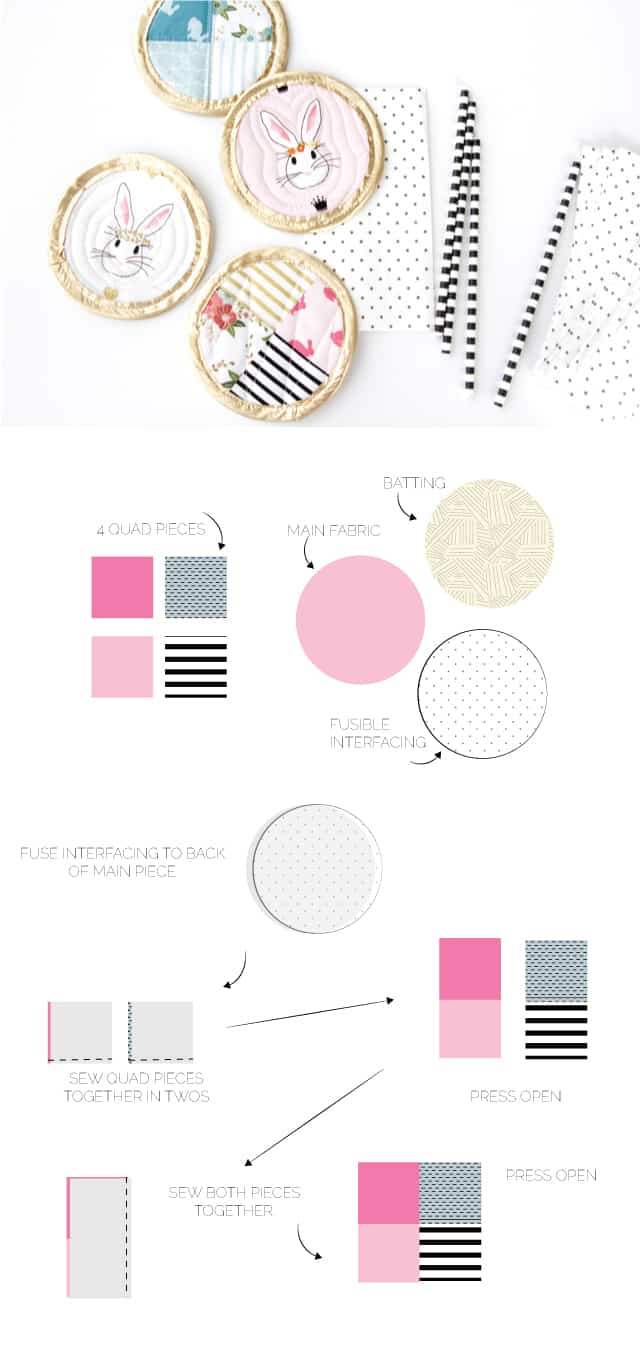
Use template to cut a circle from the pieced fabric. Then stack main piece and quad piece together with WRONG sides together with batting in between. Baste around the edges to hold together.
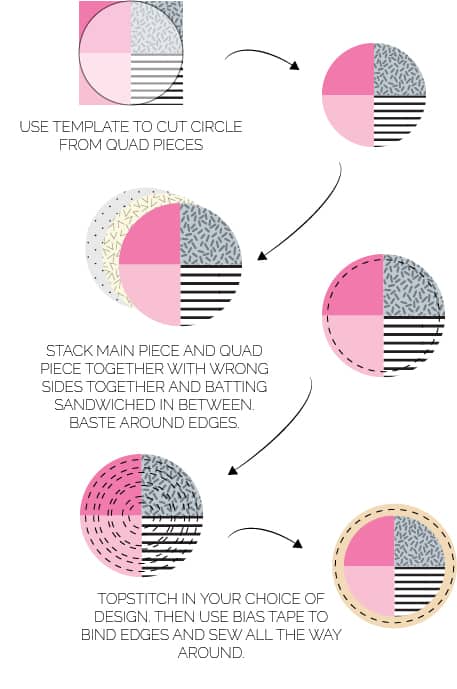
Use your design of choice to quilt the fabric together. You can trace a design on the fabric, use straight lines, or even circles. Then sew bias tape around the edges to finish the coasters.
And you’re done! I like to use Wonder Clips or lots of pins to hold the bias tape to the outside edge while you sew.
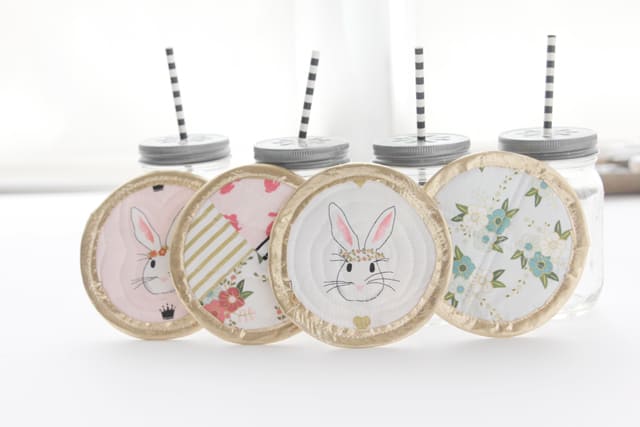
Check out the rest of the Wonderland Tour here.
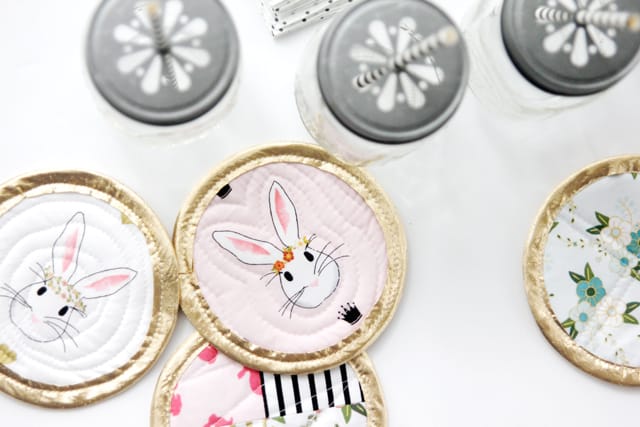
Sources:
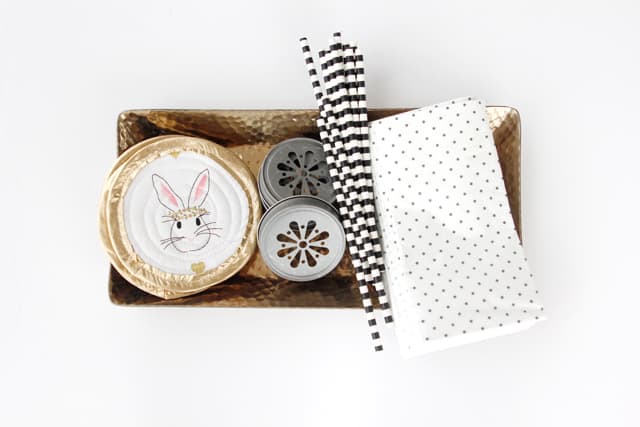
Mason Jar Lids
Polka Dot Napkins, IKEA



Cute! I’ve been trying to be better about at least a few fun decorations for the same reason. Kids seem to get a kick out of them :)
Pretty! The gold bias tape is fab!! I’ve got a Craft Gossip post scheduled for tomorrow afternoon that features your tutorial: http://sewing.craftgossip.com/?p=87209 –Anne
Love the gold edges! These are fab. Great tutorial :)