
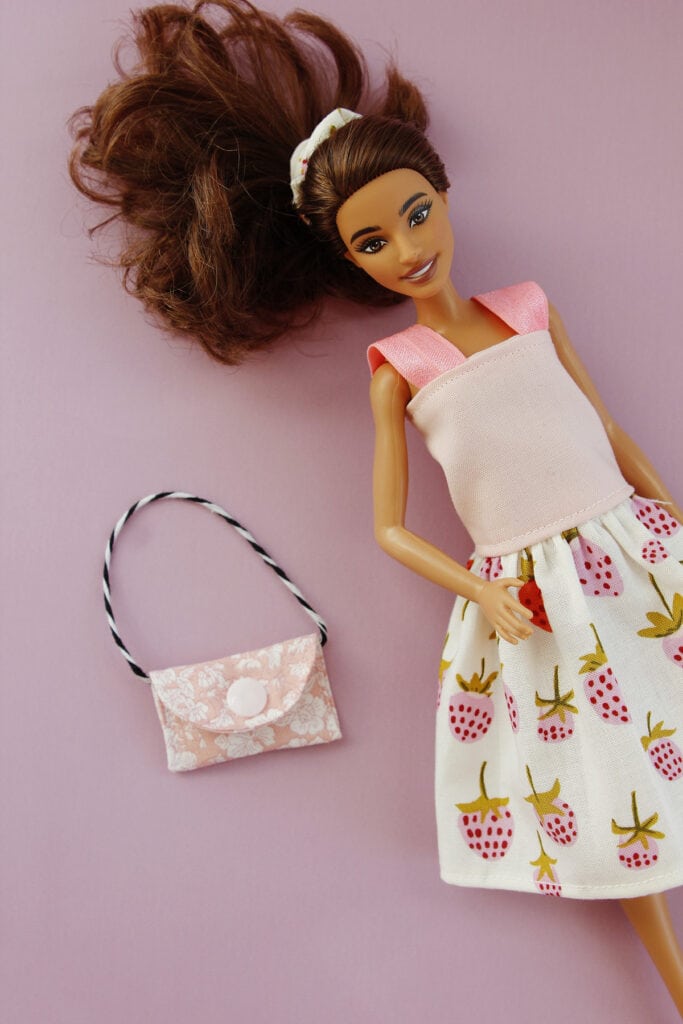
It’s time to go shopping and your doll will be ready to go with this Barbie purse sewing tutorial! It’s so sweet and even has a working snap!
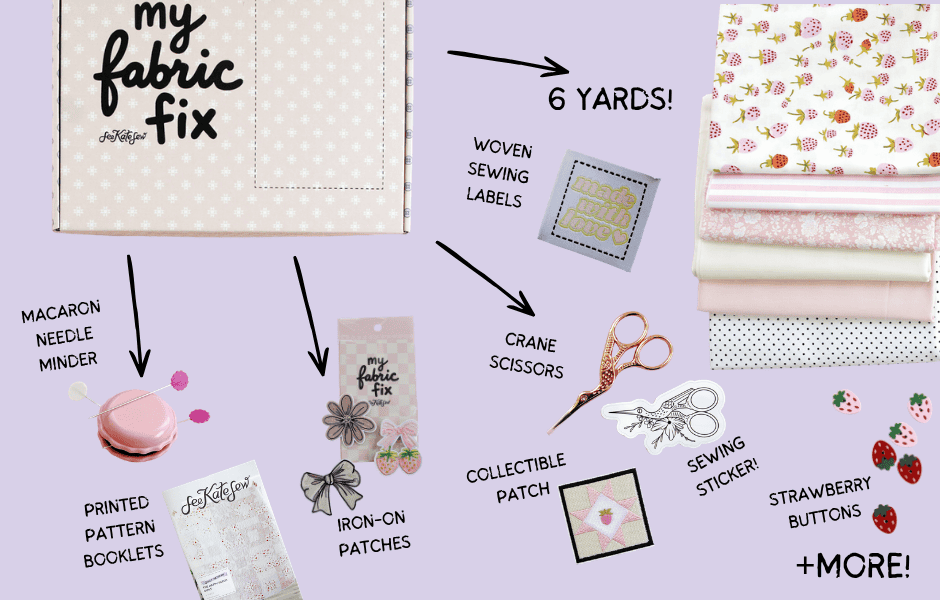
I made this purse with fabric from My Fabric Fix! This box comes with 6 yards of fabric, sewing patterns, and exclusive sewing swag! Get yours here!
Barbie Purse Sewing Supplies
- Fabric scraps
- Lightweight fusible interfacing
- String, cord, yarn or baker’s twine
- KAM snaps size 20
- Barbie purse pattern download, see below
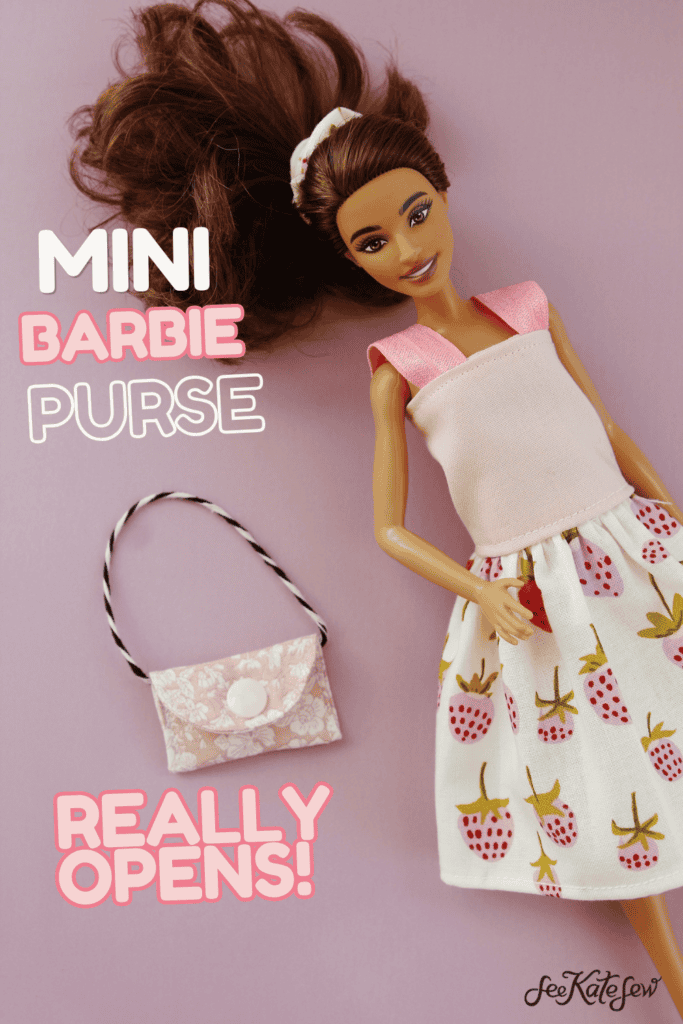
Barbie Purse Pattern Download
Click on the pink button below to download the Barbie purse pattern. This pattern will print on 1 page, print at 100% or DO NOT SCALE.
Barbie Purse Sewing Tutorial
Use a 1/4″ seam allowance.
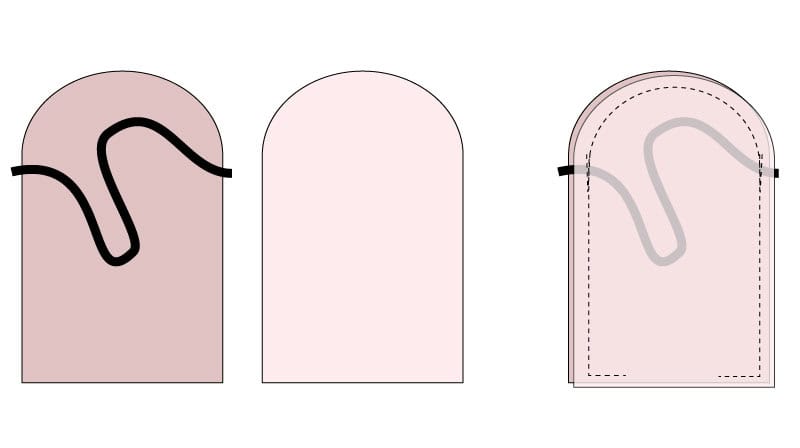
Back 1 of your fabric scraps with fusible interfacing. Then cut 2 pieces from the pattern piece from fabric. You can use the same or different fabrics.
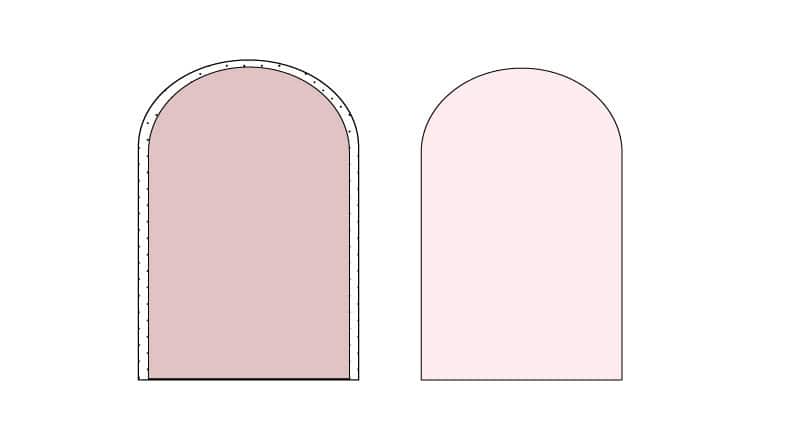
Cut a piece of string about 6″ long. Pin the ends of the string right under where the purse curve and straight edge meet. Place the lining on top of the main fabric and the string. Pin in place and then sew around the whole thing 1/4″ from the edges, leaving a small opening at the bottom. Backstitch over where the string is to secure it.
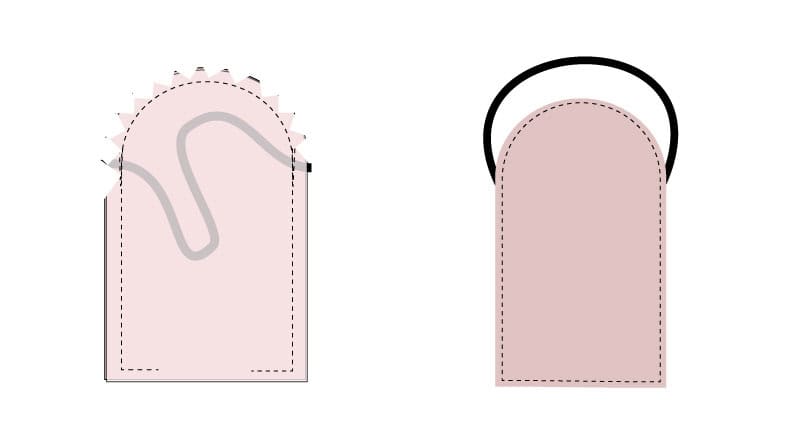
Trim the seam allowance and notch around the top curve. Turn the purse right side out and press well, making sure the press the bottom edge straight. Topstitch around the whole piece 1/8″ from the edges.
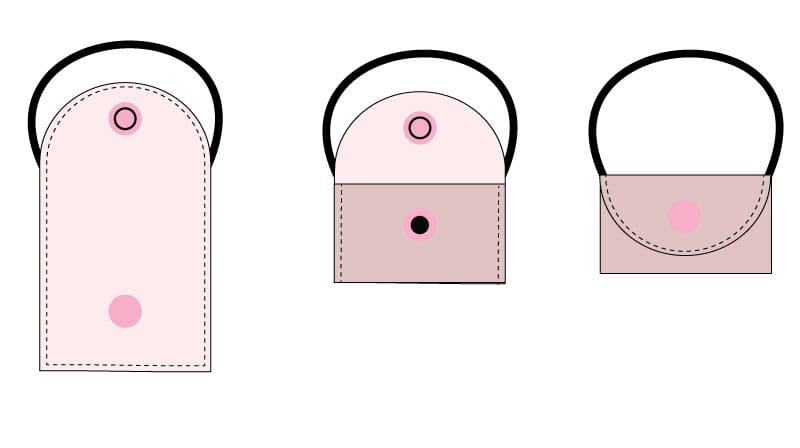
Place one snap at the top with the smooth side on the main fabric. Place the other side of the snap by folding up the bottom and marking where the first snap hits. Then place the second with the smooth side on the lining side.
Fold up the bottom fabric to where the curve ends and sew the sides in place, backstitching at each end. Then snap your pouch and your purse is ready to use!


Leave a Comment