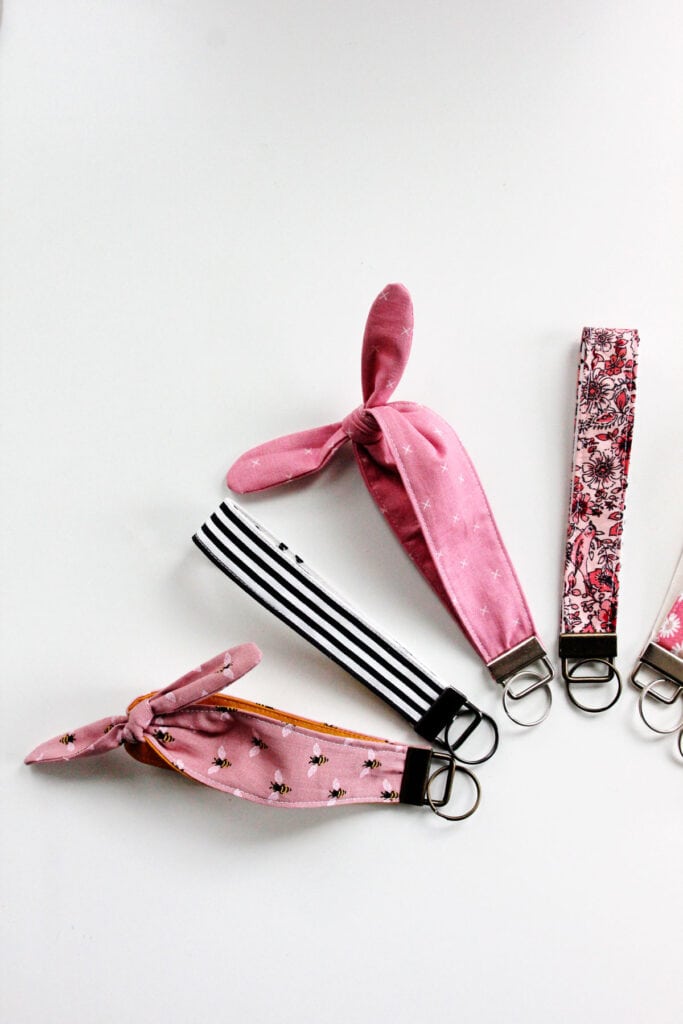
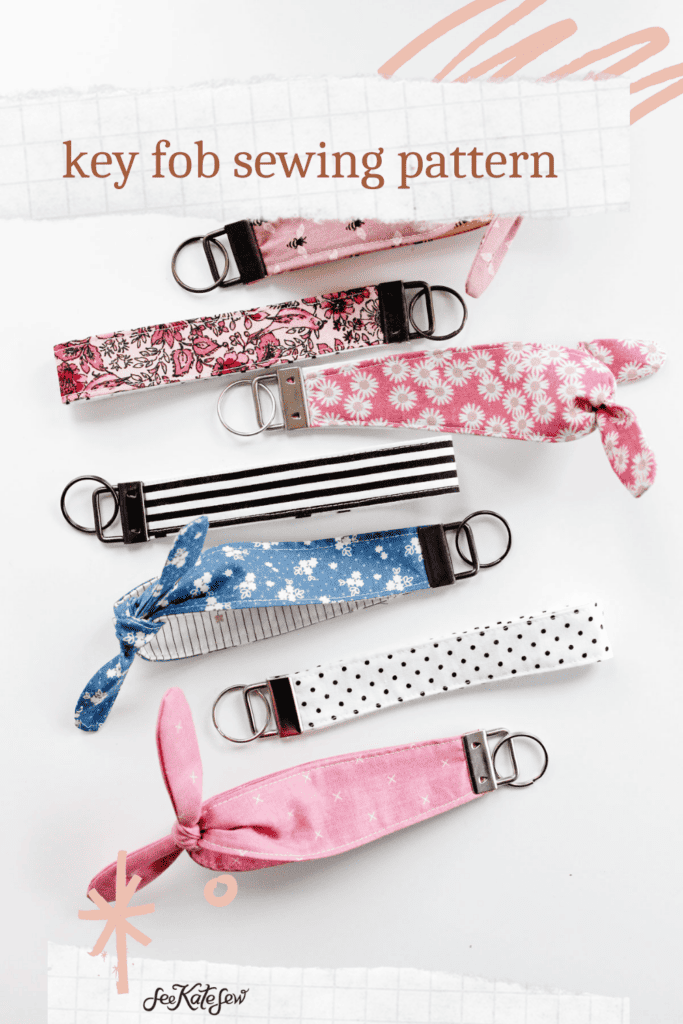
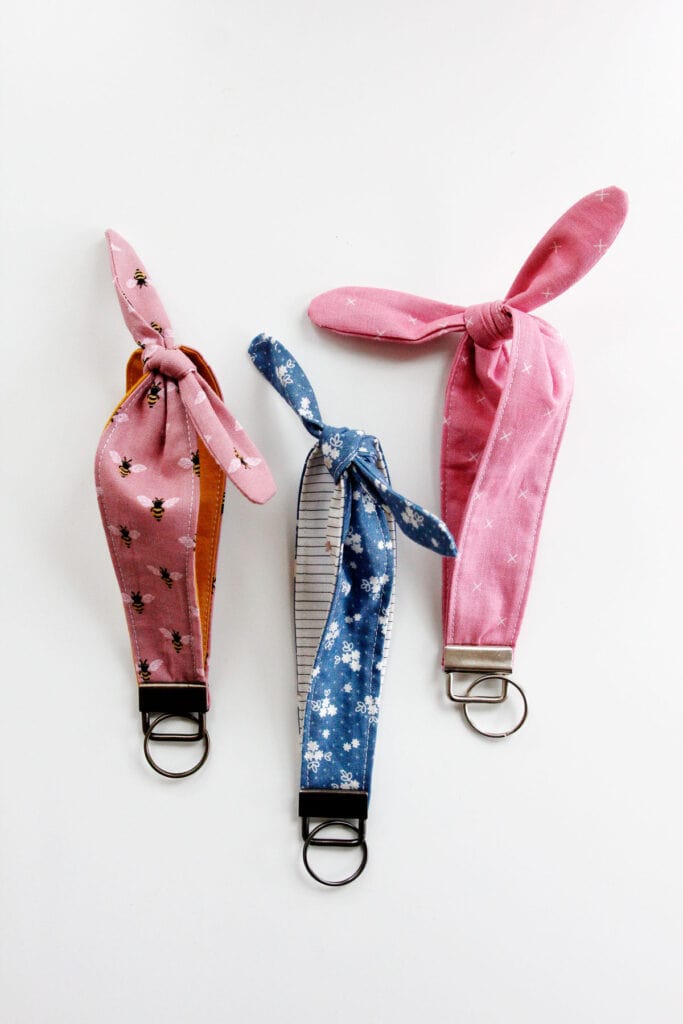
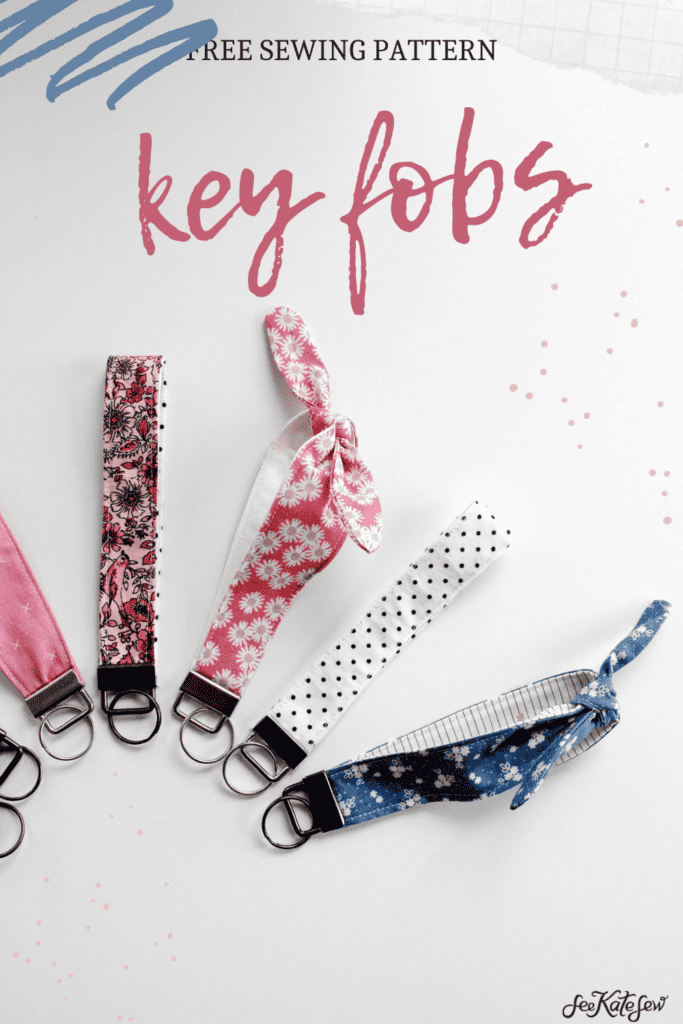
Make your own DIY key fob to help you find your keys! These stylish wristlets can be made with any cute fabric and they are incredibly simple to make!
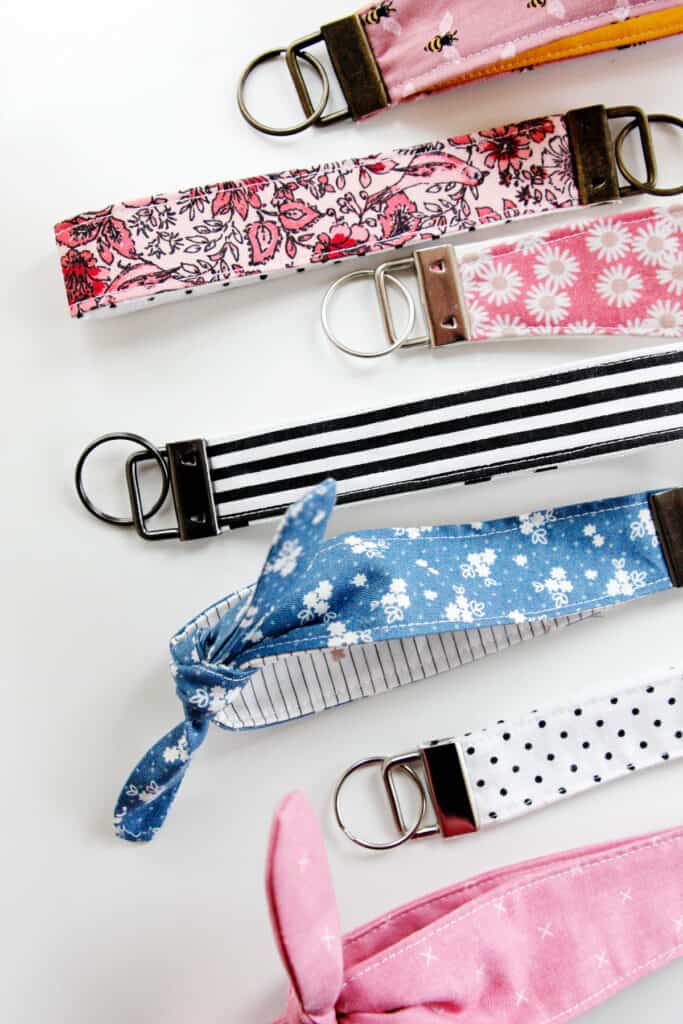
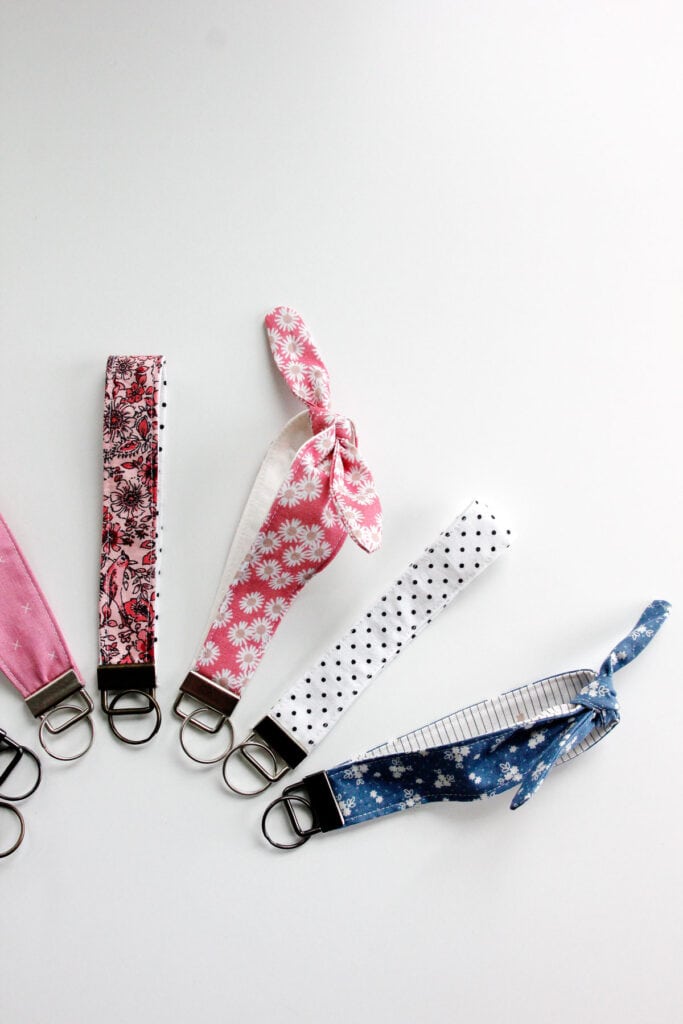
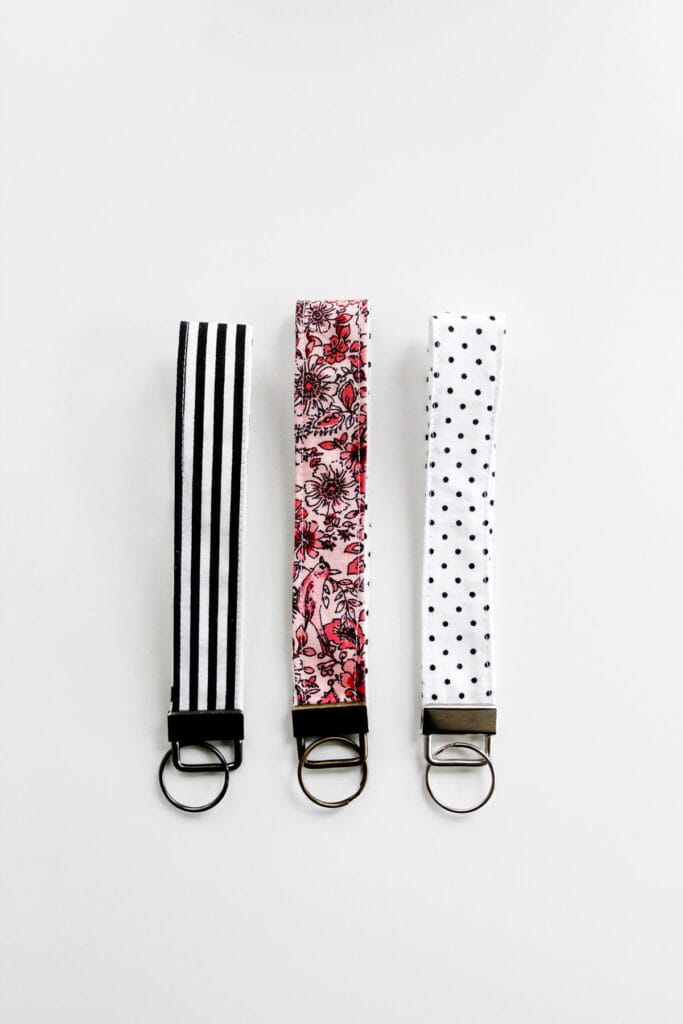
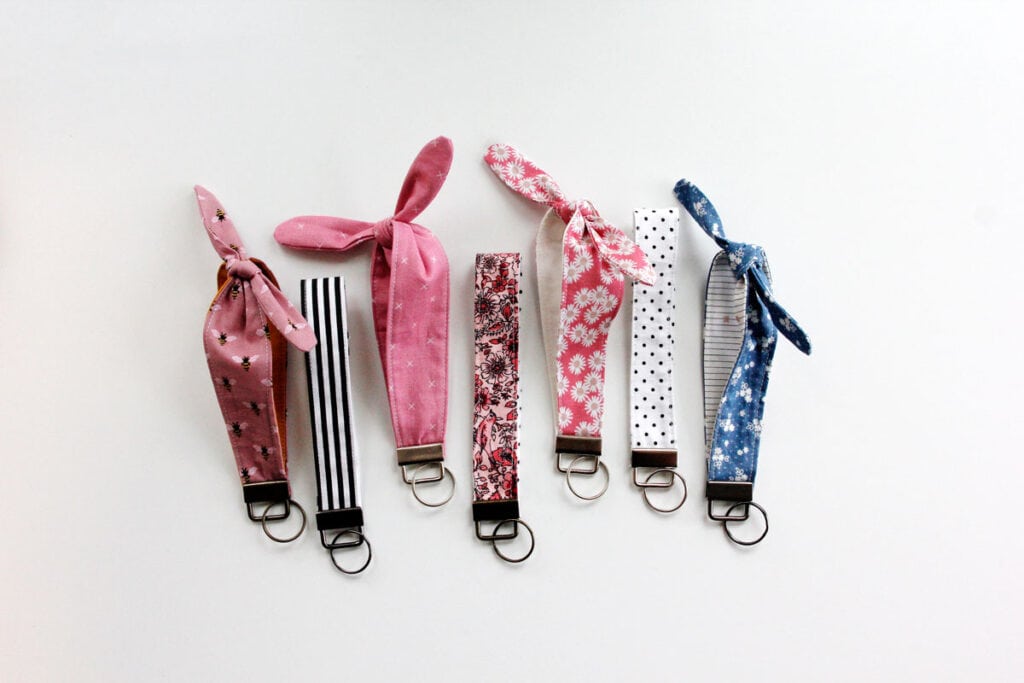
This fabric key fob tutorial includes two variations – a plain key fob and a bow key fob. Use any fabrics you want to customize these for everyone you know.
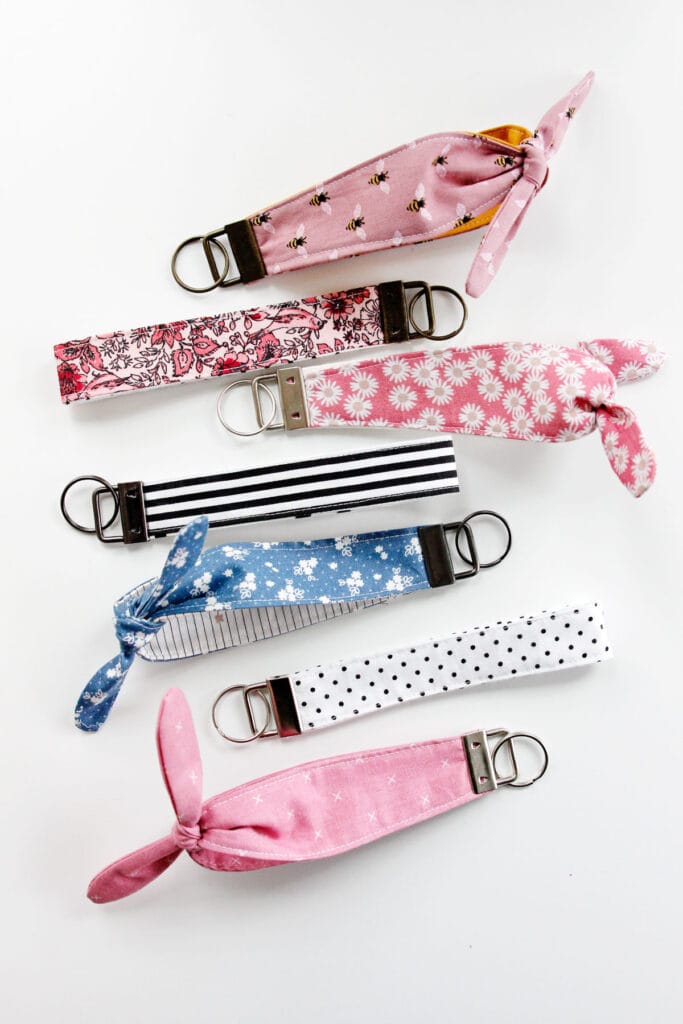
A wristlet keychain makes your keys easy to find and easy to hold. Just sling the key fob over your wrist to keep your keys handy!
Key fob wristlets make great gifts for friends and coworkers or new drivers. These also make great stocking stuffers for Christmas!
You will never lose your car keys again with this fabric wristlet key fob tutorial!
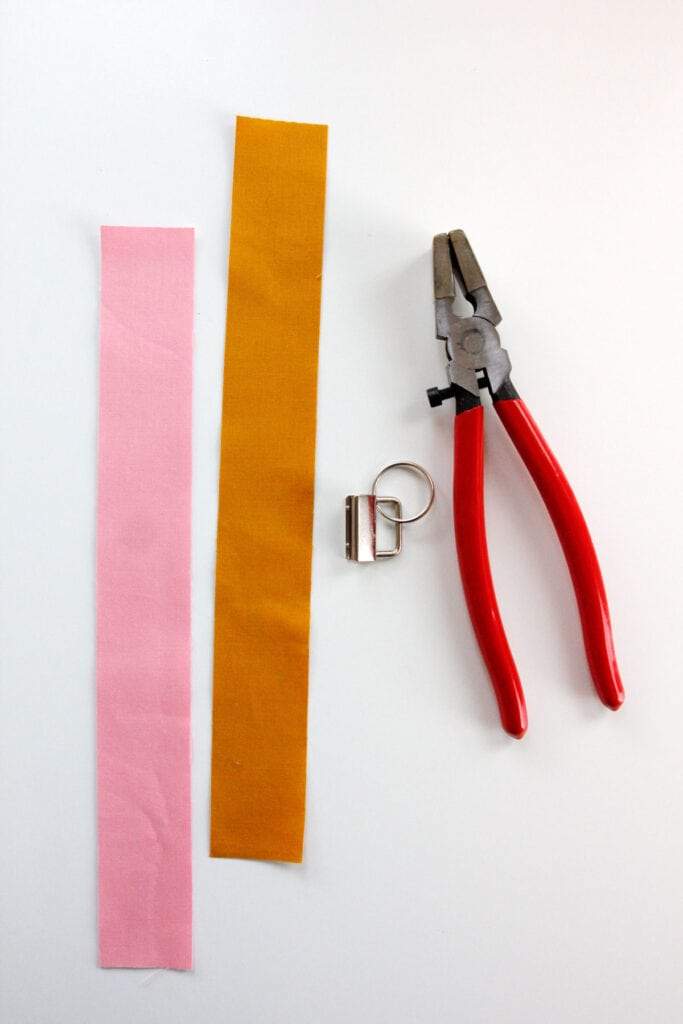
DIY Fabric Key Fob Materials
- 1/4 yard quilting cotton fabric, or fabric scraps
- Use 1 fabric for the whole thing or mix and match
- Lightweight fusible interfacing
- Key fob hardware and key fob pliers (I’m using this set, affiliate link)
To make these wristlet key fobs, you’ll also need basic sewing supplies such as a sewing machine, rotary cutter or scissors, a ruler, iron and ironing board, cutting mat and a safety pin.
Key Fob Pattern Download
Click on the button below to download the key fob templates. Print at 100% or DO NOT SCALE. The file will print on one page.
Make your own fabric wristlet keychain
Use a 1/4 inch seam allowance. Seam allowance is included in the pattern pieces.
Use either key fob base – the plain or wide strap with the same instructions.
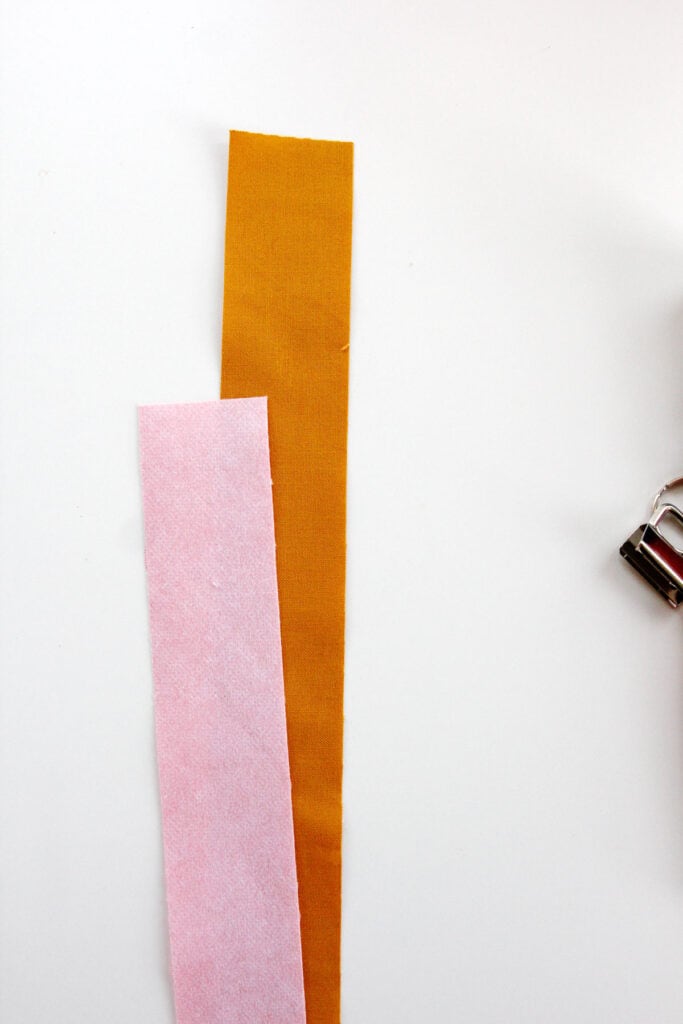
Start by cutting out 2 main pieces from your fabric on the fold. You can choose two different fabrics or the same fabric for both pieces.
Cut 1 main piece with interfacing and fuse to the back of your outer fabric.
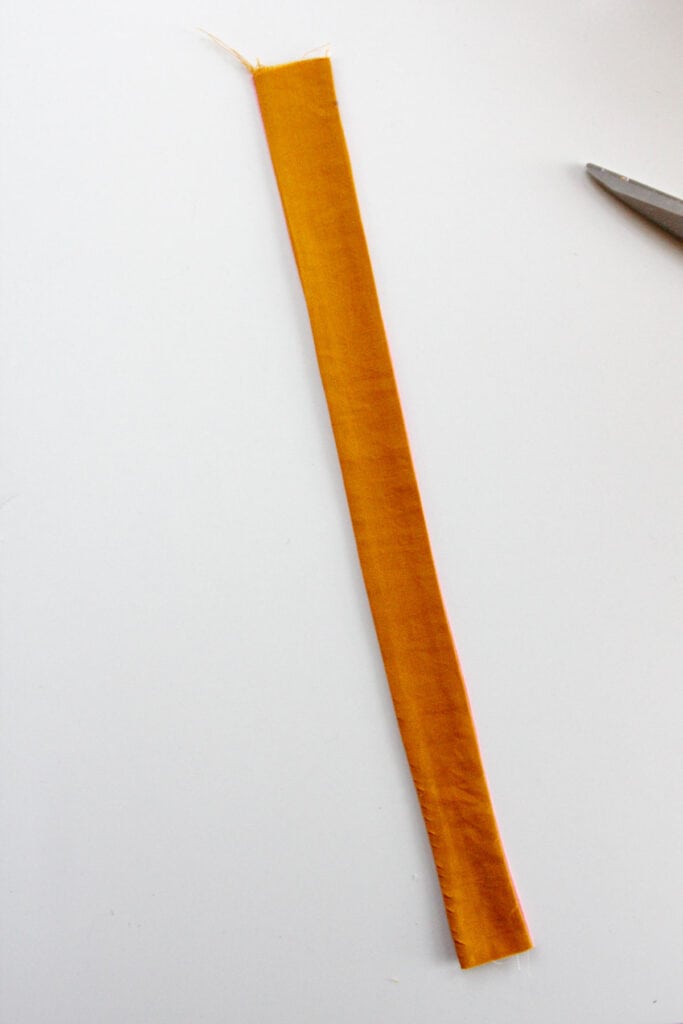
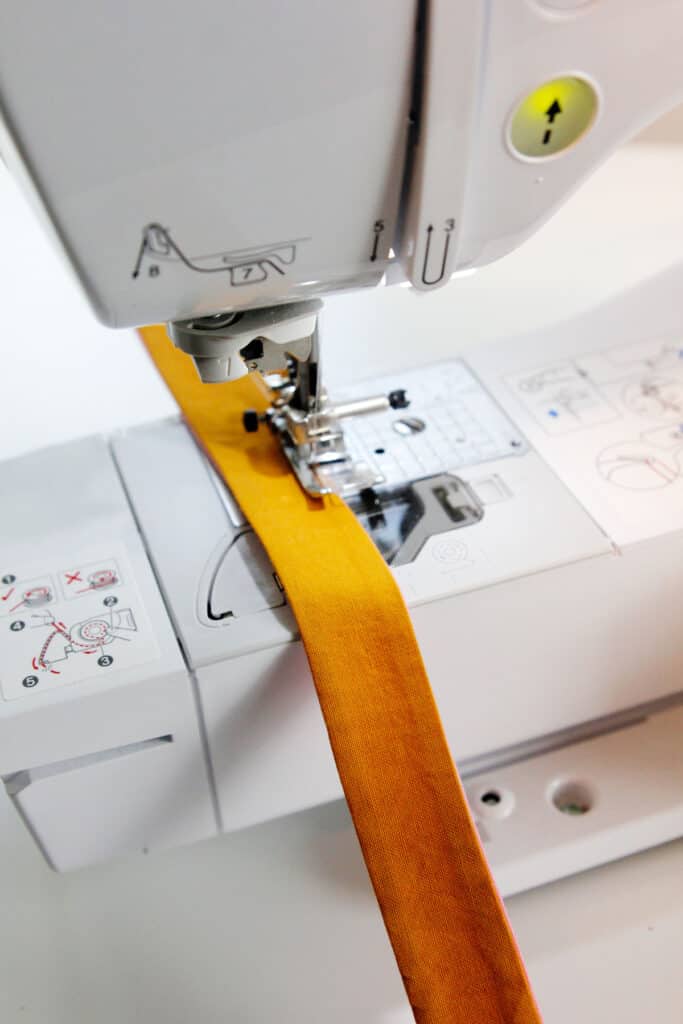
Pin main pieces together with right sides together. Sew on either side 1/4″ from the edge.
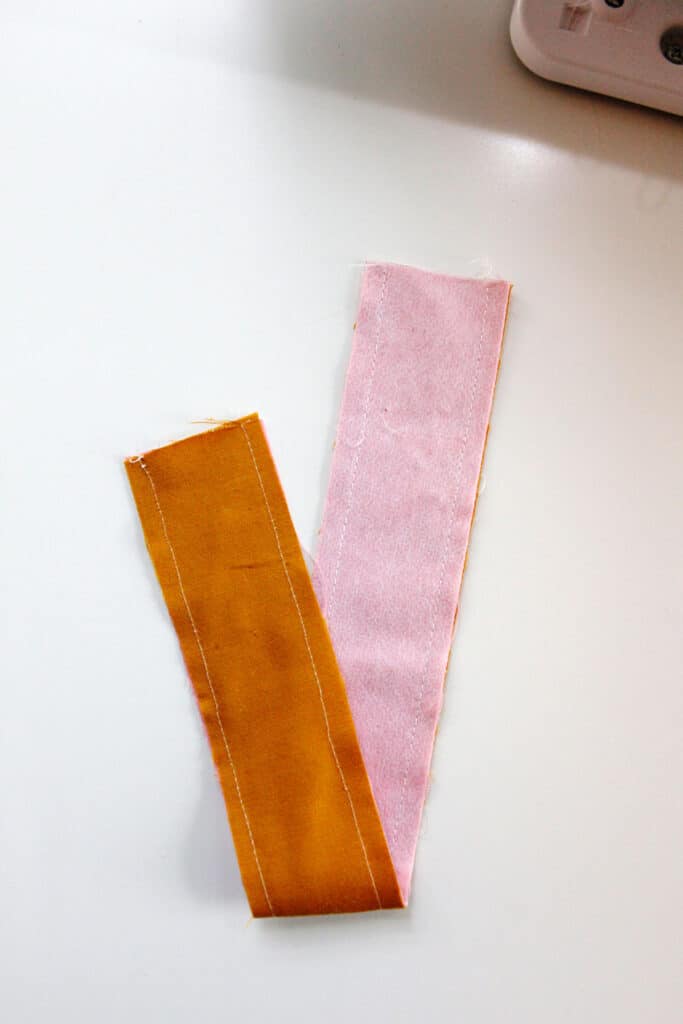
Trim seam allowance.
Use a safety pin to turn tube right side out.
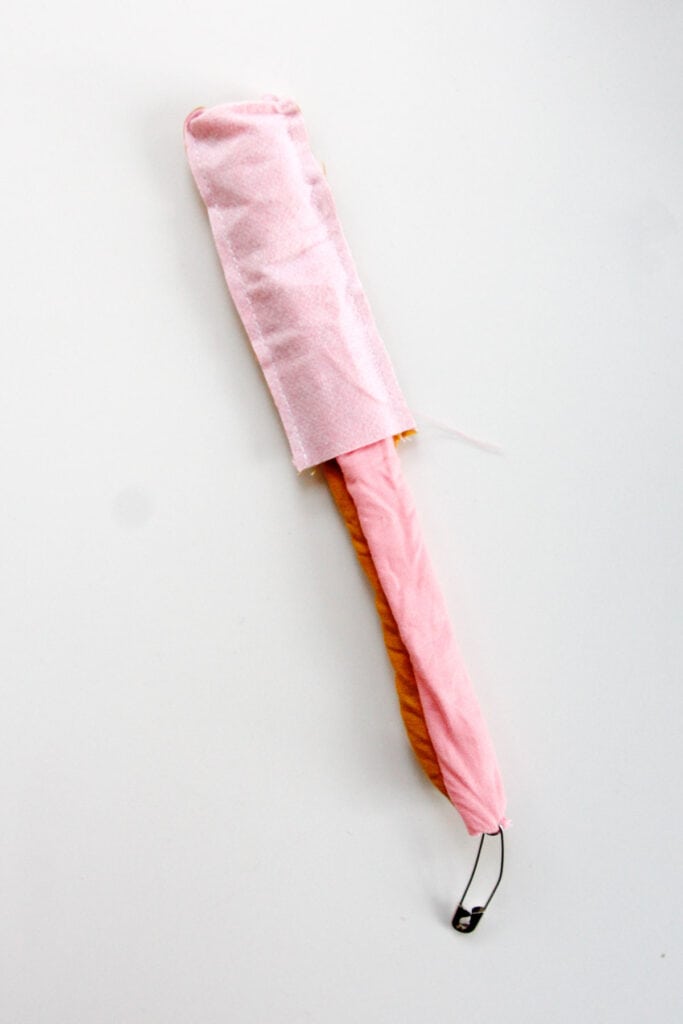
Press well, making sure to get all the edges pressed out.
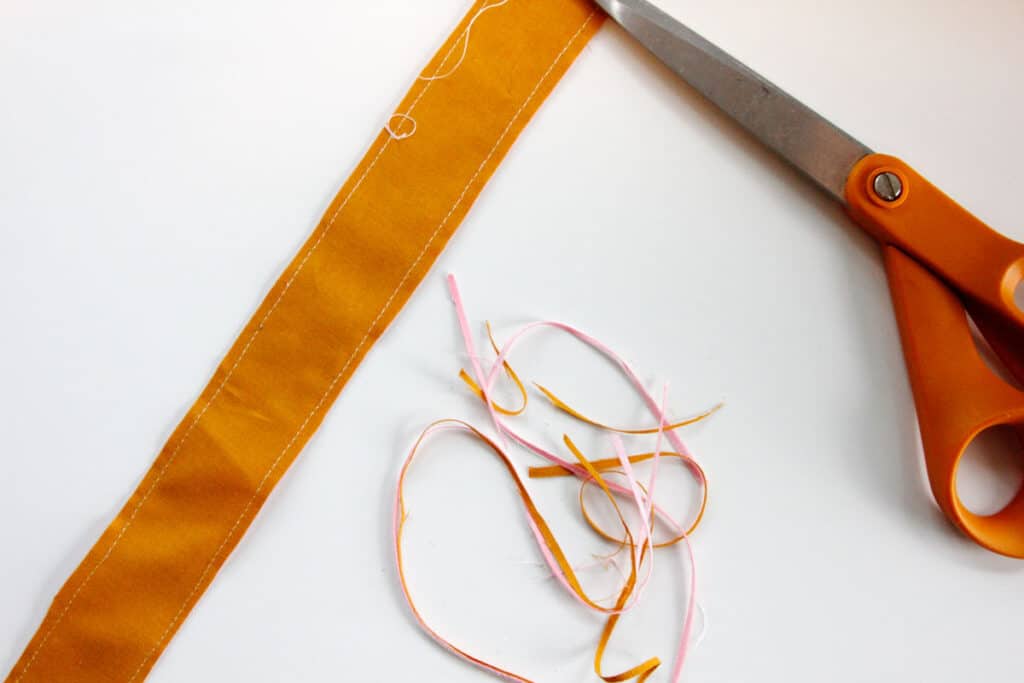
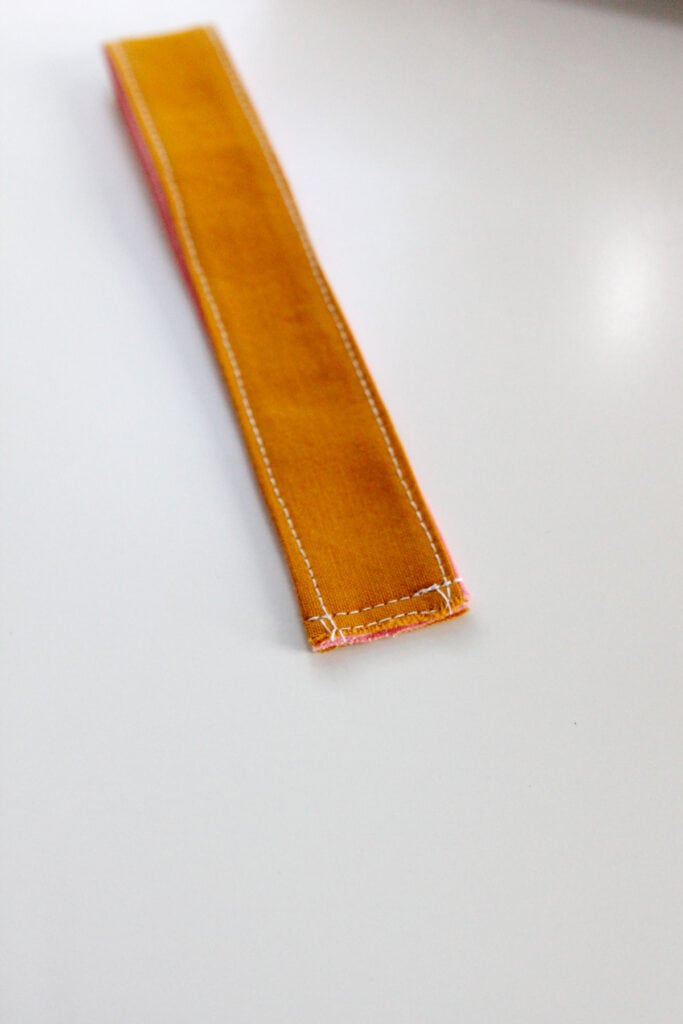
Topstitch along both long edges of the key fob fabric with a straight stitch about 1/8″ from the edges. Use a regular stitch length.
Also sew along the short edges to help stop fraying. Trim threads.
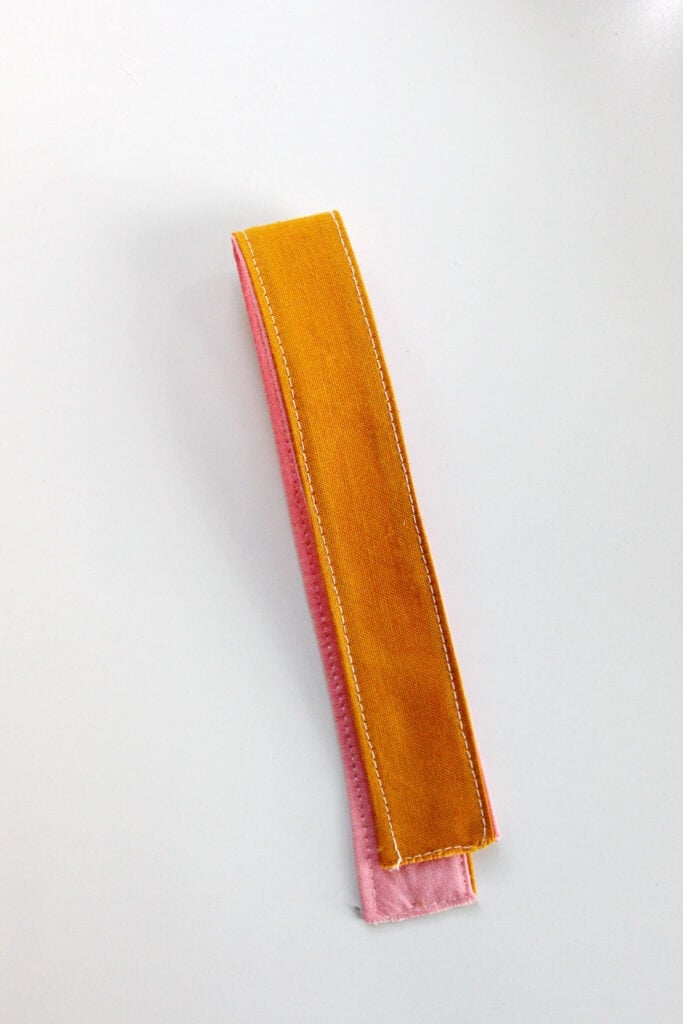
Press key fob in half matching the short edges. Sew short edges together to hold.
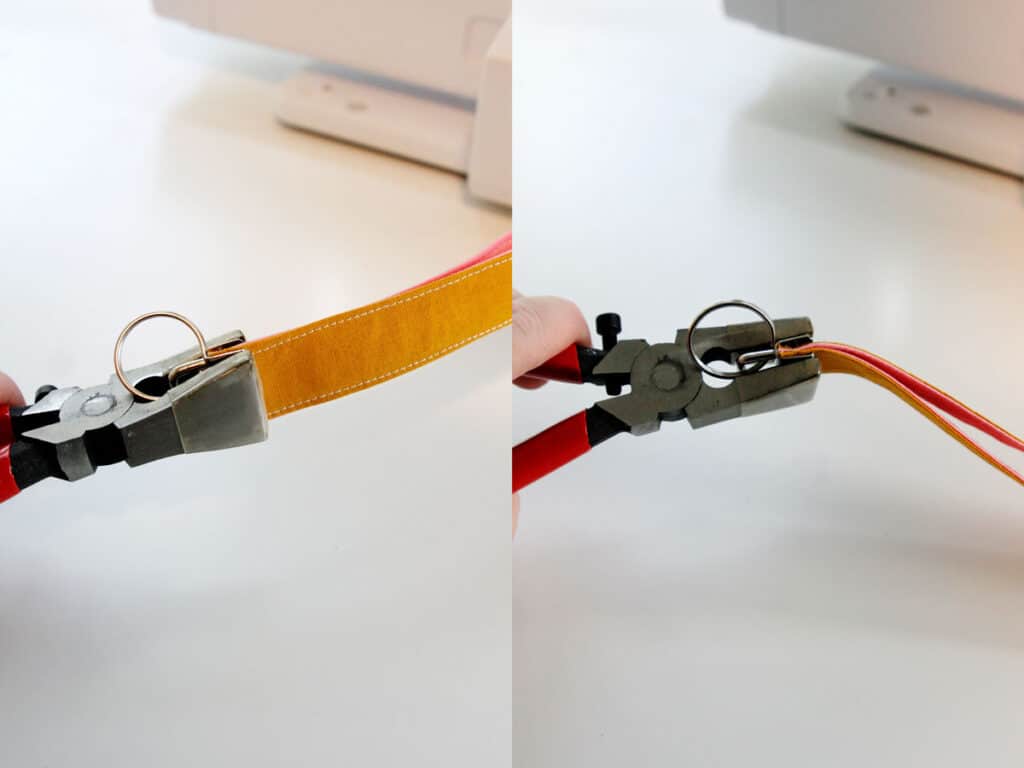
Align the key fob hardware with the fabrics at the bottom of the metal. Use hardware placer or a pair of pliers to squeeze metal edges of the clasp over the fabric to hold.
Bow Key Fob Wristlet
Use the wide key fob to add a little ruched effect to this feminine variation. To add a bow to the top of your wristlet, cut out two pieces of fabric from the bow pattern piece.

Pin together with right sides together. Sew around the bow with a 1/4″ seam allowance, leaving a 1-1.5″ opening in the middle.
Clip curved edges and trim seam allowance. Then turn right side out.
Press edges out and press well. Topstitch opening closed, backstitching at both ends.

Tie bow into a knot at the top of your key fob. Pull it tight and you are done!

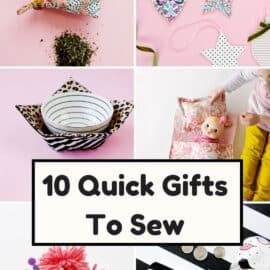
More great gift ideas
If you liked this diy wristlet, try one of these fun projects!