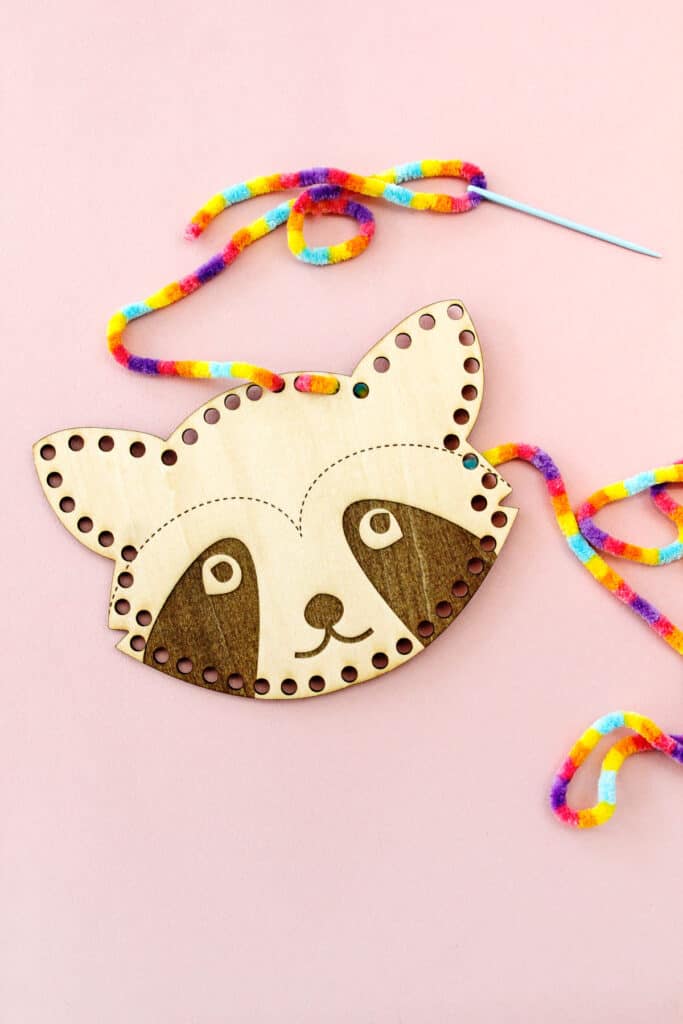
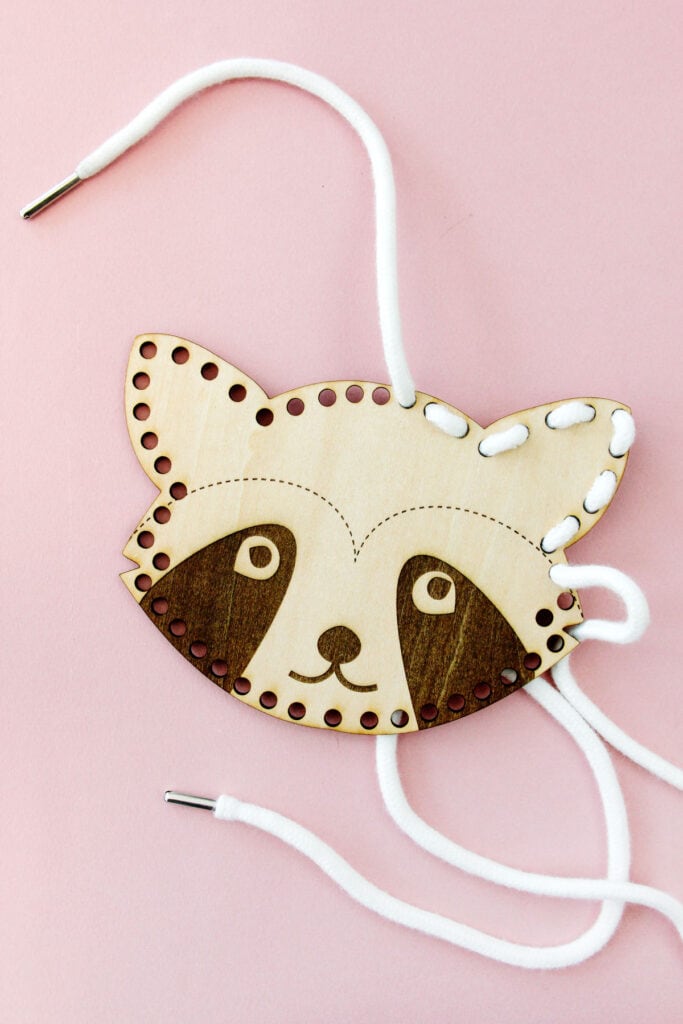
Lacing cards were such a big part of my childhood and it was so fun to make my own with the xTool M1 laser cutter! You can use yarn or a shoelace to “sew” around the shape. This is a fun activity for preschoolers or young kids and makes a great gift or gift topper!
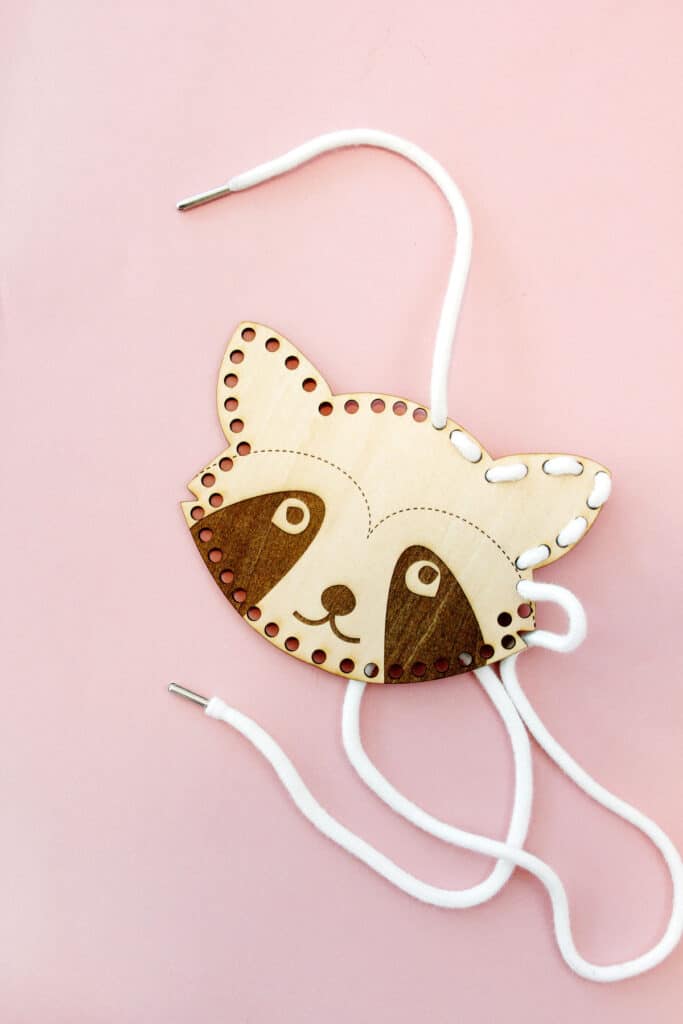
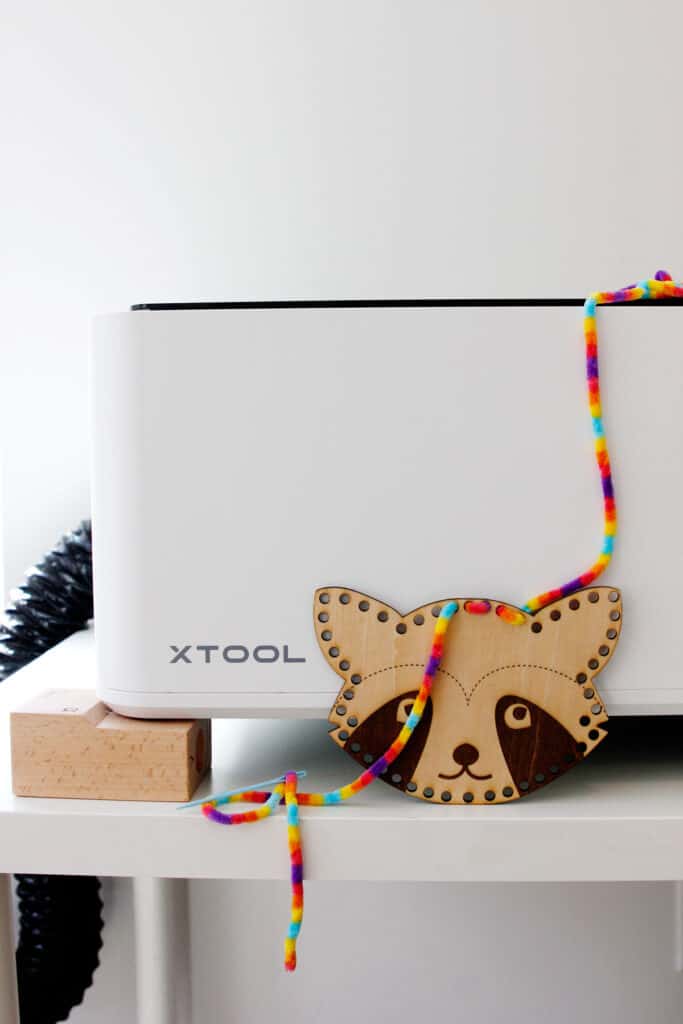
I made these from xTool’s 1.8″ basswood and it was so fun to watch the whole process. I have provided the file so you can make your own. This project includes both laser cutting and laser engraving. The xTool m1 is the machine I used and you can read my full review here.
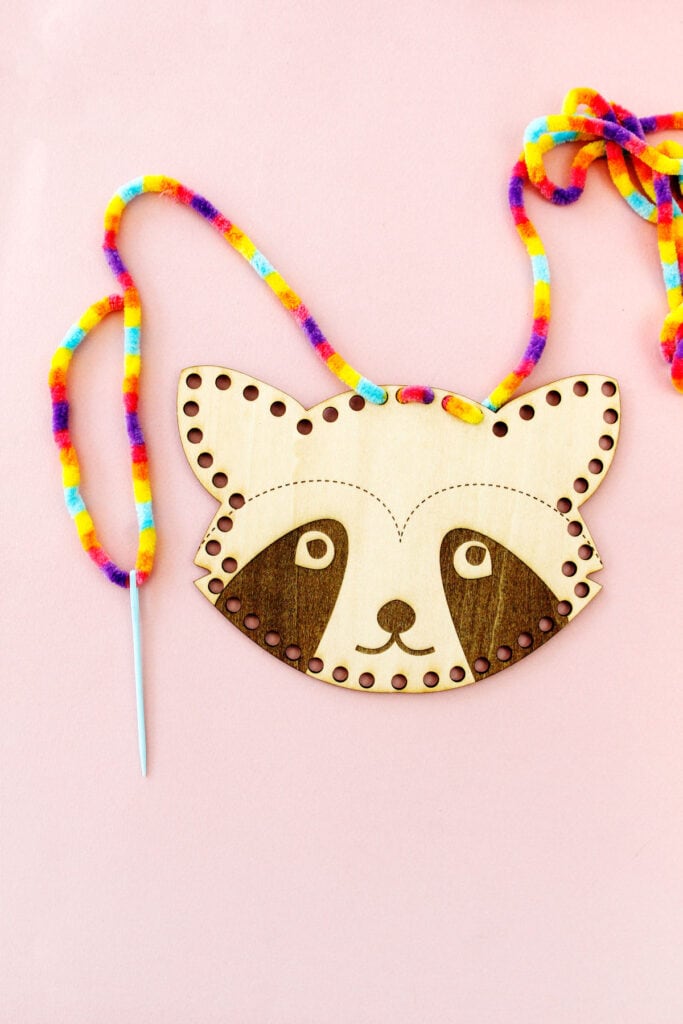
Even the youngest crafter can “sew” these lacing cards! I can’t wait to gift a few for the holidays!
If you don’t have a laser cutter you can use the provided SVG cut file with a thicker paper or cardboard and a blade cutter.
DIY Lacing Cards Materials
- xTool M1 Laser Engraver and Laser Cutter (affiliate links), read my review
- 1/8″ Basswood, also included in the Premium Materials Bundle
- Yarn or shoelace for lacing
- Plastic yarn needle for lacing, optional
- SVG cut file, provided below
Free Wood Lacing Card Cut File SVG
Click the button below to gain access to the free SVG. Once you have put your email address into the field you will be taken to a download page.

How to make wooden lacing cards
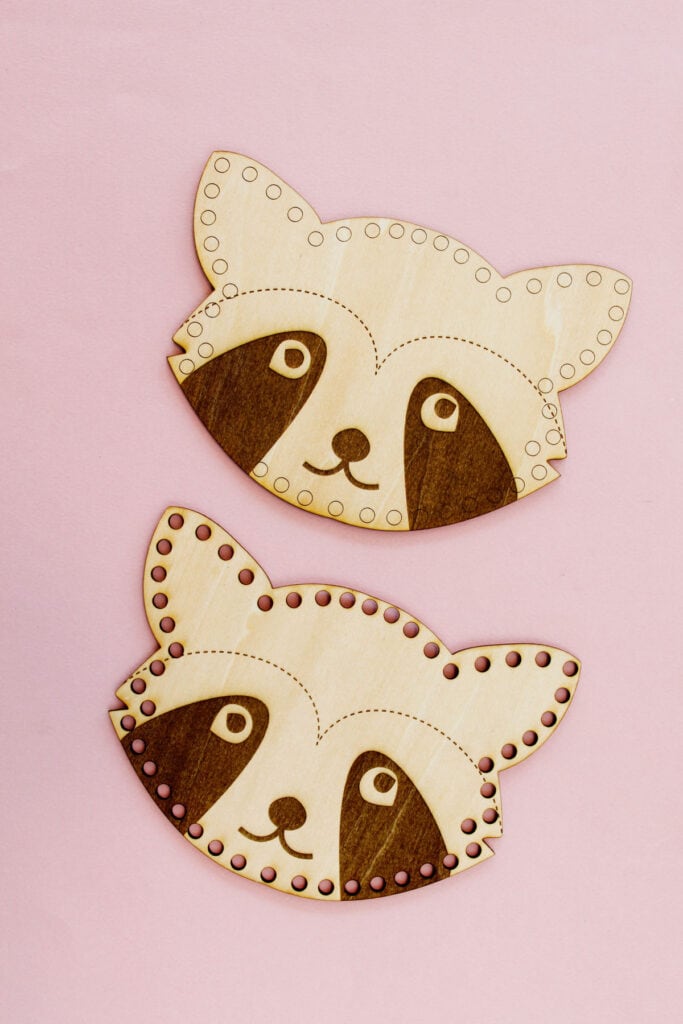
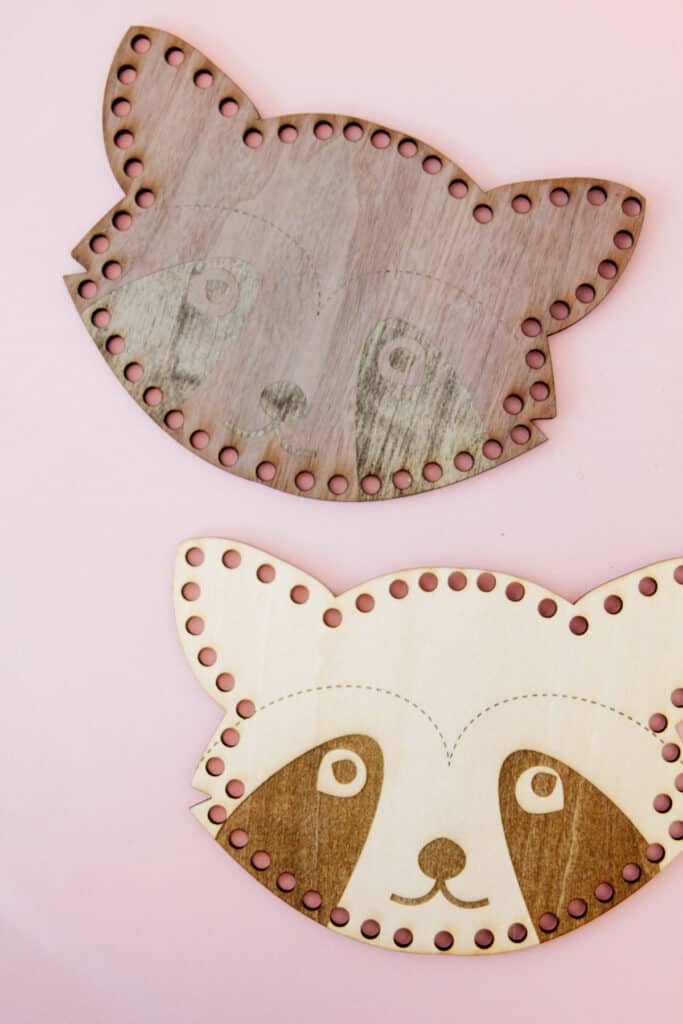
I used the walnut plywood for the tutorial photos but also cut 2 from the lighter basswood. It was fun to have two colors of wood to try but I definitely recommend the basswood for this project. The walnut did not engrave very well.
This project will take approximately 30 minutes for the walnut. The basswood was quicker, closer to 20.
First open up your xTool and place the wood inside.

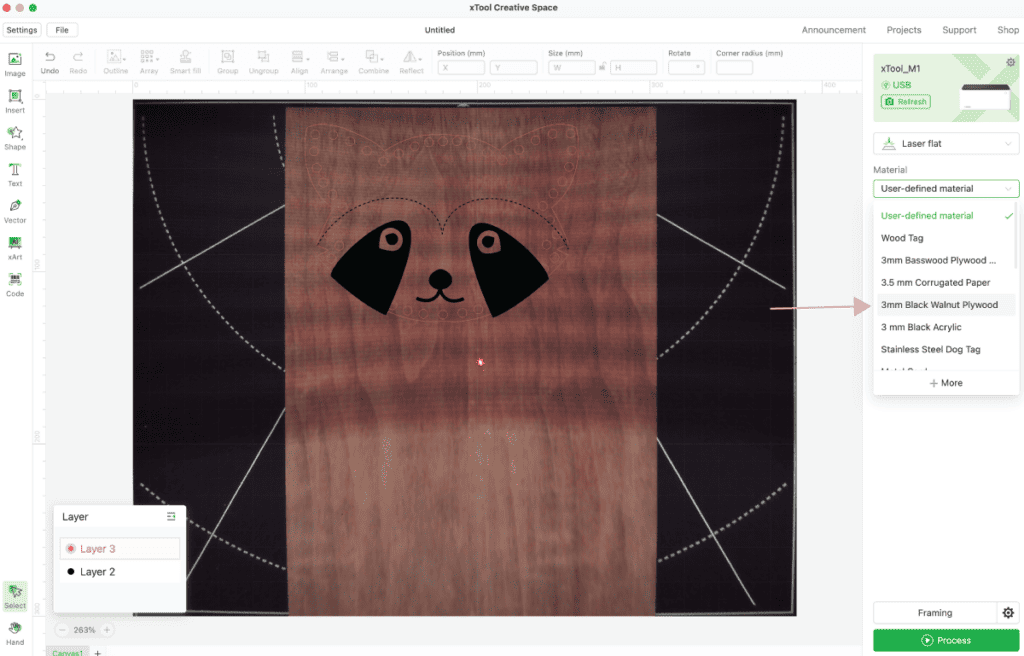
Click the green REFRESH button at the top right and your xTool M1 will scan the surface and upload the shot of the mat. This is the coolest feature! I wrote about it more in my review, but I love how easy it is to line up your design where you want, saving you material and stress! The image below is a screenshot of xTool Creative Space after I placed my wood inside! THIS IS SO HELPFUL!
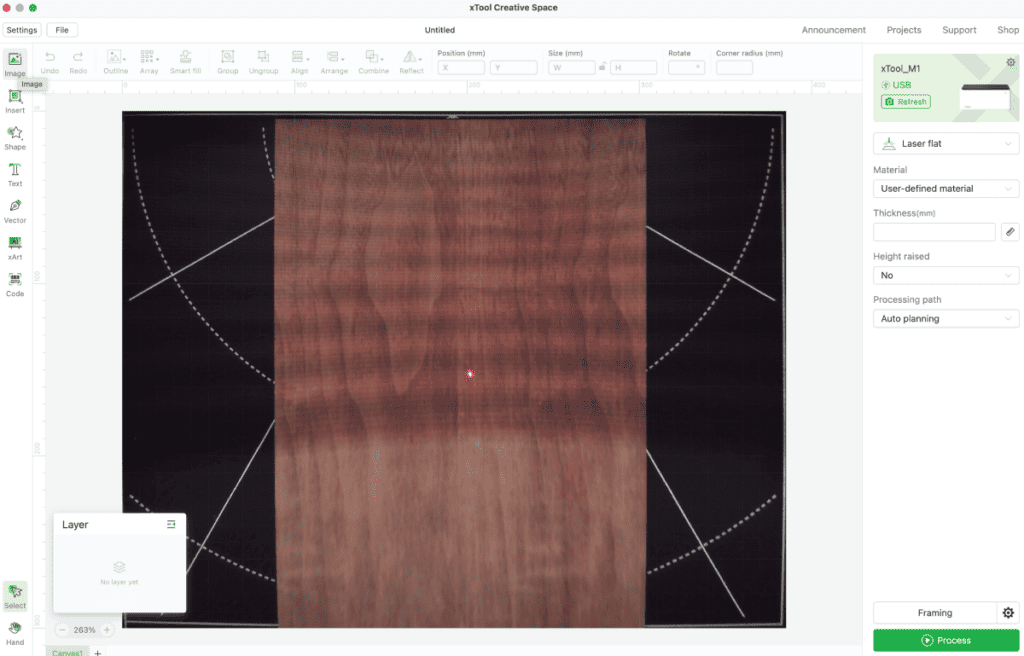
Upload the file into xTool. The design will have two parts: the upper outline and holes and then engraving design at the bottom. Highlight the upper portion and change the setting to CUT. Highlight the lower portion and change the setting to ENGRAVE.
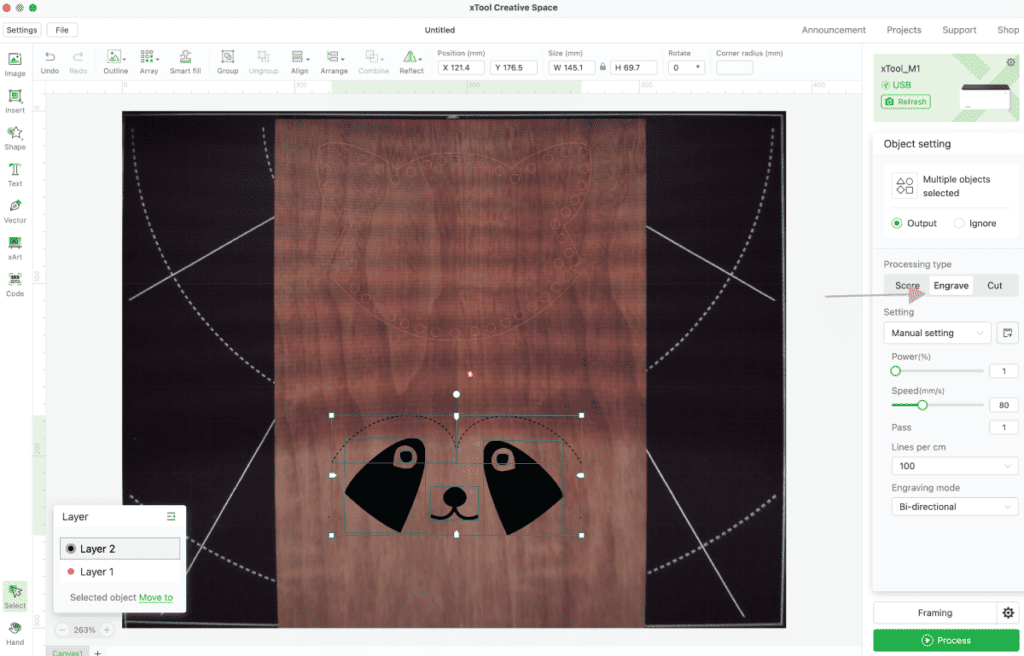
Double check this part before cutting. I didn’t have the holes on CUT when I did my first raccoon so I ended up with engraved circles, see photo below. I was able to put it back in and recut them later, but checking twice is best!
Now set your material. Since the wood I used is from xTool it was easy to find the exact material and then the machine sets all the settings for you. When you’re ready to cut, click the green PROCESS button at the bottom right of the page.
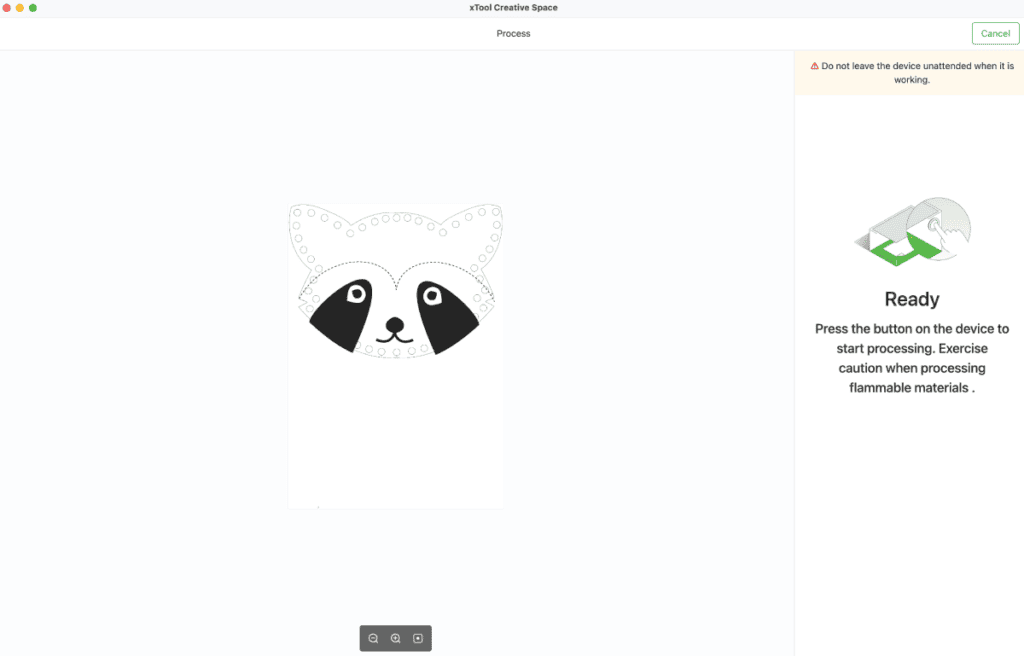
Now your screen will look a little like this.

Click the START button then click the blue button on your machine. The xTool will start engraving and cutting your design.
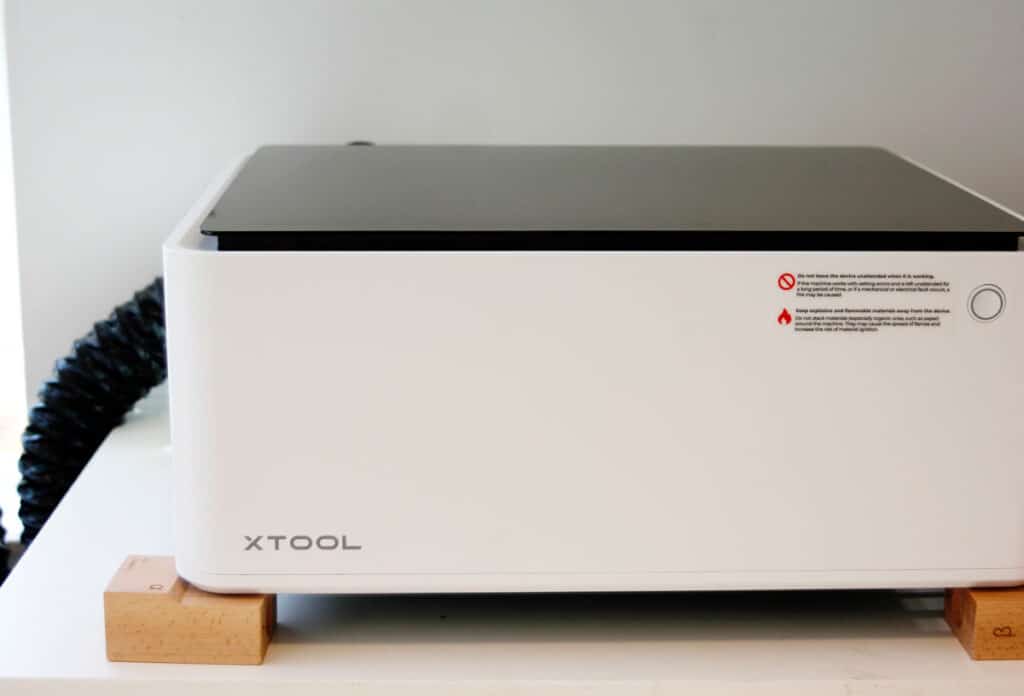
There are a bunch of safety warnings including making sure you supervise the machine, have the exhaust pipe sticking out a window, etc. Make sure to read through those. I also like to have a window open and fan going for airflow. The burning smell gets to my head a little.
The laser will stop as soon as you open the top which is a good safety feature, although I couldn’t take a photo of it working!
When the cut is finished Creative Space will tell you the project is complete. You can open up the xTool and check it out.
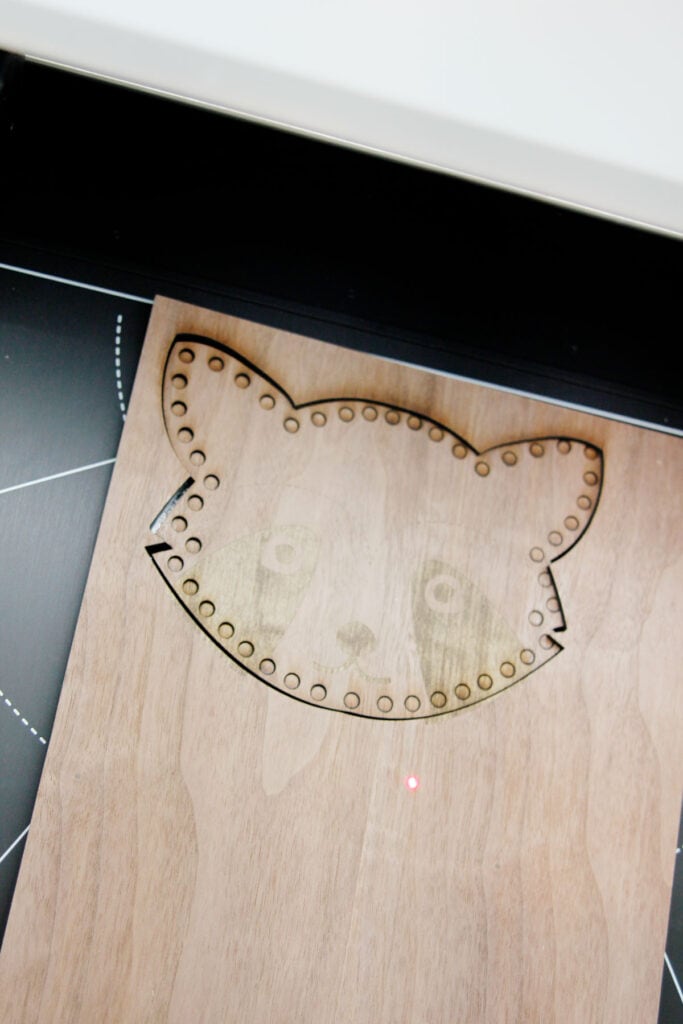
When you start to lift your design you’ll see residue, like melted wood I guess. It wipes off easily but is kinda gross. The Honeycomb Riser and Air Assist are supposed to reduce that but I hadn’t set those up yet. But seeing your cut project is so fun!

The walnut didn’t engrave as nicely as the basswood. I’m sure I can salvage this one with some paint over the eyes, nose and mouth but definitely use basswood if you have it!




These Raccoon DIY Lacing Cards are such a delightful and creative project! I have fond memories of lacing cards from my own childhood, and it’s fantastic to see how you’ve used the xTool M1 laser cutter to make your own. The idea of using yarn or a shoelace to “sew” around the shapes is not only a fun sewing practice but also a great way to enhance fine motor skills in preschoolers and young kids.
The fact that you’ve provided the file for others to create their own lacing cards is incredibly generous. It’s wonderful to see how technology like the xTool M1 can be used to bring traditional crafts into the modern age. Your enthusiasm for the process shines through, and I can imagine how much joy these handmade lacing cards will bring as gifts or gift toppers during the holidays. Thanks for sharing this creative and educational project!
If you are lover of Starbucks and want to know about Starbucks Partner hours then you should visit my website.