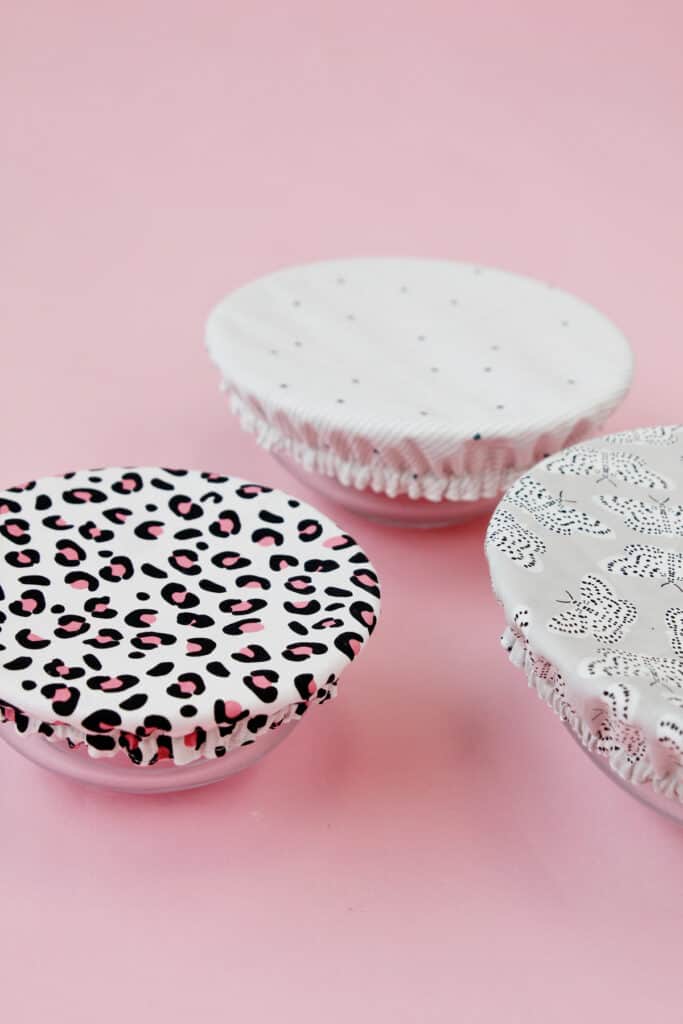
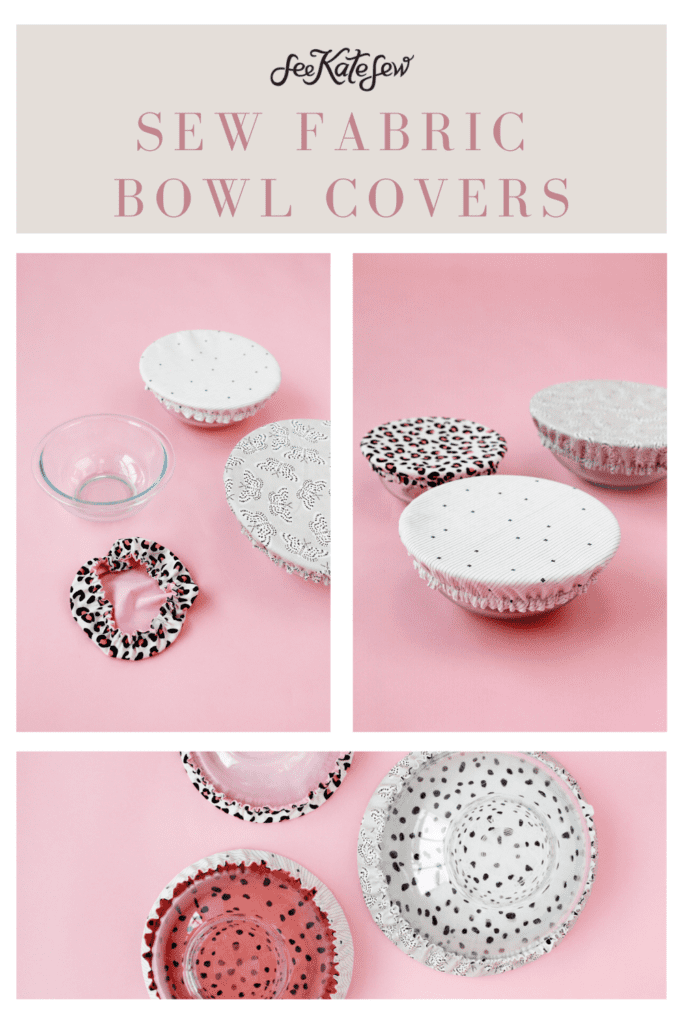
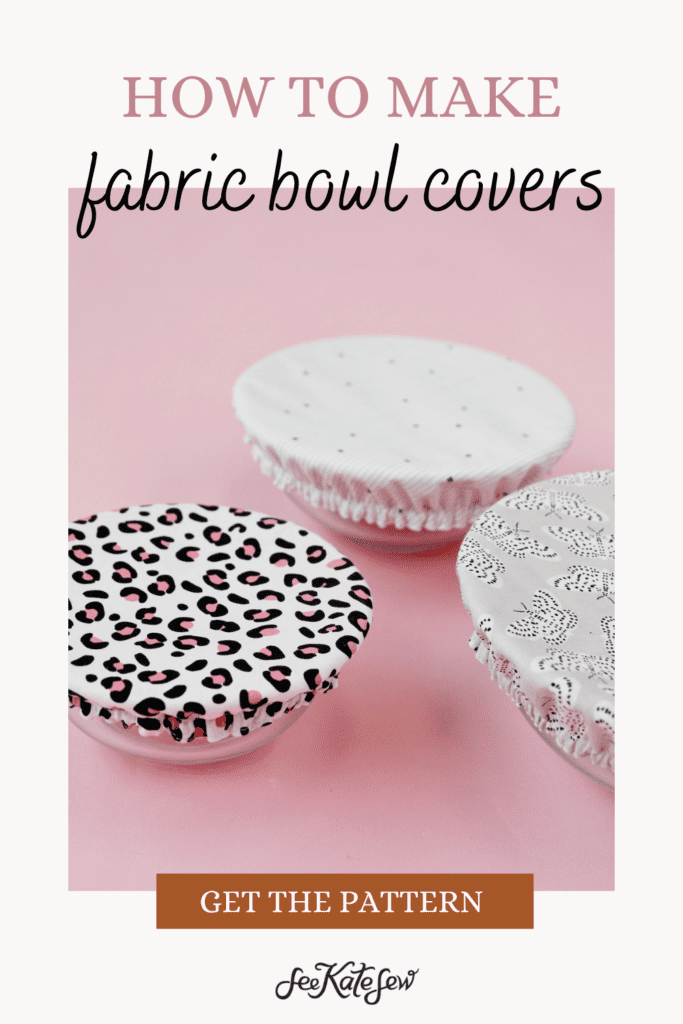
Ditch your plastic wrap and opt for fabric bowl covers instead! These are a super cute way to store leftovers in your fridge or to bring a dish to picnics! Just stretch the cover over and reuse it again and again!
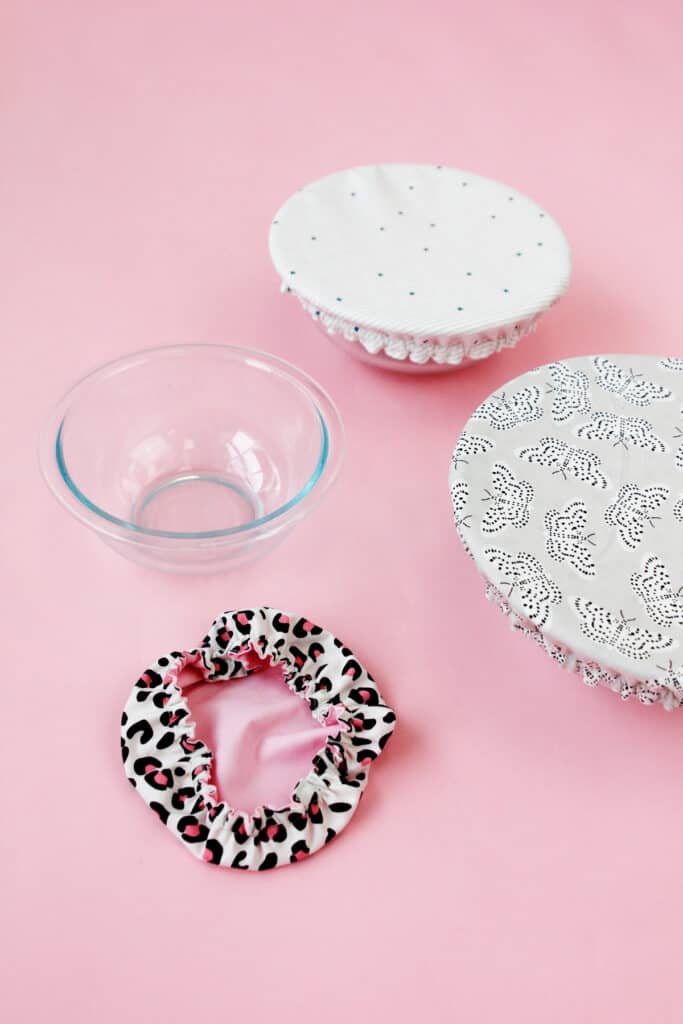
These DIY cloth bowl covers are washable and a sustainable replacement for Saran wrap!
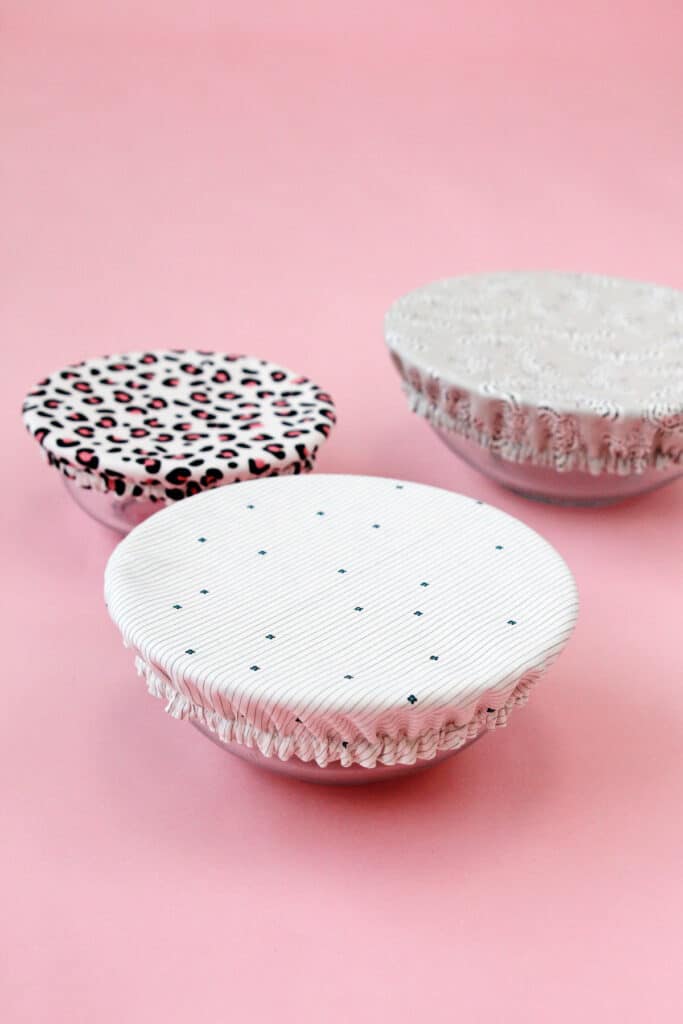
Cloth bowl covers are so easy to make with these step by step instructions! Grab a few materials and let’s get sewing!
Cloth Bowl Cover Materials
- 1/2 yard fabric or 2 Fat Quarters, prewashed (I’m using SPOTTED fabric – read more here)
- Use two layers of cotton fabric
- Or use 1 layer of cotton and 1 layer of laminated fabric (or oilcloth) for a moisture seal
- 1/4″ elastic
- Safety pin
- Thread
- Sewing machine, scissors, ruler
- Puffy fabric paint, optional for non-skid dots
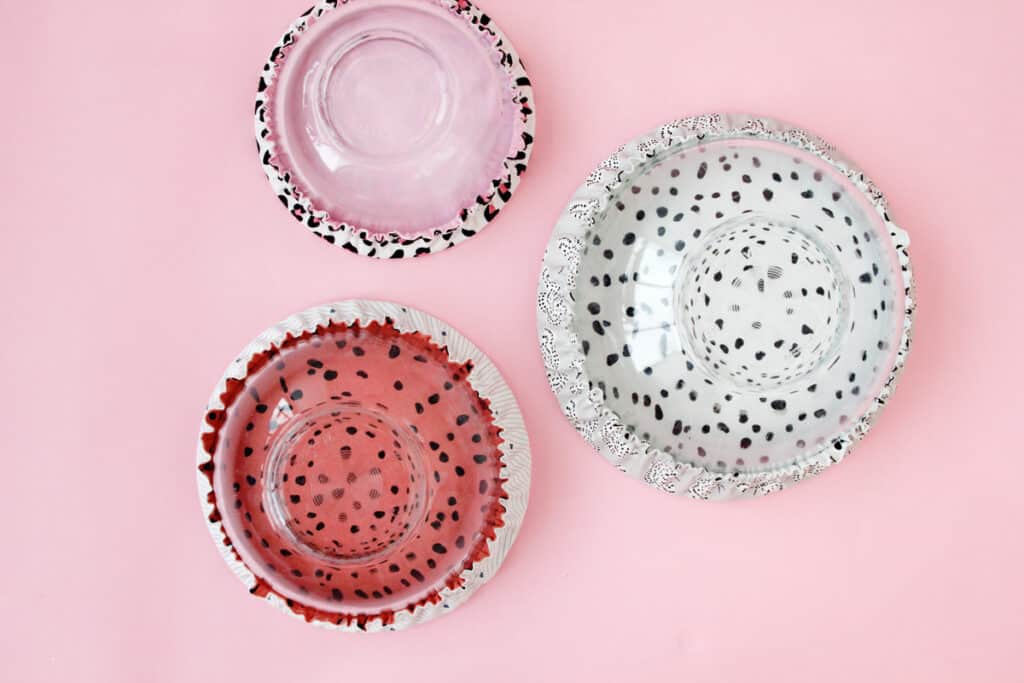
- If you plan to use these on bowls that don’t have a good lip, you may want to add dots of puffy paint on the inside of the cover. After it dries, the puffy paint will help the bowl cover stay on.
Reusable Fabric Bowl Cover Template
Download the template for the reusable bowl covers below. There are 4 sizes to fit most sizes of bowls including larger mixing bowls. Print the pattern out at 100% or DO NOT SCALE.
It will print on two pages as shown below. Trim along the dashed line and tape together.

Elastic Measurements
- X-Large – 18″
- Large – 17″
- Medium – 15″
- Small – 14
Fabric Bowl Covers Tutorial
Use a 1/4″ seam allowance.
Choose your pattern size based on the circumference of your bowl at the top.
Start by cutting out two layers of fabric from your pattern piece. Use two different fabrics for a reversible cover, or use a layer of laminate fabric (oil cloth or PUL fabric also work) for a more moisture-proof barrier.

Sew stay-stitching along the curved edge of your cut circle of fabric for about 3″ on both layers of fabric. Sew the stitching 1/4″ from the raw edge. This will help you turn the opening fabric easily. Since the fabric is curved, it can be tricky to close the opening, but this stitching will help ease your fabric over nicely.

Lay the fabric pieces together with right sides together so all you see is the wrong side of your fabric. Line up the stay-stitching. Sew around the circle leaving a 2-3″ opening where you stitched the stay-stitching.

Turn fabric right side out and press. Topstitch around the cover 1/8″ from the edge, leaving 1″ open for threading elastic.

Then sew again 1/2″ from the edge all the way around the cover. This will create a casing for your elastic.

Pin safety pin into the end of the elastic. Thread elastic through the casing, holding on to both ends of elastic so it doesn’t get lost inside.

Tie the ends of the elastic in a tight knot. Clip excess elastic and tuck elastic into casing. Pin the opening closed using the crease and staystitching to help you line up the fabrics. Finish top-stitching the edge of the bowl cover. Trim the threads from the finished edge.





Be aware that the manufacturer of PUL fabric says they do not market or recommend their fabric for use with food. It is not considered food safe.
Good to know! Thanks
I could not find a link to print the bowl cover tutorial. Could you send me the tutorial to my email? I have printed the pattern.
The instructions aren’t available in a printable form, but you can print out the blog post