I’m so excited to share this project with you today – it’s an update from my original project dating back to 2011! Yikes that’s a long time! But I still love this project, so I wanted to share an updated post with all the information and templates you need to make your own fabric scrap map!
This post includes a US map PDF with all the states and a layout plus all the information and a video to show you how it’s done!
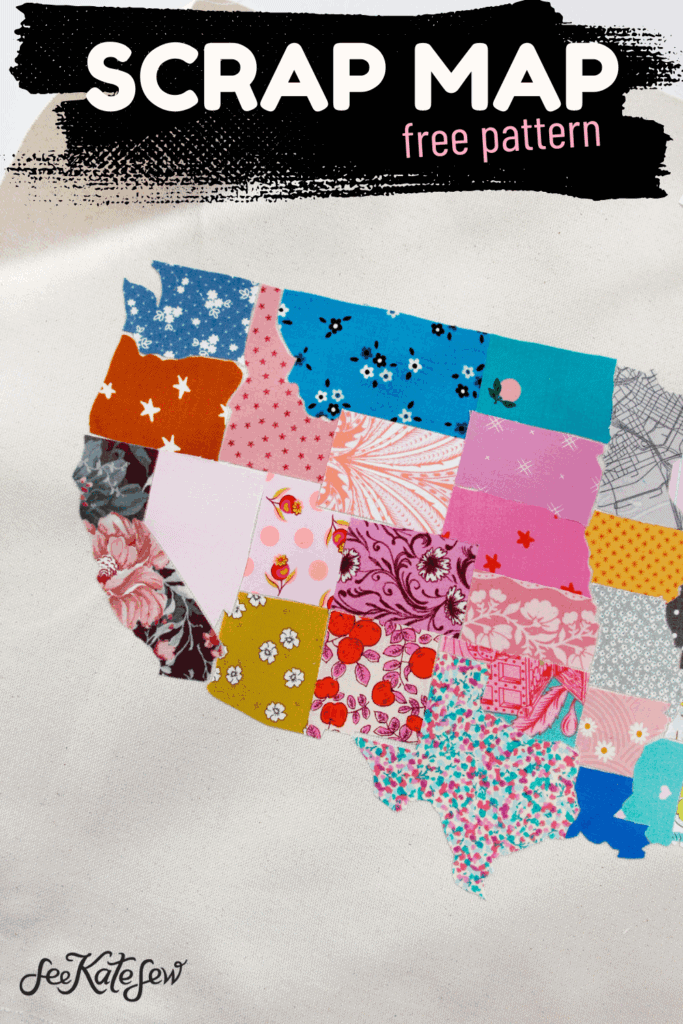
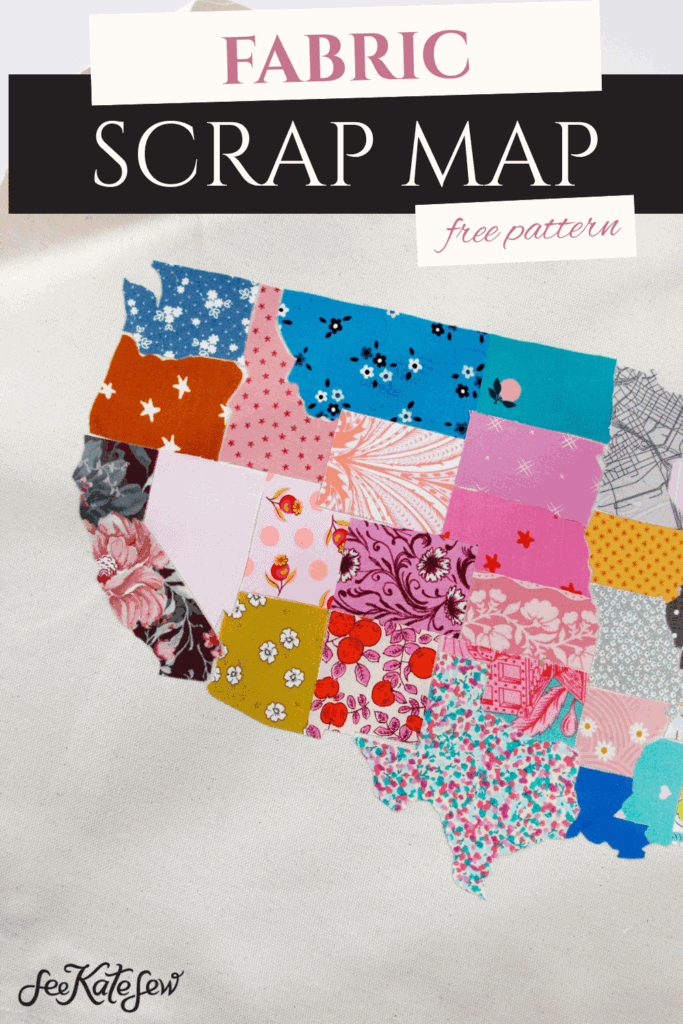
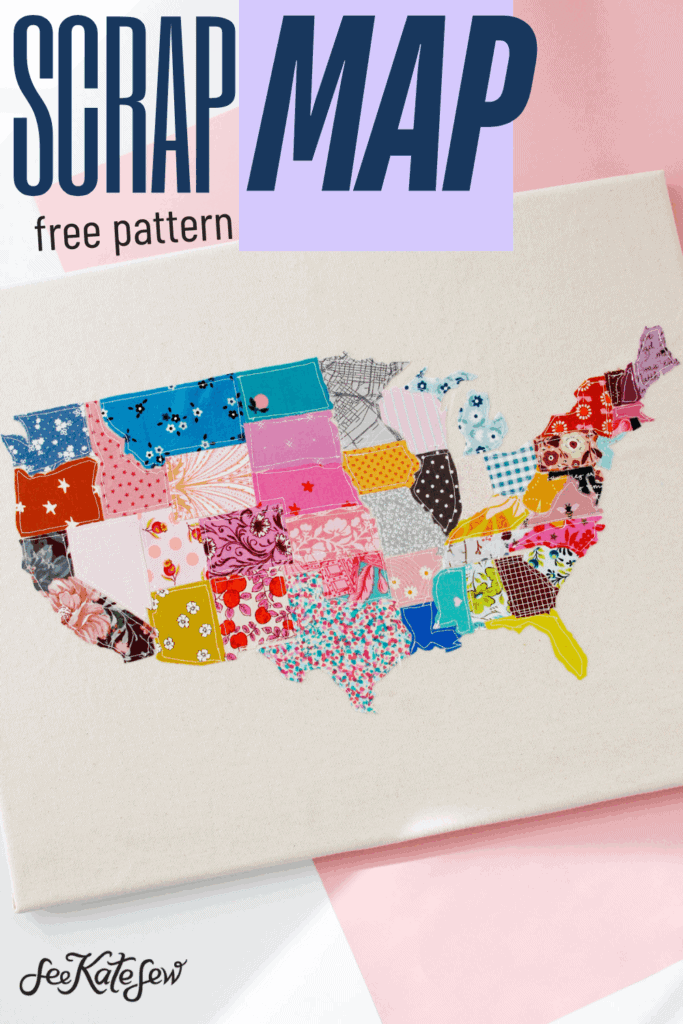
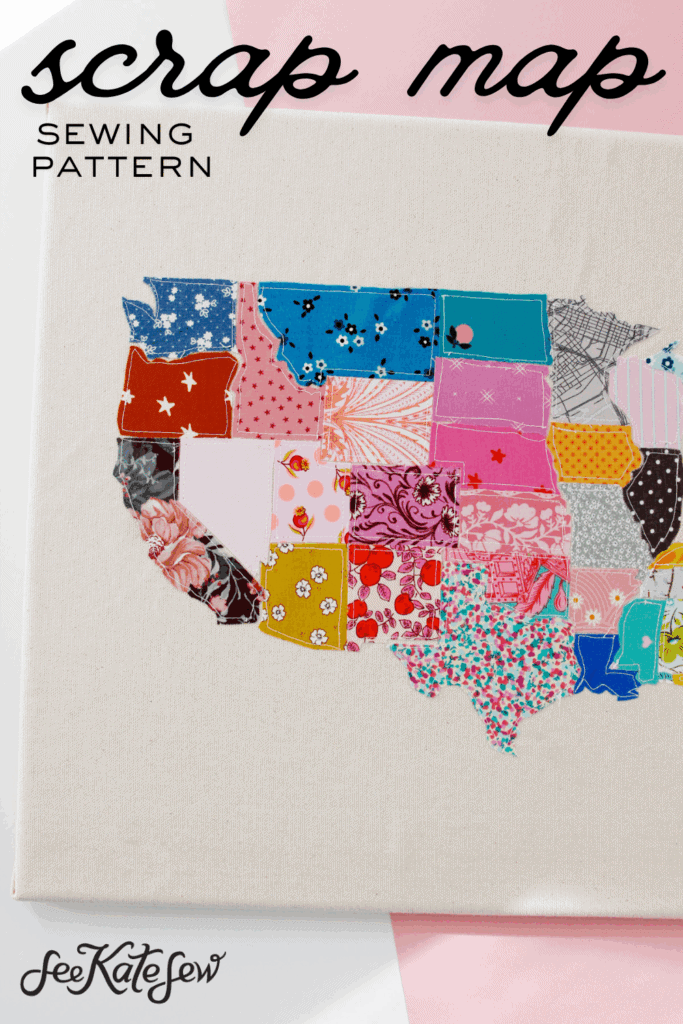
This fabric scrap map is a work of love that will look amazing hanging up in your home! The United States are all made from fabric appliqué, it’s easy but a little bit of puzzle to put together! Don’t worry I have provided all the downloads you need to make this project easily!
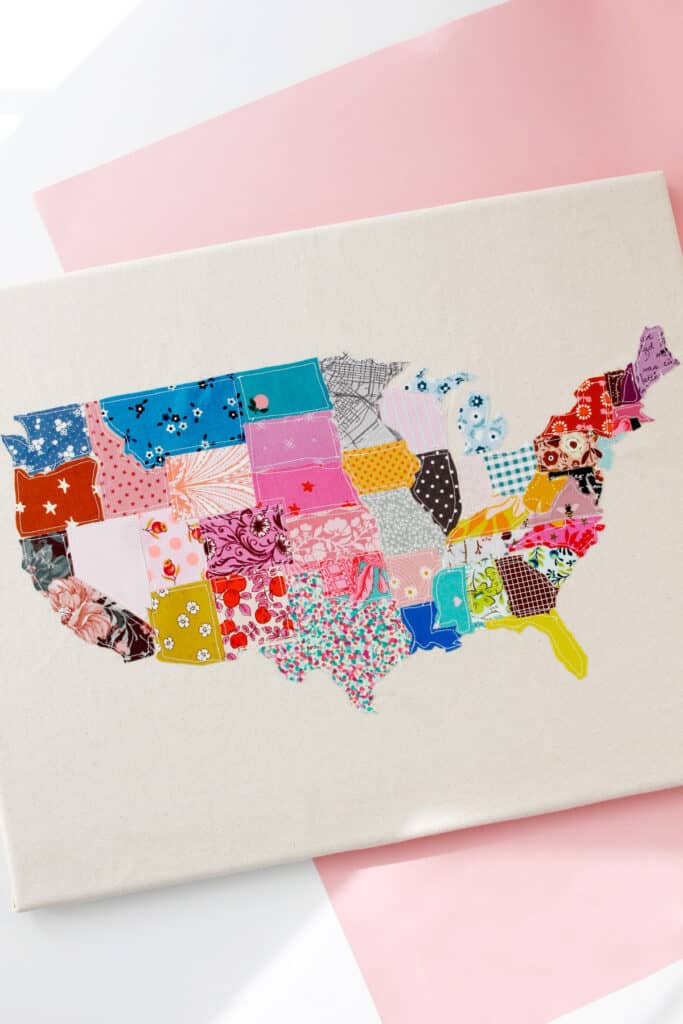
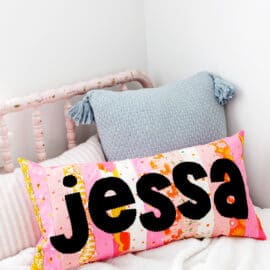
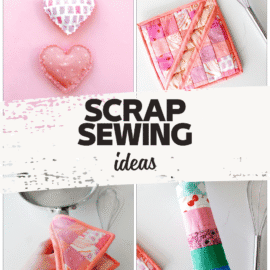
The fabric map can be made into a wall hanging or turned into a fabric project such as a mini quilt, USA pillow, fabric placemats or anything else you can think of!

It’s such a cool way to display tiny scraps of your favorite fabrics!
This project will fit a 16″ by 20″ frame, however you can adjust the size as desired.
Fabric Map Materials
- 1/2 yard canvas or quilting cotton background fabric, solid or low volume print
- 20-50 small fabric scraps
- Heat N Bond Ultrahold (red package for NO SEW – no topstitching) or Purple LITE package for topstitching
- Thread for topstitching, optional
- 16 x 20 painting canvas for hanging OR a photo frame OR use the panel for a project like a pillow!
- Sewing machine, iron, sewing scissors and other sewing supplies
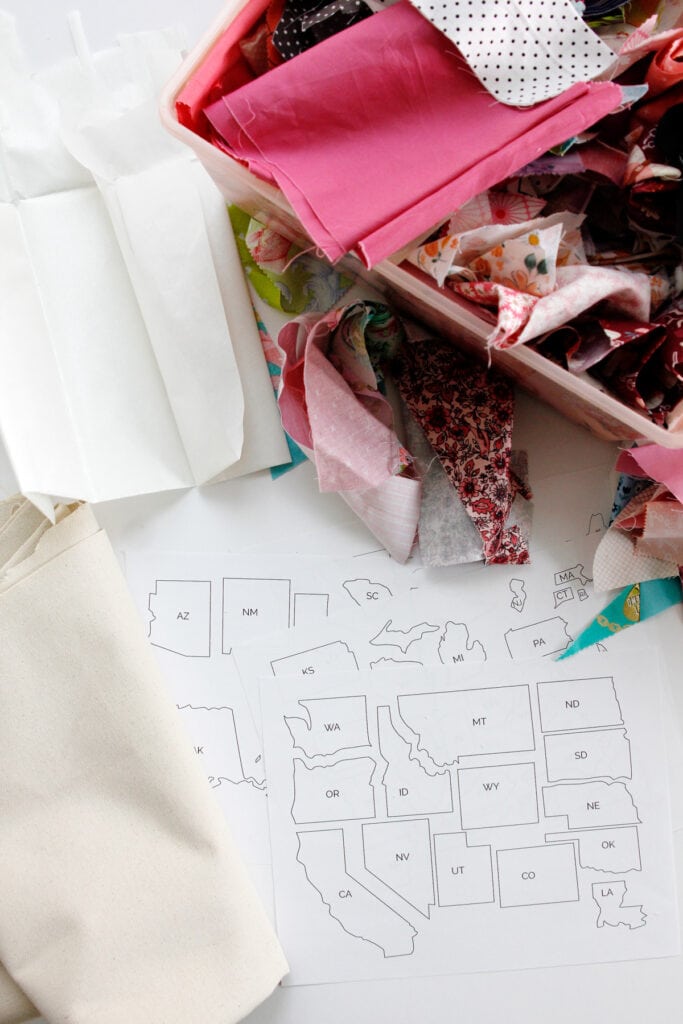
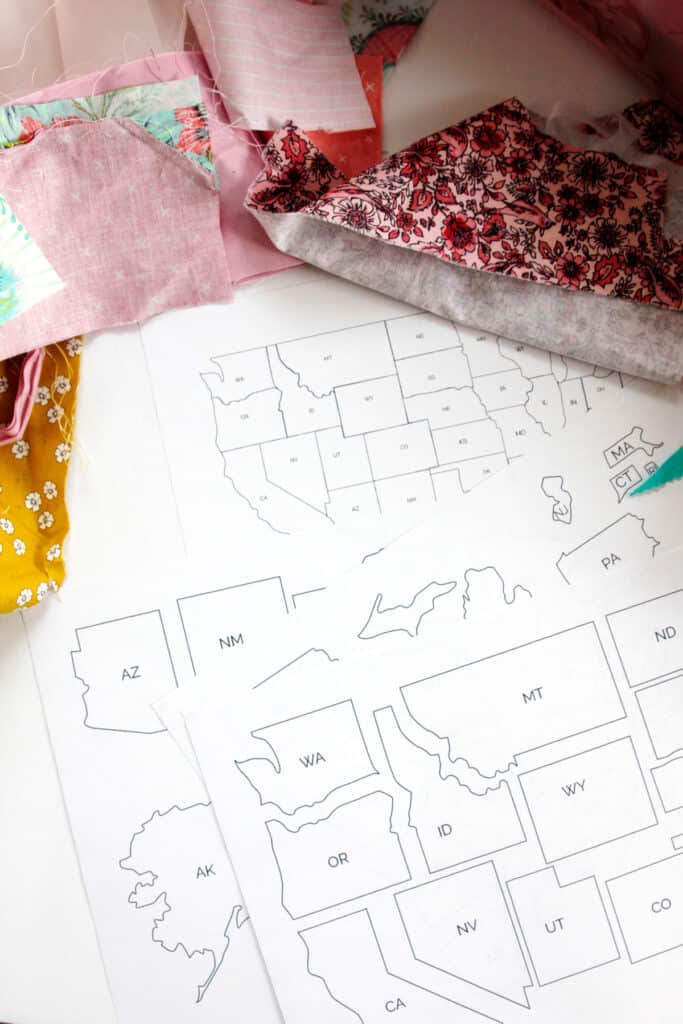
USA Map PDF File Download
To download the USA map PDF file, click on the pink button below. The states will print out on 4 pages with the placement guide on page 4. Print at 100% or DO NOT SCALE to create the same size project as shown. You can choose to scale this project up or down if you want a larger or smaller map.
Click here to see my original scrap map!
Make the Fabric Map Wall Hanging
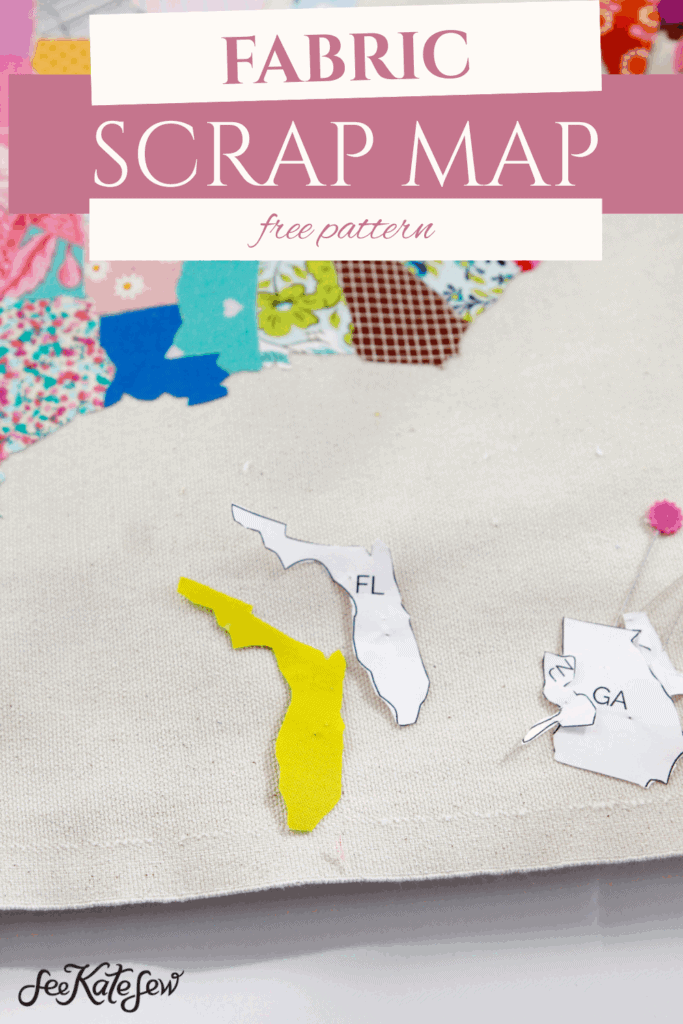
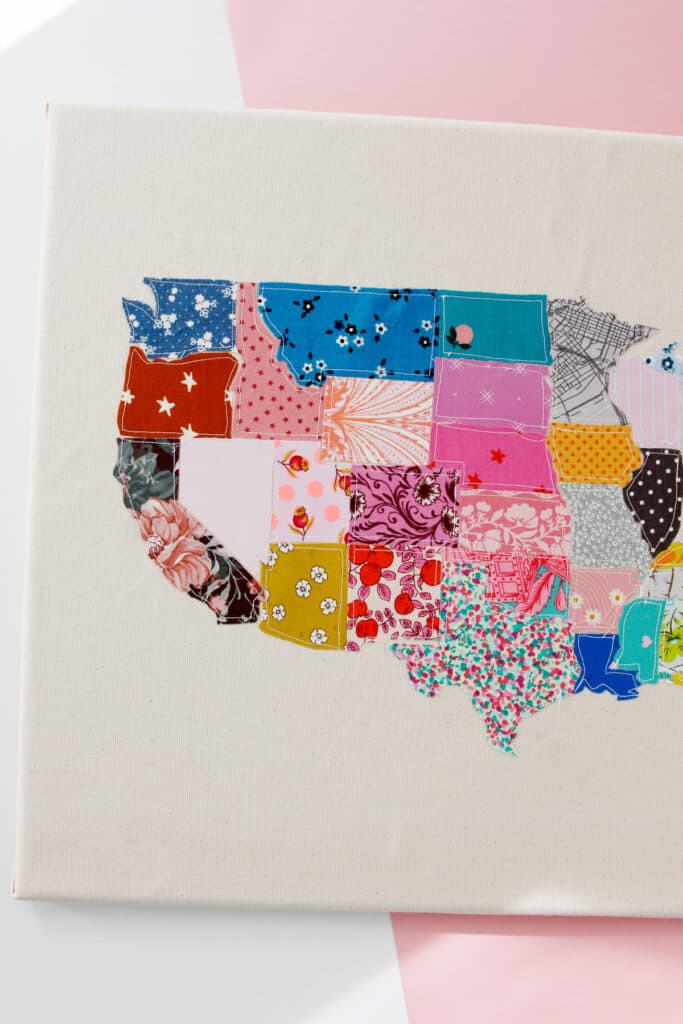
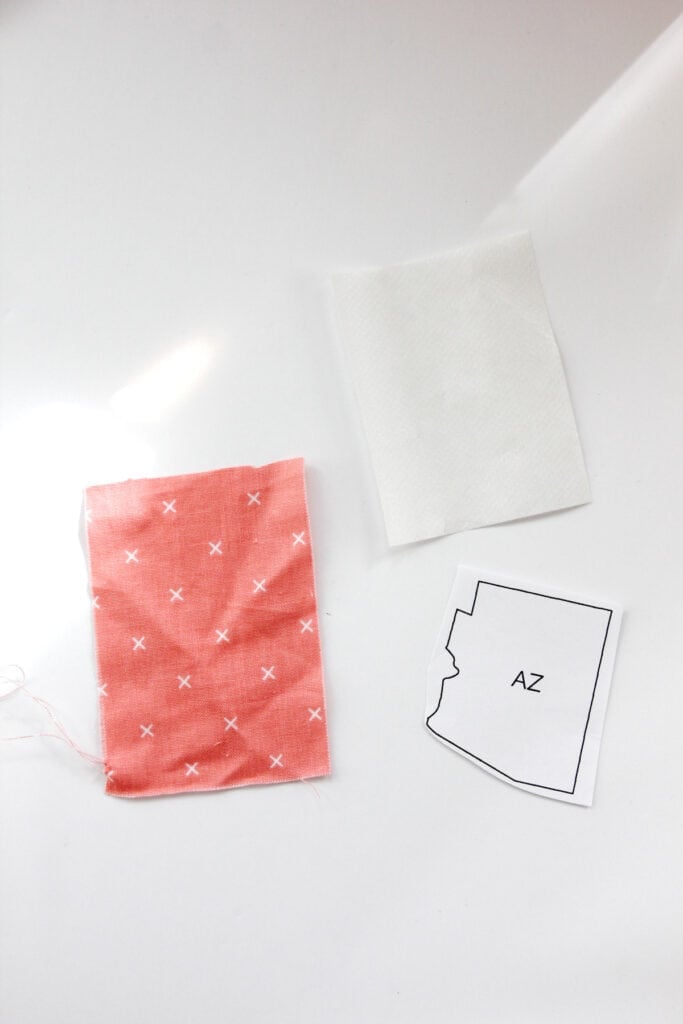
Start by finding scraps that will fit the size of each state. Cut a piece of Heat N Bond for the scrap – it should be just a little bit smaller than the fabric.
Use an iron to fuse the heat n bond adhesive to the fabric.
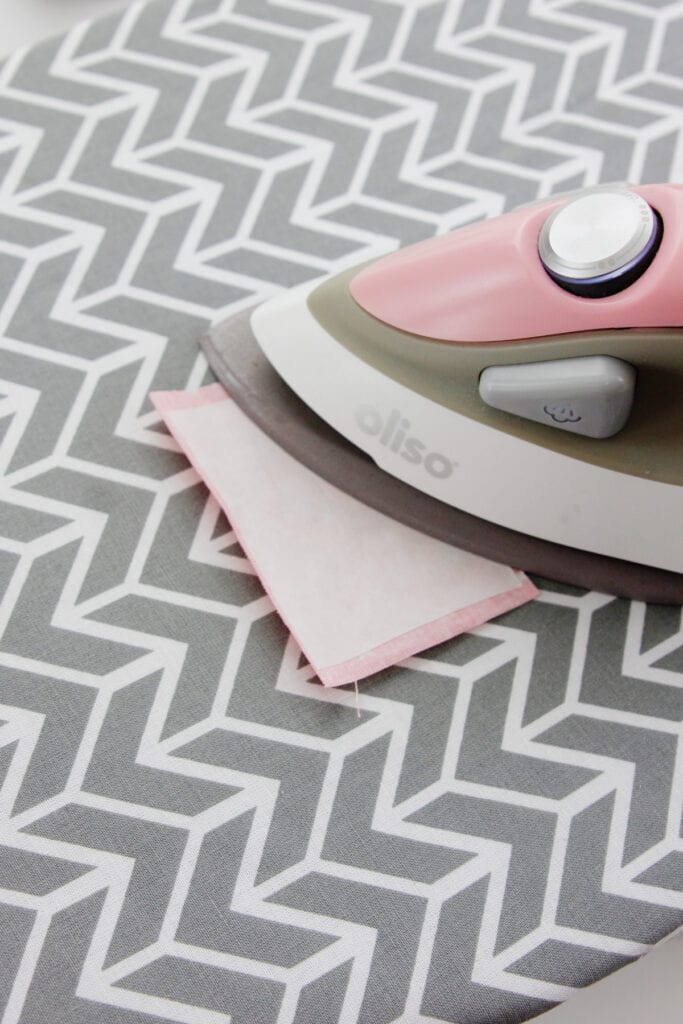
Once it cools, peel off the paper backing.
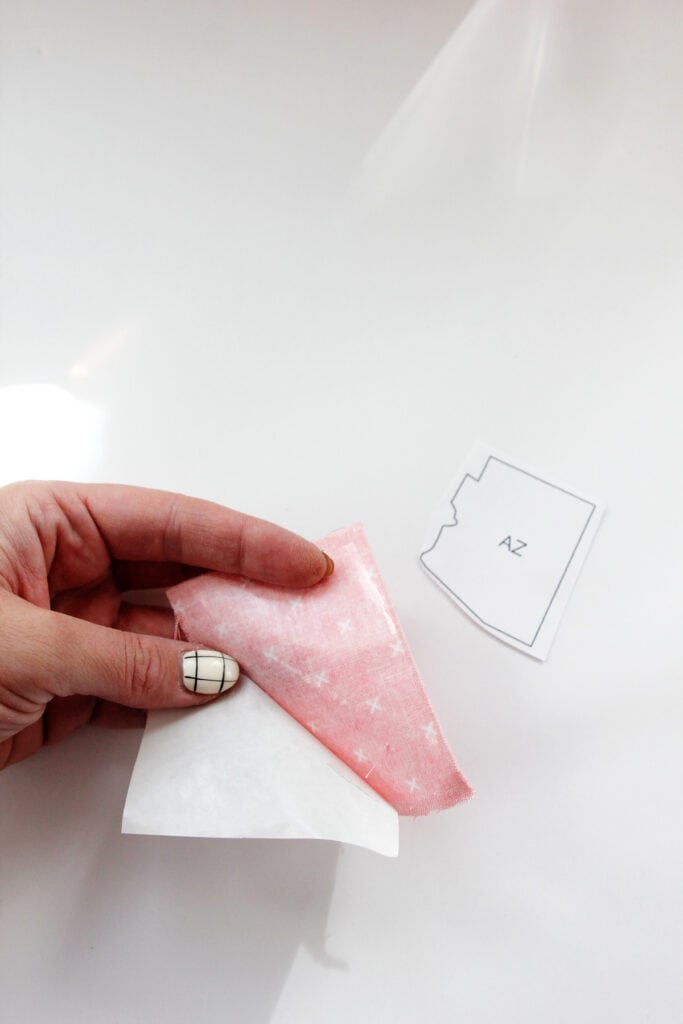
Then use the state template to cut the state out carefully. Repeat for all the states! This is a perfect project for cutting while you watch TV – it takes a while but is kind of relaxing!
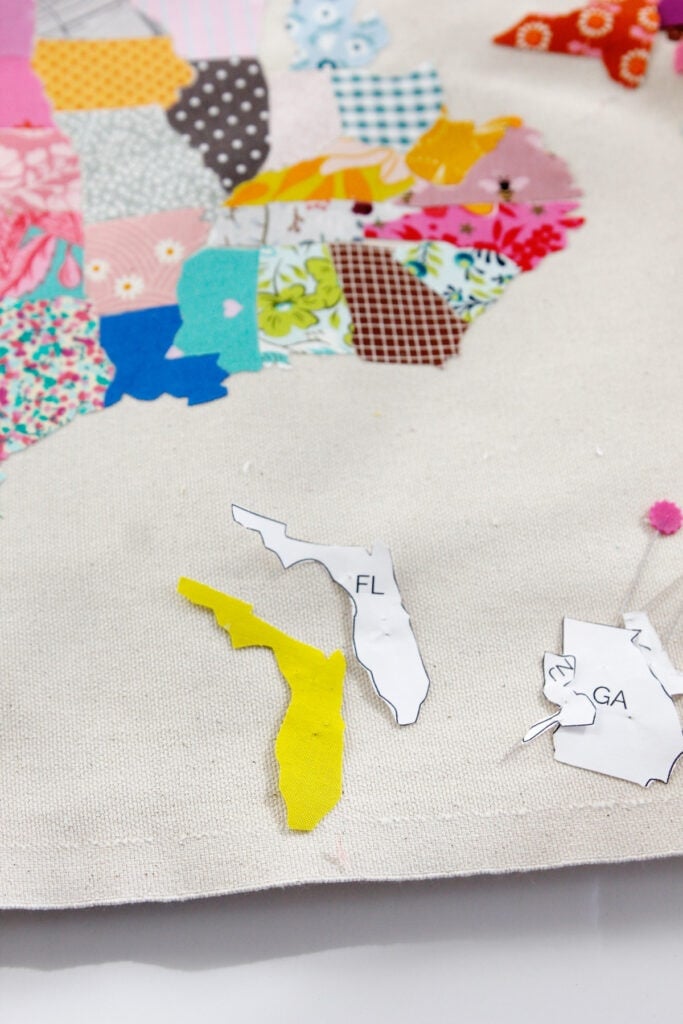
Then cut a piece of fabric for the backing, it should least 18″ tall by 22″ wide – if you plan to stretch it around a canvas or turn it into a another project you can adjust the size of your background fabric. Then start laying your states down. I like to start with the west coast since the states are bigger. They will connect like a puzzle. You can choose to overlap the states a tiny bit or leave some space in between. Either way will be beautiful!
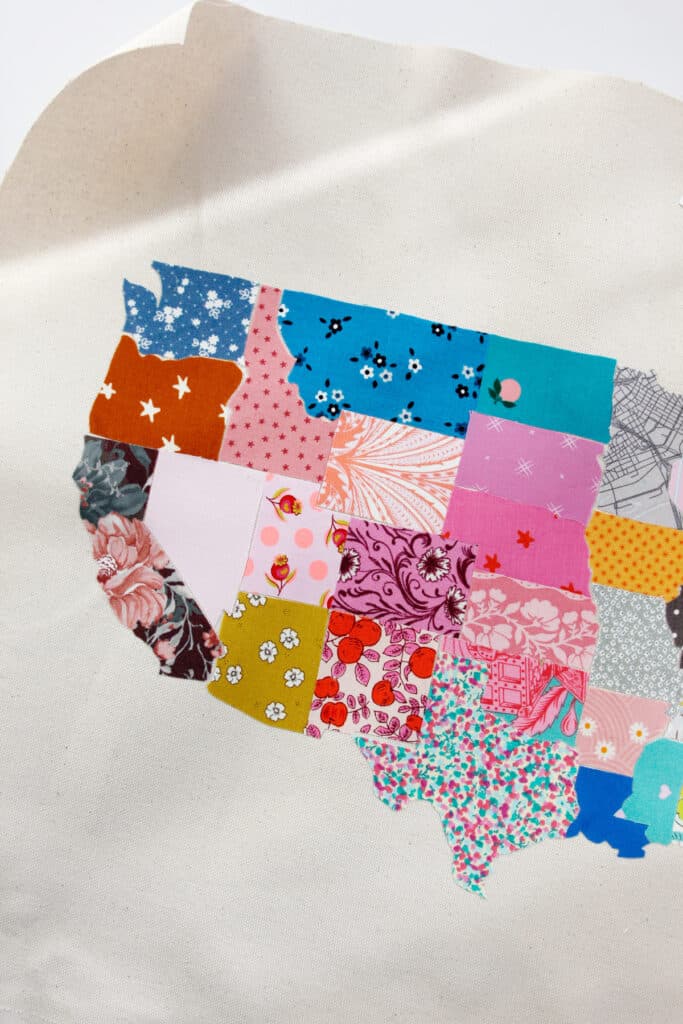
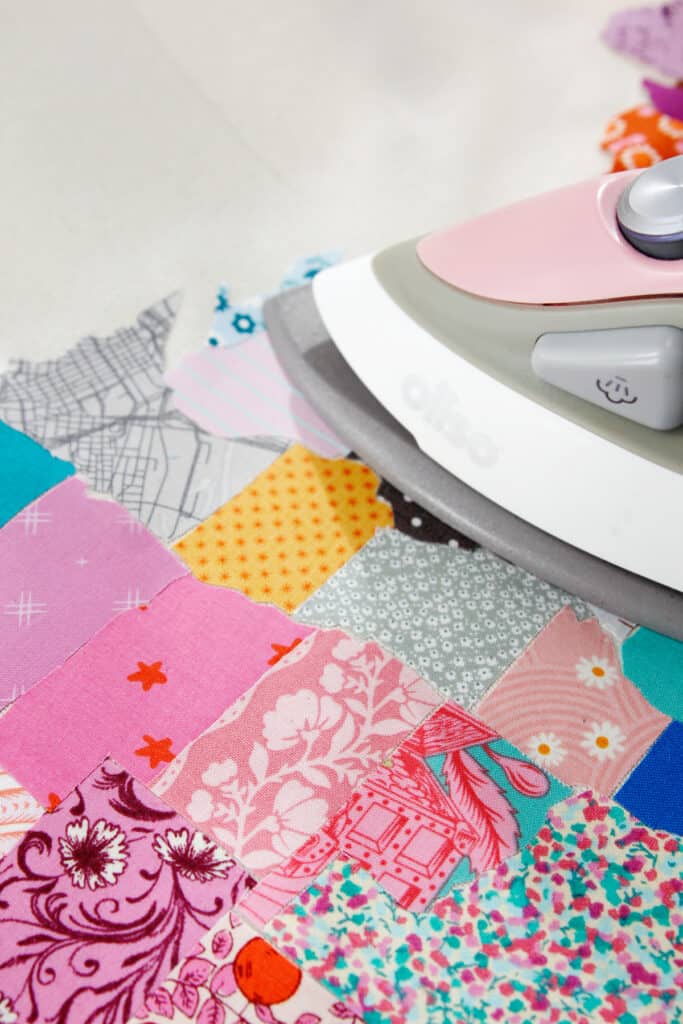
Once you have them all laid out, start pressing carefully. The Heat N Bond will stick them to the canvas.
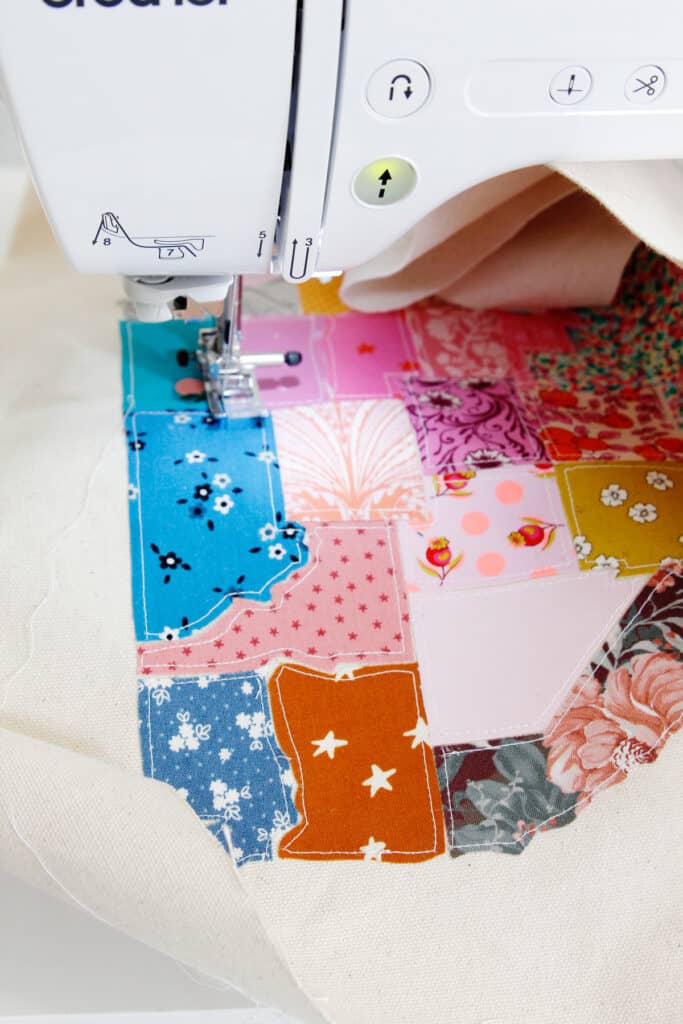
Use your sewing machine to outline each state with topstitching. This is an optional step – and it takes a while – but I think it makes the states pop!