This post, Floor Cushion Tutorial and Reading Chart Art, is sponsored by Walmart Photo.
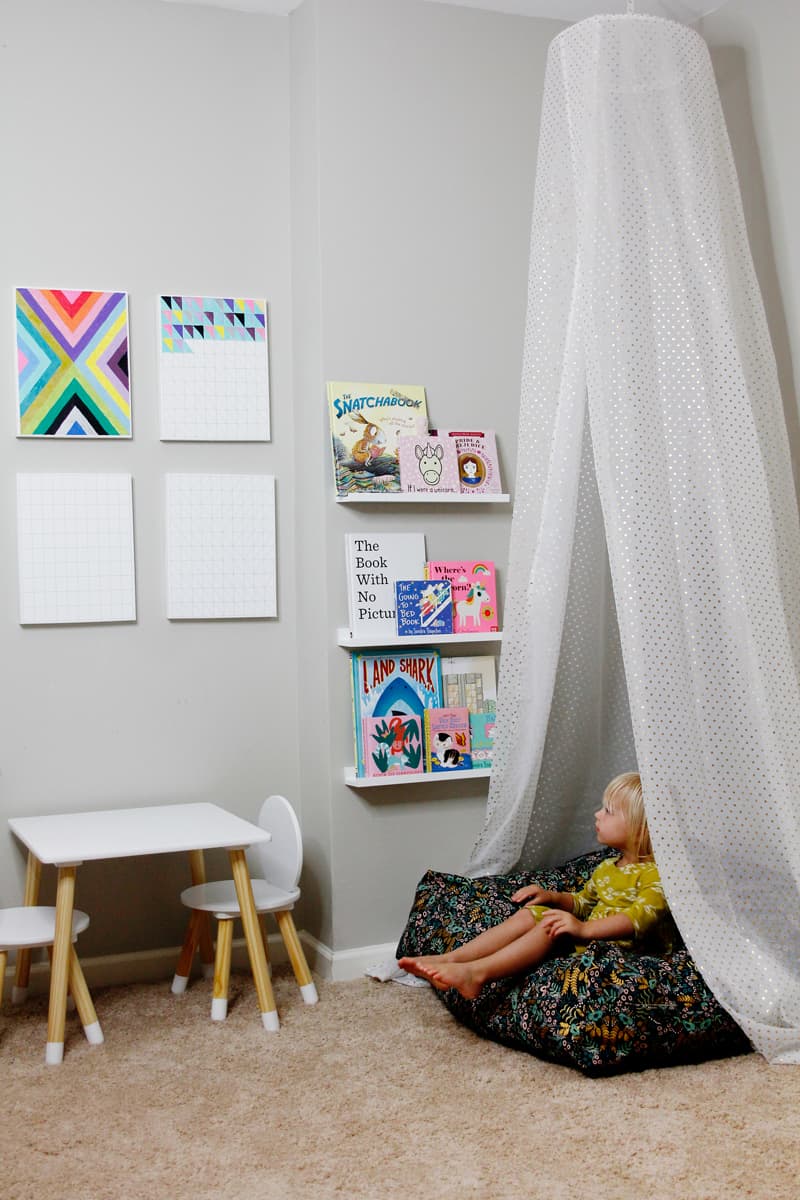
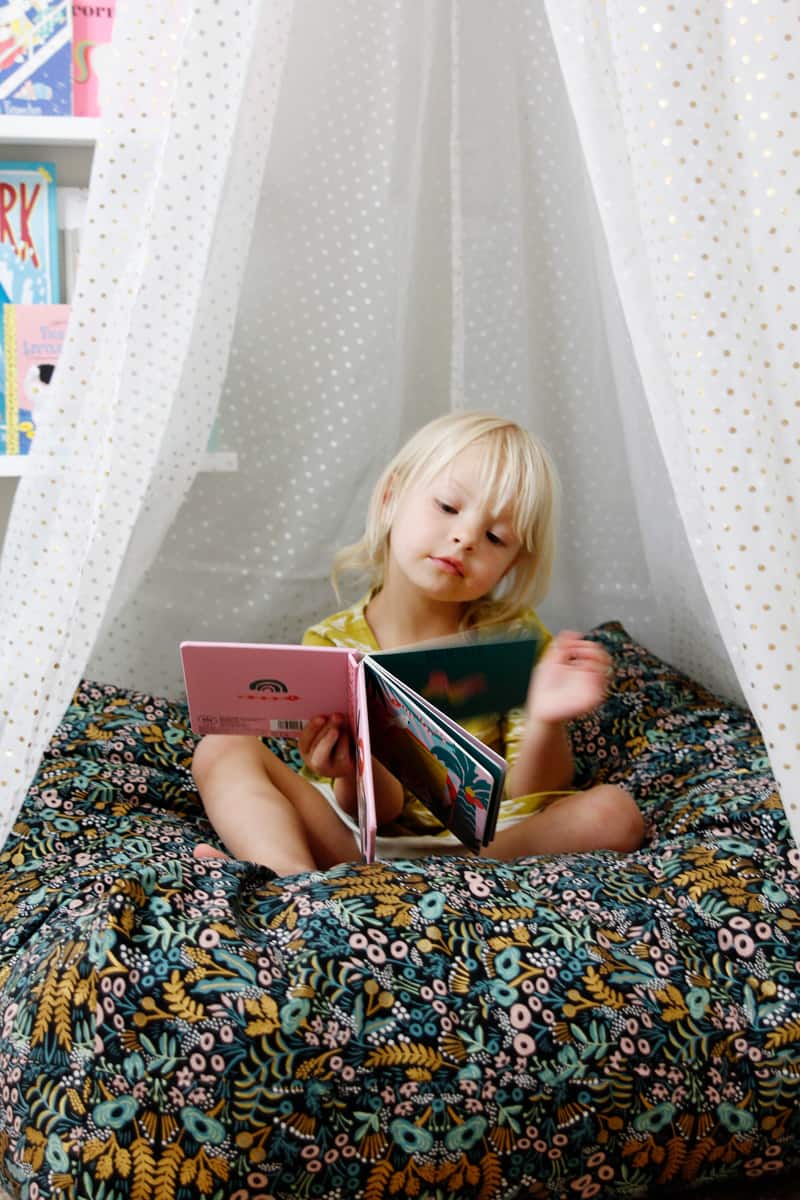
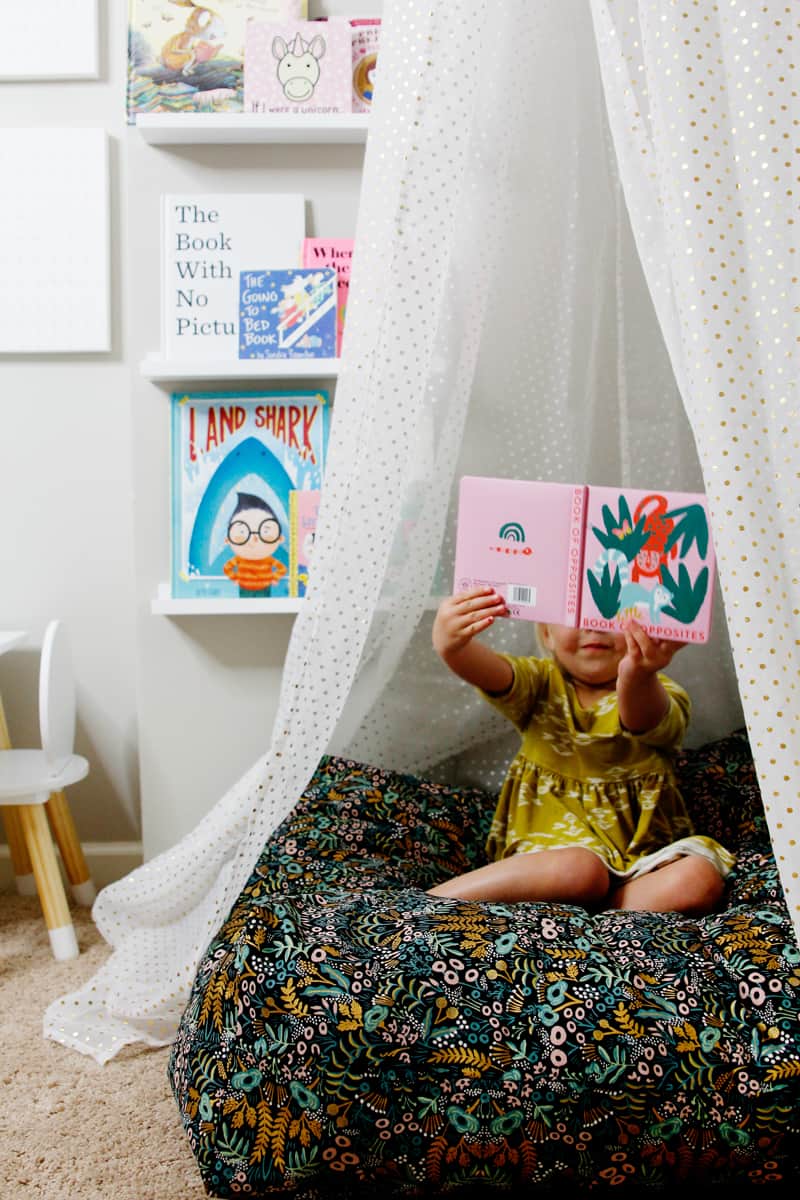
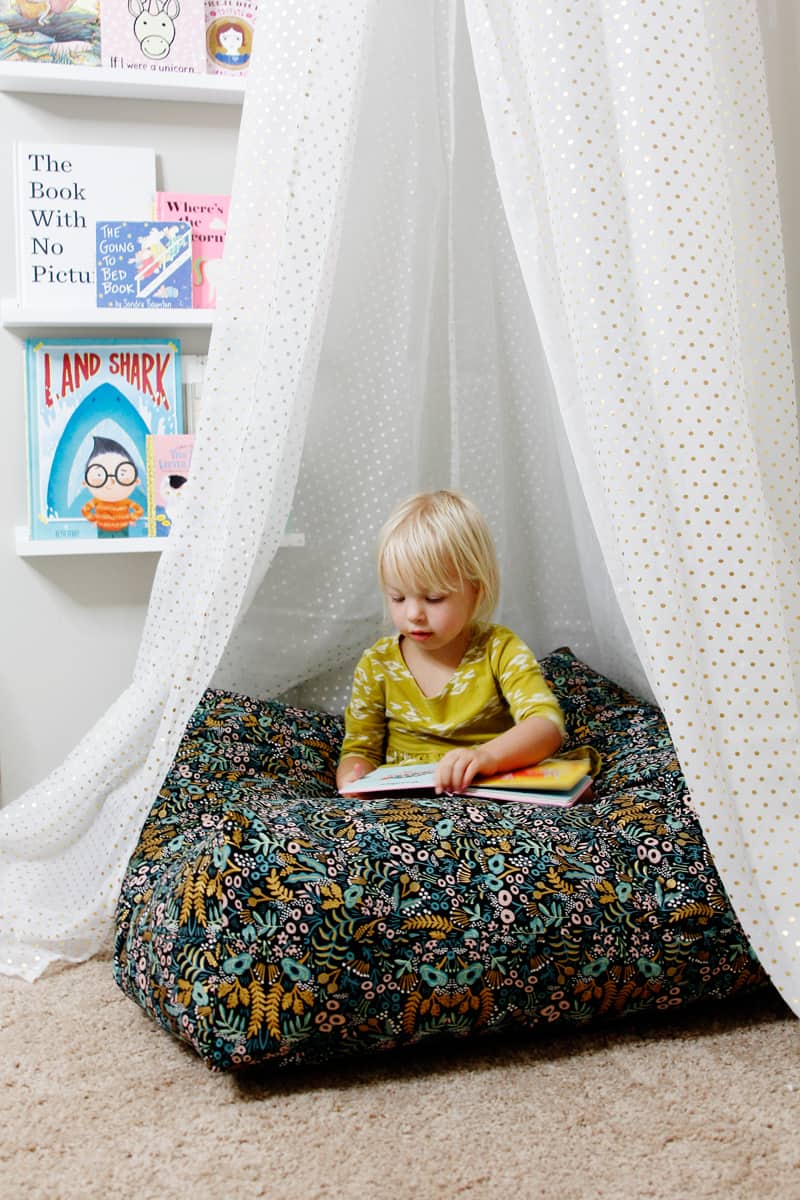
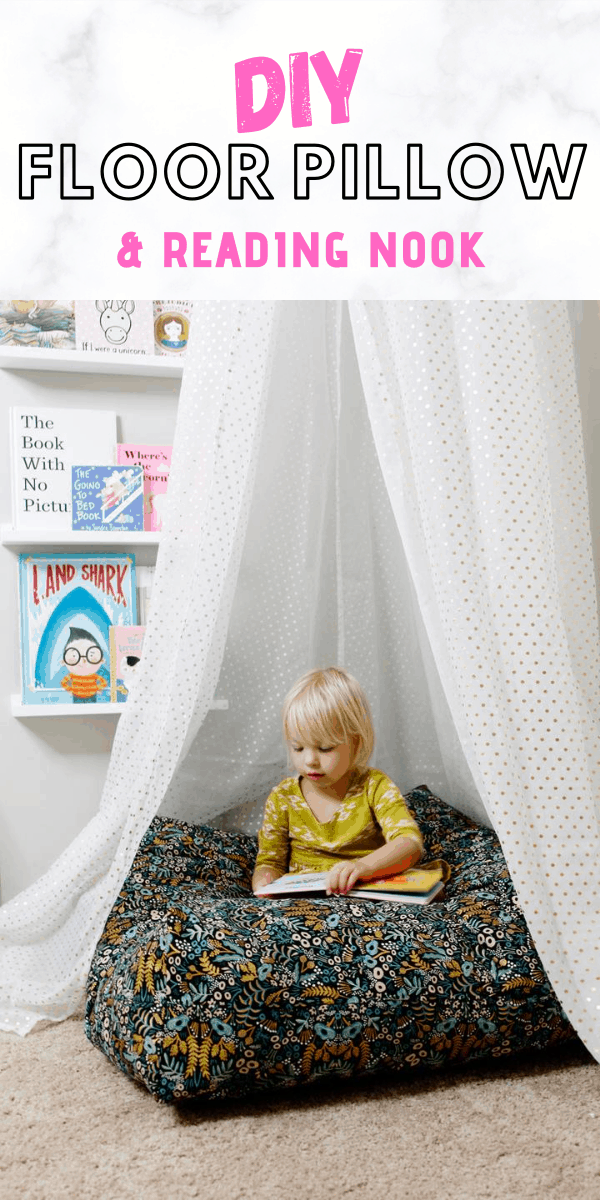
We have been spending so much time at home and it has inspired me to make our spaces more cozy and special! In this post I am sharing a square floor cushion tutorial to make any corner into a cozy book nook!
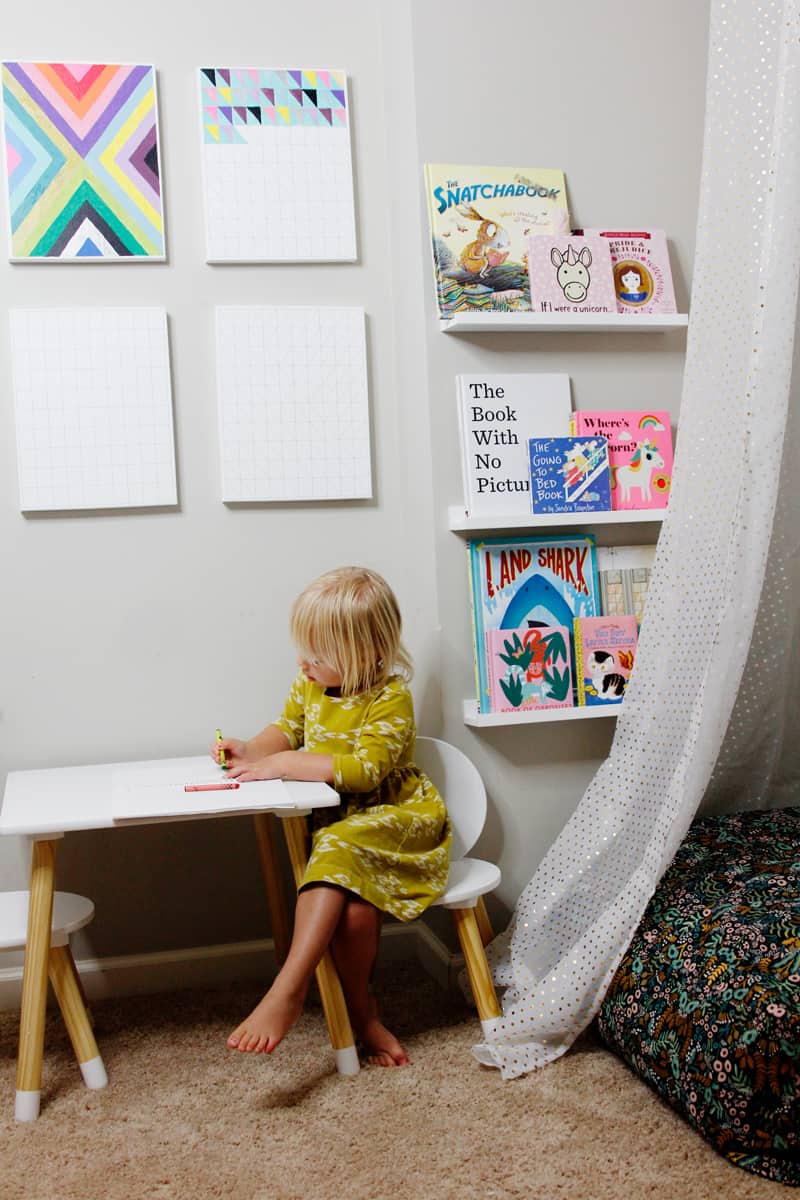
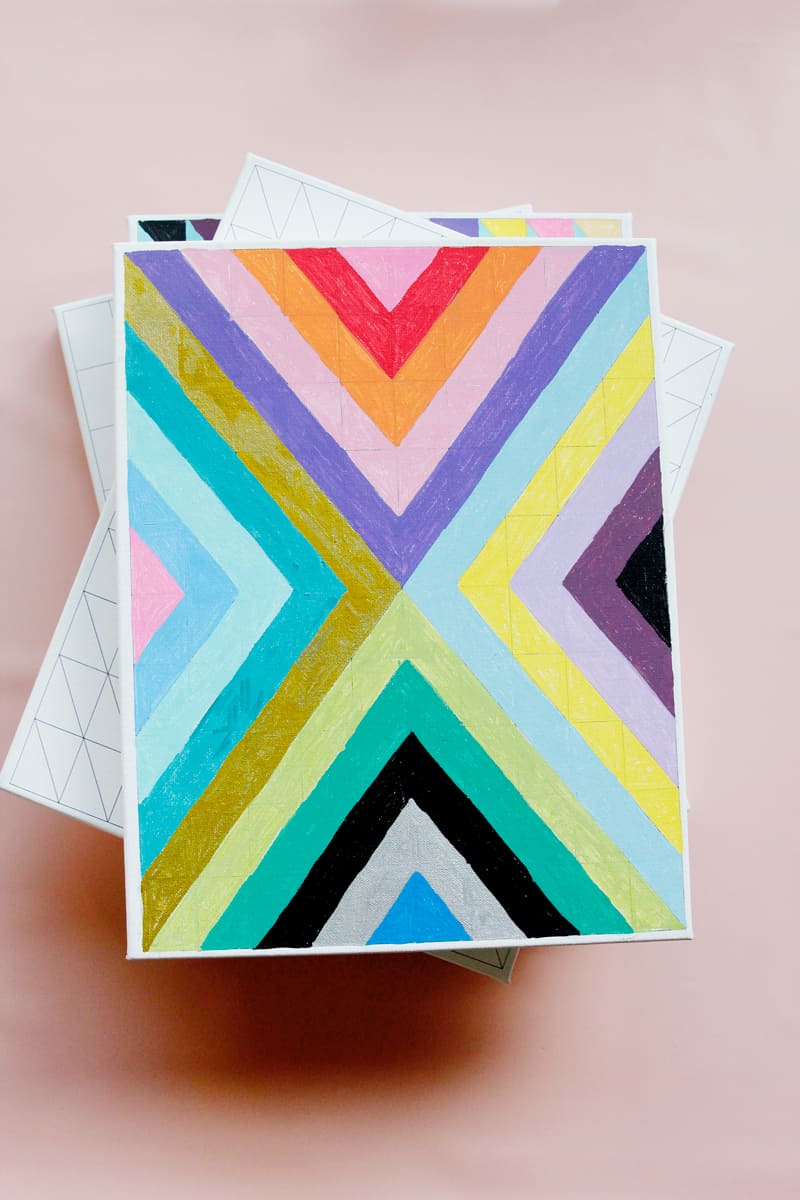
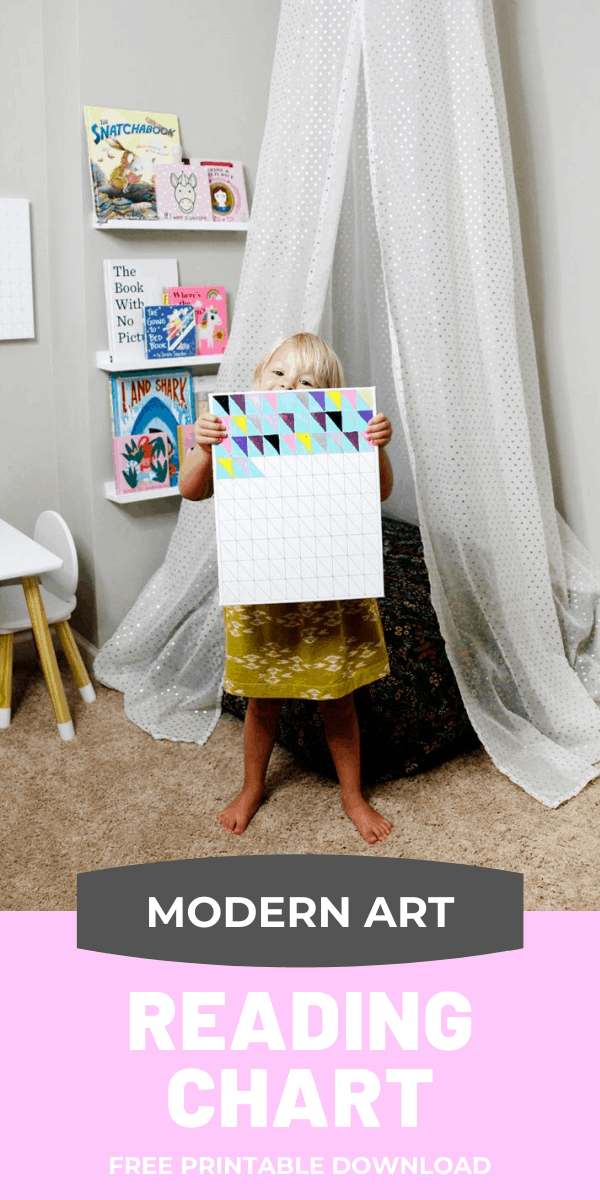
This post also includes free printable reading charts that you can print on canvas to create wall art for your home. This modern reading chart becomes a work of art when it’s finished!
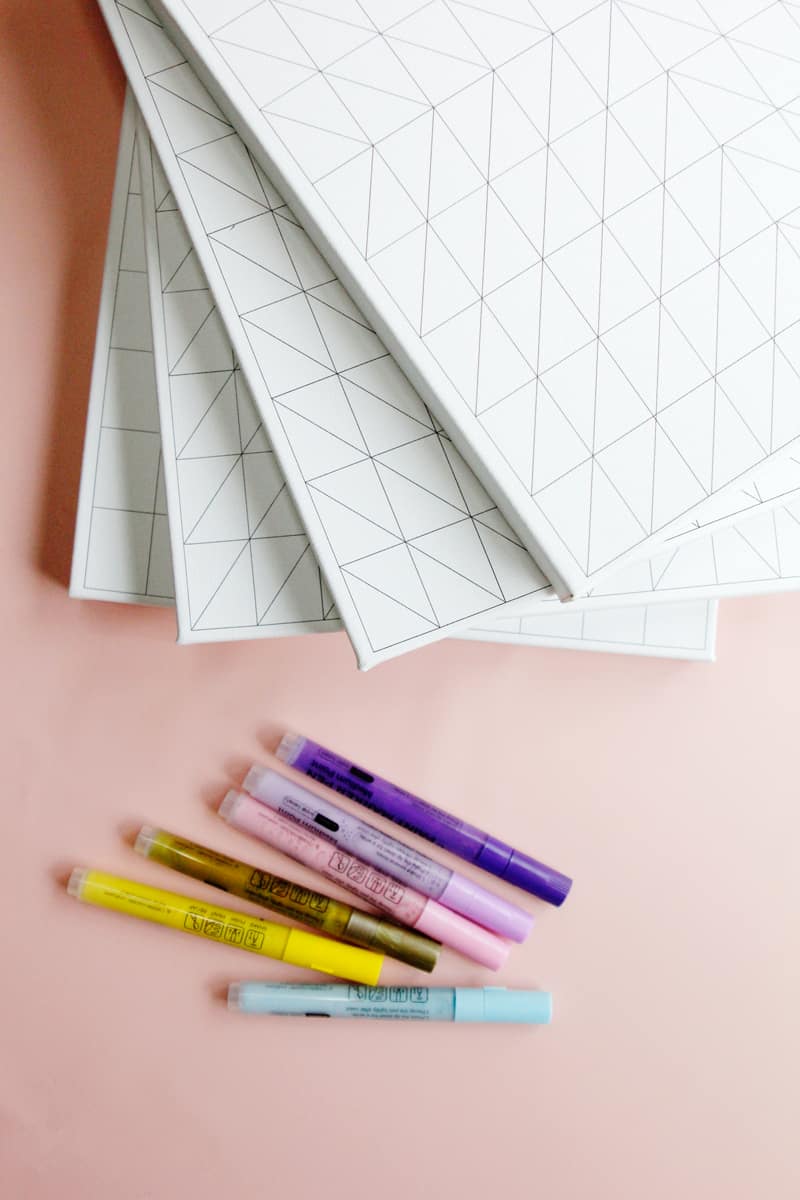
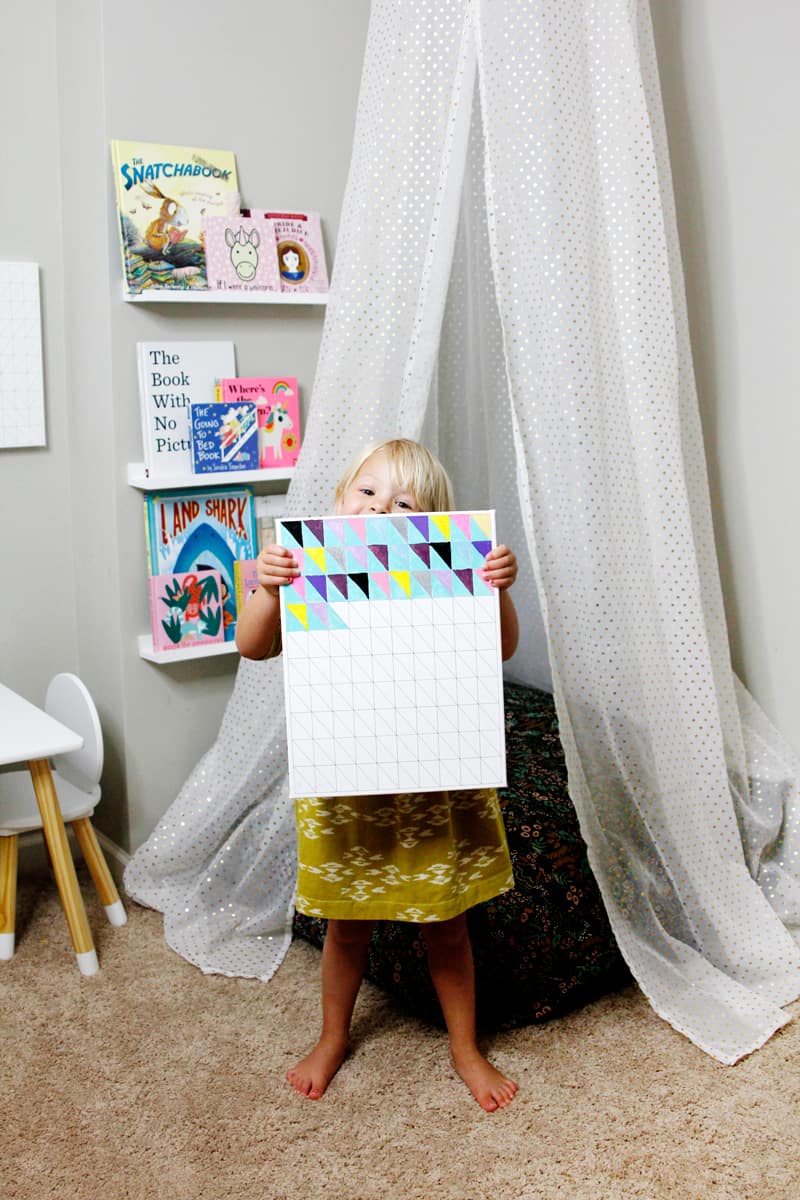
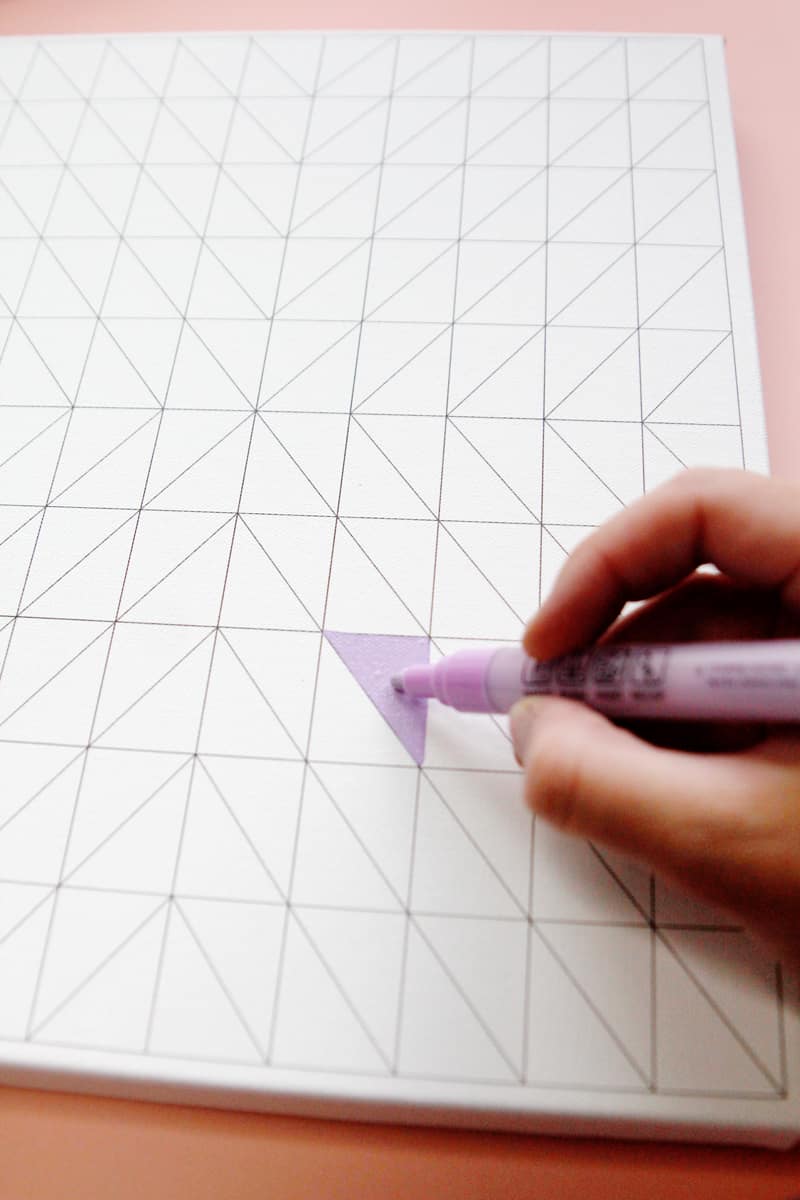
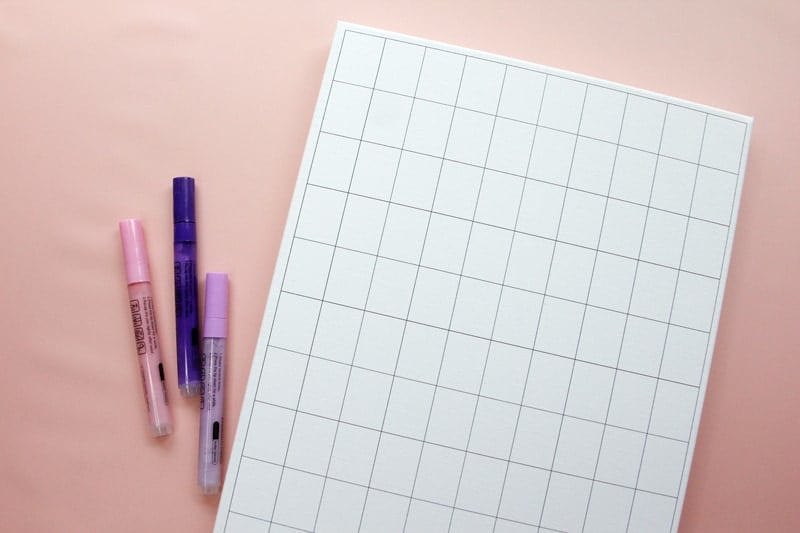
The reading chart is printed on a canvas wall print from Walmart Photo. When it’s finished it makes an awesome wall hanging that will remind your child of their accomplishment in a modern way that adds to the decor! The 11″ x 14″ canvas is available as a Walmart Photo Same Day print in some cases so you can get started on this project right away!
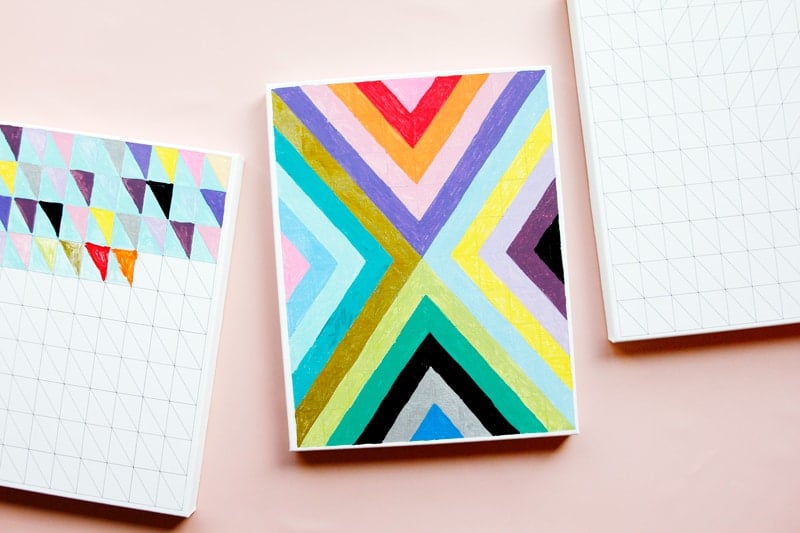
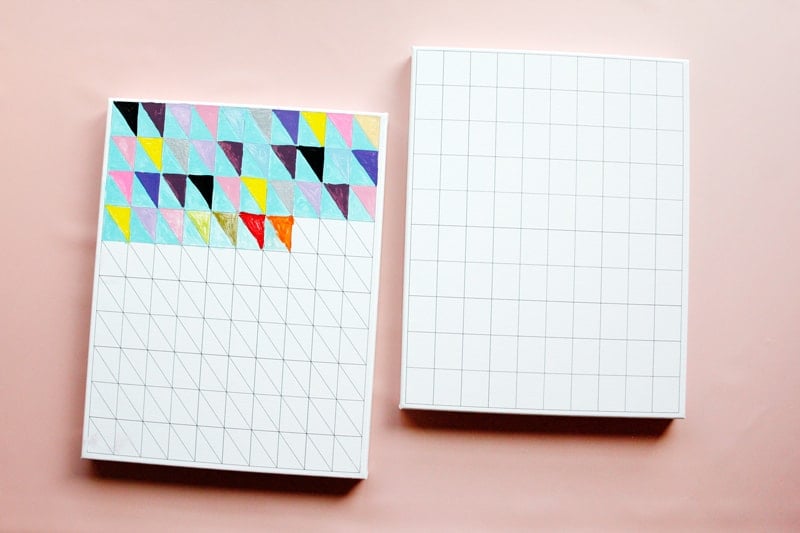
Just color in the spaces each time a book (or chapter for older children) is completed.
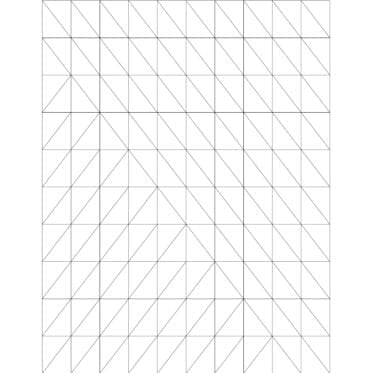
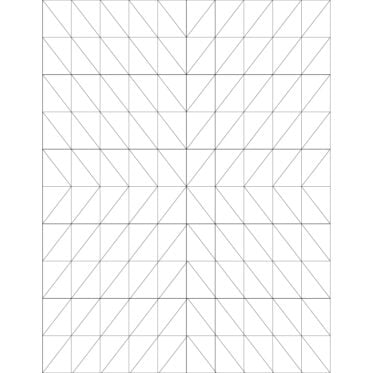
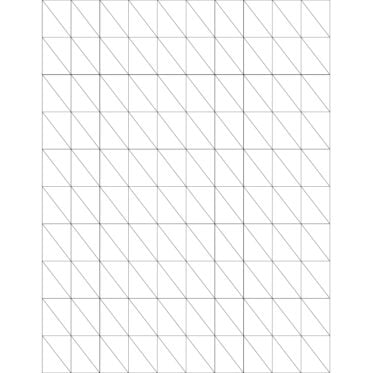
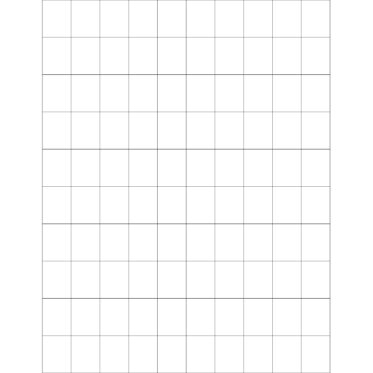
Download the art in this post – you can choose from a few different designs with either 100 or 200 spaces to fill! Each space can be a whole book or a chapter and can be filled in with paint markers, acrylic paint or peel and stick vinyl.
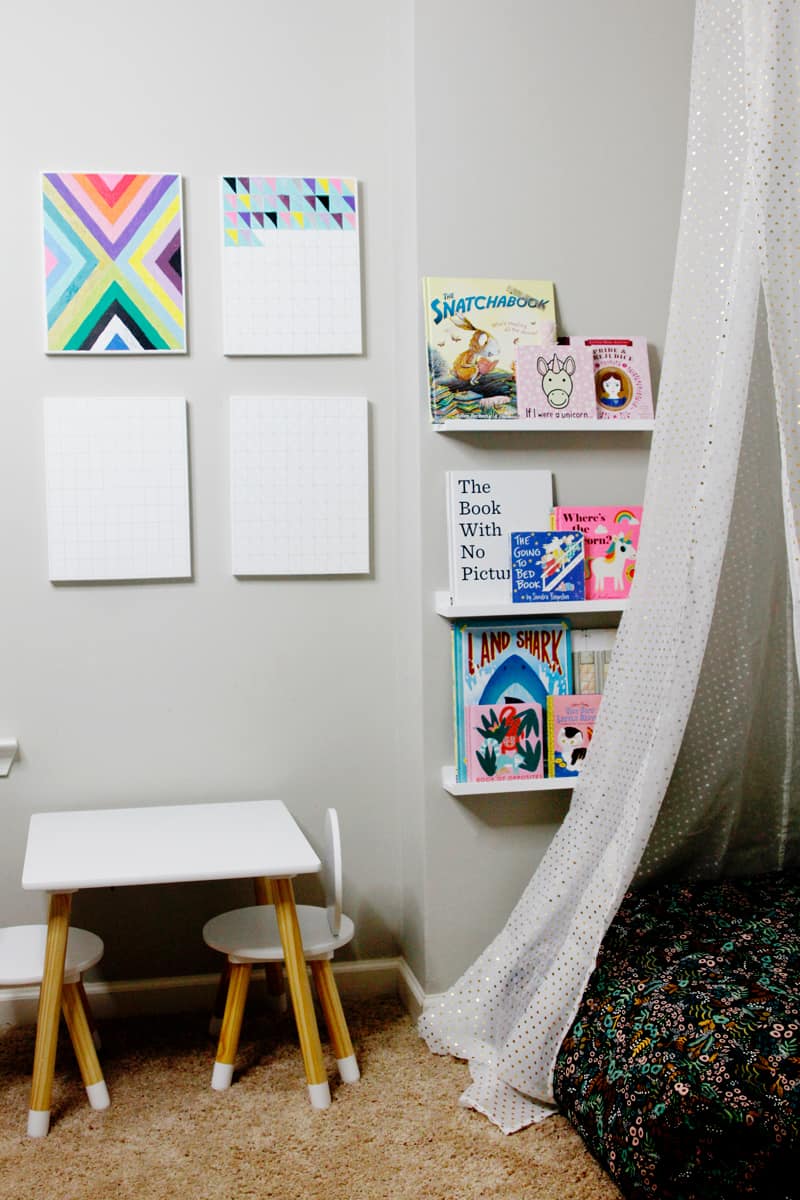
Arrange the colors in your own unique pattern to create a one-of-a-kind piece! These canvases are even great wall hangings in progress.
There is nothing that makes me want to snuggle up with a book more than a cozy reading nook! And the motivation of a visible reading chart doesn’t hurt either!
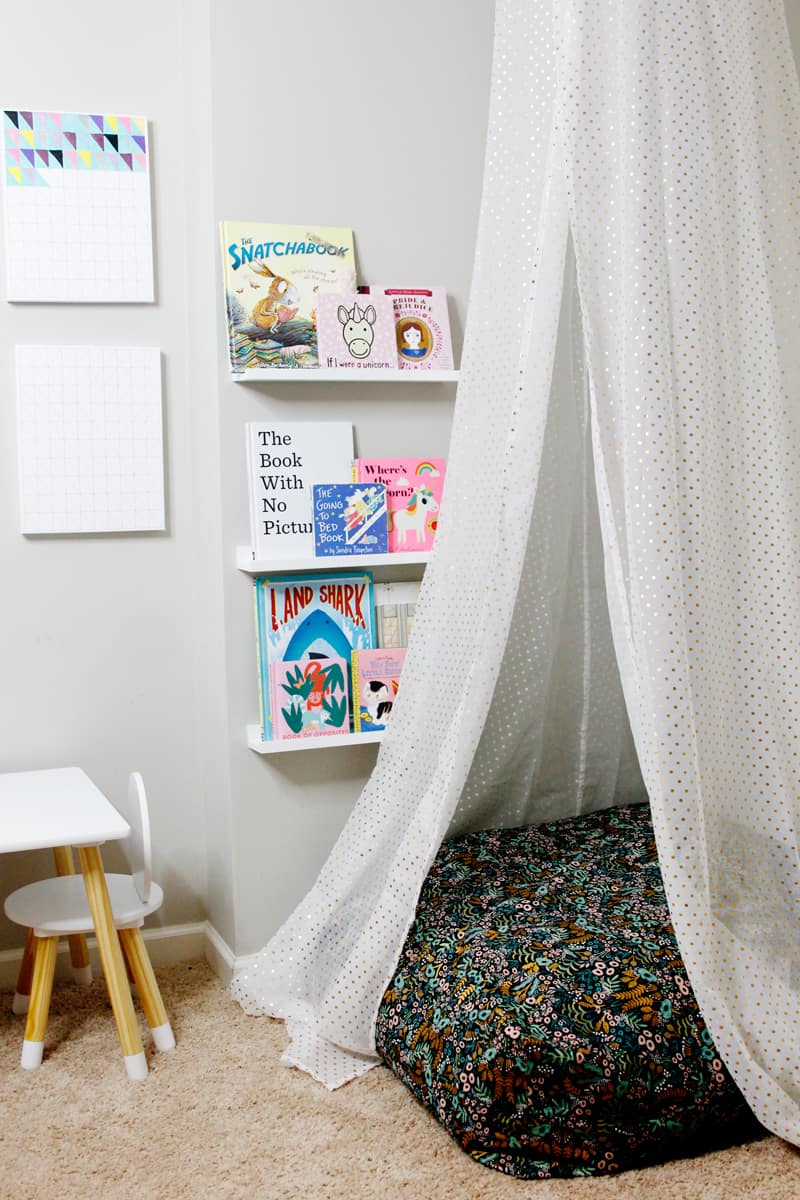
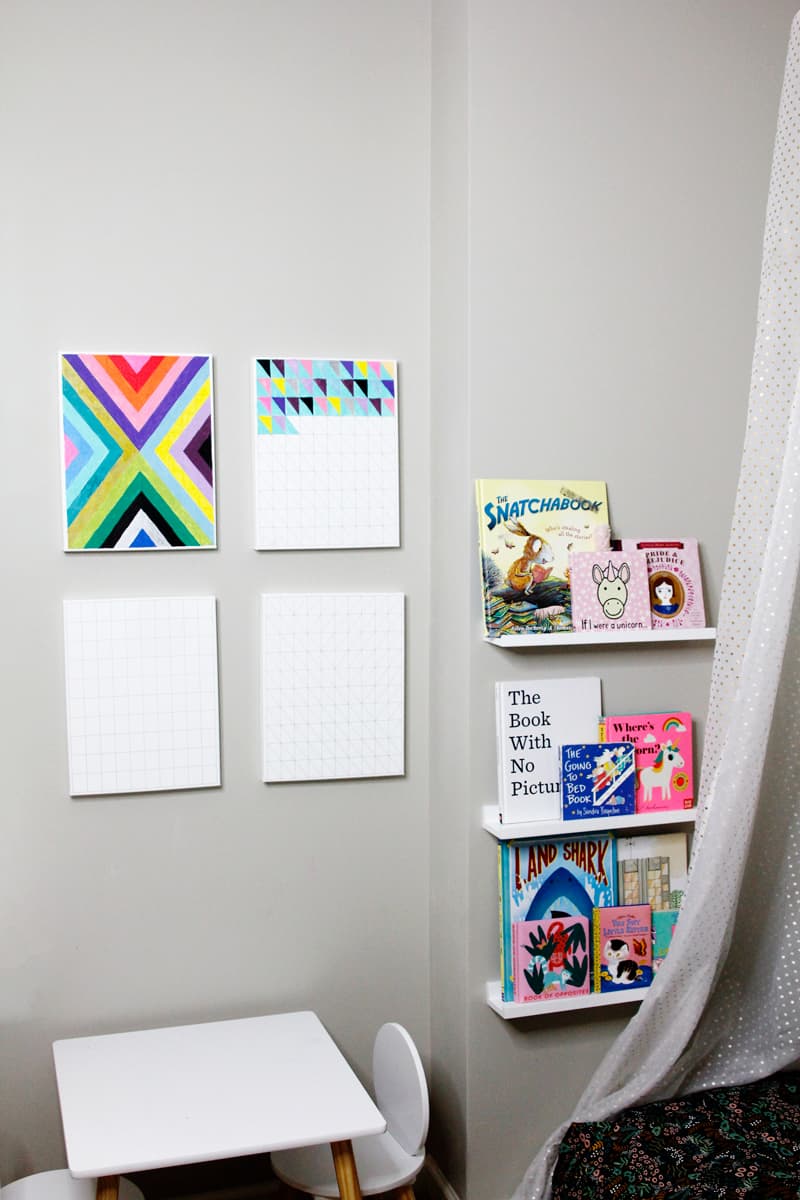
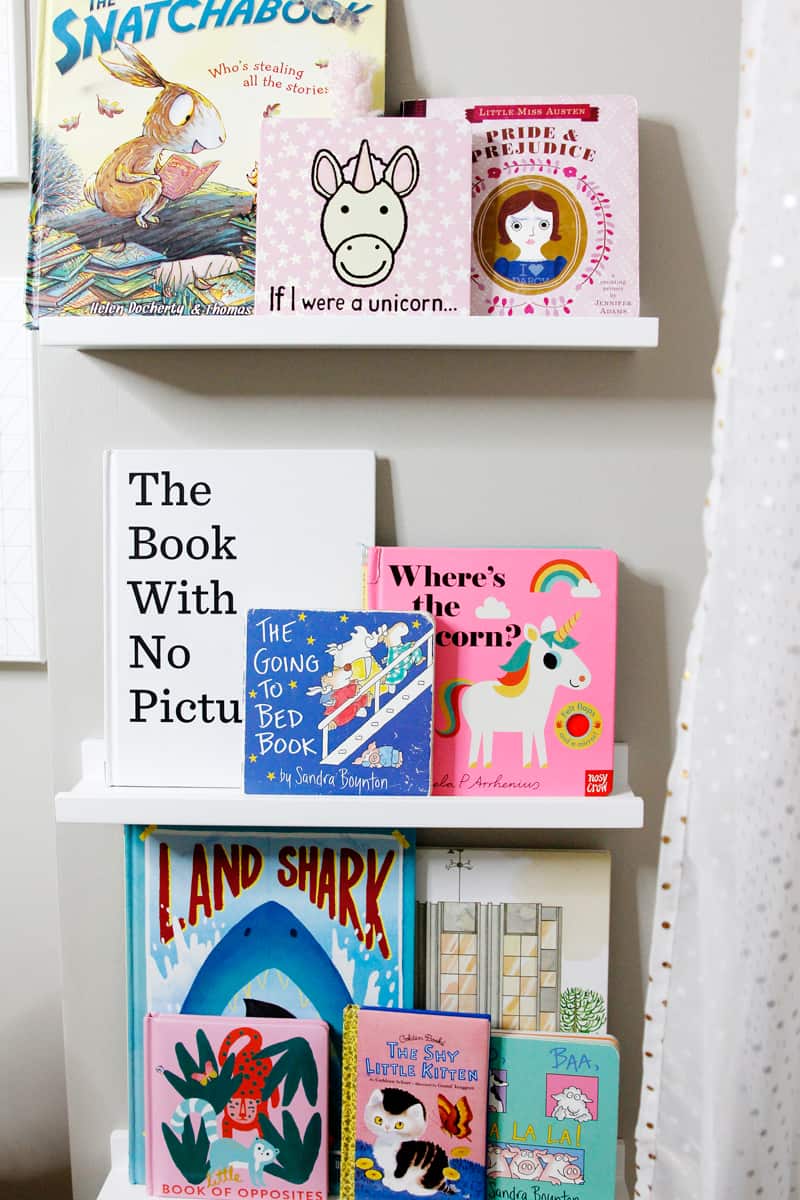
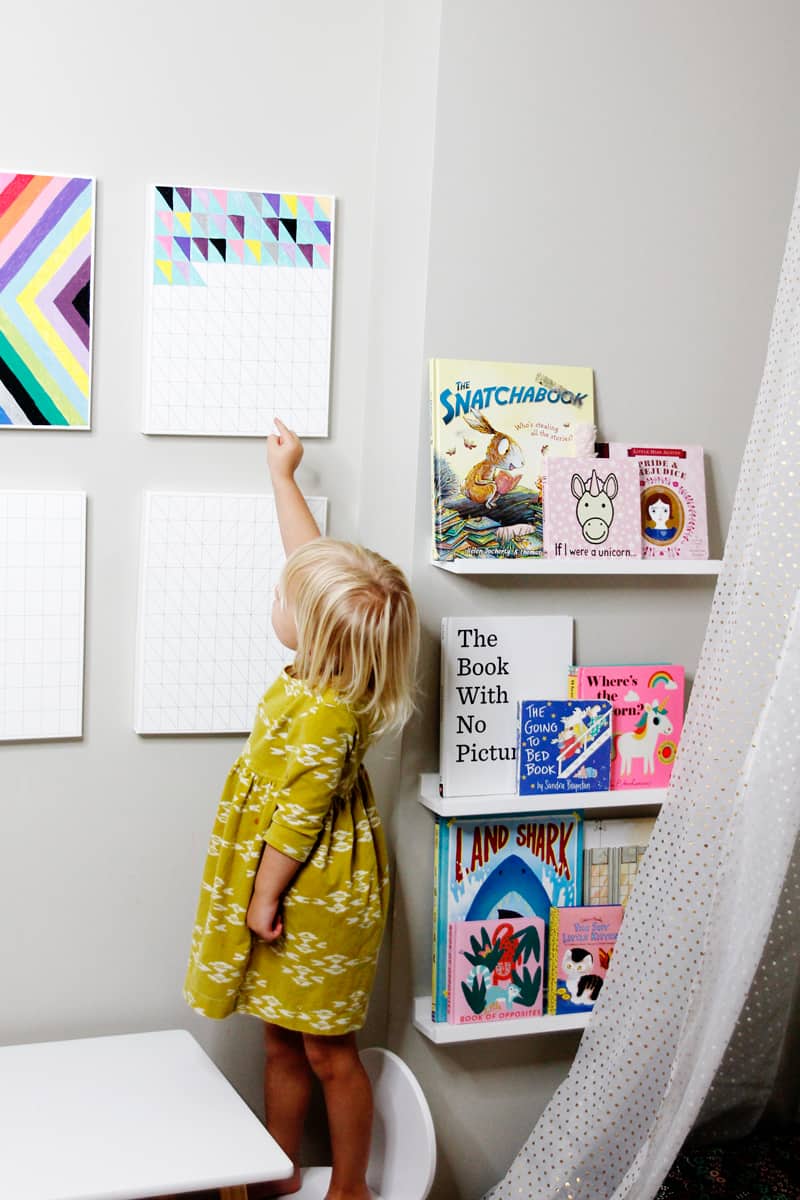
I hung some little book ledges on the wall by the cushion for easy access.
And the wall art is right near the books!
We love this new space and are so excited to see the rest of the reading chart designs filled up!
Reading Chart Artwork Download and Materials
- Reading Chart Downloads (all 4 in a zip file), printed on Walmart Photo 11″ x 14″ canvas
- Click on the photo and save to download individually
- Acrylic paint markers, paint, or vinyl for filling in the chart
You can design your reading chart any way you want! Fill them up from top to bottom, or pick any triangle or rectangle to fill first! You can stick to a color theme or pattern to create a unique piece.
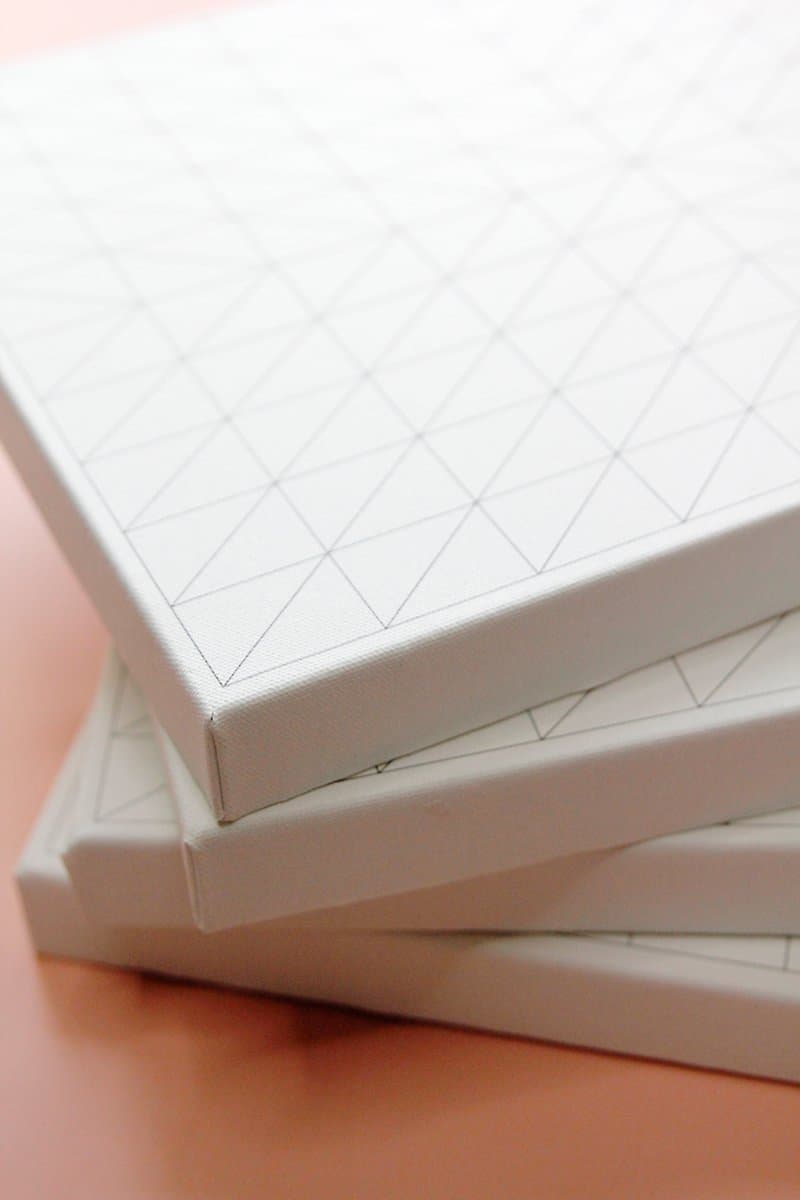
Since the lines are printed on the canvas, the art is simple to fill. I have always loved printing out reading charts for my kids but these are even more special. They love seeing their hard work turn into beautiful art!
Reading Chart Printable Instructions + Video
Walmart Photo offers a canvas print and the reading chart downloads are sized to fit the 11″ by 14″ canvas. The canvas is a nice thick and high quality print that is great for wall art!
The canvas is affordable and so easy to hang on the wall! There are also options for framed canvas. Unframed is best for this project, but I also love these canvas prints for family photos.
There are four different patterns to choose from. One has 100 spaces and the rest have 200 spaces. Upload the file(s) you want to print to Walmart Photo. When your print is ready you can pick it up at the store, or choose the shipping option.
You can watch my explainer video to learn how to use these reading charts and ideas for coloring them in!
Floor Cushion Supplies
- 3 yards mid- to heavy-weight canvas, at least 44″ wide
- Matching threads
- Fiberfill stuffing, at least 5lbs
Floor Cushion Tutorial
Use a 1/2″ seam allowance.
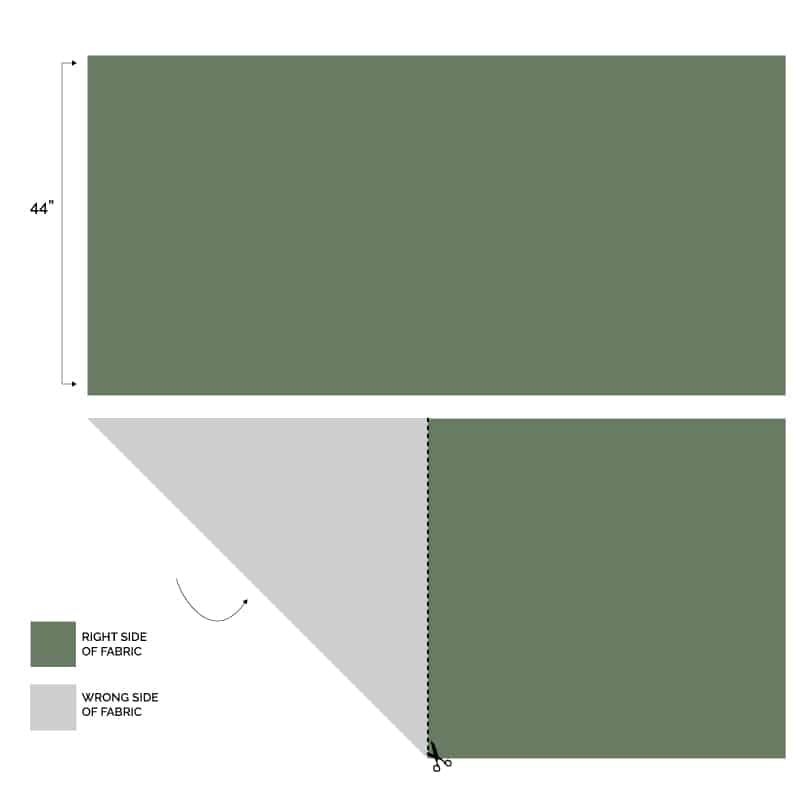
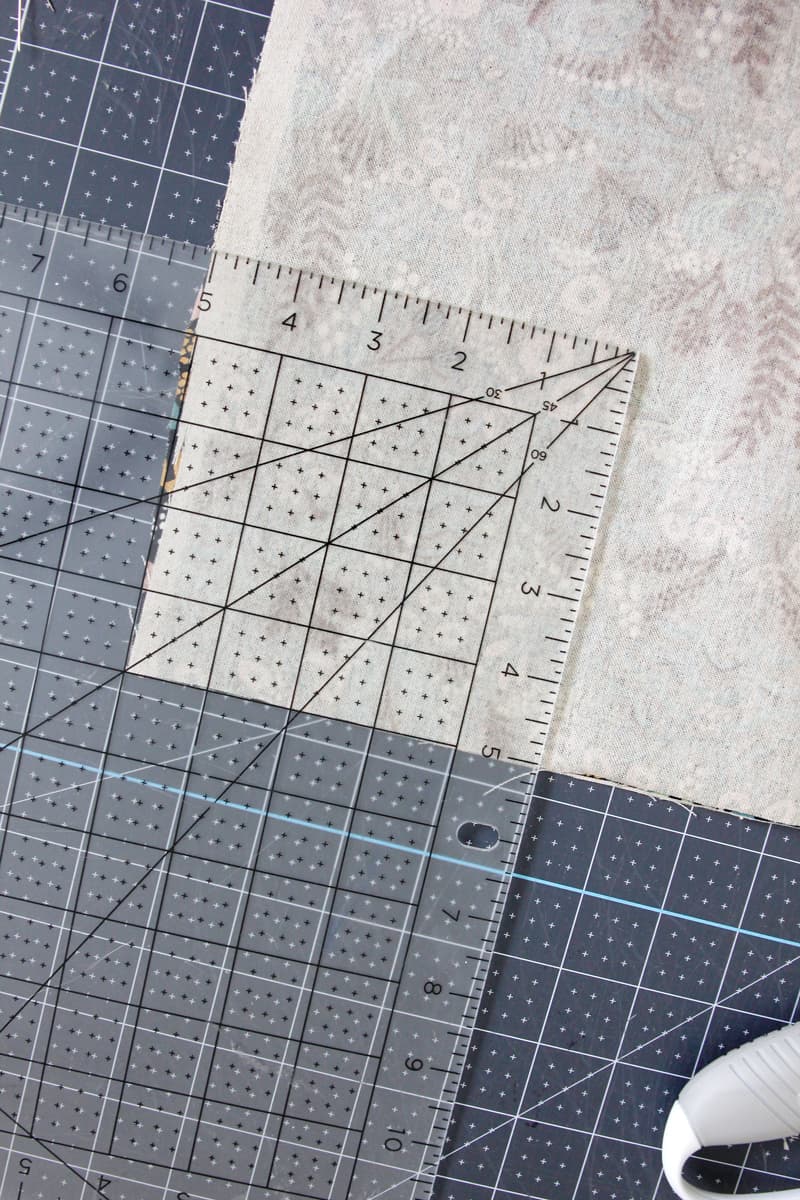
To start, cut your fabric into 2 squares 44″ by 44″. You can do this easily, by folding the 44″ side of your fabric over to the other side to create a triangle. Cut down the vertical line to create a square.
You will need a ruler and cutting tool for the next step.
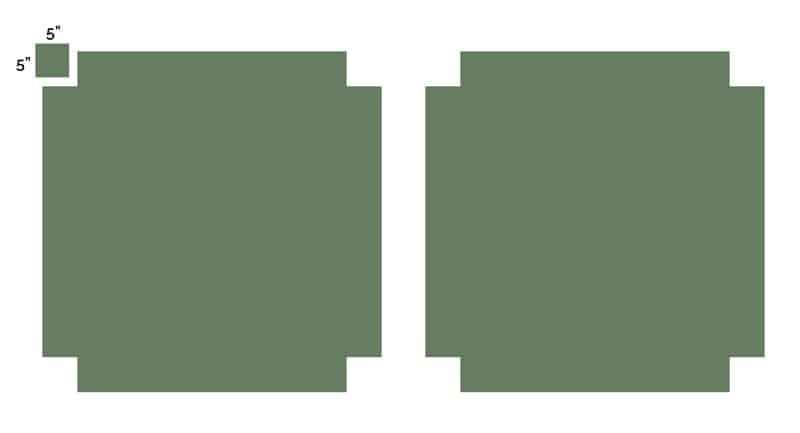
Cut a 5″ by 5″ square out of each corner of the 44″ square.
Repeat with second square.
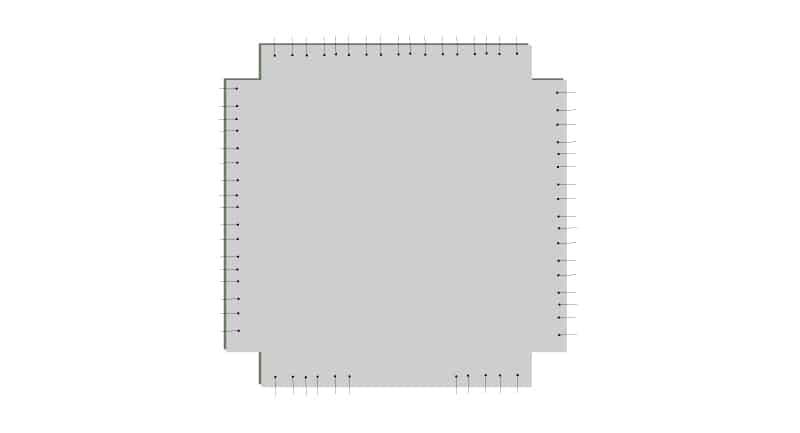
Lay cushion pieces together with right sides together and pin all the way around.
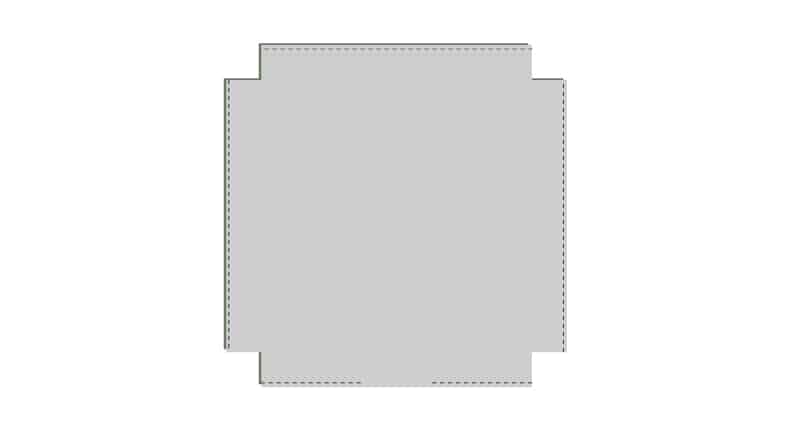
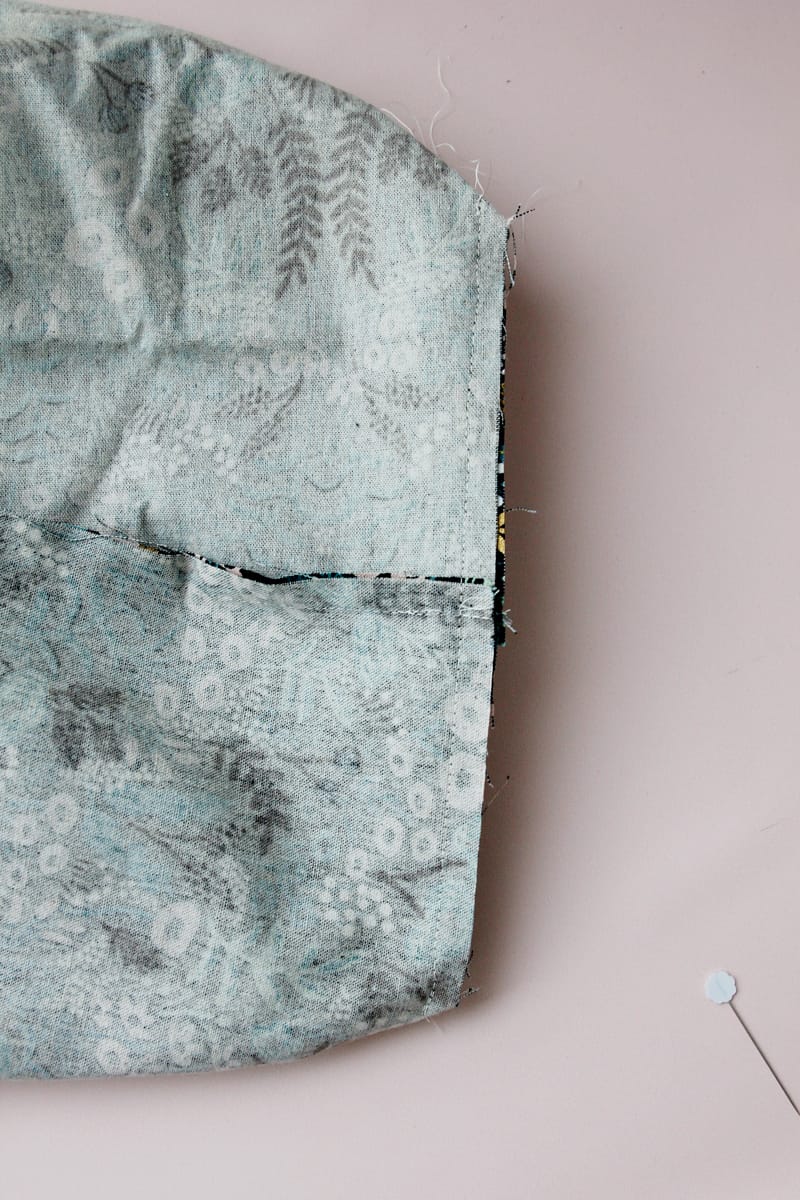
Sew the straight edges, leaving the corner cut outs un-sewn. Also leave a 5-6″ opening on one of the straight edges for turning and stuffing.
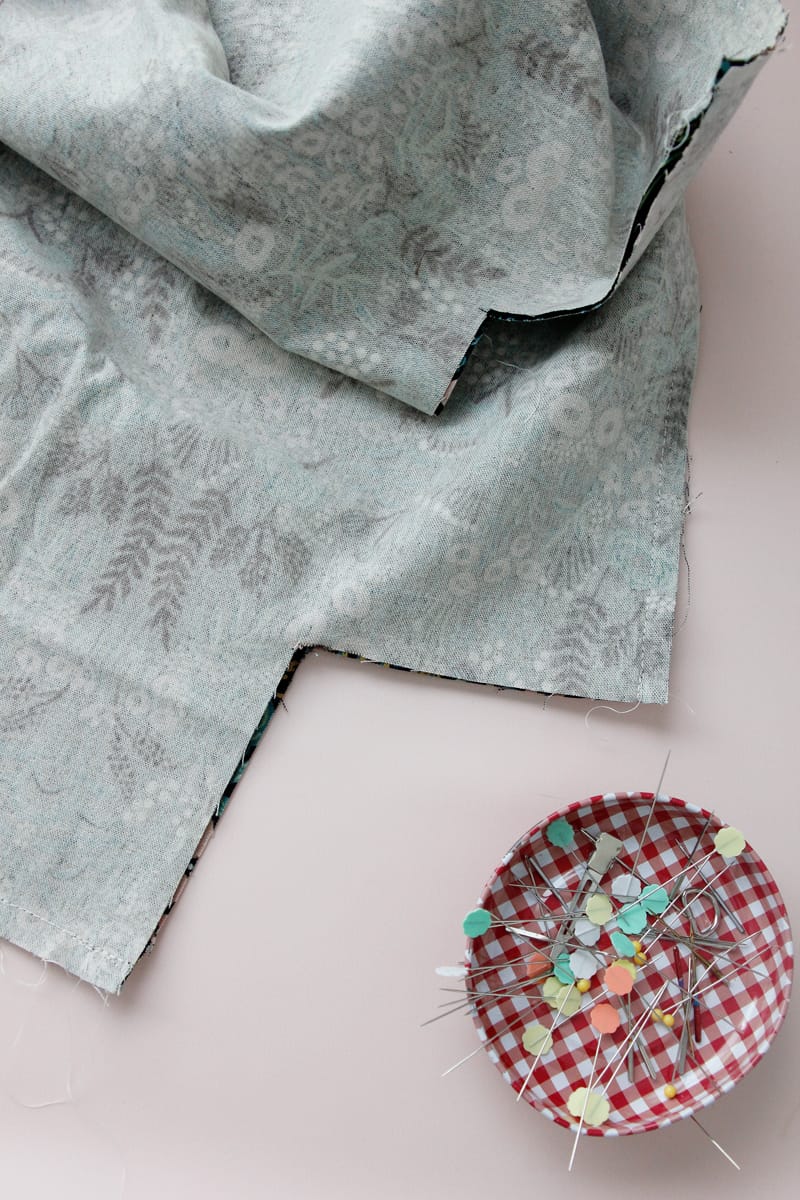
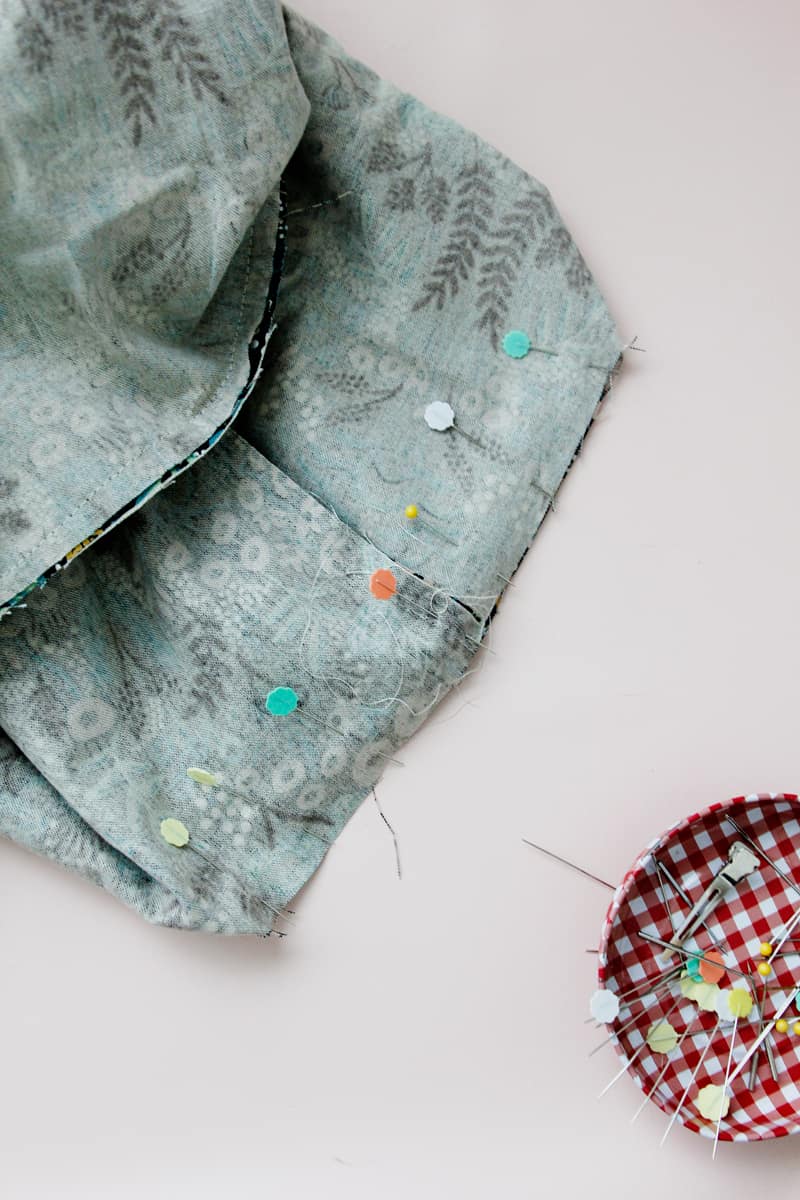
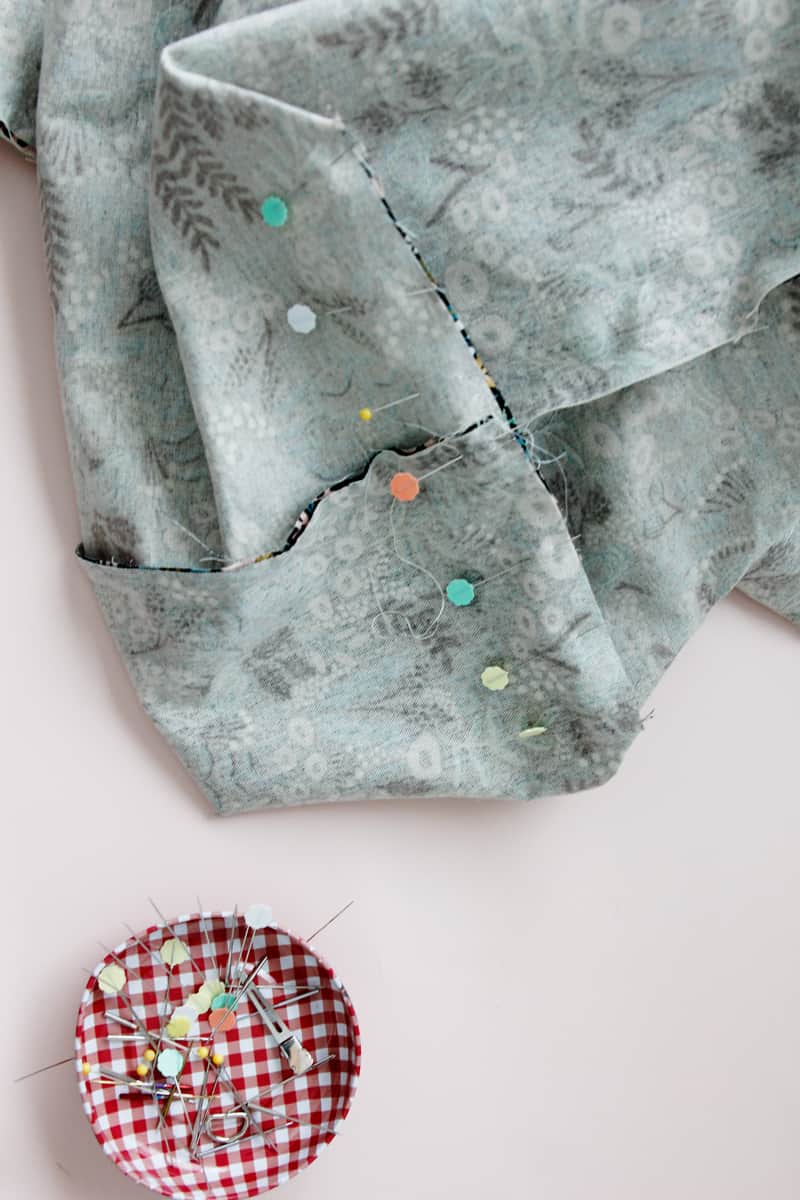
Now pinch the corners and pin them together, perpendicular to the seams of the cushion sides.
Pin edges together, matching the cushion side seams.
Repeat for all 4 corners. Then turn cushion through opening on side.
Be sure to backstitch at both ends.
Press the edges of the opening before you stuff so you have a nice clean edge to sew together.
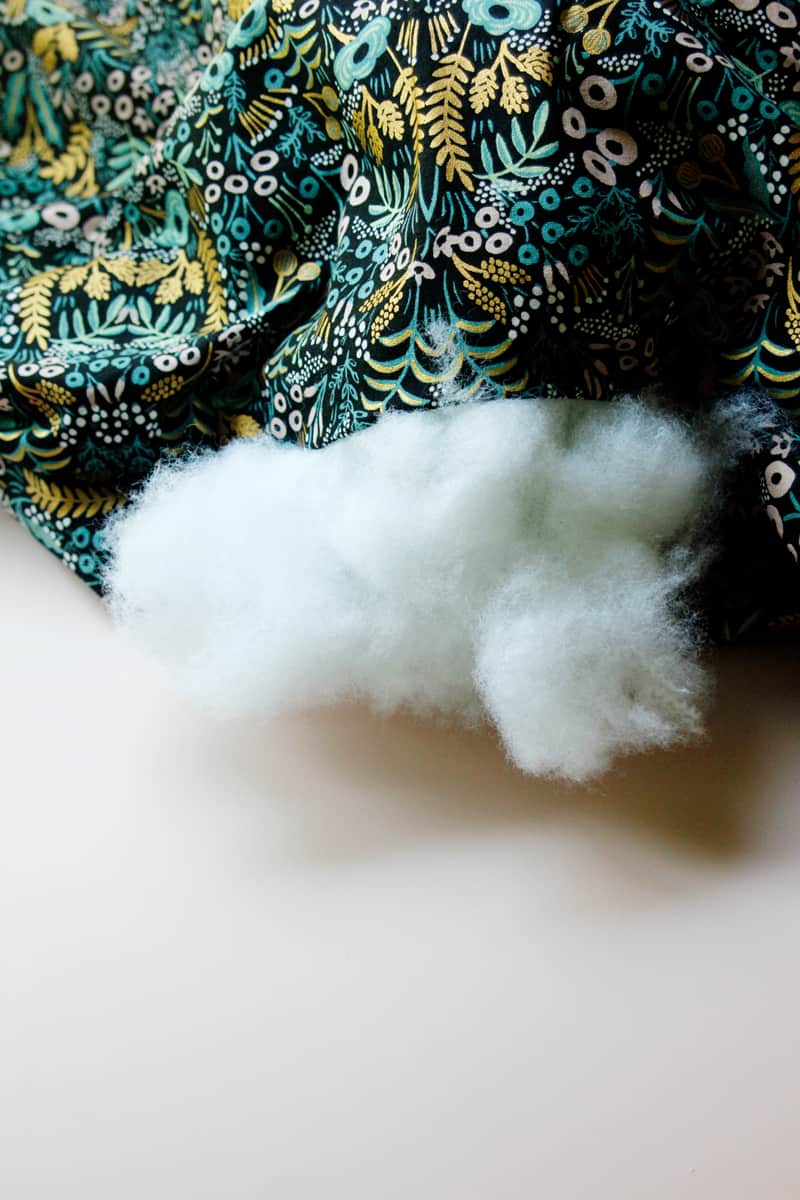
Stuff cushion with fiberfill to your desired fullness. You may want to have someone sit on it to get the stuffing to settle a little before closing – just to make sure you have enough in there!
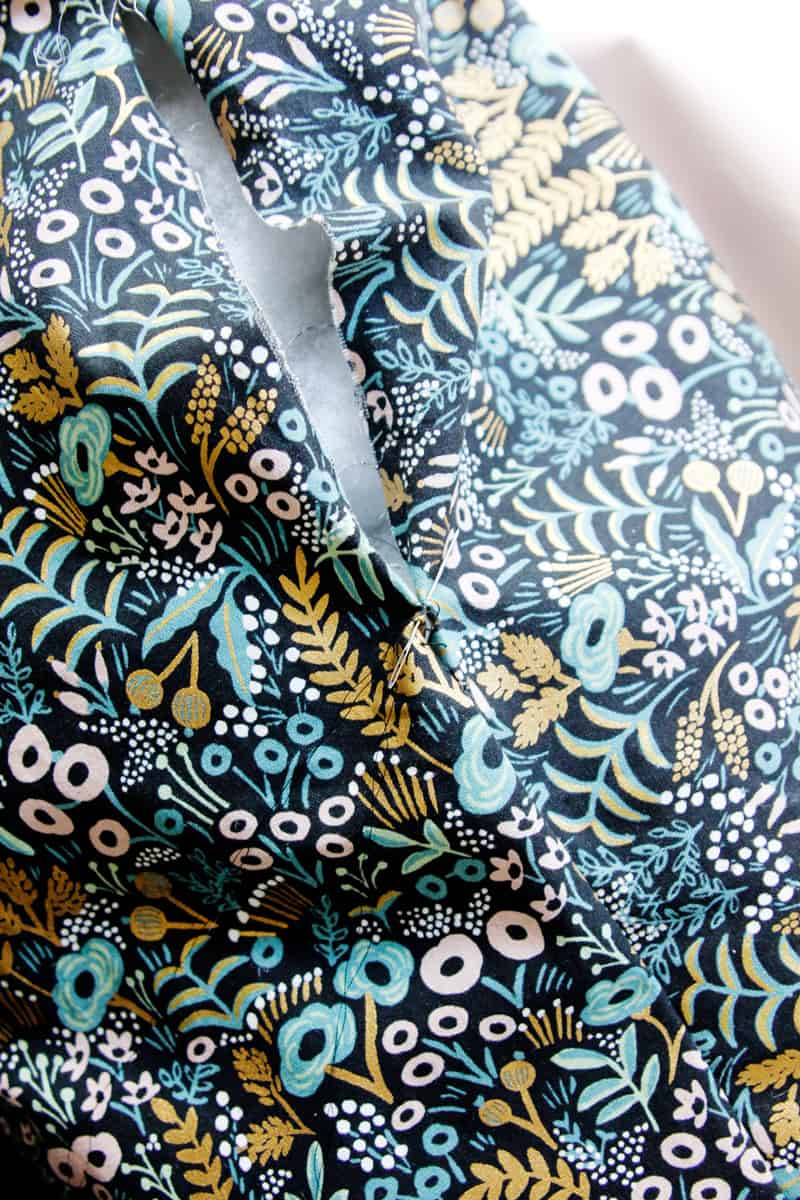
Now sew the opening closed. You can do this with a hand sewing needle and thread or machine. If you are using a hand needle, sew together with an invisible or ladder stitch, so you can’t see it!
If you topstitch with a machine, pin together and sew very close to the edges of the fabric. This side can be on the back/bottom of the cushion so you won’t see it!
Now fluff it up and stick it in your reading nook!





What a fantastic project! Thanks for sharing. What is the brand and name of the fabric you used for the floor cushion? It is adorable!
I like this project very much. I could not get the link for the reading charts to work though. It keeps going to “403 FORBIDDEN” . I would really like to download these charts. Any suggestions?
Right click on the chart instead. You should be able to save it as a download, as an import, etc. I could not get the zip file to open either.
Once you get your file into photos, you can edit it with the tools to darken the lines if you wish. I downloaded my edited photo to Walmart. Will let you know how it turns out.
These are great. I just wanted to let you know it is not letting me download all 4 in a zip file. And clicking on individual only takes me to pinterest.
How do you make the top hanging piece?
I love this project very much. It’s really great.
I agree they won’t download the charts. Gives me a forbidden information instead. My grandson decided he wanted one to record his 20’ a day of reading.
How cute and cozy you are! The table is a great idea, I will use it for my kids. The floor cushion is wow! What kind of fabric did you use for it?