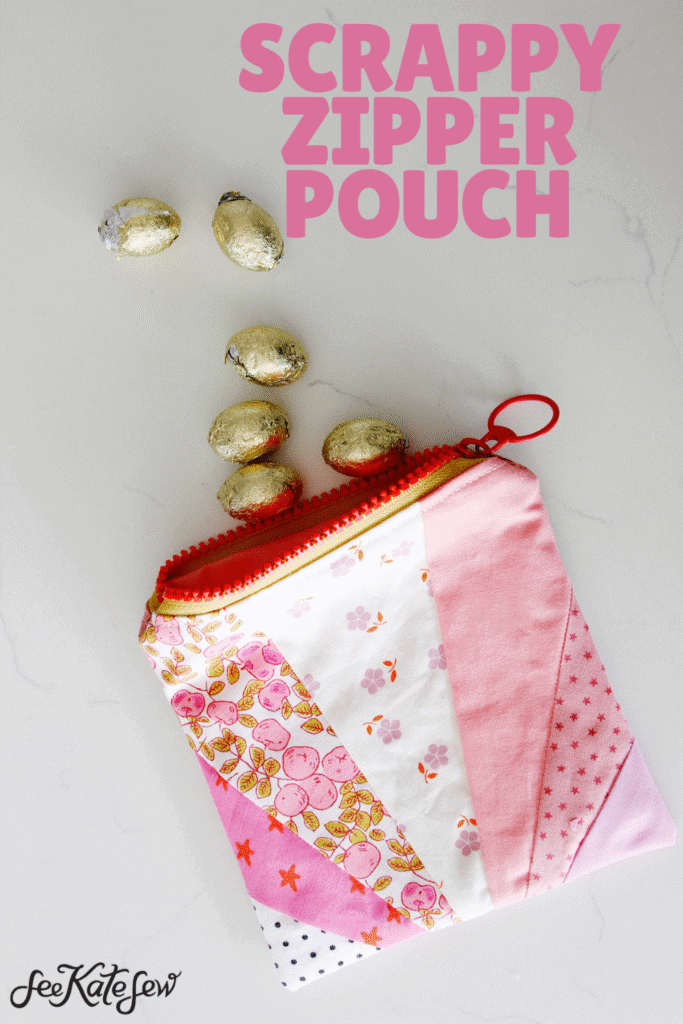
If you have been wanting to try foundation paper piecing (FPP) this is the perfect project for you! This FPP zipper pouch is so beautiful but it’s actually pretty simple to make!
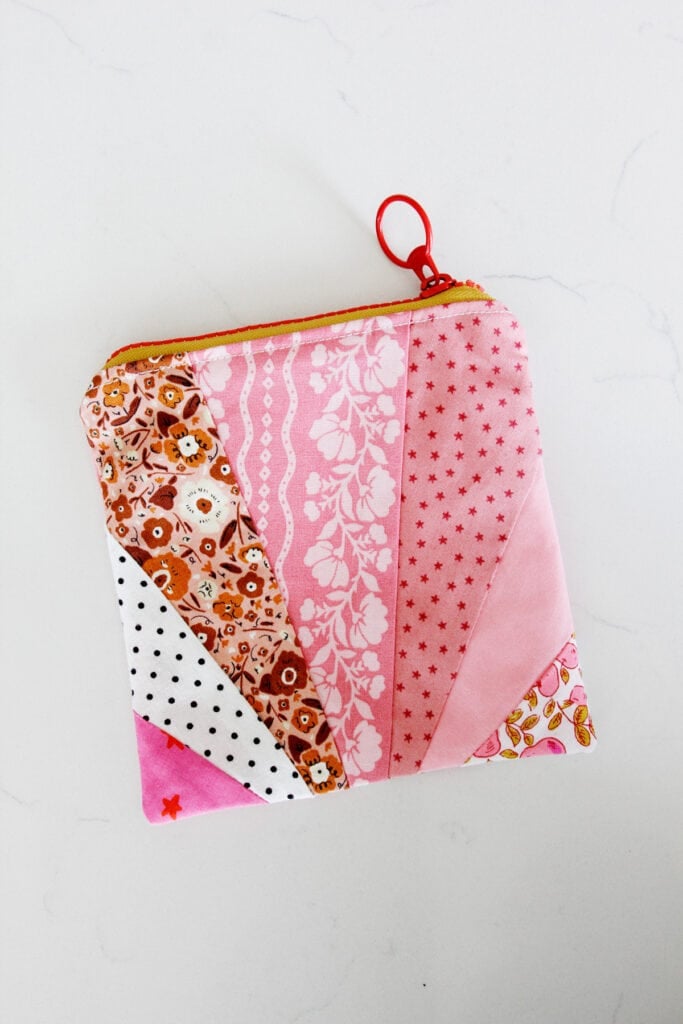
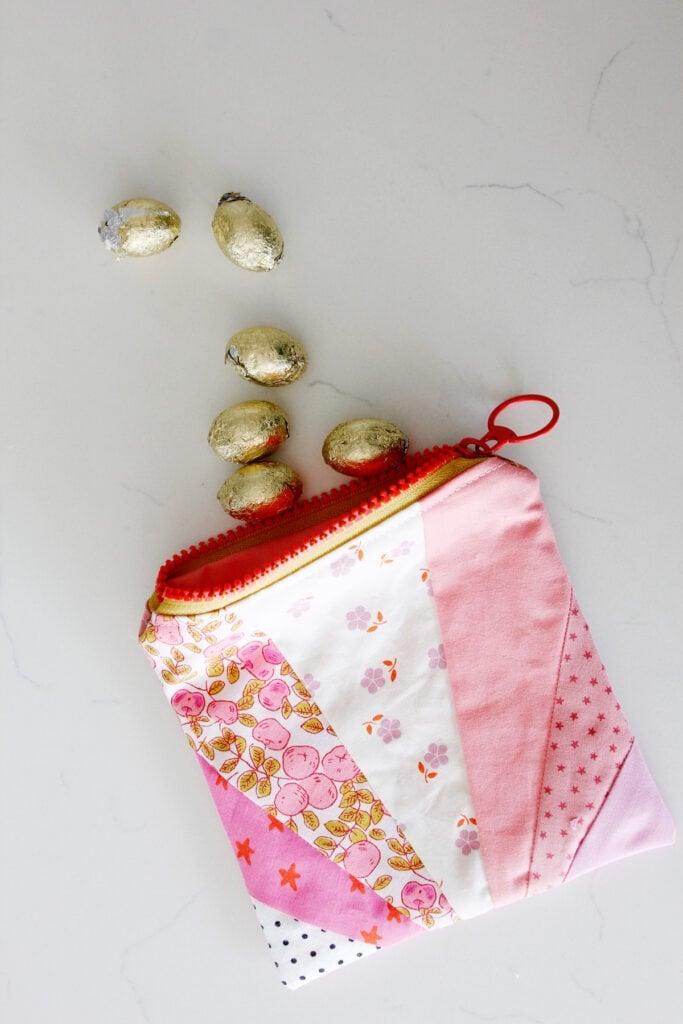
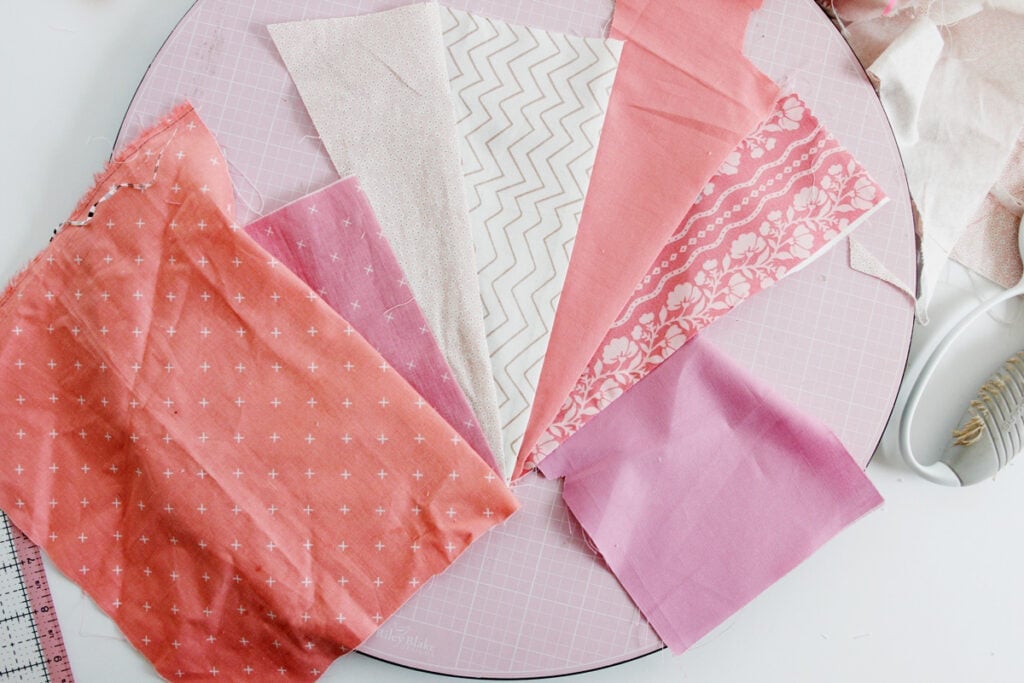
This project is totally scrap-friendly! Find some of your favorite scraps to make this sunshine zipper pouch!
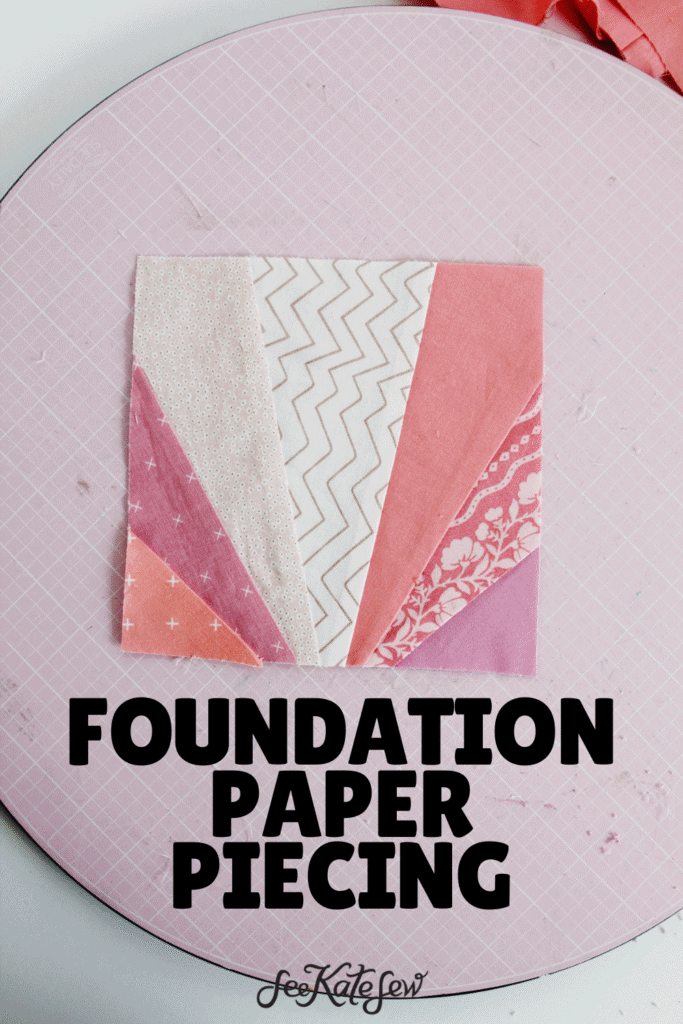
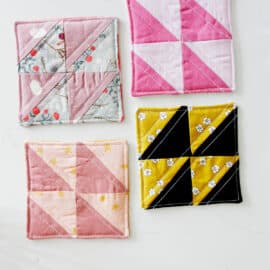
The block can be used to make a whole quilt or another project – it’s also a great block for an FPP beginner!
FPP Zipper Pouch Materials
- Scrap fabric
- 7″ zipper (or longer)
- Tracing paper or FPP paper
- You can use regular printer paper if you want, but it is more likely to tear your stitches out. Tracing paper or specialty paper can go through your printer but will be more brittle and easier to remove after sewing.
- Lightweight fusible interfacing
- Pattern download, see below
Sunshine FPP Pattern Download

Click on the pink button below to download the sunshine foundation paper piecing pattern. Then print it onto your FPP or tracing paper at 100% or DO NOT SCALE. This pattern will print on 1 page.
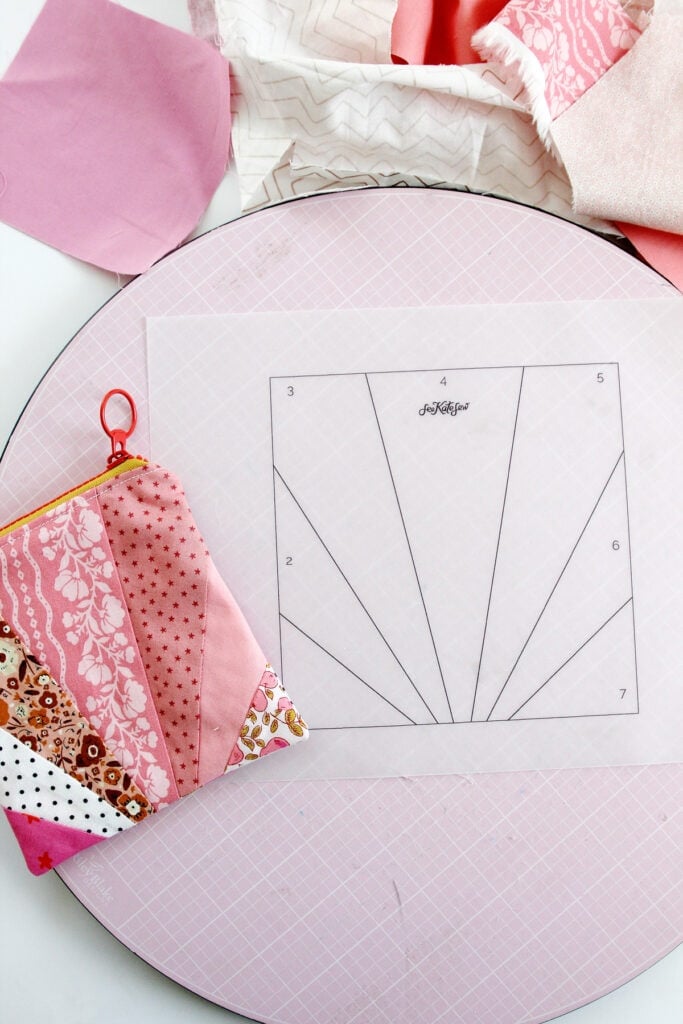
How to sew the FPP block
Grab a stack of scraps and let’s get started! Before we start, here are a few tips:
- Use a narrow stitch length, I use 1.8mm
- Make sure your scrap will cover the section of your FPP by folding it over before sewing
- When trimming, make sure to fold all the pieces that you don’t want to cut out of the way!
- Press between each new addition
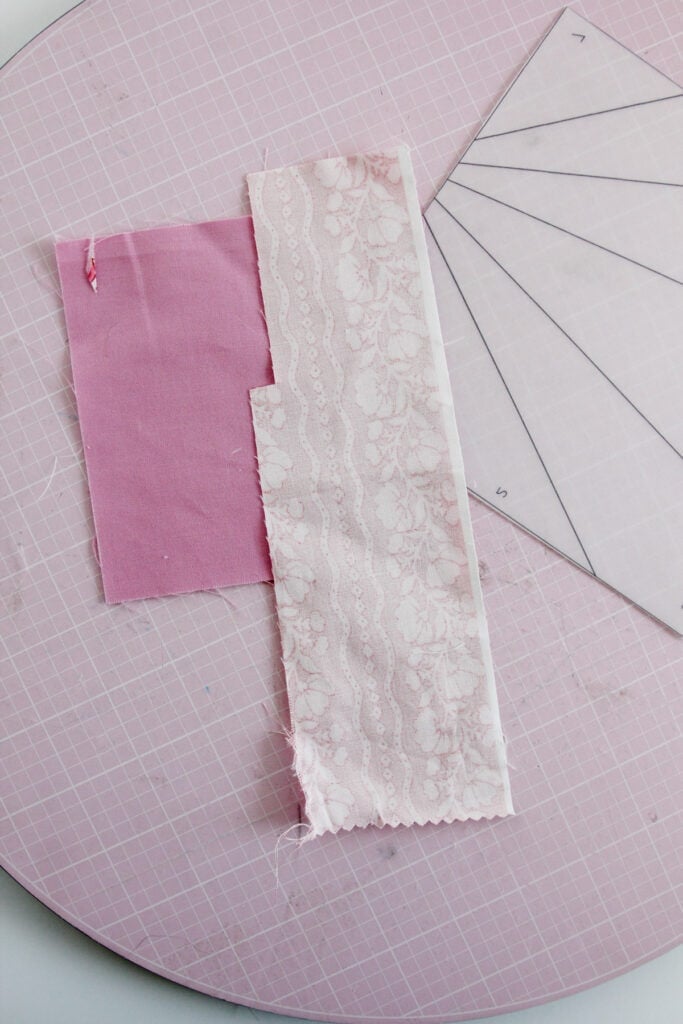
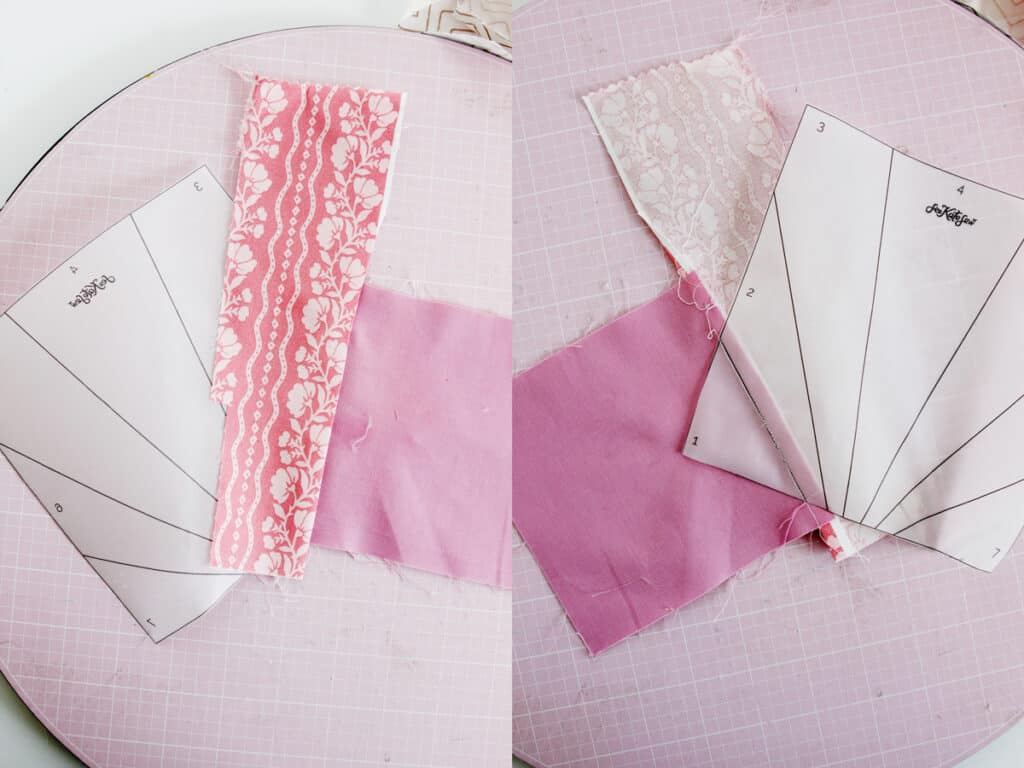
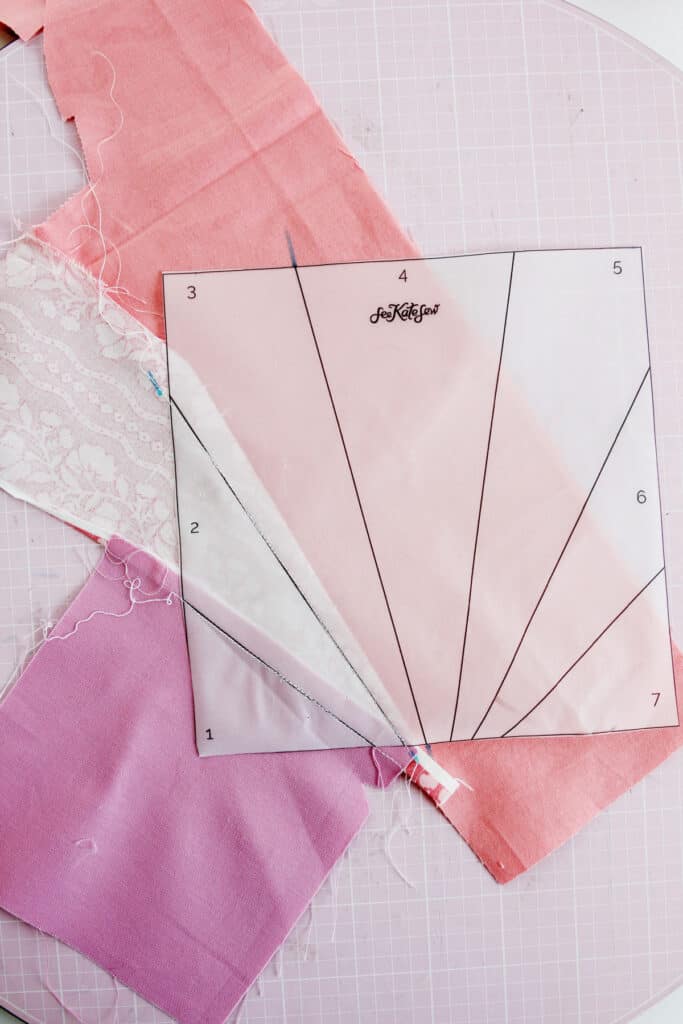
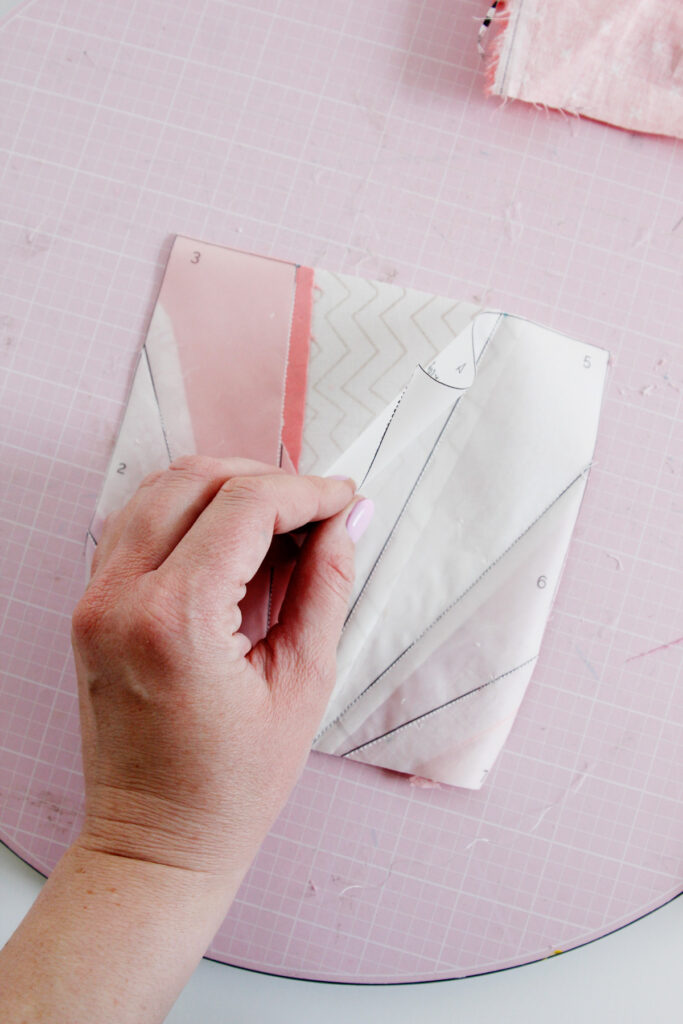
Start by finding a scrap of fabric big enough for the section #1. Place it behind the template, overlapping the line by about 1/4.”

Flip the template and fabric over. Now find a scrap big enough for section 2 and place it right on top of the first scrap, lined up with the edge.
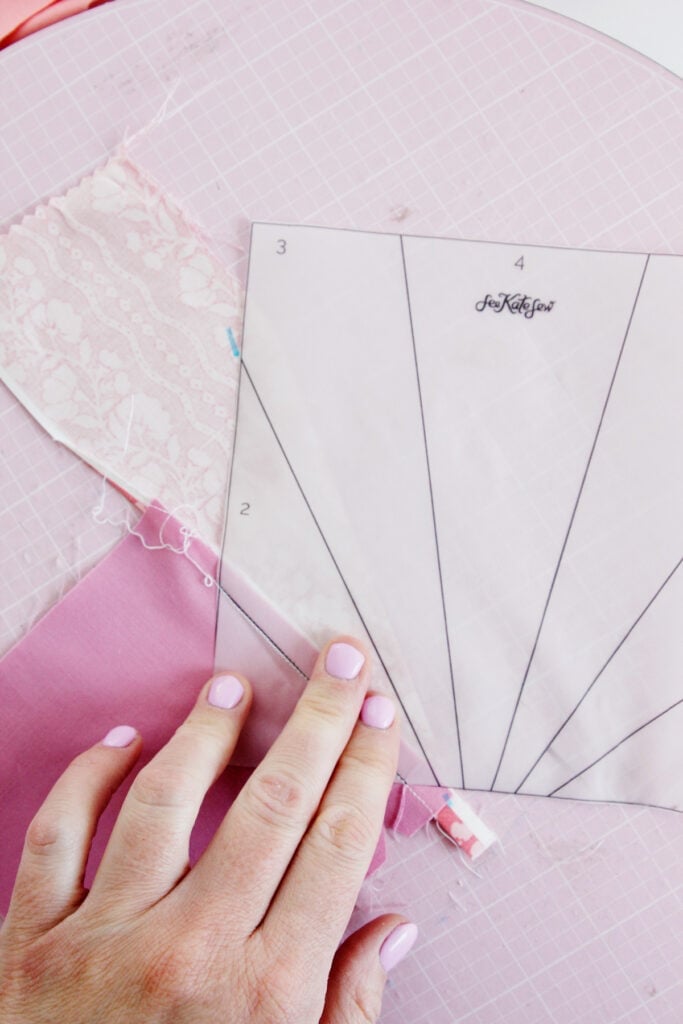
Gently fold over scrap 2 to make sure it will completely cover section 2 plus 1/4″ seam allowance.
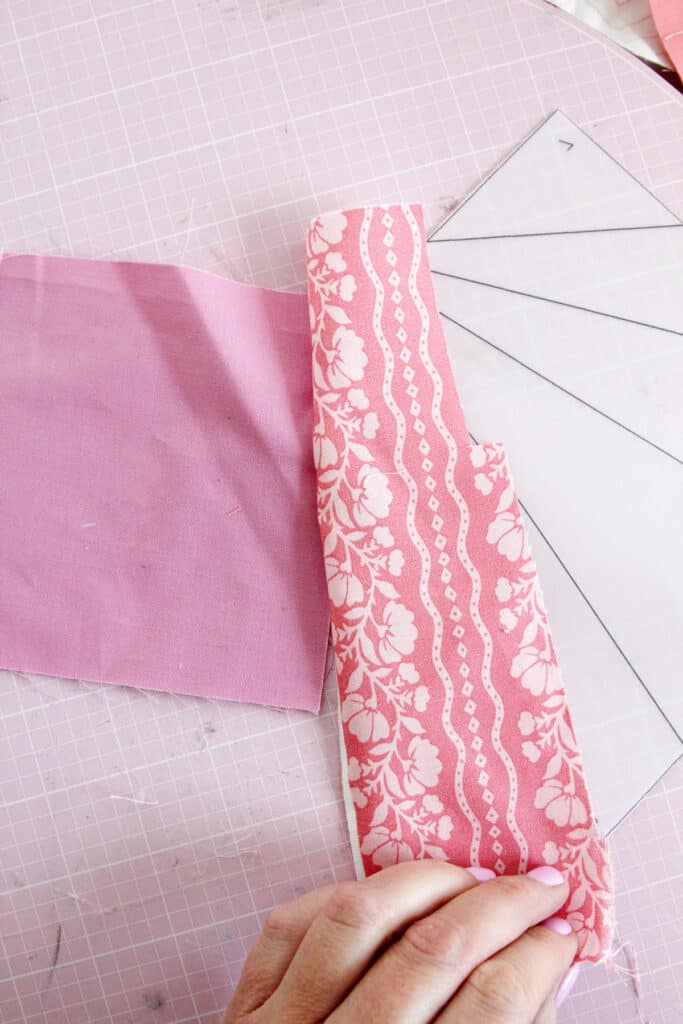
Pin together – this is what it will look like:
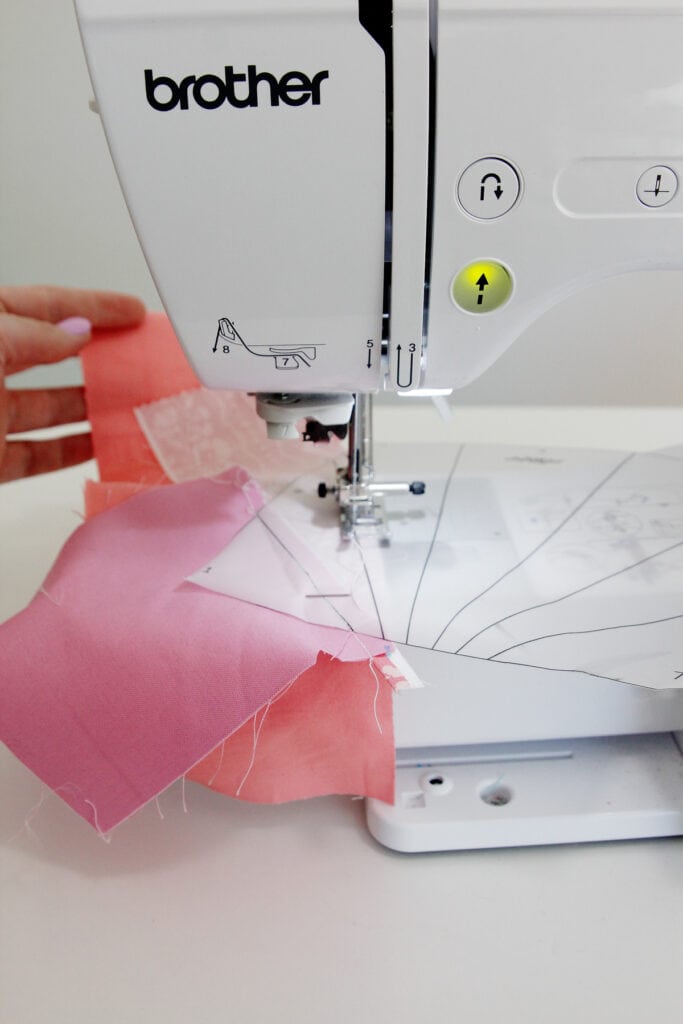
Now sew right over the line! Sewing on paper is so fun, especially this tracing paper. Use a 1.8mm seam allowance.
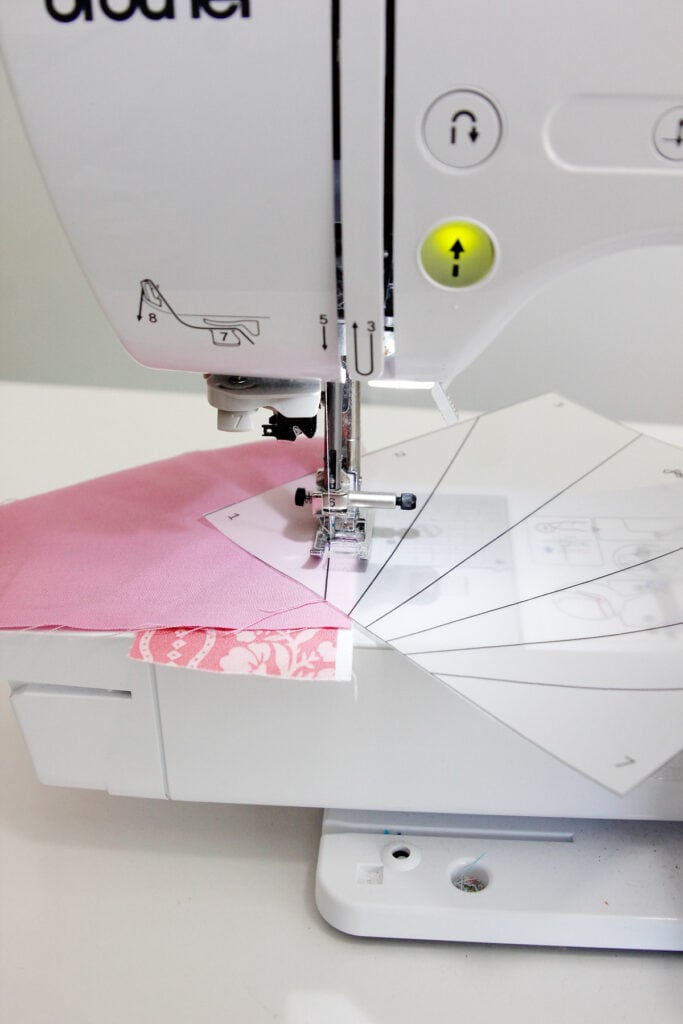
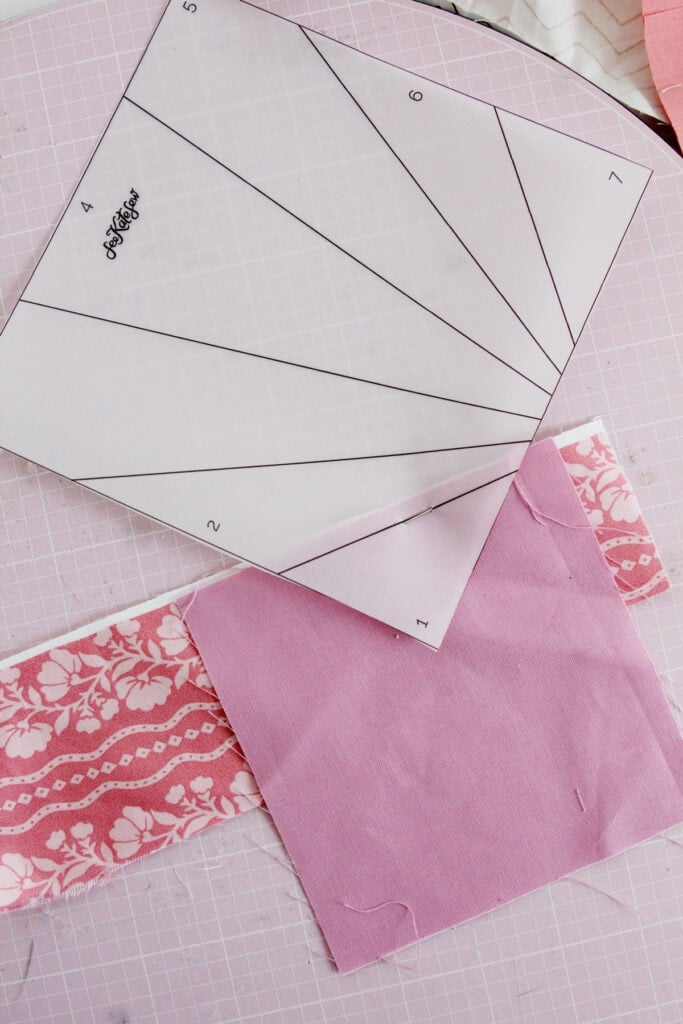
Press the fabrics open. It will look like this:
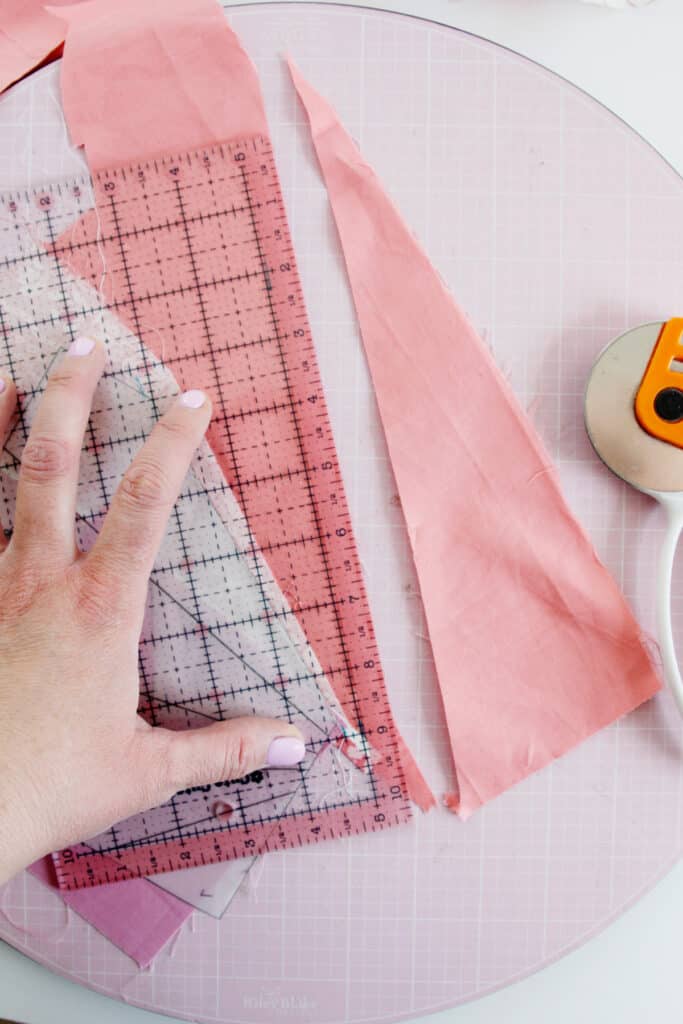
Trim off some of the excess fabric if you want to. I like to mark the points of the line with a fabric marker. Then use a ruler to cut off the excess, leaving about 1/2″ past the line. Be sure to fold all the other fabrics and the template out of the way before trimming.
Now repeat with another scrap for section 3.
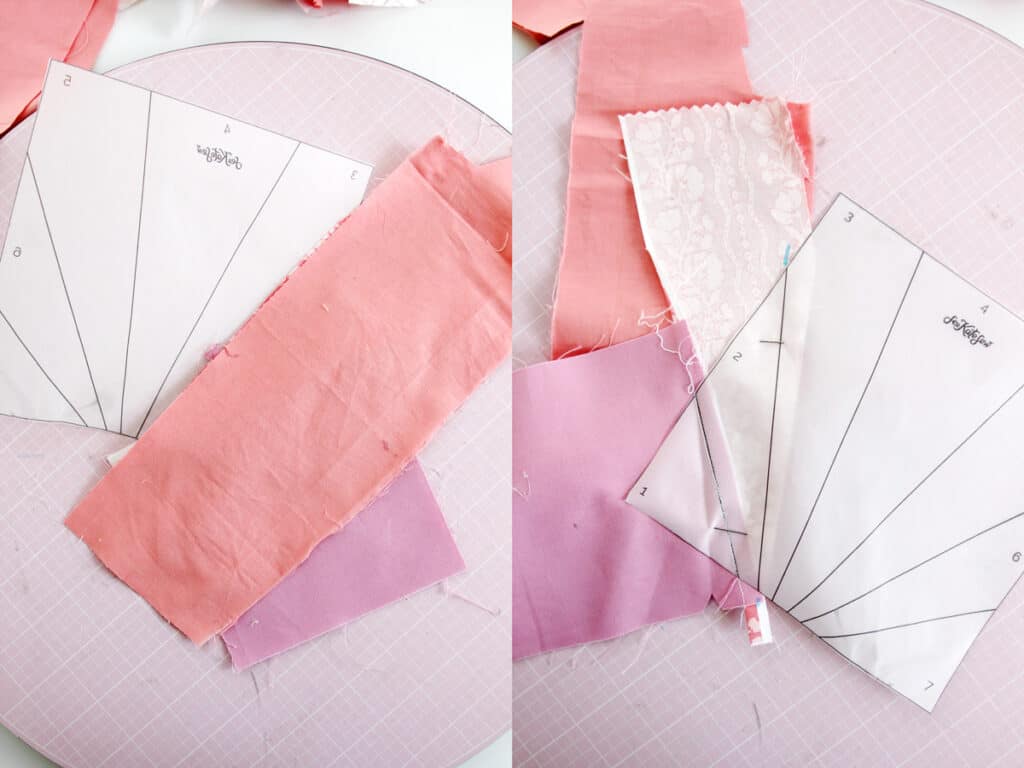
Here is a more detailed example of trimming the excess fabric:
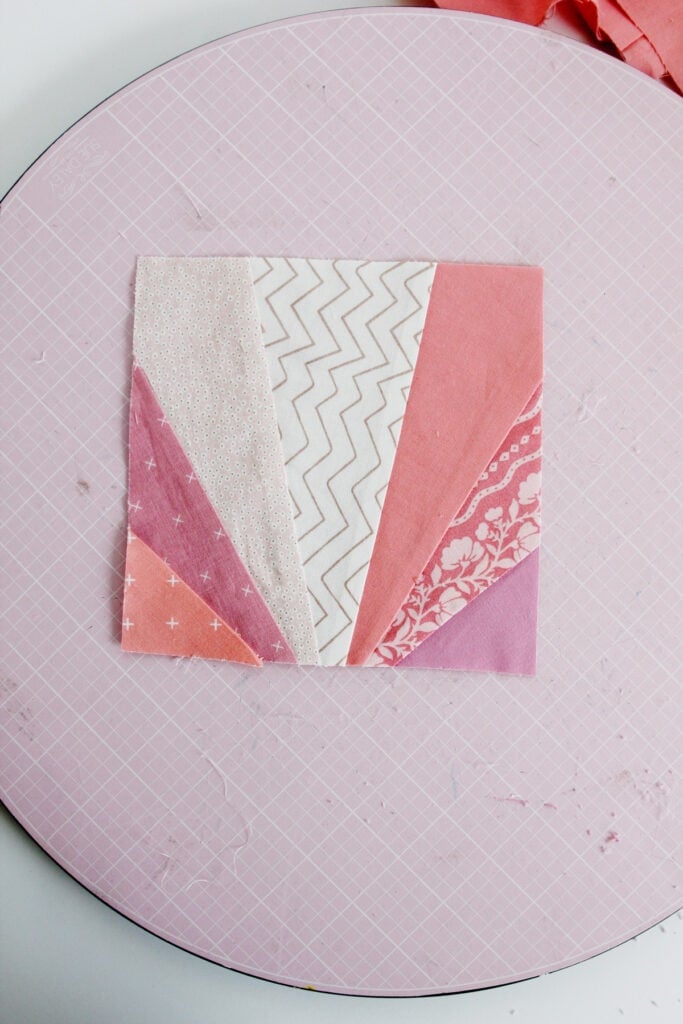
Now repeat until you have all 7 sections filled. It may look a little crazy if you are using scraps like me.
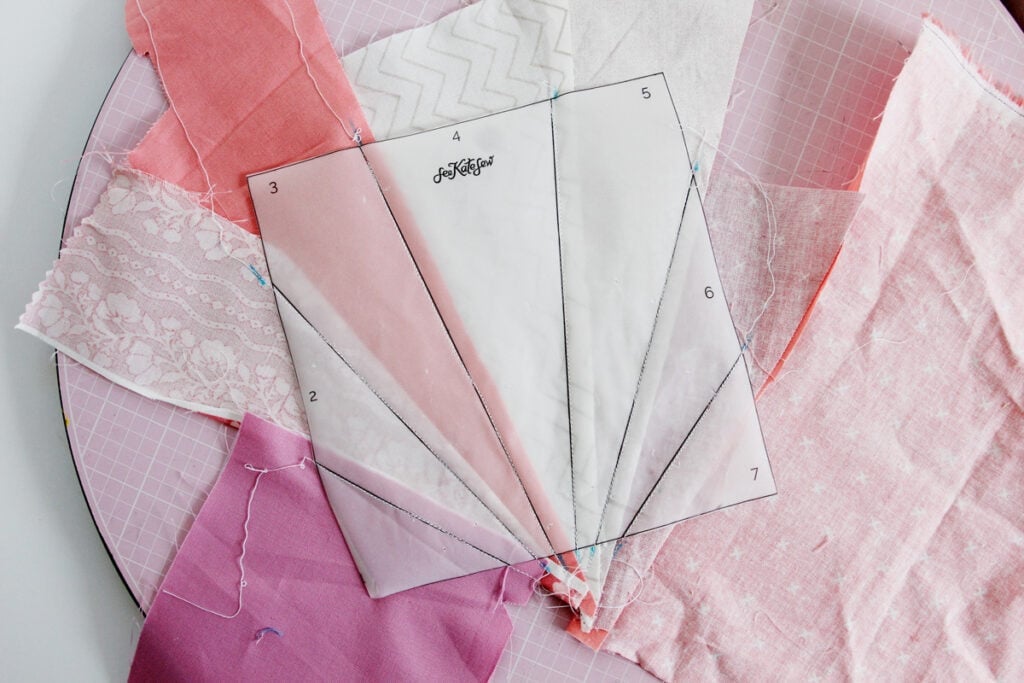
This is what it will look like from the front!
Trim around the template from the back.

Peel off the paper from the back. If you are using copy paper, be careful not to pull the stitches out.
Press to finish your block!
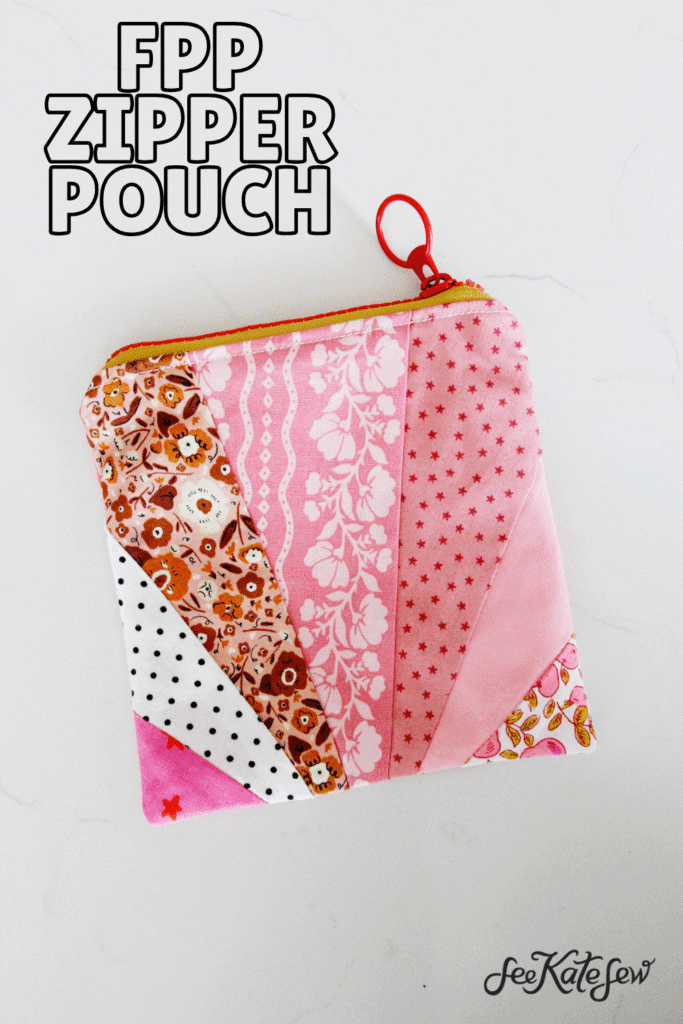
Finish the Zipper Pouch
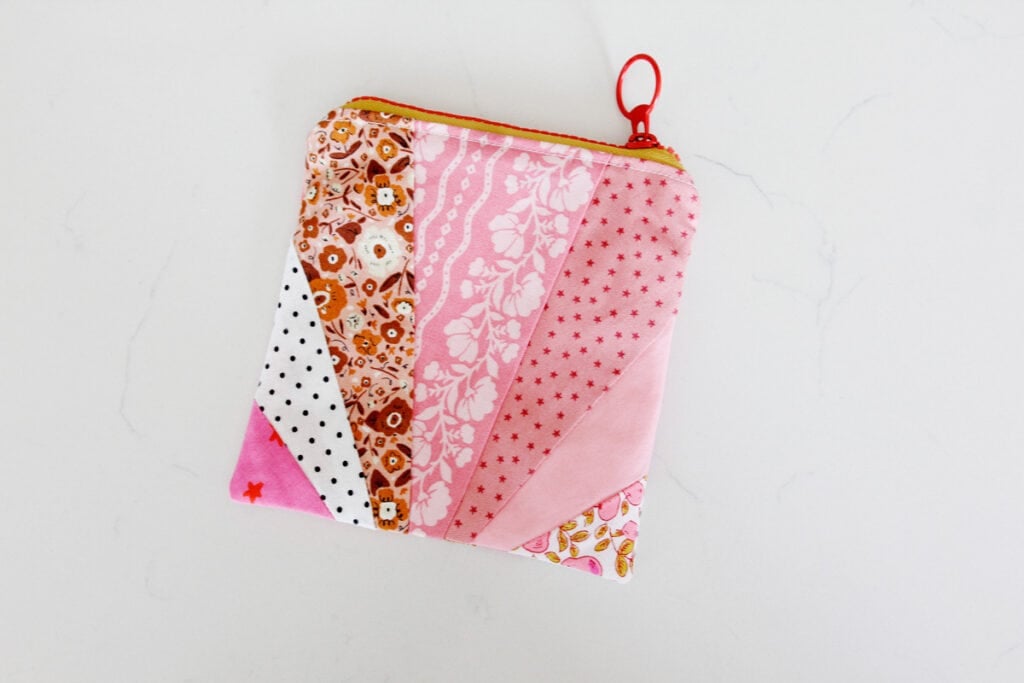
Watch the video to finish the zipper pouch – or head to this tutorial. The FPP block will be your front (and back if you want to make a second block!) or sew more of these sunshine blocks and make a quilt!


Leave a Comment