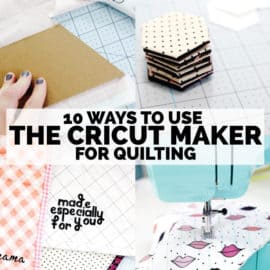
Want to make better quilts? Here are 25 quilting tips to help you know where to start! These quilting tips and tricks will take your quilts to the next level and they are easy to implement right away!
These tips are so simple – read them before starting your next quilting project!
1. Don’t prewash – 25 Smart Quilting Tips
If you have sewn clothing, you have probably been trained to prewash your fabrics. But with quilting this is a step you can and should skip! High quality quilting cotton doesn’t shrink very much – about 5%. But another reason to skip pre-washing is for the crinkle! The crinkly look happens after your quilt is quilted and washed – the fabric shrinks up around the stitching causing a cozy, lived-in look!
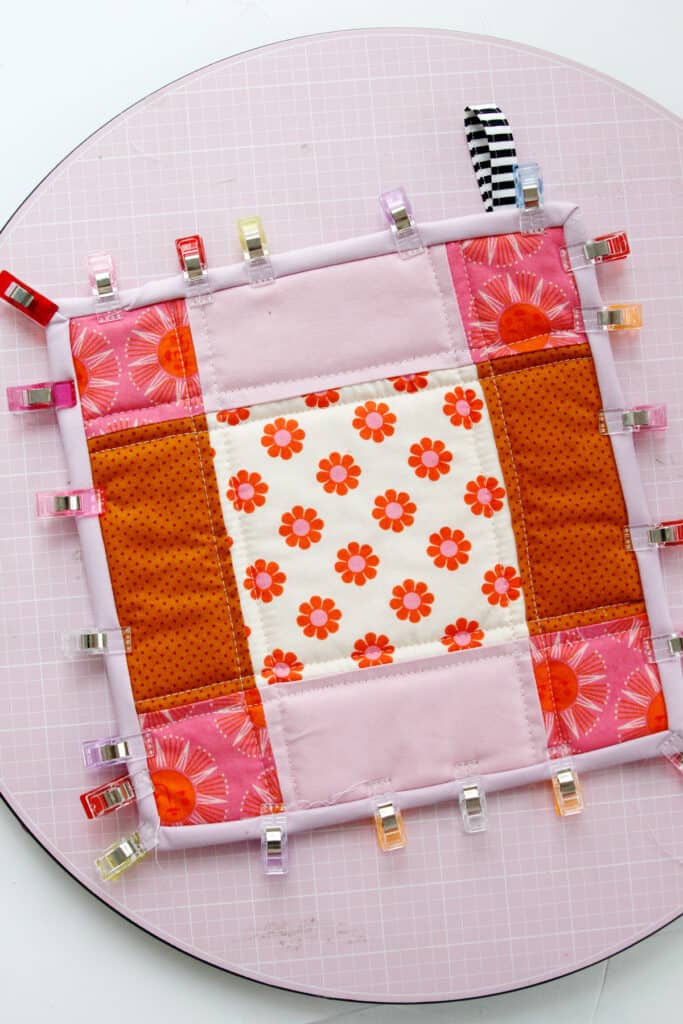
2. Quick Quilting Tips – Start small and work your way up
Don’t bite off more than you can chew and get overwhelmed! There are lots of way to start quilting without even sewing a quilt! Try a small “quilty” project that uses all the same techniques – such as a patchwork potholder, a pillowcover or a placemat!
You’ll get to try all the quilting tasks like piecing, trimming, batting and binding – all in a tiny project that you can finish! Work up to larger and more advanced projects when you’re ready!
Here are some great “quilty” projects to start with:
- Patchwork Potholder
- Charm Square Zipper Pouch
- Striped Placemat
- Fabric Scrap Coasters
- Quilted Pillow Cover
- DIY Oven Mitt
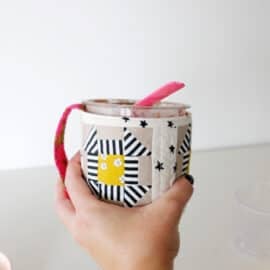
- Charm Square Bucket
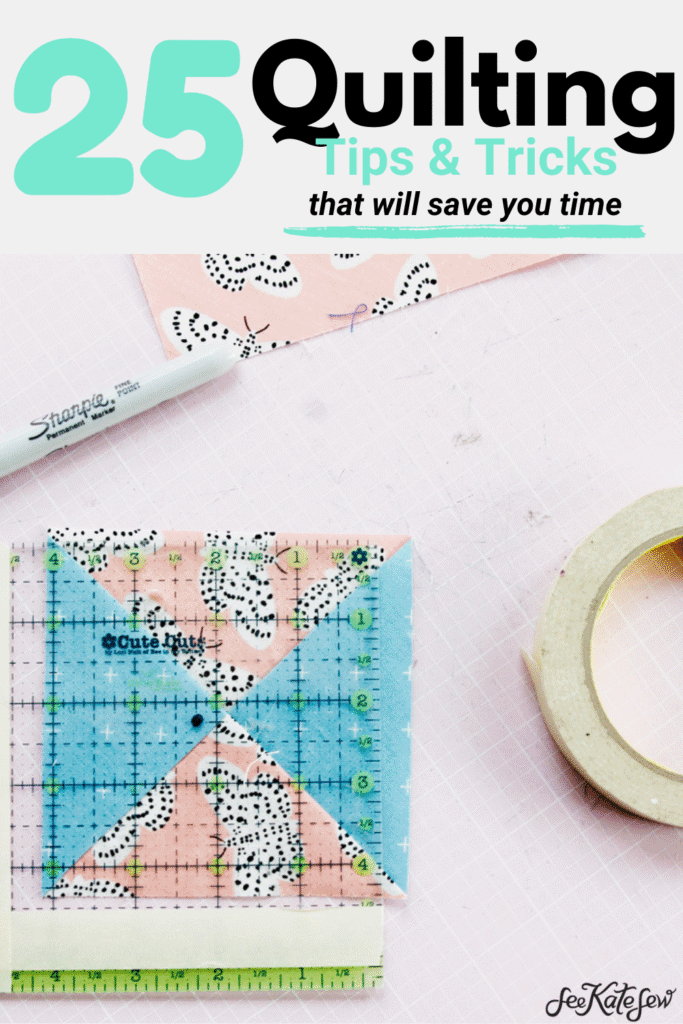
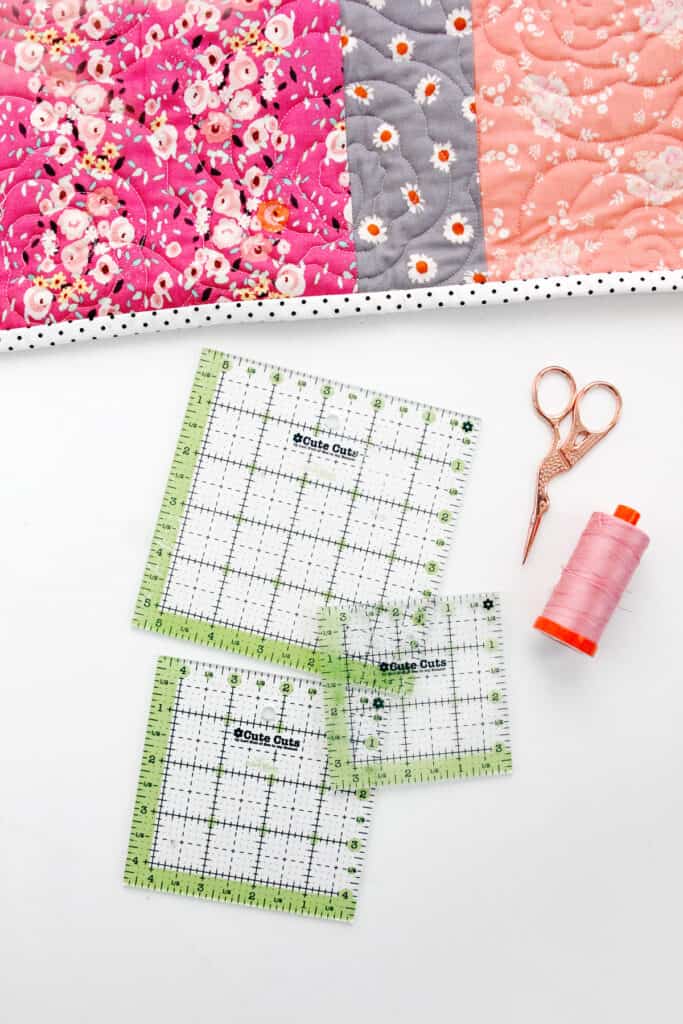
3. Hack Your Quilt Rulers!
You can write on your rulers and/or use tape to mark points! Write on the shiny side with a sharpie and use nail polish remover to remove. Don’t write on the side that is printed with numbers (typically the bottom) – we want to keep those on there.
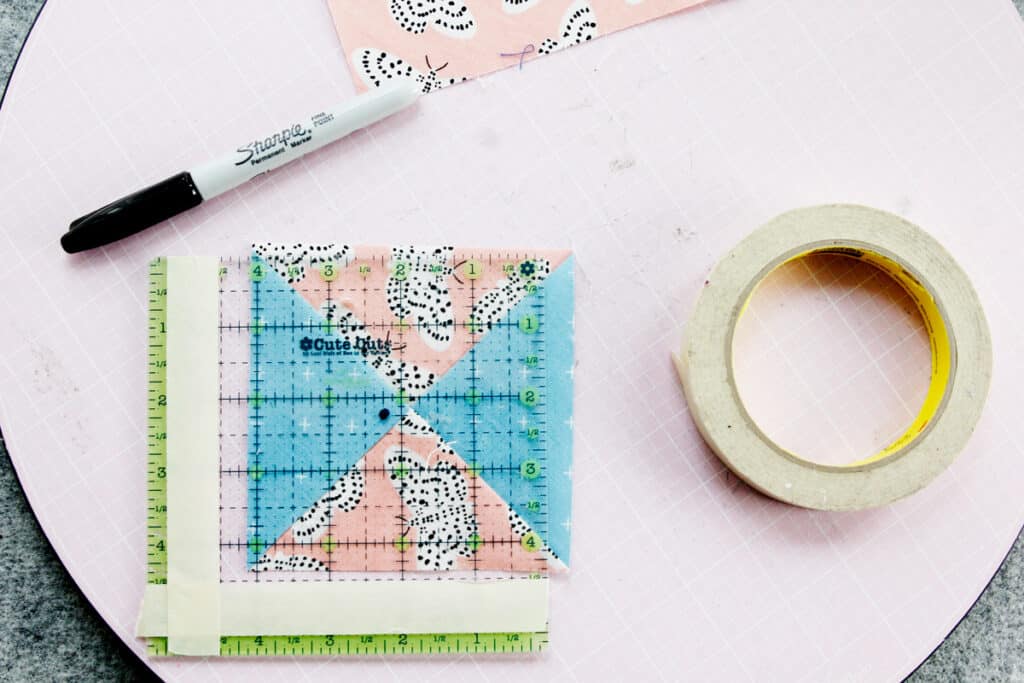
Use masking tape or washi tape to help you mark a square or rectangle. With this hack you can make your ruler work for your project without buying a new ruler. Tape off a square size for trimming.
Mark the center point for quarter square triangle trimming.
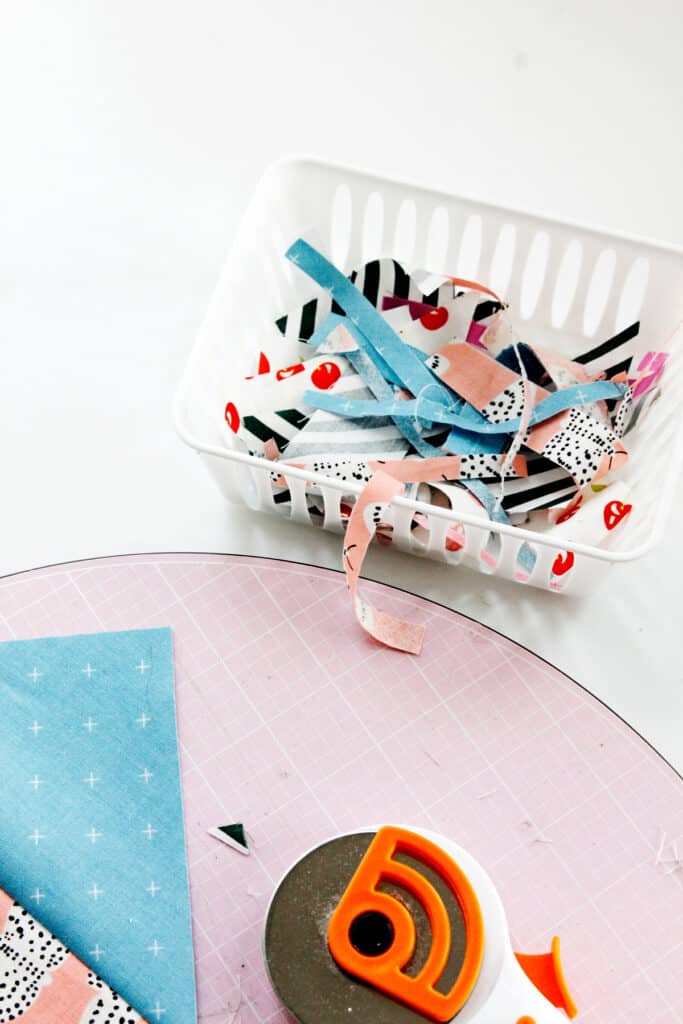
4. Keep a little bin near you for scraps
I love having a small bin or plastic container near my cutting mat to put all my scraps and trimmings as I create them. This helps me keep my space clean. I also love to sort through this for the larger scraps that I can put in my scrap bin before throwing away the tiny trimmings.
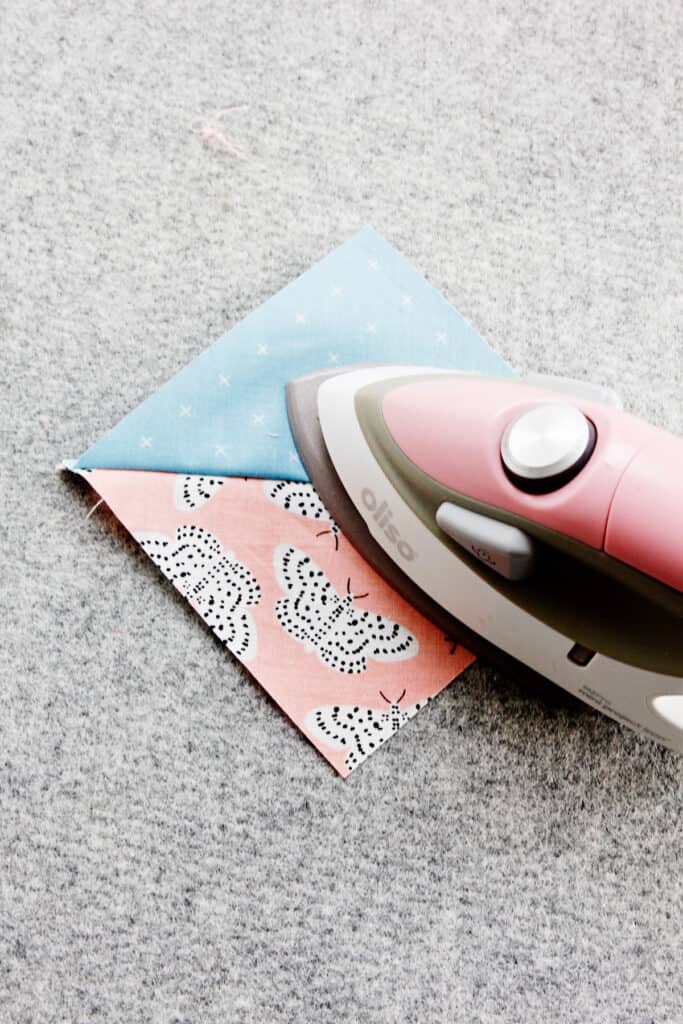
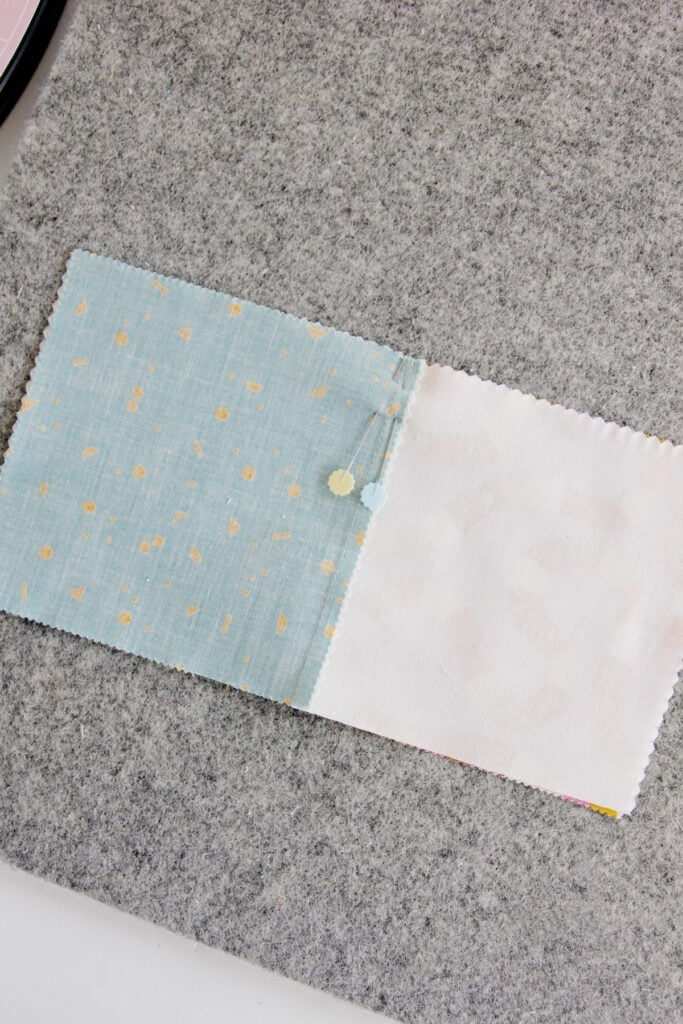
5. Pressing seams out from the pressing mat – Quilting Mistakes and Tips
When pressing a block open, put the fabric you DON’T want to have the seam allowance behind it down on the pressing mat or ironing board.

Then use your iron to press the other fabric up. This is an easy way to get your seam allowance pressed to one side and also makes it easy to press a bunch of blocks the same way.
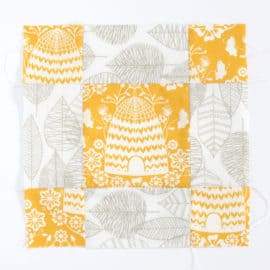
6. Avoid Quilting Mistakes – Always Trim and Square Up
Do not skip trimming and squaring up! It’s so boring, I know! But these steps will make a big difference in how your blocks fit together later.
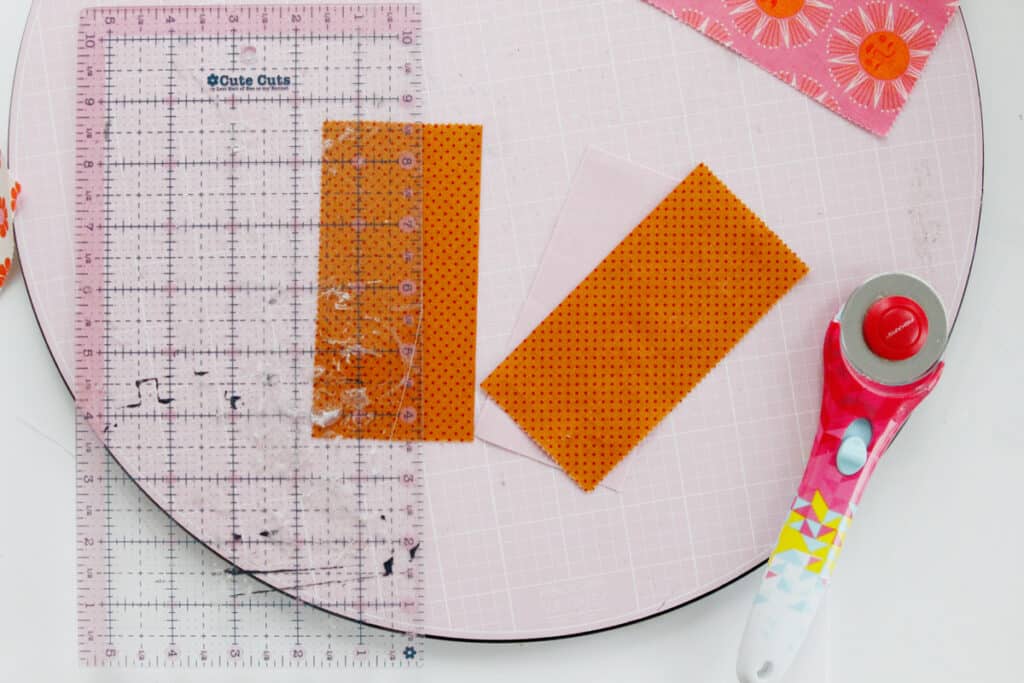
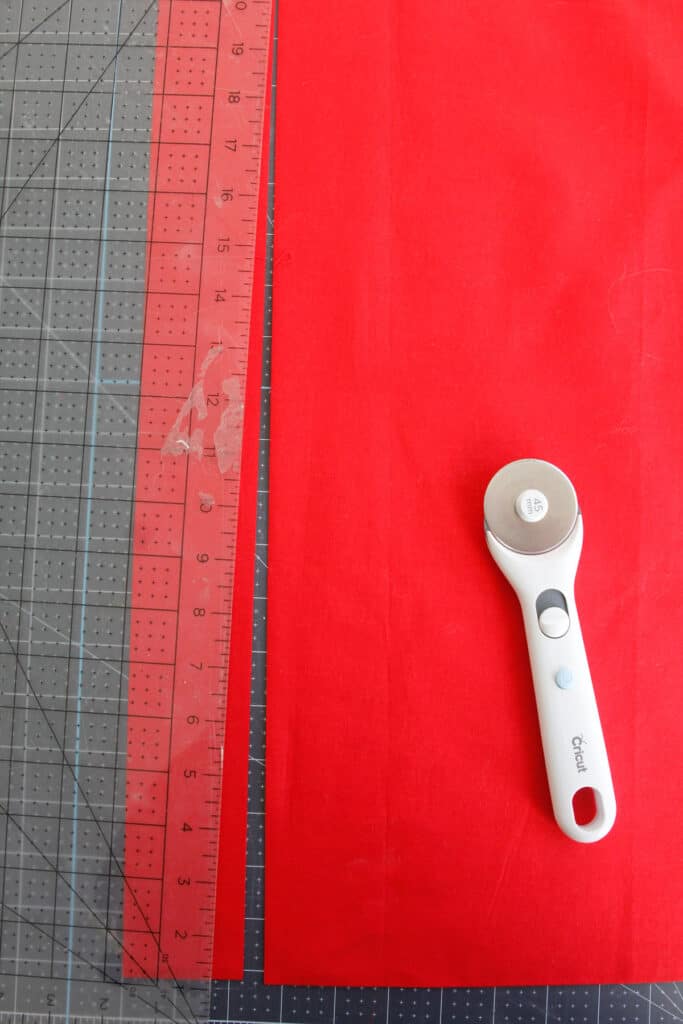
7. SLOW DOWN When using a rotary cutter
After slicing into my finger during my early years of quilting, I will always advise to slow down when it comes to the cutting part of quilting. Make sure you have a good hold on your ruler and that your fingers are out of the way before slicing. Always keep your blade sharp to prevent it from snagging on your ruler! Be careful – you will not regret it!
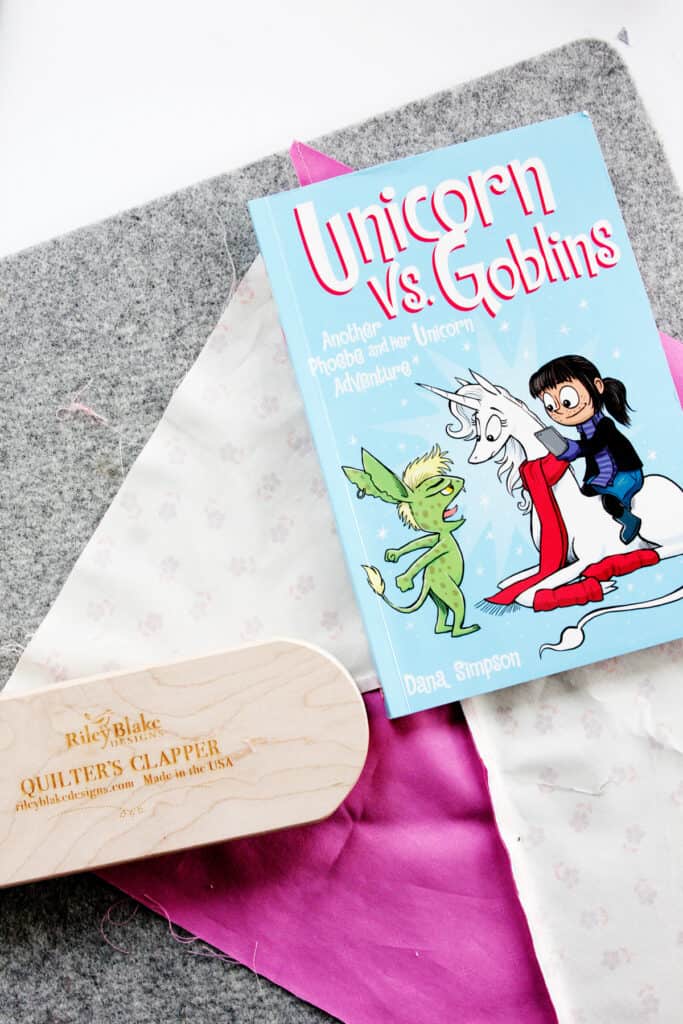
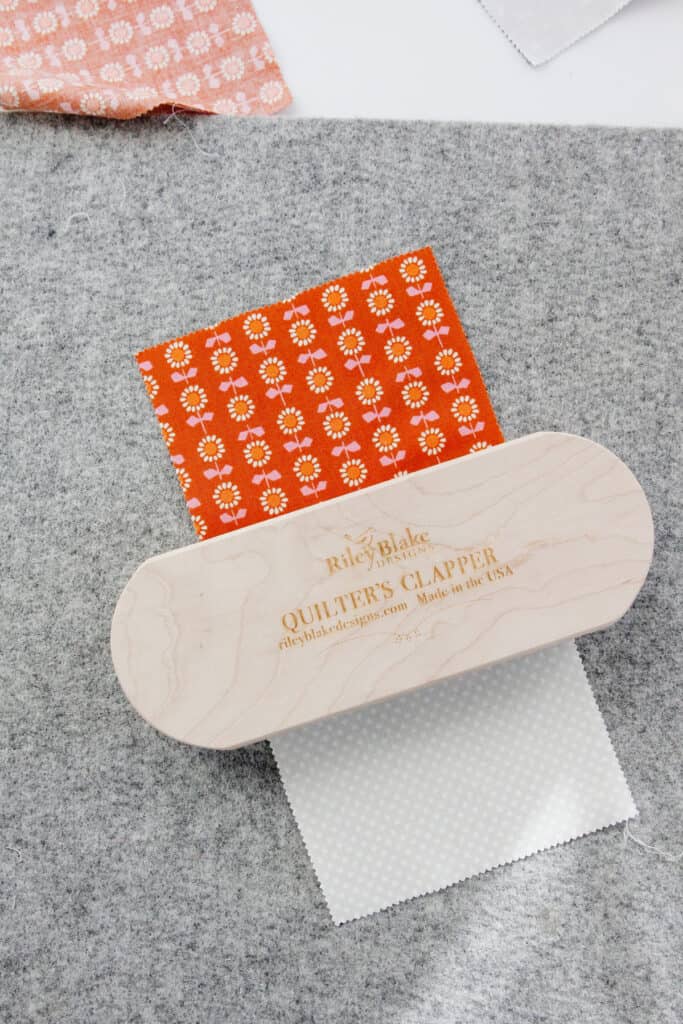
8. Use a book for a clapper
Don’t have a quilter’s clapper? That’s okay – there are lots of things you can use instead! Anything flat and heavy enough to hold down a seam.
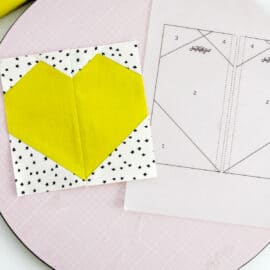
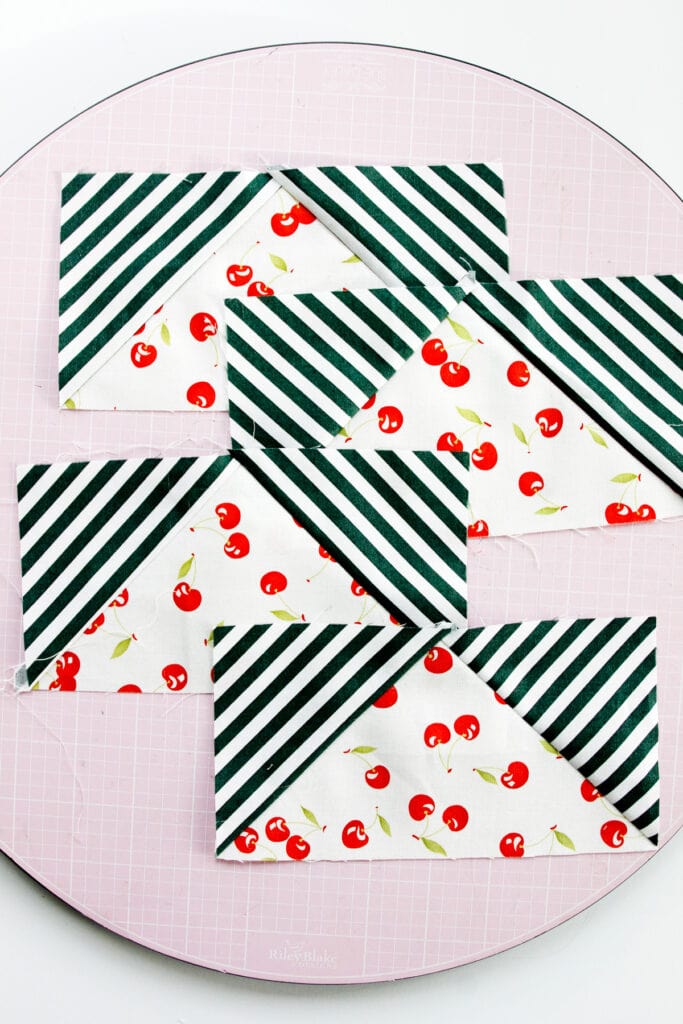
9. No Waste Flying Geese – 25 Smart Quilting Tips
When you sew flying geese blocks one at a time, you end up with four triangles of leftover fabric, as shown below:
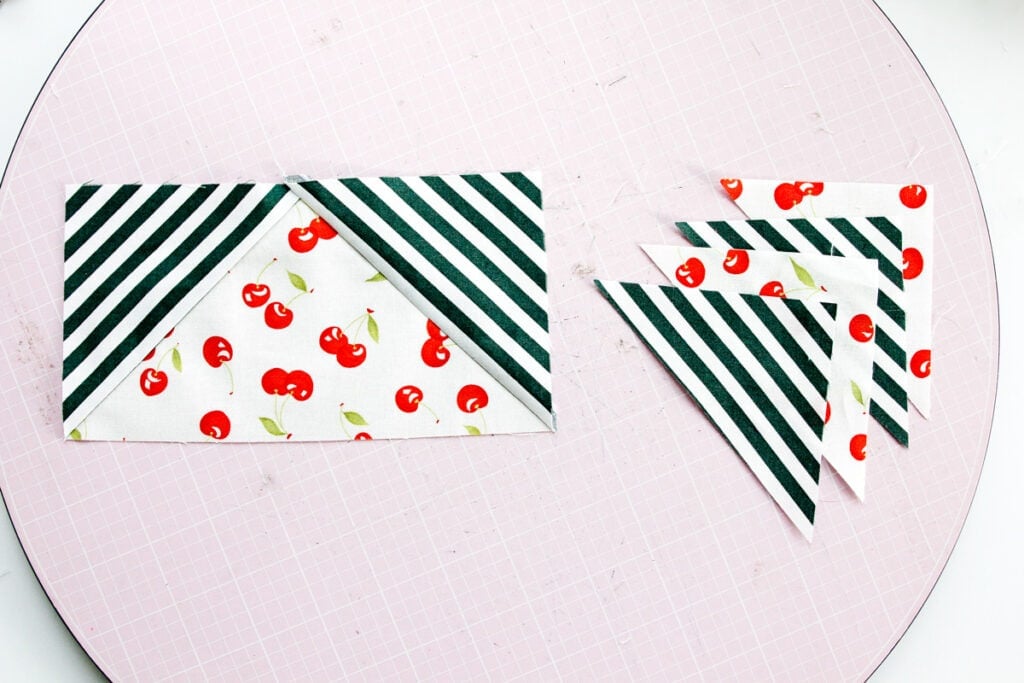
But there is another way! The no-waste flying geese method will give you four blocks with NO WASTE! See the video in this post for this simple method!
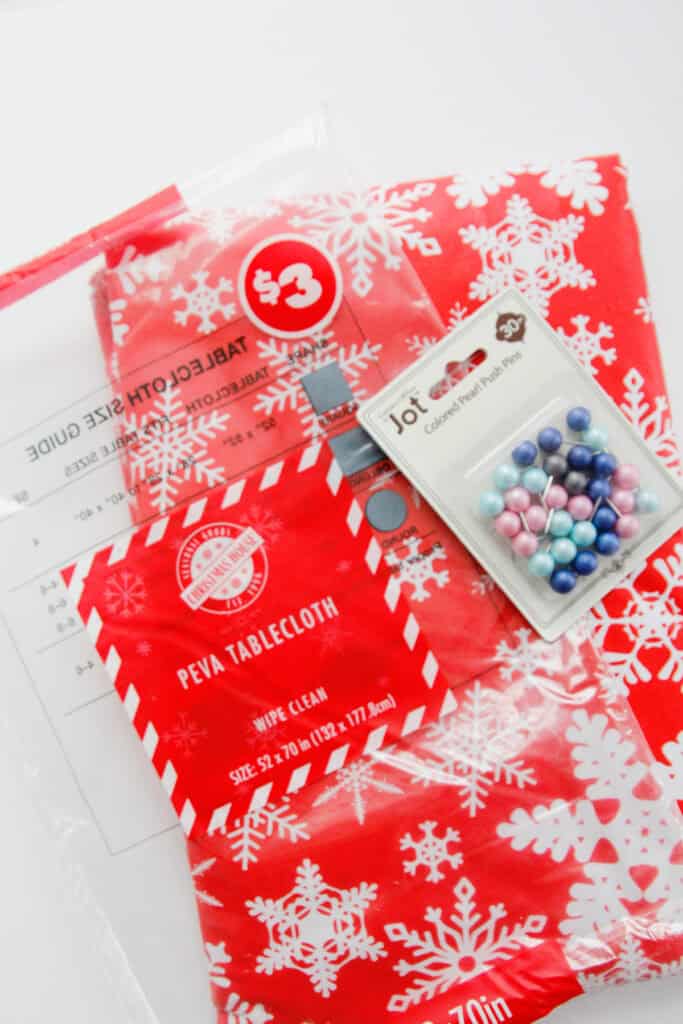
10. Make Your Own Quilt Design Wall
This is a quilting tip that is so helpful if you want to lay out your blocks before you sew them together but don’t have a lot of floor space (or prefer not to work on the floor!) – get a design wall! You can buy a design wall on Amazon (affiliate) or this sturdier type.
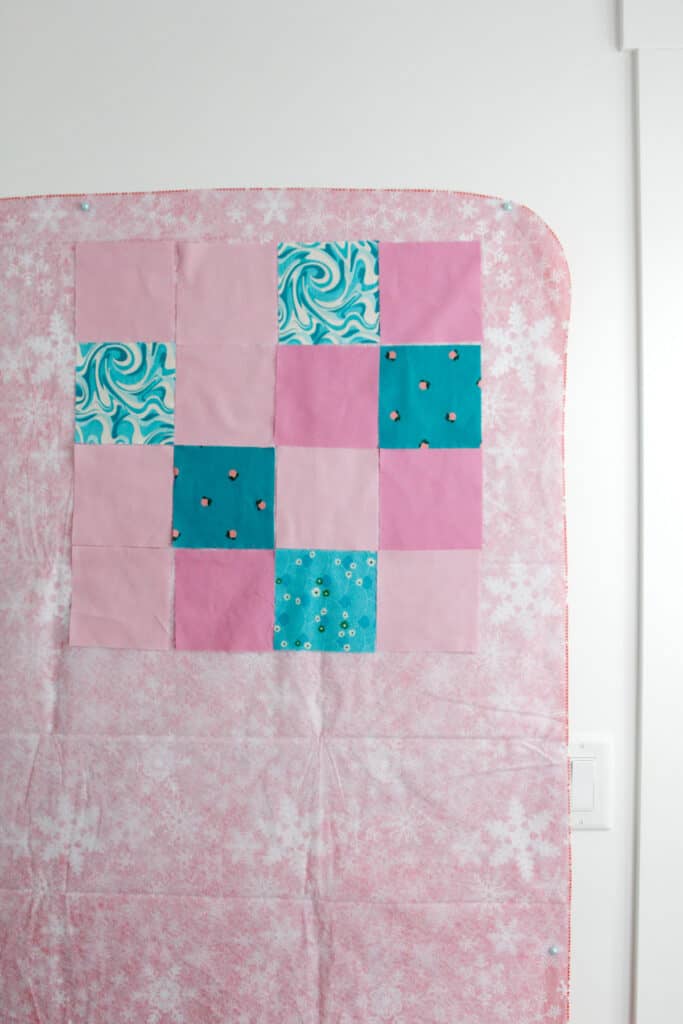
Or you can make your own! Find a flannel backed tablecloth from the Dollar Tree and pin it to your wall. Read more here.
11. Basic quilt supplies are just fine! – Avoid Quilting Mistakes
Tools can be fun – but you don’t need them all. Don’t get overwhelmed by tricky quilt supplies when you can get by on the basics!
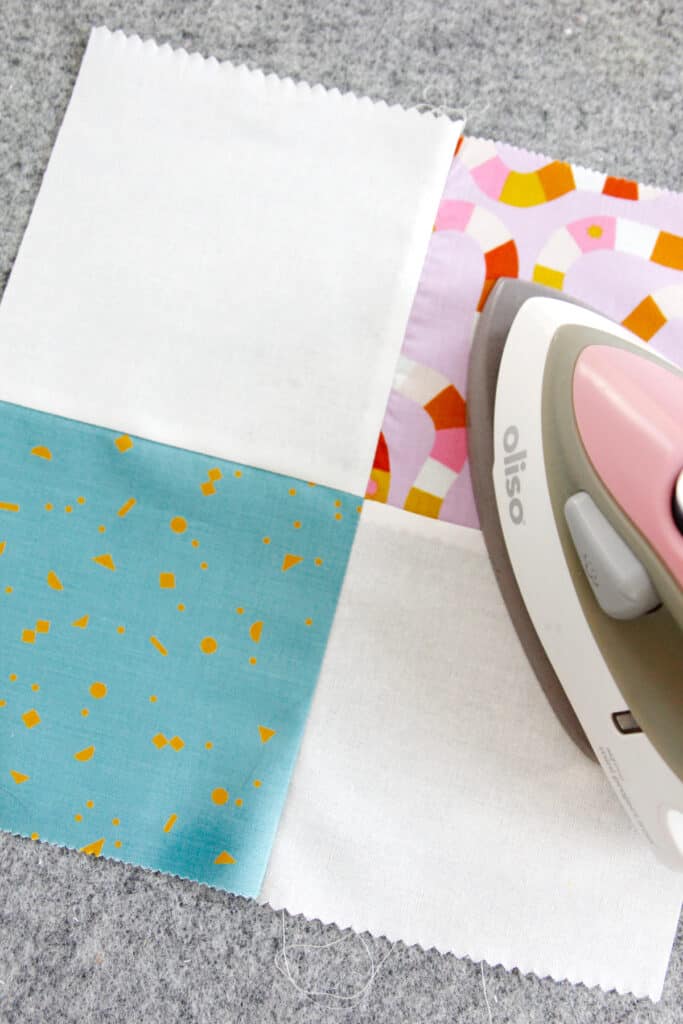
12. Nesting Seams – Tips for Quilters from Beginner to Advanced
This is the one tip I would tell every beginner and it’s one of the first things I taught my daughter while she was making her first quilt! Nesting seams will change everything. It’s hard to get all the points and seams to line up on a quilt but interlocking seams makes it so easy.

To get your seams to nest, press one seam to the left and one seam to the right.
Pin the pieces (or blocks or rows) together with the seam allowances butting up next to each other.
Sew. When you open it up you should have a perfect intersection!
13. Change your needle often – Tips for Quilters
This is one I still forget to do from time to time so I’m adding it as a reminder to myself, too! Changing your needle is so important and one of the first sewing machine troubleshooting tactics you should try. If your machine is skipping stitches or your tension is off, the solution could be as easy as changing your needle. A good rule of thumb is to change your needle after every quilt project!

14. Press to the dark side – Quilting Tips
When you are pressing seams to one side, choose the dark side! I would normally not encourage joining the dark side (ha ha!) but in this case, the fabric is less likely to show through if you are pressing to the darker fabric. There are times when pressing to the dark side isn’t the best option – such as when you are trying to nest seams or there isn’t a true darker fabric. But when you can, press to the dark side!
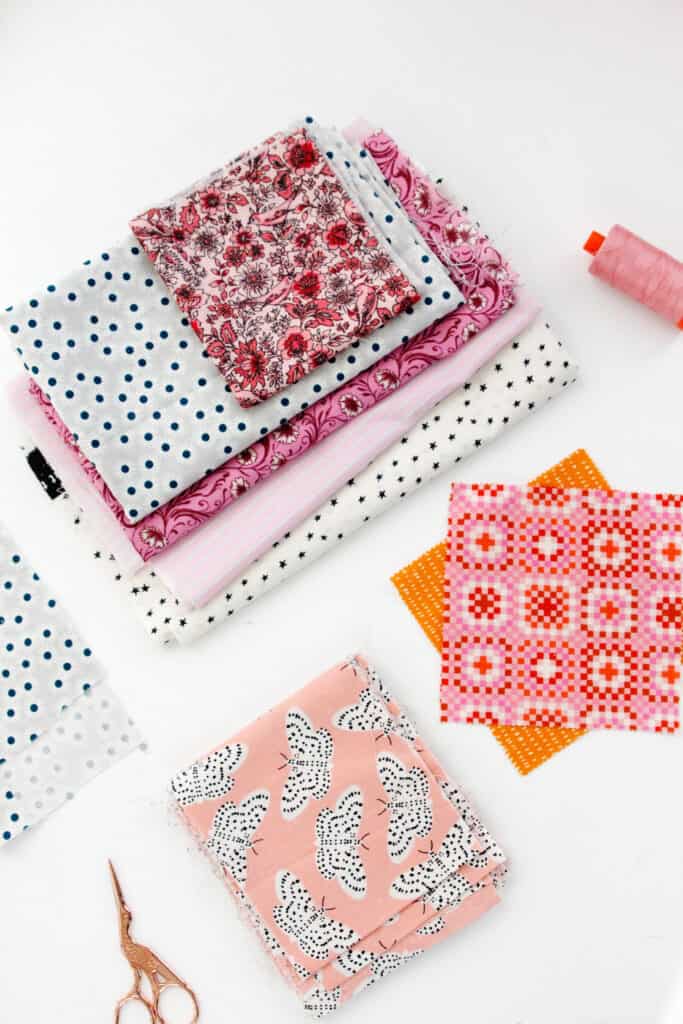
15. Always buy extra fabric
This is really a tip for any type of sewing but it definitely applies to quilters! Buy more fabric than you need. There is nothing worse than starting a project and working for a few hours and then running out of fabric! Although a trip to the fabric store is always fun, you risk not being able to get the same fabric, and a big interruption in your creative process.
So, if possible, get more fabric that you probably need – I recommend adding 1/4 yard to the requirements. Let’s be real, you’ll figure out what to do with any extra!
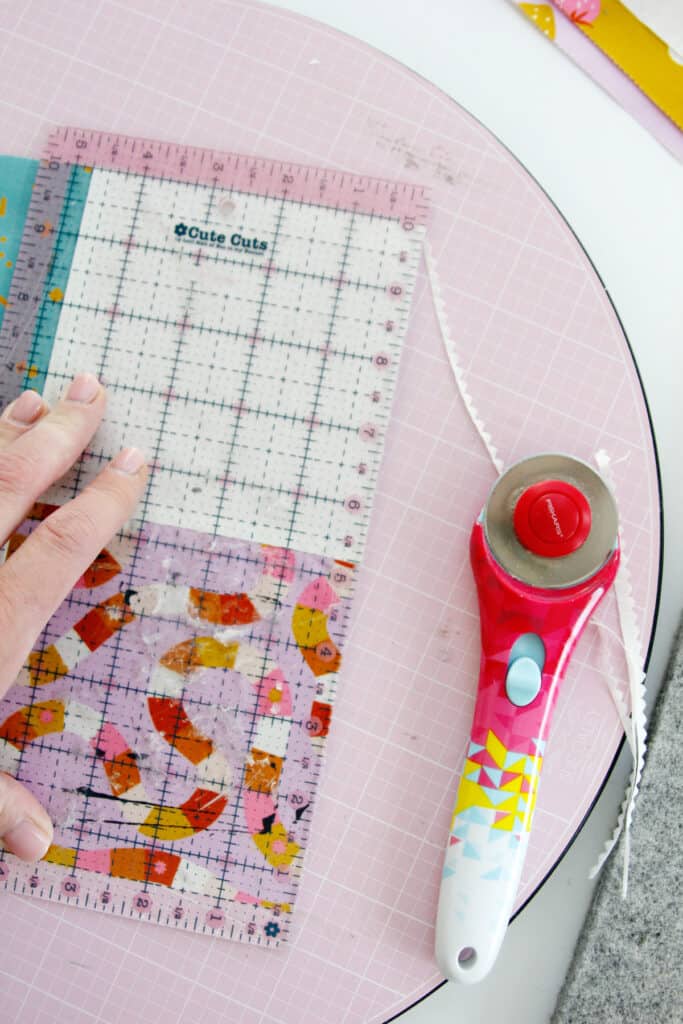
16. Use Quilting Rulers for Trimming
Square quilt rulers are so helpful for trimming! My personal favorites are the Cute Cuts by Lori Holt – the green ones! Quilting rulers are designed to help you trim and cut out quilt blocks. There are so many different shapes and sizes for every type of quilt!
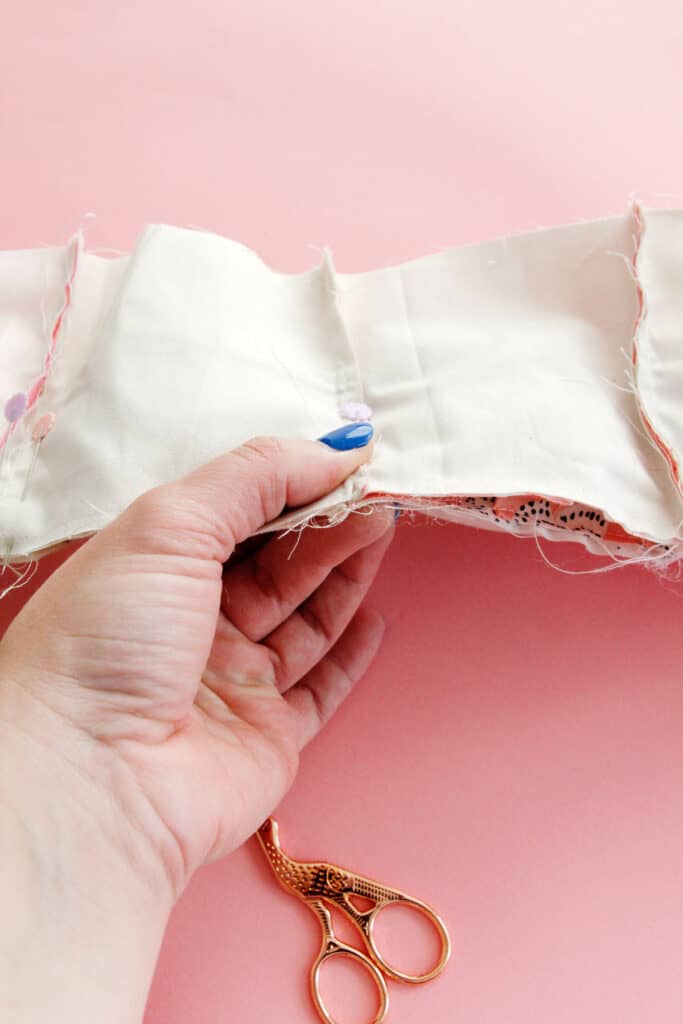
17. Use a tailor’s clapper for seams – Tips for Quilters
A quilter’s clapper(affiliate link) is a wooden tool adapted from tailor’s clappers. This is used to hold down a seam while it cools, allowing it to cool in a totally flat position. By doing this your seam allowance will lay flatter and you’ll end up with more beautiful blocks! Flatter seams are less likely to shift when sewing so your quilt top will stay nicely pressed.
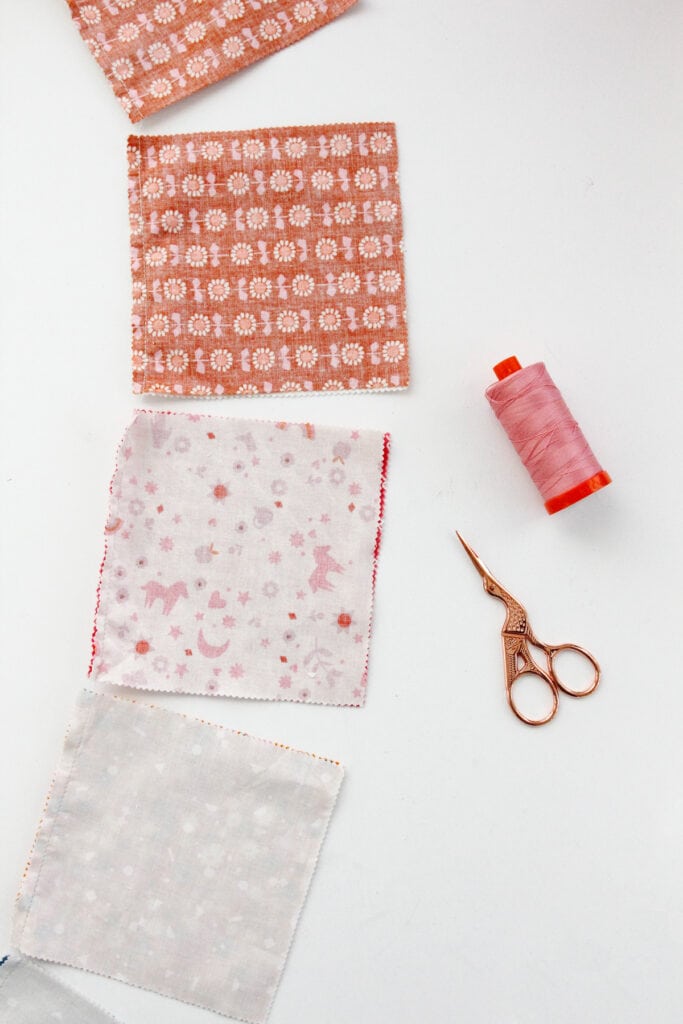
18. Tips for Quilters – Use precut fabric
I wish I had discovered precuts way earlier than I did – so this is one of my tips for quilters that are new! Precut fabrics are so much fun and come in lots of different sizes. There are some amazing benefits to using precuts including more precise blocks and faster sewing! You are also less likely to cut yourself (hey, what a great reason to buy some new precuts!) and the colors always work together so it takes any guesswork out of making fabric combinations.
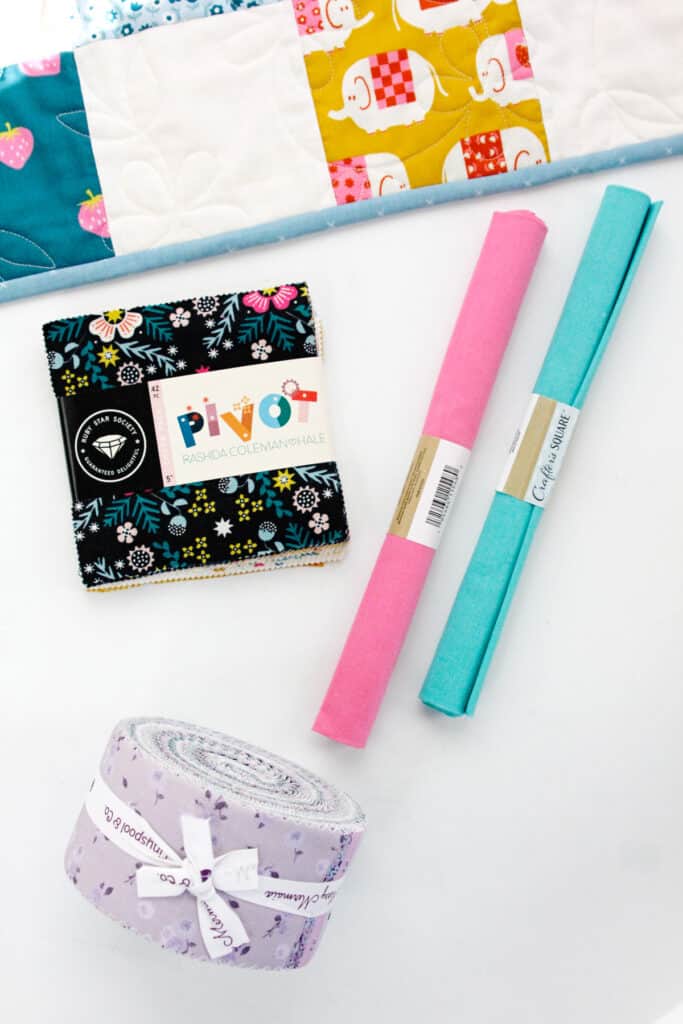
Here is a quick little guide to precuts:
- Jelly Roll – 2.5″ strips
- Charm Squares – 5″ squares
- Layer Cake – 10″ Squares
- Mini Charm Squares – 2.5″ squares
- Fat Quarters – 18″ x 22″
- Fat Eighths – 9″ x 22″
19. Chain Piecing can save so much time
In most quilt patterns you’ll be doing a lot of the same thing over and over. So it’s easy to batch it up instead of sewing block by block. Chain piecing is one of the things that will save you so much time. It is simply sewing pieces together and then continuing a chain of stitches and sewing more together. Instead of stopping after each pair you can keep going faster and trim them all at the end. This batch sewing also works with blocks and rows.
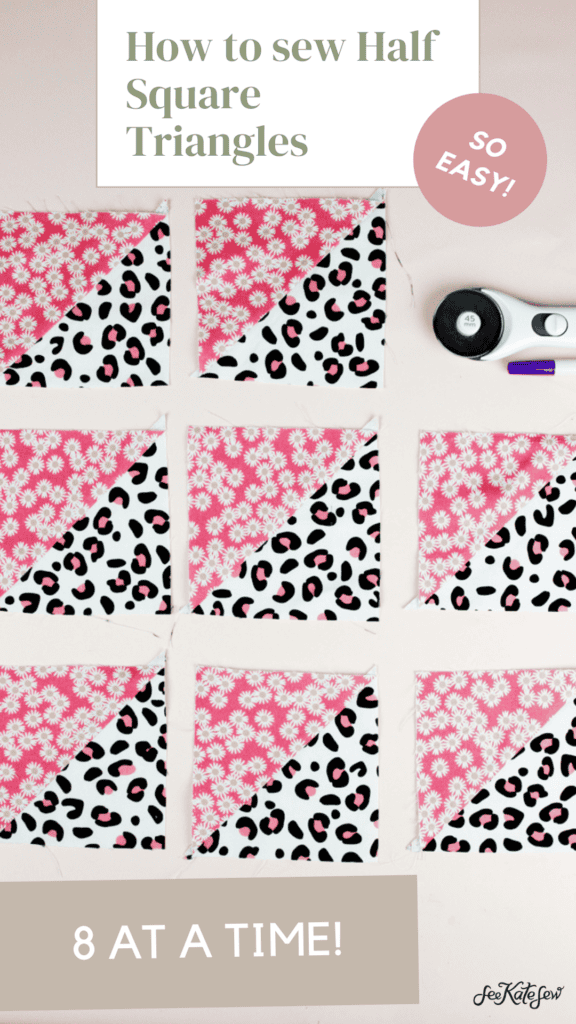
20. You can sew HSTs 8 at a time! – Quilting Tips you have to know
Half Square Triangles are a quilting staple. These blocks make up so many classic quilt blocks, so it’s essential you know how to make them. Once I learned I could make 8 of them at a time, it was a total game changer! This method is easy and fast! Click here to learn this amazing trick and download the cheat sheet!
21. Stop Making Quilting Mistakes – Join binding strips the right way
This tip comes from about 100 mess-ups on my part! This is a great quilting mistake to avoid now! When I’m sewing binding strips together I would often sew them wrong! I finally learned a trick to help me remember how to sew them!

Placing the strips is easy but sometime I sew along the wrong diagonal. To get it right, just remember the two ends of the strips should be on the SAME SIDE of the stitching line.
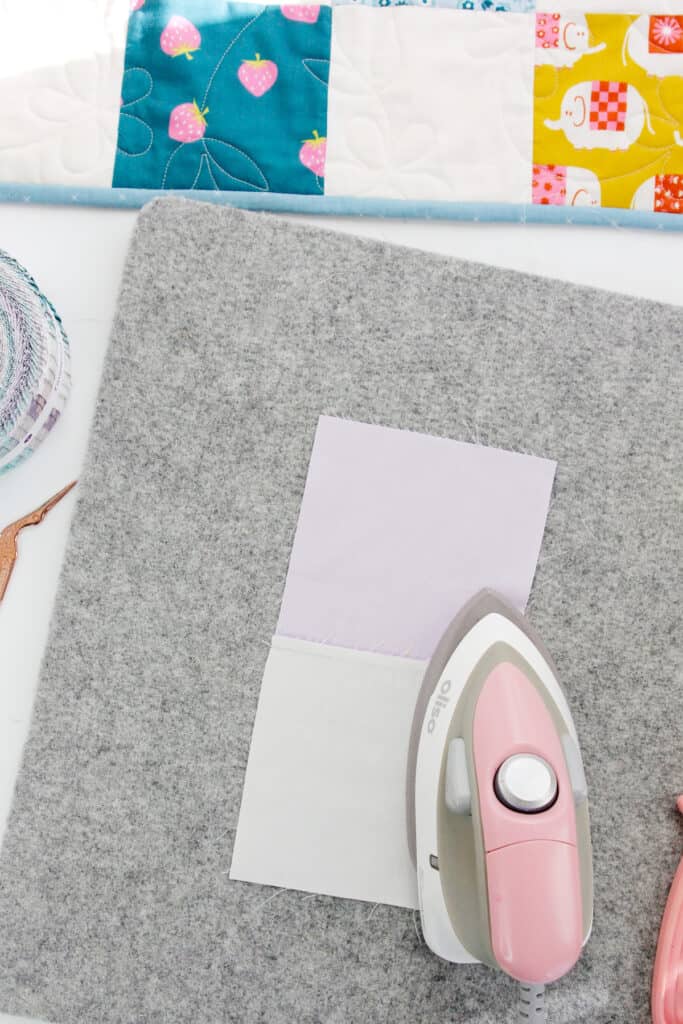
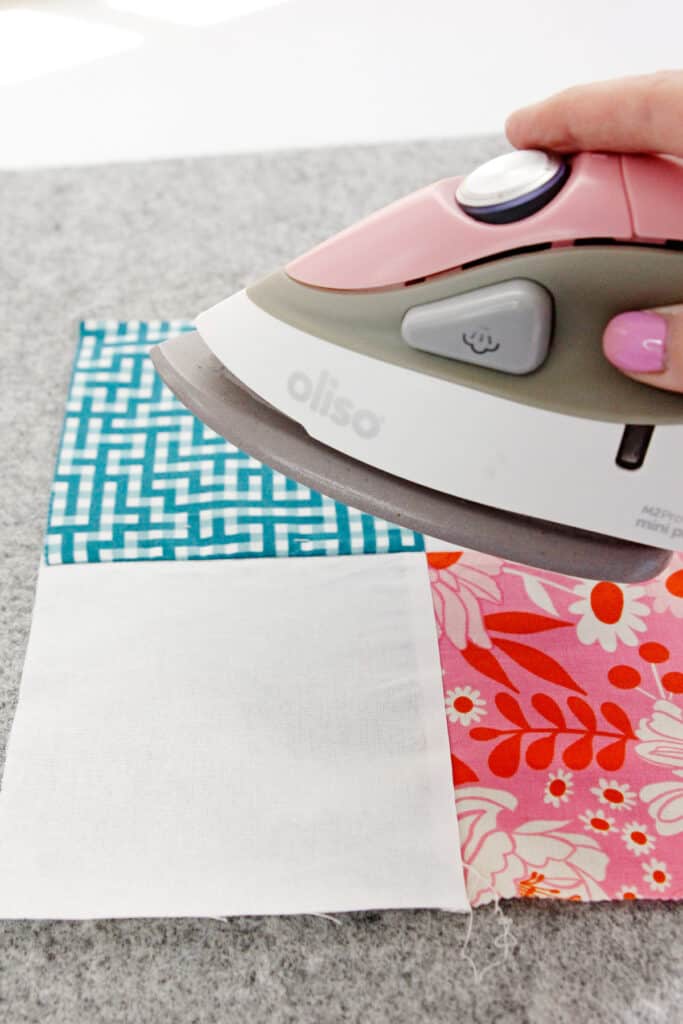
22. Press up and down – Quilting Mistakes to Avoid
I still forget this one sometimes! “Pressing” and “ironing” are not the same thing! Ironing is moving the iron across the fabric but pressing is what it sounds like – press down on the fabric with a hot iron and then lift up. The up and down will prevent your fabric from skewing while setting your seams.
23. Binding does not have to be cut on the bias for quilts
This one is probably obvious to a quilter but if you came from a clothing background like me it’s such a nice tip! Bias tape is essential for anything curved but quilt edges are straight so the binding can be cut on straight grain. It doesn’t need the same give as say an armhole!
This is great news because it’s so much easier to cut strips on straight grain versus on the bias! And you can even use precut 2.5″ strips if you prefer.
24. Try a spinning rotary mat
This thing changed my life! My least favorite part about quilting is trimming. It’s tricky and dangerous (hello, rotary cutters!) and can take a lot of time. The rotating cutting mat(affiliate link) allows you to trim one side of a quilt block and spin the mat to trim the other side without touching the fabric! That means you won’t have to line it up twice.
25. Tips for Quilters – There are actually no rules
Shhh…this one is controversial! But I stand by it – there are actually no rules in quilting! Sure there are methods that are easier and quicker but quilting is art and there are no rules in art! So do what you want and make sure you are having fun!