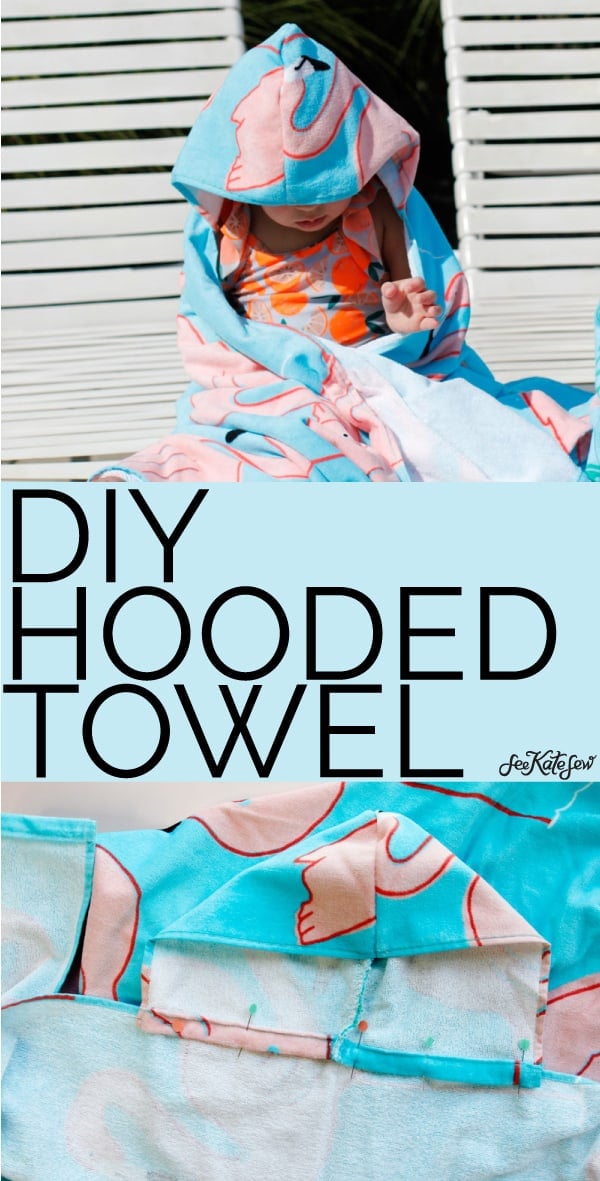
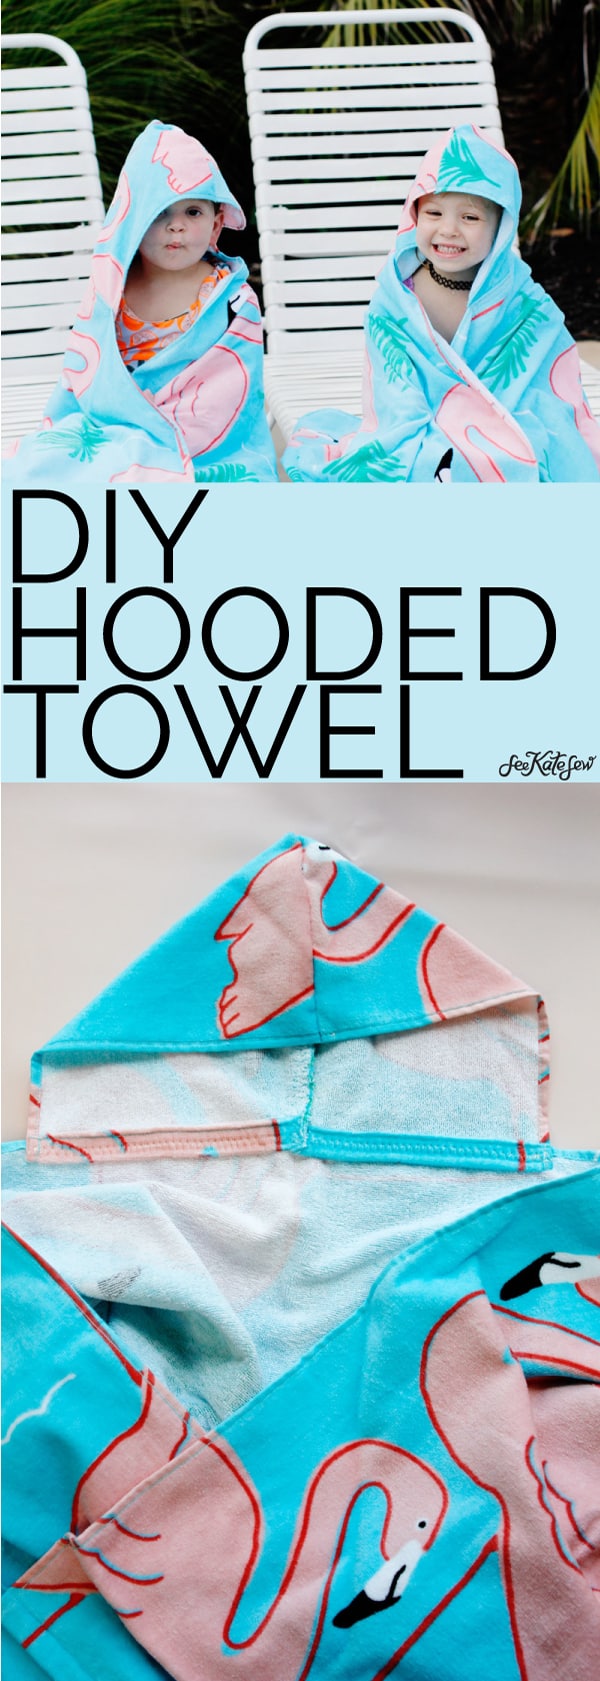
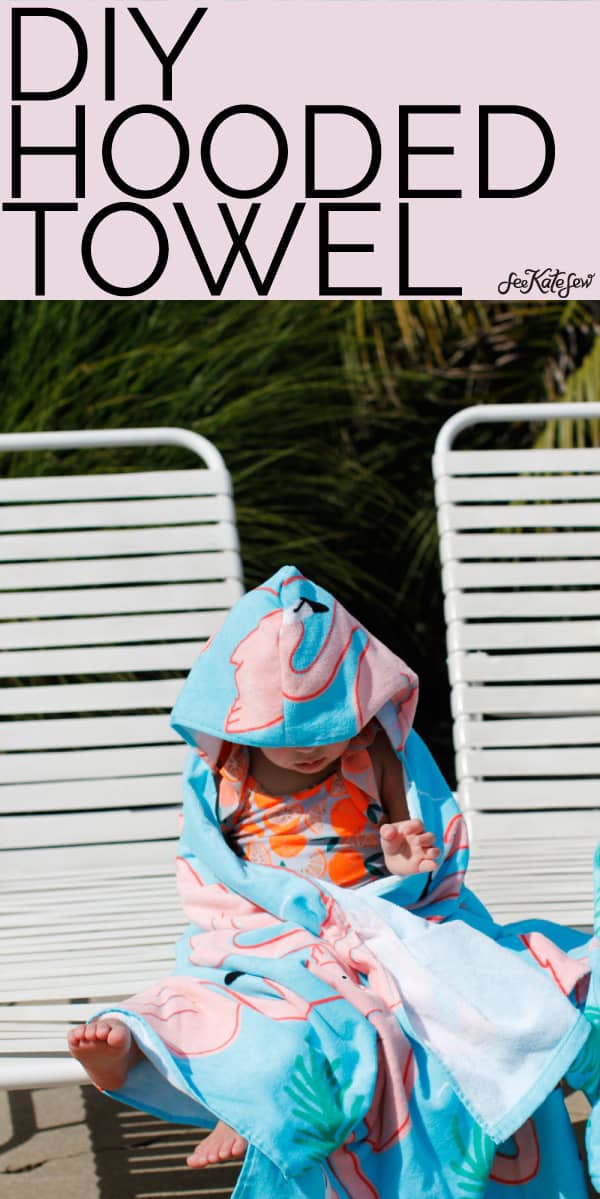
There isn’t much to do this summer except go to the pool! So we’ve been needing some extra towels. My kids all love hooded bath towels, so I thought it would be fun to make some bright summery ones for the pool! In this post I will show you how to make a hooded towel from basic towels you can find at the store!

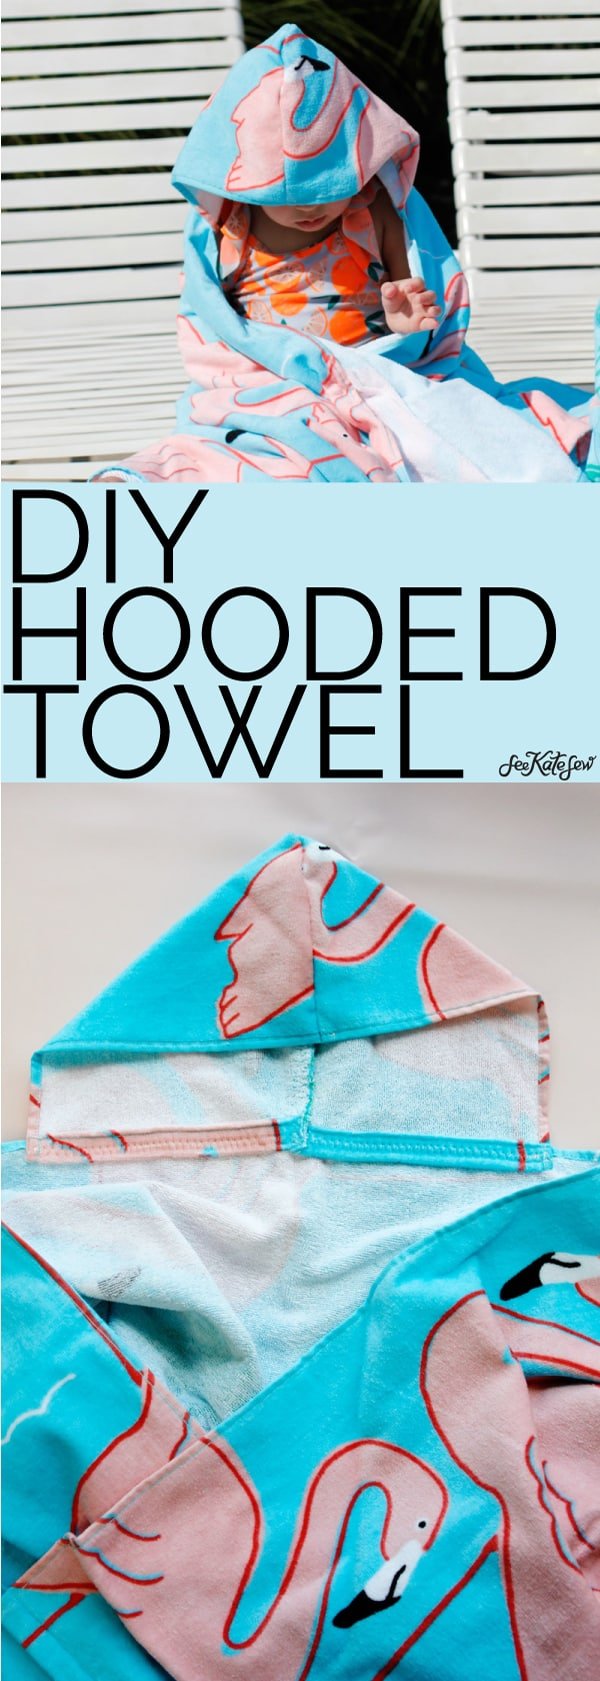
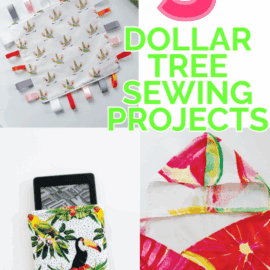
Making a hooded towel from store-bought towels is so easy! I used flamingo towels that are colorful and bright. These are from Target. You need to buy an extra towel to create the hood, but one extra towel will create 2 hoods.

With the free download included, homemade hooded towels are a snap to sew! These also make great gifts and baby gifts! See this post for a ton more baby gift ideas!

My kids think hoodie towels are the best and they dry their hair really well, too! They always fight over them, so we definitely needed more!
Hoodie Towel Video Tutorial

DIY Hooded Towel Supplies
- 2 Towels, I used these Printed Flamingo Towels from Target (aff)
- Free Pattern Download, see below

Hooded Towel Free Pattern
Click on the purple button above to download the hooded towel pattern. This pattern is available to email subscribers – if you are already subscribed, just enter your email and it will take you to the download page.
Print the pattern at 100% or DO NOT SCALE.
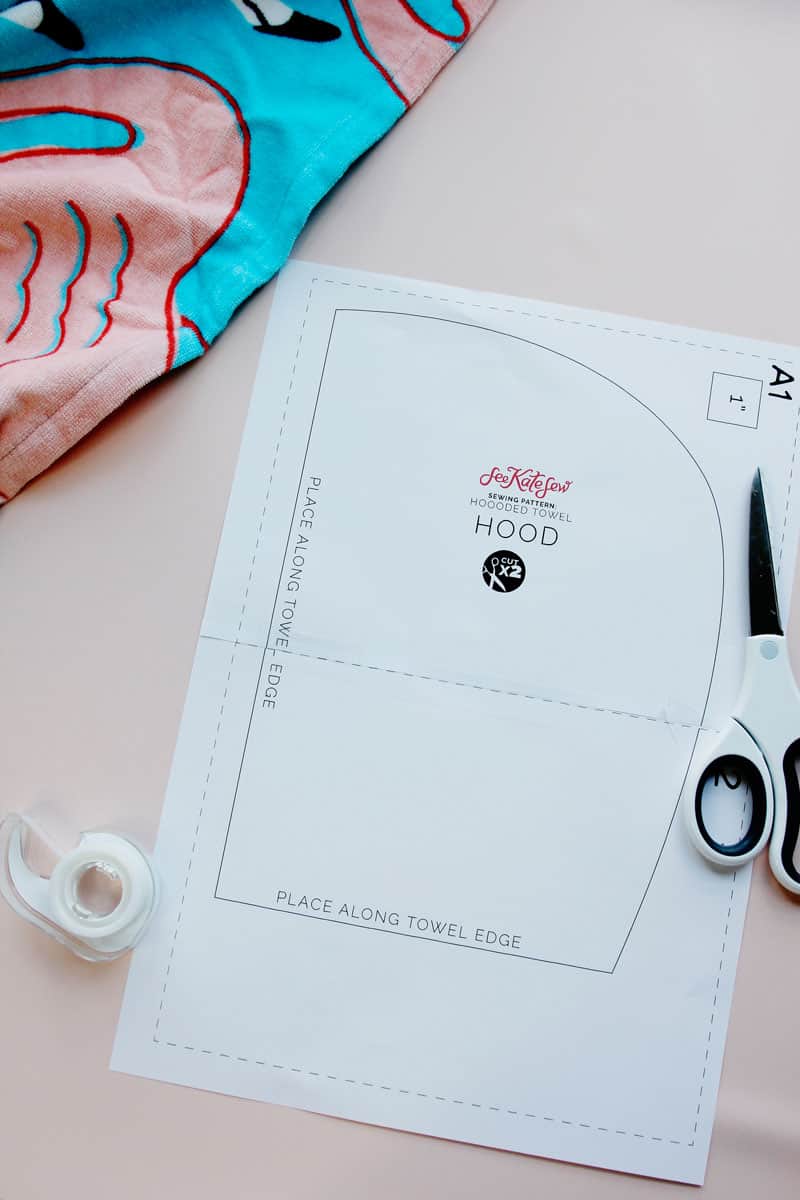
The pattern will print out on 2 pages. 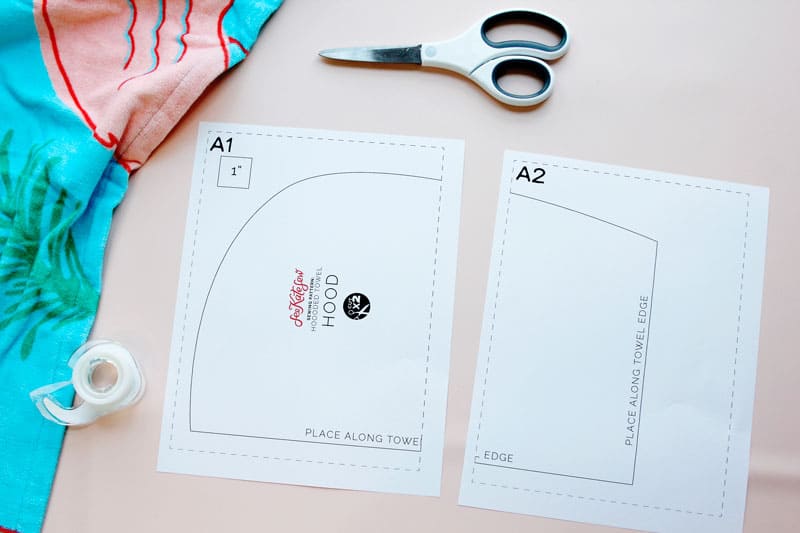
Trim along the dotted line on one side and tape the pages together as shown below:
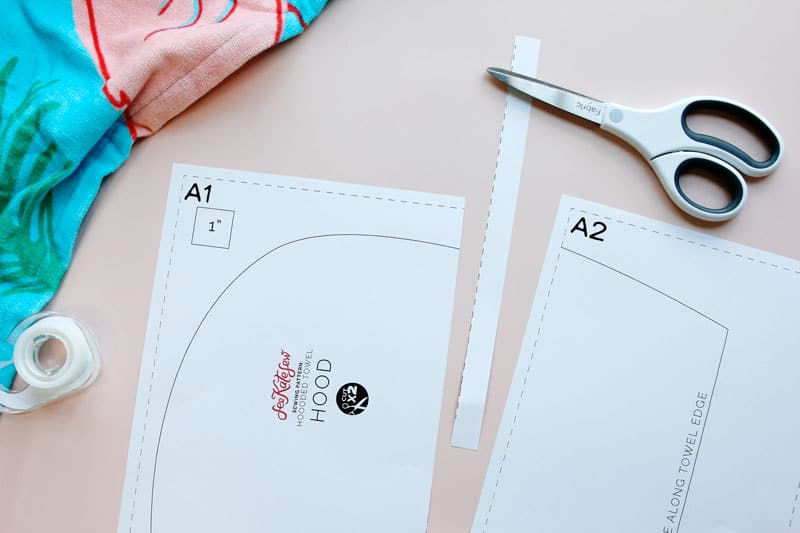
Cut out the pattern piece.
Hooded Towel Instructions
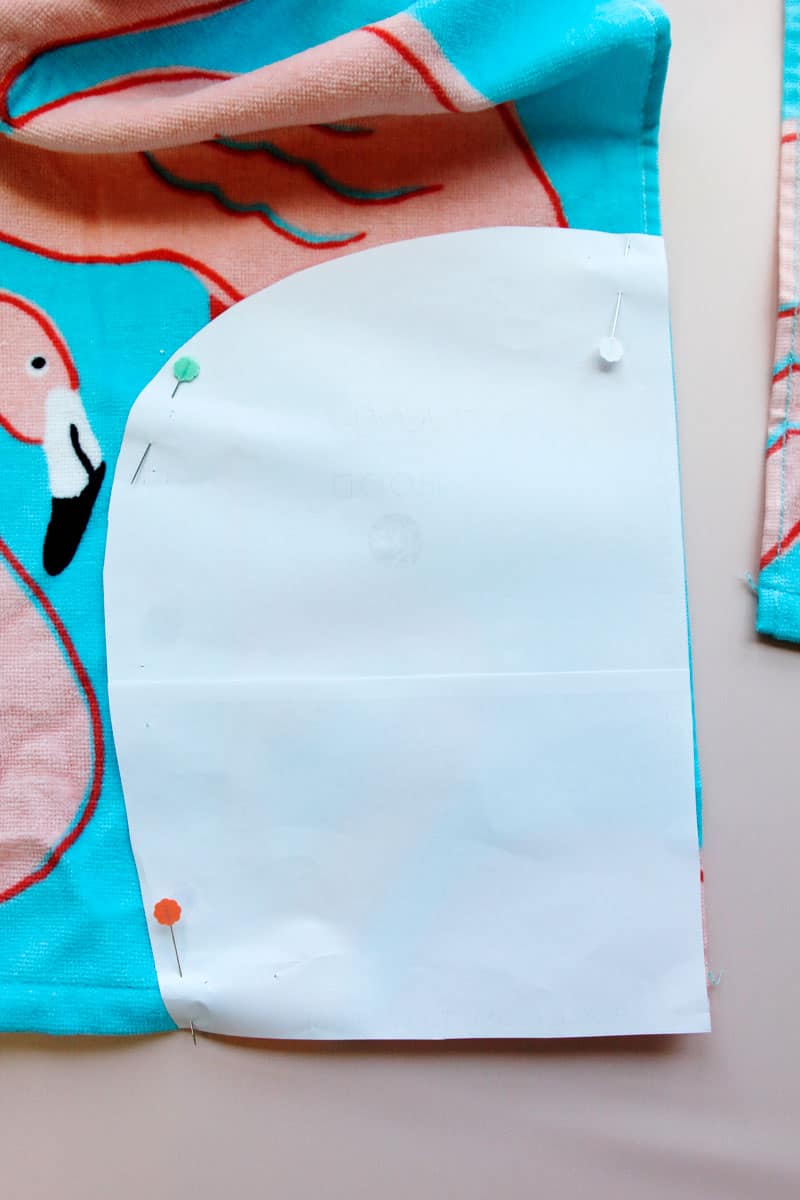
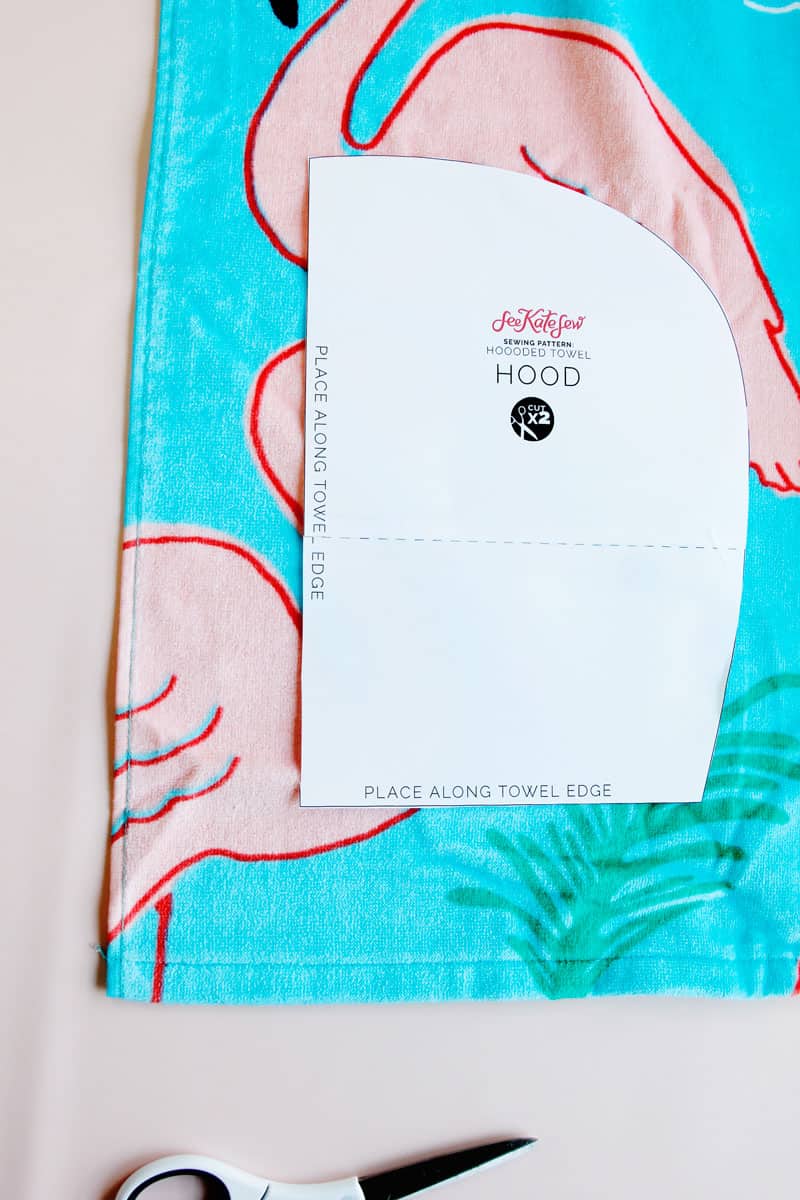
Place the pattern piece on the corner of the extra towel. The straight edges of the hood pattern should line up with the finished edges of the towel on the side and short edge.
Cut out one hood piece with the pattern piece facing up.
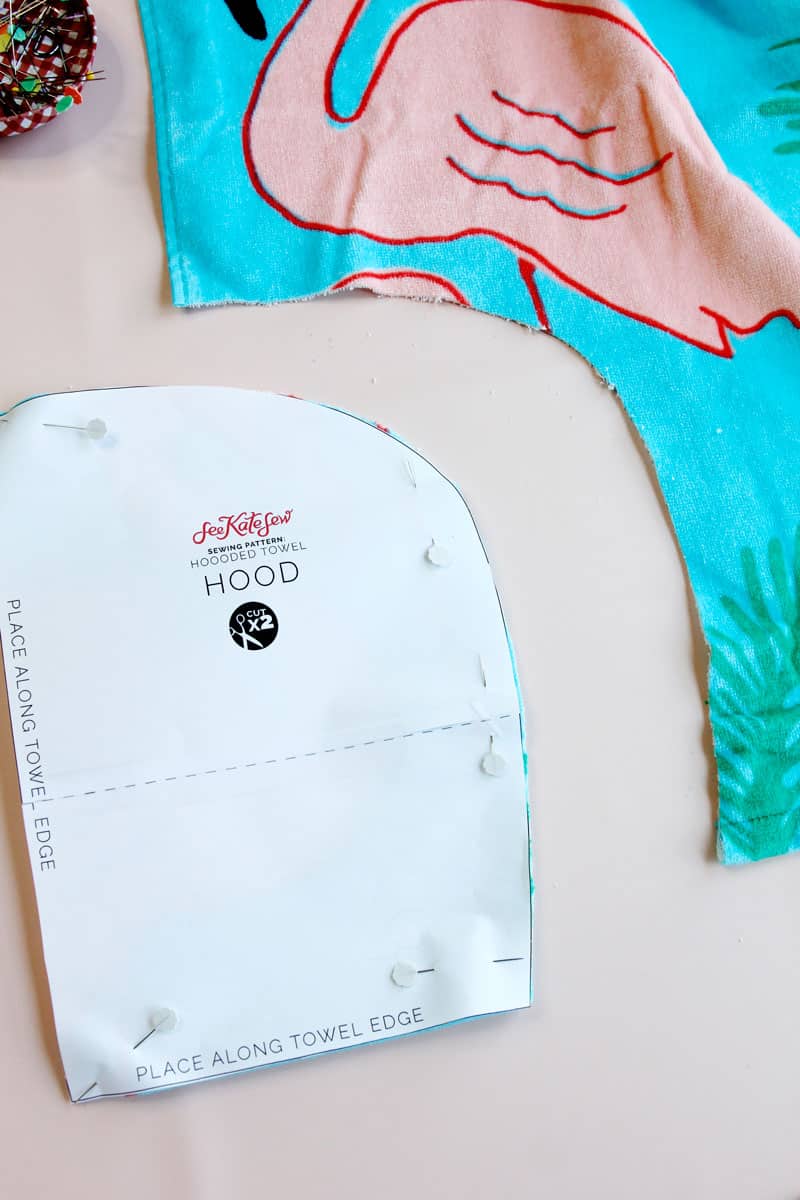
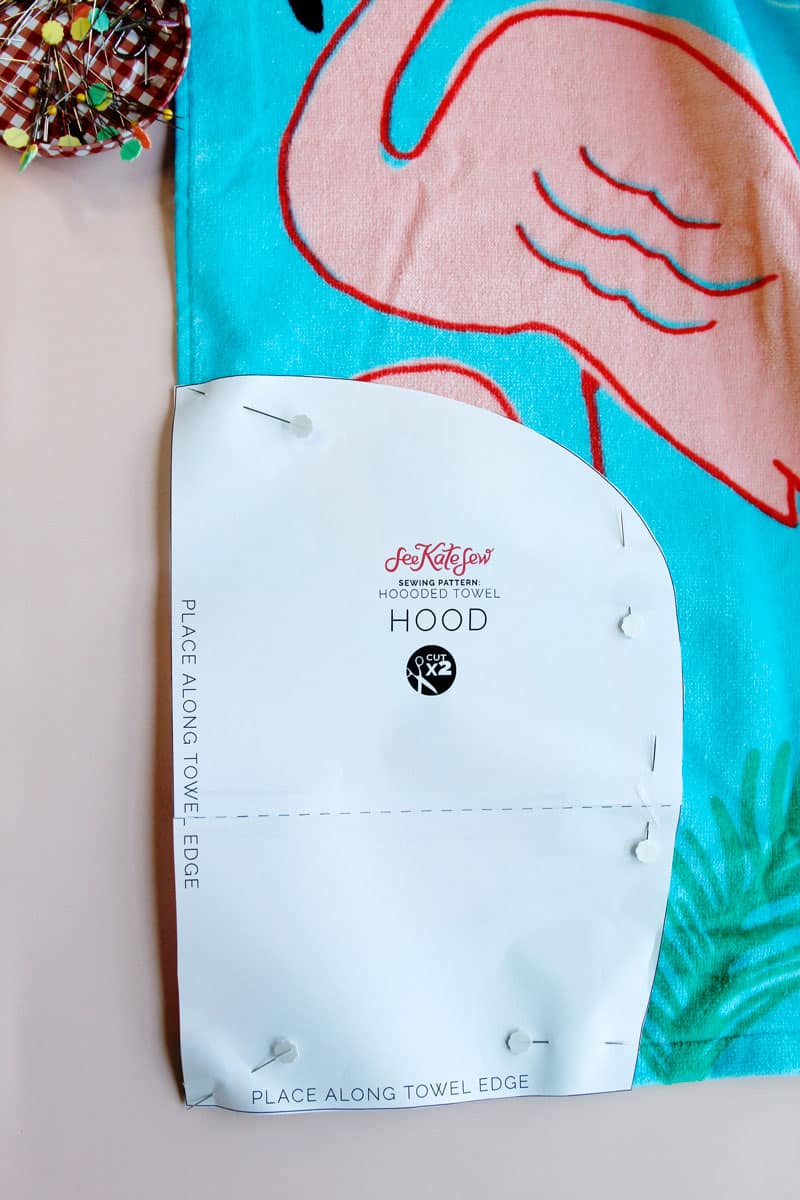
Flip the pattern piece over so the text is facing down on the towel and cut out another hood piece on the other side of the towel. Make sure the straight edges of the pattern piece are also on the straight edges of the towel.
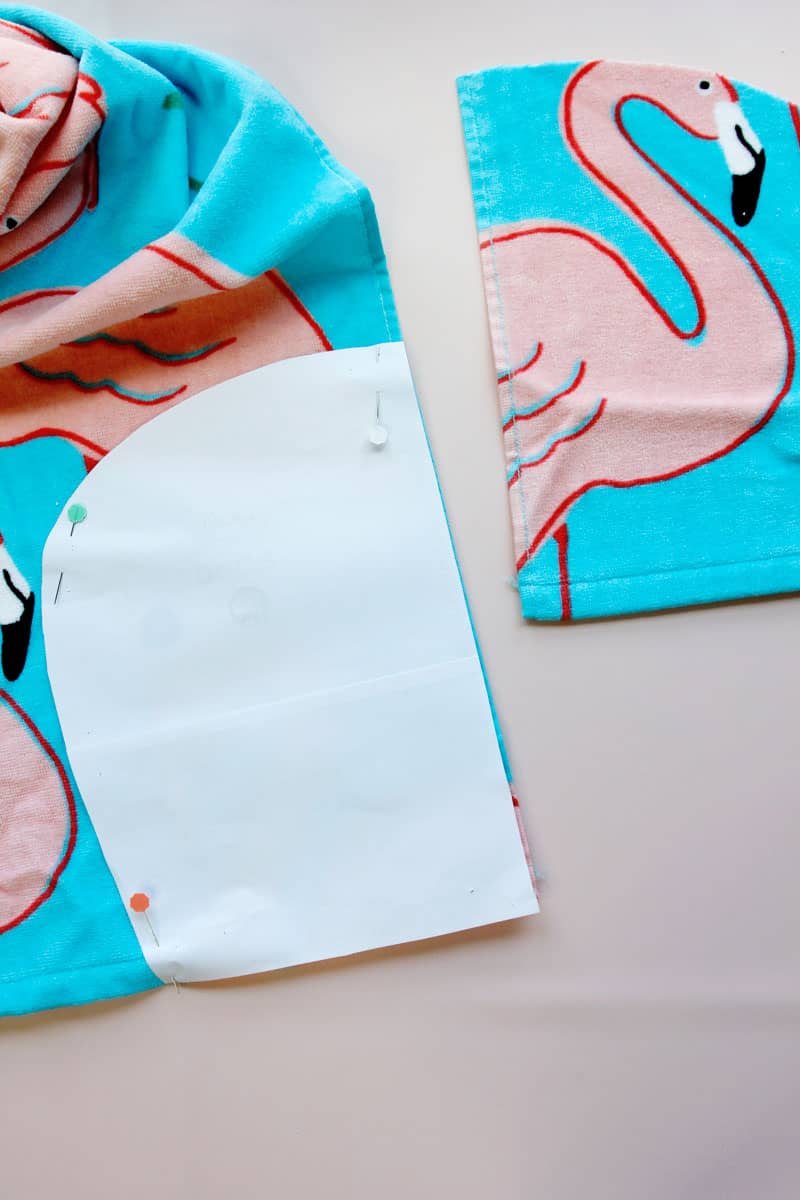
Pin and cut another hood piece.
You will have two hood pieces mirror image of each other.
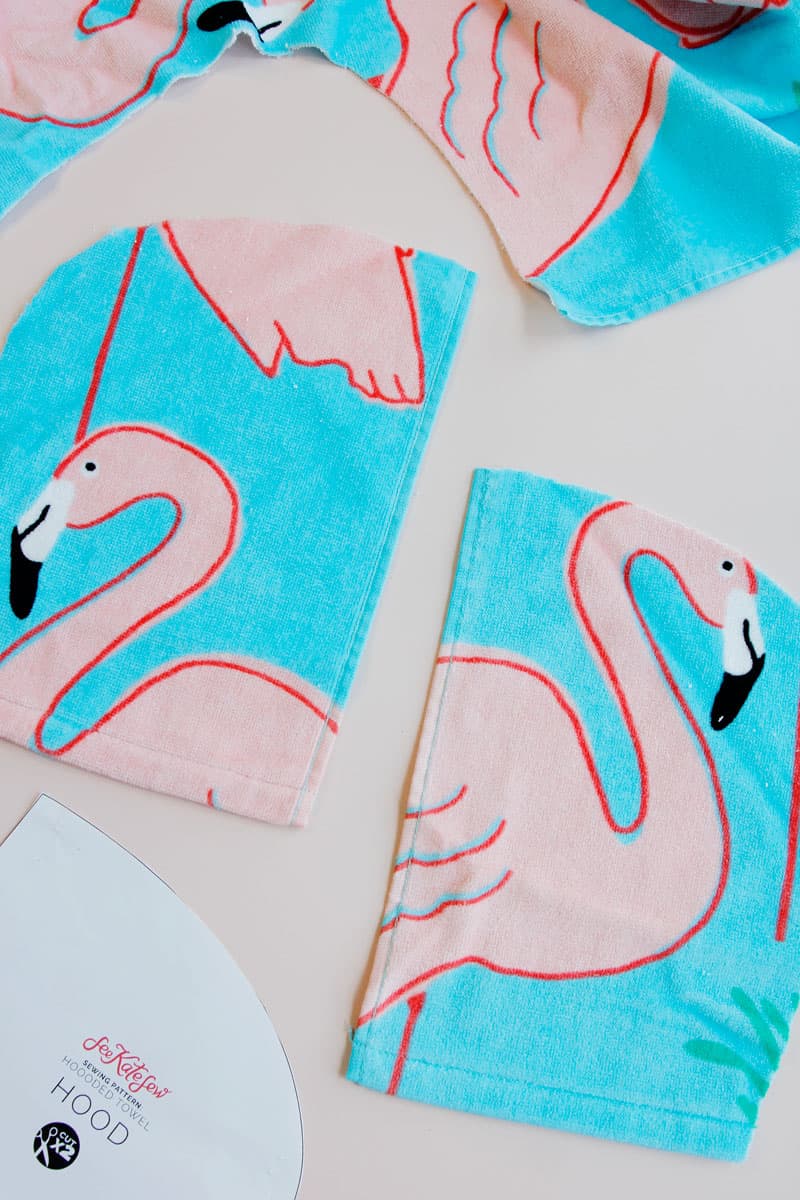
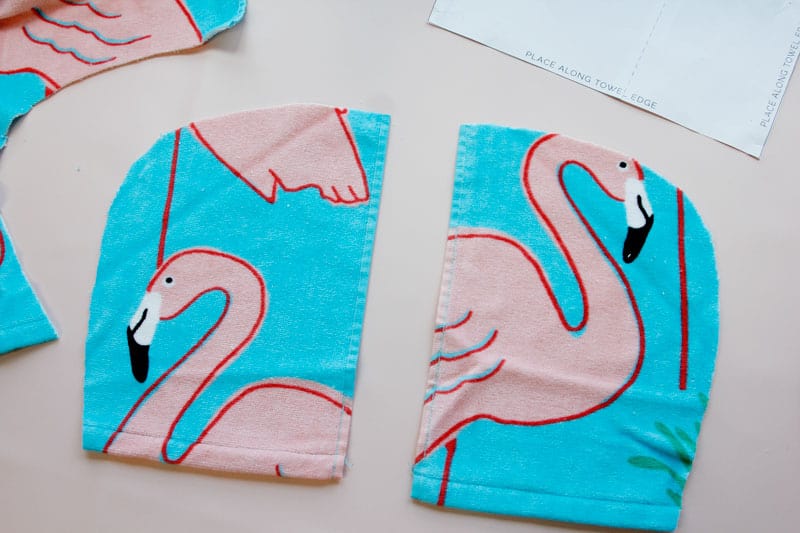
Pin pieces together with right sides together and pin around the curved edge.
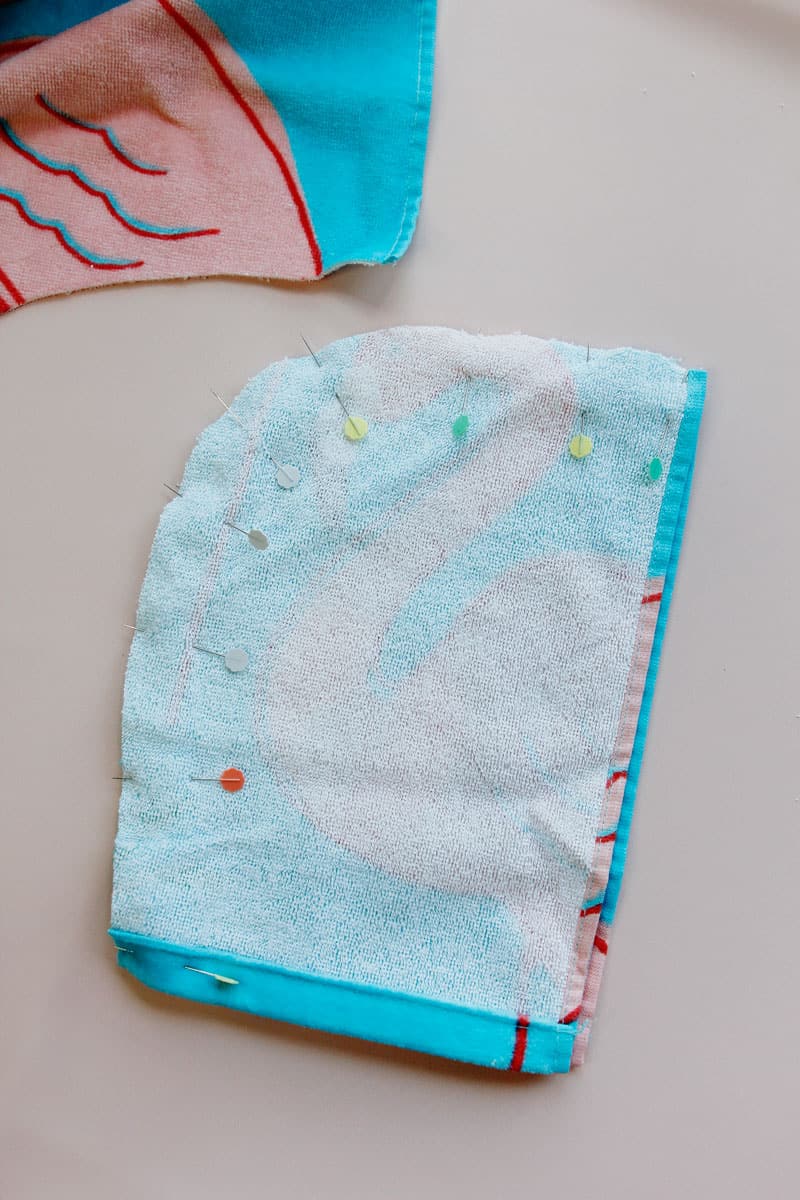
Sew around the curved edge 3/8″ from the raw edges. Then zig zag stitch the seam allowance. Alternatively, you can use a serger or fabric binding to enclose this seam.
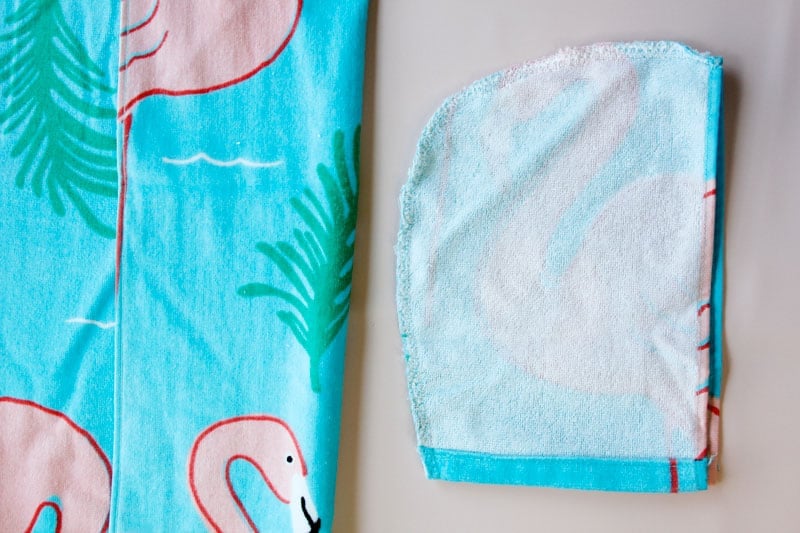
Mark the middle of one of the long edges of the towel with a pin.
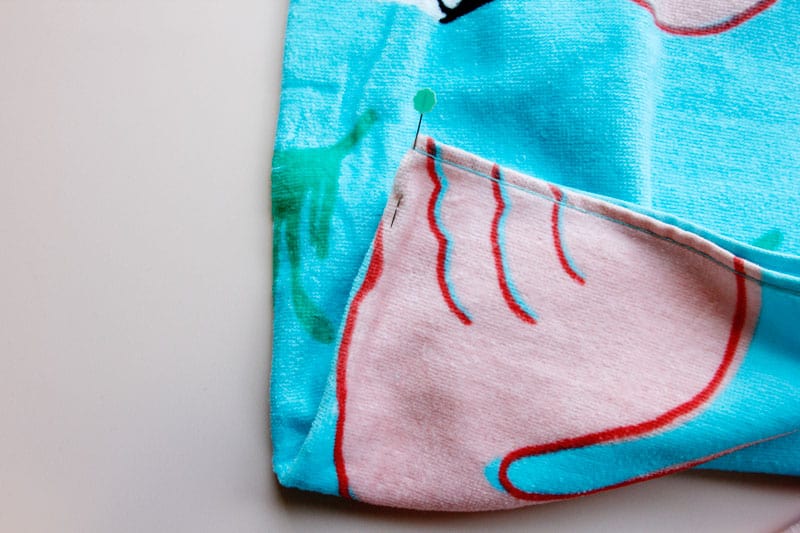
Line up the middle of the hood with the pin.
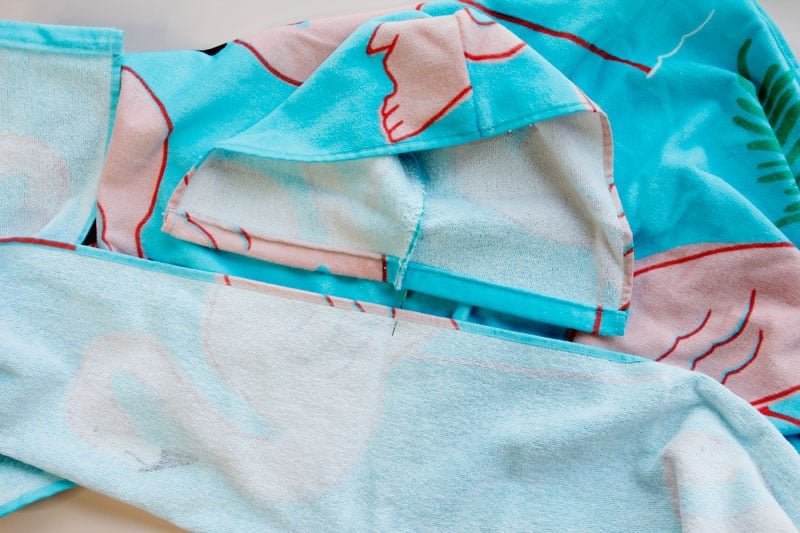
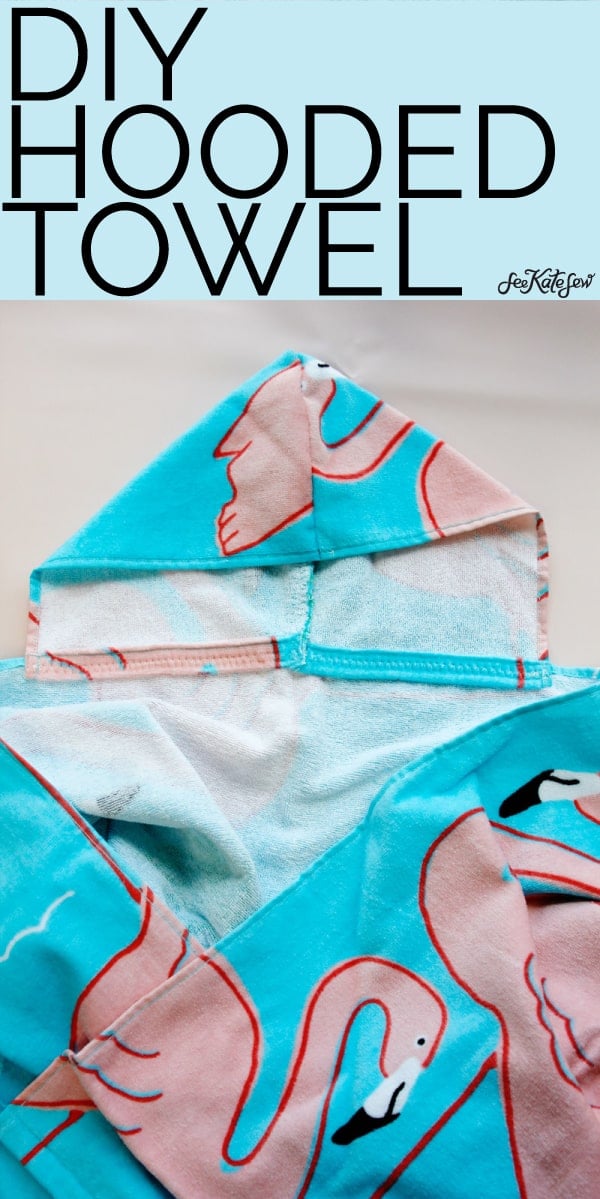
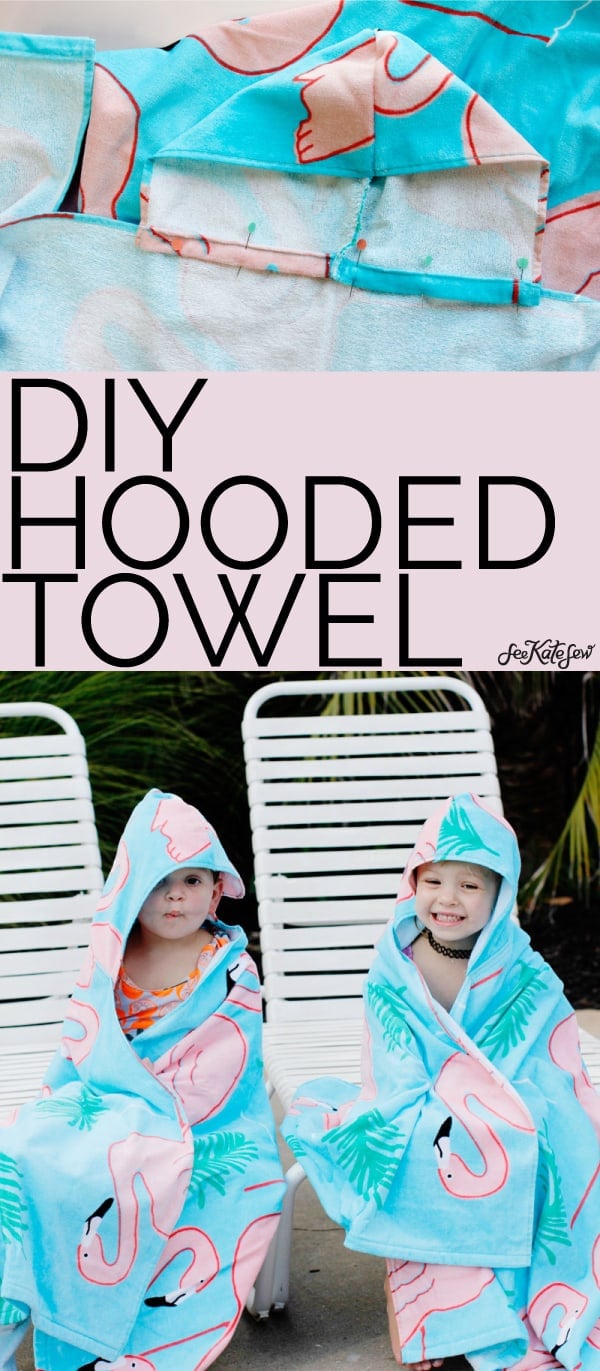
Pin hood on wrong side of towel with thick edge of towel overlapping the towel’s long edge.
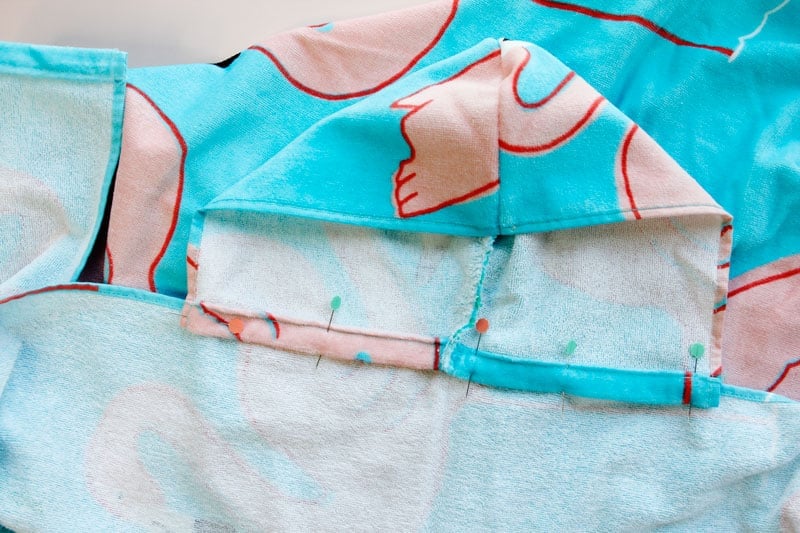
Sew hood to the towel with a wide zig zag stitch. Use a straight stitch to secure both edges of the hood. Sew up and down perpendicular to the zig zag stitching and backstitch to secure well.
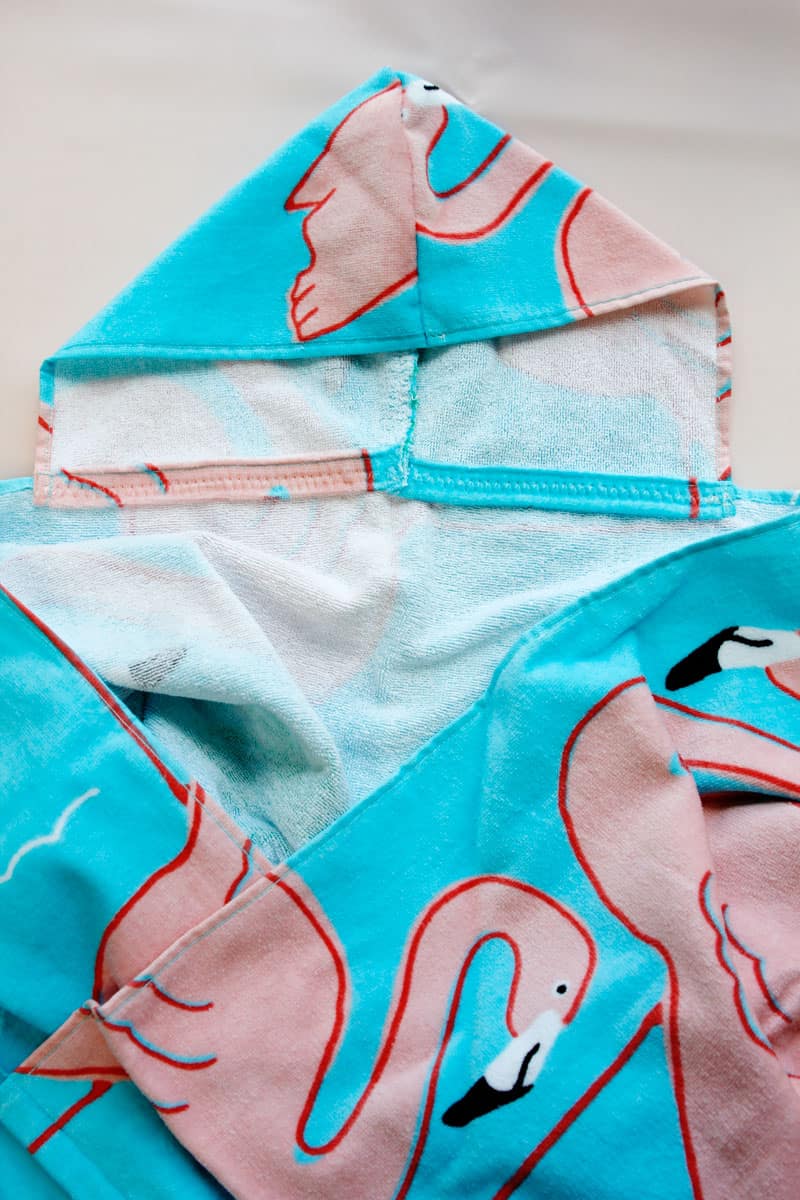
Clip threads and your towel is done!







When I click on “download” it brings up a picture, no pattern!
Were you able to get the download? If not, email me seekatesew1 (at) gmail (dot) com and I will email it to you
Would love to be able to print instructions. Could you possibly use a hand towel for the top or would that be too small. I have made them in the past using a hand towel or two wash cloths but this patter looks like it would fit the head much better, thanks so much
I think that would work too! This hood is a little curved
Would this work for an adult sized hooded towel?
I would make the hood a little bigger for adult size – maybe print it out at 115%