Silkscreening is a really fun medium! I used to screenprint a lot…mostly tshirts for my high school class and for friends in college. Usually in runs of 100+. And always after midnight for some reason. The very first things I ever sold in my etsy shop were screen printed owls. It’s really fun and even more addicting! I think you’ll like it, too.
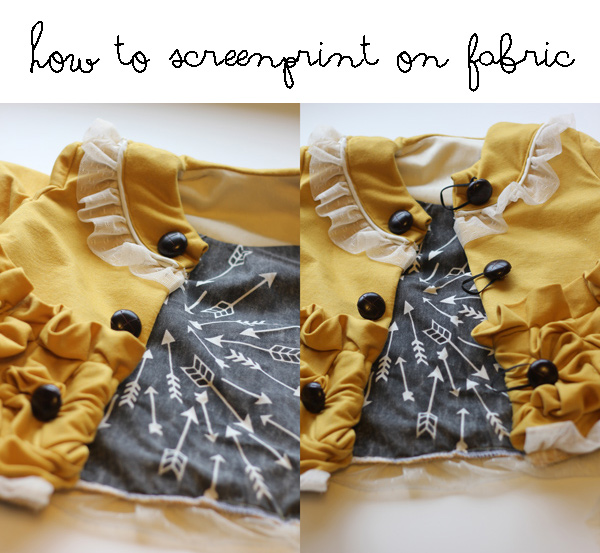
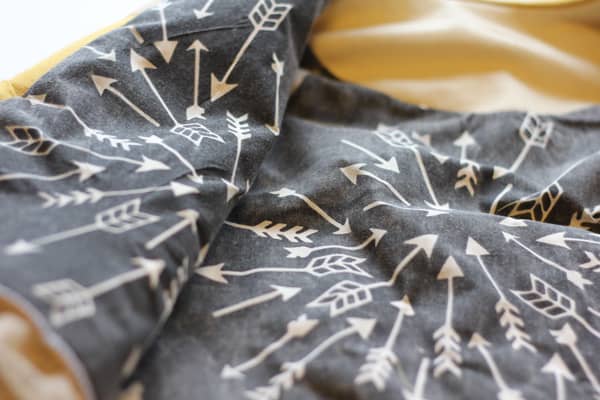
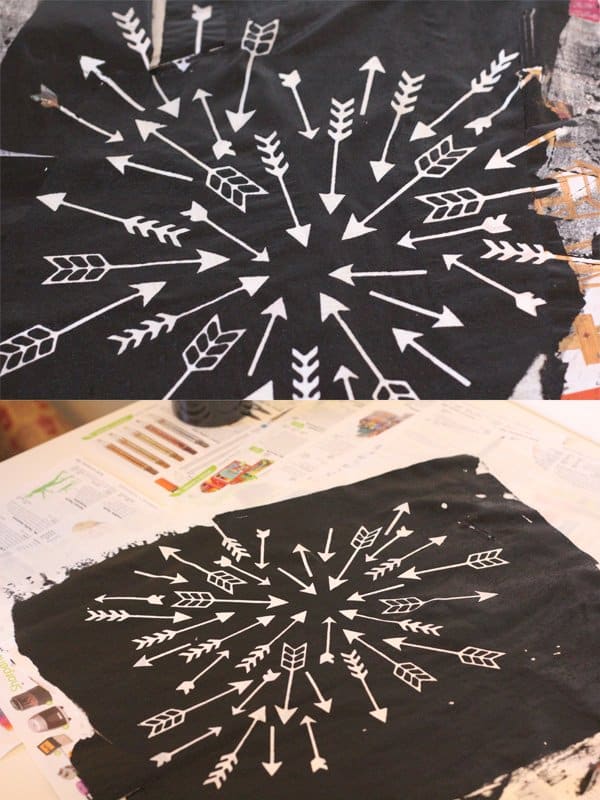
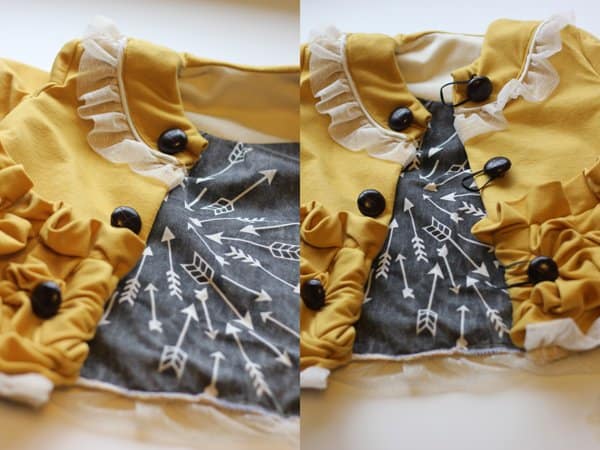
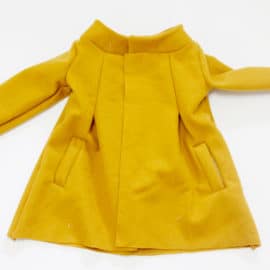
I recently screenprinted the lining of this coat for Project Run and Play and think it adds so much character! I love linings that are extra special, it’s like your own little secret inside your clothing.
My mom taught me how to silkscreen. Out on the grass in the front yard with a makeshift screen. I was lucky to grow up in such a creative household. I grew up with art supplies all over the place!
There are a lot of ways to silkscreen and a ton of products. Most supplies are produced for commercial production. It’s messy! And stinky. It took me a few years to get it down to a home-friendly non-chemical method. And here it is!
Supplies
Getting started is a little pricier than a typical craft project, but this is hardcore crafting! It’s worth the investment. A screen can last years if you take care of it. I get all my supplies from Dick Blick. They rock. And their shipping is super fast, like faster than they say it is. I’ve used their supplies for years. There are a few starter kits![]() for silkscreening, too, with everything you’ll need if you’re serious!
for silkscreening, too, with everything you’ll need if you’re serious!

The first thing you need is a screen printing frame![]()
![]() . I just call it a screen. It’s made of finely woven mesh. When you pull the ink through it will leave an even and clean layer of ink. They come in all sorts of sizes and a few different mesh types. The size you need will depend on what you’re printing. The 12XX monofiliment is the kind I like for printing on fabric.
. I just call it a screen. It’s made of finely woven mesh. When you pull the ink through it will leave an even and clean layer of ink. They come in all sorts of sizes and a few different mesh types. The size you need will depend on what you’re printing. The 12XX monofiliment is the kind I like for printing on fabric.

![]()
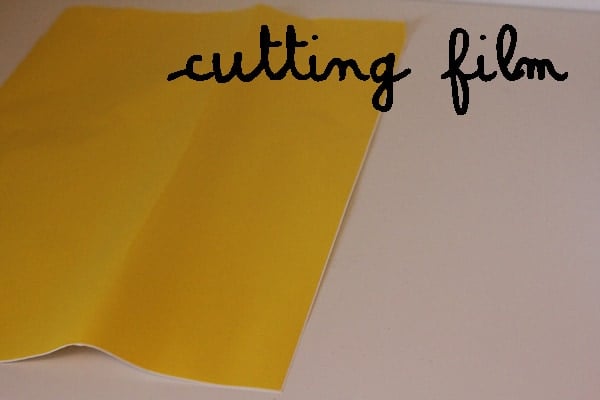
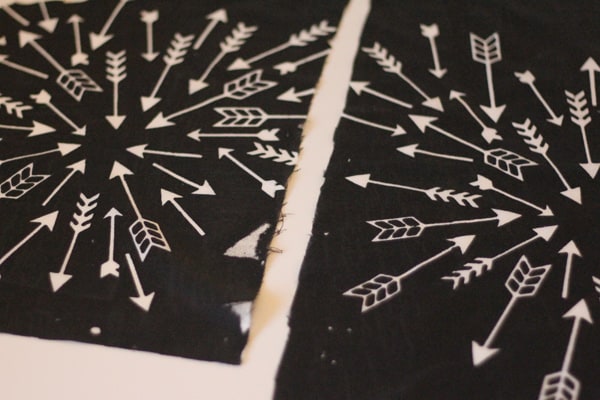
Cutting film is what you’ll make your shapes with. I use this yellow mask-ease![]() vinyl and an X-acto knife. You can use contact paper instead, but it will not work as well. It will likely bleed and not last for as many prints as you might need. There are lots of different ways to get shapes on your screen, but this is the easiest. (I cut these arrows with my Epic Die-cutter.)
vinyl and an X-acto knife. You can use contact paper instead, but it will not work as well. It will likely bleed and not last for as many prints as you might need. There are lots of different ways to get shapes on your screen, but this is the easiest. (I cut these arrows with my Epic Die-cutter.)
let’s get started:
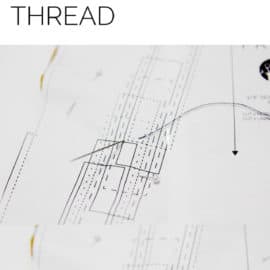
1. Design
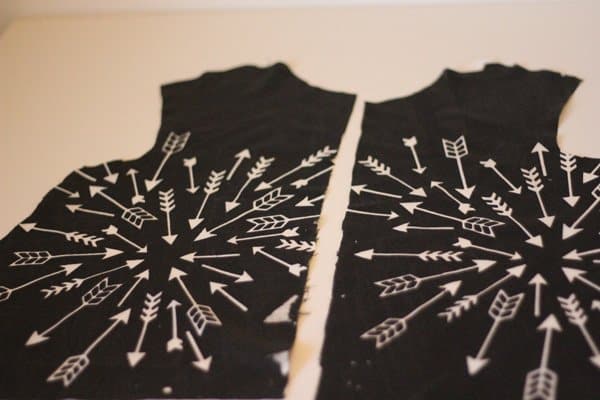
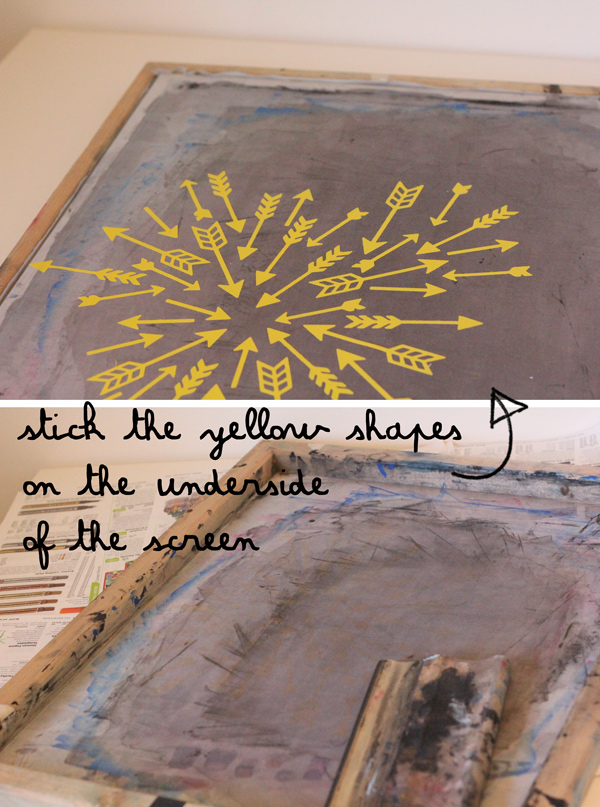
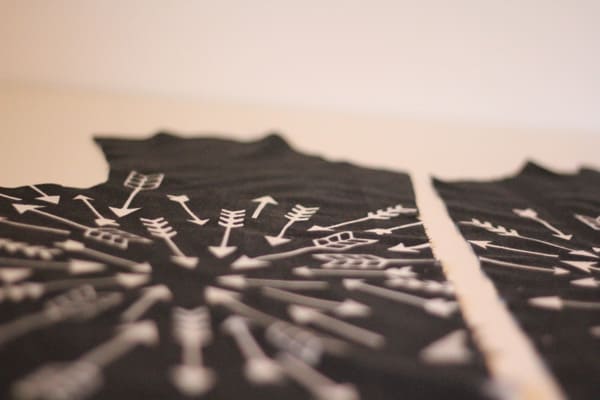
Cut out your design from the yellow cutting film. I use either an X-acto knife or my epic die cutter. You can also use punches or an electronic cutter if you have one. For my coat lining, I used the arrow die from Lifestyle Crafts with my epic die-cutter. Then, peel off the backing and stick them on the underside of the screen. As you can see, I printed the negative space, so the arrows would be white.
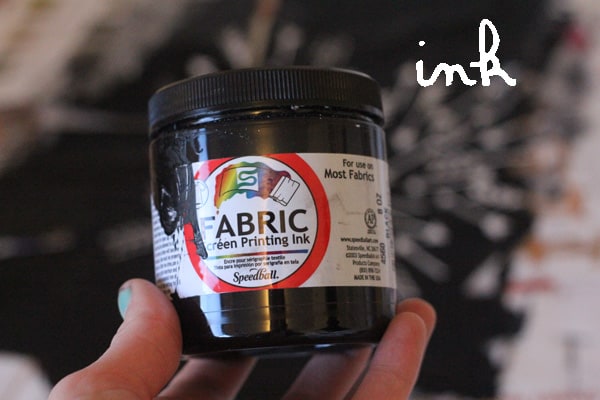
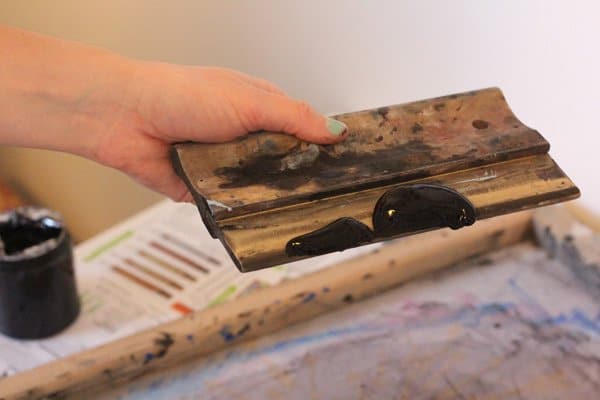
2. Ink Up
Gage how much ink you’ll need by how big your design is. Since I’m printing a large negative space I put lots of ink on my squeegee! You can also put the ink directly on the screen.
Before you do this step, make sure you’ve prepared your surface with newspaper and then put your fabric on top of it. The ink will likely run through your fabric, so be prepared with lots of newspaper!
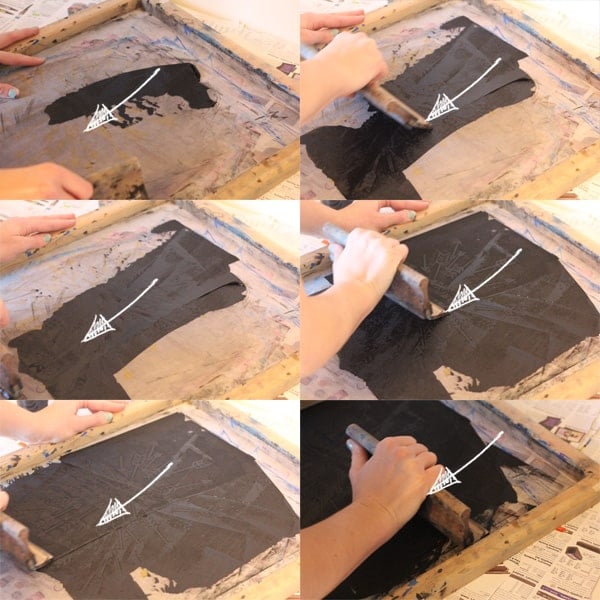
3. Print
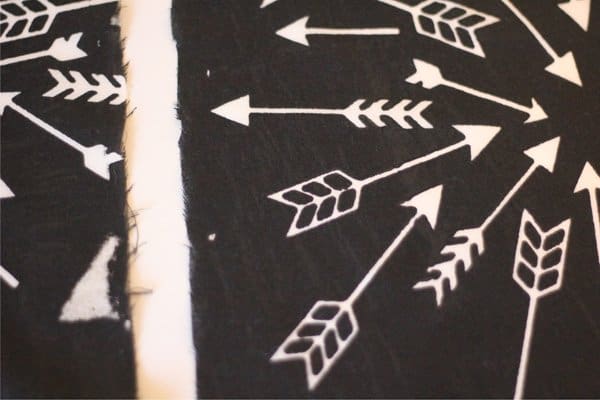
Apply the ink to the screen and pull down until the design is covered. It’s important to pull in the same direction to minimize leaks. As you squeegee, the ink will go through the screen and leave a thin and even layer of ink. The holes in the mesh of your screen are tiny, so pull hard!
4. Clean Up
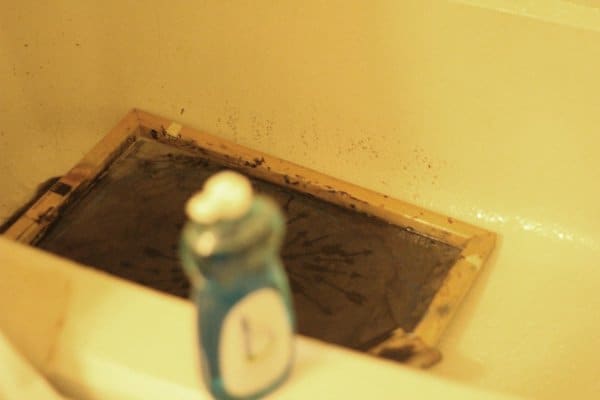
I wash my screen in my (poorly lit) bathtub with standard dish soap. Wash all the ink out and then peel the design off. Or, leave it on it you want to use it again in another print run.
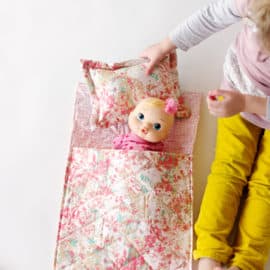
Now you can use it to line a jacket, make a pouch, or whatever!
Silkscreening is one of the most satisfying crafts I’ve ever done. It produces such a clean and crisp design with even ink and makes projects extra unique and special. I often have a hard time stopping once I’ve started. I will print on anything in sight while I have my screen out!
Now go print your heart out


Thanks for the tutorial – I’m fairly new to screenprinting and hadn’t seen the mask ease before. I’ve been messing with the photosensitive emulsion and your way looks much easier for bigger designs. I’ll have to try it.
Wowza!! That is talent my friend! You alm
Wow! That is talent my friend! You almost make me want to go out and get the supplies and do that!! It looks like a lot of work..but the result is beautiful!!
Jenna
I loved doing printing in college. I wish we had done it on fabric instead of just paper though!
awesome! I can’t wait to try it. I like block printing, but I think like you said, it’s going to be so satisfying and clean.
Wow, great! Thanks for sharing! :)
Agnes
soo that’s how you do it
awesome info, thanks Kate!
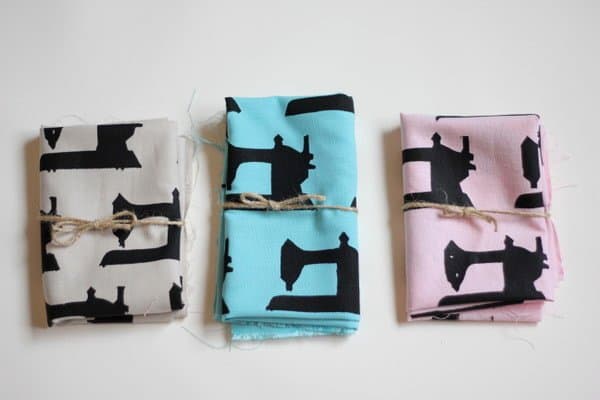
so freaking cool! i wondered where that sweet fabric came from. awesome.
So fun! I’ve been meaning to try this…I’ve been dying to make my own prints :)
http://distractedashley.blogspot.com/
Thanks for the awesome step by step! I’ve been wanting to screenprint forever so hopefully I can soon thanks to your help! (-:
Thanks for the tutorial and info on where to buy supplies. I did some screen printing in college with a much more messy and complicated process, and your post has inspired me to get back into it soon. Only…with your much easier process to look forward to using.
Love this idea….you are amazing!
Can I ask you something? Does it harm your screen once you remove the vinyl? Do you have to clean it with a certain cleaner? Thanks for tutorial, it help me a lot!!
excellent tutorial…thanks so much for sharing…I’m definitely a new follower!
I saw this on Pinterest. It’s just what I’ve been looking for! I ordered all the supplies you suggested :) Dick Blick should give you a commission!
Aw, that looks adorable and I just love that print! I’ve got this linked to my screen printing post as well today, nice job!
This is great! Silkscreening has always intimidated me because of the emulsion process, but this seems way easier and produces awesome results! Thanks!!