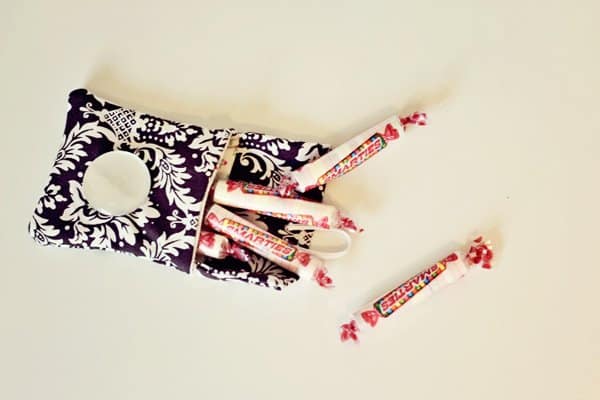
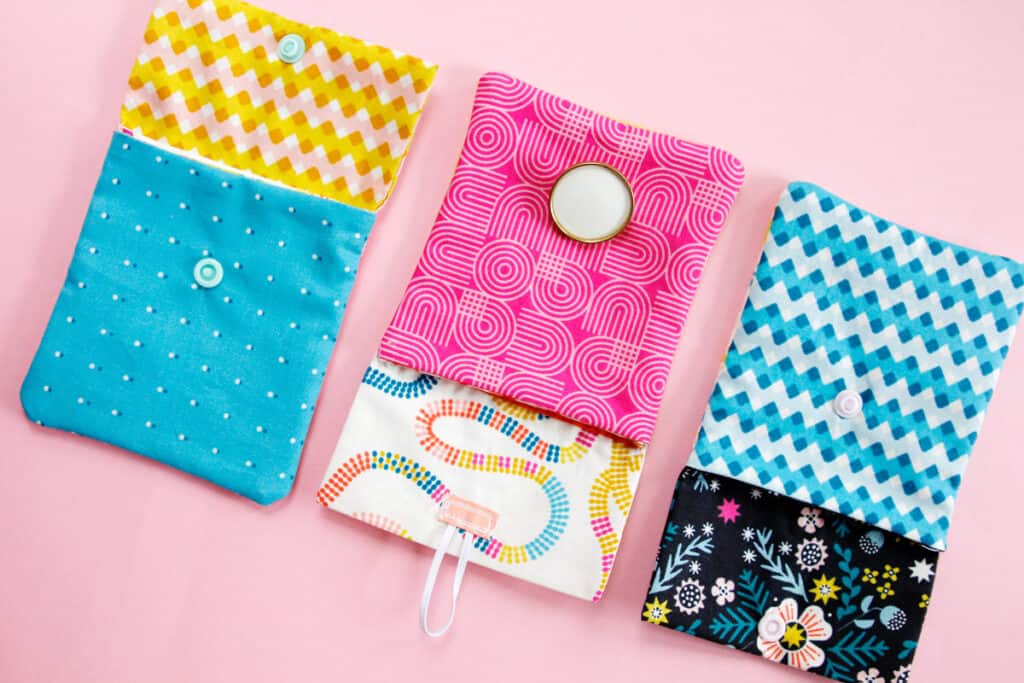
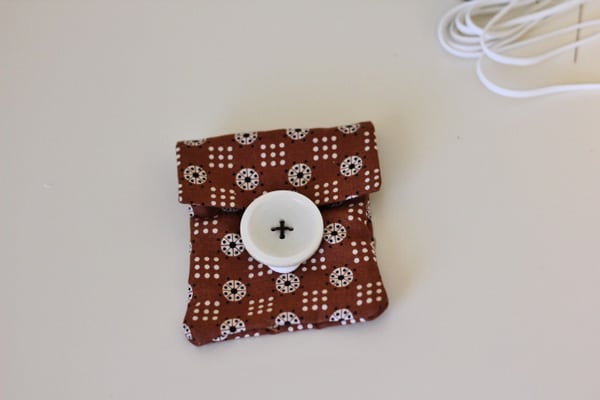
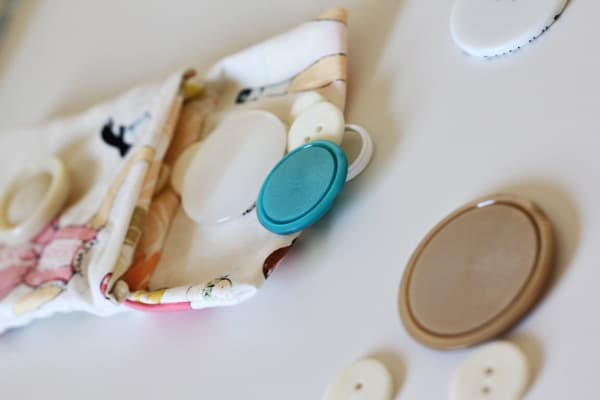
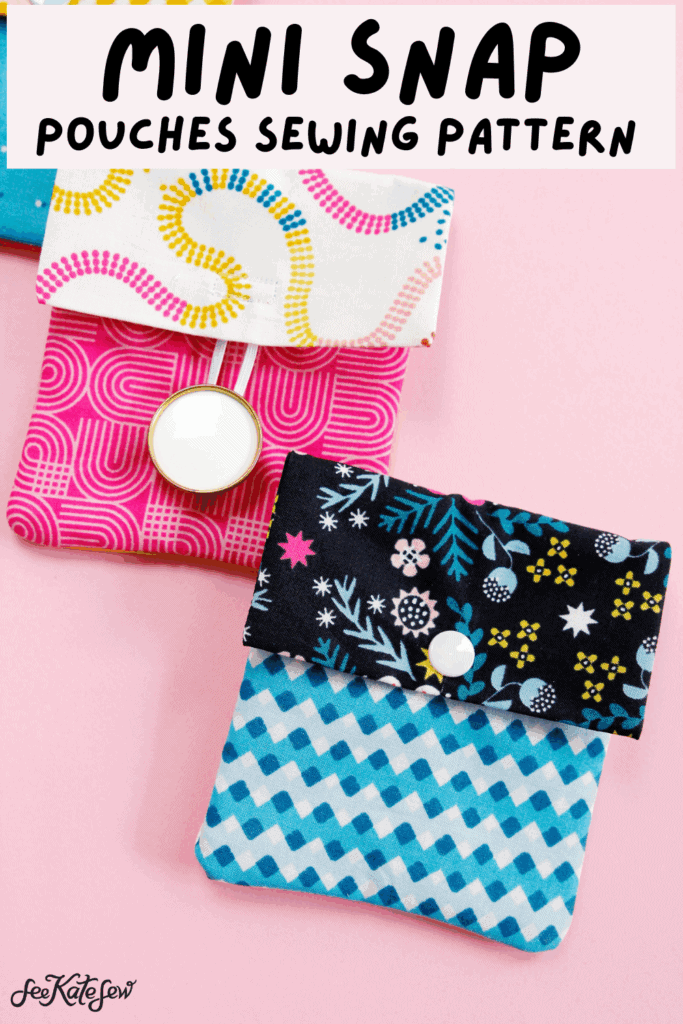
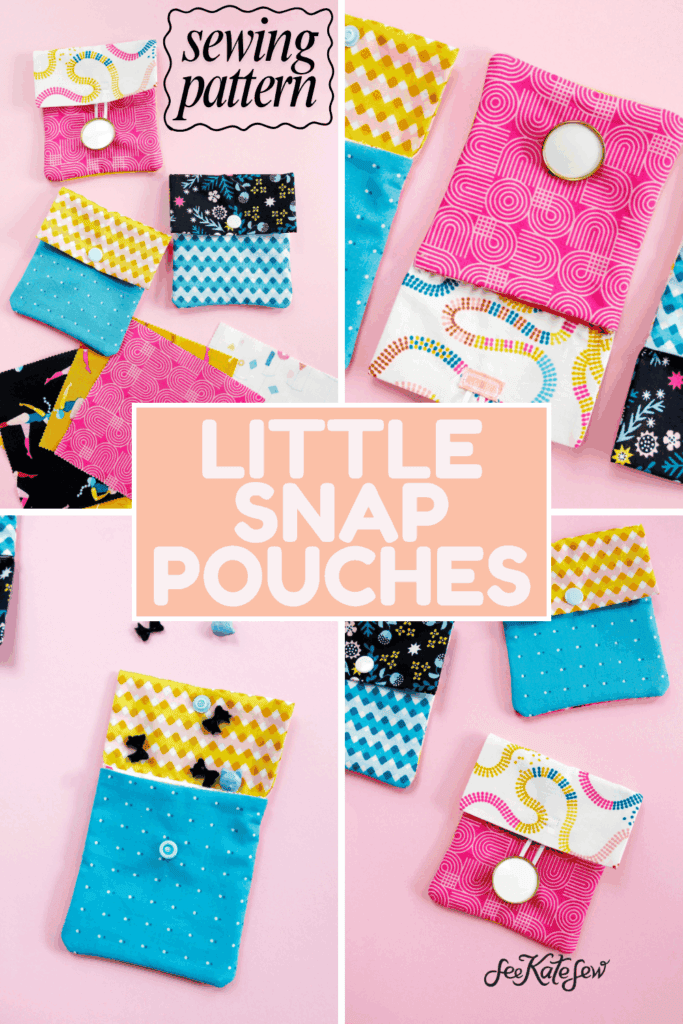
Let’s sew an adorable little pouch! This little button pouch tutorial makes the cutest little coin pouches that you can use for little treasures!
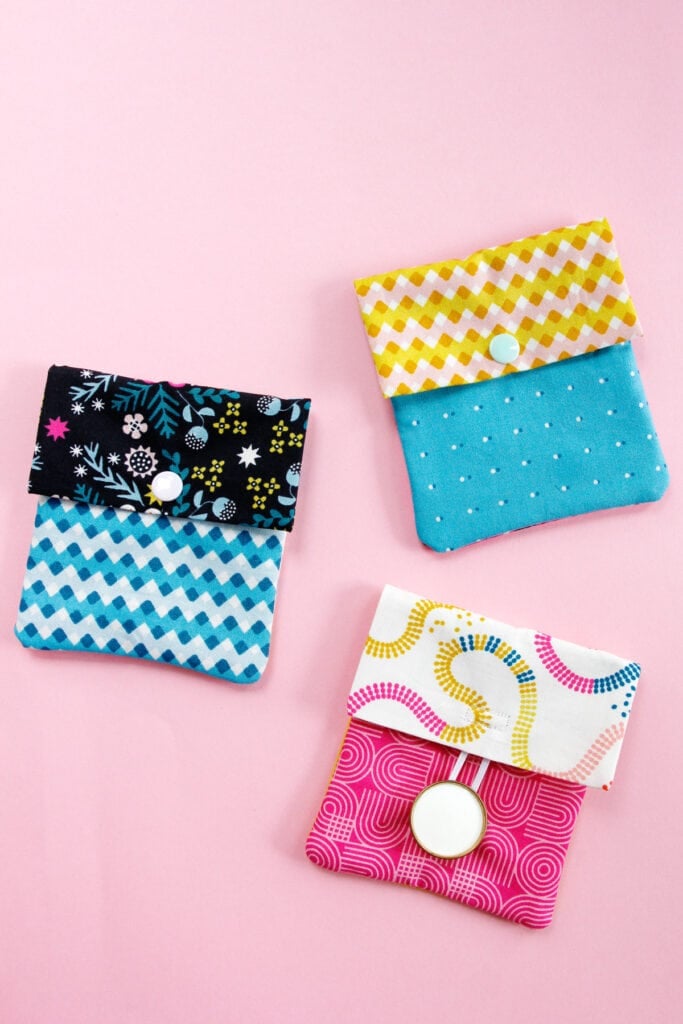
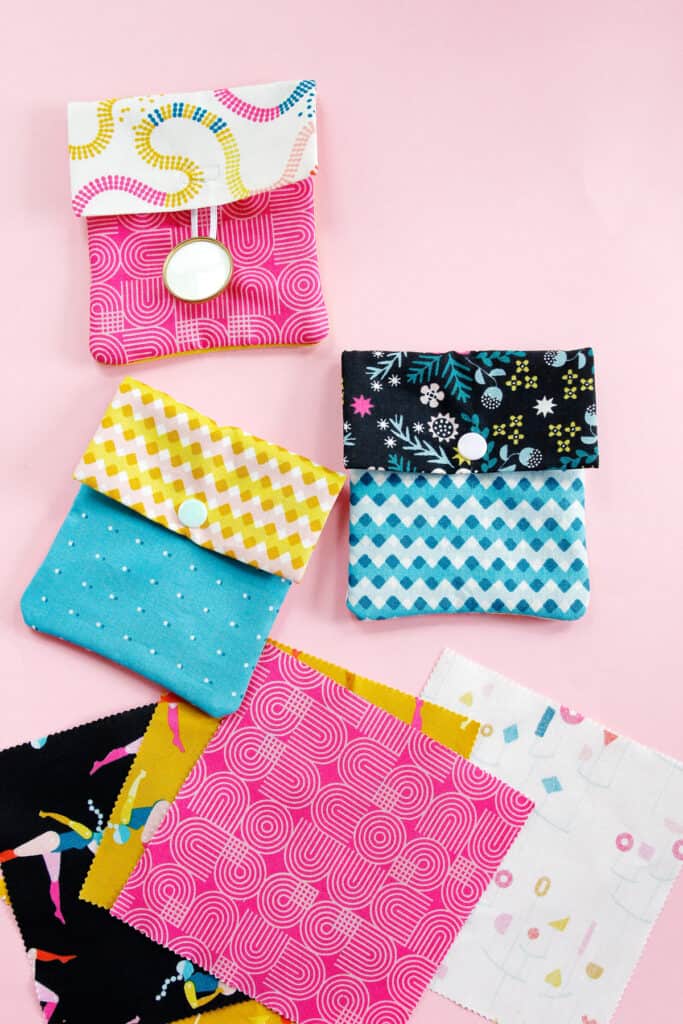
You can also use KAM snaps in place of a button – KAM snaps add a fun pop of color, too!
I love these pouches for keeping jewelry, too. They are small enough to keep jewelry safe and scratch-free, but also big enough to find!
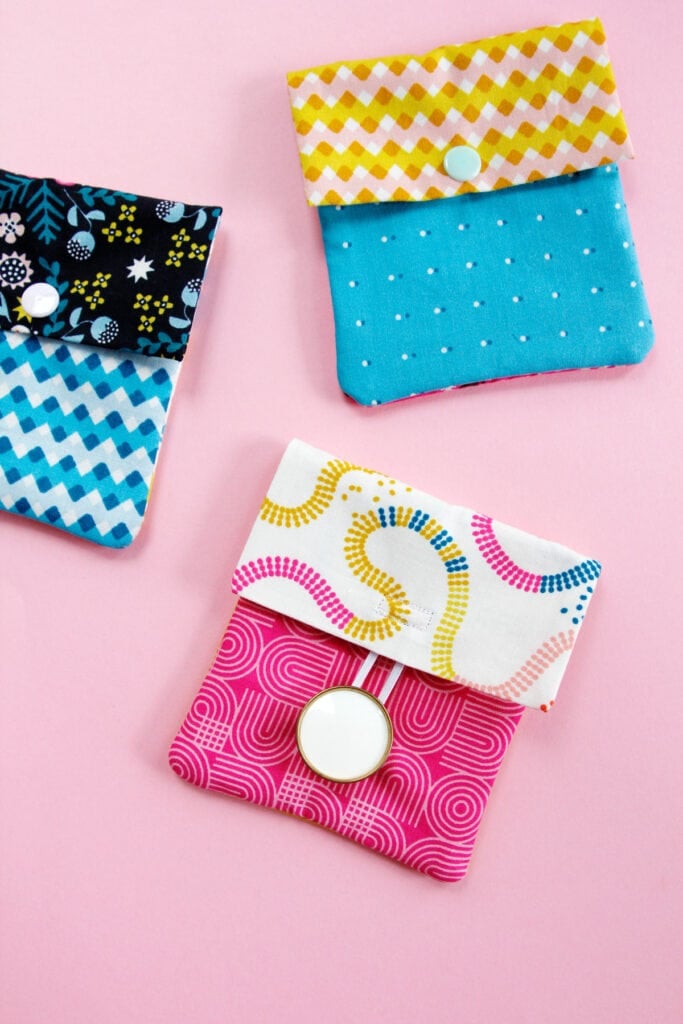
A gift card also fits perfectly in this little pouch so it’s a great way to give a card or money!
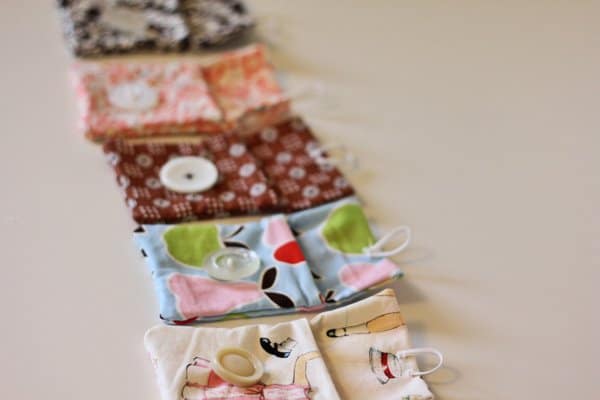
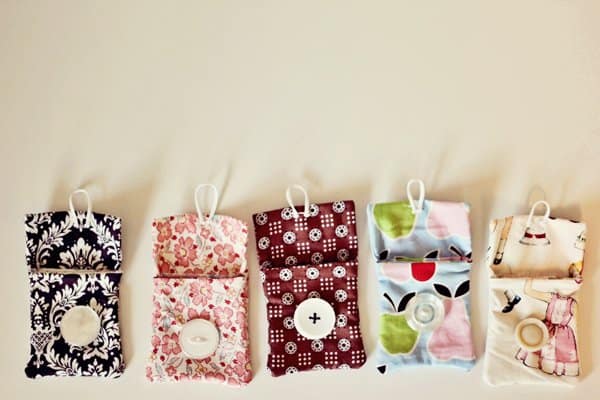
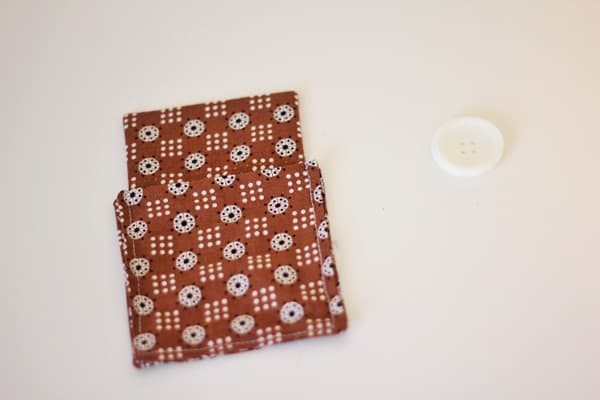
I’ve made up a stack to have on hand for little pick-me-up gifts. I’m sure you can think of a million things to do with them!
Button Pouch Materials:
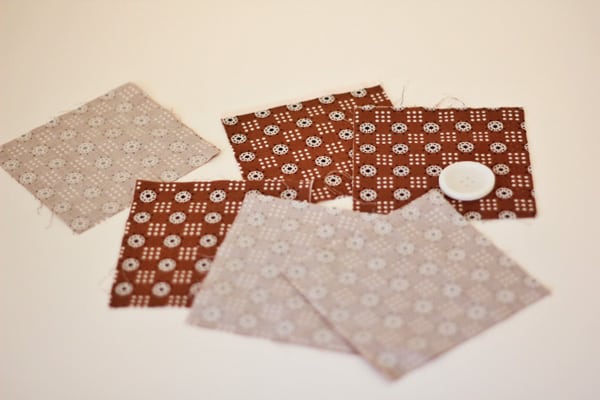
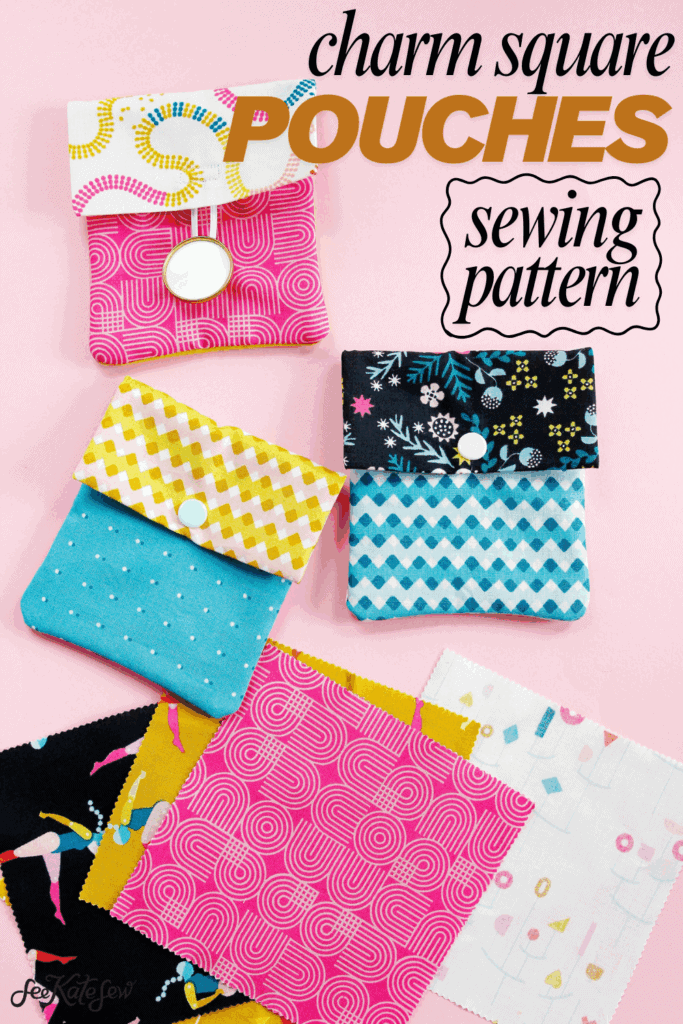
- 5 charm squares
- KAM snaps, or a 1″+ button and 1/8″ elastic
- Lightweight fusible interfacing
Little Button Pouch Tutorial with Charm Squares
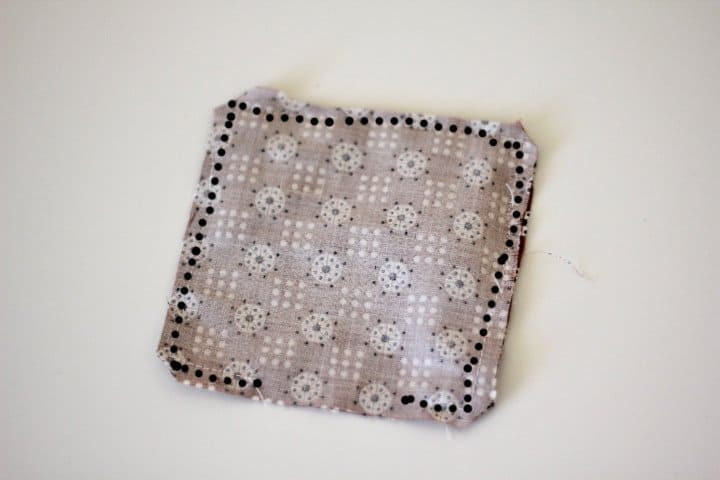
You’ll need 5 charm squares – or 5″ squares – and 3 pieces of interfacing measuring 5″ by 5.”
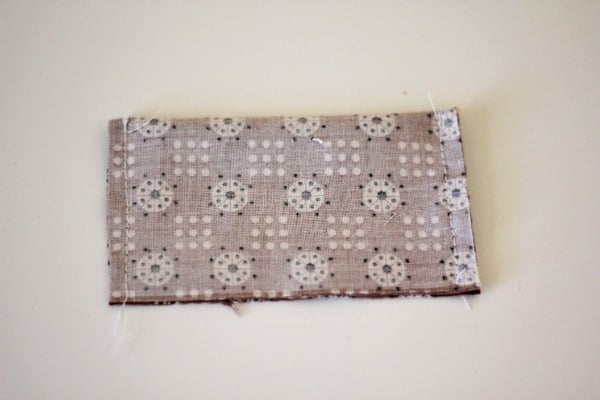
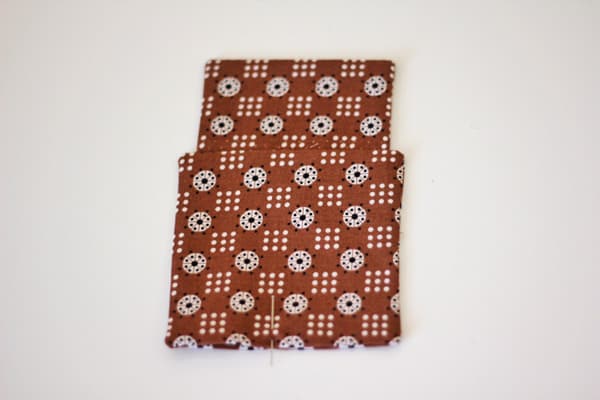
Let’s start by making the flap. Interface the back of it. Then fold the flap in half so the right sides are together. Pin and sew down both short edges with a 1/2″ seam allowance.
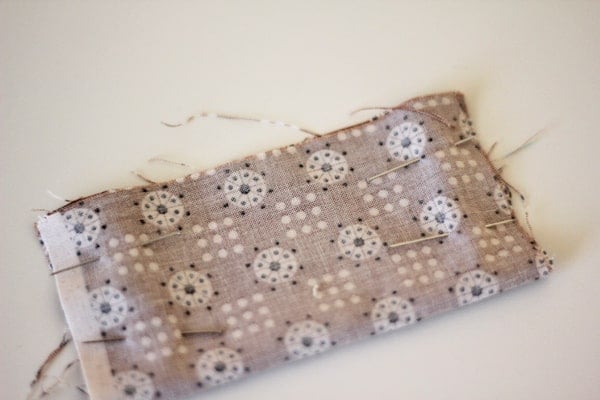
Make sure to backstitch at each end.
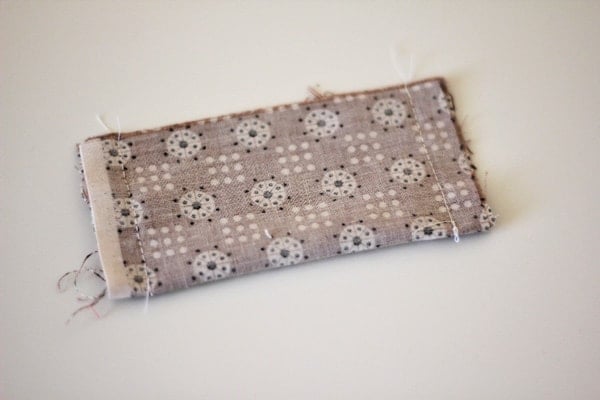
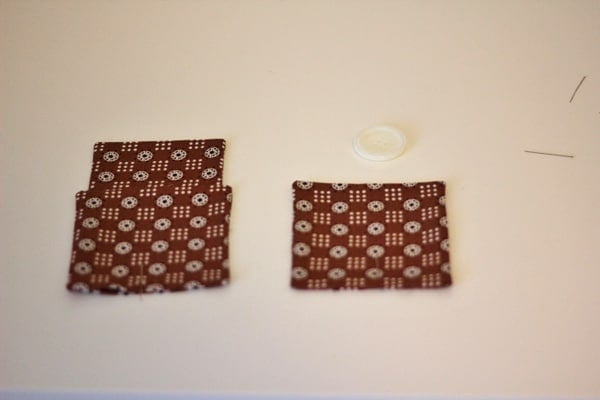
Trim the seam allowances and clip the corners.
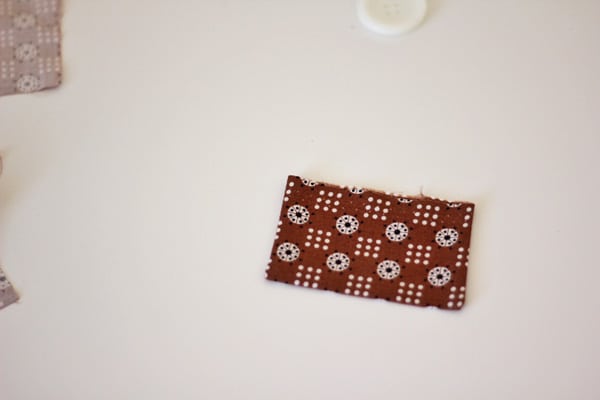
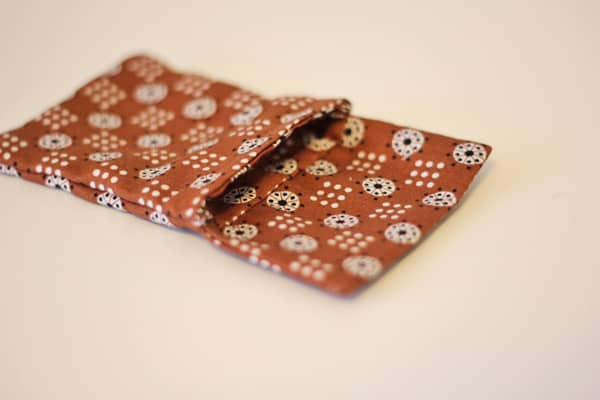
Turn the flap right side out and press. Push out the corners with a turning tool.
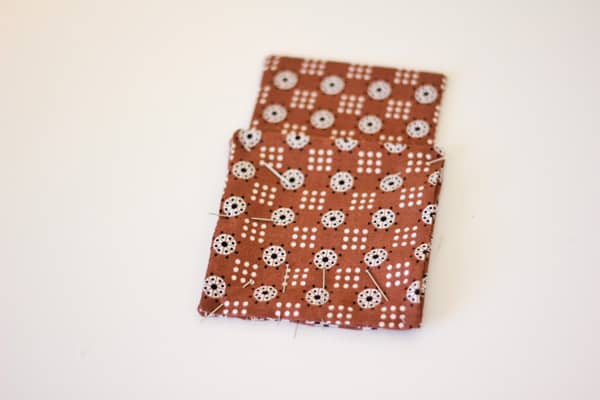
Assemble the Pouch
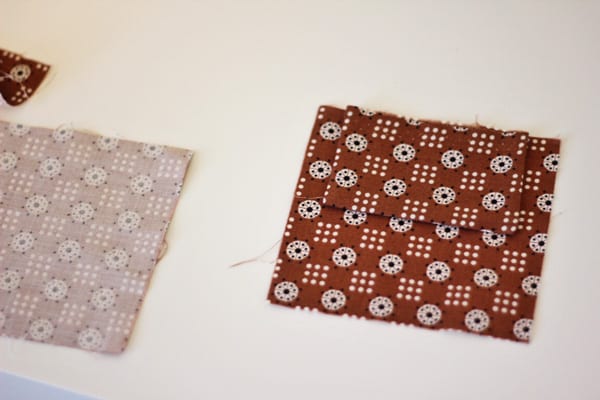
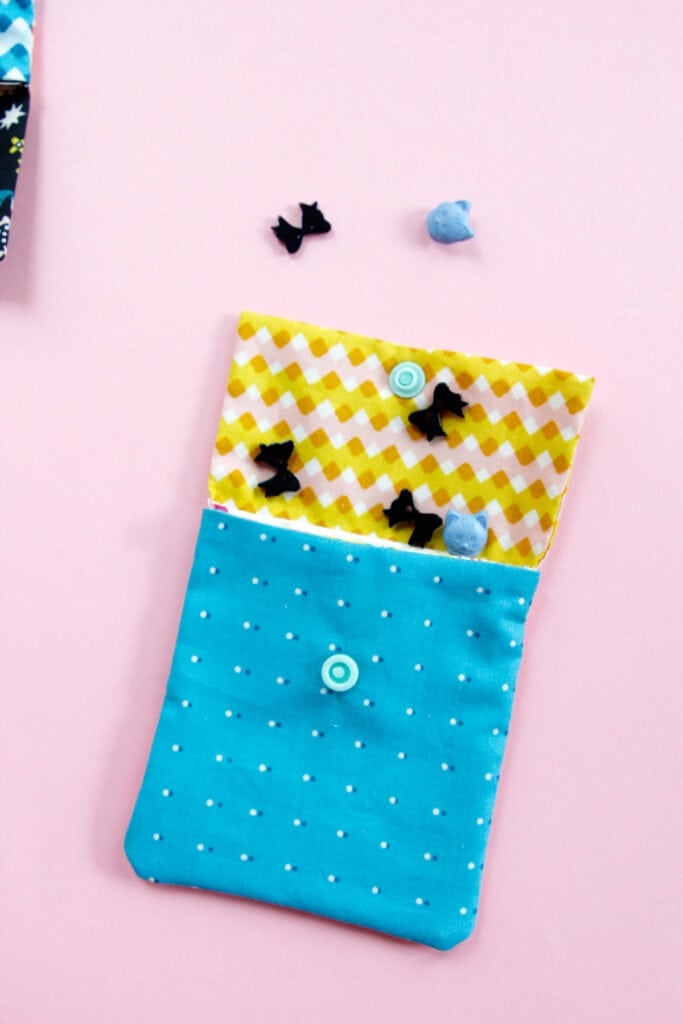
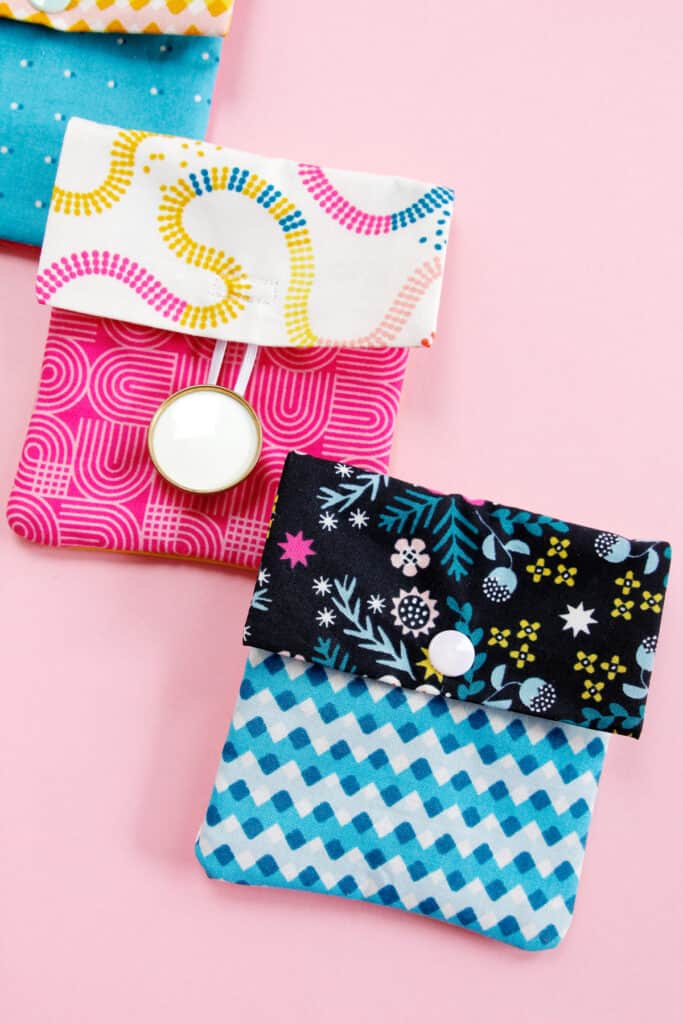
Add the closure
See the video in this post to see the KAM snap installation.
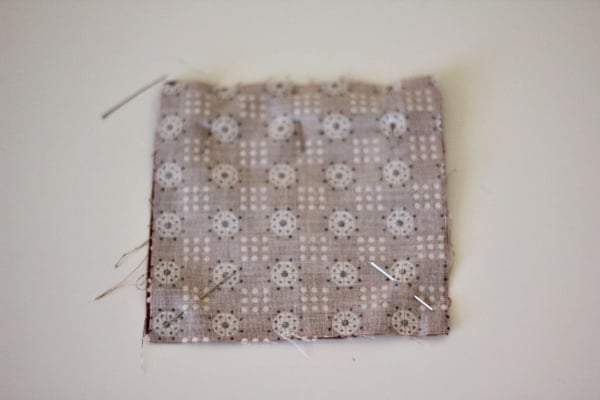
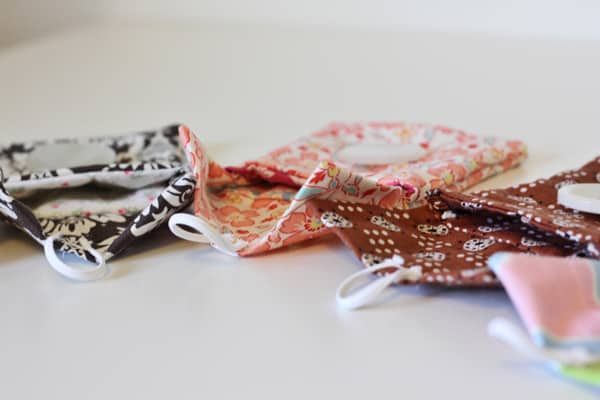
Now turn your pouch! Don’t clip or trim the lining at all. Since we already finished the lining’s edges it will have a nice clean interior. The thickness of the fabric will give the corners a little roundness.
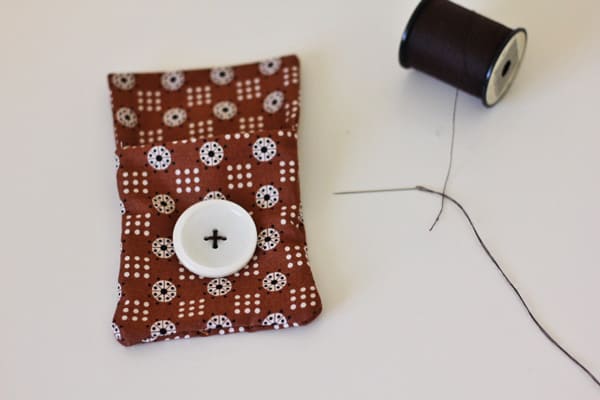
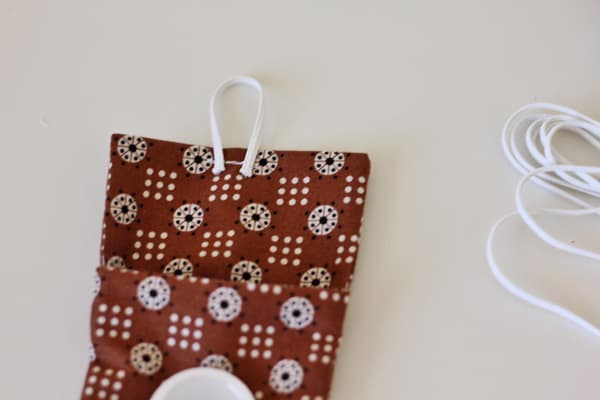
Sew the button smack dab in the middle of the front of your pouch.
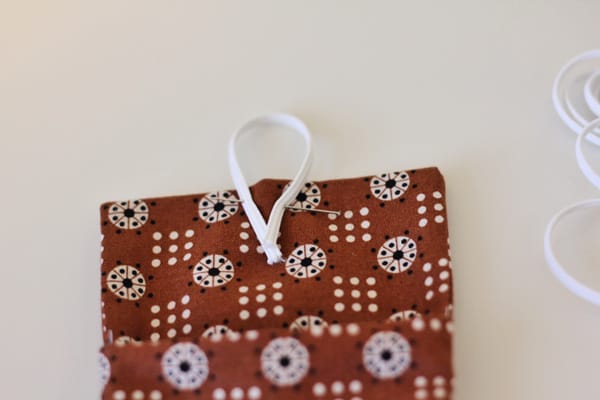
Now attach a little piece of cording to the flap, enough to stretch over and clasp over your button. But not too much that the flap won’t hold down.
So make a bunch more!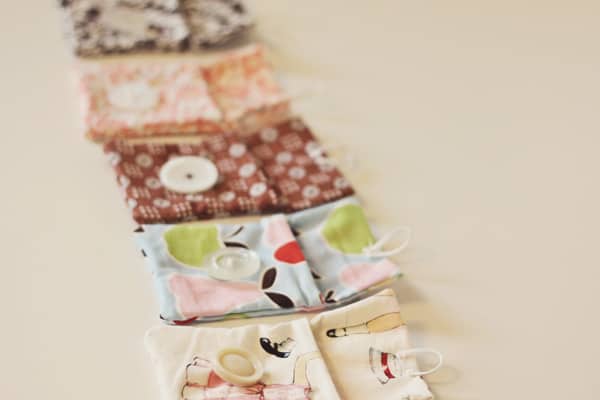

More charm square projects

Exclusive Free PatternRuffled Apron
Sign up for my email newsletter and receive my ruffled apron pattern totally FREE!
We take your privacy seriously. See our privacy policy here. Unsubscribe at any time.

I think I will make one to attach to my camera strap for my lens/remote!
I adore these! Great tutorial too, thanks :)
These would make great party treats and also lovely Christmas gifts or even wrapping for little pressies!
Lucy
xx
http://charmaboutyou.blogspot.com
Those would make the perfect pouches for binkies! I may have to make up a few before this baby comes!!
Very sweet little pouch :D
Visiting from Tatertots and Jello Linky Party,
Smiles, Suzanne in NW Illinois
Super cute
these are so stinkin adorable! I know a lot of little girls who would be tickled pink to have some of these!
Will a gift card fit?
Thanks Kate for the tutorial, the pockets are very cute. I’ve made my own and I’ve put tea bags inside!!!
Regards from Spain.
These are so cute and so many possible uses! Thanks for the tutorial!
becky@chaselegaltitle.com
Great tutorial–thank you! They’re super cute :)
So adorable!
I”m not sure what I would use mine for – but I NEED some!!! These are too cute!
So adorable! These are perfect for little collectors like my babies who are always finding something on little outings to collect .. whether it be rocks or bouncy balls .. their little minds are endless! :) Love these!
Samantha
http://www.facebook.com/burpeesbowsboutique
great tutorial and very easy. just made my first one, and i can’t wait to make lots more!
I just came over for the tutorial via Infarrantly Creative and I love these. Definitely an easy project. Somehow I ended up with a bunch of clips, the ones you attach to key rings, and some carabiners hanging around so I think I will attach them to the corner. Now our guys can attach them to whatever their hearts desire!
Thanks for the great idea!!
These are perfect! My friend and I work in a lab together and she just got engaged and since she can’t wear her awesome ring at work (it would rip off her gloves) she asked me to make a small pouch so she could carry it in her bag safely. I am also embroidering her initials on the top part. Thank you so much for the detailed tutorial.
I halved the size and use them to hold hair thingies for yoga! Fits right into the little pocket on my yoga bag and I am never without an elastic, bobby pin or what ever!
Creo que son adorables y perfectas para llevar mi ipod nano :D. me encantan!!
Actually i think these make great sanitary pad bags (in no offense!) At least they are gonna be in cute lil bags when i bring them out fr emergencies!
Muy lindas bolsitas y el tutorial bien explicado.felicidades!