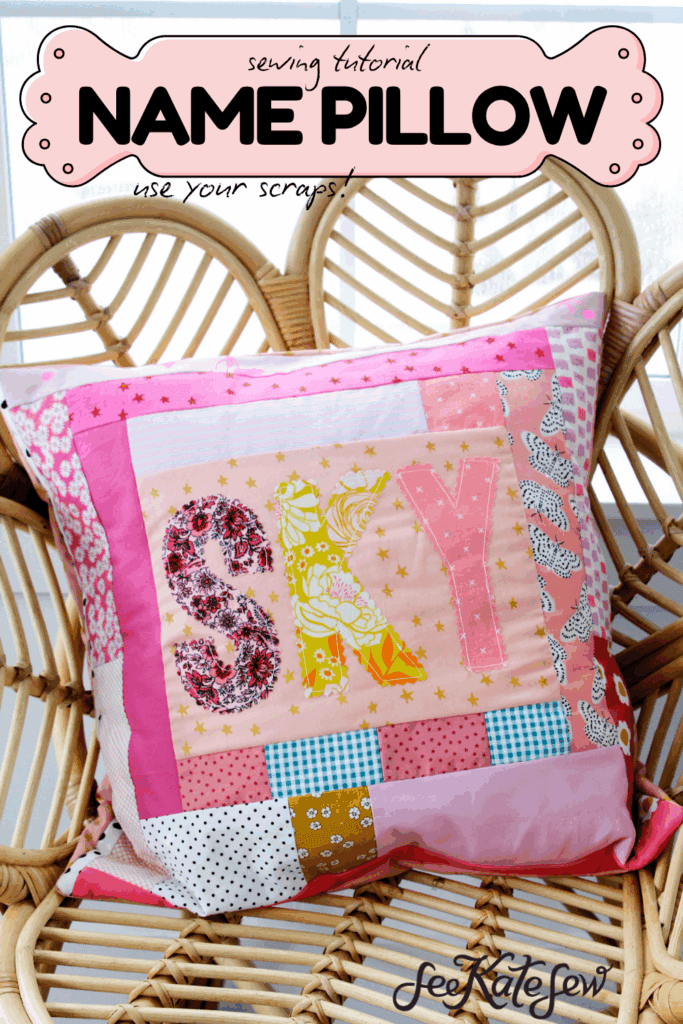
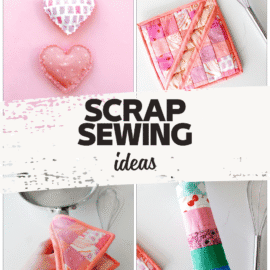
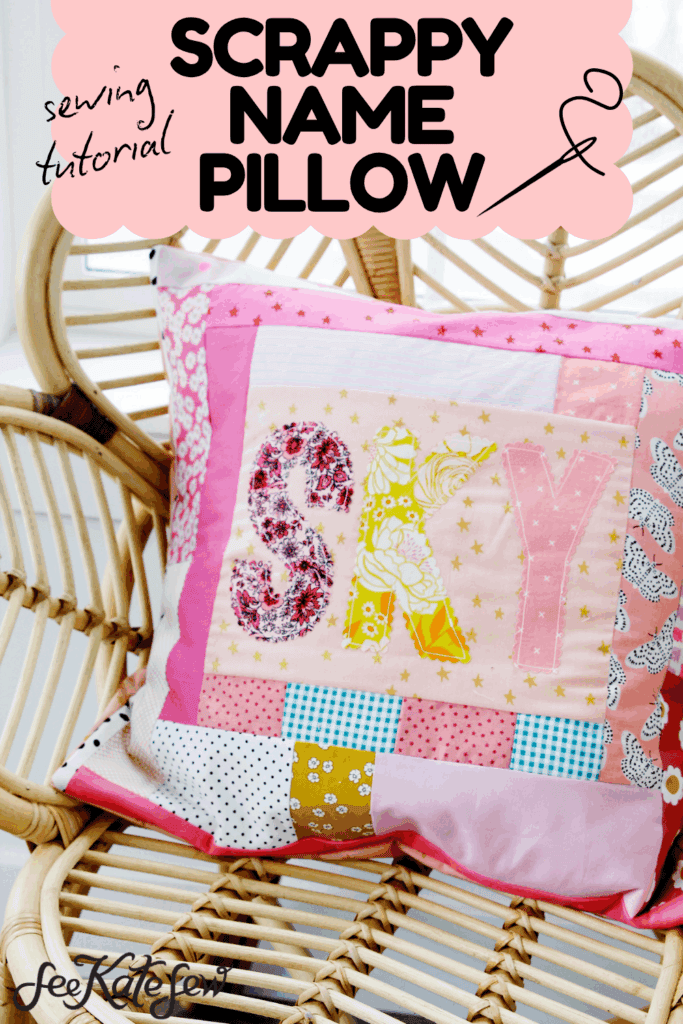
Sew something super special with your scraps! This personalized name pillow sewing tutorial will show you how to transform your favorite fabric scraps into a gorgeous pillow to personalize and give!
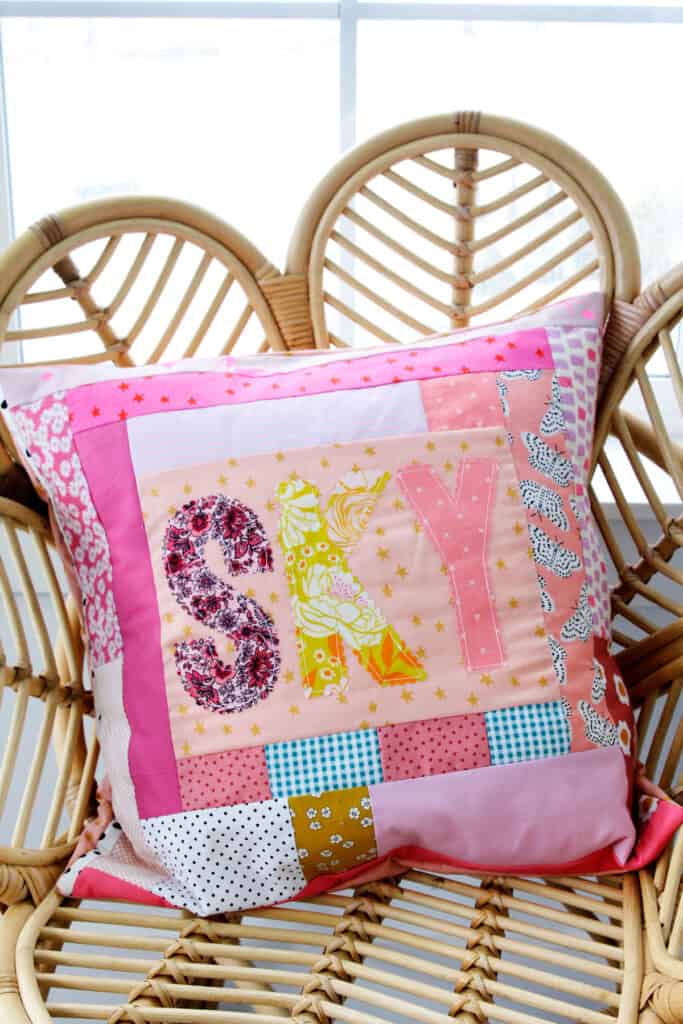
I love how many scraps I squeezed into this pillow – it’s so fun to look at all the gorgeous prints!
This is an improv quilting project meaning there isn’t a specific pattern since the letters will vary, but I’ll show you exactly how to do it!
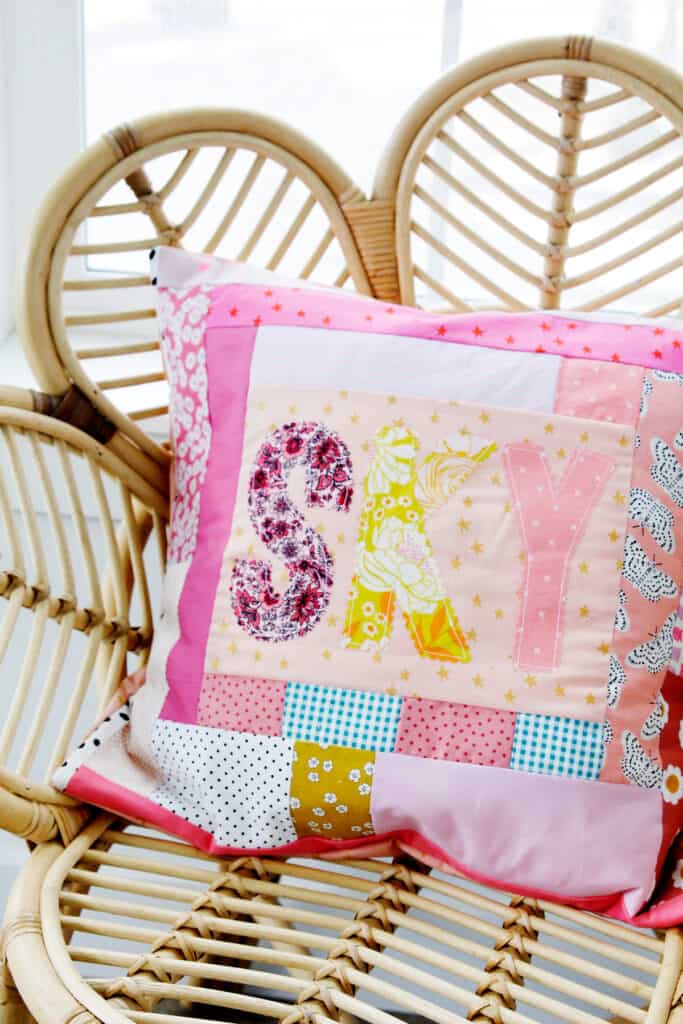
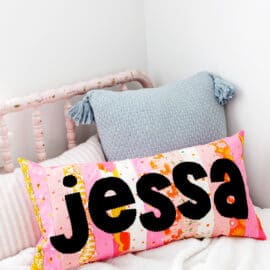
This pillow is adorable room decor for kids and can be customized in so many ways!
Custom Name Pillow Sewing Materials
- Fabric scraps
- 3/4 yard fabric for backing, here’s the star print I used (affiliate links)
- Heat N Bond Lite
- Quilt batting
- Baste spray
- Scalloped pinking shears
- 18″ or 20″ pillow form
Scrappy Personalized Name Pillow Sewing Tutorial
Start by printing out the name you want to use. You can use any font and any size. I used a bold font with a pt size of 550 since the name I used is short. If you have a longer name, you can consider using a longer pillow rectangular pillow instead of a square one. Longer names may need to print out on more than one sheet of paper.
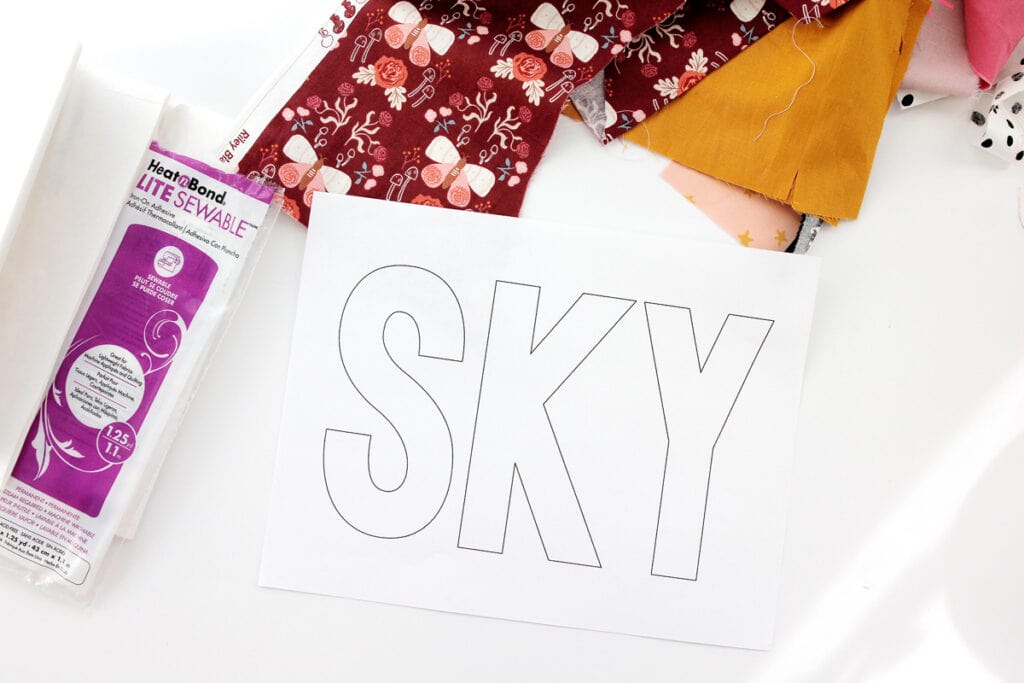
Find scraps and Heat N Bond big enough for each of your letters.
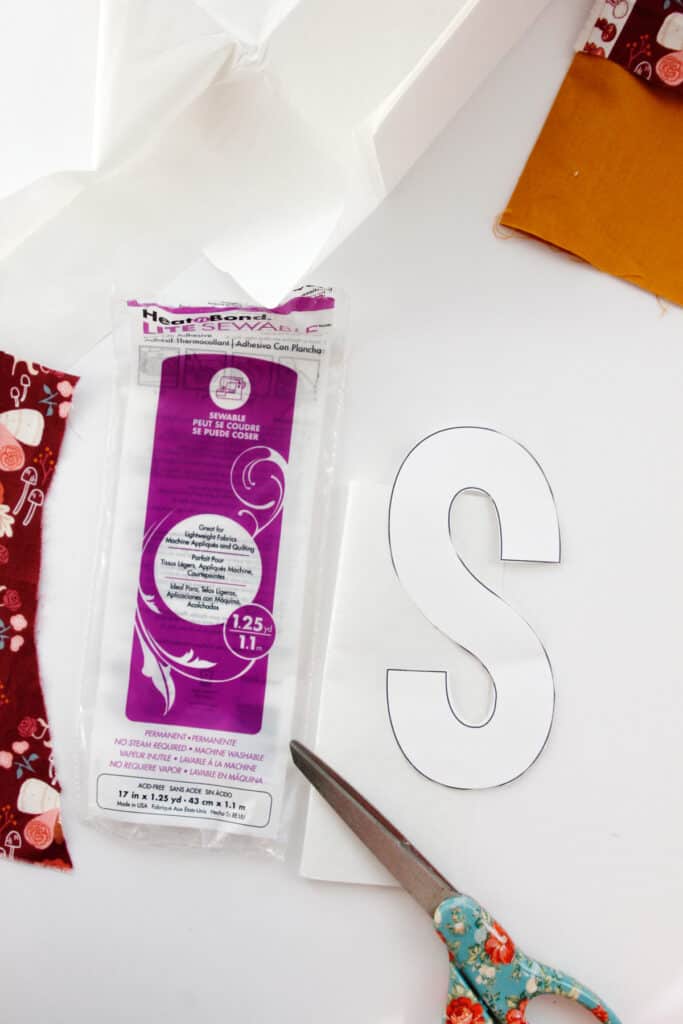
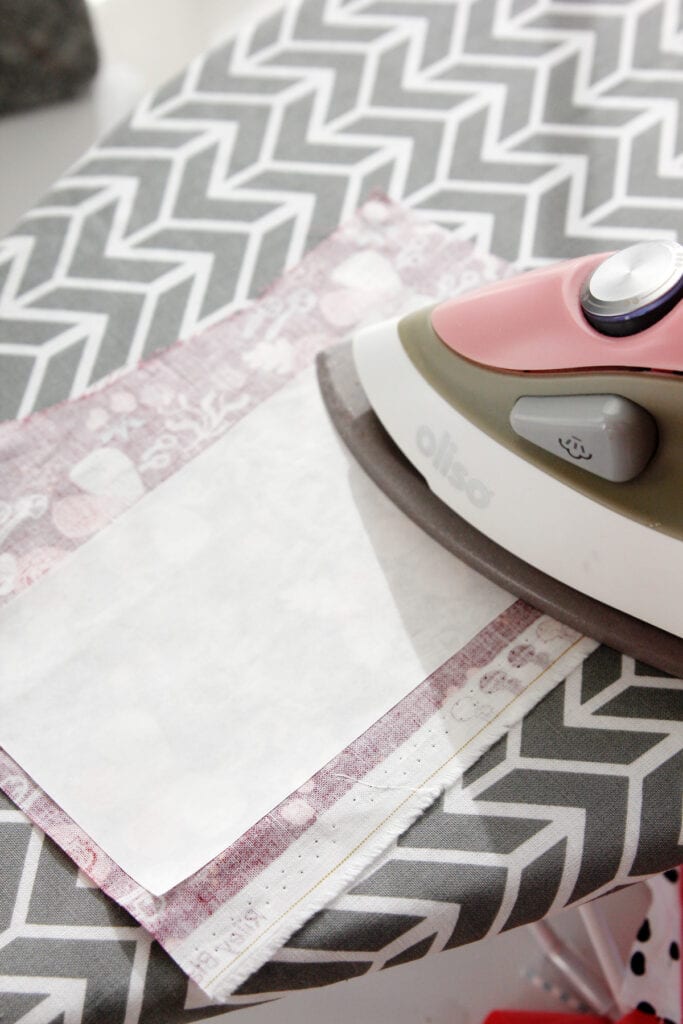
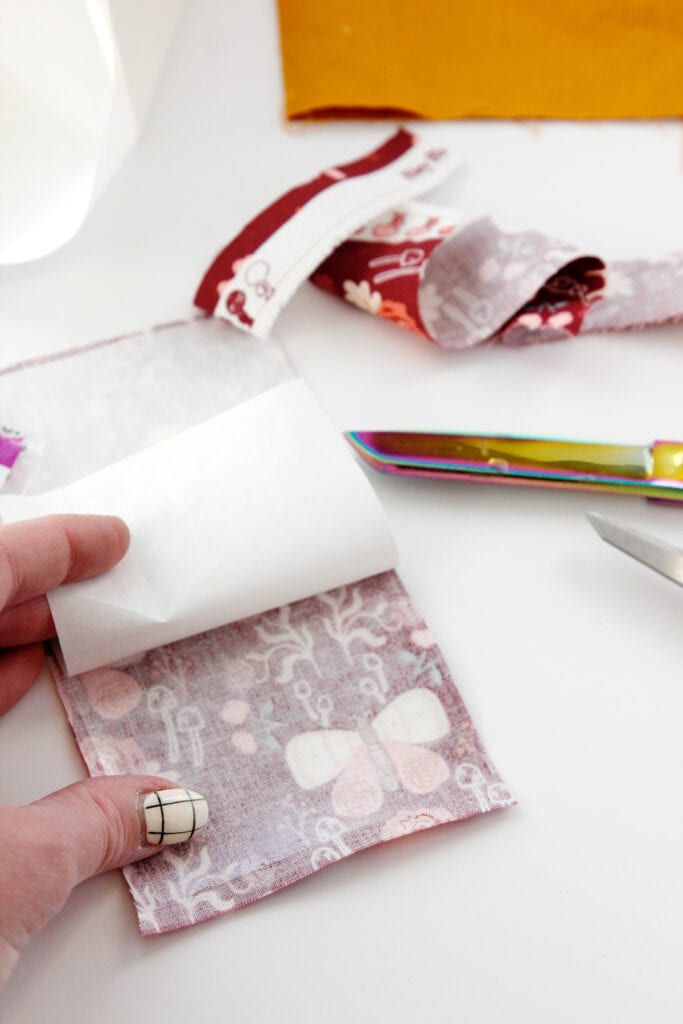
Fuse Heat N Bond to the back of your fabric with an iron. Trim fabric around the Heat N Bond.
Peel off the paper backing.
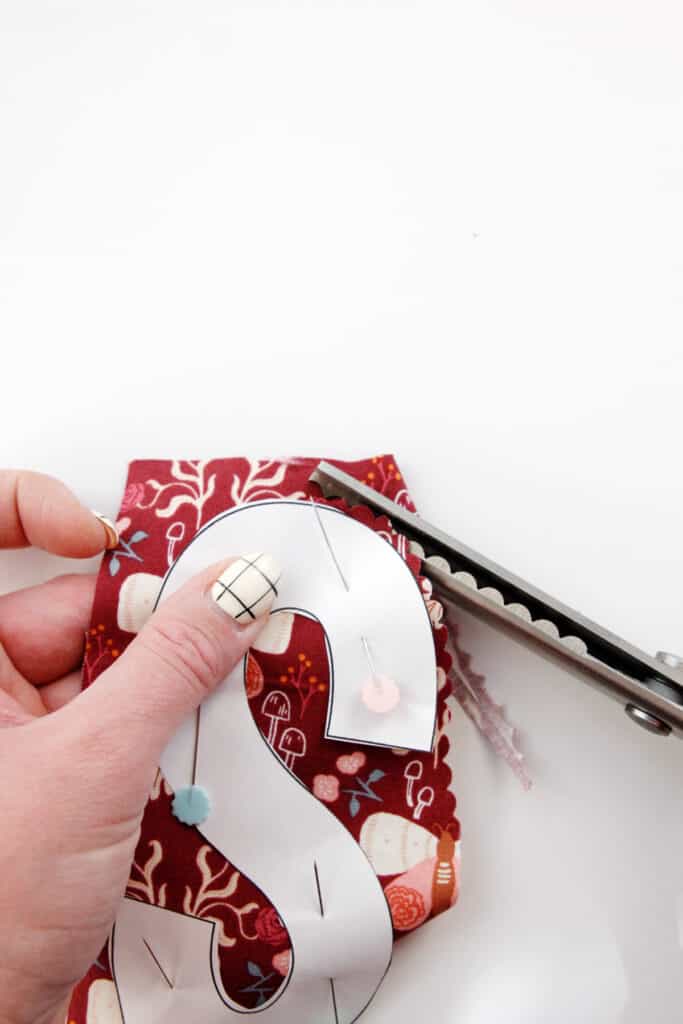
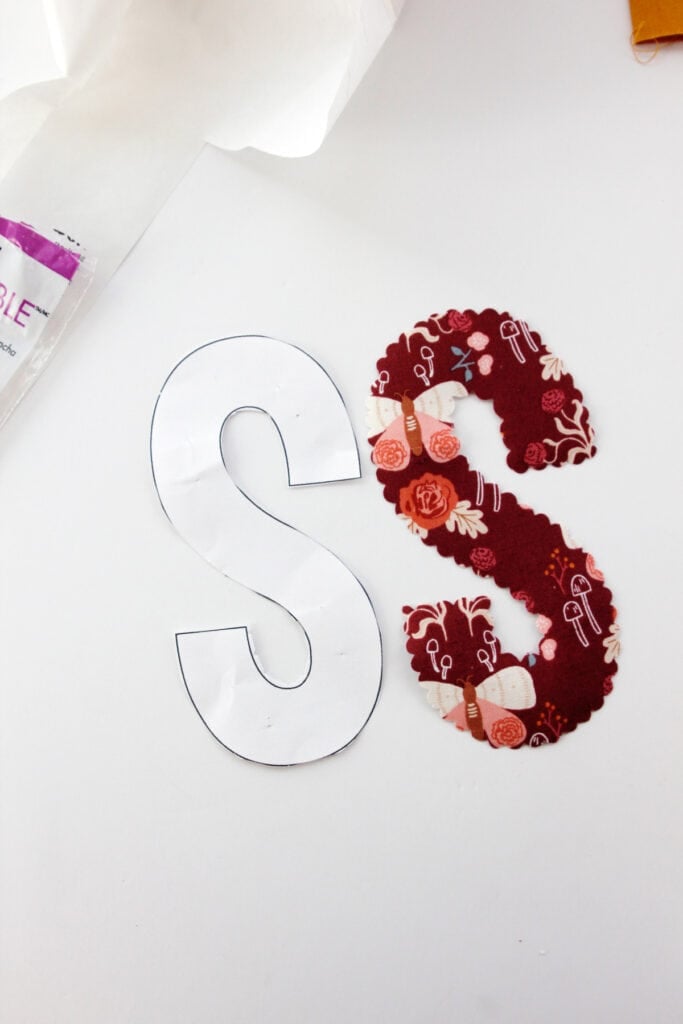
Then pin the letter to the front and use your scissors to cut out the letters carefully. If you are using pinking shears, cut the scallop shape on the outside of the template.
Repeat for all your letters.
Cut out a piece of fabric for behind the letters. Since my letters all fit on 1 sheet of paper, I used 8.5″ x 11″ for that panel. You can adjust for your name and pillow size and shape. Make sure you have at least 3/4″ of extra space around where your letters will be.

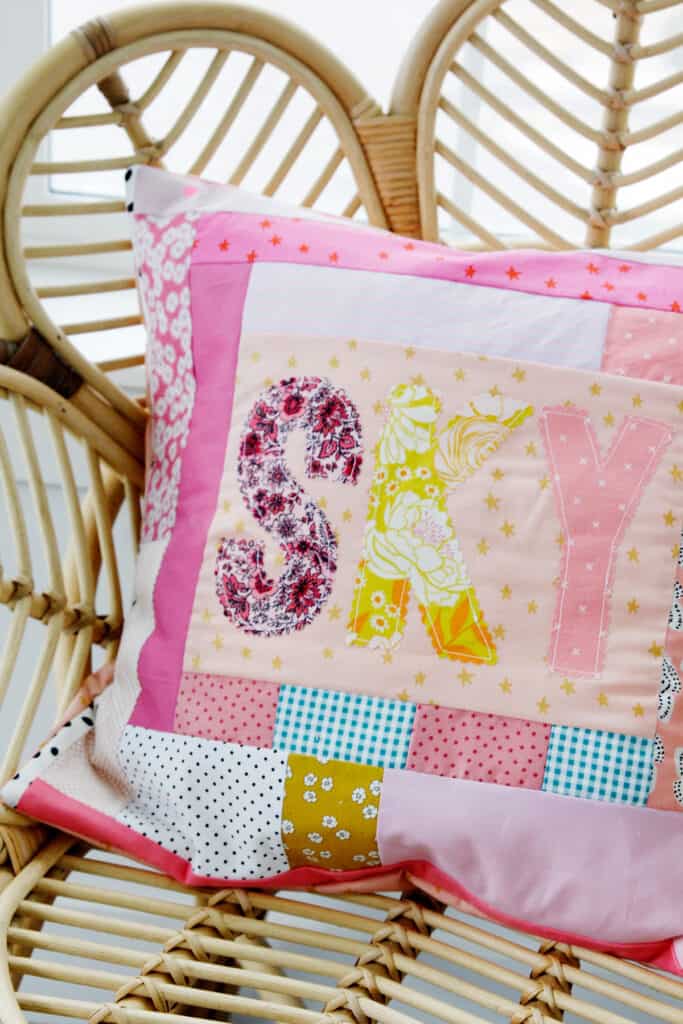
Arrange the letters on the panel and then use your iron to fuse them down. Topstitch around the letters with your sewing machine making sure to stay under where the scallops hit, or about 1/8″ from the edges.

Sew the pieced panel
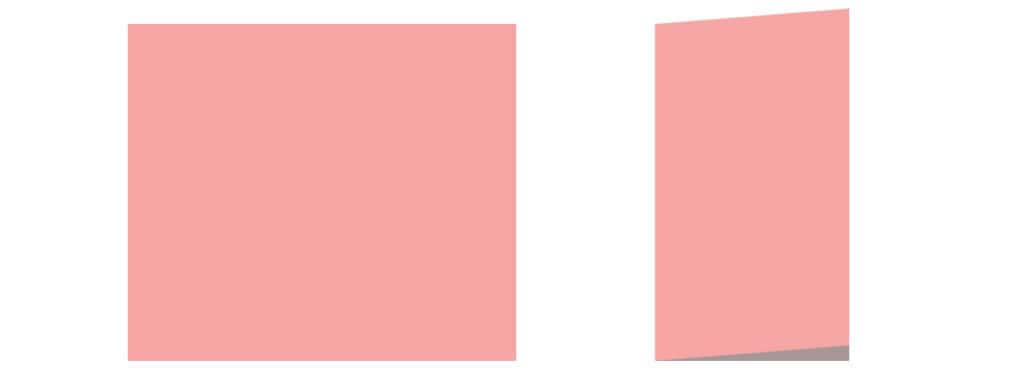
Now we’ll start improv sewing the panel! Grab your scrap bin and pull out any scraps you want to use. Find a strip that is long enough for one of the edges of your panel. You can either use a full strip or piece a strip together. Sew it to the panel. Press and square up your panel.

Continue adding pieced strips or full strips around your panel until it measures approximately 1″ larger than your pillow form on each measurement. For the 18″ pillow form I am using, I made a panel about 19″ by 19.”

Once you have the right side ready for your front panel, spray baste a layer of batting behind it. And then a piece of lining fabric behind that. Trim to match the size of the name panel.
Make a simple envelope backing. For a 20″ pillow form, cut 2 pieces 24″ by 19″ and fold in half so they measure 12″ by 19.” Sew along the fold to hold in place. Repeat.
Place back pieces on top of front piece, right sides together. The back pieces will overlap. Sew around the pillow using a 1/2″ seam allowance. Sew all the way around. Trim seam allowance at the corners and turn right side out.
Stuff pillow form inside to finish!