This is a sponsored conversation written by me on behalf of Cricut. The opinions and text are all mine.
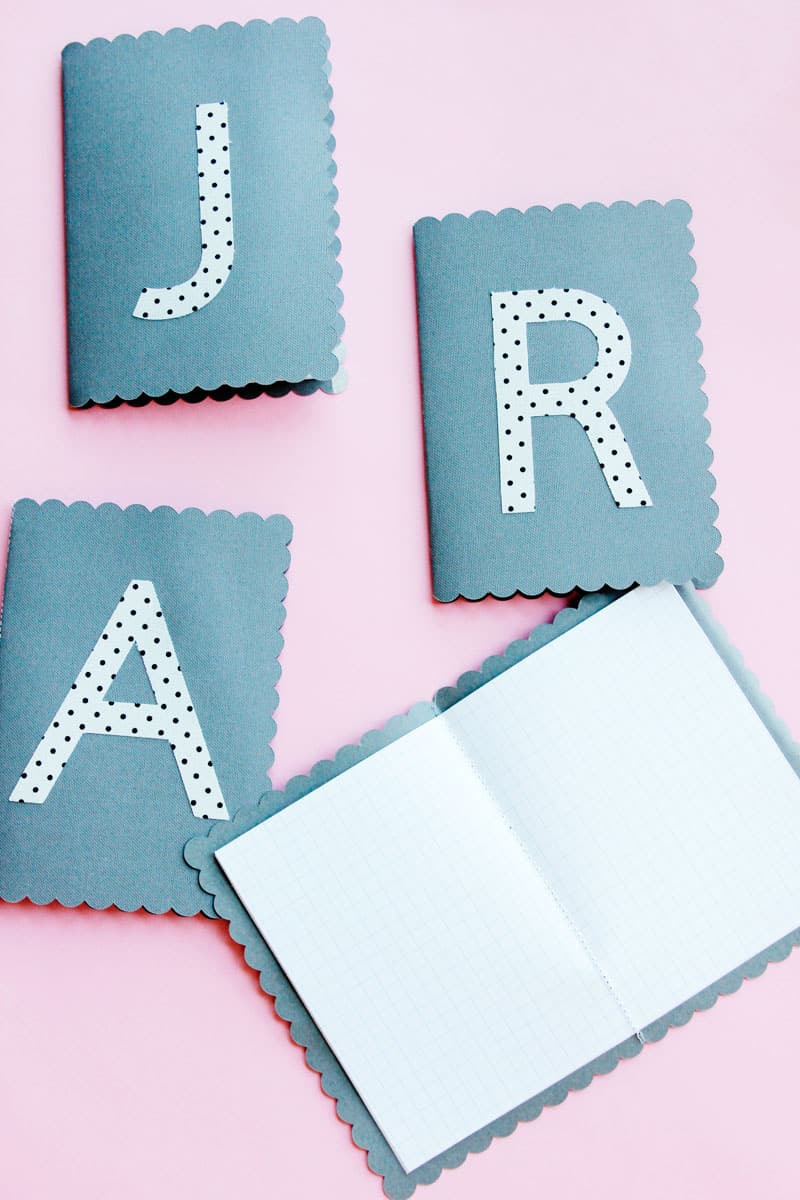
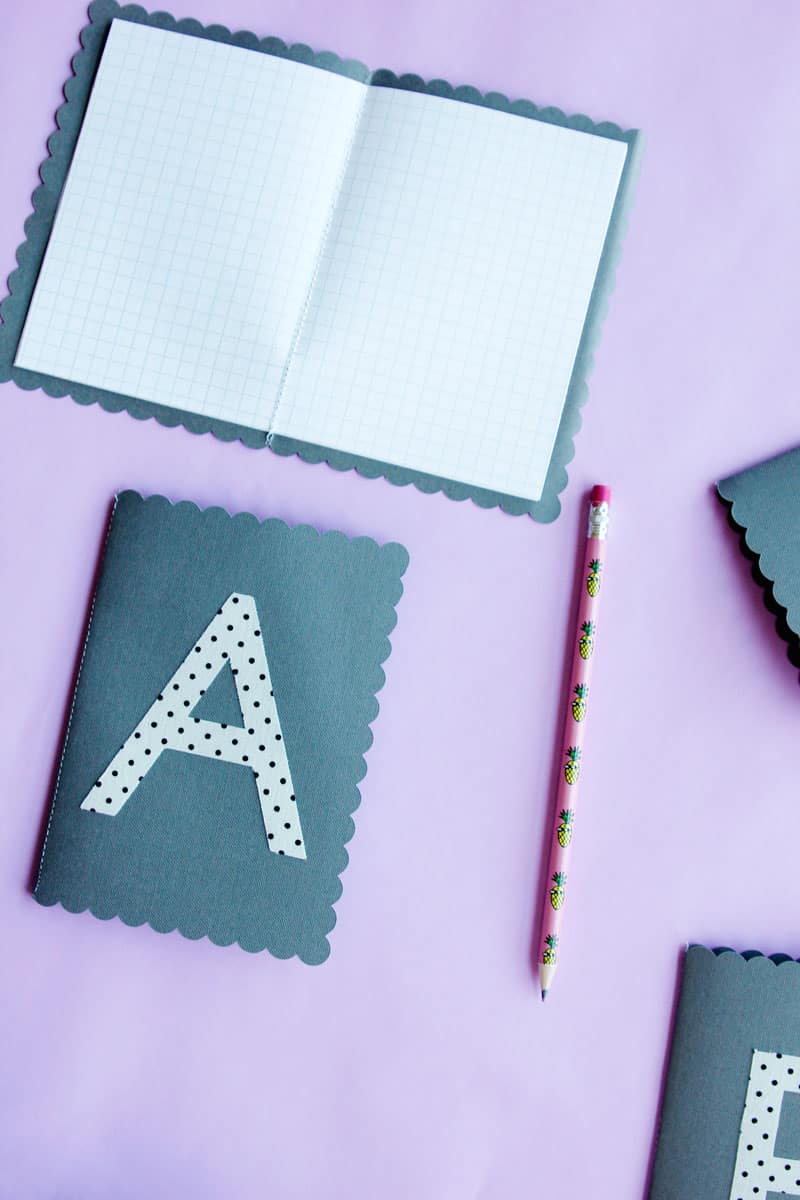
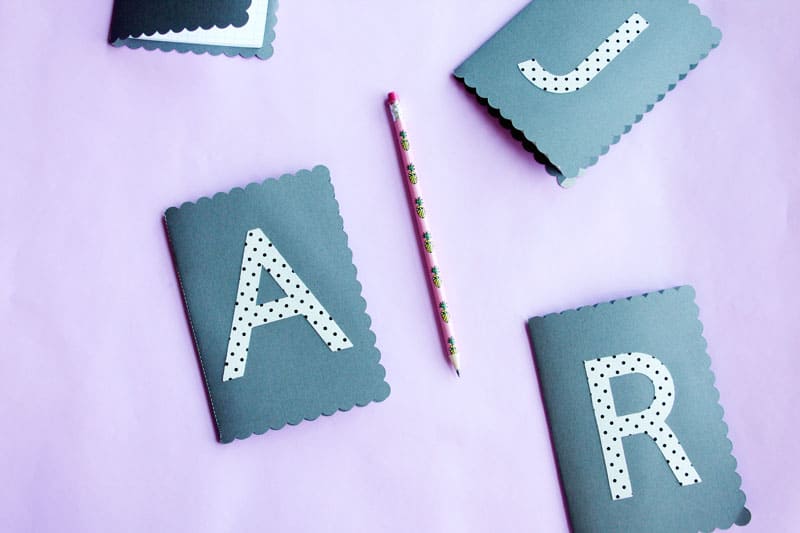
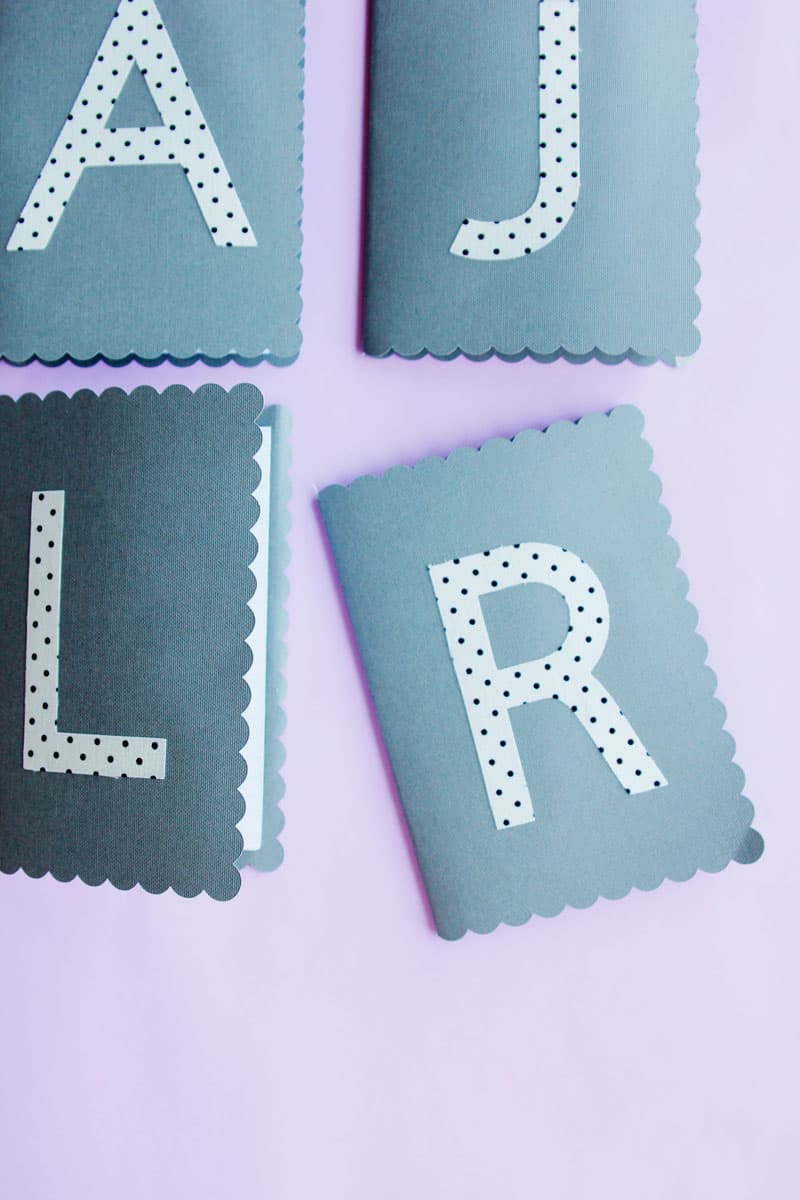
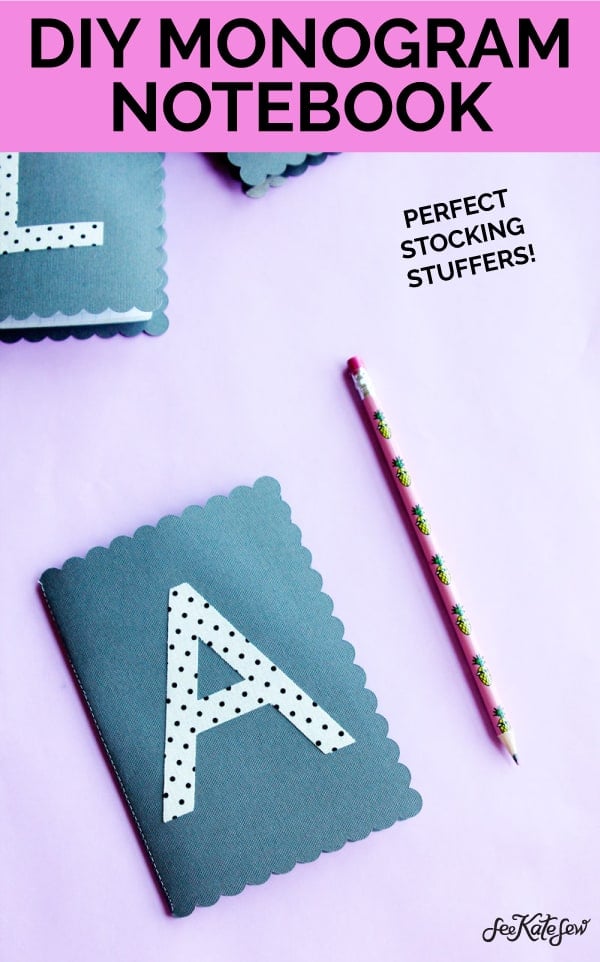
I’m trying to get a head start on the holidays my making a few gifts that I know I will need, starting with these monogram journals. We are teaching our kids about giving meaningful gifts so we made these together for some of their friends!
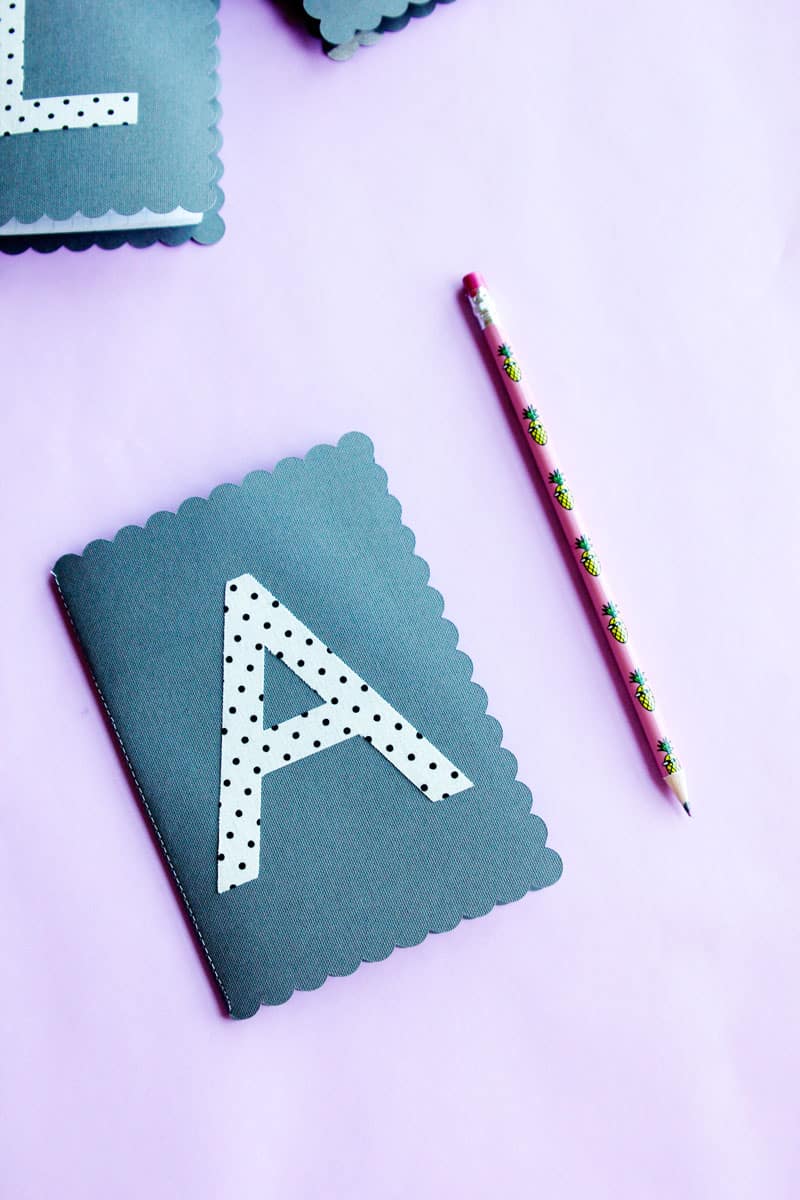
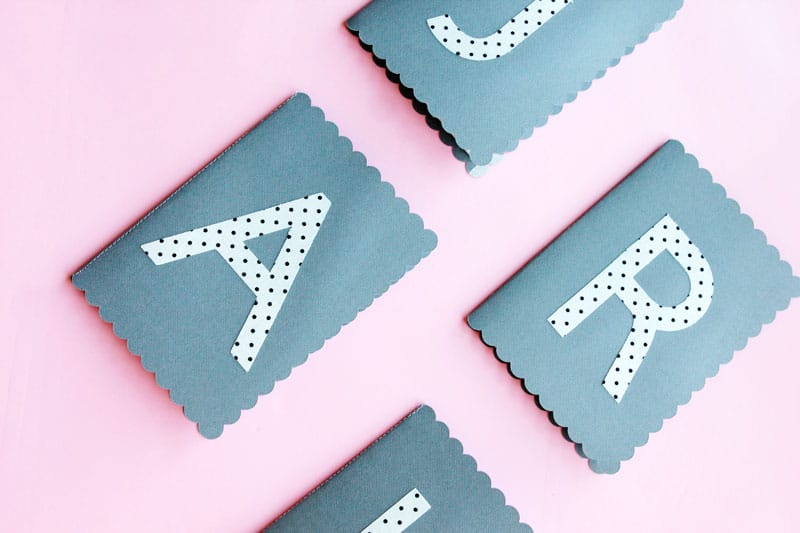
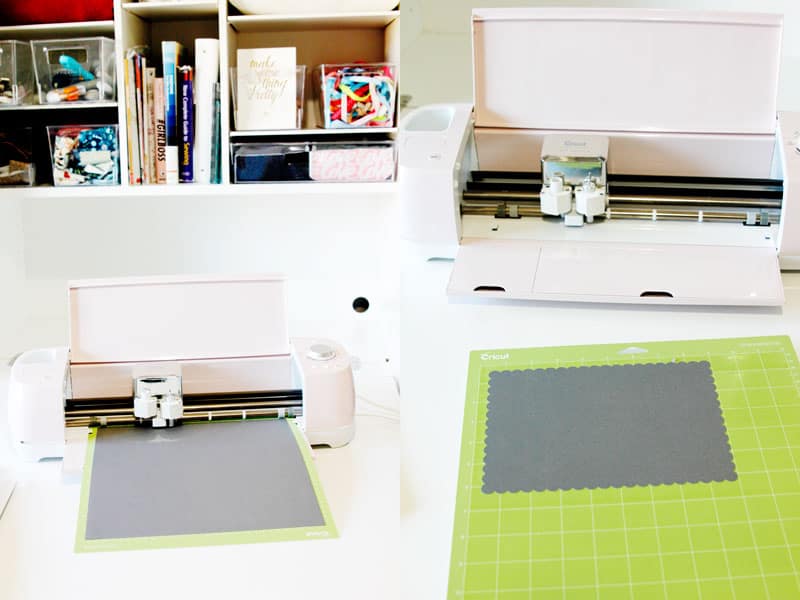
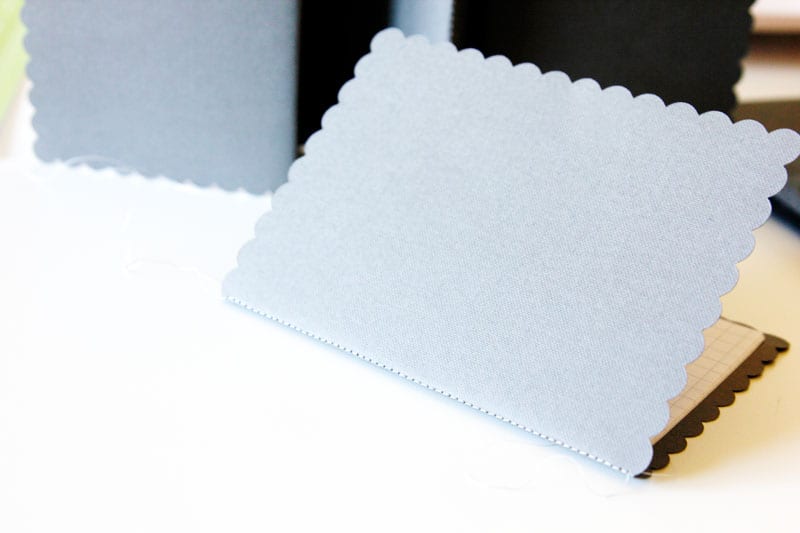
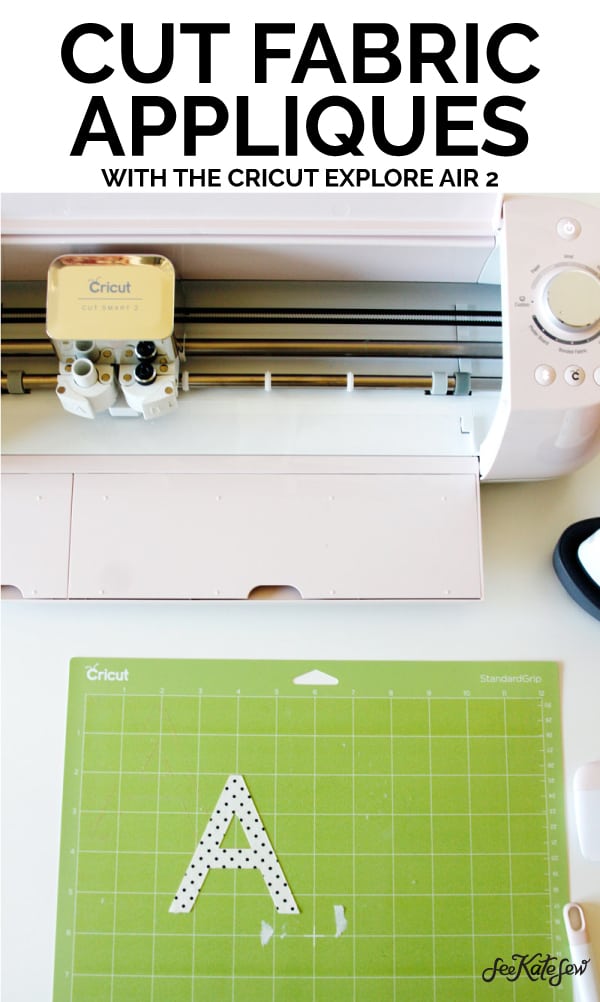
I used the Cricut Explore Air 2 to cut out card stock and fabric monograms and then put them all together for an easy friend gift. My favorite part of the project is the scalloped edges on the journal covers, which I could not have cut by hand!
Although I talk about the Cricut Maker all the time, the Explore Air 2 is another great option if you are in the market for a cutting machine! The Explore Air 2 is a great value, the price point is lower than the Maker but it still cuts over 100 materials! You can see my post comparing both right here!
I think my favorite part about the Explore Air 2 is all the colors it comes in! You can pick one to match your craft space!
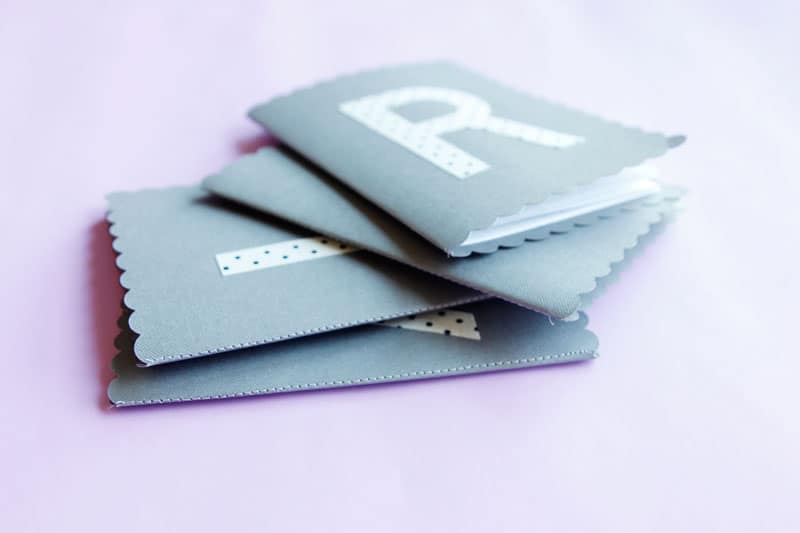
These are great little stocking stuffers, or can be tied on a plate of cookies or even used as party favors! They only require one straight line of stitching, making them really easy to sew! Of course, you can also use a stapler if you want!
DIY Scalloped Journal Materials
- Cricut Explore Air 2
- Cricut EasyPress Mini
- Fabric backed with Heat N Bond
- Cardstock for the covers
- Filler paper for the inside
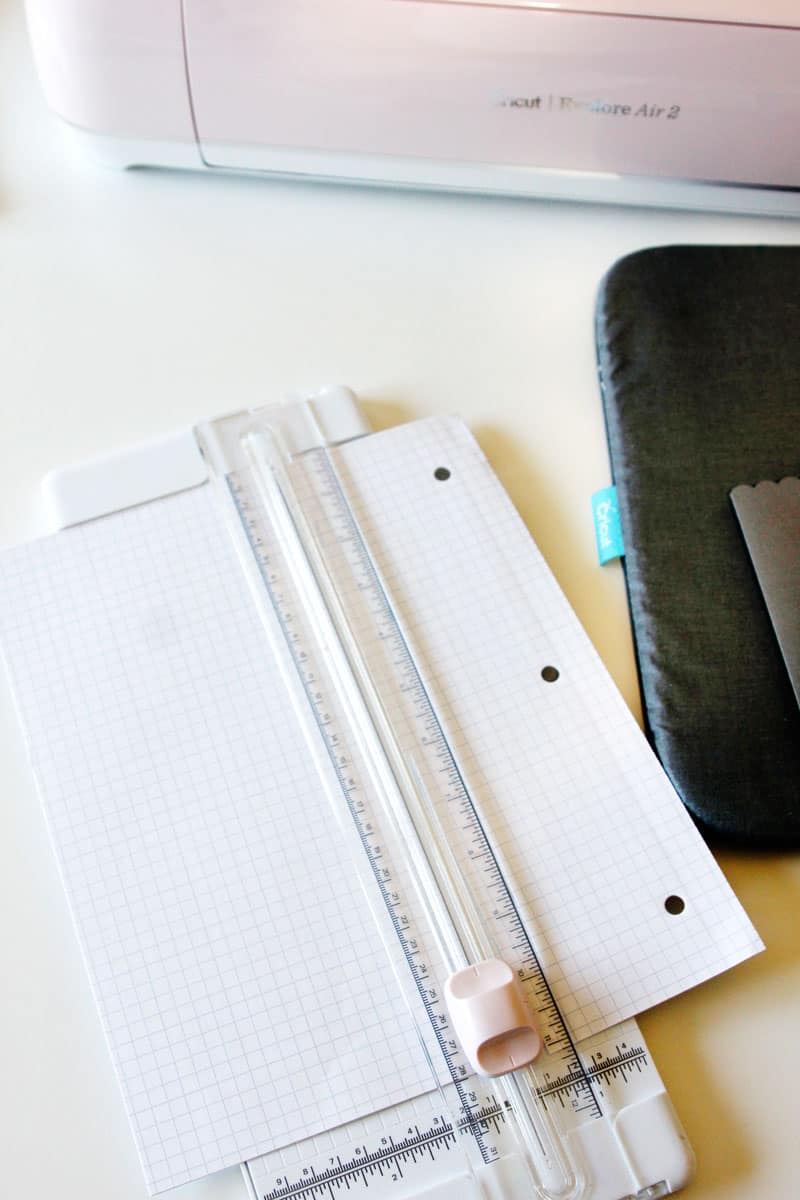
- Cricut paper trimmer
- Monogram Journal Project in Design Space
Monogram Journals Instructions
Pull up the design in Design Space. Cut out the scalloped journal cover with cardstock. Set it aside.
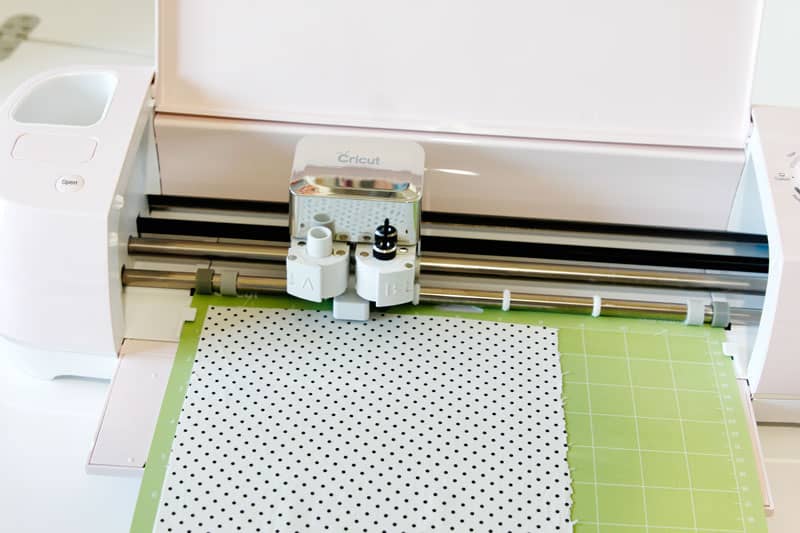
Fuse Heat N Bond to the back of your fabric and cut it down to fit on the mat.
Press the fabric on the mat with paper down. Be sure to leave the paper on the back of the fabric for now. Set the dial on your Explore Air 2 to Bonded Fabric.
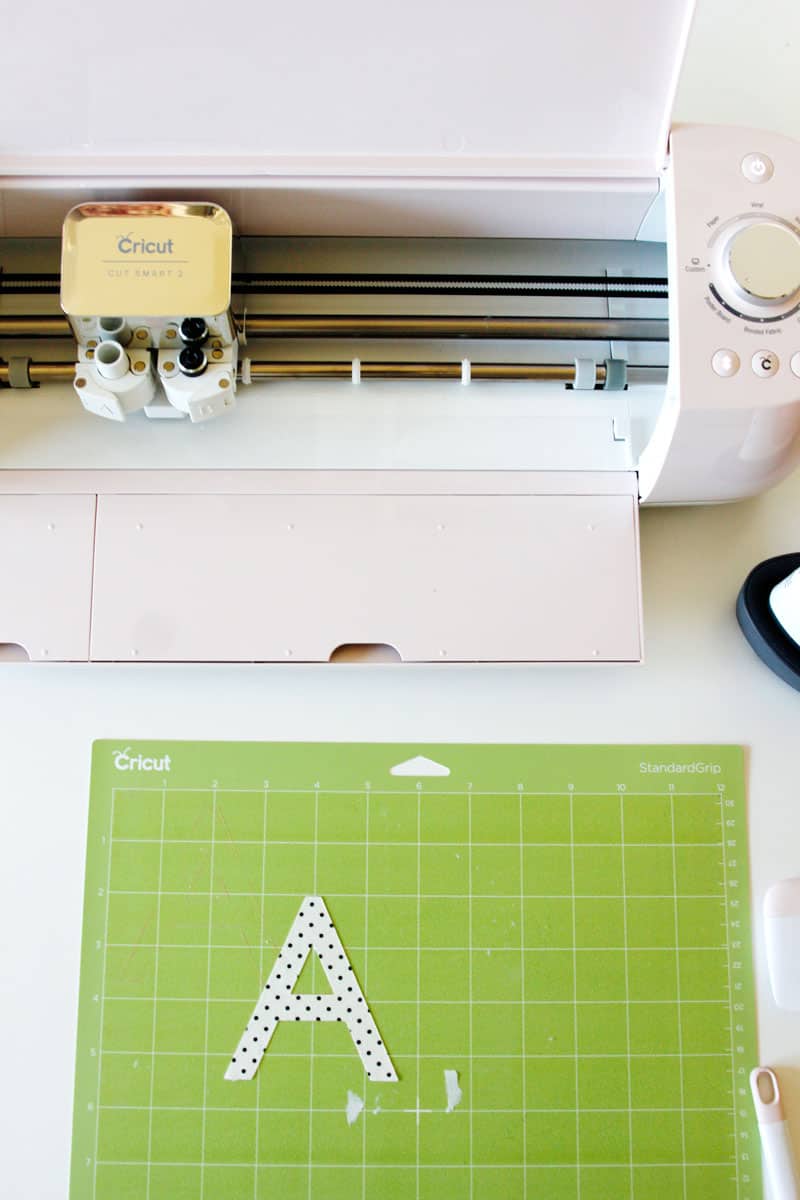
Run it through and peel the monogram off!
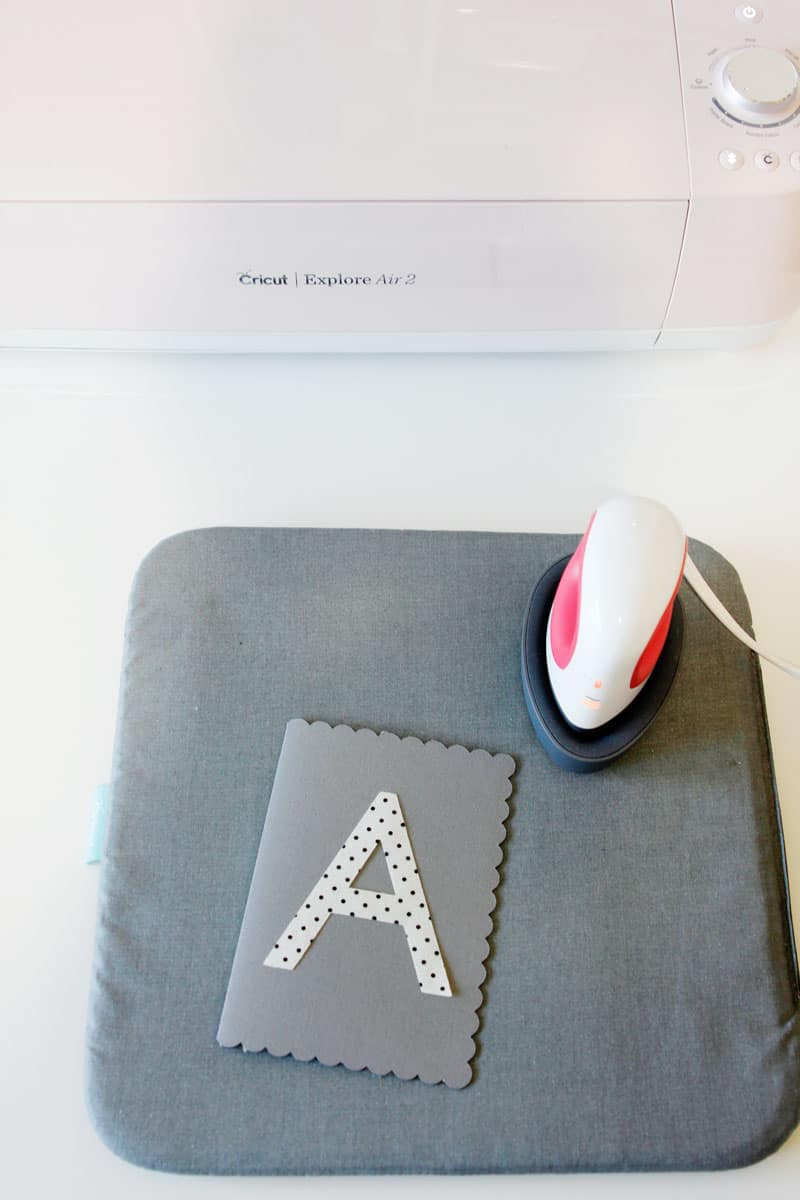
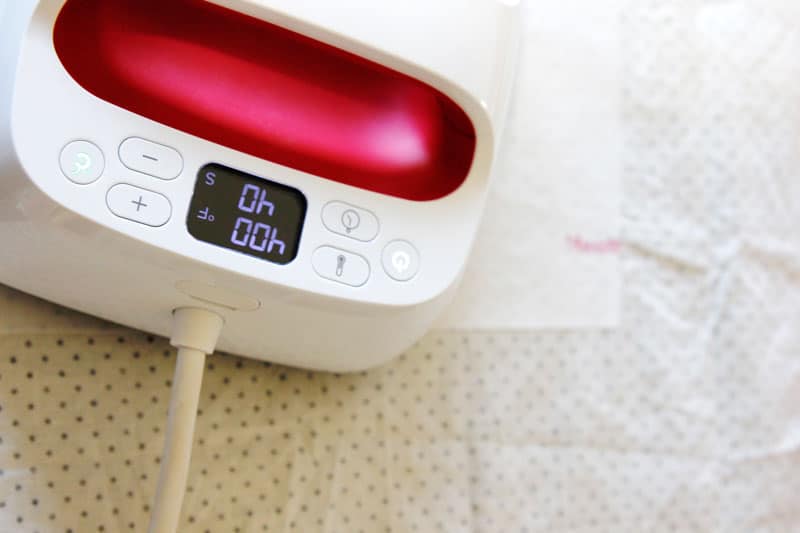
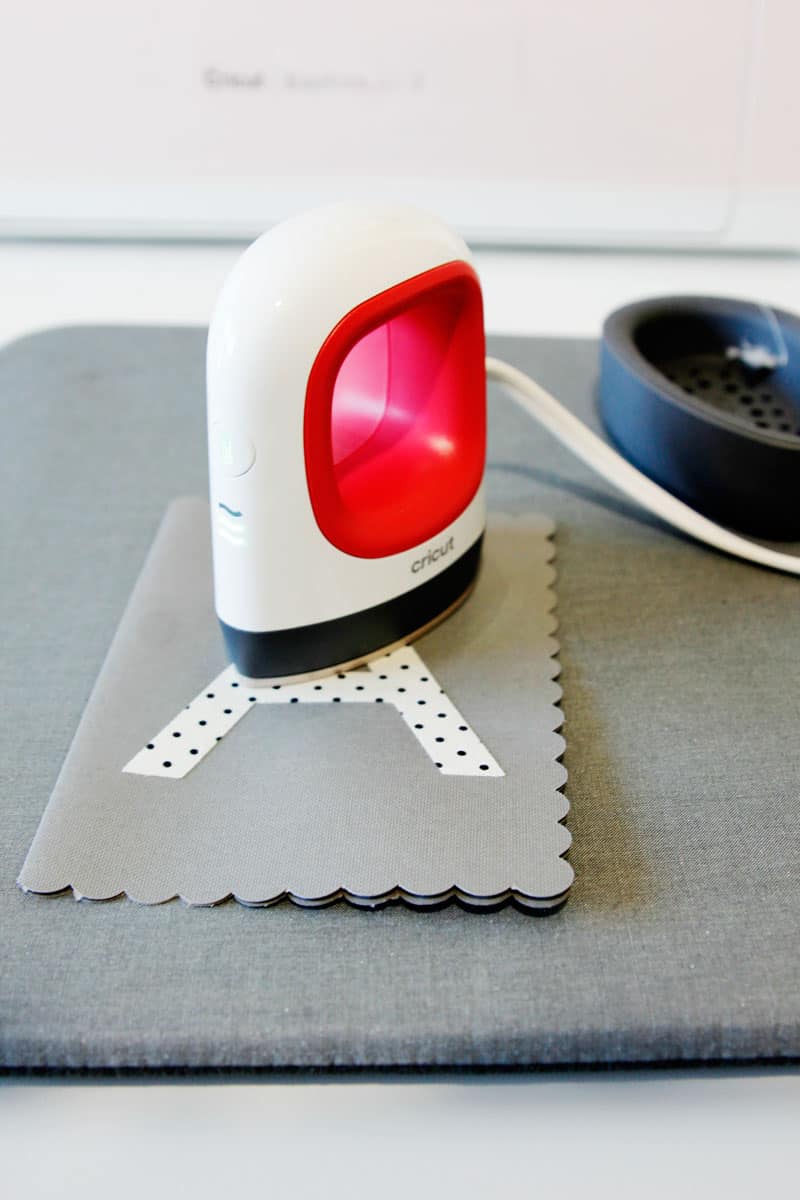
Fold the cover in half. Peel off the Heat N Bond paper backing and use the EasyPress Mini to stick it to the cover of the journal.
Trim paper to 5.5″ by 8″ with paper trimmer.
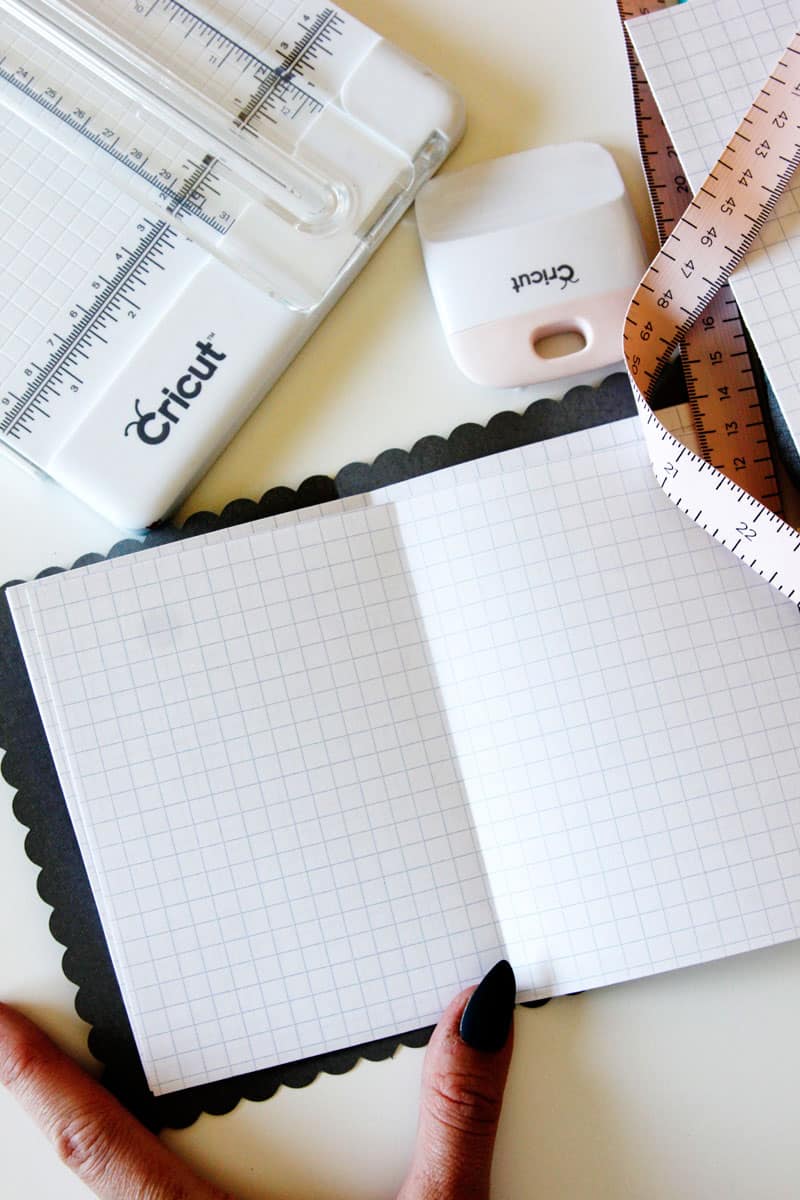
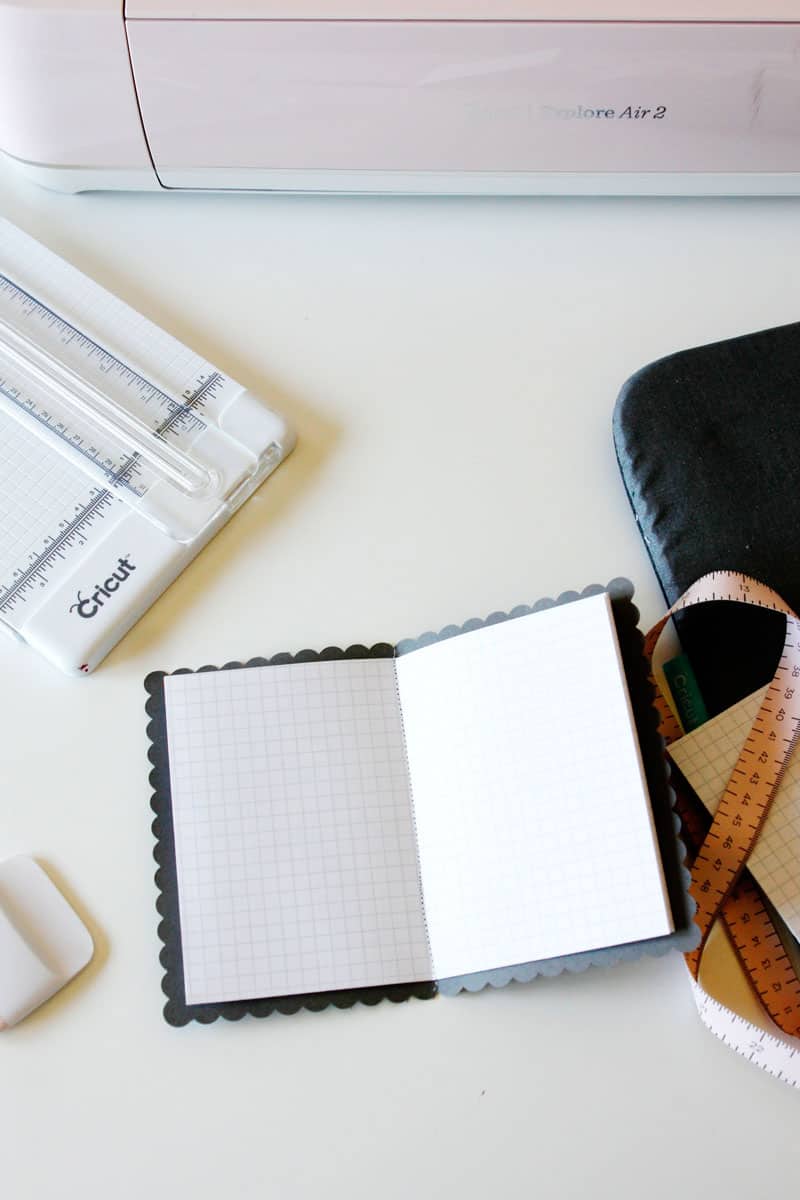
Fold the paper in half and crease it well. Then put it inside the journal and sew together!

