…………….
Hi, I’m Sabra from Sew a Straight Line.
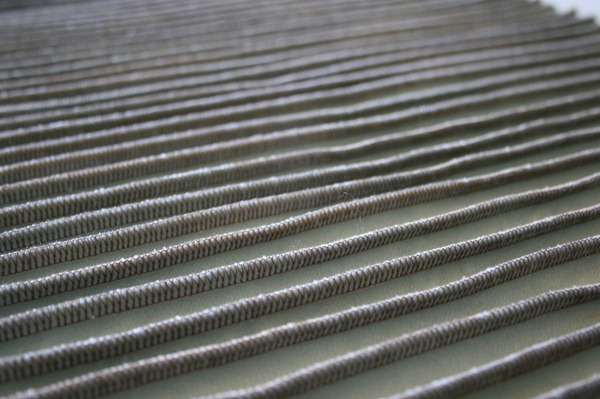
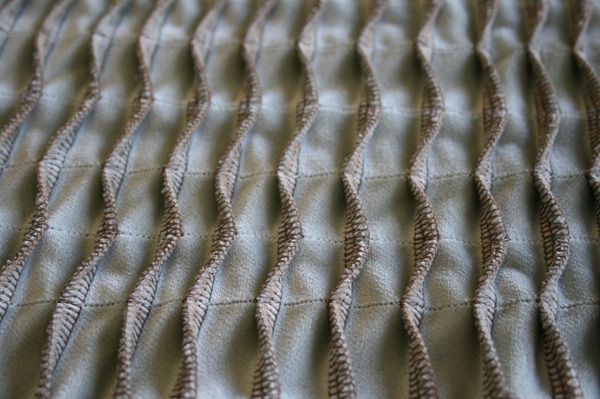
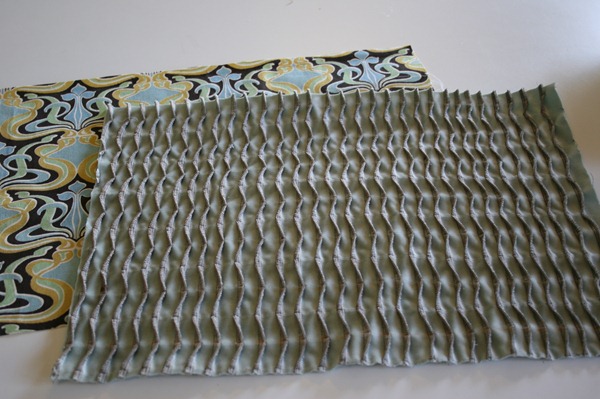
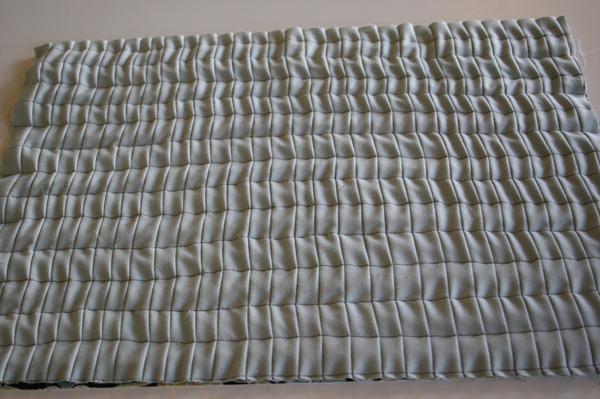
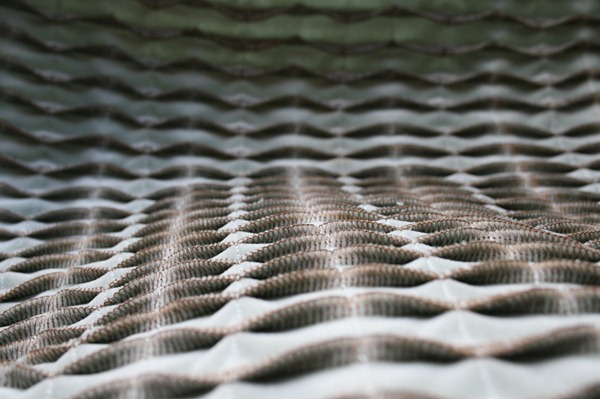
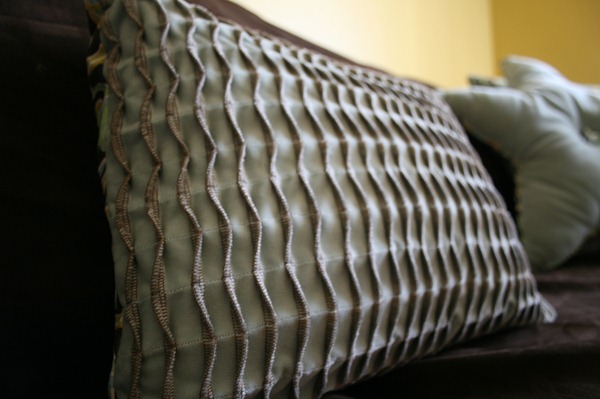
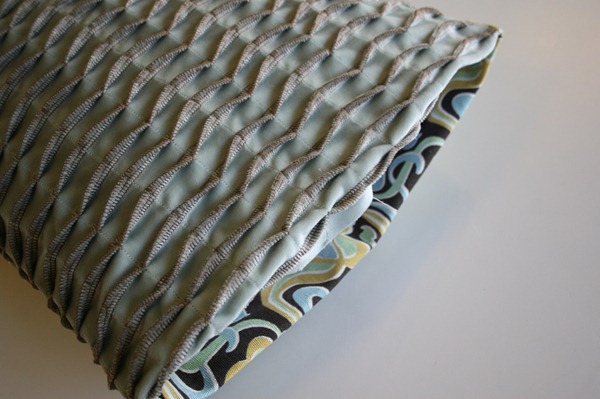
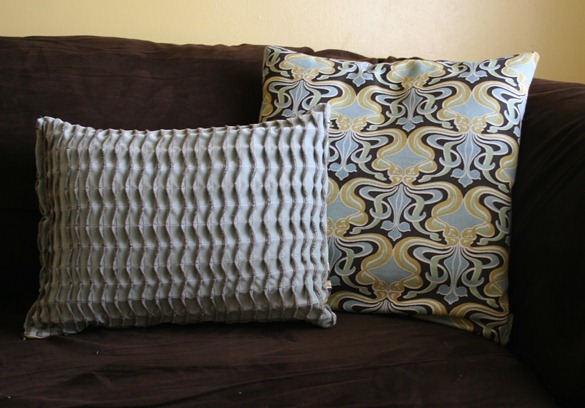
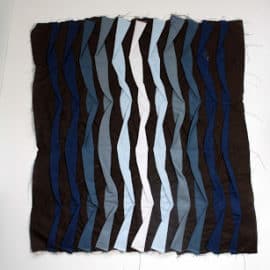
So tucks are in the pleat family, right? Well how about we play around with pintucks? Only I want to shake things up a bit and show how to use the exposed, usually unseen side of the tucks, and a few straight stitches to make your own super cool textured fabric for whatever project you have in mind. I’m calling it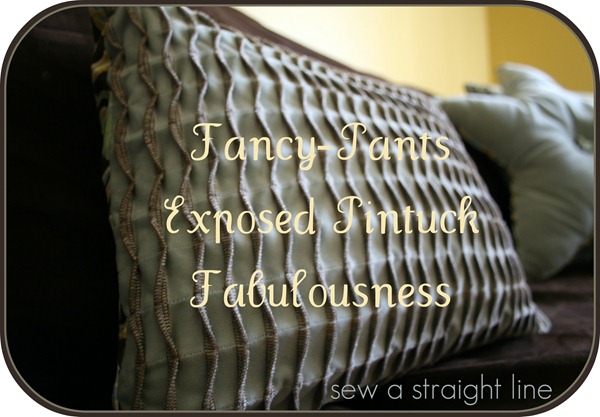
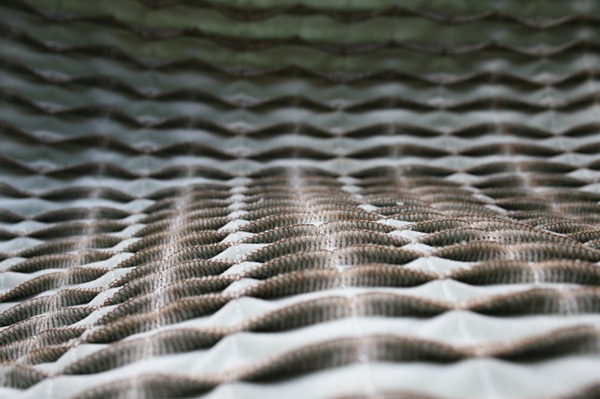
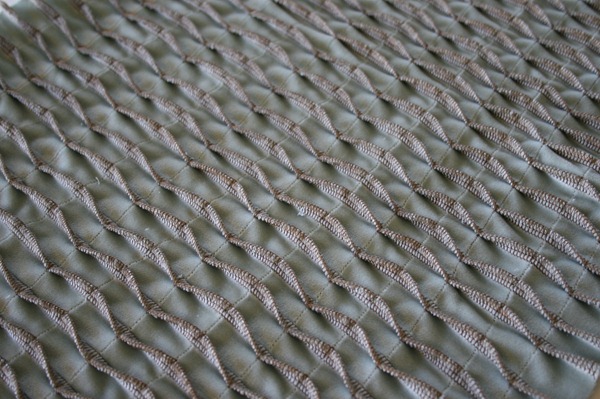
This is a super easy technique, that results in an amazingly complicated and rich look.
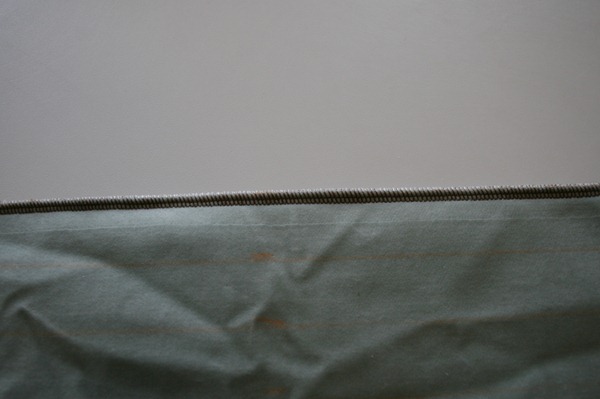
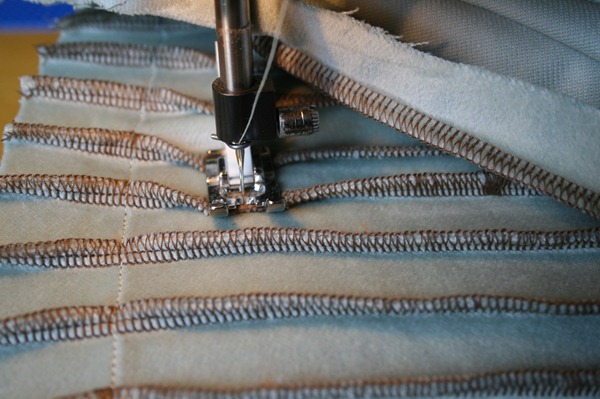
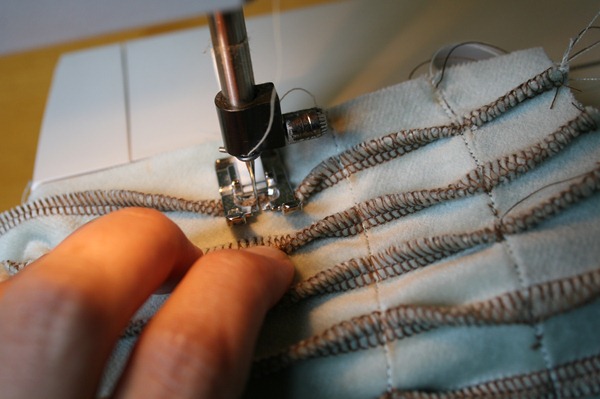
It does take some time, but really, it’s all straight stitches so crazy easy. Applying this technique to your fabric prior to cutting, you can make any project that much more unique. The technique does use a serger. I know, I know. But you may be able to get a similar look from using a zig-zag or other such stitch on a conventional sewing machine. I also think it would be cool to try doing just regular stitch down each tuck, and then lay the tucks flat as you sew the cross-seams. If that makes any sense.
I can’t take credit for the original idea on this. A few months ago I saw a really cool pillow at a fabric shop, advertising the awesomeness of the on-sale sergers. I have been wanting to make a similar pillow, or at least use the same technique for *something* ever since. So I finally sat down and just tried out what I thought it looked like they had done. And what do you know?! It worked! So I figured I’d show you how to do the technique, and then you can apply it to whatever project you’d like.
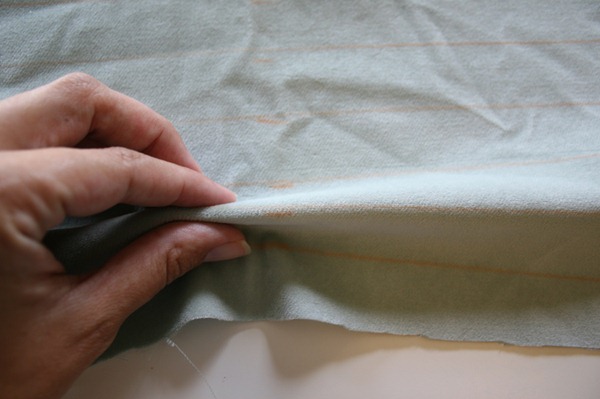
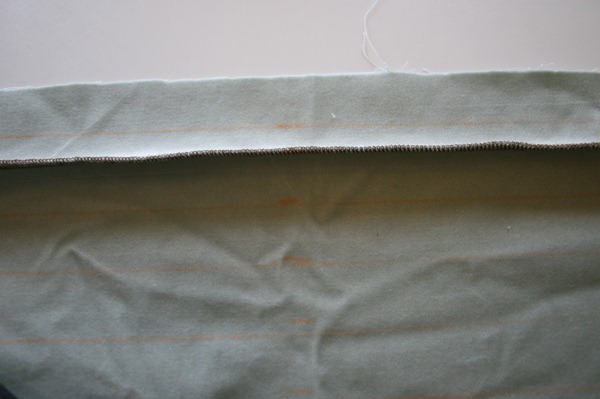
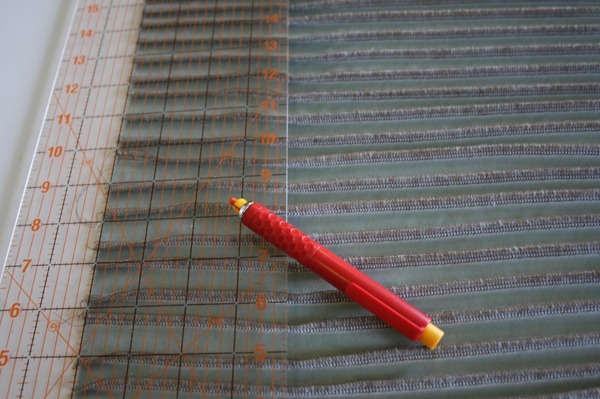
First, you need two times the amount of fabric recommended for whatever you’re planning on making. On the RIGHT side of the fabric, mark parallel lines every one inch with fabric chalk or similar. Decide now how you want your serged pintucks to be in reference to the fabric’s grain, and place the lines accordingly.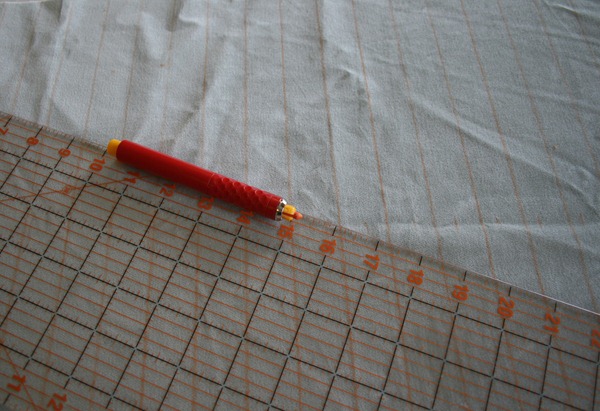
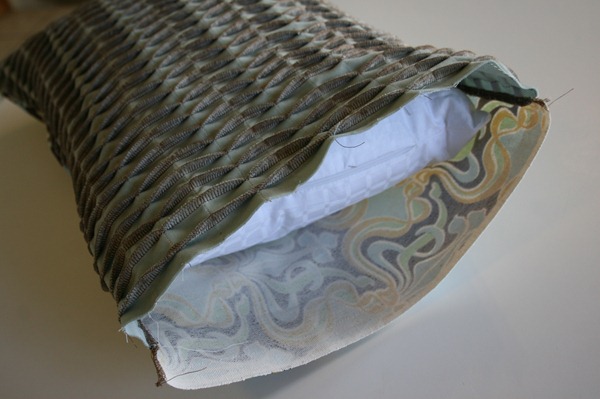
Throw in a conspicuous place where guests, visitors and UPS men are sure to see and admire.
Or make a bag or something. I really want to try a quilt with this, wouldn’t that be awesome!?
Thanks for having me, Kate and See Kate Sew readers. Feel free to stop by Sew a Straight Line and say hi!
………….
Thanks Sabra!
You can find more of Sabra here:
Sew a Straight Line



So Beautiful!!! You make it look so easy! I am definitely going to give this project a shot. Thank you!
Dear Sabra,
I love you AND your pillow.
XOXOXO
awesome!!
I just recently discovered pintucking and I LOVE it! and lucky me, I just bought a serger so I’ll have to try it this way! Thanks for the tutorial!
This is amazing! I’d love to try this some time. Thanks SO much for sharing!