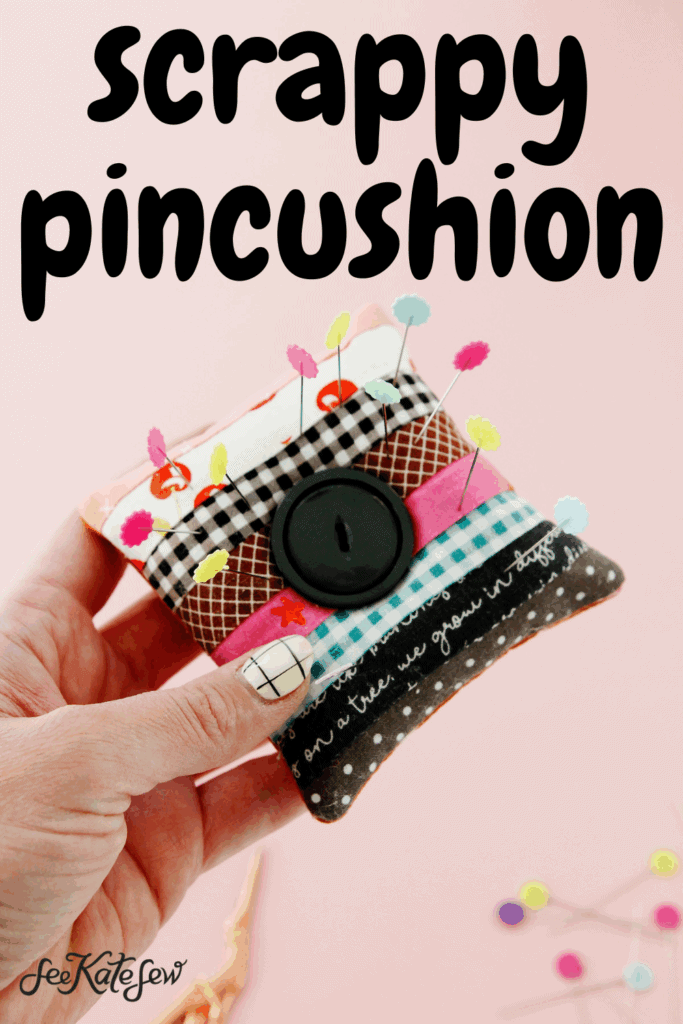
Let’s sew an adorable scrappy pincushion with tiny little leftover fabric pieces! I added a big button to make it extra cute!
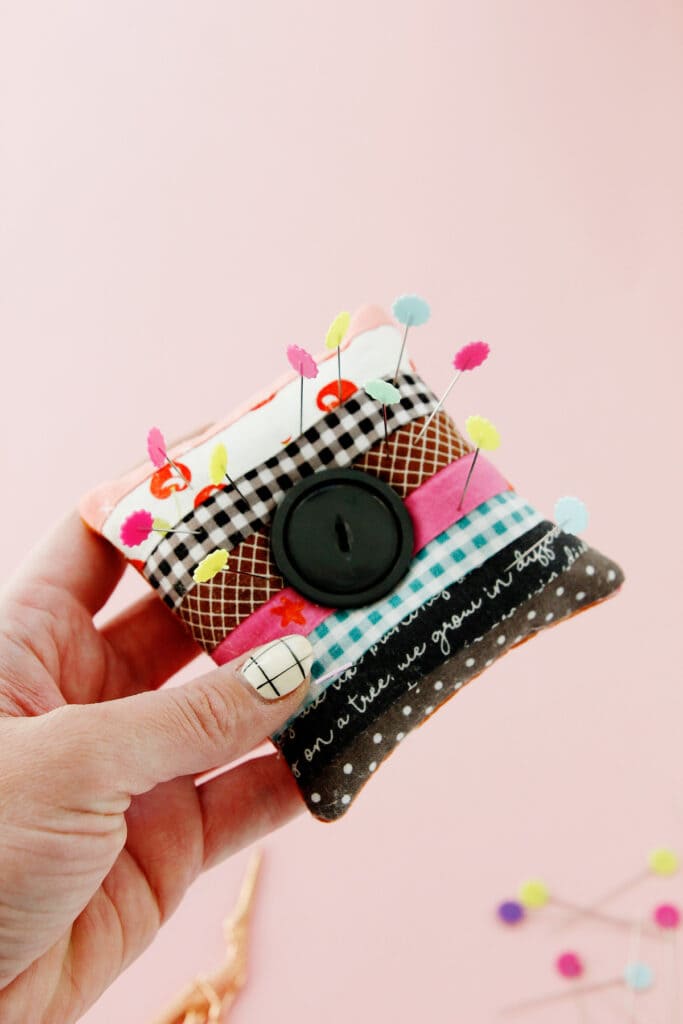
This scrap sewing project is so simple to make!
Button Scrappy Pincushion Materials
- Scraps of 100% cotton fabric
- Lightweight fusible interfacing (affiliate links)
- Quilt batting scraps
- Spray baste
- Needle and thread
- Fiberfill stuffing
- Large button
Scrappy Pincushion Sewing Tutorial
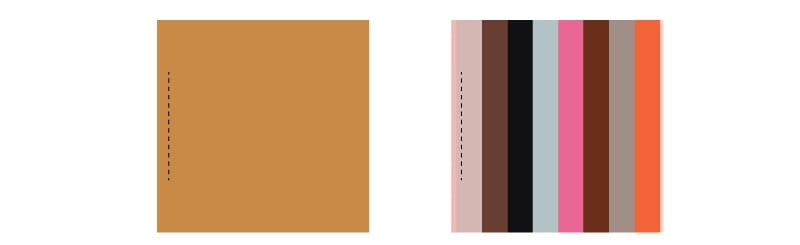
Start by cutting 1 square of fabric measuring 4.5″ square – this will be the back of the pincushion.
Also cut ten 1″ strips of fabric about 5″ long. I only used 8 but I like to make the front panel a little bigger than needed and then cut it down!

Sew the strips together and press the seam allowances in all the same direction. Then back the panel with lightweight fusible interfacing to give it some extra stability.

Trim the striped panel down to 4.5″ square. You can trace your back fabric or use a ruler.

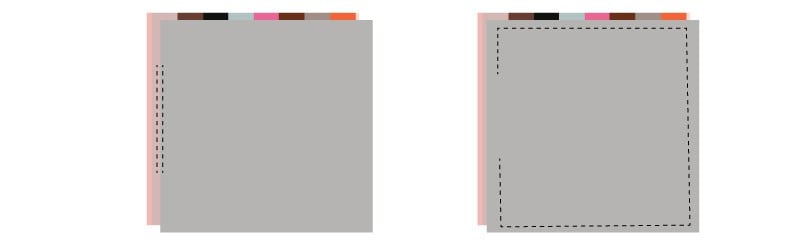
Use spray baste to attach the front panel and the bottom fabric piece to quilt batting pieces. Trim batting to match fabric.

Sew about 2″ of stay stitching on one side of each piece so it will be easier to turn the fabric when we close the opening by hand.
Sew the two layers together with right sides together, lining up the stitching lines. Use a 1/4″ seam allowance and make sure to leave the opening where you sewed the stay-stitching.
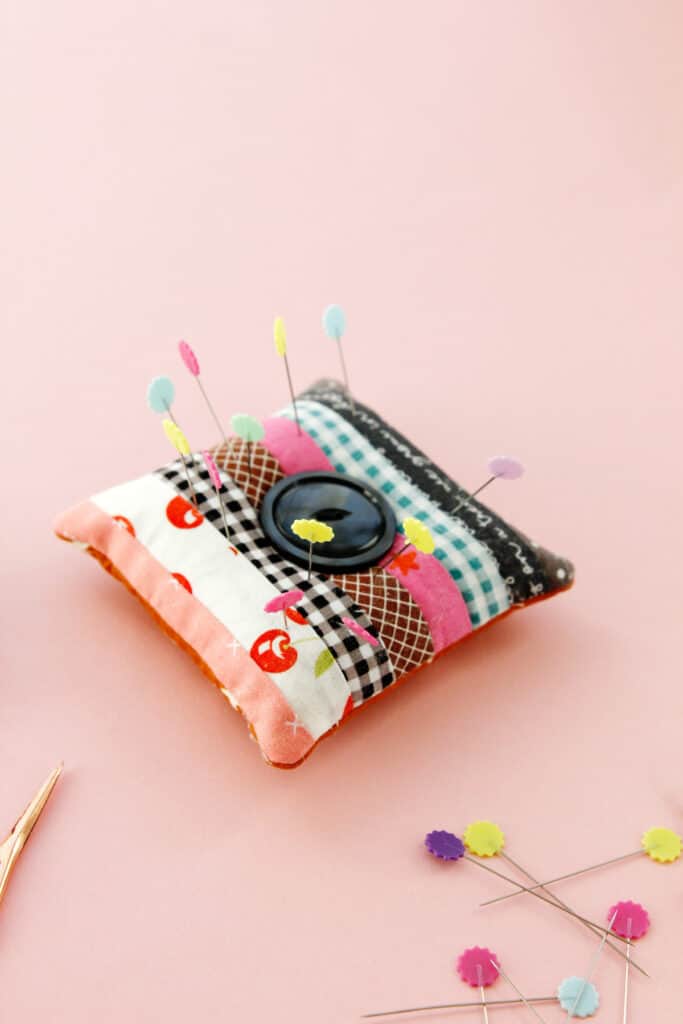
Clip the corners of the seam allowance and then turn right sides out. Stuff with fiberfill stuffing, then sew the opening closed with a needle and thread. Sew the button onto the front of the pincushion making sure the thread goes all the way to the back. Make an “x” with the thread in the center of the bottom of the pincushion.

Done! Now your pincushion is ready to use!


Leave a Comment