
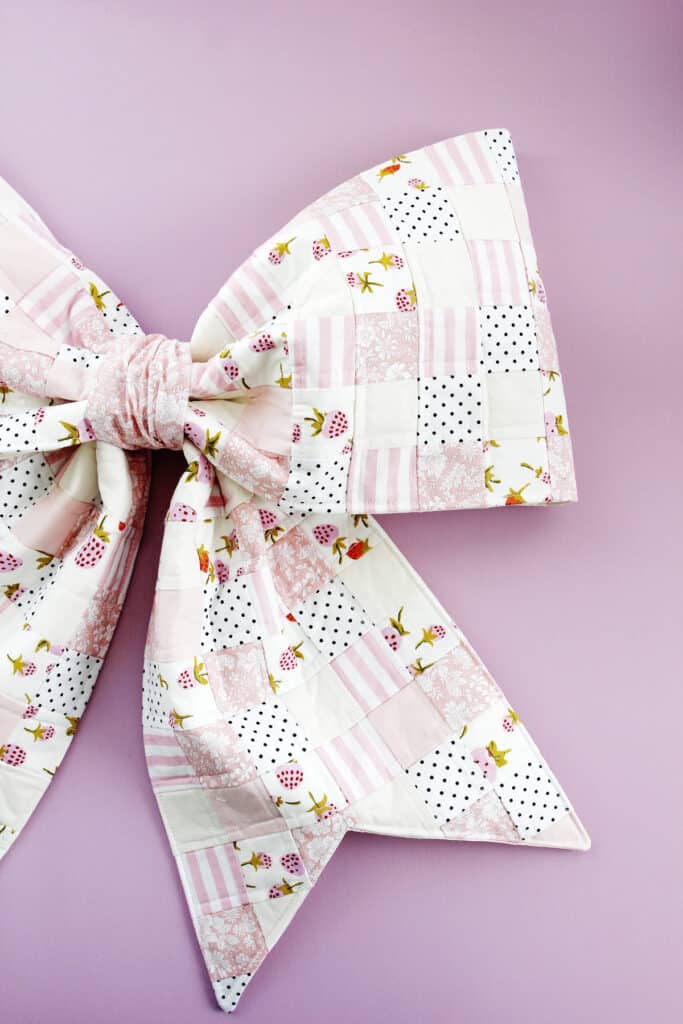
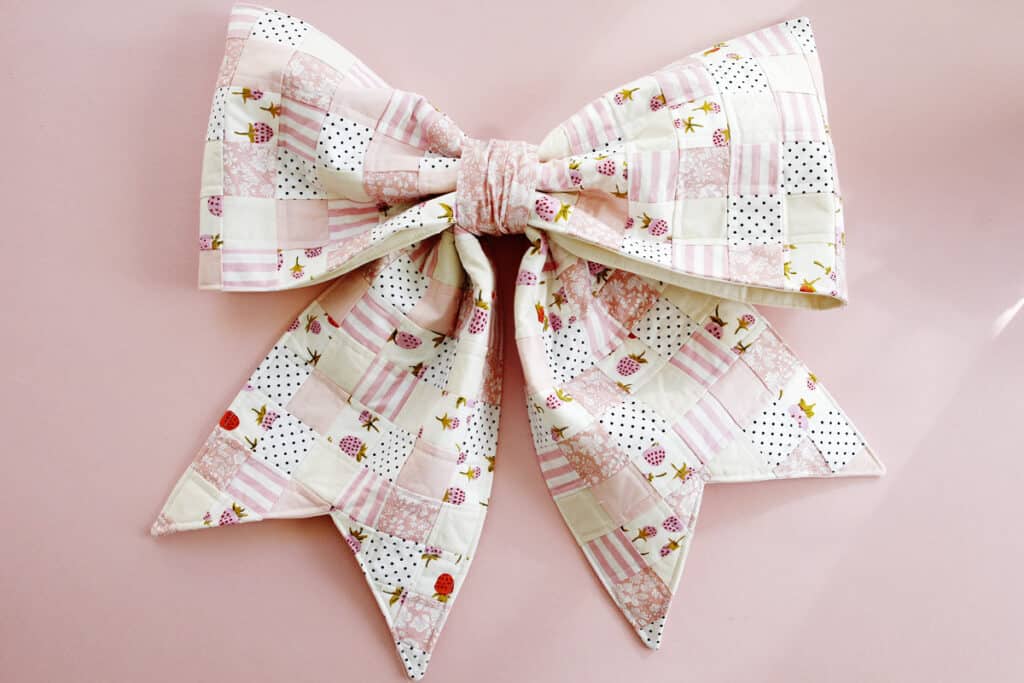
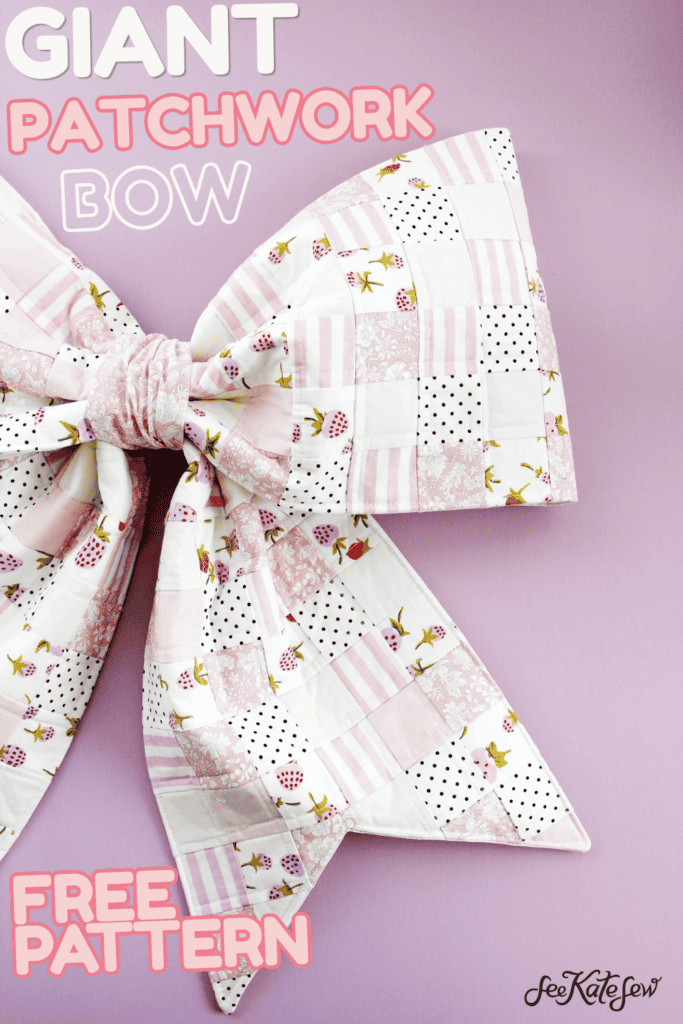
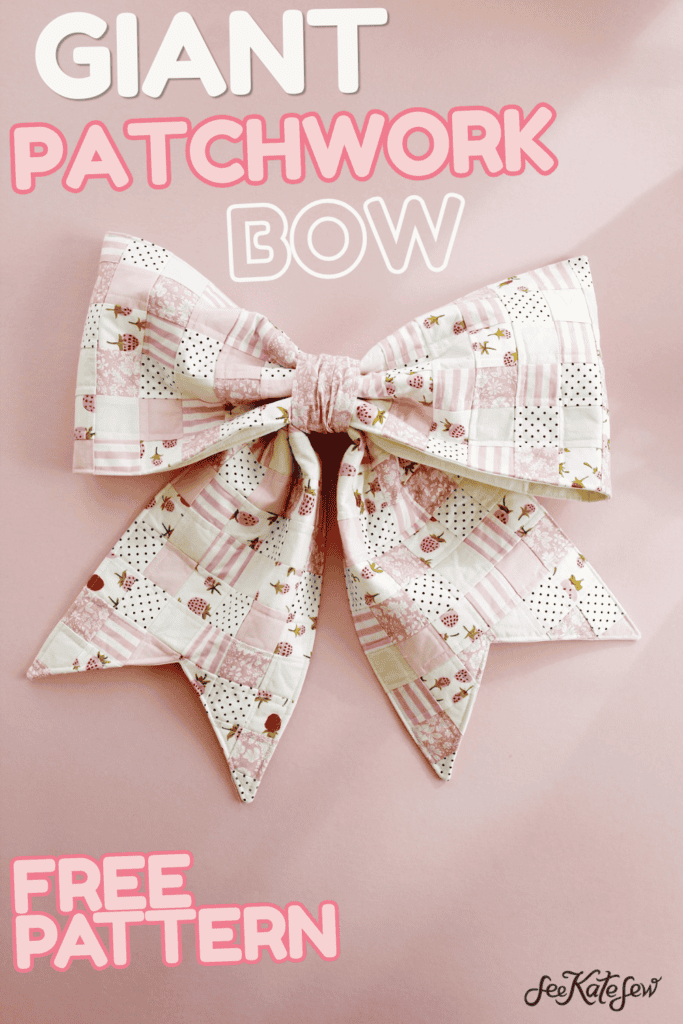
Let’s sew a big patchwork bow fabric scraps! This huge bow is the cutest door decoration – you’ll want to make one for every season. And the best part is, the patchwork bow is super quick with a tricky technique!
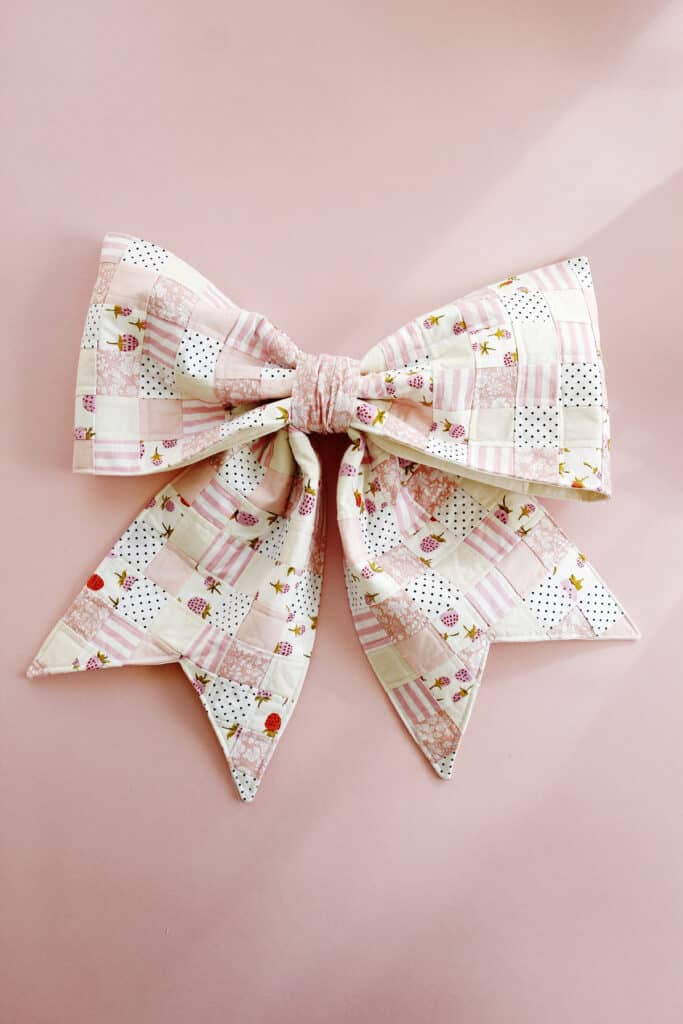
I used the collection from My Fabric Fix Box #1 for this bow and I love the soft pink color scheme!
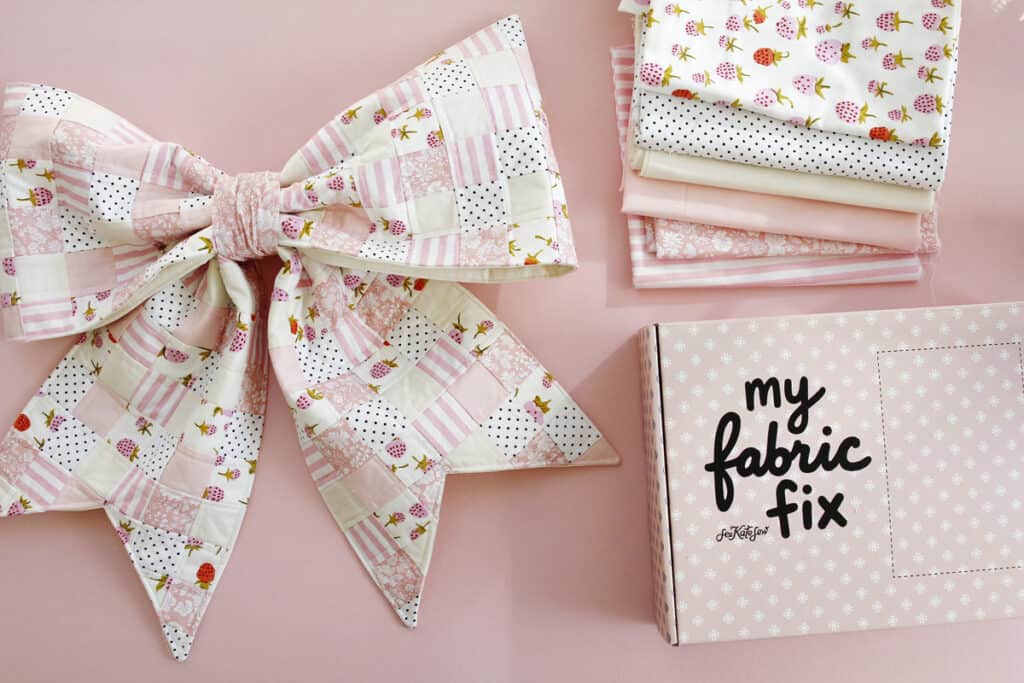
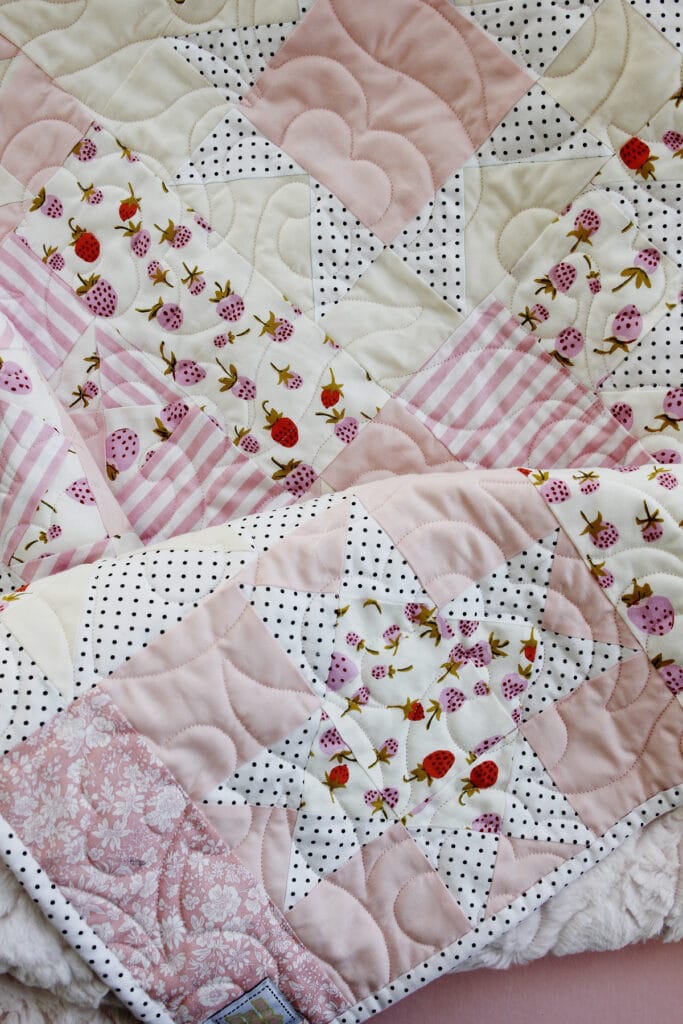
You can get a My Fabric Fix box here! The bow includes enough fabric for this gorgeous quilt (and some!) plus a printed quilt pattern, sewing labels and so much more!
Okay, let’s sew this bow with some scraps!
Materials for Patchwork Bow
- Fabric scraps, I’m using 6 fabrics from My Fabric Fix
- 1/2 yard fabric for backing
- 1/2 yard quilt batting
- 1″ or 2″ Grid interfacing
- Baste Spray
- Lightweight fusible interfacing
- String for hanging, optional
Grid interfacing is the secret to making this patchwork super quick and more precise! Instead of piecing the squares one-by-one, we’ll stick the fabric to the interfacing with an iron and then sew all the seams up at once!
Patchwork Bow Sewing Pattern Download
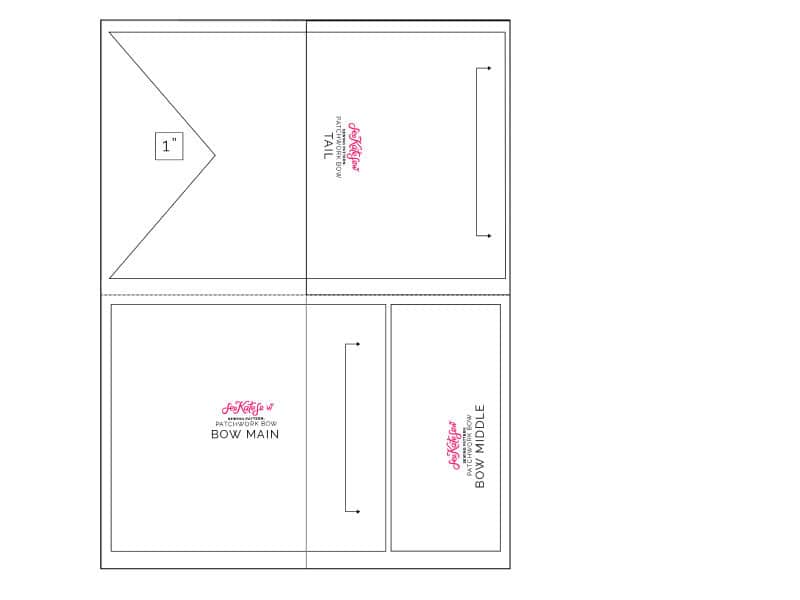
Click on the button below to download the pattern pieces. Be sure to print at 100% or DO NOT SCALE.
These pattern pieces will print on 4 pages that need to be taped together as shown below.
How to sew a patchwork bow
Use a 1/4″ seam allowance.
Start by cutting a bunch of 2″ squares of fabric! Use all your little scraps for this. We’ll need 204 squares – so dump your scrap bin or cut 2″ strips from yardage.
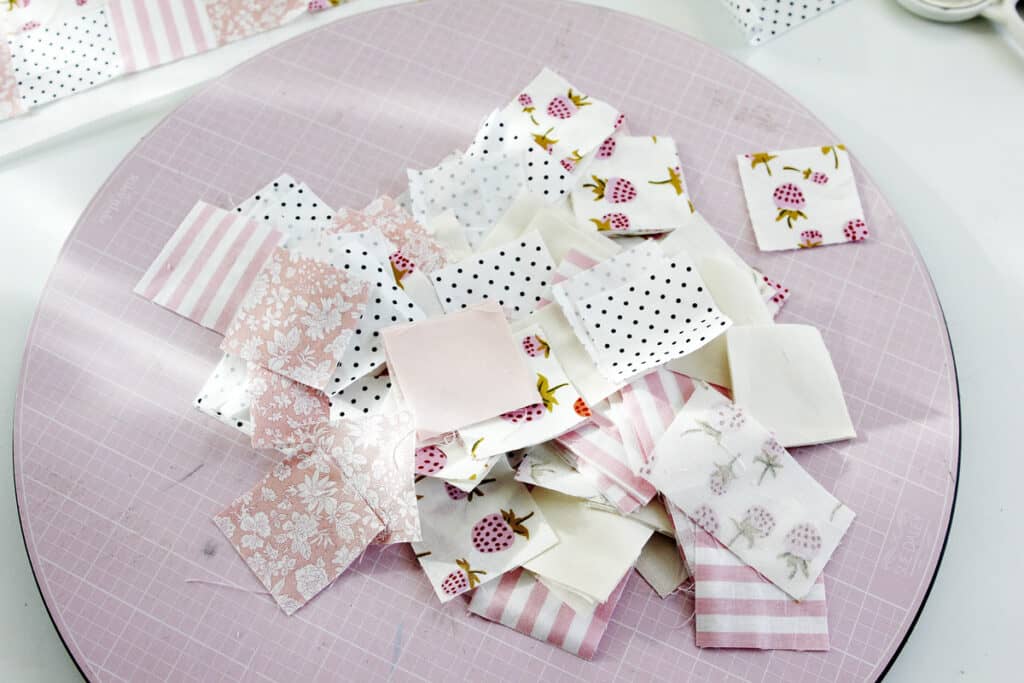
We won’t use the pattern pieces just yet – we’ll start with the grid interfacing and squares.
Interfacing Size & Blocks Required
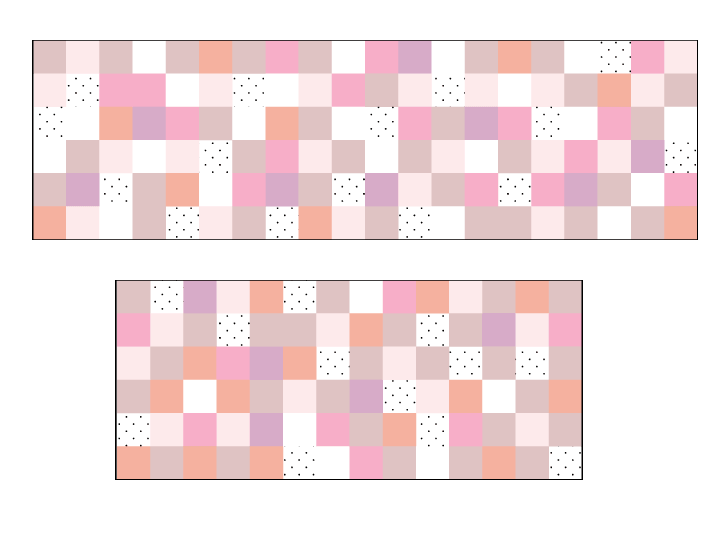
BOW MAIN: 6 blocks x 14 blocks – Cut interfacing at least 28″ x 12″
TAIL: 6 blocks x 20 blocks – Cut interfacing at least 40″ x 12″
Using Grid Interfacing for the Giant Patchwork Bow
Start placing your squares on the grid interfacing. The interfacing will help you keep them straight and we’ll use the grid to help us press and sew later.
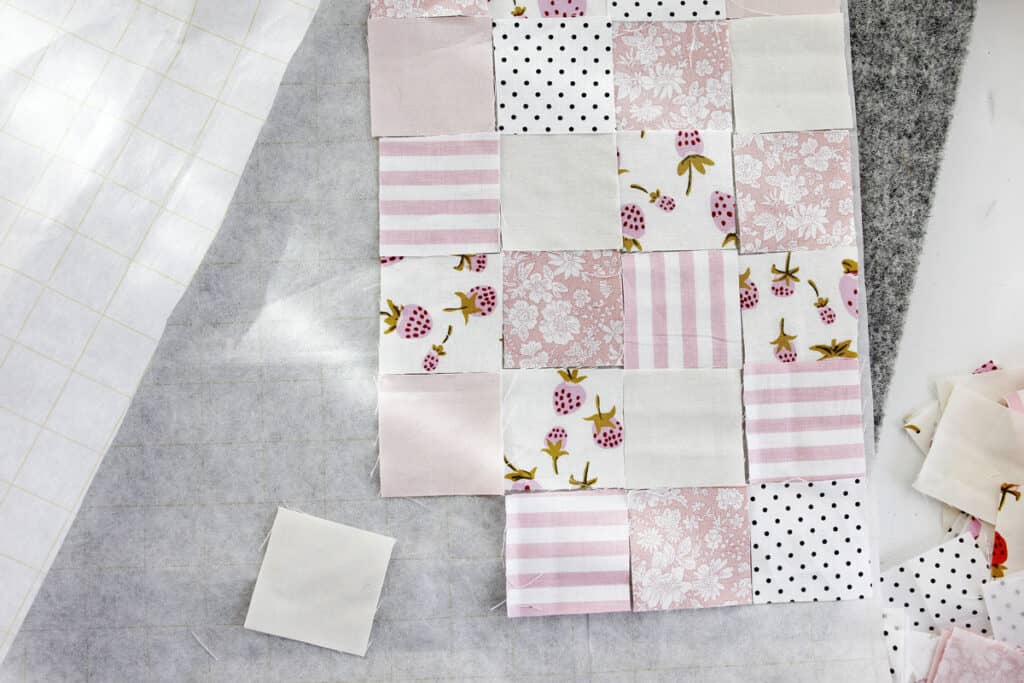
Don’t worry too much if your squares aren’t perfect – they can overlap or be a little too small and it will turn out fine. There will be a 1/4″ seam allowance on all the sides so there is some room for error.
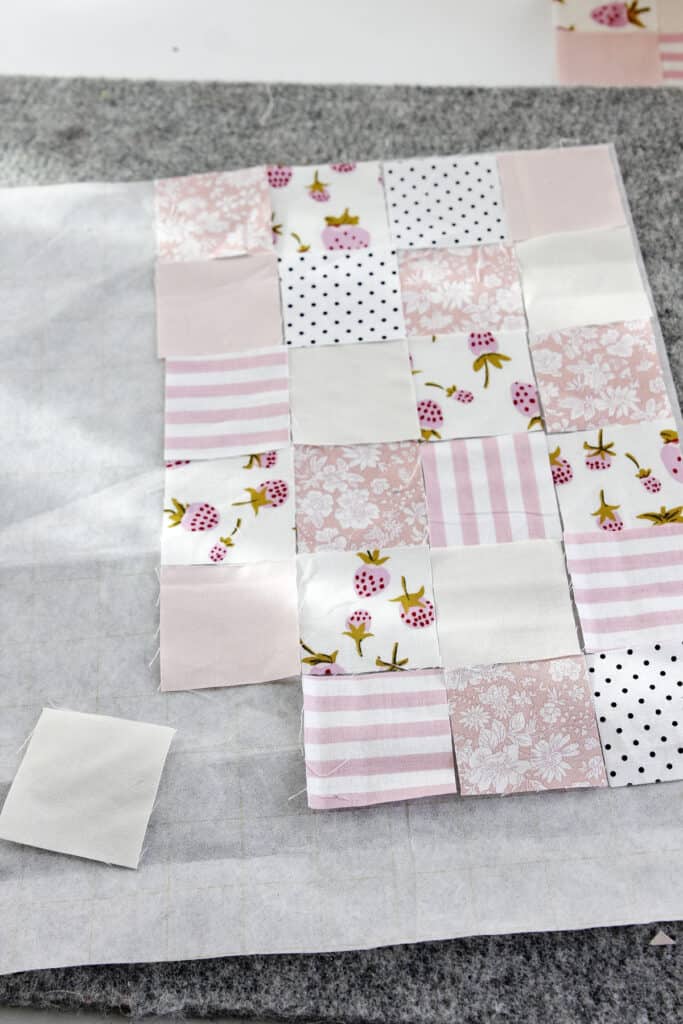
Press the squares to the interfacing with an iron, making sure not to drag the fabric pieces as you go.
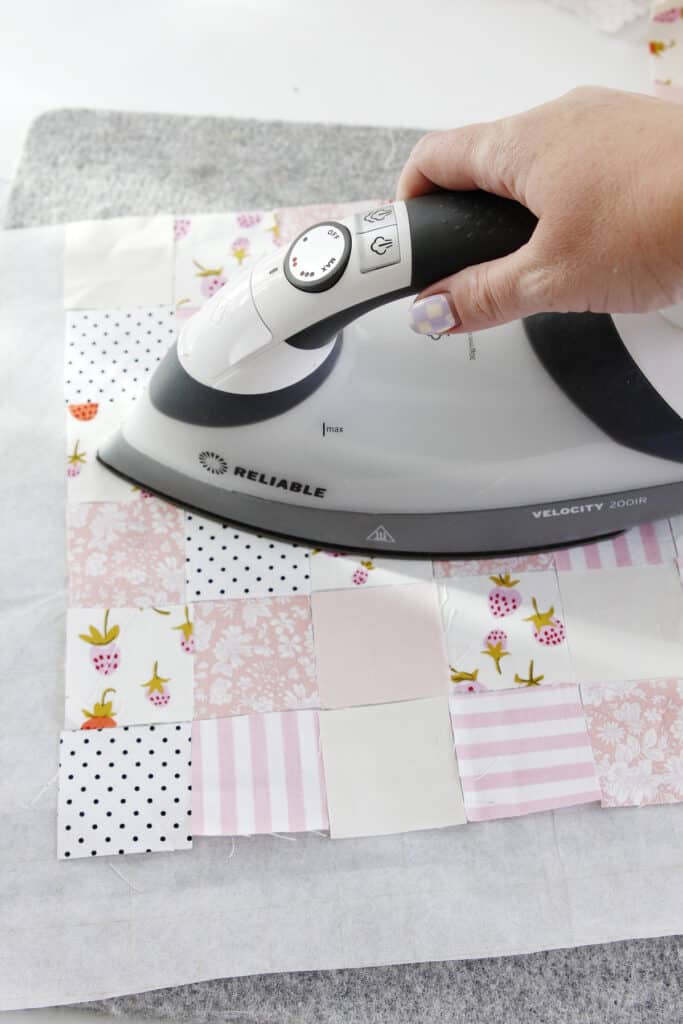
Sew the Grid Interfacing for the Patchwork Bow
Fold the long side between the first and second row and press well then sew 1/4″ from the fold the whole way down.
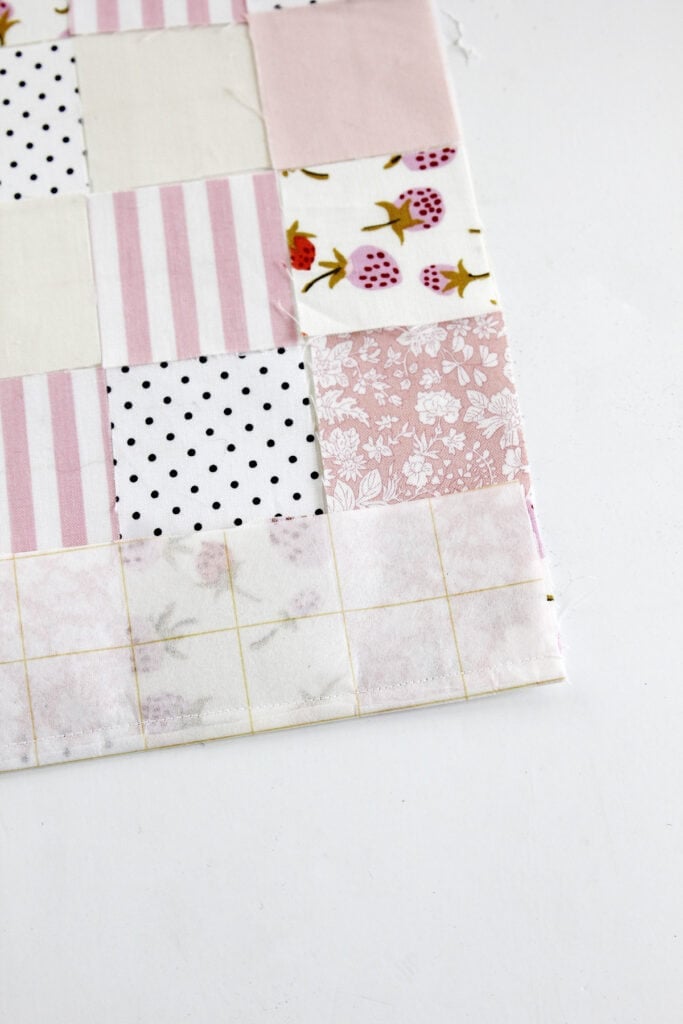
You’ll sew all the blocks together at once!
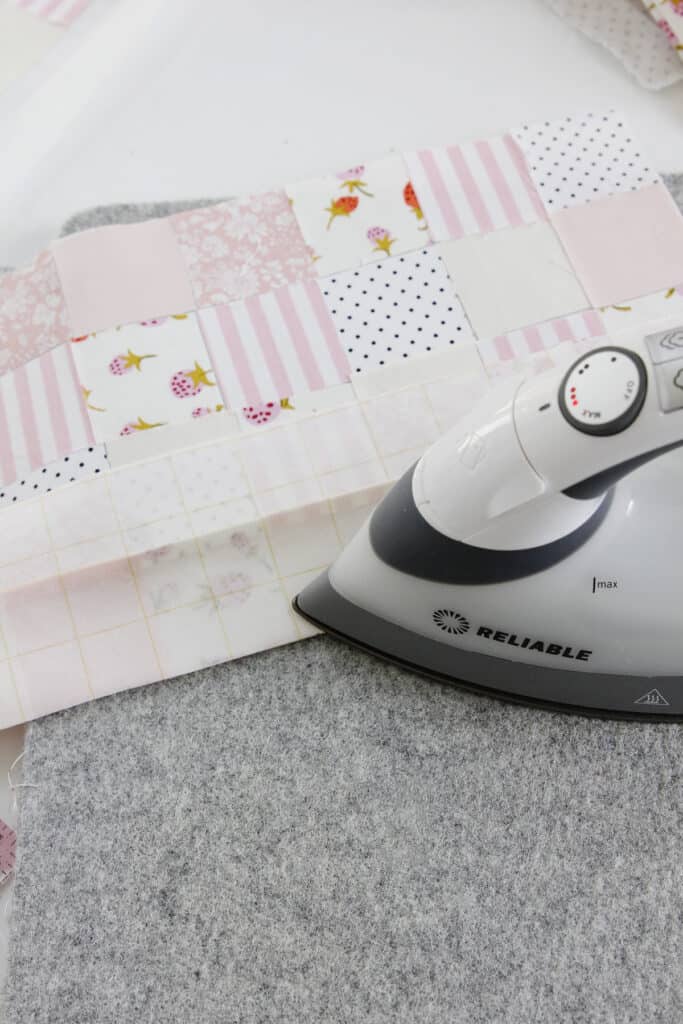
Move to the next row and repeat until you have sewn all the long rows.
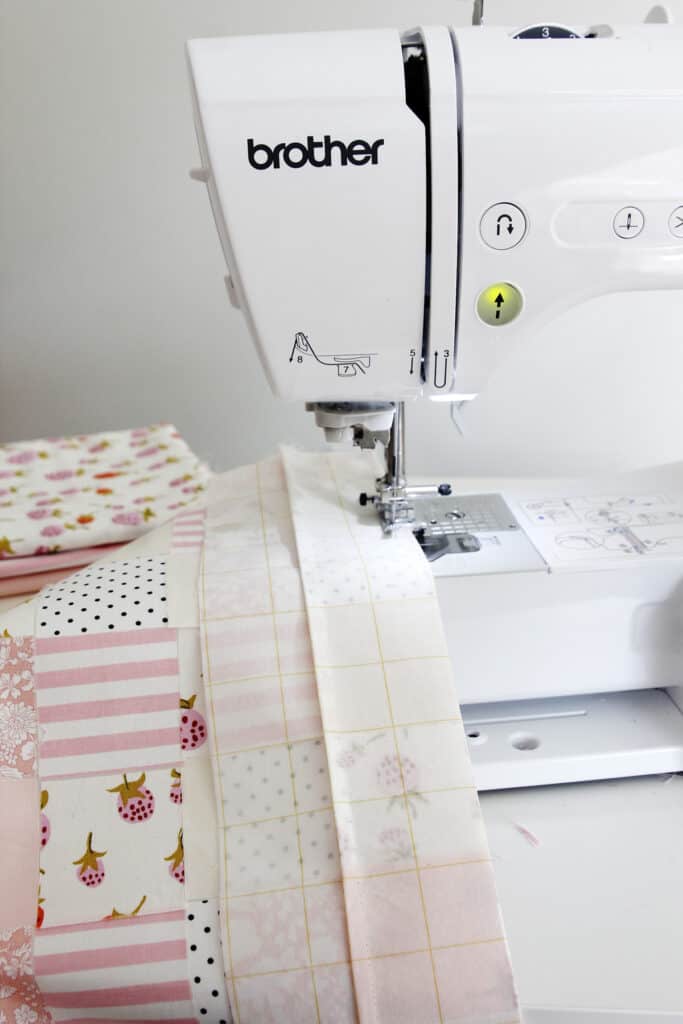
Press the seam allowances.
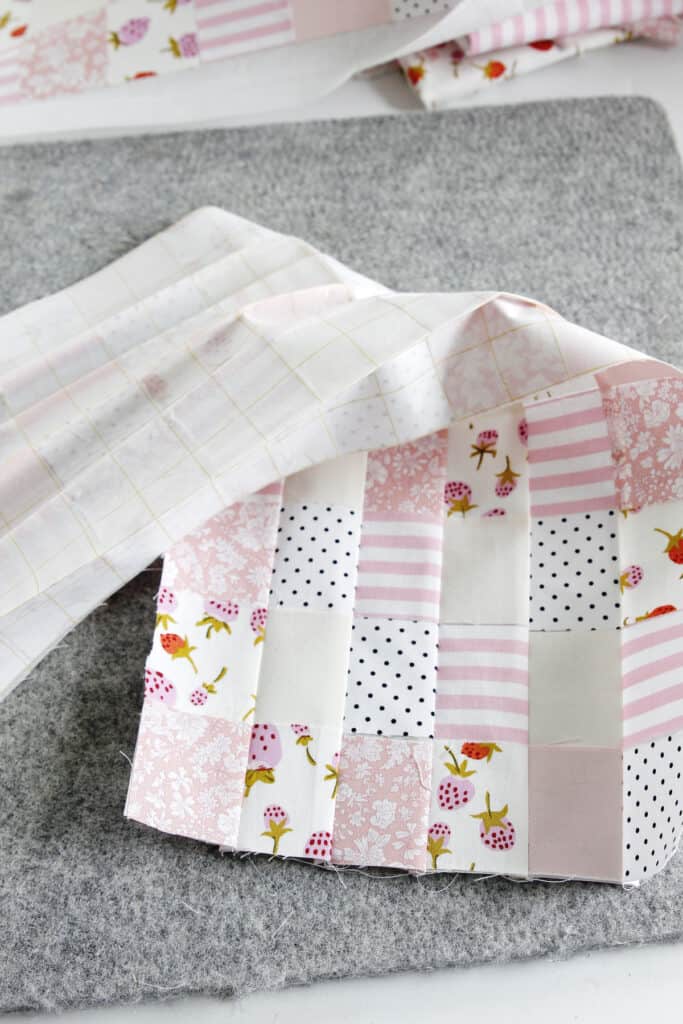
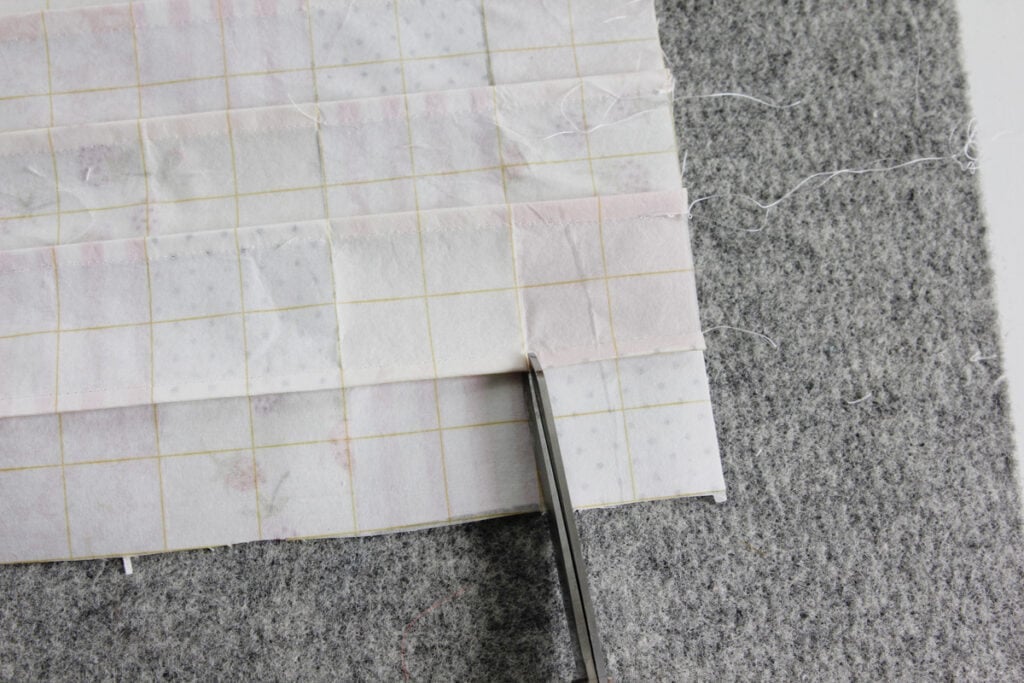
This interfacing makes the seam allowances pretty bulky so to help with that we are going to clip into the seam allowances at each block intersection. Clip with the tip of your scissors and make sure you don’t clip through the seam!
Now press the seam allowances in opposite directions. Press one row up and the next down and continue for the whole patchwork panel. This will help us distribute the bulk of the seam allowance on both sides of the stitching.
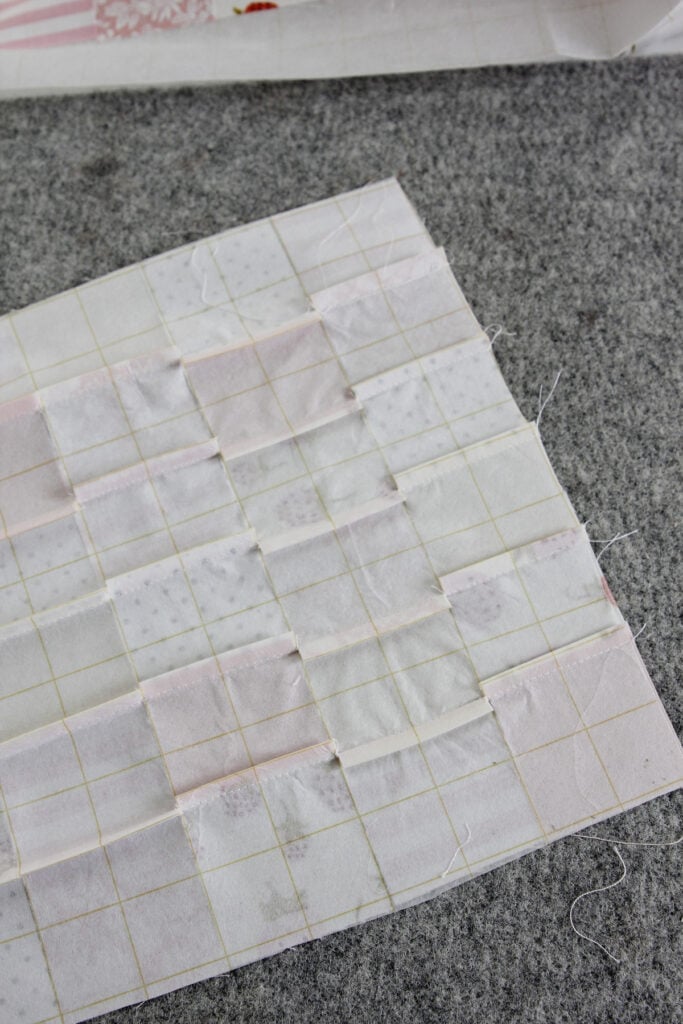
Press the first row down the same way we did with the longer rows.
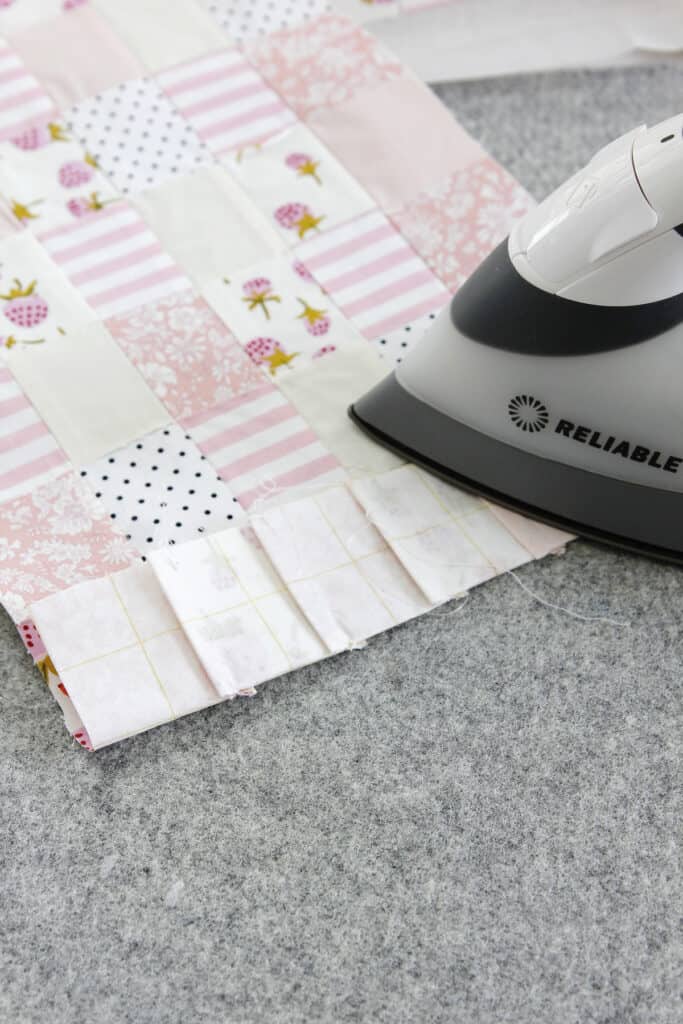
Stitch across at 1/4,” making sure the seam allowances don’t flip as you sew.
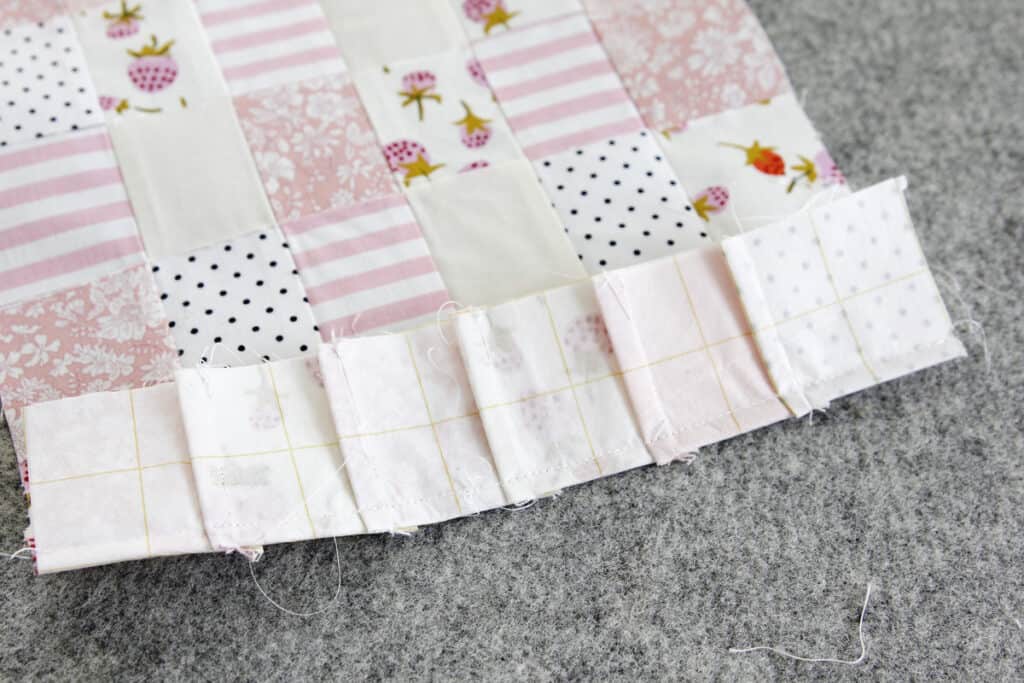
Repeat until you have sewn all the rows. Then press well.
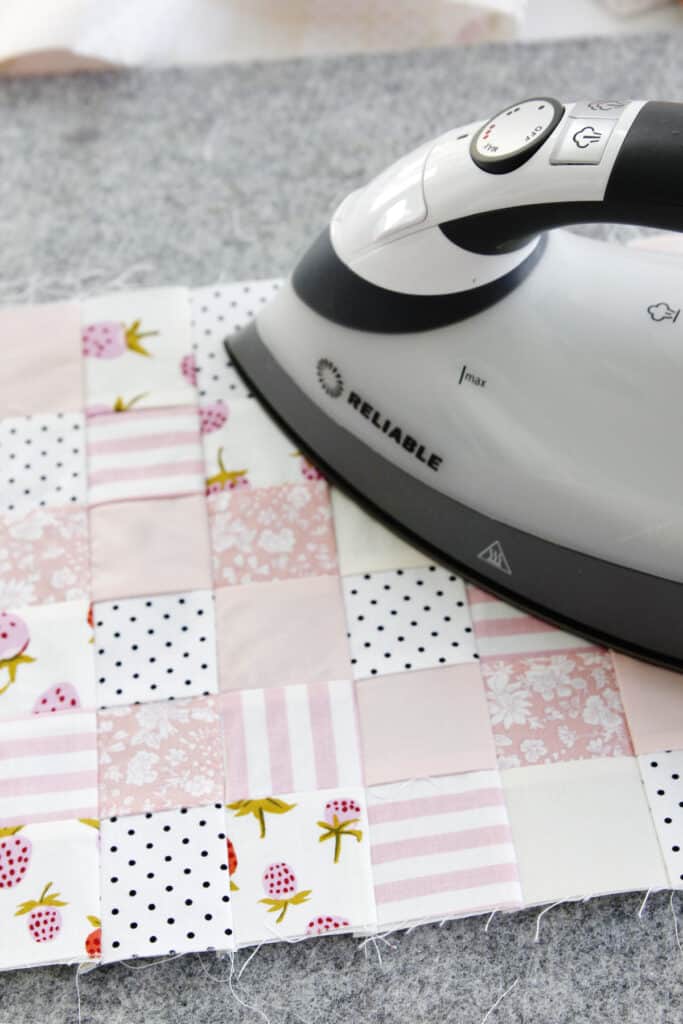
Repeat for both pieces. You’ll have a bow tail piece (longer) and the main piece (shorter).
Use the MAIN pattern piece to cut out 2 layers of backing fabric NOT ON THE FOLD.

Sew these pieces to the sides of your main patchwork panel.
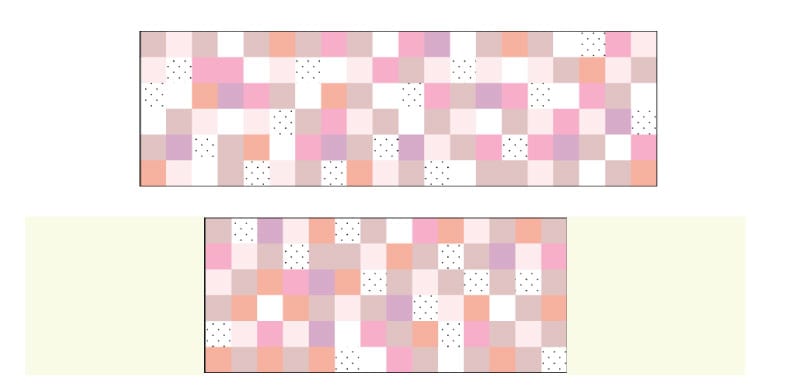
Quilt with Batting
Spray baste the patchwork panel to a piece of quilt batting. Then topstitch to create a quilted panel. You can topstitch however you want! I sewed a line of stitching on one side of each seam in both directions for a pretty quilty look!
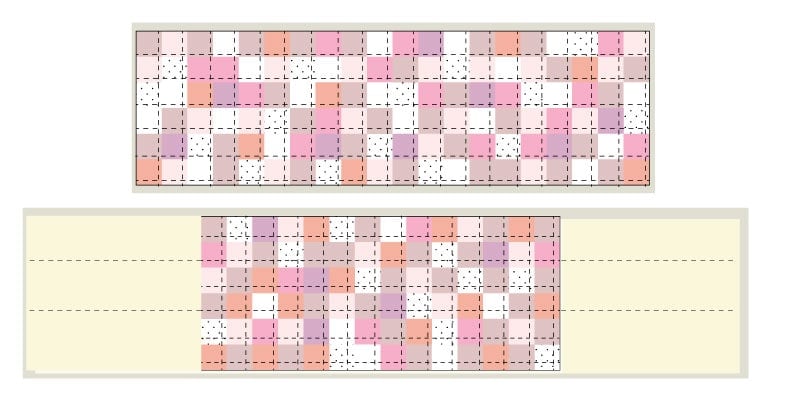
Now we’ll use the pattern pieces to cut out the tail and main pieces and trim off the excess batting at the same time.
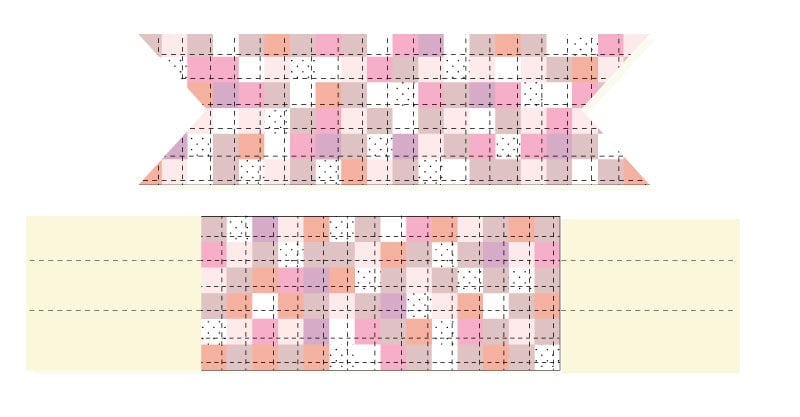
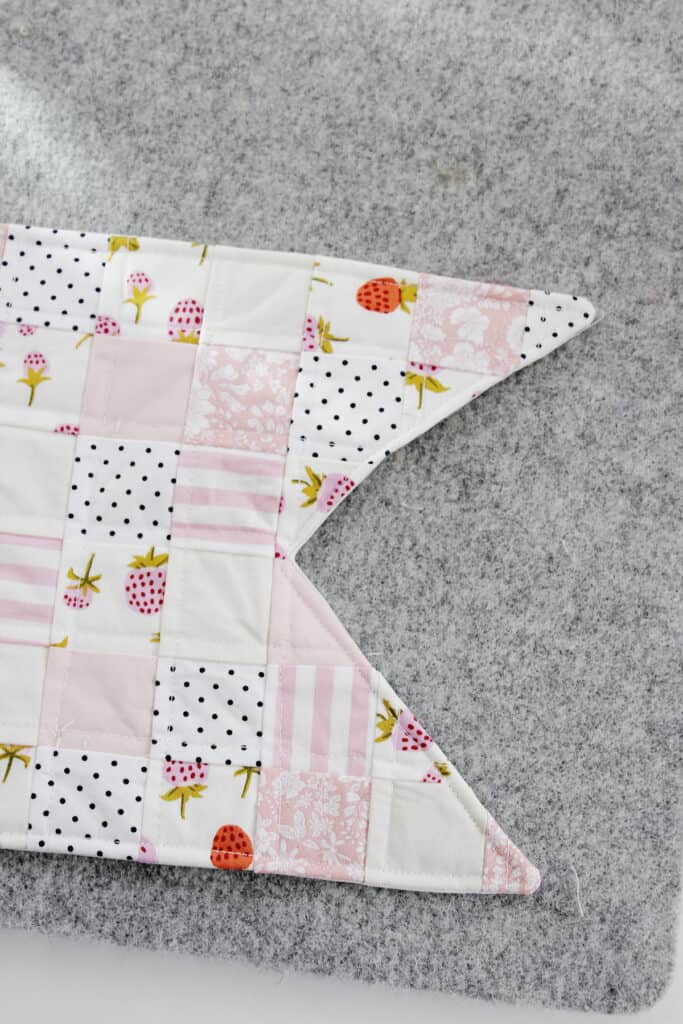
Cut out the tail and main pattern piece from your backing fabric. Pin the front and backs together with right sides together then sew with a 1/4″ seam allowance. Leave a 3-4″ opening in the middle of the tail piece. Leave the short edges of the main piece open.
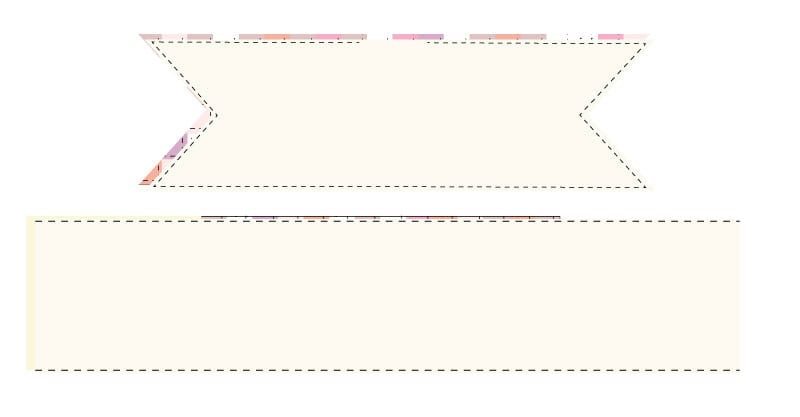
Turn right side out and press. Then topstitch around the tail piece about 1/8″ from the edges, closing the opening as you sew. Topstitch the top and bottom of the main bow piece.
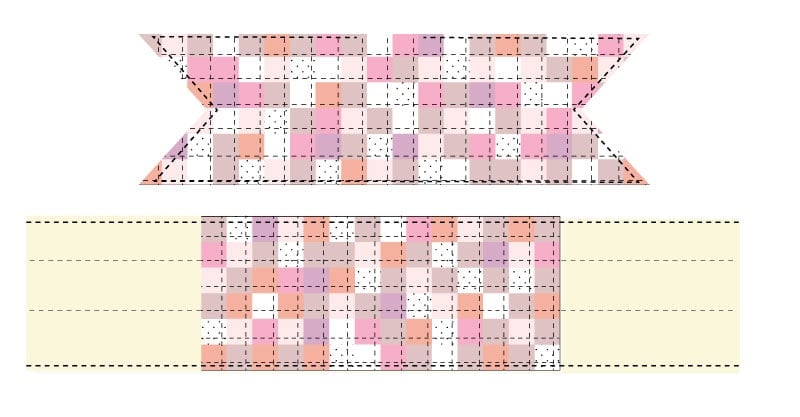
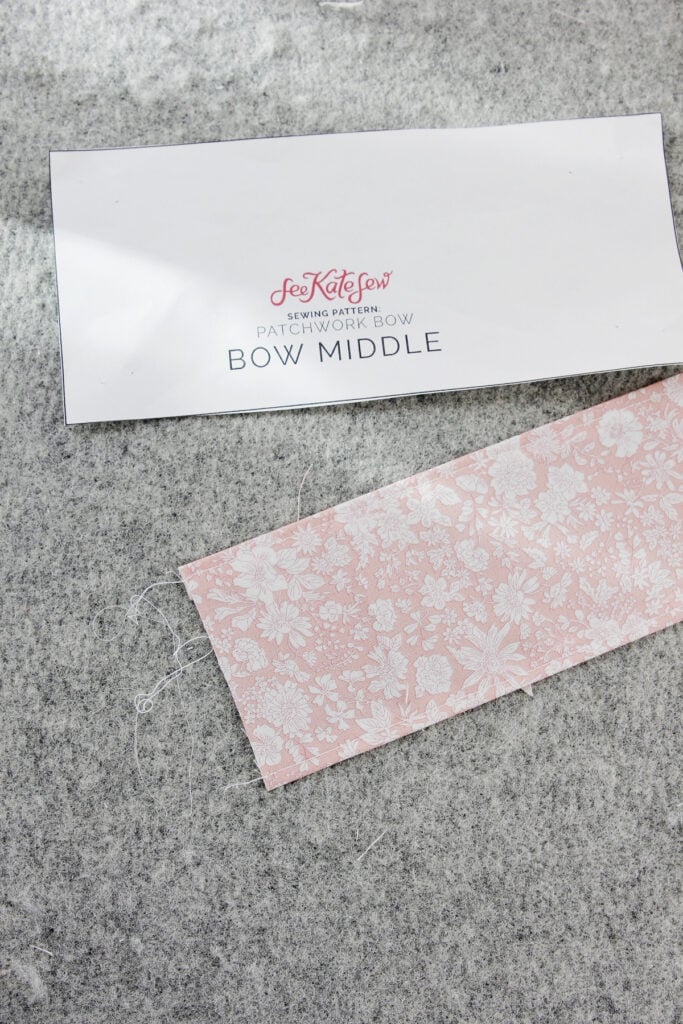
Create the middle part of the bow. Cut 1 from pattern piece and back with lightweight fusible interfacing. Turn under 3/8″ on both of the long edges and press. Then sew 1/8″from the edges.
Assemble the Patchwork Bow
Now we have our main bow, tail and bow middle pieces ready to go.
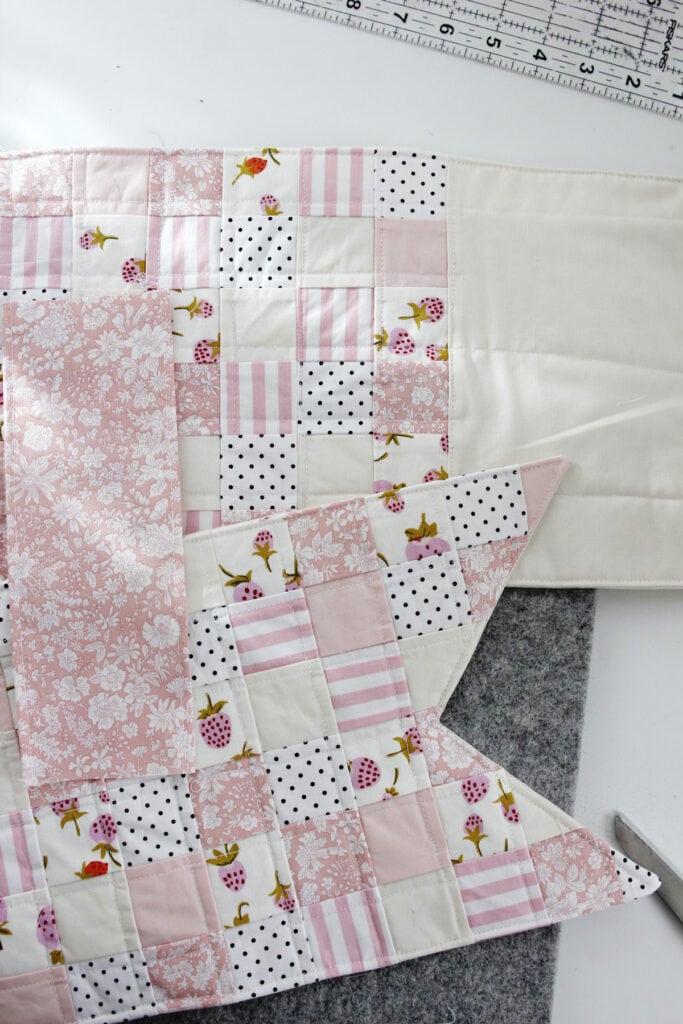
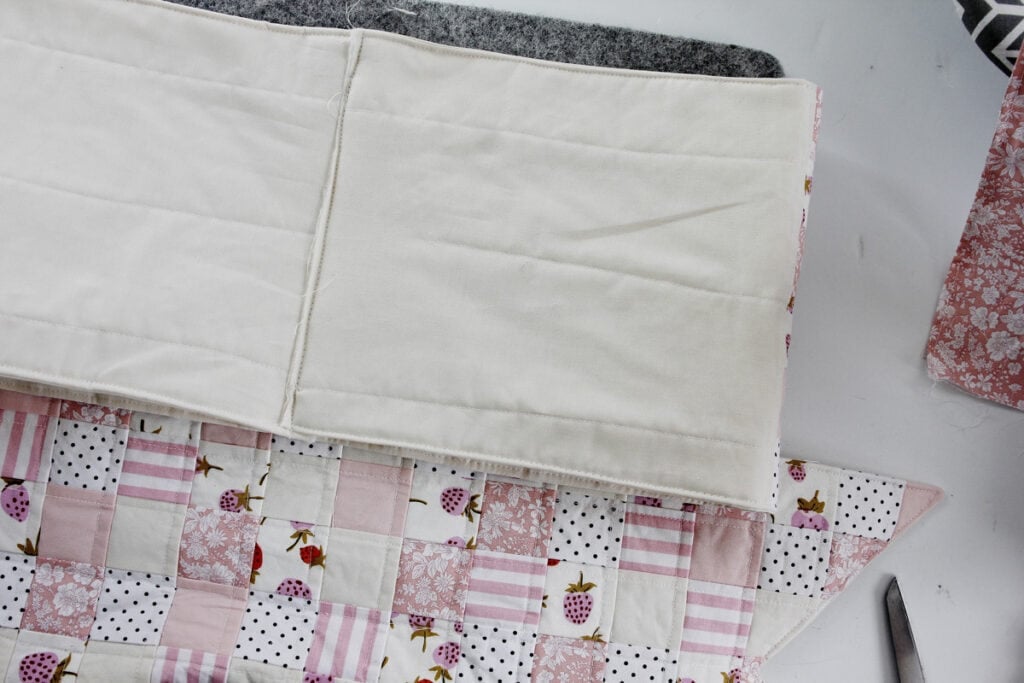
With the bow main piece facing down on the table, fold the side pieces to the back to overlap and meet in the middle. Then sew the whole thing down the middle to keep the fabric aligned.
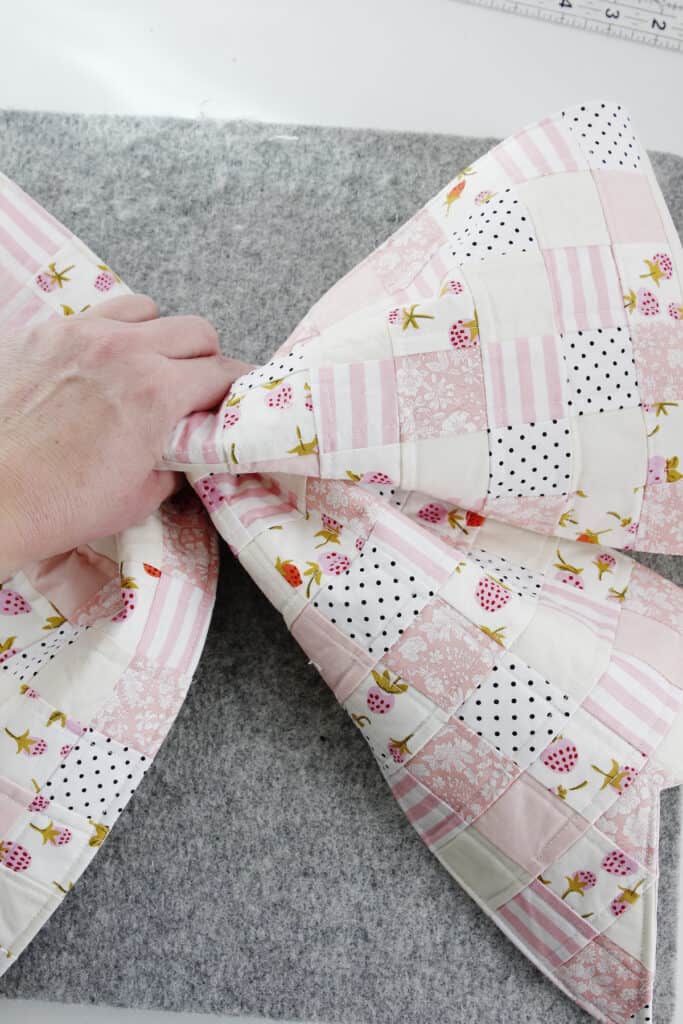
Find the center of both your bow pieces and gently pleat them together and pinch in the middle.
Wrap the middle with the bow middle piece.
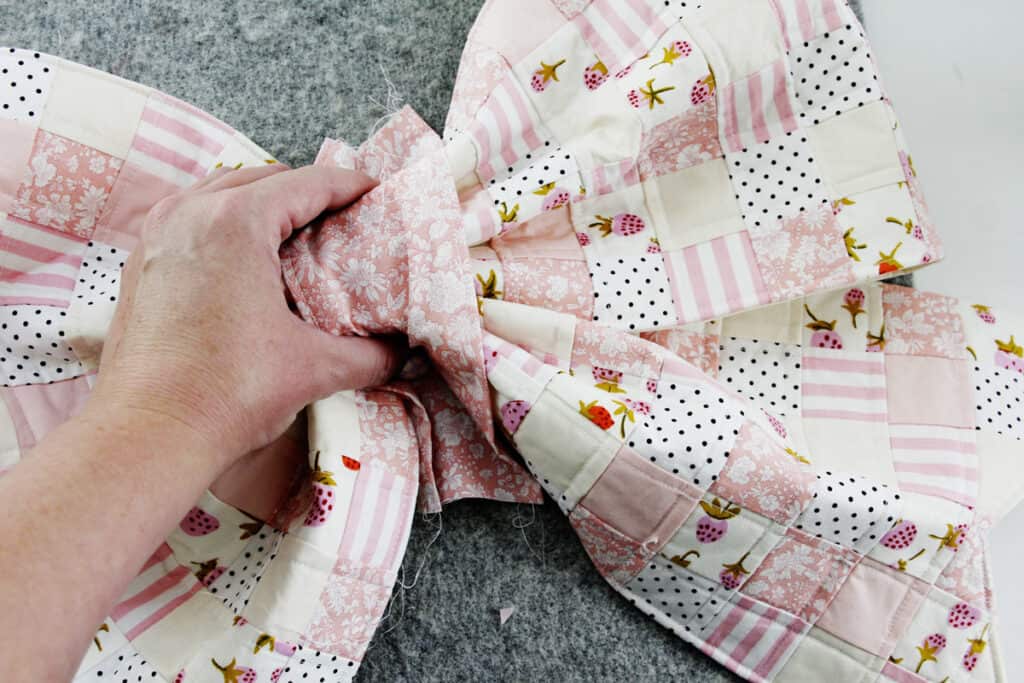
Sew the short edges of the bow middle together at the back as close to the bow as you can. Backstitch.
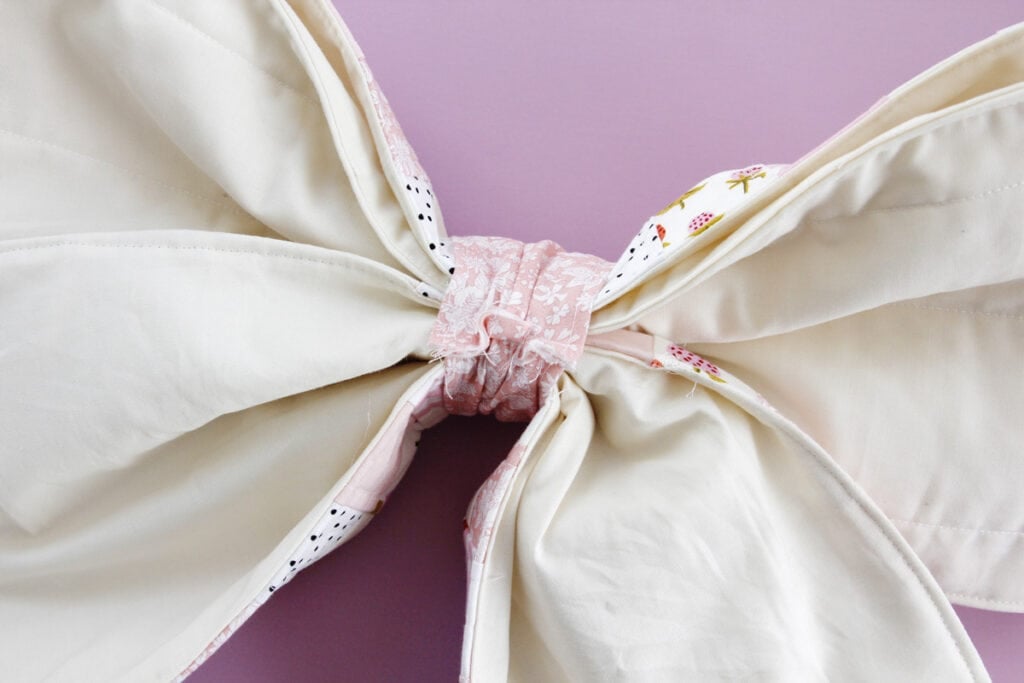
And then you’re done!
Leave a Comment