bow sleeves tutorial
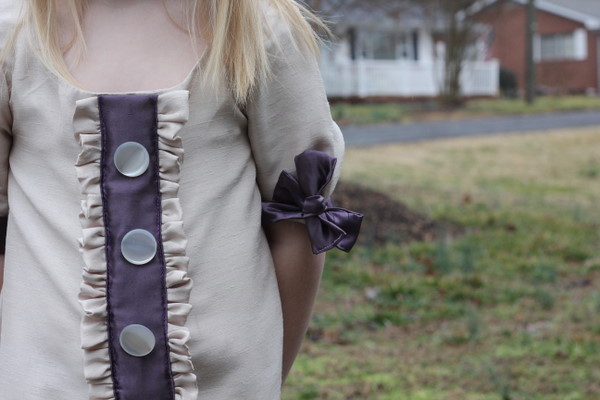
This is the sleeve I used on my grape soda dress. It’s really simple and can be done on any plain sleeve.
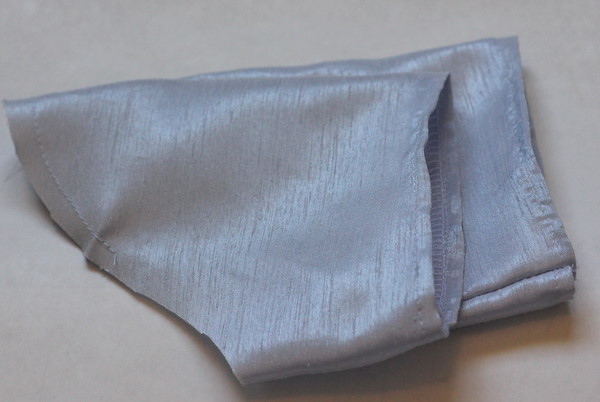
The first step is to assemble your sleeves normally. If you are inserting your sleeve in the round, finish your sleeve like so. If you are inserting it with the flat method, assemble your dress and sleeves before attaching the decorative bow.
Next cut two strips of contrasting fabric. They should measure about 3 1/2″ by 22″. You will have to adjust the measurements for larger sizes and if you want a larger bow.
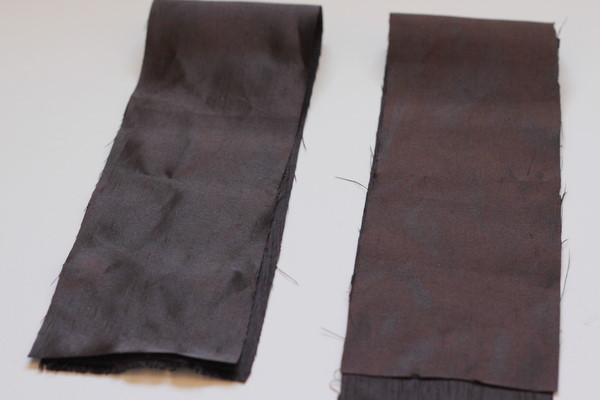
Fold them in half with right sides together. Press and sew into tubes. Finish the ends by folding them under, pressing and stitching.

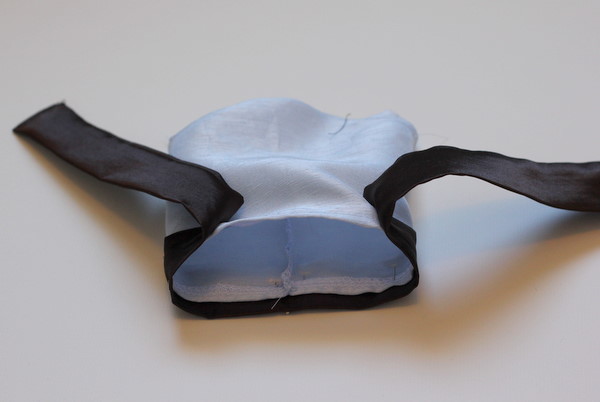
Center the middle of the strip and the bottom seam of the sleeve.
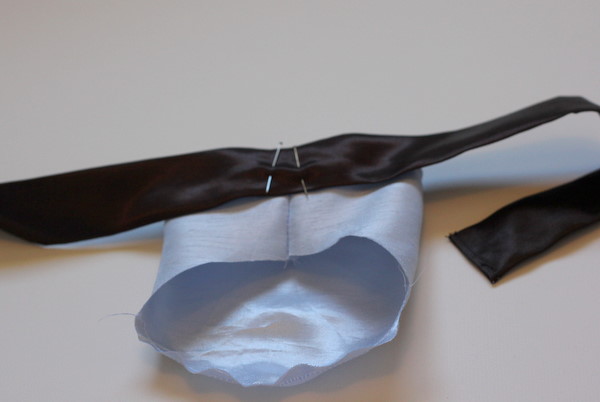
Pin the sleeve in place, with 1/2″ over the existing edge of the sleeve. Leave 3 inches on the top of the sleeve where the bow will be tied.
Pin away.

Next, edge stitch the tie to the sleeve. Make sure to backstitch at the start and finish of the 3″ gap.
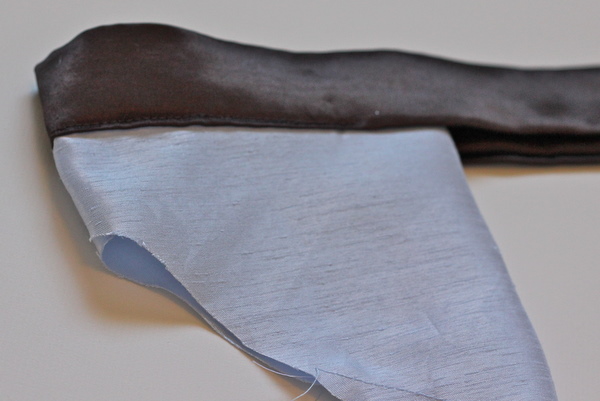
It’s a little tricky in the sewing machine. Just make sure you don’t sew through the other side of the sleeve!
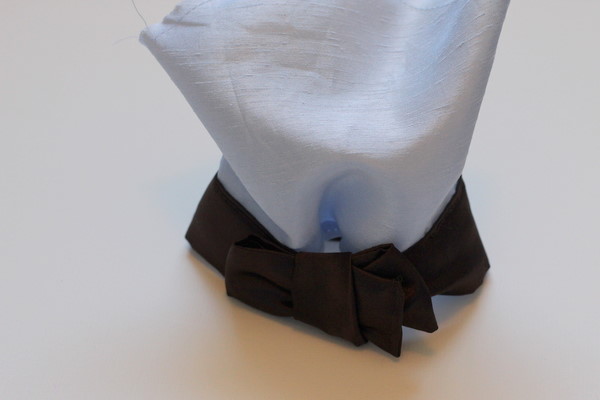
Now tie it in a knot or tie it in a bow!
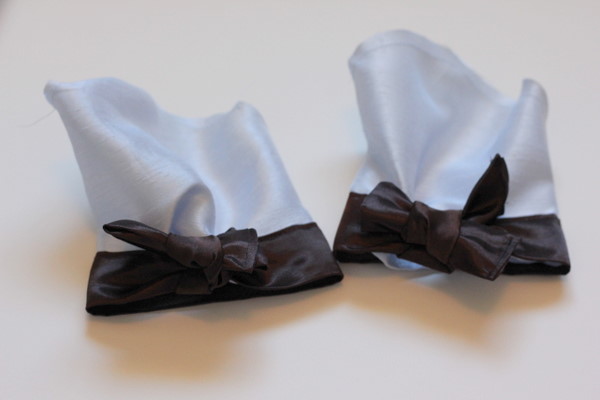
Done! That was easy! So make some more!
The bow will cinch up the extra part of the sleeve that you didn’t attach it to, creating a little gather or pleat.
Ready to make the rest of the dress?