Today’s post was written by Caila of Cailamade. Caila is super nice and has brilliant photography and exquisite sewing skills, I love reading her posts! Today she is sharing a butterfly ruffle sleeve tutorial.

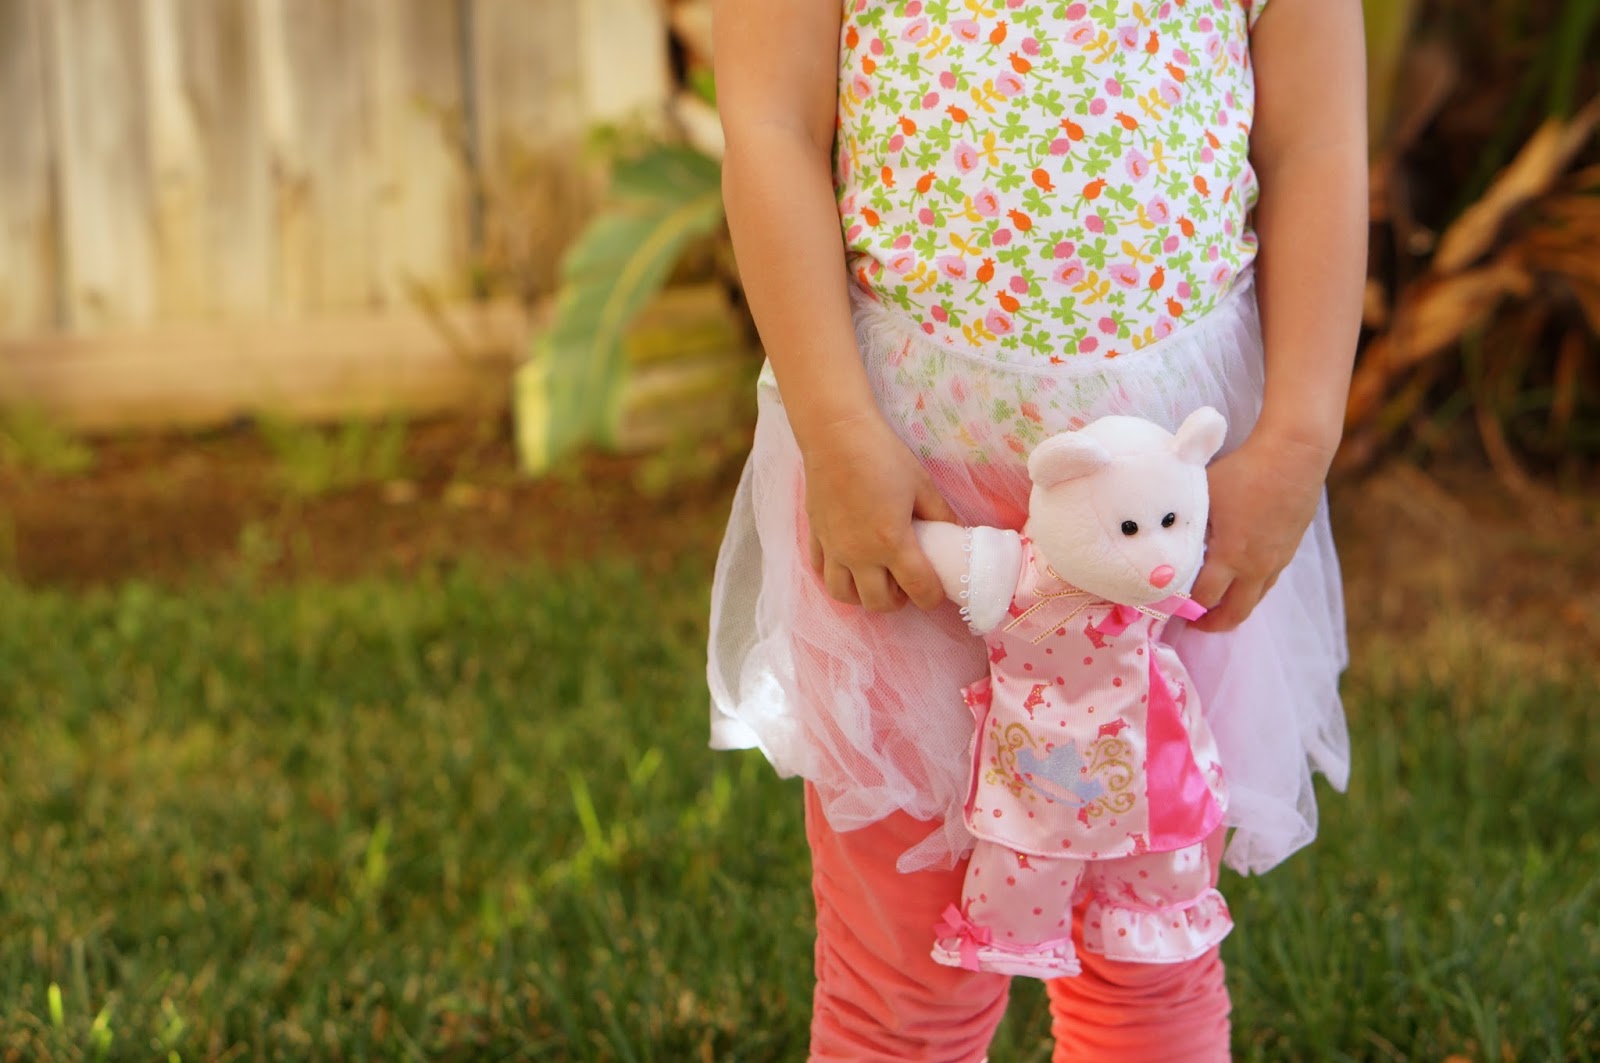
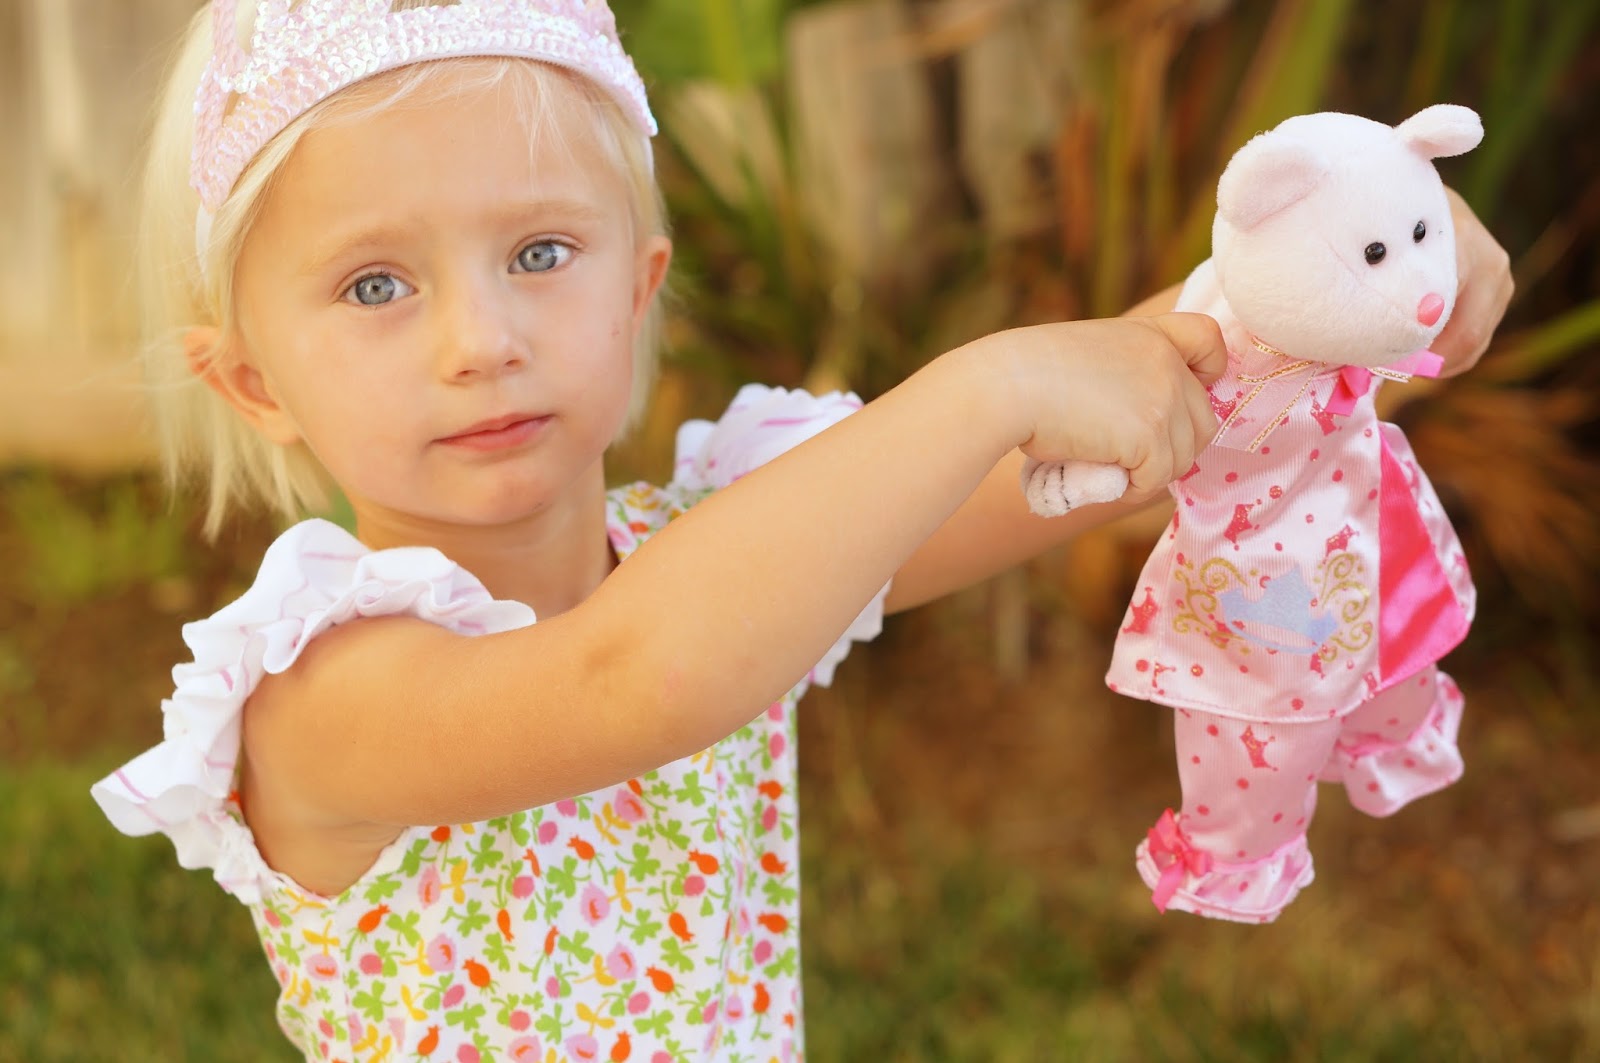
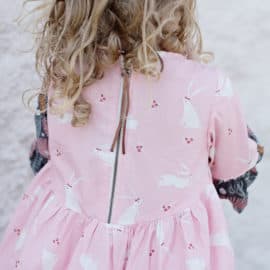
Yay for ruffles! Hey everyone, I’m Caila from over at CailaMade, where I share about sewing for my three blond California babes. As you can tell from these pictures, my daughter is a princess all the way. If she had all the say, we would put ruffles (PINK ruffles) on everything. So, she thanks Kate very much for inviting me to participate in this series.
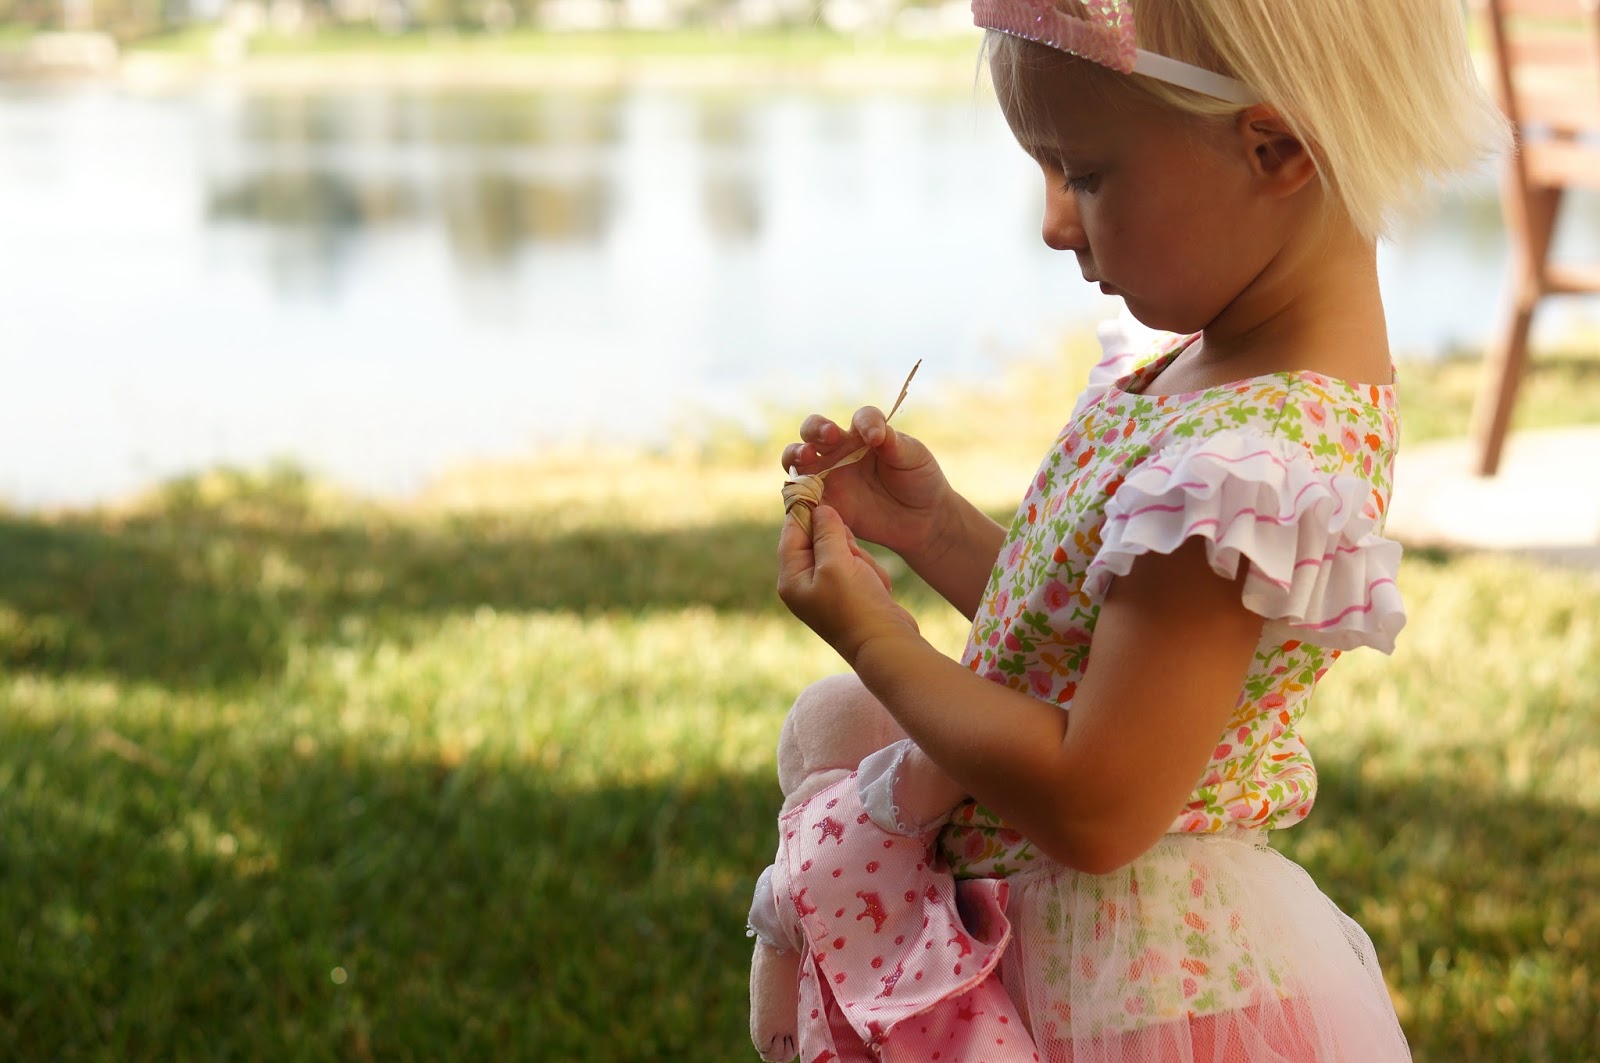
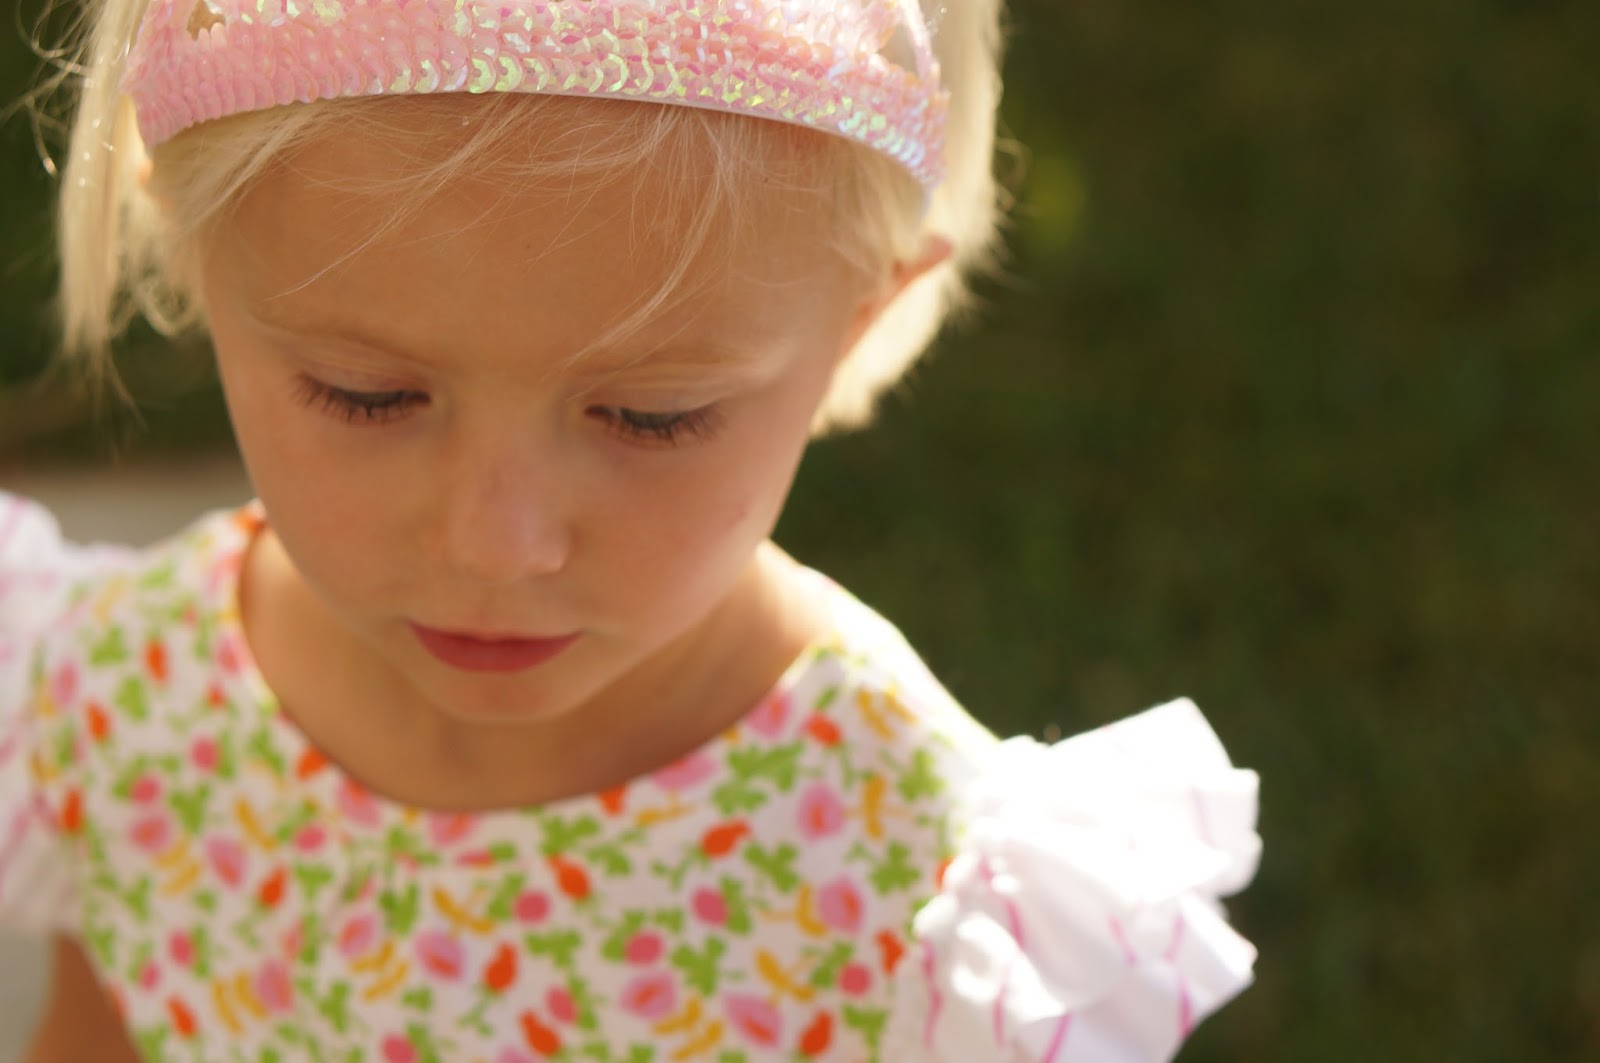
She will look extra special too, by the way.

Below are my instructions for adding Butterfly Ruffle Sleeves to an ordinary shirt pattern. I think you could also do this with a store bought tee, if you removed the sleeves first. If someone tries that, let me know how it goes!
MATERIALS
- knit fabric for the t-shirt. I used this printed interlock by Heather Ross and LOVE IT.
- long scraps of coordinating knit for the double ruffle sleeves. I used a jersey knit from Michael Levine, scraps from Abby’s crown shirt.
- A t-shirt pattern. You can either trace an existing t-shirt and make your own pattern, or I suggest the Flashback Tee by Made By Rae, which I used for this shirt.
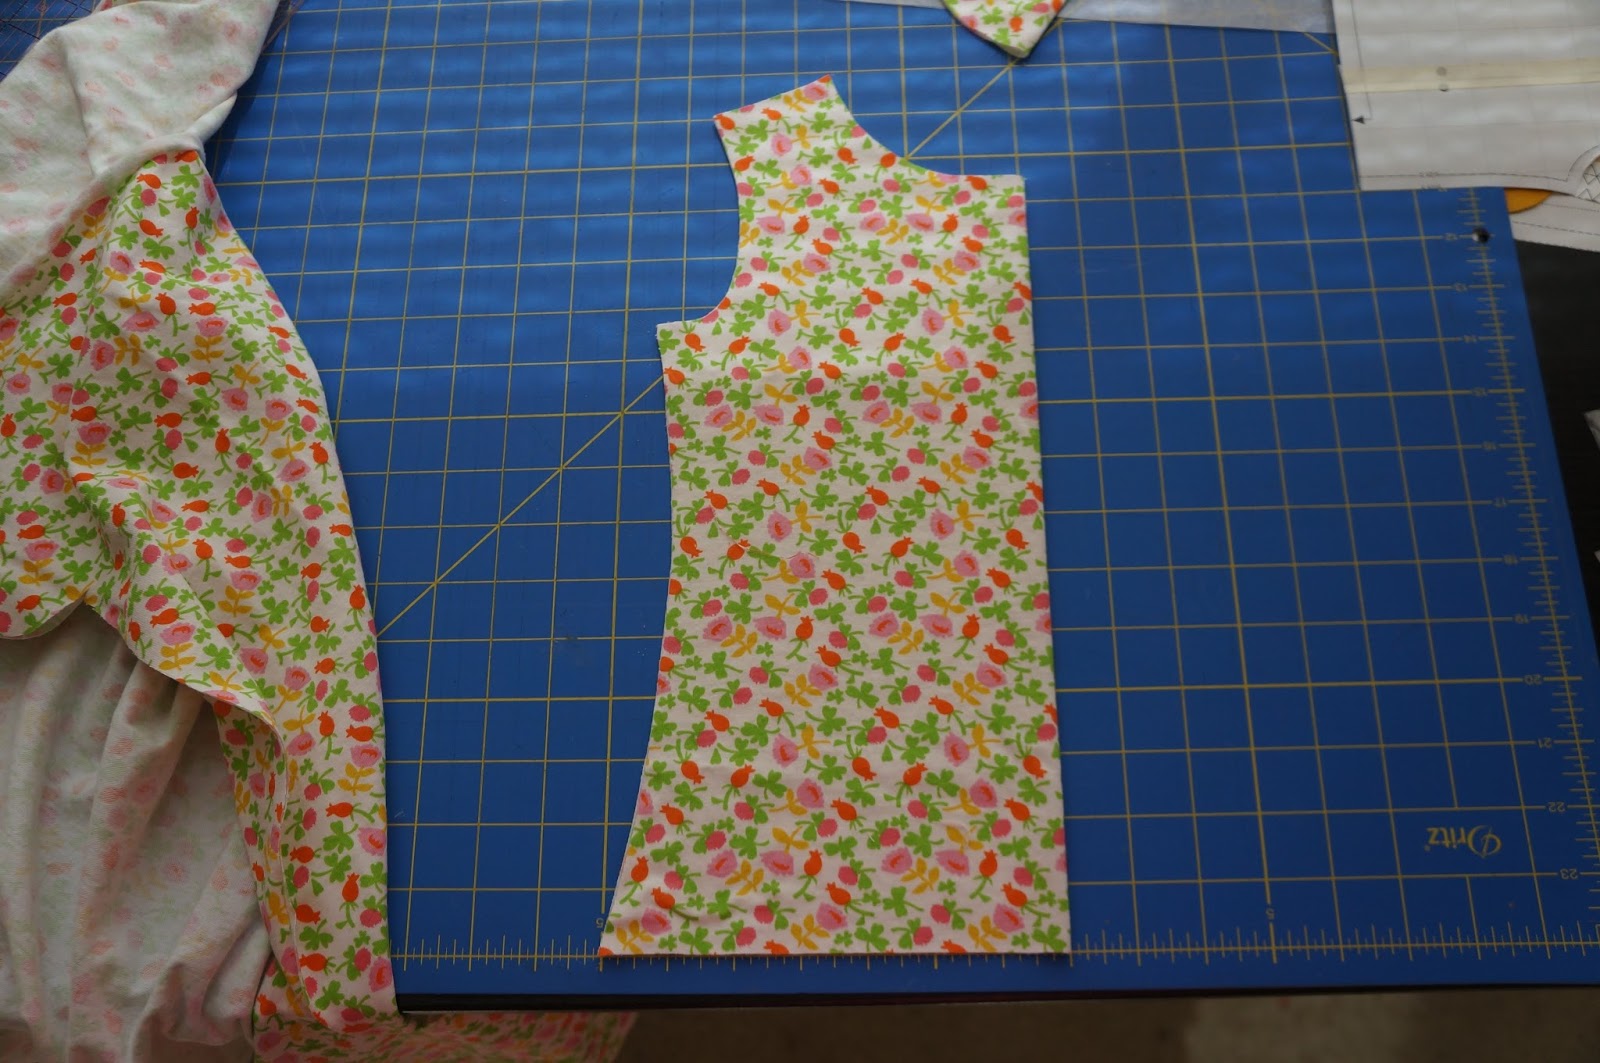
Start by cutting out the shirt front and back. Add an inch to the front if you want to add gathers to the neckline (a sweet touch). To do this, leave an extra 1/2″ between the center line of the pattern and the fold in the fabric.

Sometimes like like to add a curve in the side seams for an extra girly look.
Sew the first shoulder seam.
To prepare the neckline gather, mark two points, each 1″ from the center point. I used two pins, but you could also use a pen or tailor chalk.
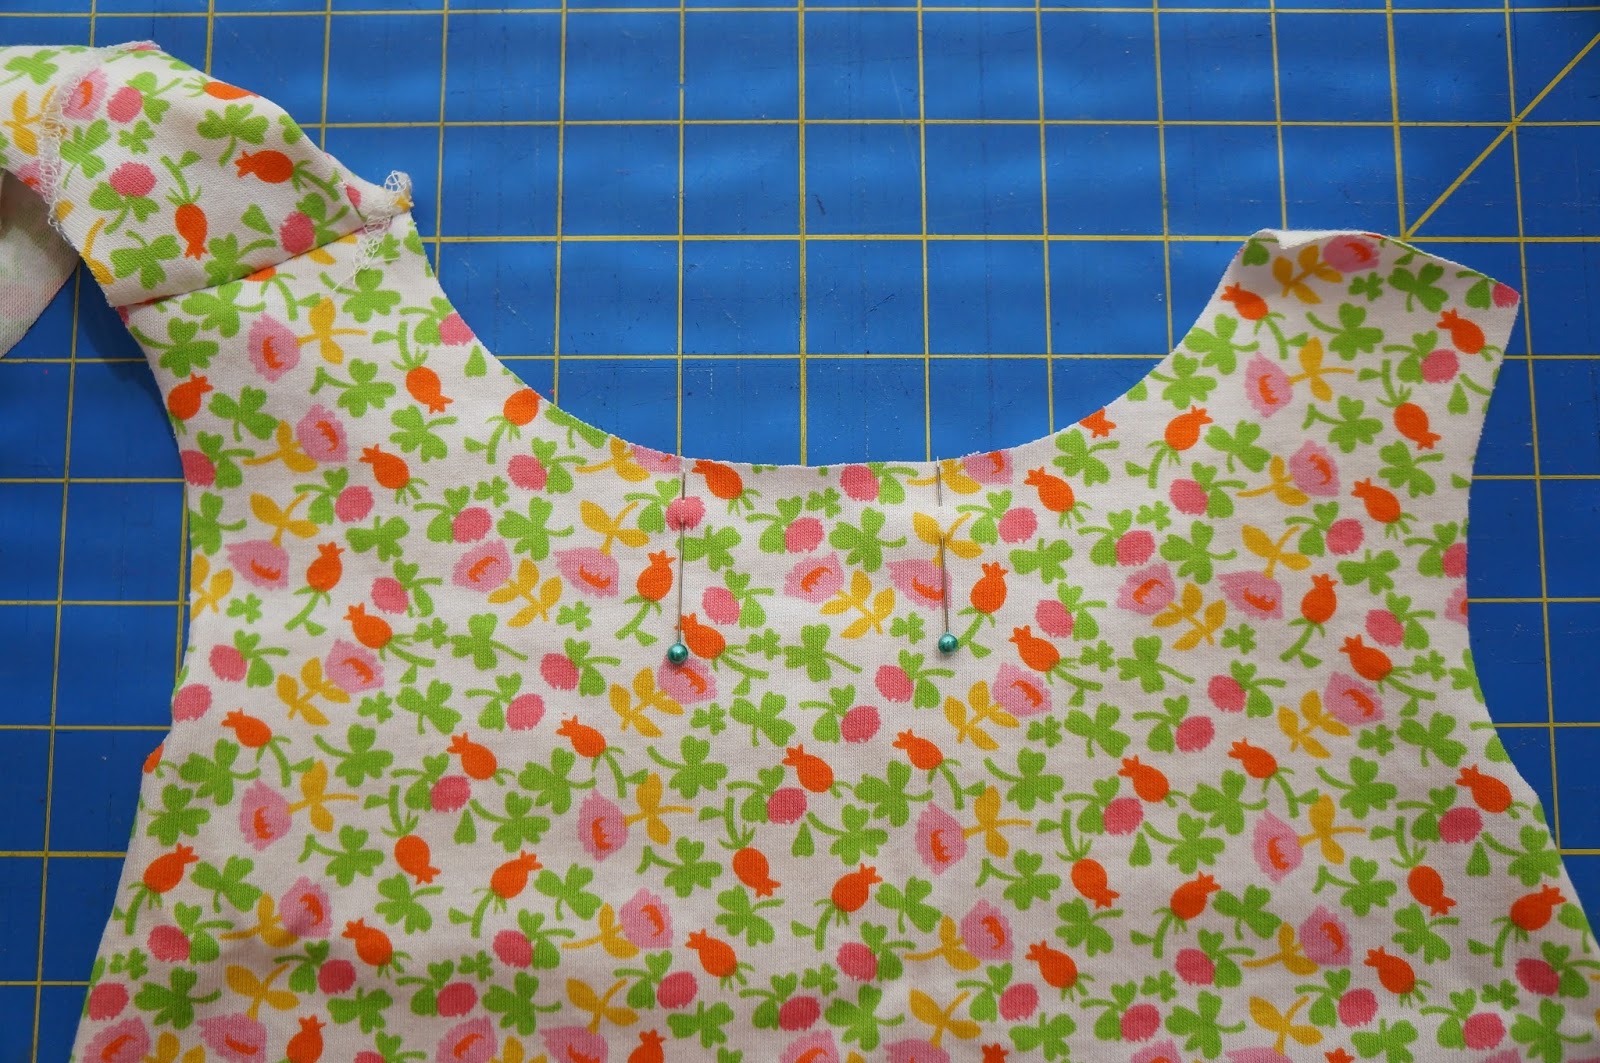
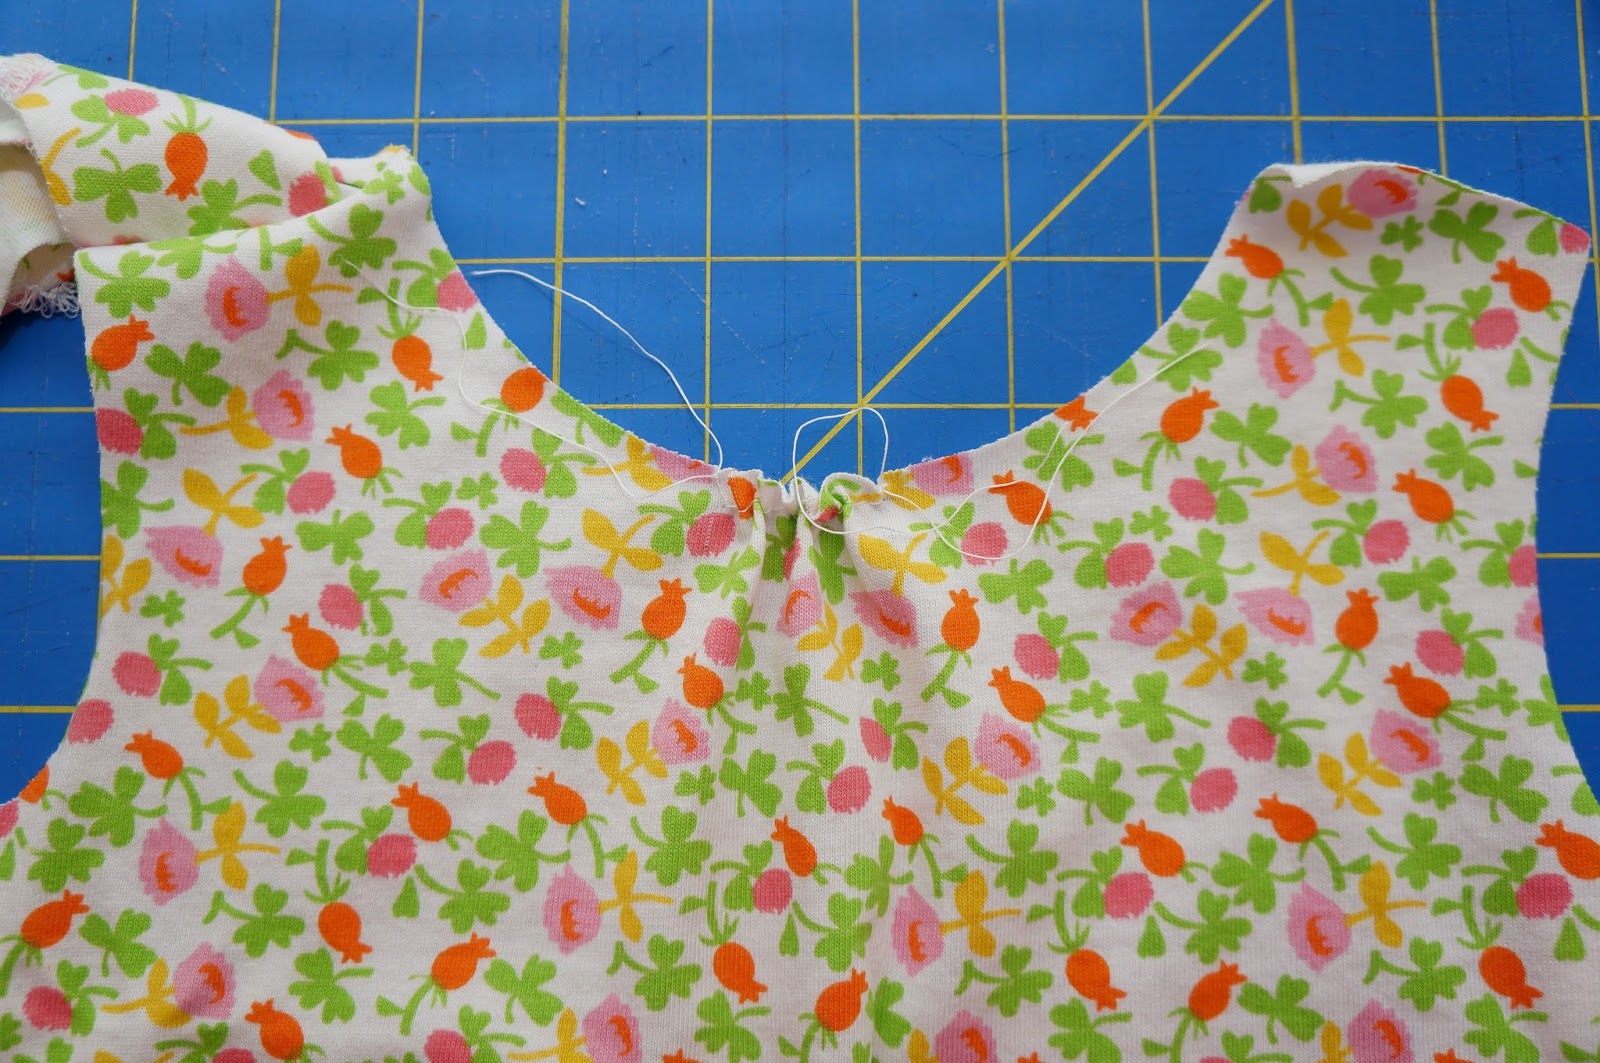
Set your machine to the longest straight stitch possible and stitch between the two marks. Do not backstitch. Leave a long tail of thread when you remove the shirt from your machine. Tug on the back (bobbin) thread to gather the fabric.
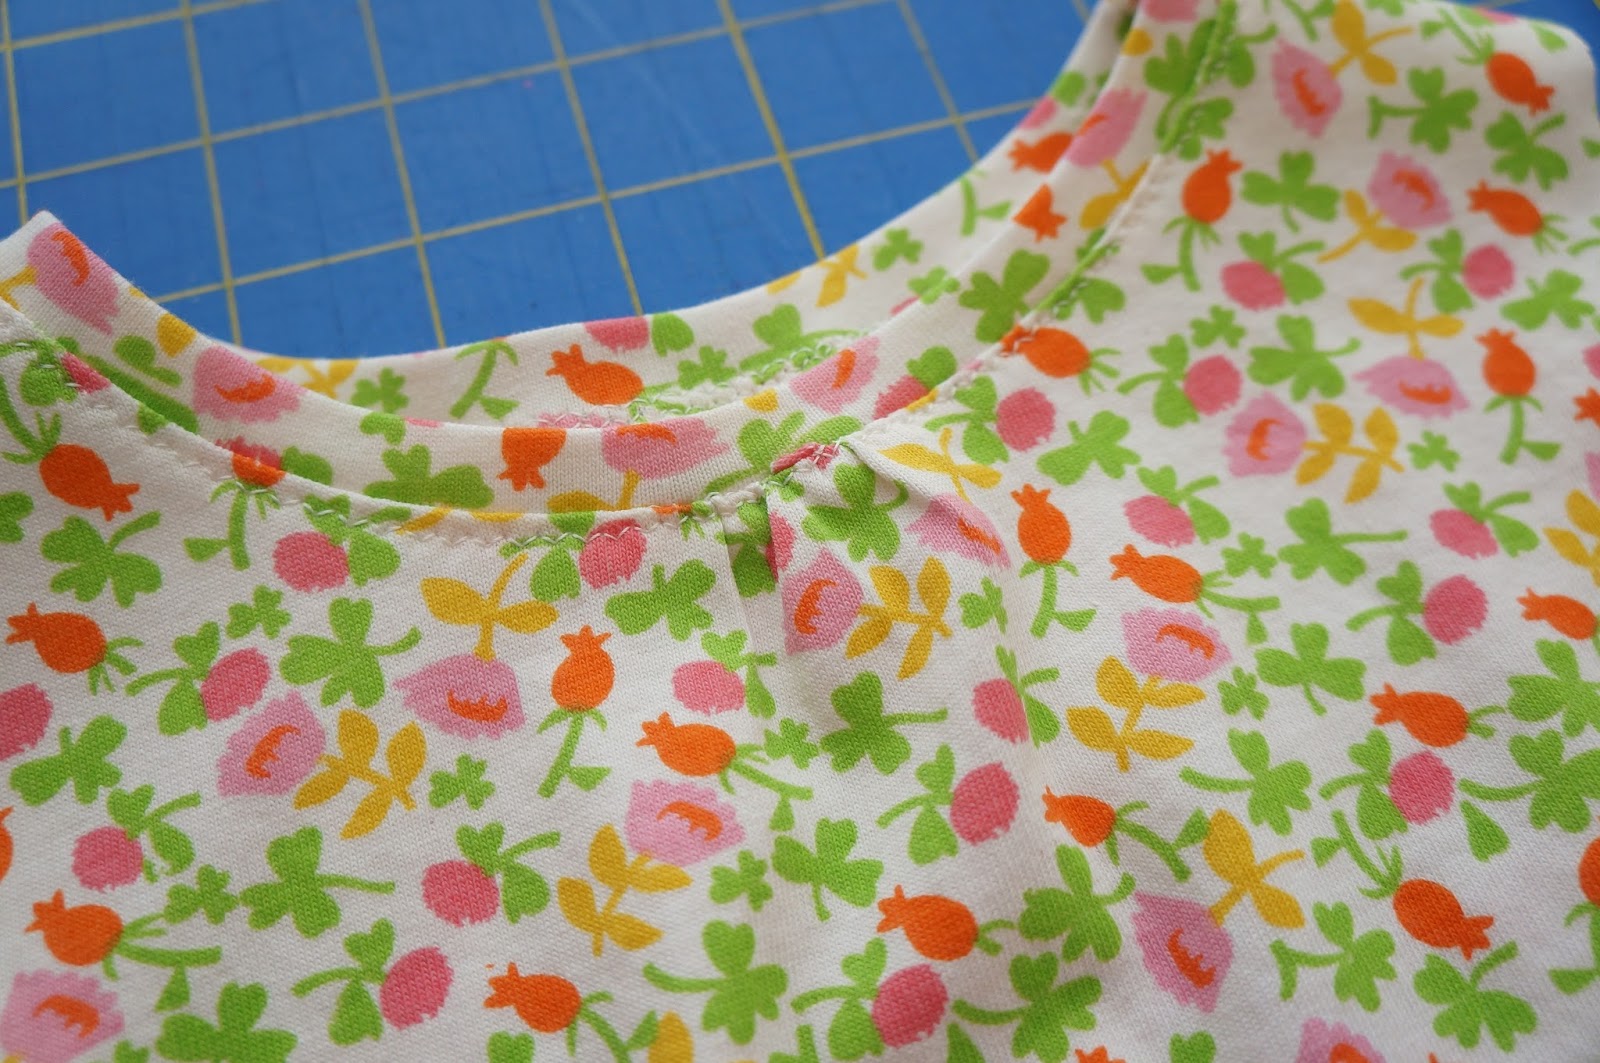
Next, addd the neckline according to the pattern instructions.
Tip: Cut a long 1″ strip of knit fabric and press it in half lengthwise for the neck band. If you’re using rib knit, the neckband should be 2/3 the measurement of the neck opening. Since I was using interlock for the neckband of this shirt (it has less stretch than rib knit), I had to cut the neckband longer than that. I think my neckband piece was only a few inches shorter than the neck opening.
Sew the neckband to the neck opening with a zig zag stitch or serger, and then sew the second shoulder seam. (Refer to the shirt pattern instructions if you need help with this step. FYI, I sew my neckbands in a little differently than specified by Rae in the FST pattern.)
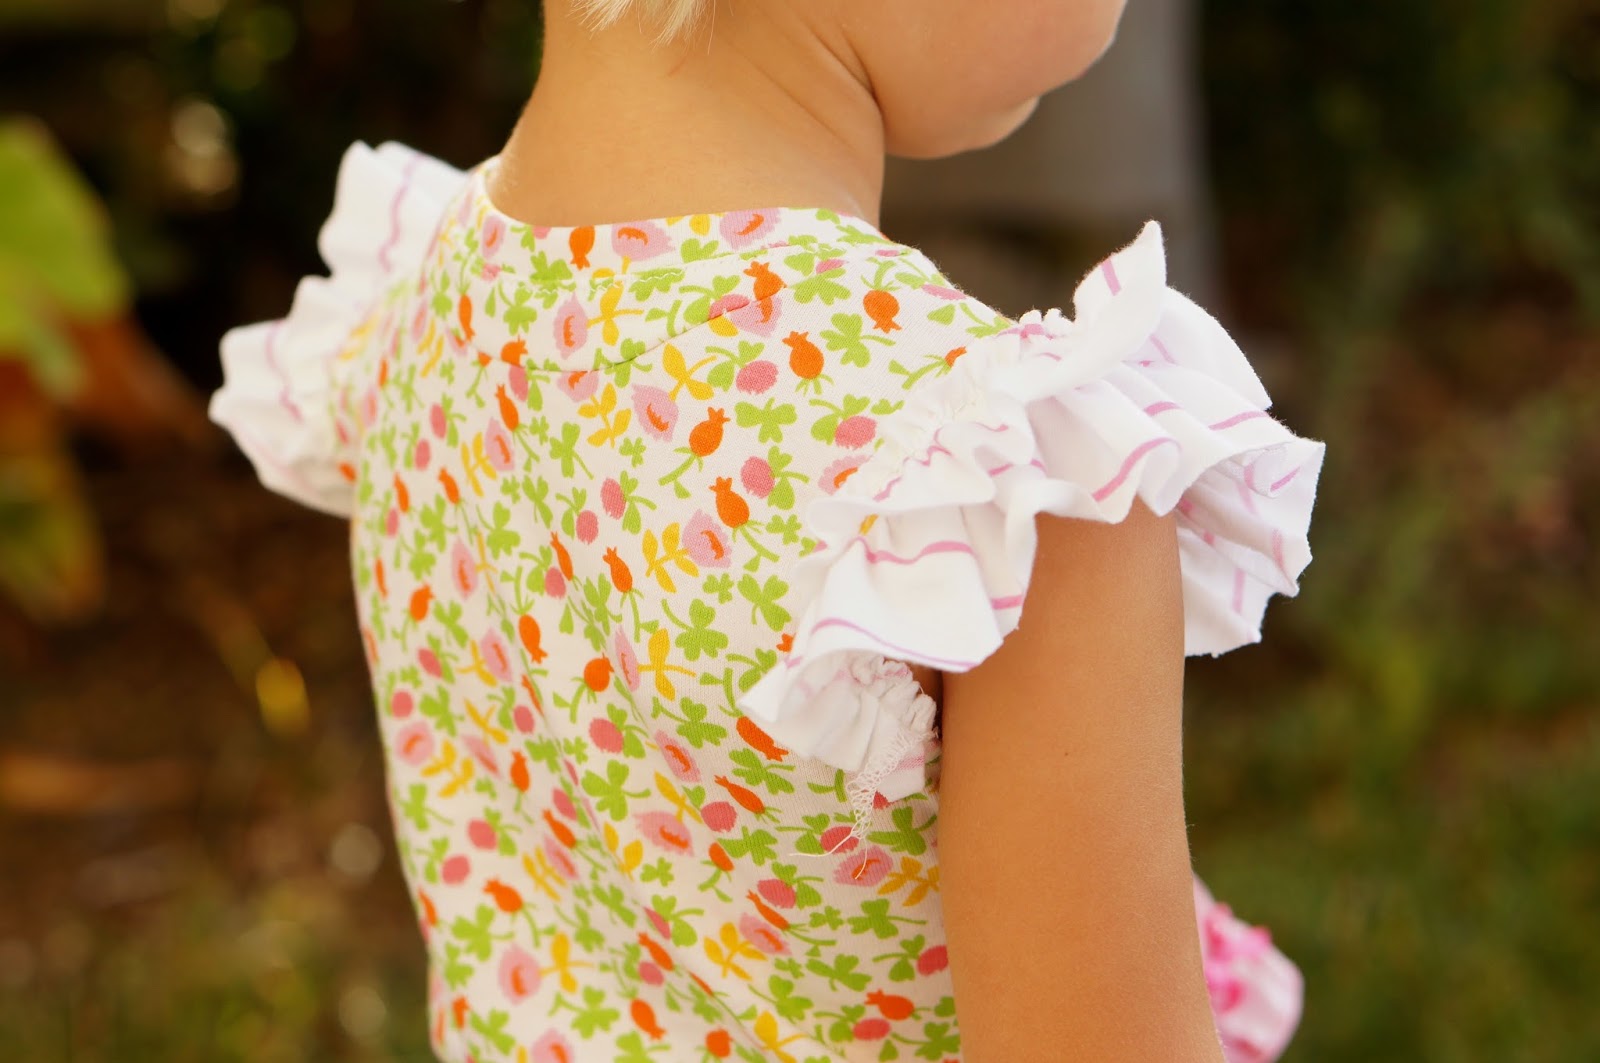
Once your neckband and both side seams are sewn, it’s time to add the ruffle sleeves!

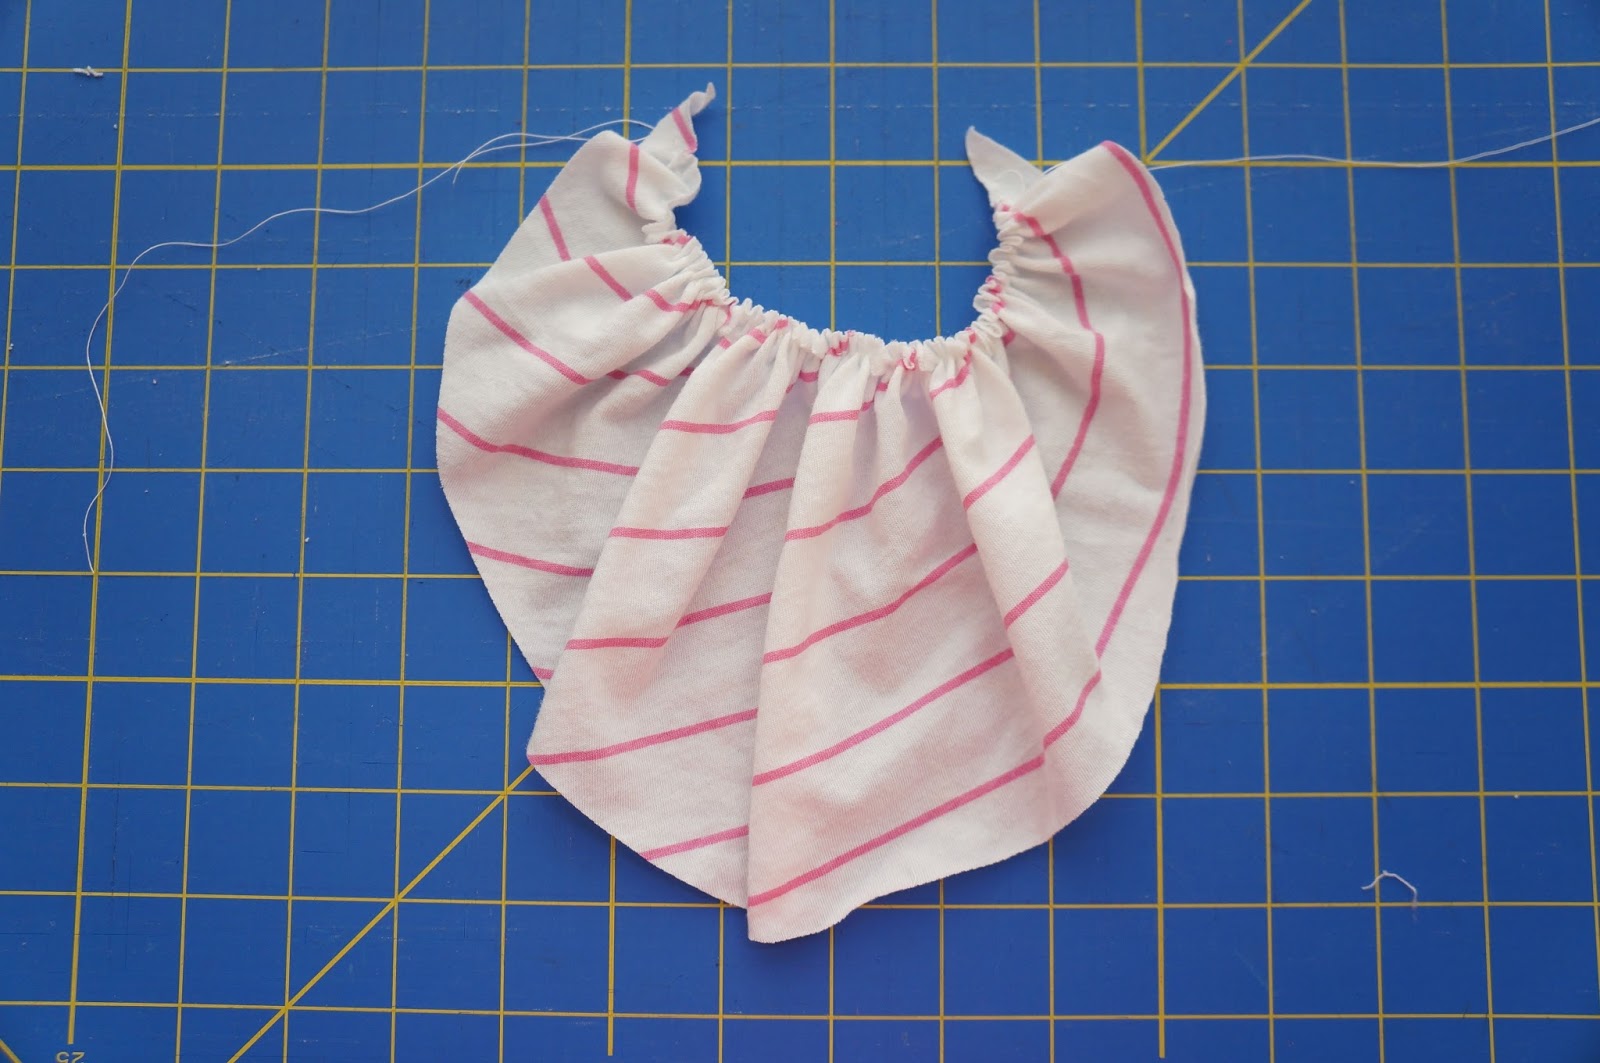
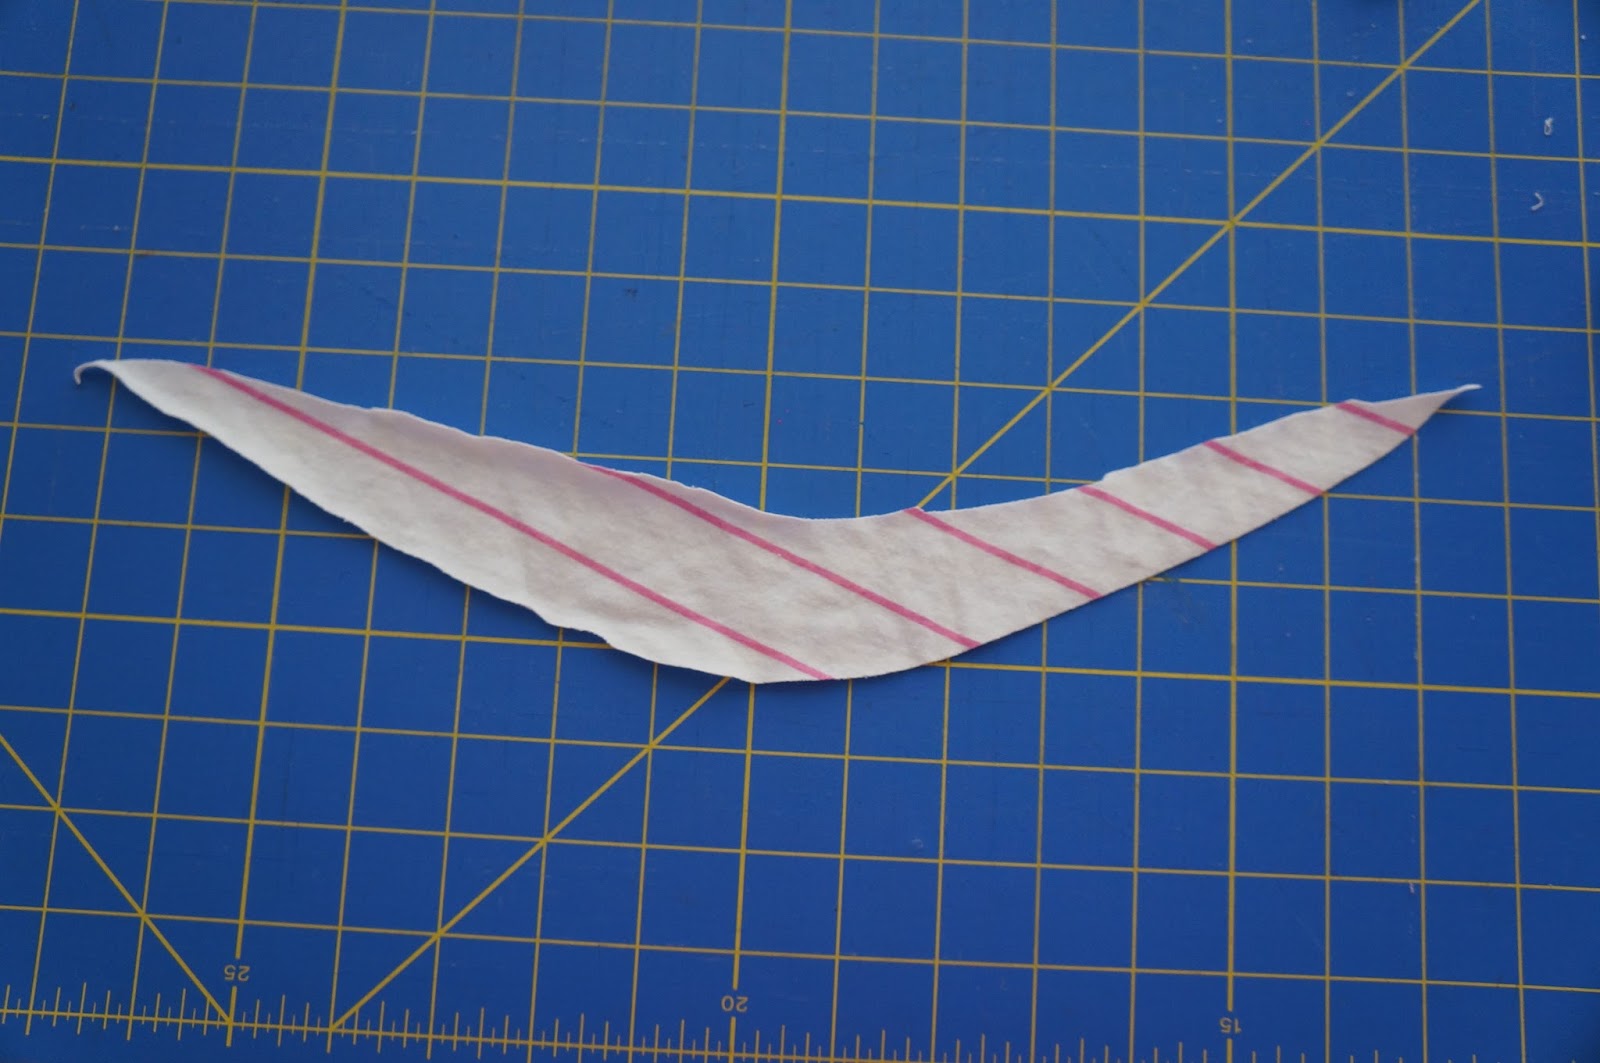
Cut out a piece of knit fabric that looks kind of like this. It can probably be a lot narrower, but this is what I started out with. It should be about 20″-22″ long.

Gather the straight edge.
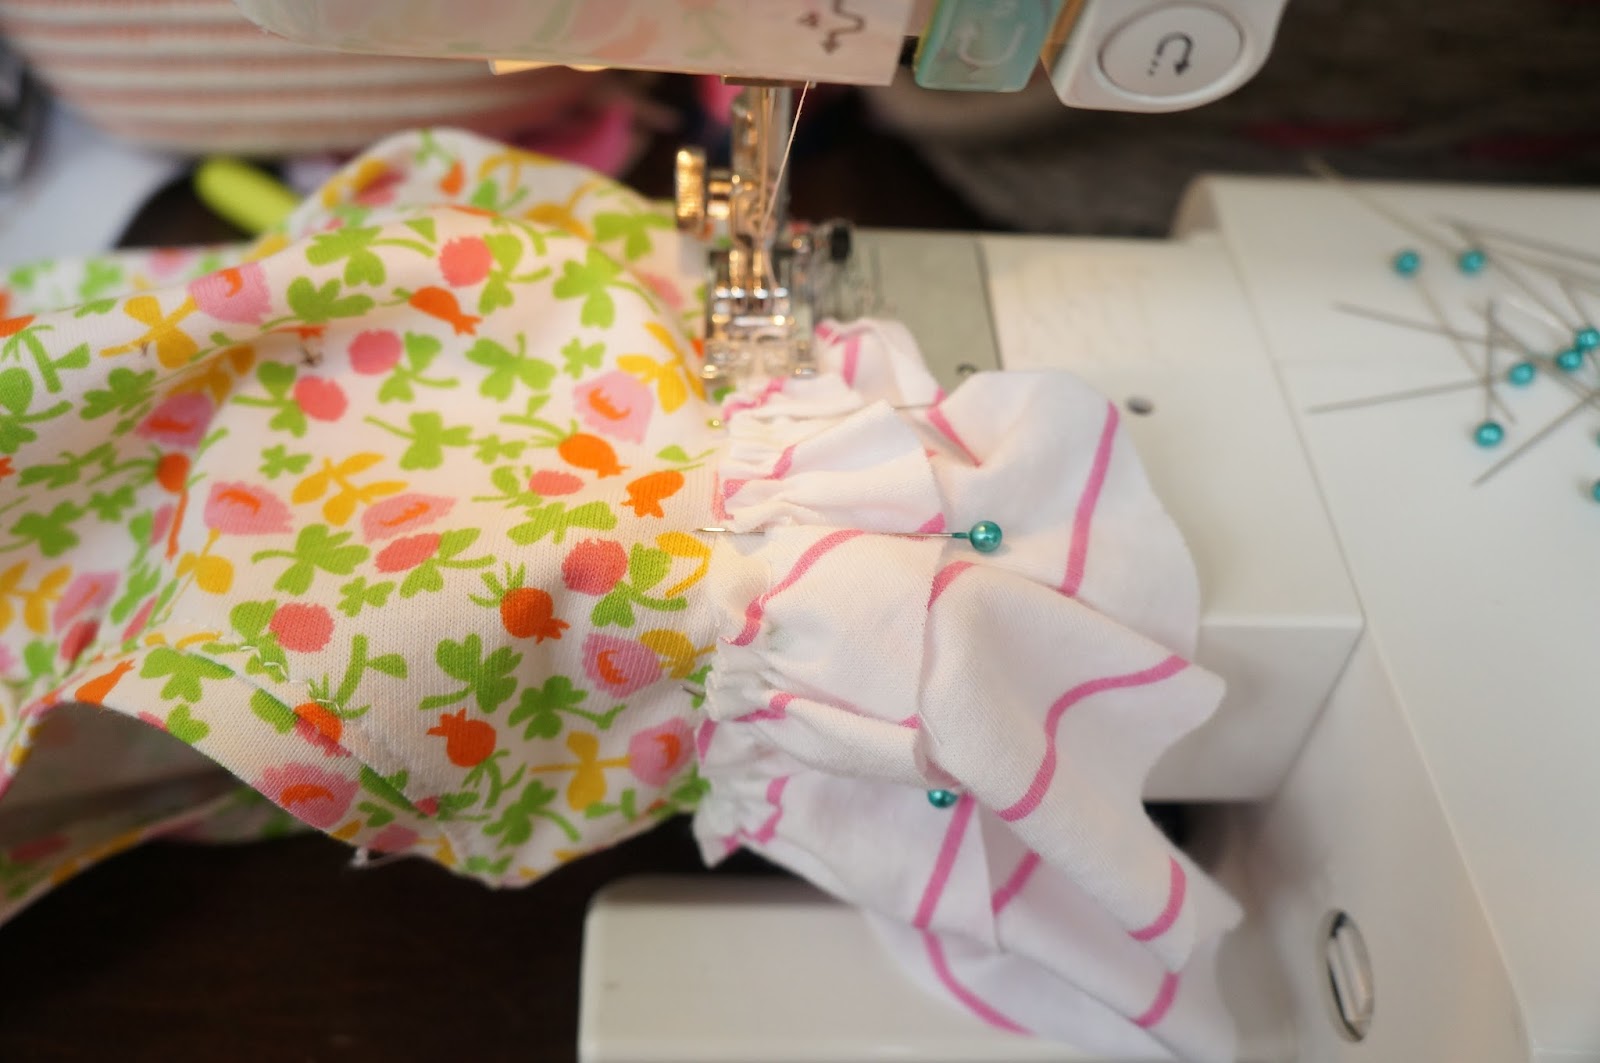
Pin it to the arm opening with right sides facing and sew it to the shirt using a zig zag stitch and a 1/4″ seam allowance. I set my machine to a zig zag width of 1.0 and a stitch length of 3.5 to give the seam a enough stretch but keep it from looking wavy from the zig zags stitches.
Now cut another piece for the second ruffle, about 17″ long. The top edge of the piece in this picture is actually straight, although it looks curved.
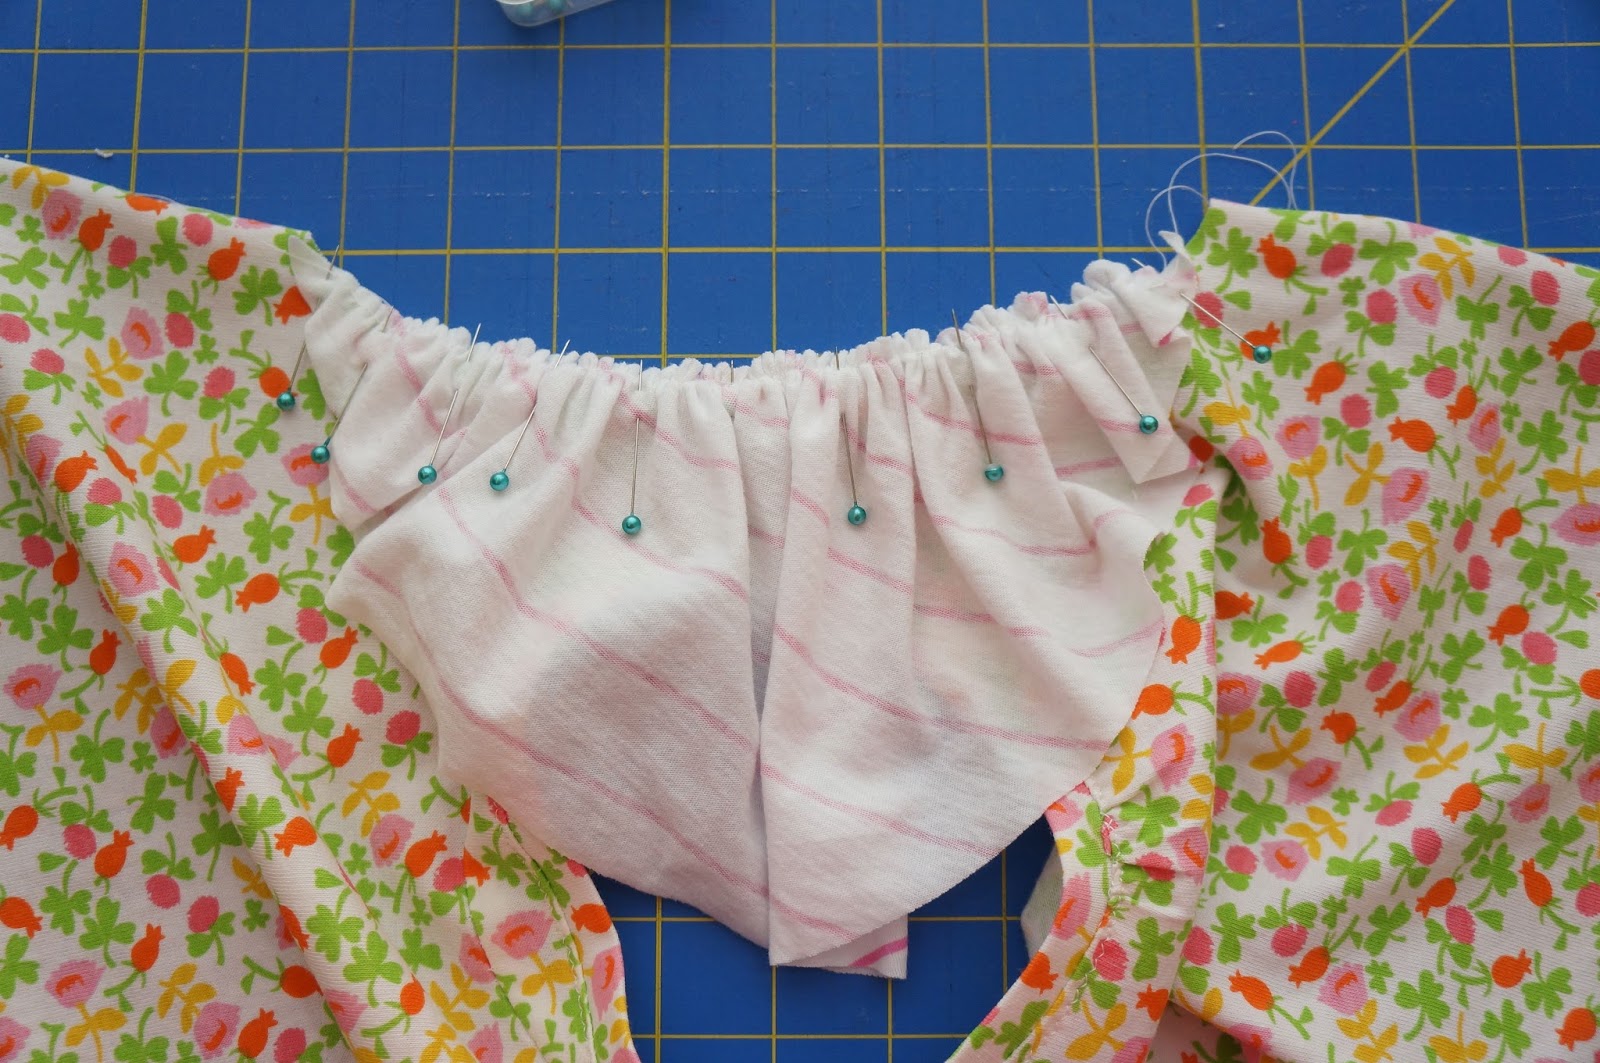
Ruffle the straight edge like you did for the first ruffle.

Pin it directly on top of the other ruffle, making sure the gathers are pinned to the fabric of the body of the shirt, not the other ruffle.


Using the same stitch settings as before, stitch the second ruffle to the shirt along the line of gathering stitches. Make sure you are sewing the gathers to the main fabric of the shirt, not the bottom ruffle. Go all the way around, securing your stitches at the beginning and end.
Once you are done sewing the ruffles to the shirt, trim them down if necessary. I found that a smaller ruffle had a lot more oomph than a sleeve that was too long and floppy.

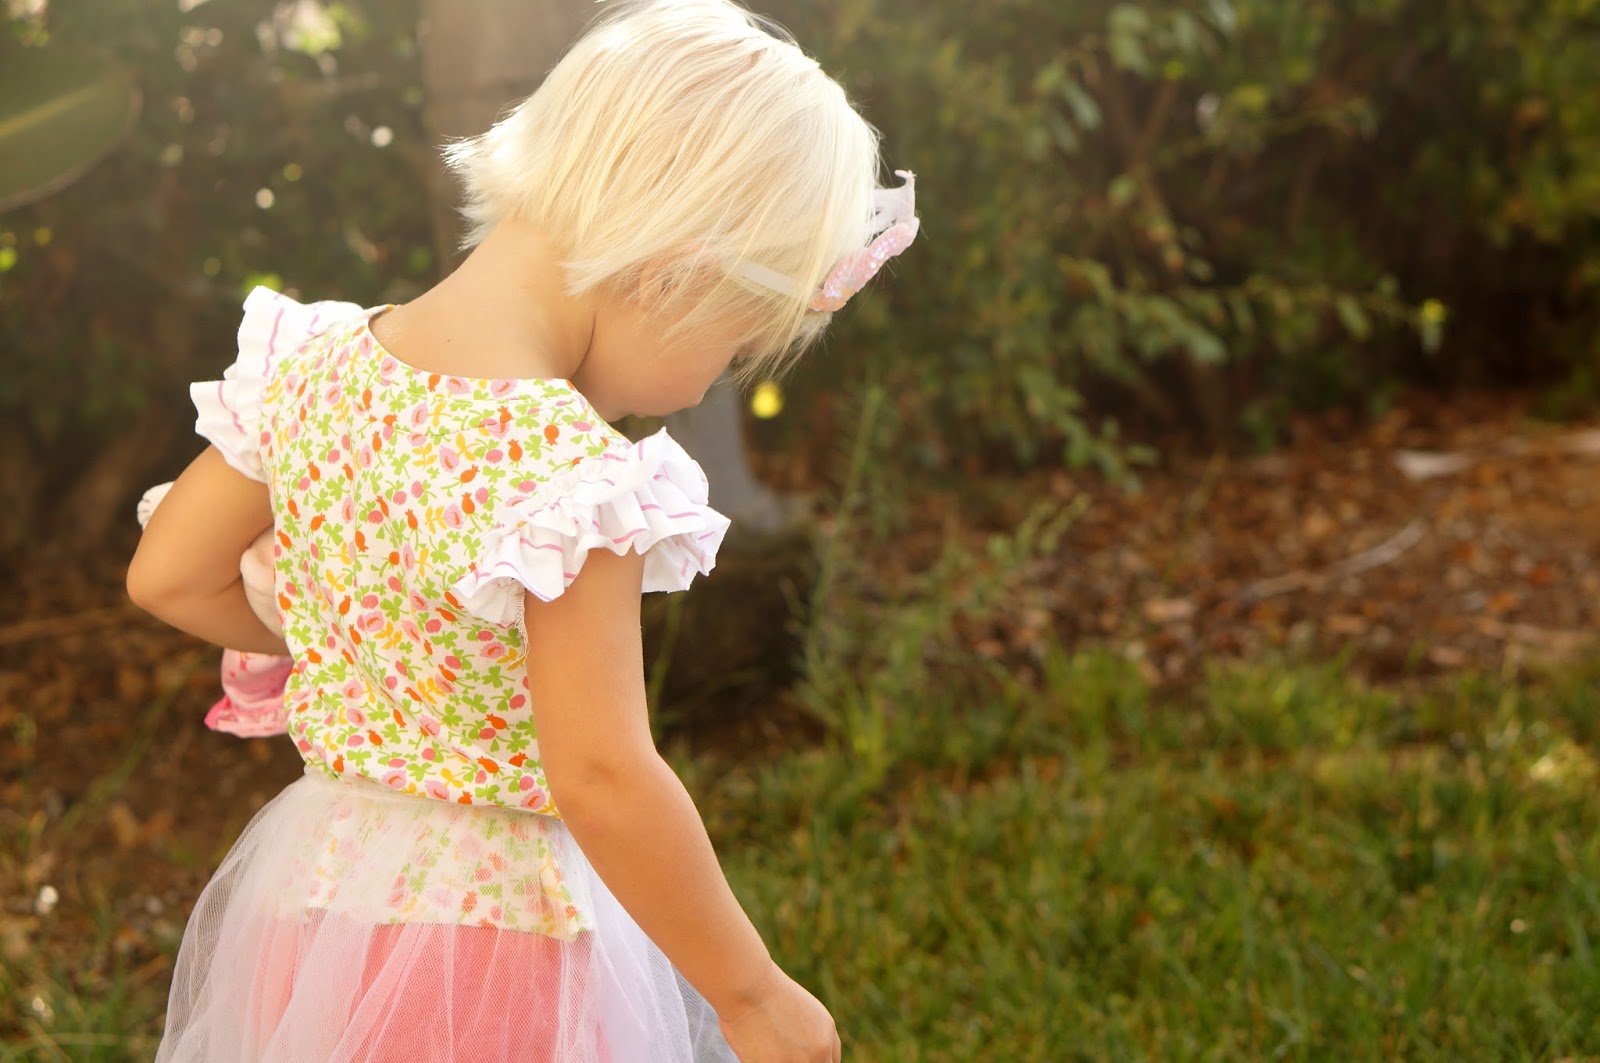
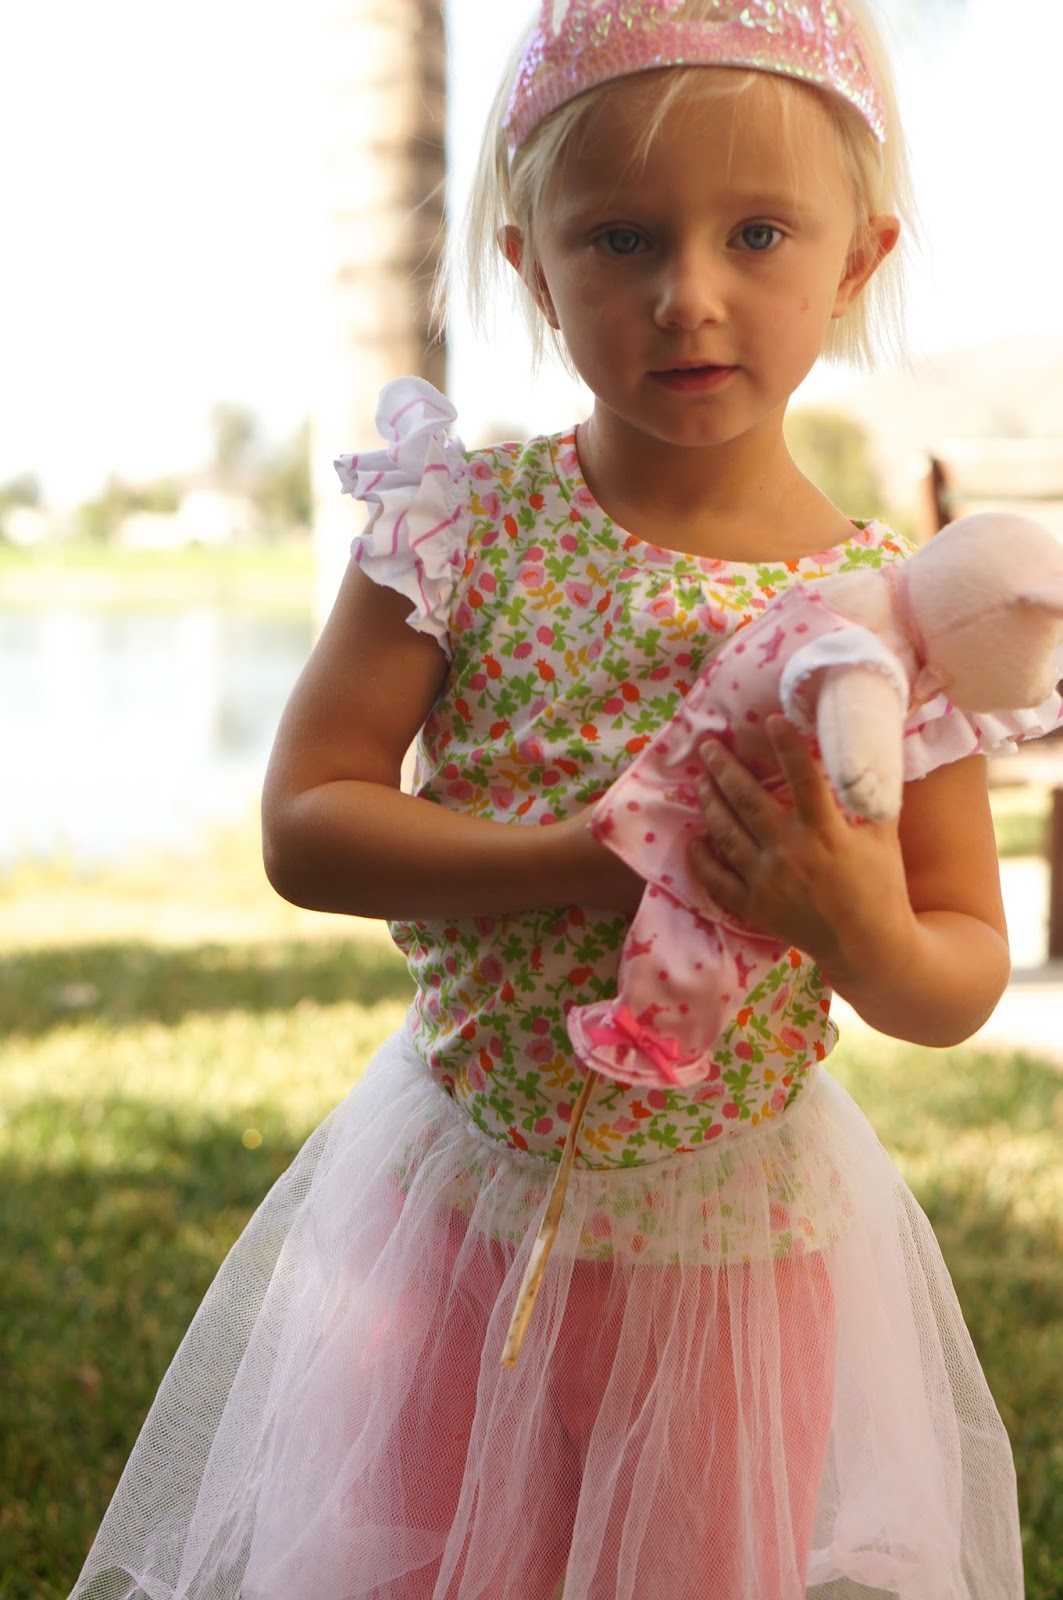
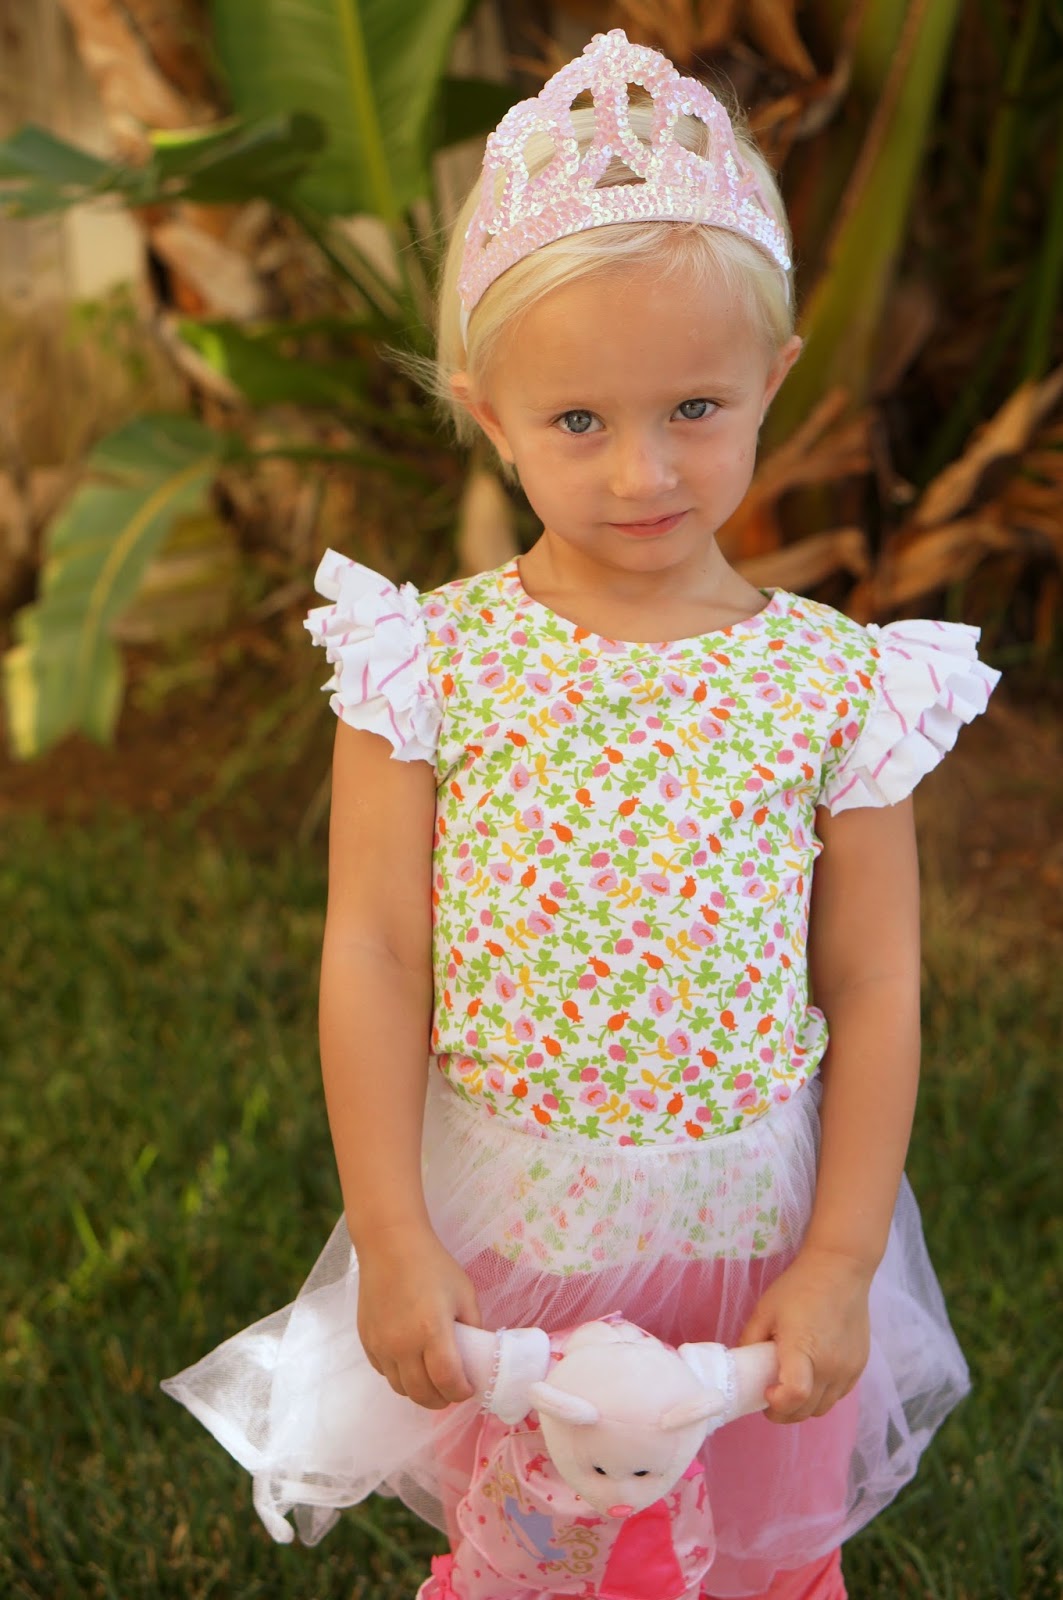
Tada! Stand back and admire your butterfly ruffle sleeves.

Now go put the t-shirt on your princess and watch her spin around.


Thanks so much for reading! Please check out my blog, CailaMade, for more sewing projects, inspiration, tutorials, and free patterns. For even more fun, check out my Facebook page or follow me on Pinterest, Twitter, Instagram, and Bloglovin‘. I’d love to become friends!
Thanks Caila! If you liked this post you’ll also love the paperbag dress tutorial and the bias and buttons dress!


so so so cute! Love the tutorial :)
Thank you so much for having me today, Kate! I love this series!
Pretty, pretty!! I linked to your tutorial over at Craft Gossip:
http://sewing.craftgossip.com/?p=67014
–Anne
Thank you so much for sharing, Anne!
So adorable!
Wow! That amazingly adorable. The girl is so darling.