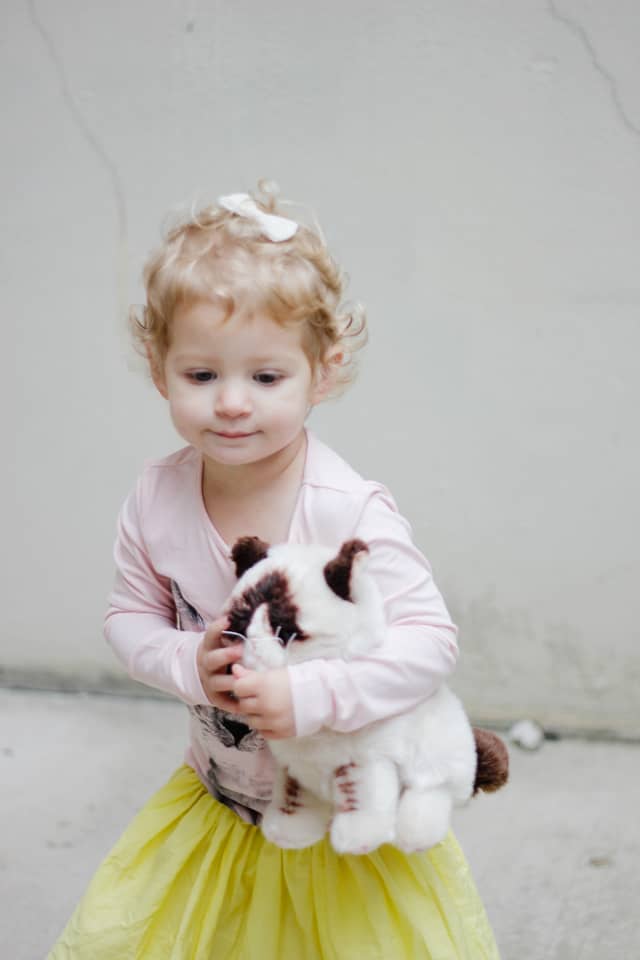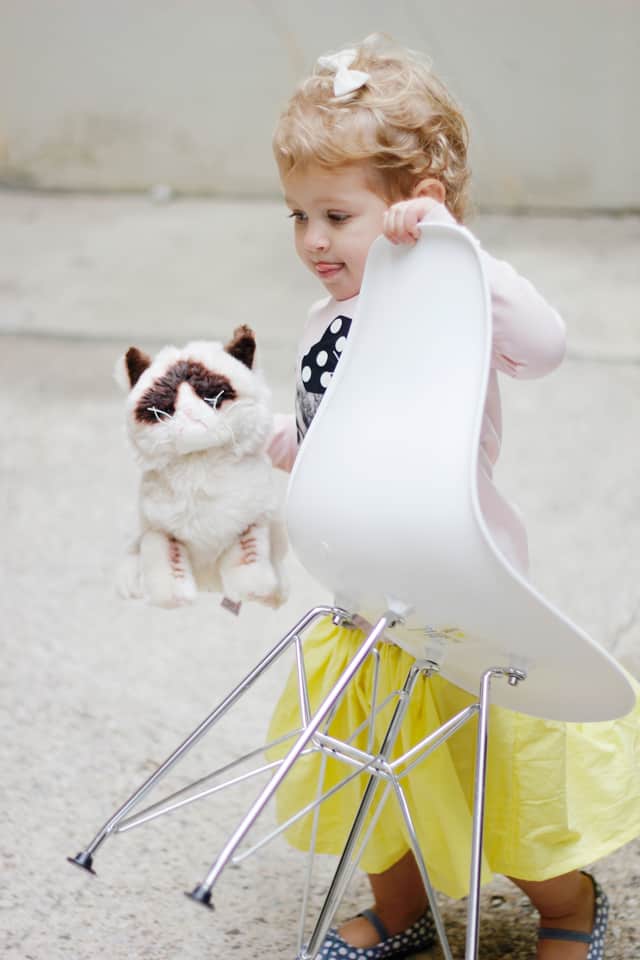


(She’s mad because we took away Grumpy Cat^ :( )
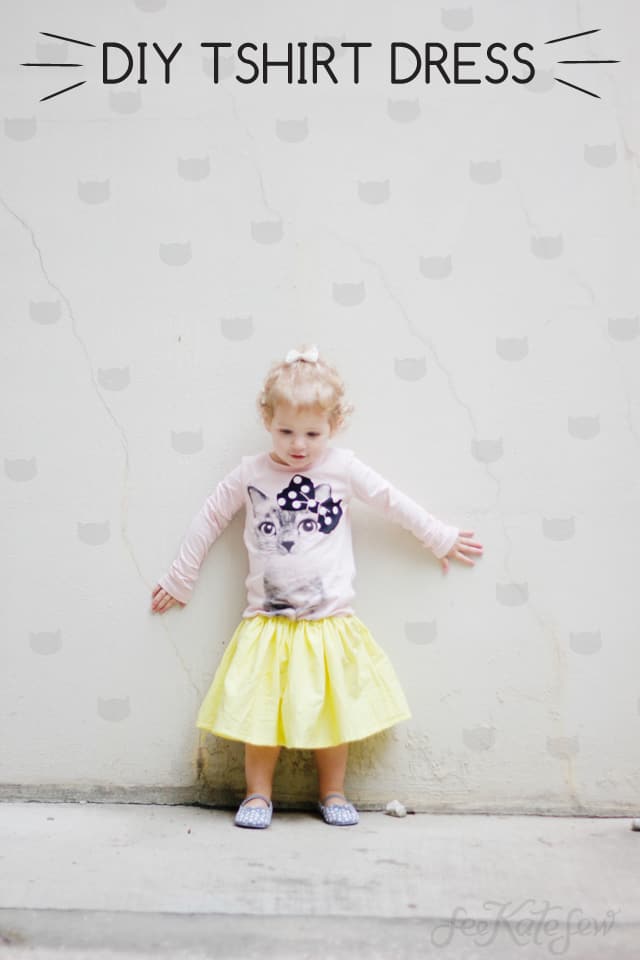
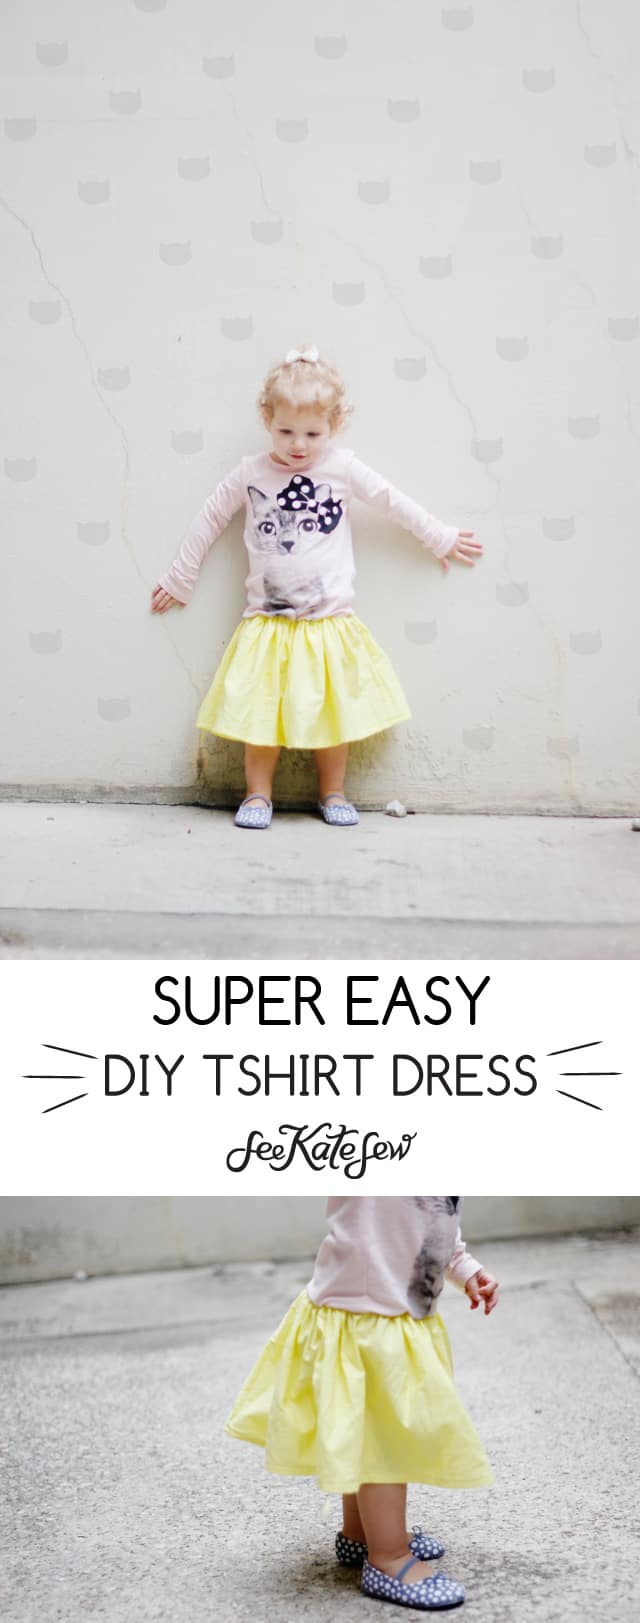
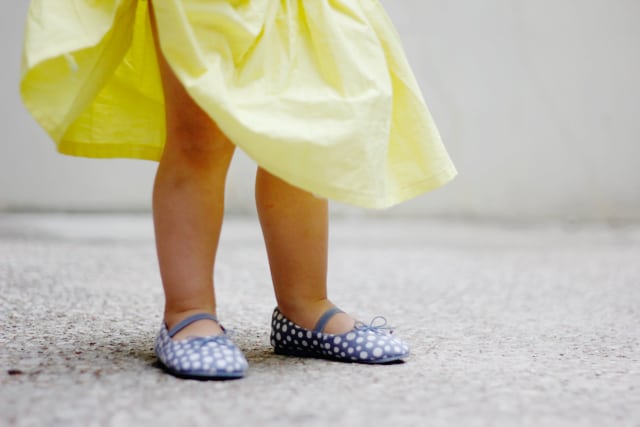
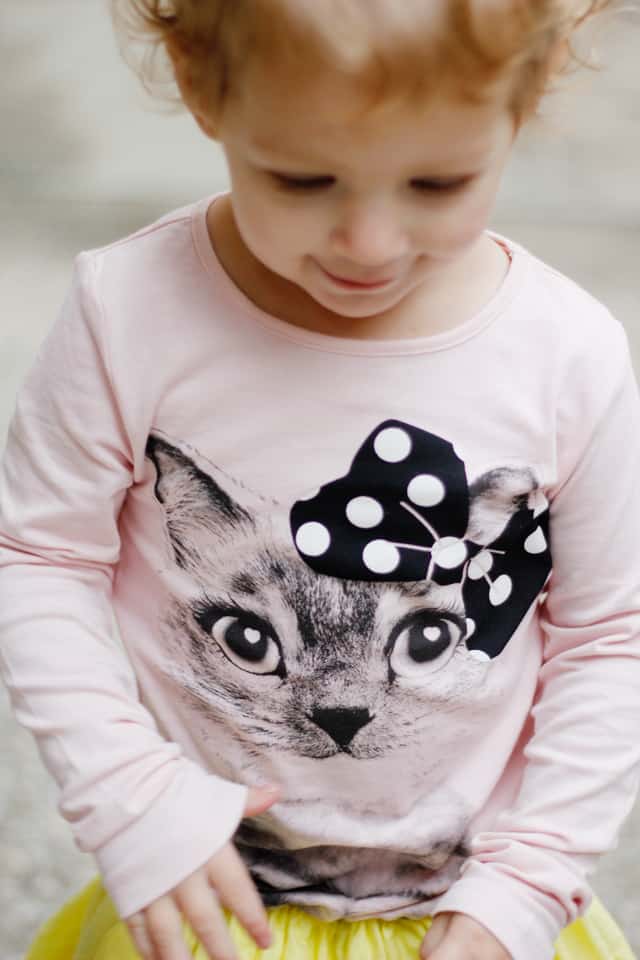
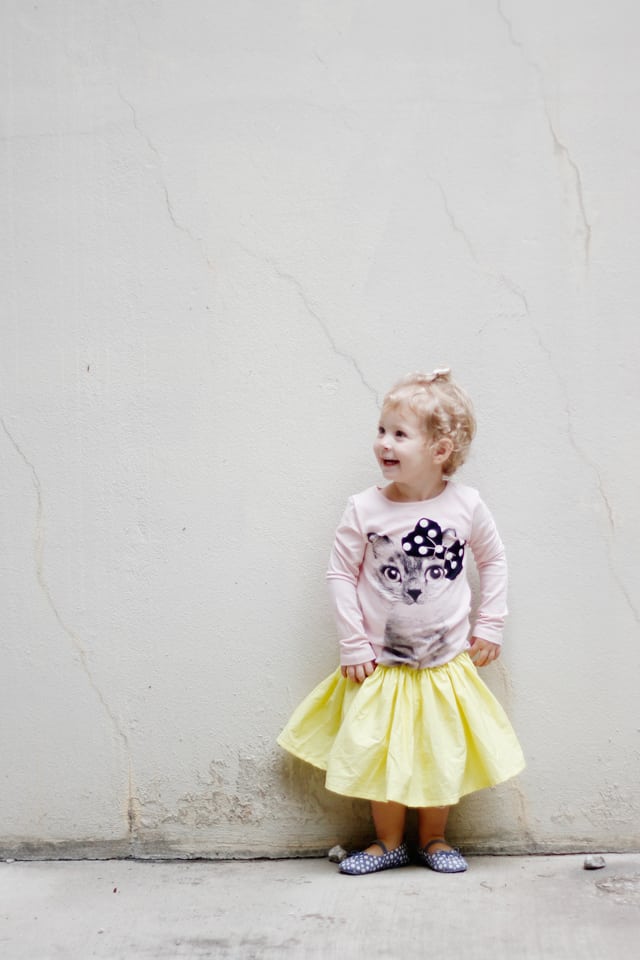
Tshirt dresses are a super fast way to make a cute dress and a great project if you have a cute quilting cotton fabric that you want to use. For this one I used a pink graphic tee (with a cat of course) and some bright citron yellow cotton. H&M is always stocking the most adorable cat tees. I picked this one up with the intention of making it into this tshirt dress, a simple half store-bought and half homemade play dress. It took about half an hour!
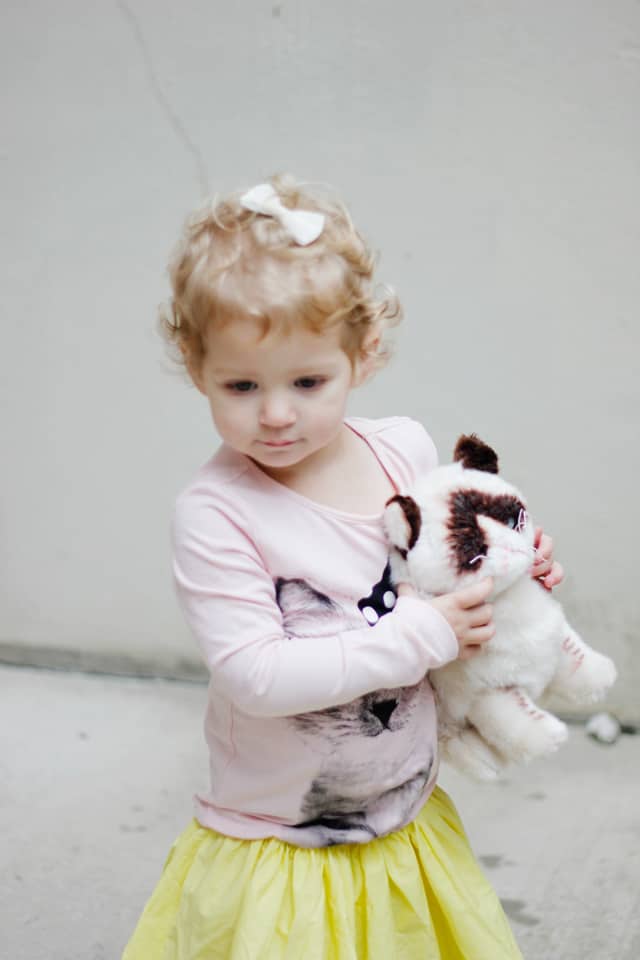
You’ll see Grumpy Cat in a few of these photos, he’s going to be our official CATOBER mascot! This is the first series with an official mascot, so I think that is a big thing! I just couldn’t not bring home this cat to inspire me during this series. I laugh every time I look at it. And don’t worry his new caretaker strokes him all day long. She loves this cat so much, haha!
How to Make a Tshirt Dress:
Materials//
-1 tshirt
-1 yard of cotton
-1/4″ elastic
-rotary cutter and ruler
Tshirt Dress Tutorial:
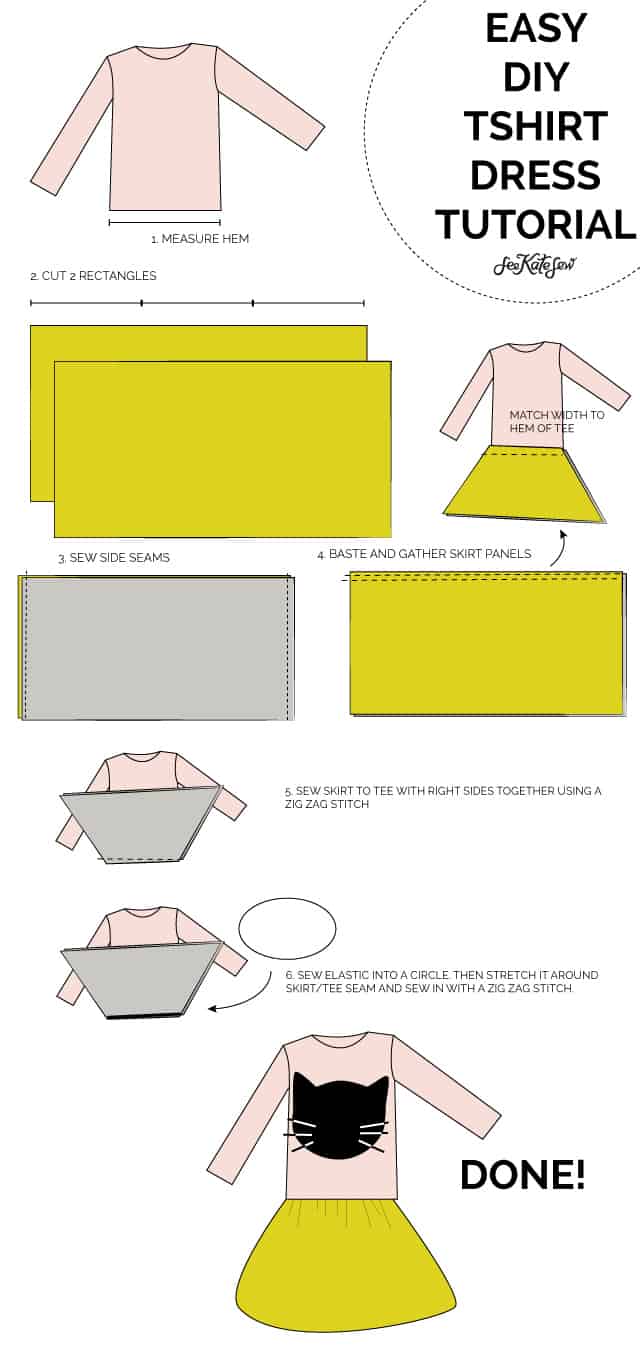
1. To make this dress, find a tee that you want to use. Measure the hem of the shirt.
2. Cut 2 rectangles of fabric for the skirt. Use this formula:
width: hem measurement X 3
length: desired length + 1″
3. Sew side seams of skirt with right sides together and finish seam allowance.
4. Sew 2 or 3 rows of baste stitching at top of each panel of fabric, ending at the side seam. (It’s hard to gather fabric over seams, so you’ll get a better result if you gather the front and back of the skirt independently.) Pull ends of thread to gather fabric until it matches the width of the shirt.
5. Pin fabric in place with right sides of skirt matching right sides of tee. Use lots of pins and sew in place with a straight stitch, using a 1/2″ seam allowance.
6. Sew elastic over zig zag stitch. Elastic should be approximately 1″ less than child’s waist measurement. First create a circle with the elastic by sewing ends together. Then stretch it around the seam you just made and pin in place. Stitch on with a zig zag stitch. The elastic will help maintain the weight of the skirt.
And you’re done!
More cat tutorials coming tomorrow! I’m feline good about this series ;)

