Written by Jessica of the Ladyette.
Hi See Kate Sew readers! With springtime around the corner, I can’t stop thinking about light weight clothing and lace! Lace has so much detail and is so delicate, it’s one of my favorite things to add to an outfit. Today I’m sharing with you a DIY Danity Lace Bracelet that is just the right amount of simple detail for your wrist, and so light weight you might forget you’re wearing it.
Dainty Lace Bracelet DIY
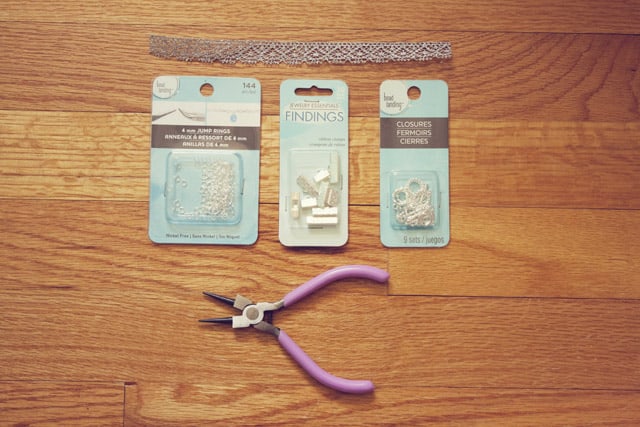
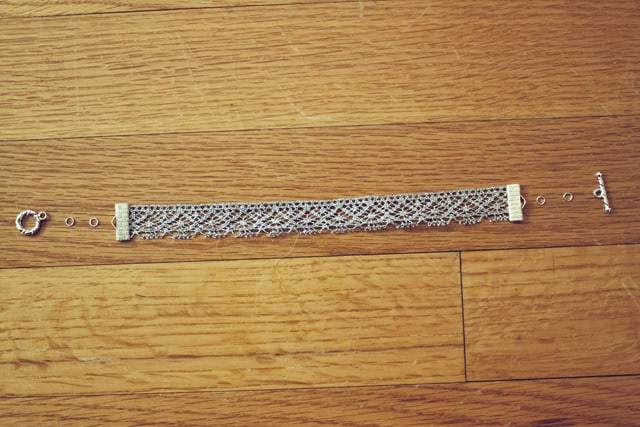
Supplies Needed: Metallic lace trim (5/8″ width) cut to 7″ length, jewelry pliers, four 4mm jump rings, a toggle clasp(similar here), and two 5/8″ ribbon clasps (similar here)
.
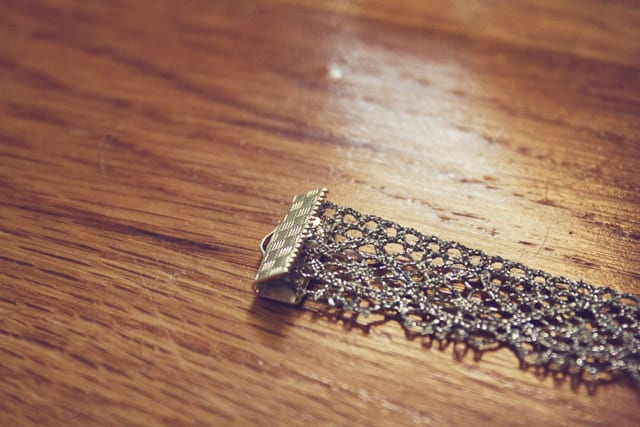
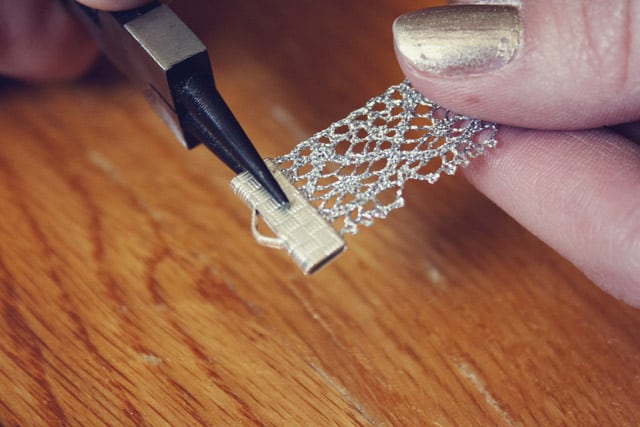
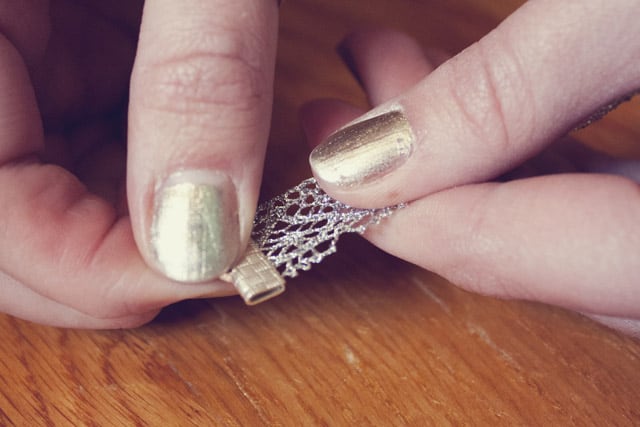
Step 1: Insert one end of the lace trim into a ribbon clasp. Using the jewelry pliers, squeeze the clasp together tightly. Repeat with the other side of the lace and the second clasp. Give the lace a good tug to be certain it’s in there nice and tight.
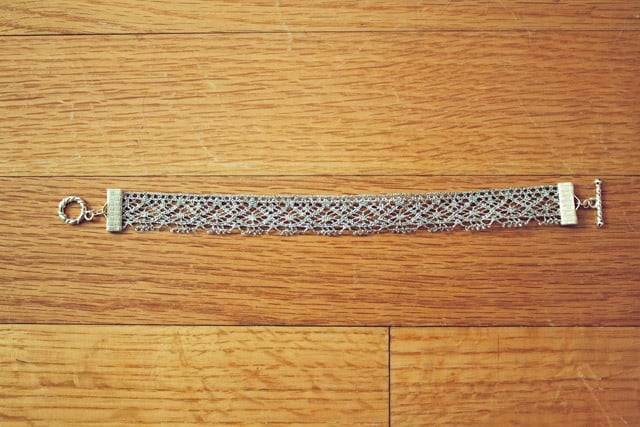
Step 2: Now you want to attach the toggle clasp pieces to the ribbon clasp hooks, using the jump rings. The photo above demonstrates how the pieces will fit together. Use the jewelry pliers to open one jump ring, slip it through a ribbon clasp hook, and then use the pliers to squeeze it back together. Repeat on the other side.
Step 3: Open another jump ring. Slip it through the other jump ring already attached to the ribbon clasp. Also slip it through the hook on the circular piece of the toggle clasp. Repeat these steps on the other side to attach the straight piece of the toggle clasp.

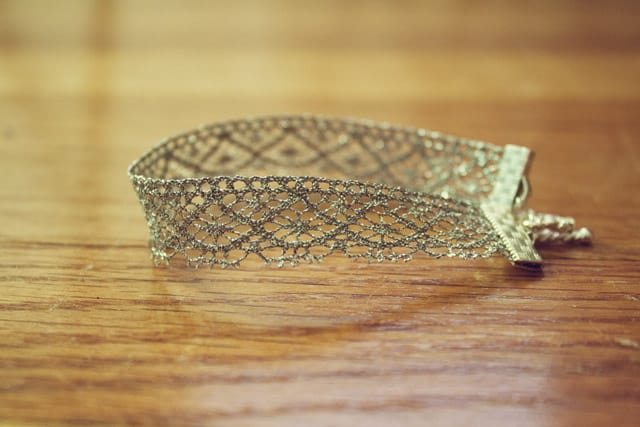
I really like the look of the metallic lace, it looks more like metal and less like fabric, making it a nice pairing with the jewelry hardware. The bracelet is so light and fun to wear, and it would even make a great handmade gift.
Happy almost spring!








I am in LOVE!!! Totally making one of those for myself!! :)
so so darling!
Great idea. Makes a pretty easy homemade gift as well.
http://www.creagirl.com
It would be a great gift, good idea!