• Skip to main content
  • Skip to primary sidebar
  • Skip to footer
  • Blog
  • About
  • Contact
  • FAQ
  • Sponsor

see kate sew

sewing, crafts, tutorials, DIY

  • Patterns
    • Free Patterns
    • Pattern of the Month
  • Tutorials
    • Accessories
    • Bags and Pouches
    • Clothing
    • Costumes
    • Crafts
    • Cricut Projects
    • Holiday
    • Household
    • Kids
    • Maternity
    • Quilting
  • Topics
    • Baby
    • Boy
    • Christmas
    • dog
    • Dolls
    • Easter
    • Girl
    • Halloween
    • Lookbook
    • Party
    • pet
    • Printables
    • Training
    • women
  • No Sew
  • Sewing 101
  • Sew4Good
  • Pet
  • Sewing Room
    • DreamBox
  • Reviews
Home
  • Patterns
    • Free Patterns
    • Pattern of the Month
  • Tutorials
    • Accessories
    • Bags and Pouches
    • Clothing
    • Costumes
    • Crafts
    • Cricut Projects
    • Holiday
    • Household
    • Kids
    • Maternity
    • Quilting
  • Topics
    • Baby
    • Boy
    • Christmas
    • dog
    • Dolls
    • Easter
    • Girl
    • Halloween
    • Lookbook
    • Party
    • pet
    • Printables
    • Training
    • women
  • No Sew
  • Sewing 101
  • Sew4Good
  • Pet
  • Sewing Room
    • DreamBox
  • Reviews

04.02

DIY changing pad and diaper clutch for BOYS

Welcome to See Kate Sew! If you’re new here, sign up for my email newsletter for access to free patterns, tutorials and all the latest sewing news! Tour my sewing room HERE!

Written by Michael Ann of Michael Ann Made.

DIY Changing Pad and Diaper Clutch for Boys | sewing tutorials | DIY baby | diy baby items || See Kate Sew #diybaby #changingpad #sewingtutorial DIY Changing Pad and Diaper Clutch for Boys | sewing tutorials | DIY baby | diy baby items || See Kate Sew #diybaby #changingpad #sewingtutorial DIY Changing Pad and Diaper Clutch for Boys | sewing tutorials | DIY baby | diy baby items || See Kate Sew #diybaby #changingpad #sewingtutorial DIY Changing Pad and Diaper Clutch for Boys | sewing tutorials | DIY baby | diy baby items || See Kate Sew #diybaby #changingpad #sewingtutorial DIY Changing Pad and Diaper Clutch for Boys | sewing tutorials | DIY baby | diy baby items || See Kate Sew #diybaby #changingpad #sewingtutorial DIY Changing Pad and Diaper Clutch for Boys | sewing tutorials | DIY baby | diy baby items || See Kate Sew #diybaby #changingpad #sewingtutorial

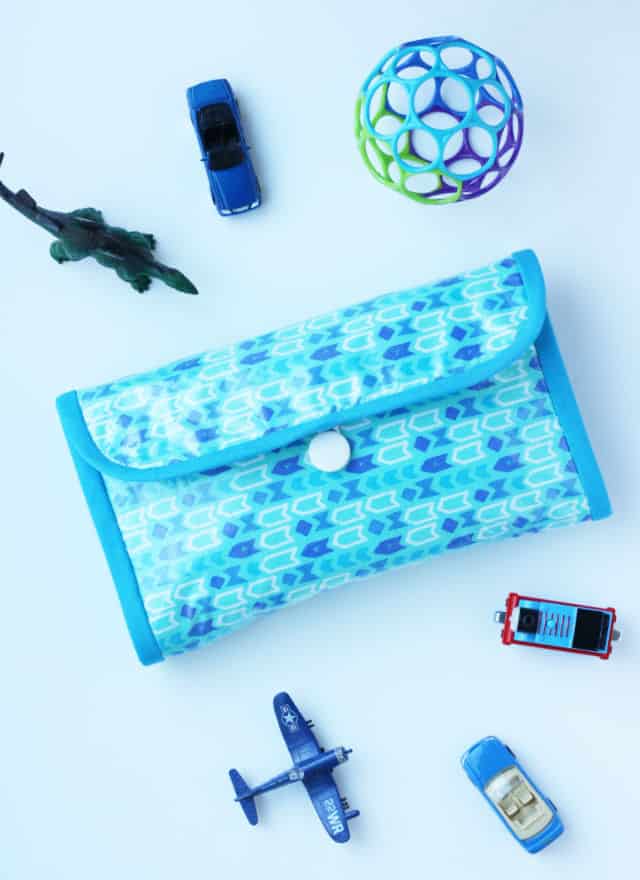
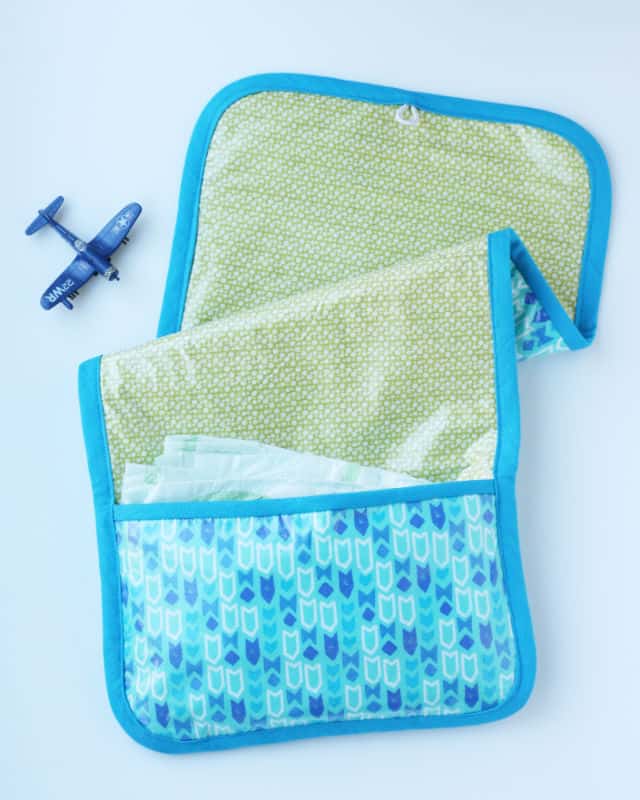
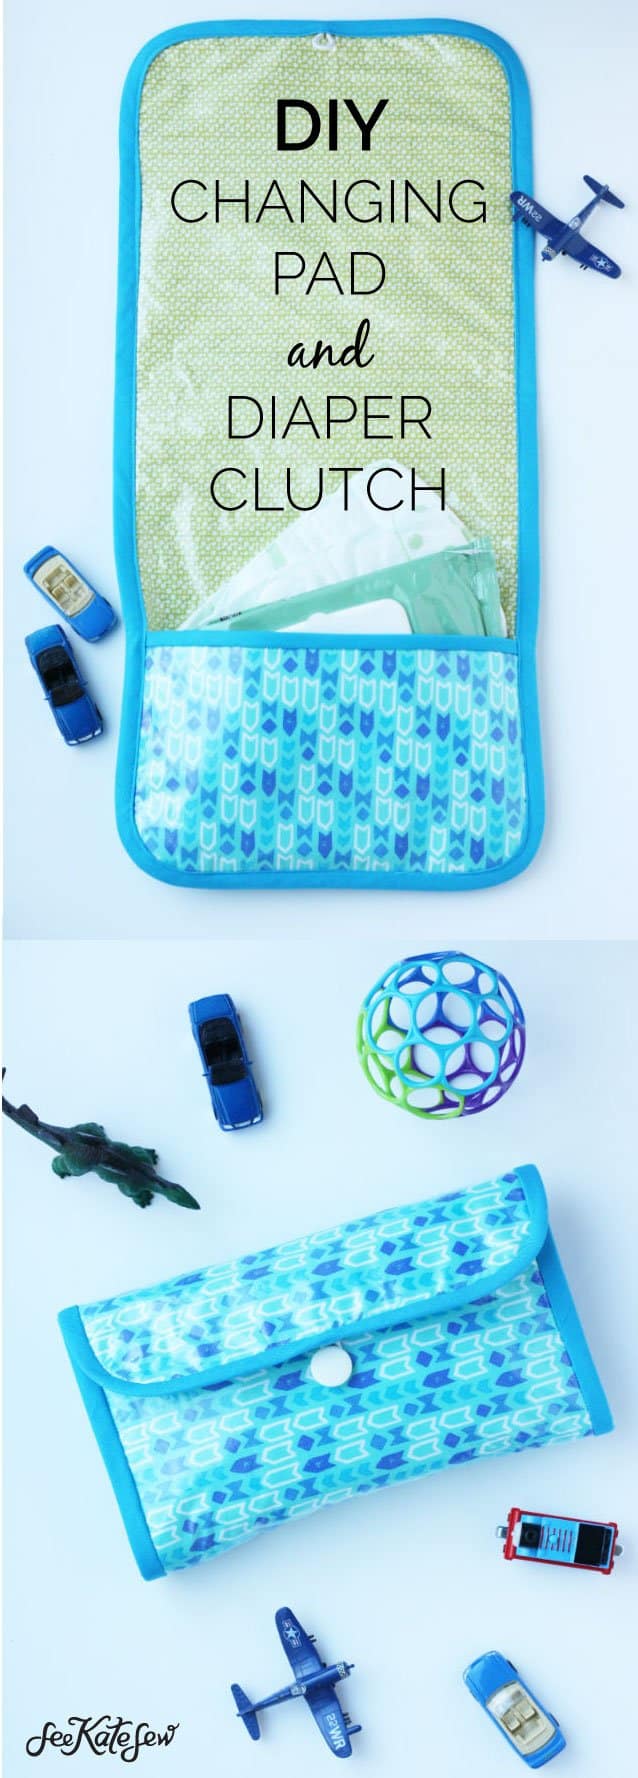
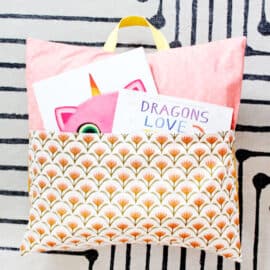
Hello friends, it’s Michael Ann again! Do you have a little person in your life that likes to poop in the most inconvenient of circumstances? Then you might be interested in making today’s Changing Pad and Diaper Clutch, haha! I can’t believe that it’s taken me this long to make one of these for my little man, it is so much easier to be able to grab just one diaper thing when we’re running out the door. And it’s so cute in your bag too!

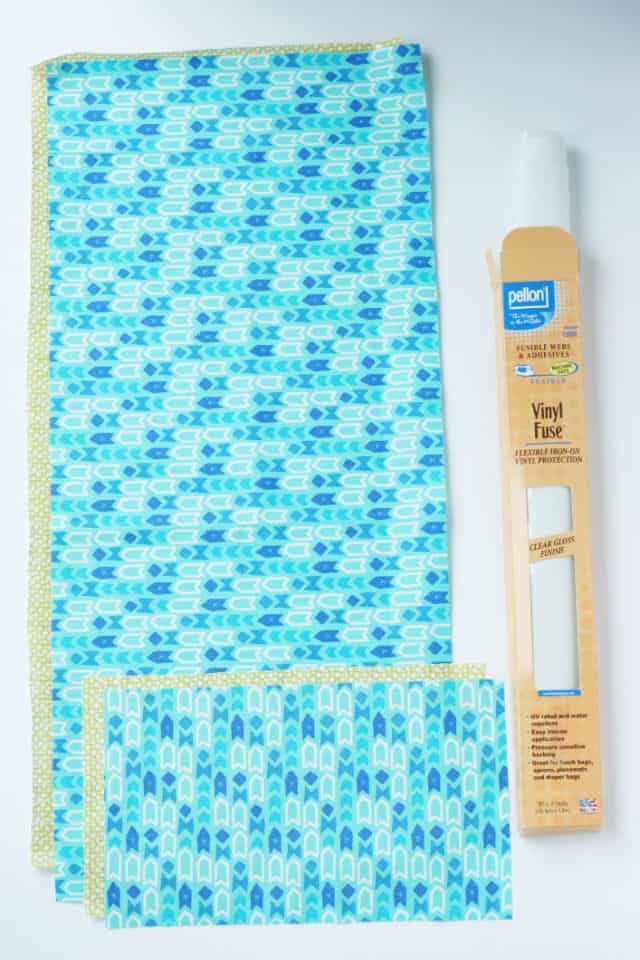
The added bonus of this project is that I used vinyl for both the inside and outside, making it super easy to just wipe off and clean. You can either make your own vinyl, like I did, out of any print fabric you want (this post tells you all about how to do it!) or use any vinyl or oilcloth fabric you can find.

For this project, you will need –

1/2 yard fabric for outside (oilcloth or vinyl)
1/2 yard fabric for inside (oilcloth or vinyl)
1/2 yard of cotton quilt batting
3 yards of double fold bias binding
A hair tie and a button


DIY Changing Pad and Diaper Clutch for Boys | sewing tutorials | DIY baby | diy baby items || See Kate Sew #diybaby #changingpad #sewingtutorialFirst, we need to cut our fabric.

Cut one 11″ x 24″ rectangle each of the outside, inside and batting fabrics for the pad pieces.
Cut one 6.5″ x 11″ rectangle each of the outside, inside and batting fabrics for the pocket pieces

2-diaper-clutch

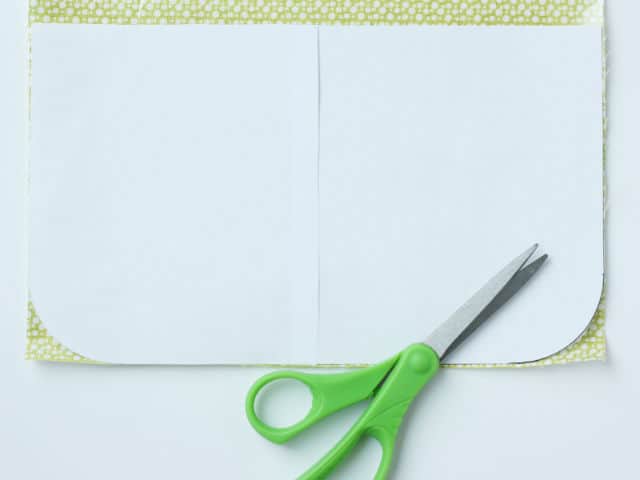
Using a small round bowl, trim one side of all pocket pieces, and both sides of all pad pieces so they are a gentle curve.

3-diaper-clutch

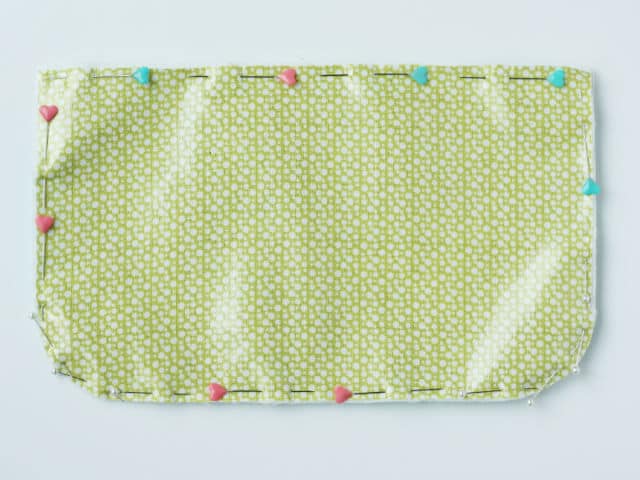
Baste together all the layers for the pocket by placing the outside fabric front side down, then the batting, then the inside fabric right side up. Baste with a 1/4″ seam allowance along all sides. Repeat for the pad pieces, basting the outside, batting, and inside fabric together.

4-diaper-clutch

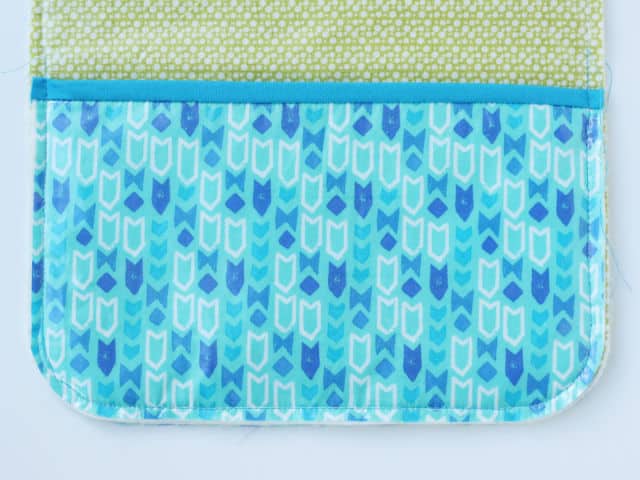
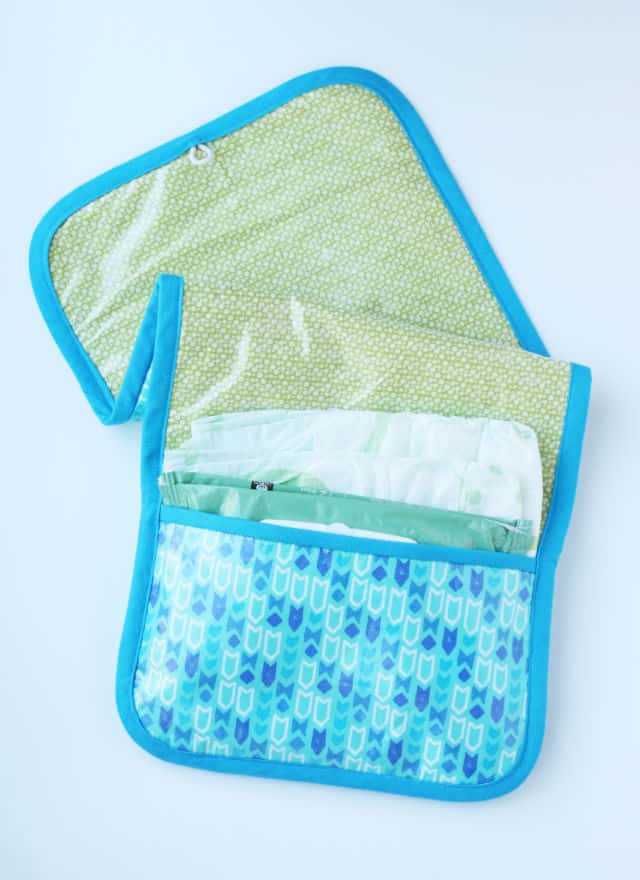
Bind the top straight edge of the pocket (There are photos discussing how to bind below). Then baste the pocket to the pad, also using a 1/4″ seam allowance. You’ll be working with a lot of layers here, but with a sharp needle, and some patience, you’ll be fine!

5-diaper-clutch

Cut a hair tie in half and sew it to the center of the lining side of the top of the pad.

6-diaper-clutch

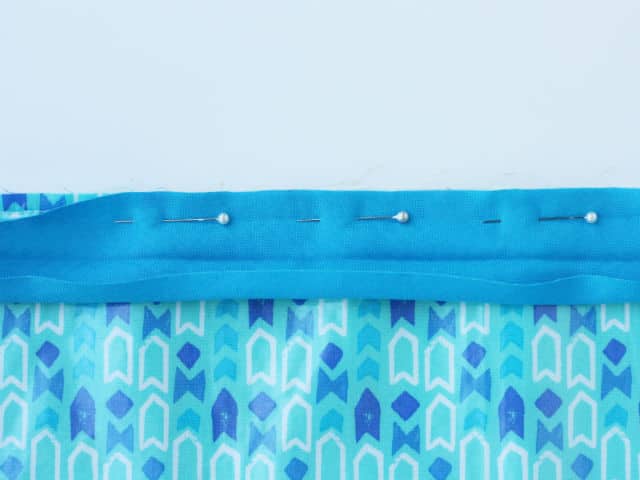
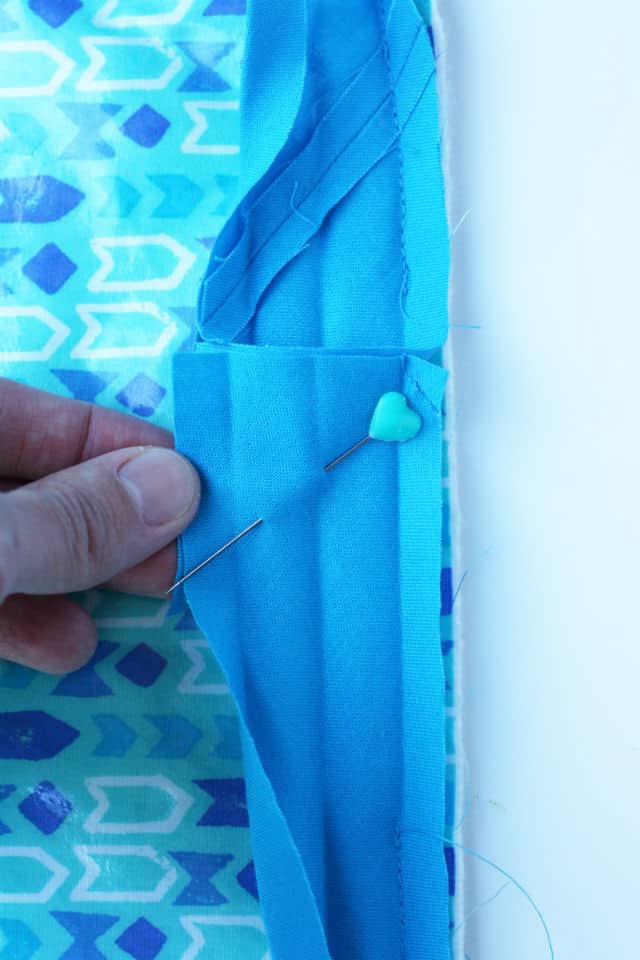
Now, to bind the pad! Leaving a tail about 6″ long, sew your binding to the front of the pad. Start about halfway down on one of the long sides of the pad. Open your binding and pin it along the edge of the pad, placing your pins parallel to the fabric so as to not damage the vinyl. Sew along the 1/2″ fold in the binding. Stop about 6″ from where you started and backstitch.

DIY Changing Pad and Diaper Clutch for Boys | sewing tutorials | DIY baby | diy baby items || See Kate Sew #diybaby #changingpad #sewingtutorial

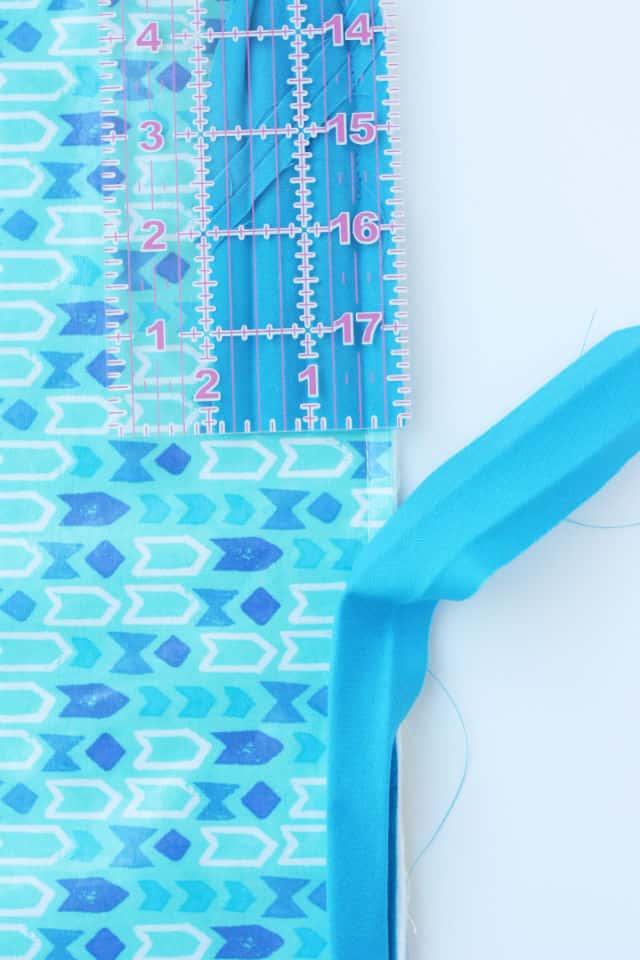
To cleanly finish your binding, cut the one end of your binding a couple inches down from where you stopped sewing, and place a ruler along the cut edge.

DIY Changing Pad and Diaper Clutch for Boys | sewing tutorials | DIY baby | diy baby items || See Kate Sew #diybaby #changingpad #sewingtutorial

Place the other end of the binding on top of the ruler, and cut it along the 2″ mark.

DIY Changing Pad and Diaper Clutch for Boys | sewing tutorials | DIY baby | diy baby items || See Kate Sew #diybaby #changingpad #sewingtutorial

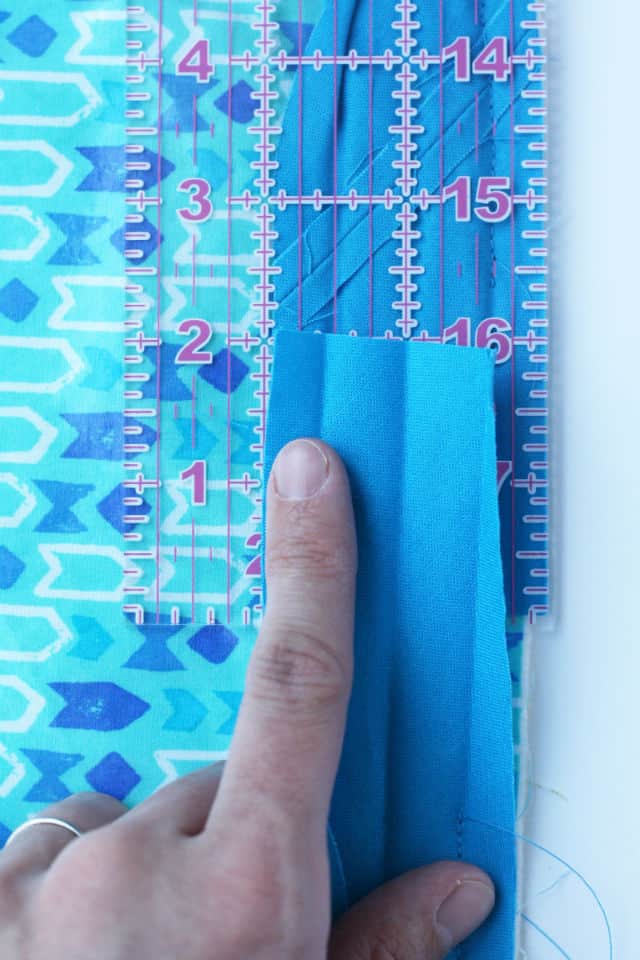
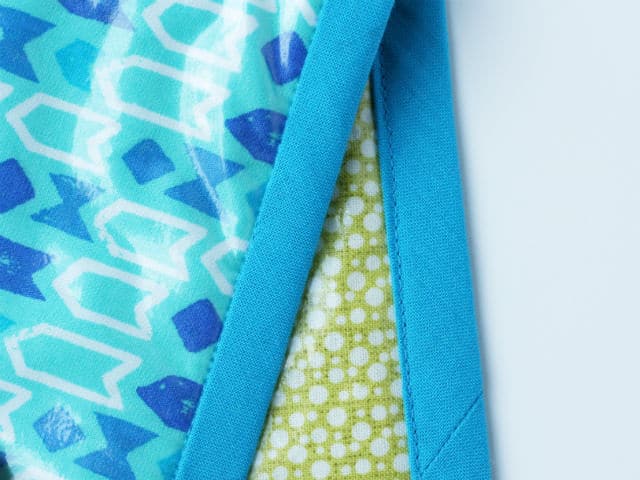
This can seem confusing at first, so play with it until you get it! Fold the bottom right corner of the top binding up 2″ to create a triangle. Place the bottom binding piece on top and pin along that diagonal line created by the little triangle. Sew the bindings together along that diagonal line (you will probably have to scrunch up the pad a little in order to hold the binding out enough to stitch it. Open and press your seam and presto! You have a clean binding finish!

When your binding is connected, finish stitching your binding to the pad along that 1/2″ fold line.

10-diaper-clutch

Fold your binding to the other side of the pad and press press press! To finish sewing the binding, I like to stitch in the ditch from the front side. To do this, make sure that the back of the binding hangs over the original stitching line so that you catch it when you sew from the front. Pinning well can help make sure you catch the binding.

11-diaper-clutch

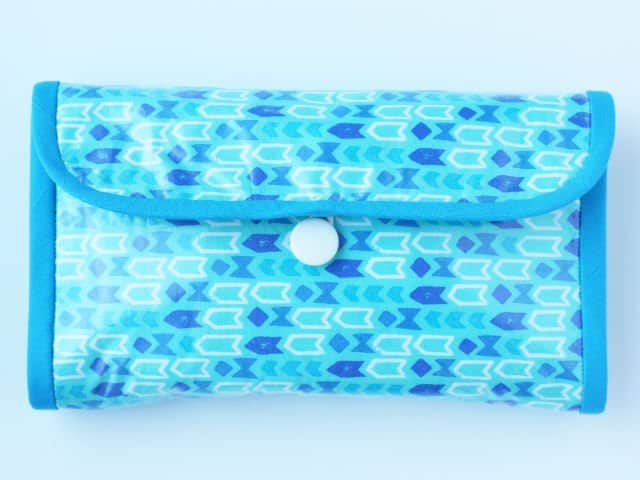
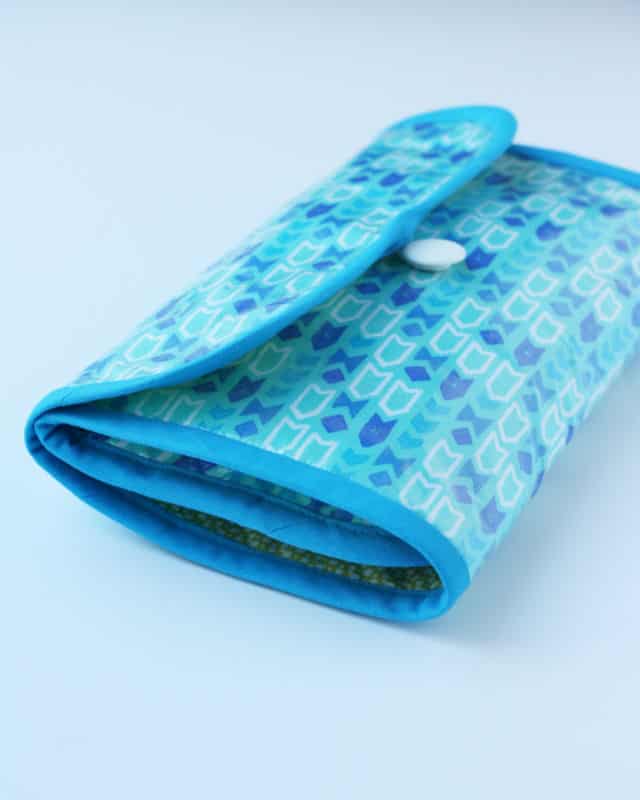
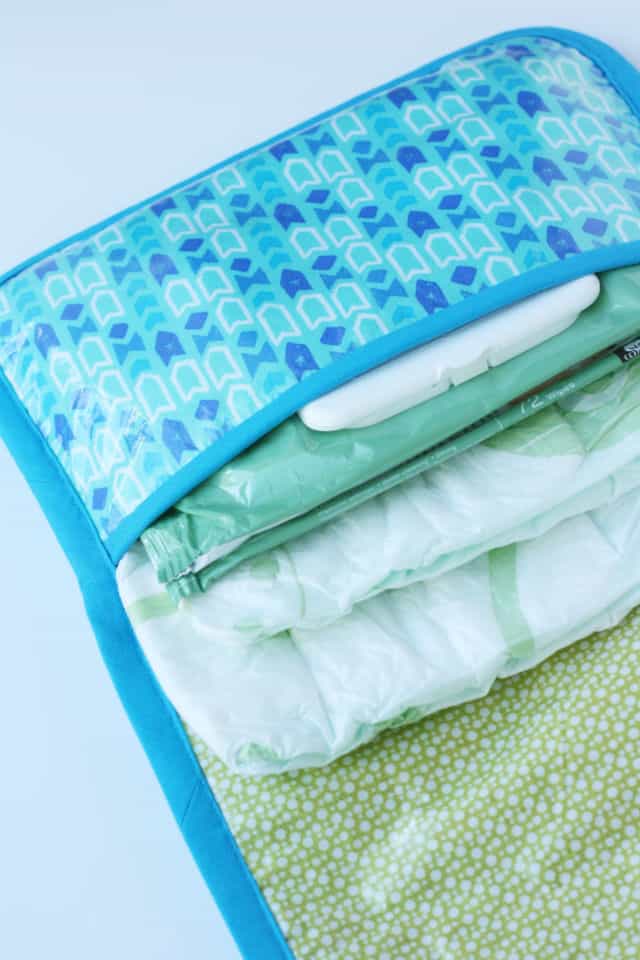
You’re almost done! Stuff your pocket with a few diapers to give it some width, and roll up your pad. Mark where the hair tie lands and stitch on a little button. You did it! Throw that little pouch in your bag and head off on fun adventures with your little person!

Thanks for crafting with me today, and I’ll see you back here or at Michael Ann Made!

DIY Changing Pad and Diaper Clutch-See Kate Sew

SaveSave

4 Comments | Kids

Exclusive Free PatternRuffled Apron

Sign up for my email newsletter and receive my ruffled apron pattern totally FREE!

We take your privacy seriously. See our privacy policy here. Unsubscribe at any time.

You may also like these posts...

FREE baby bonnet brim patternSpider-Man: No Way HomeInterchangeable Quote Wall Decor with Spider-Man: No Way Homeburp cloth tutorialKnit Headbands for Baby + Toddler

Reader Interactions

4 Comments

  1. Anne

    04/02 at 11:53 AM

    This would make an awesome shower gift!! I’ve got a Craft Gossip post scheduled for later tonight that links to your tutorial:
    http://sewing.craftgossip.com/tutorial-baby-changing-pad-and-diaper-clutch/2014/04/02/
    –Anne

  2. Mariah

    04/02 at 8:31 PM

    I love this! I made one similarly, but yours is so finished and professional looking!

  3. Vivian

    04/03 at 8:28 PM

    Thisis so cute!

Primary Sidebar

  • Facebook
  • Twitter
  • Instagram
  • Pinterest
  • Email

Exclusive Free PatternRuffled Apron

Sign up for my email newsletter and receive my ruffled apron pattern totally FREE!

We take your privacy seriously. See our privacy policy here. You can unsubscribe at any time.

Don’t miss these popular posts!

easy baby dress pattern for the summertime

easy baby dress pattern for the summertime

modern ombre + b/w triangle quilt tutorial + pattern

modern ombre + b/w triangle quilt tutorial + pattern

Fabric

Quilted Cosmetic Case Kiss Me KateKiss Me, Kate FabricOne Hour Granny Square Quilt Tutorial | See Kate SewModern Granny Square Quilt Whole Cloth

Pattern Hacks

Easy Baby Summer Dressthe EMMA pattern | See Kate SewThe EMMA Dress

Footer

Hello friends!

My name is Kate, a twenty something fashion lover and mother of two. When I’m not chasing kids you can find me at my sewing table or daydreaming up new designs. You can read more about me here. Thank you for visiting!

8a918f8da8e0e69102dc0f33a718de85a99c31a57283e0e3e2

FOLLOW ME HERE

  • Facebook
  • Twitter
  • Instagram
  • Pinterest
  • Email
  • Blog
  • About
  • Contact
  • FAQ
  • Sponsor

Copyright © 2023 See Kate Sew  •  All Rights Reserved  •  Privacy Policy  •  Site Design by Emily White Designs