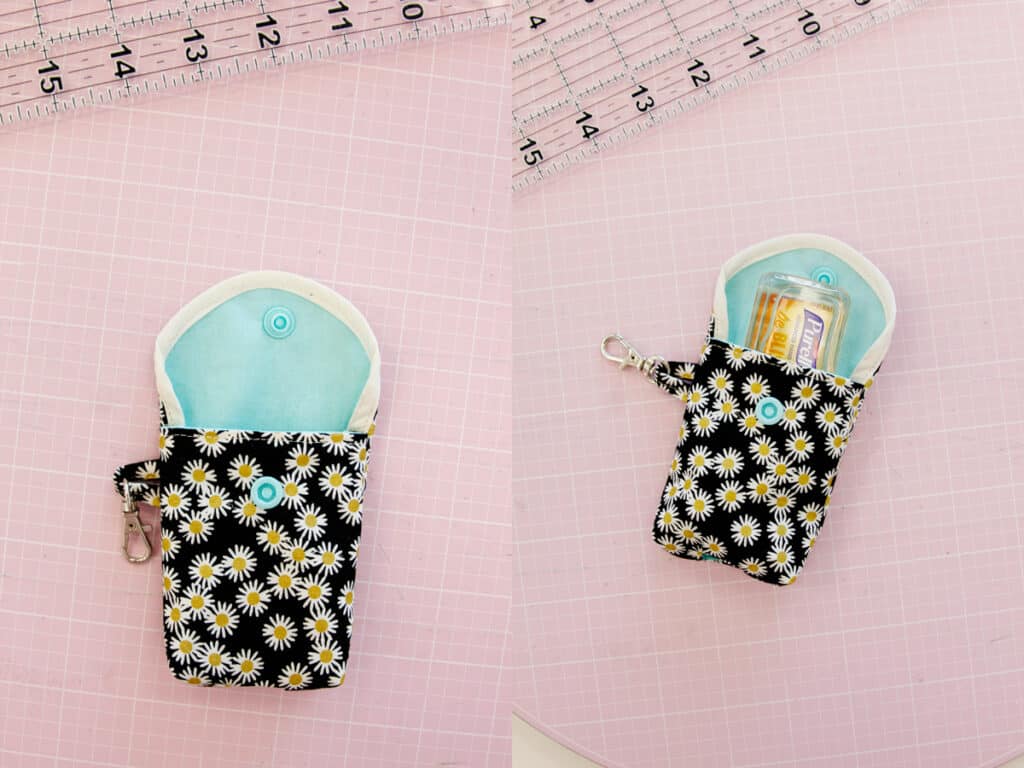
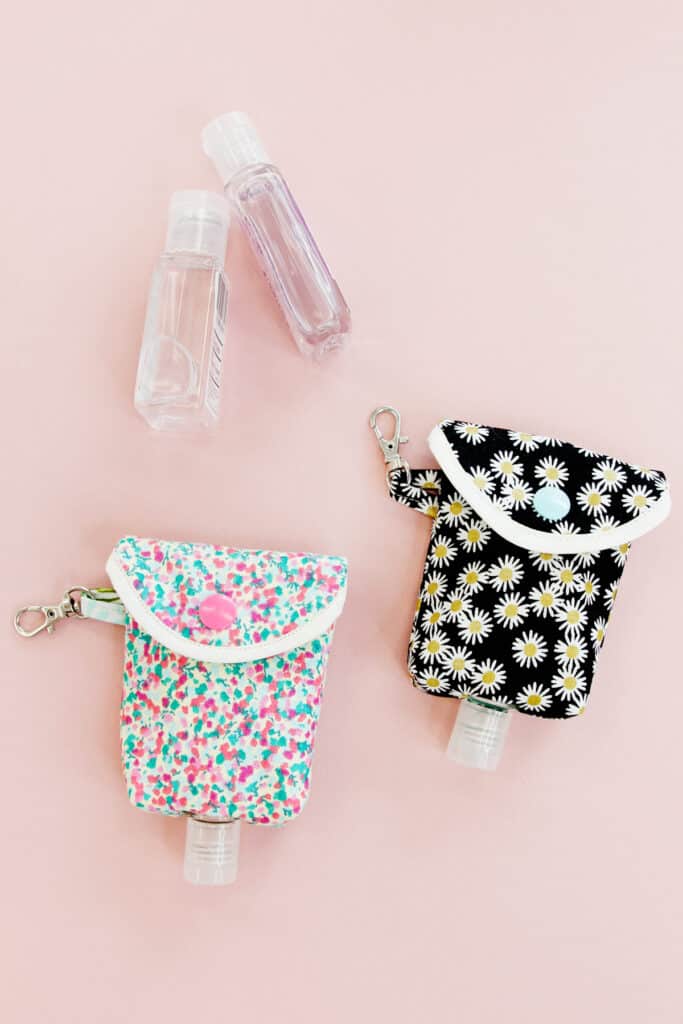
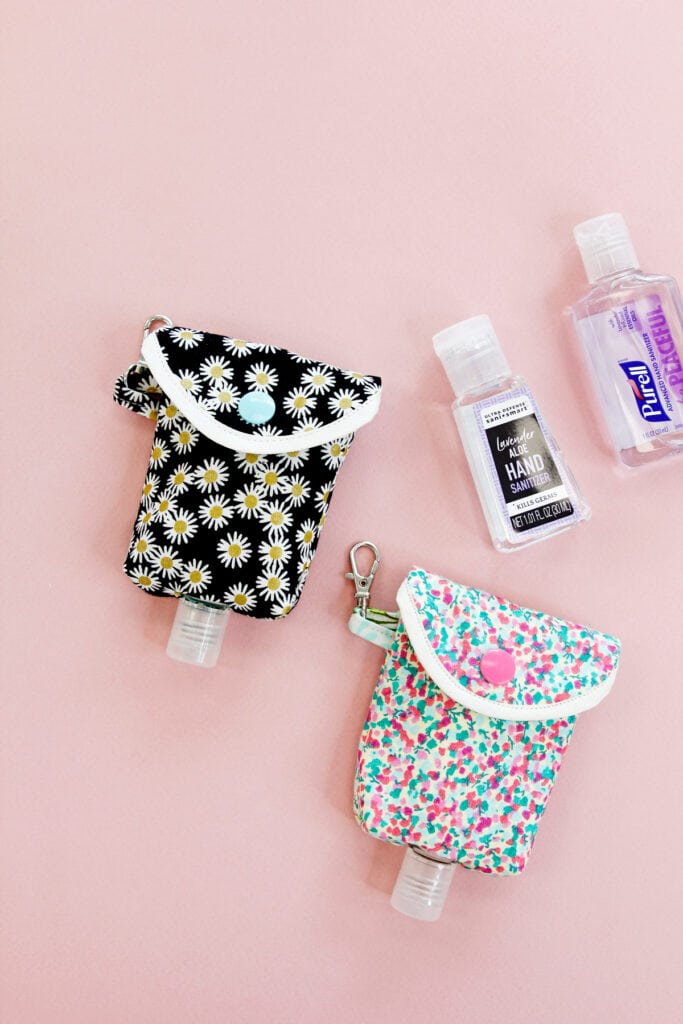
Defeat germs with a DIY hand sanitizer holder! This case will fit most travel size hand sanitizers plus it’s adorable, snaps shut and includes a free pattern!
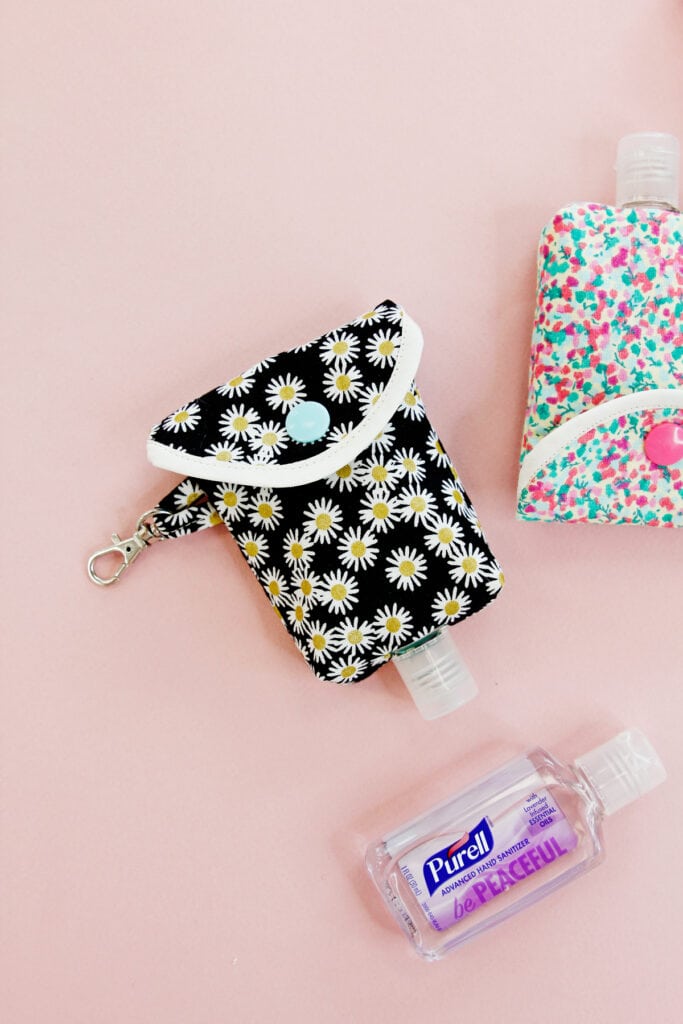
This is a great back to school project – clip one onto a backpack so you always have a way to clean your hands before lunch or snack time and hopefully avoid an array of viruses this fall!
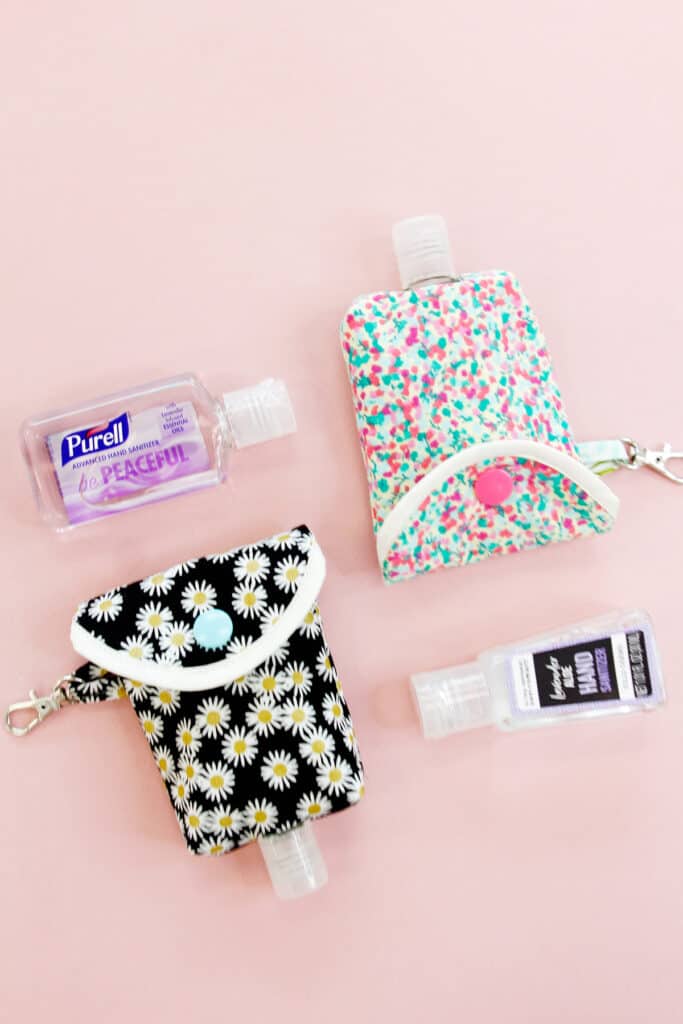
A few fun materials like snaps and bias tape make the pouch colorful and customizable!
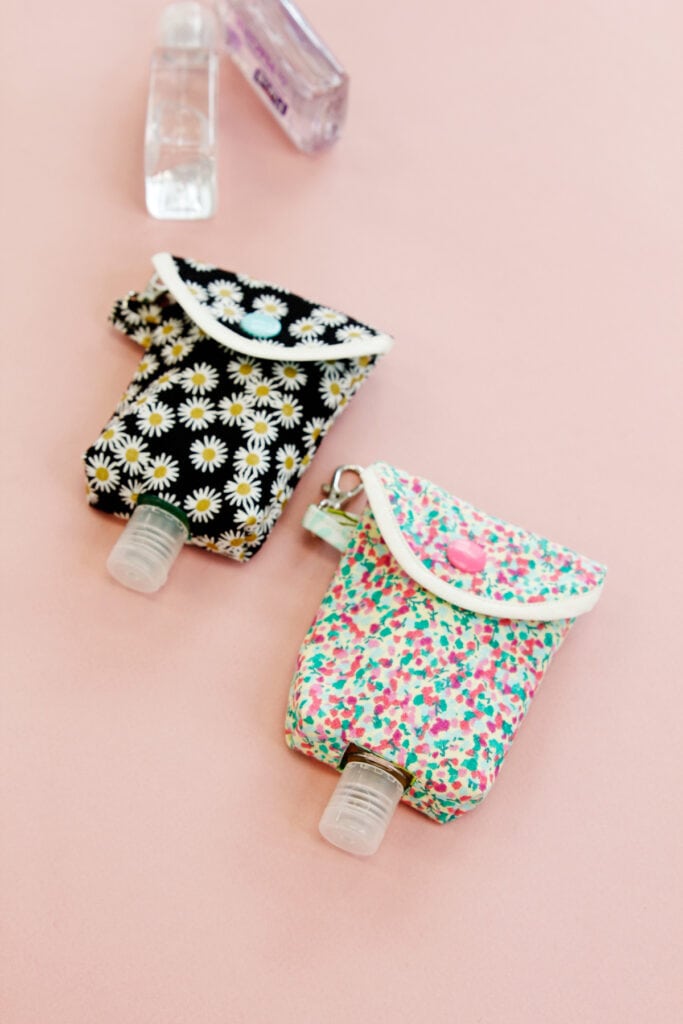
The instructions for this project are actually pretty simple! You’ll just need a few supplies and fabric to get started!

DIY fabric hand sanitizer holder materials
- 1/4 yard fabric
- Fusible interfacing
- Swivel d-ring keychain hardware, small approx. 1.2″ (affiliate link)
- 1/2″ bias tape (single fold)
- Kam snaps, size 20
- Spray baste
- Printable pattern, see below
hand sanitizer case pattern

Click on the button below to download this pattern! The templates will print on 1 page. Print at 100% or DO NOT SCALE.
hand sanitizer holder DIY
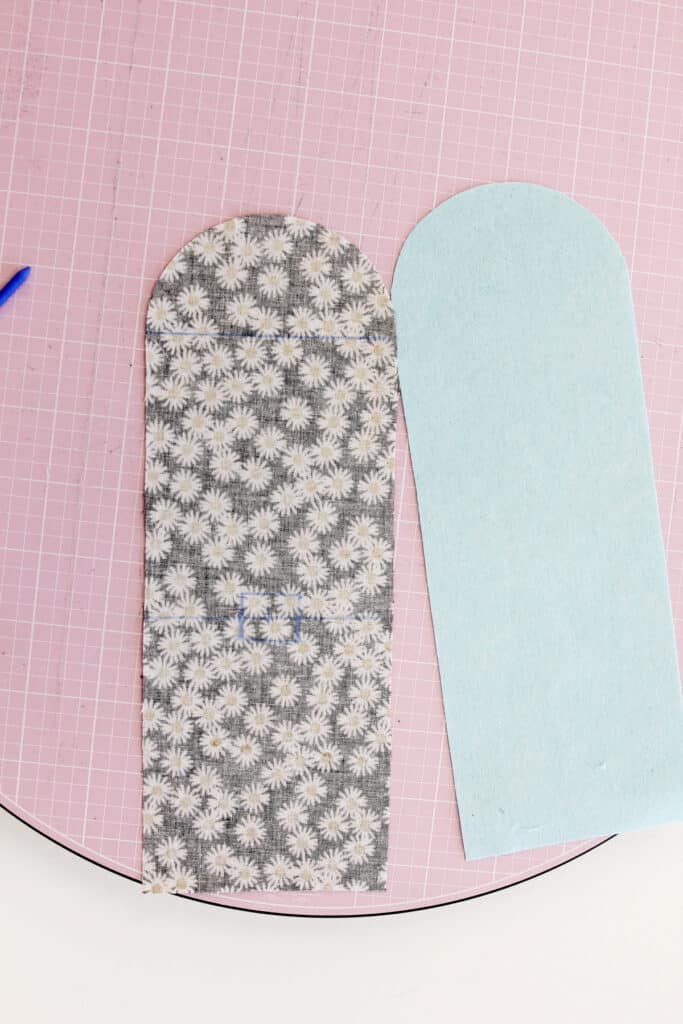
Let’s make it! Start by cutting out 2 layers from the main pattern piece and 1 from the keychain tab piece. Fuse interfacing to the back of one of the main layers and the keychain tab.
Assemble the Hand Sanitizer Case
Place layers together with right sides together and pin. Mark the hand sanitizer top opening with chalk or a fabric marker. Also mark the fold lines on the pattern.
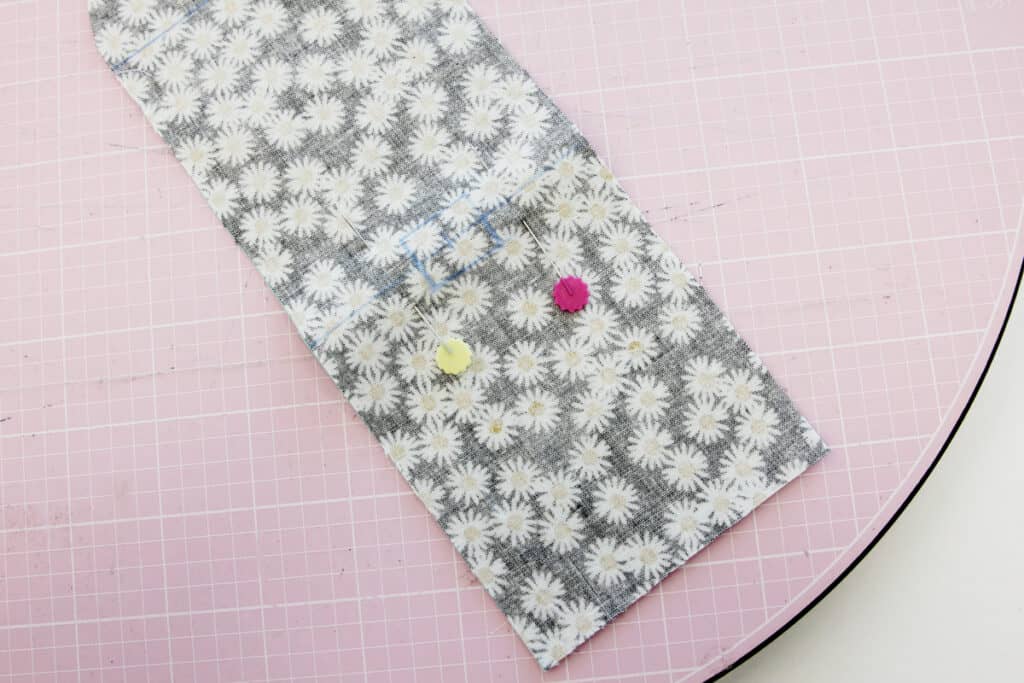
Sew your sewing machine stitch length to 2.0mm. Sew around the hand sanitizer top opening. The short stitch length will help the stitches stay and create a stronger opening.
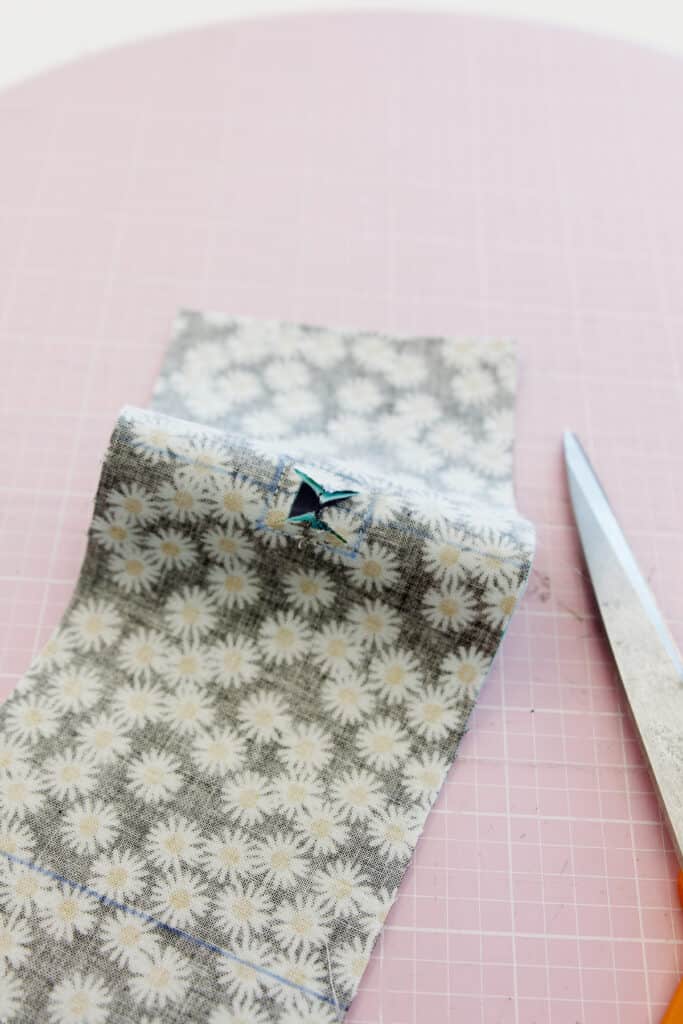
Turn the fabric through the opening so you have wrong sides together.
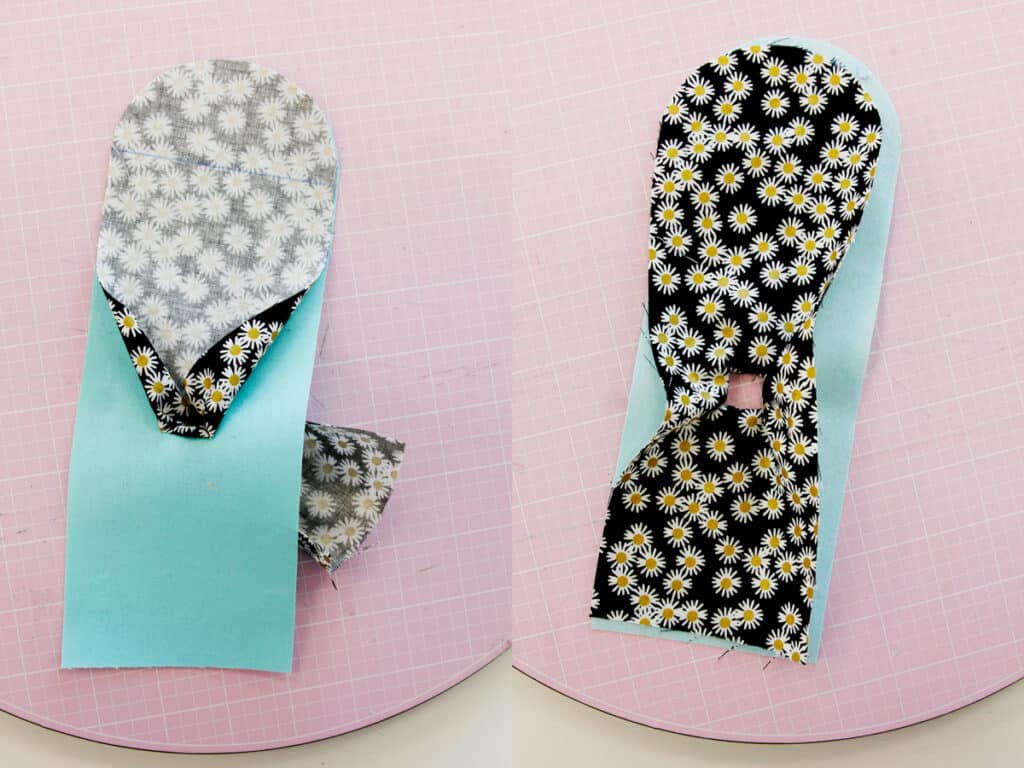
Press well, focusing on the opening. At the straight short edge, fold under 1/4″ on both fabrics.
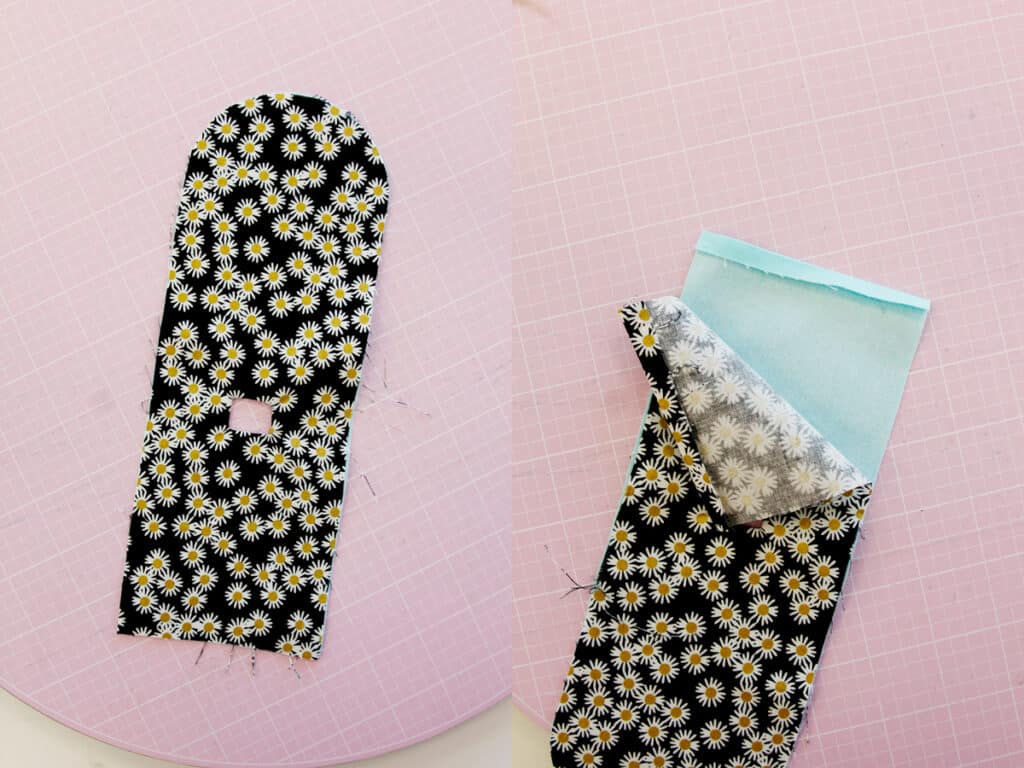
Topstitch the layers together about 1/8″ from the top edge. Fold up the finished edge so that the opening it folded in half. Press and mark where the top of the pouch hits on the curved piece.
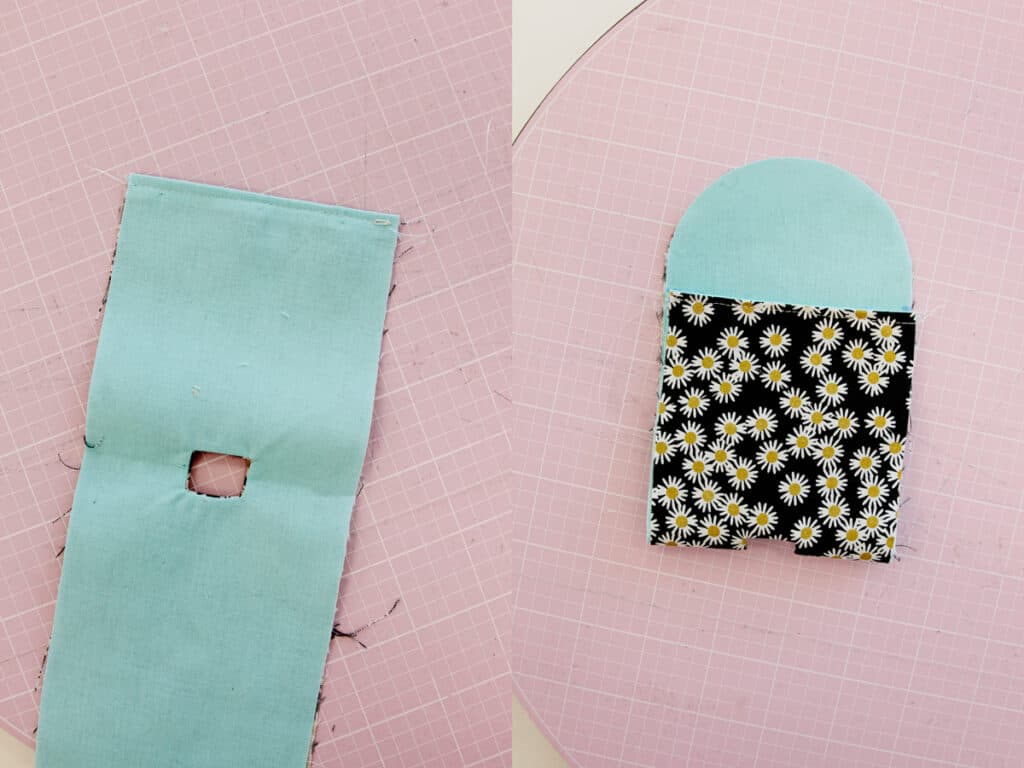
Spray basting spray on the bias tape and glue it around the curved edge of the pouch, passing the marks you just made by about 1/2″. Press down.
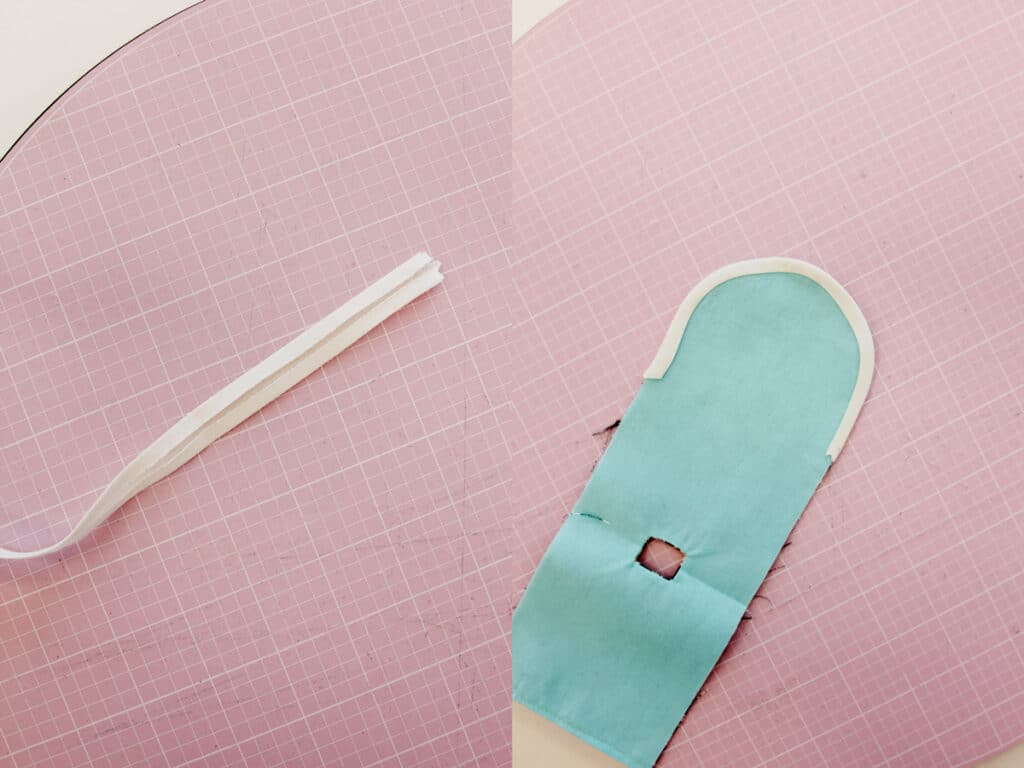
Topstitch the bias tape to the curved edge to finish the pocket flap.
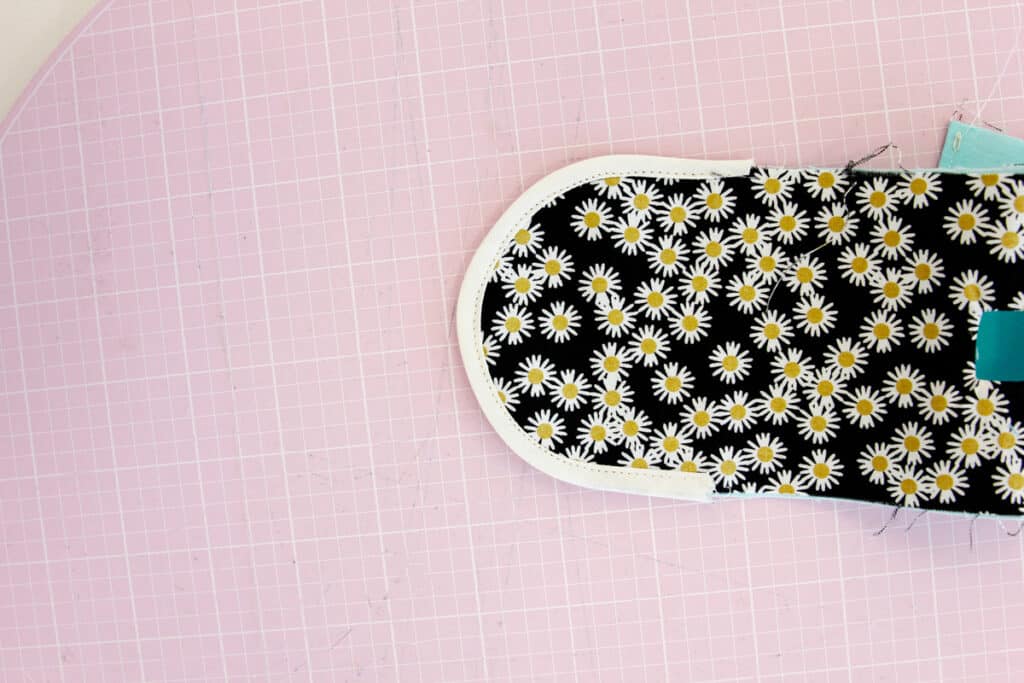
Hand Sanitizer Keychain Tab Instructions
Fold the keychain tab edges in to to the middle and press. Then fold the tab in half lengthwise. Topstitch the open edge to create the tab. Set aside for now.

Now fold the pocket up inside out and pin the edges. Stick the keychain clip to the right side with the hook and tab in between the fabrics.
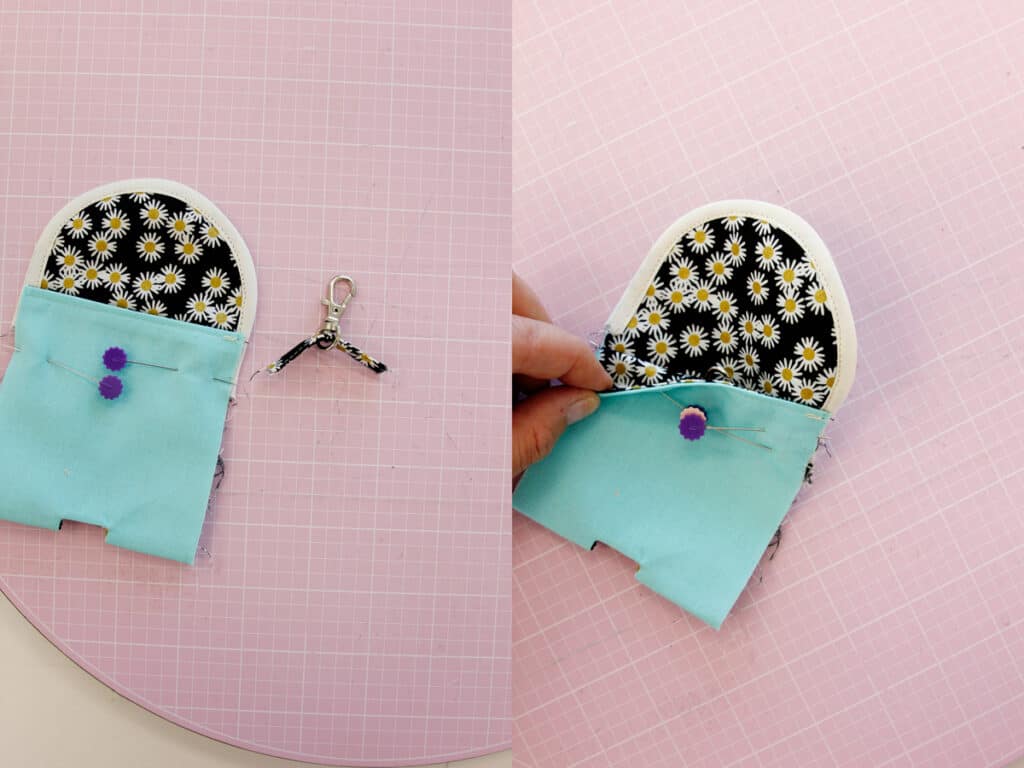
Stitch the pouch with a 1/4″ seam allowance, topstitching at the ends of your stitching.
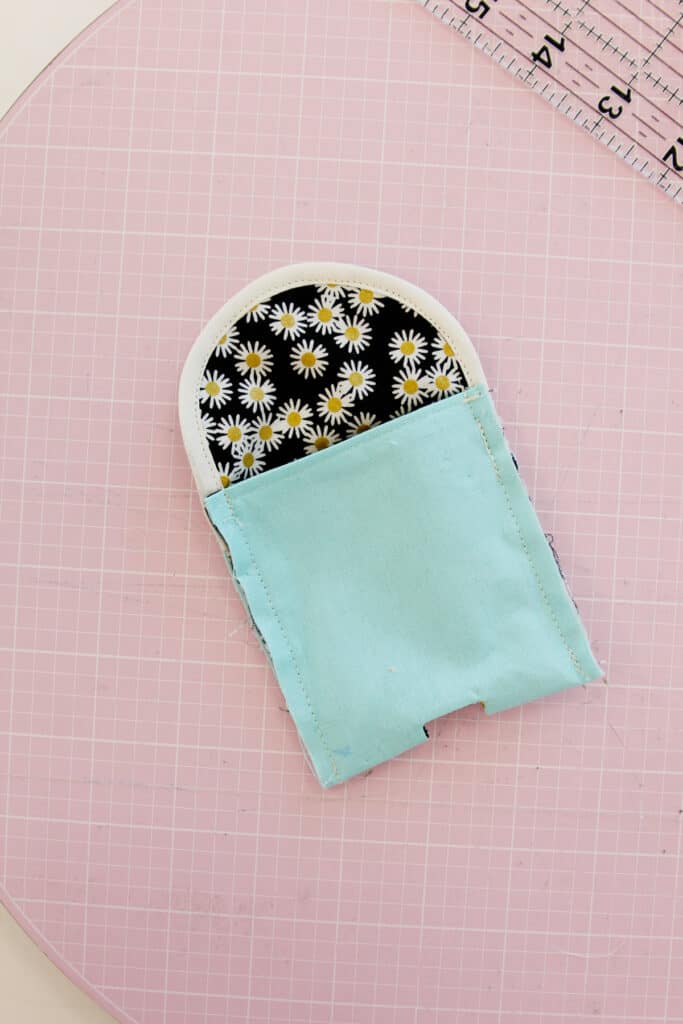
Pinch the bottom corner of the pouch perpendicular to the seam and draw a line across the pinch about 3/8″ from the corner point. Sew along this line and backstitch. Repeat on the other side.
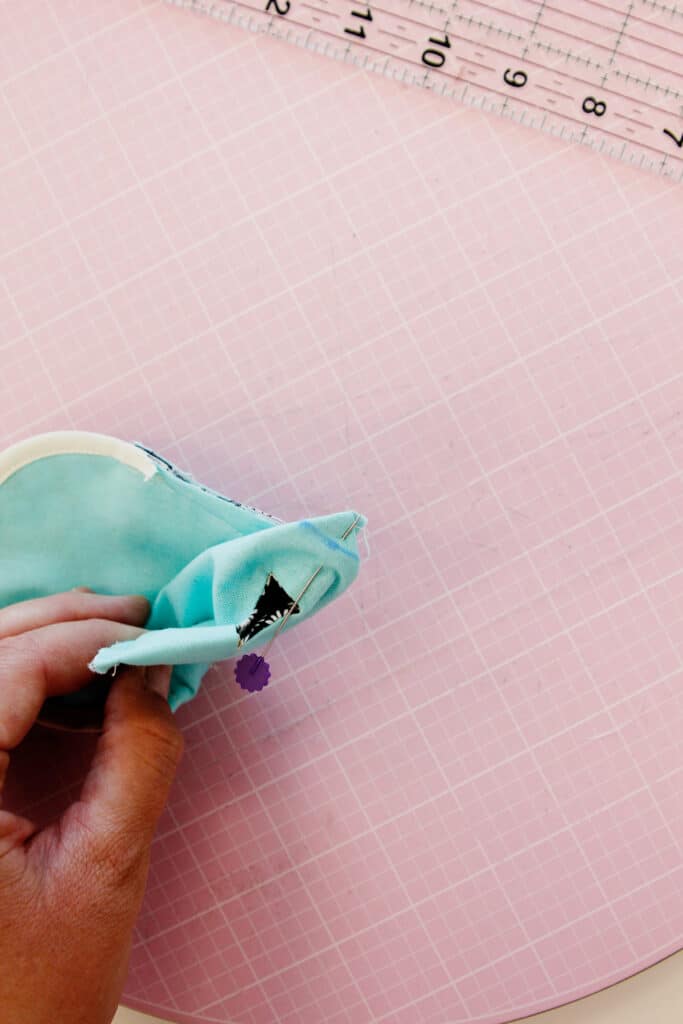
These little pinches will give your pouch dimension to hold the hand sanitizer.
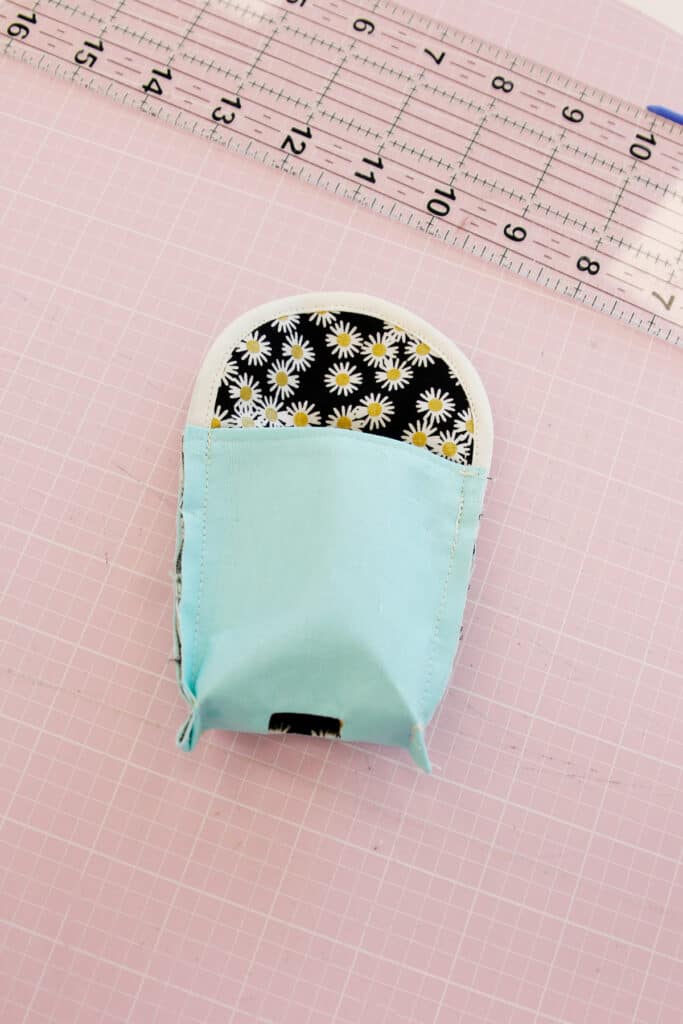
Turn right sides out and press.
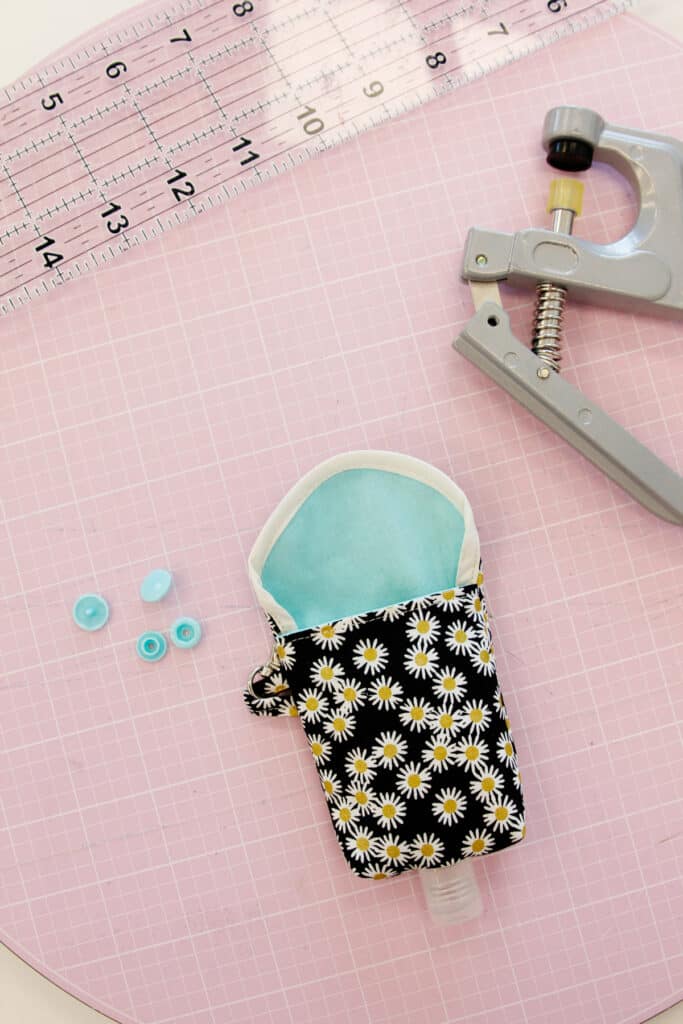
Attach KAM snaps to the flap. For a full KAM snap tutorial, check out this post!

And you’re done! Now load it up and clip your new hand sanitizer pouch to your backpack!
