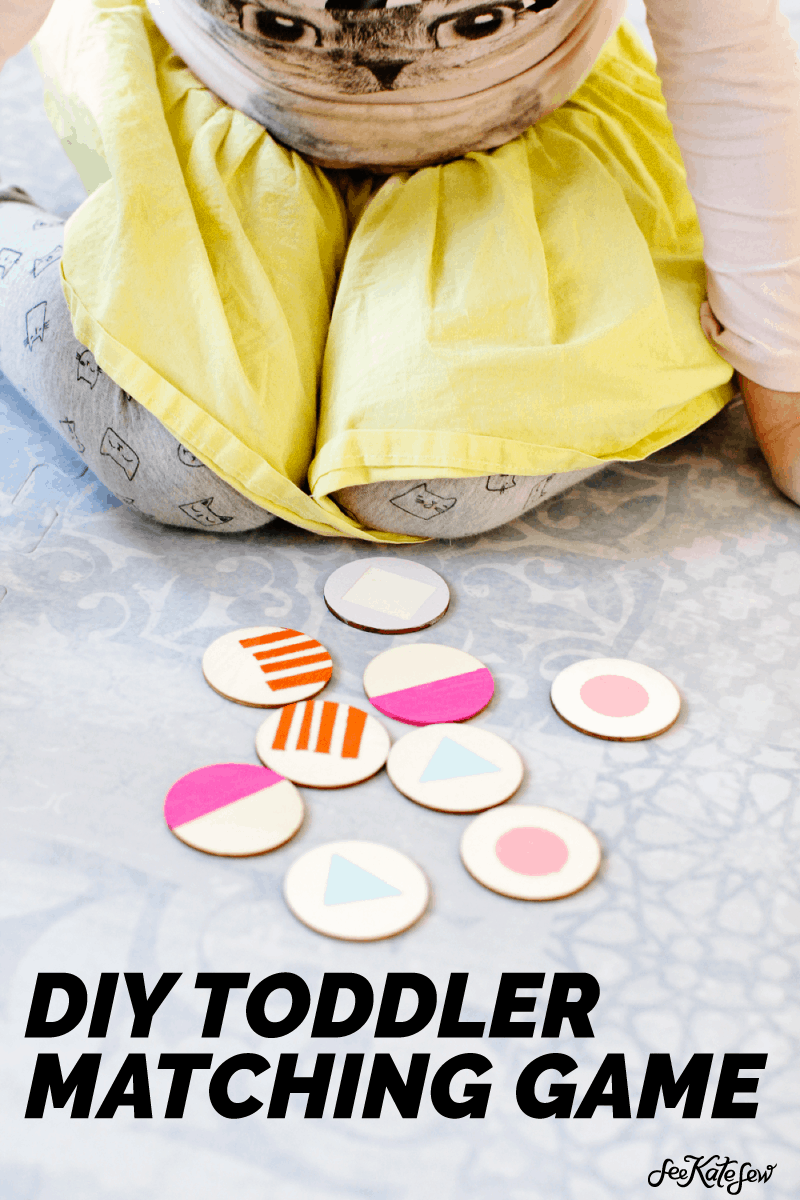
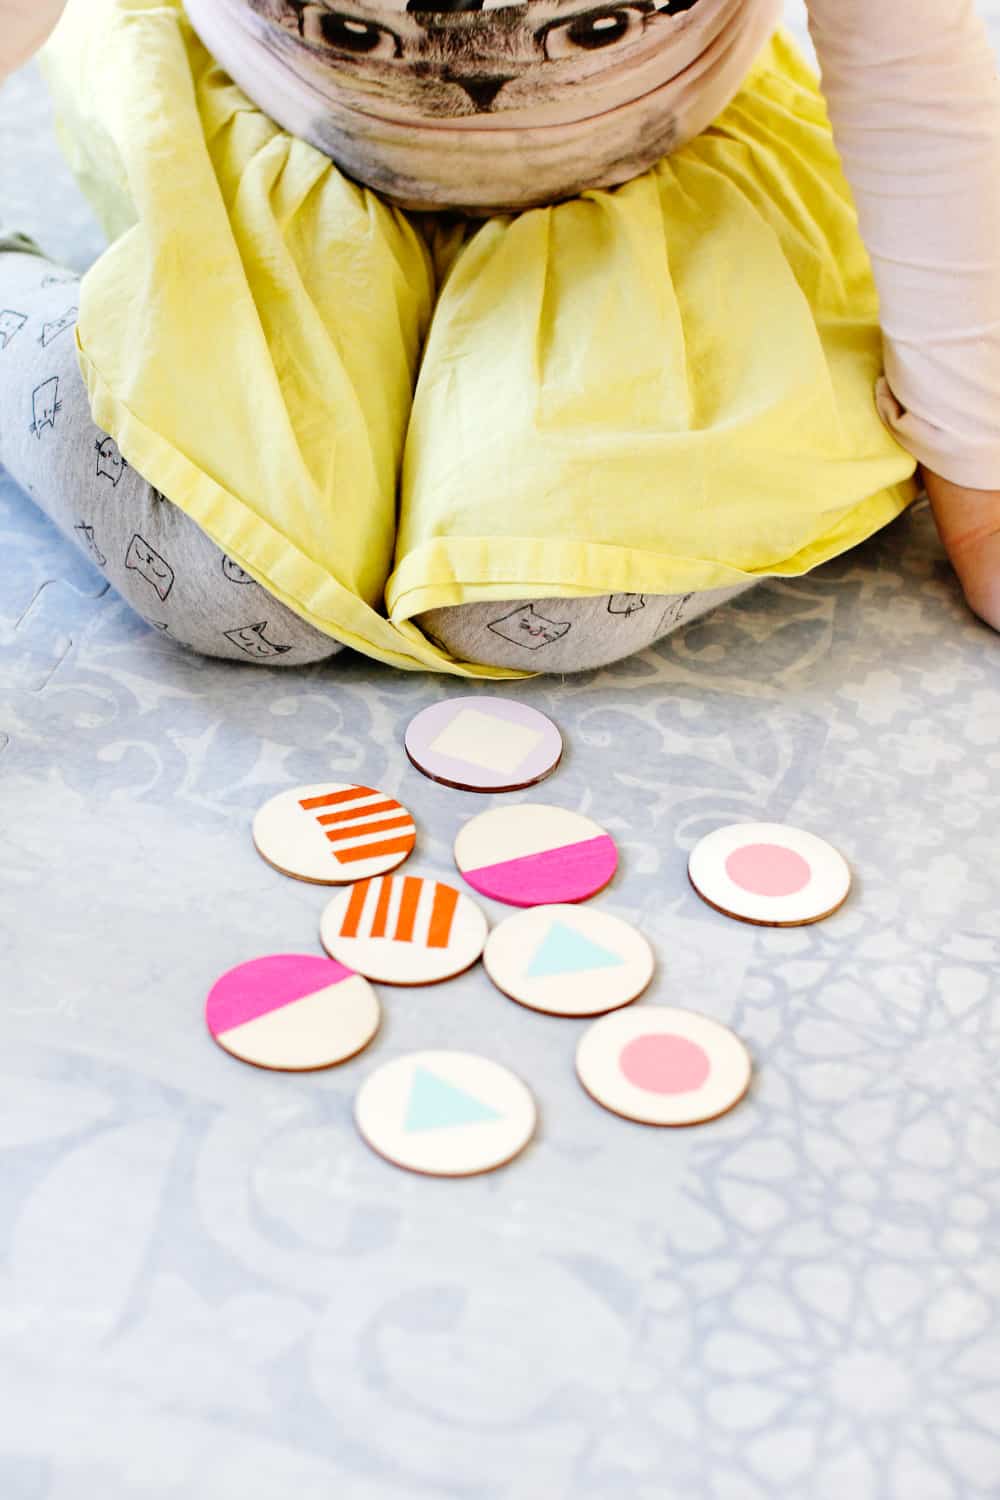
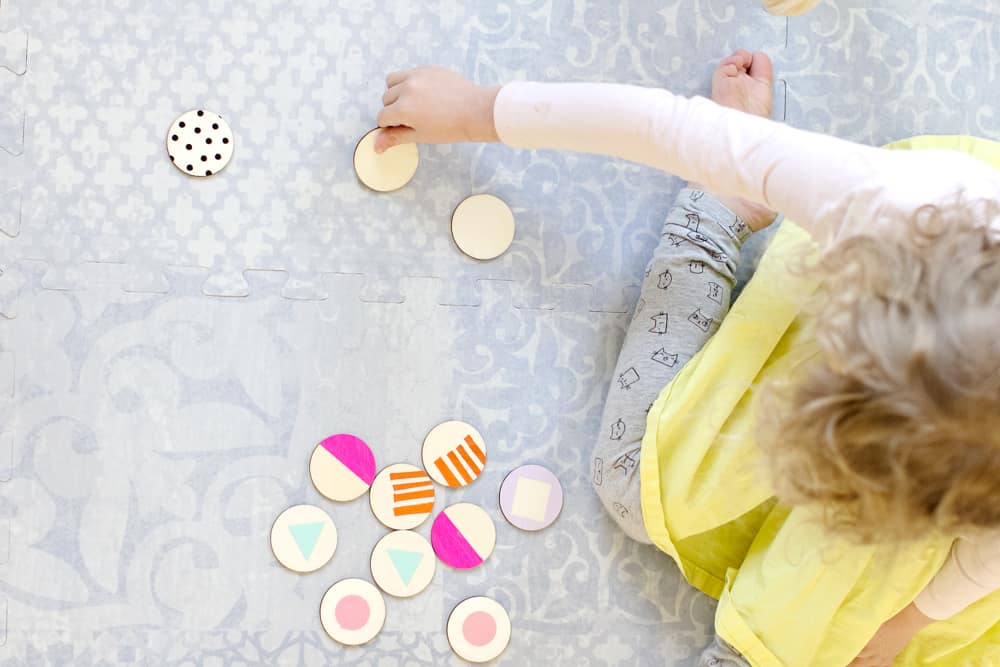
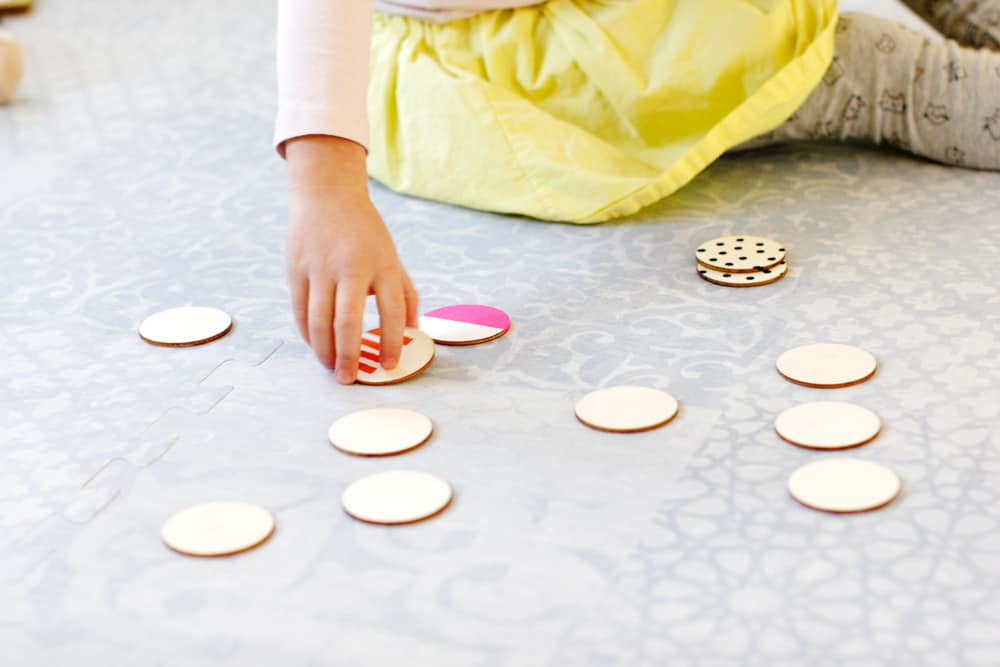
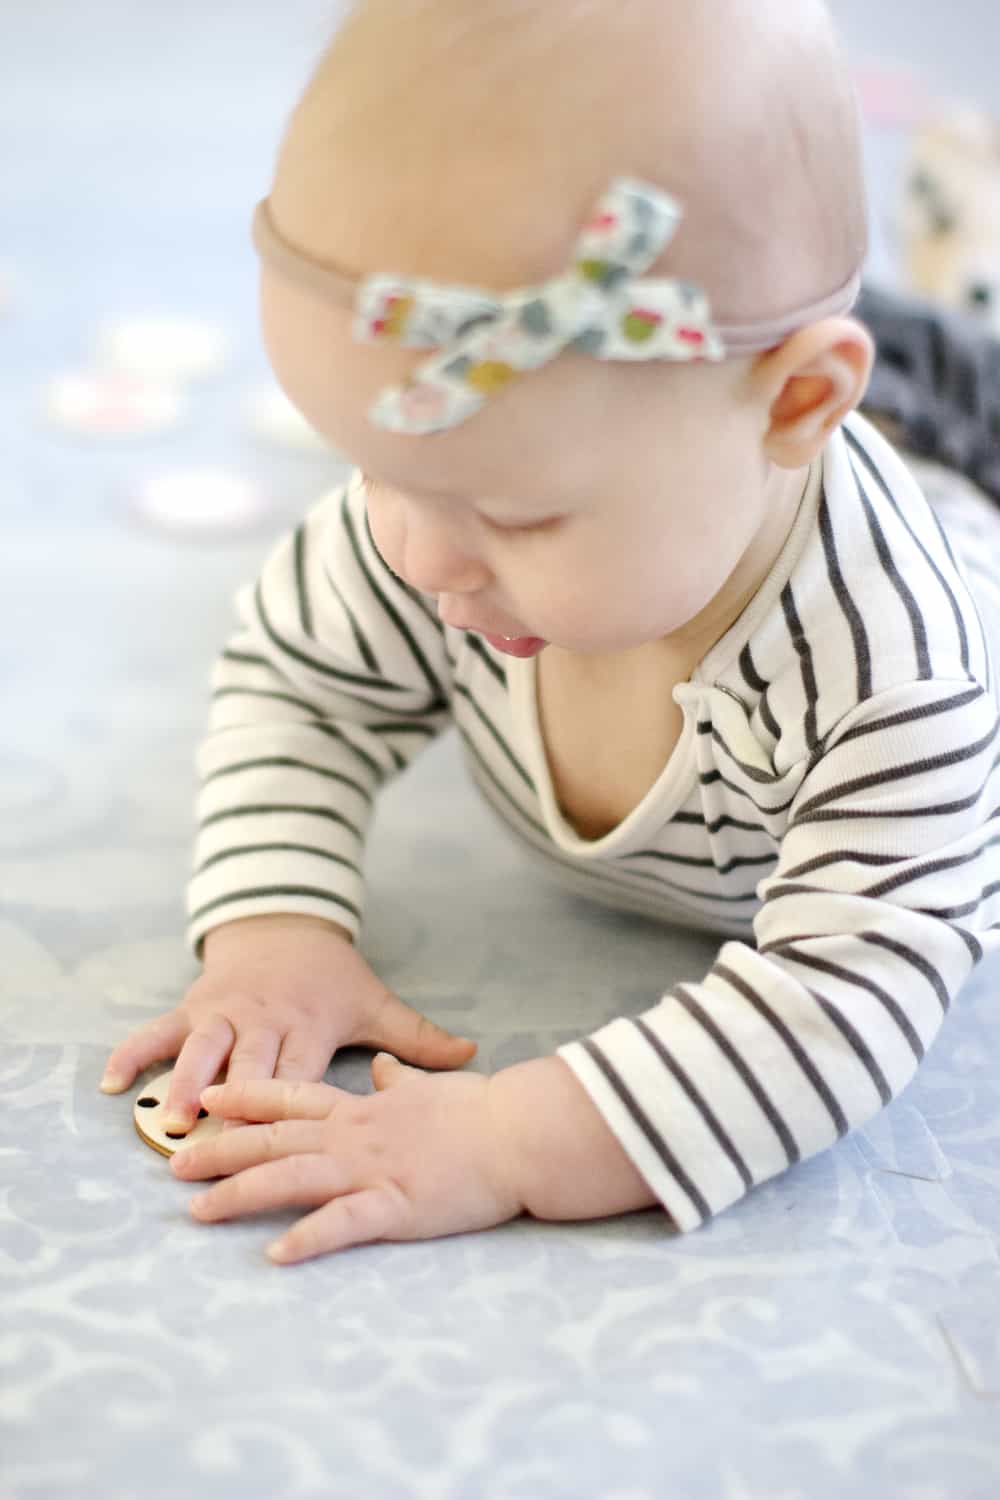
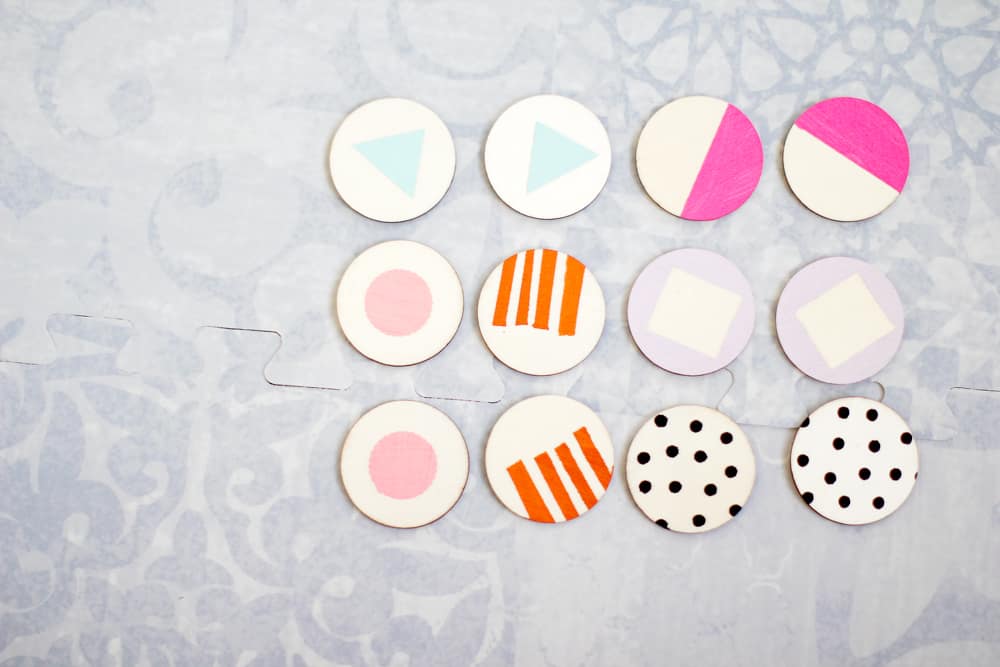
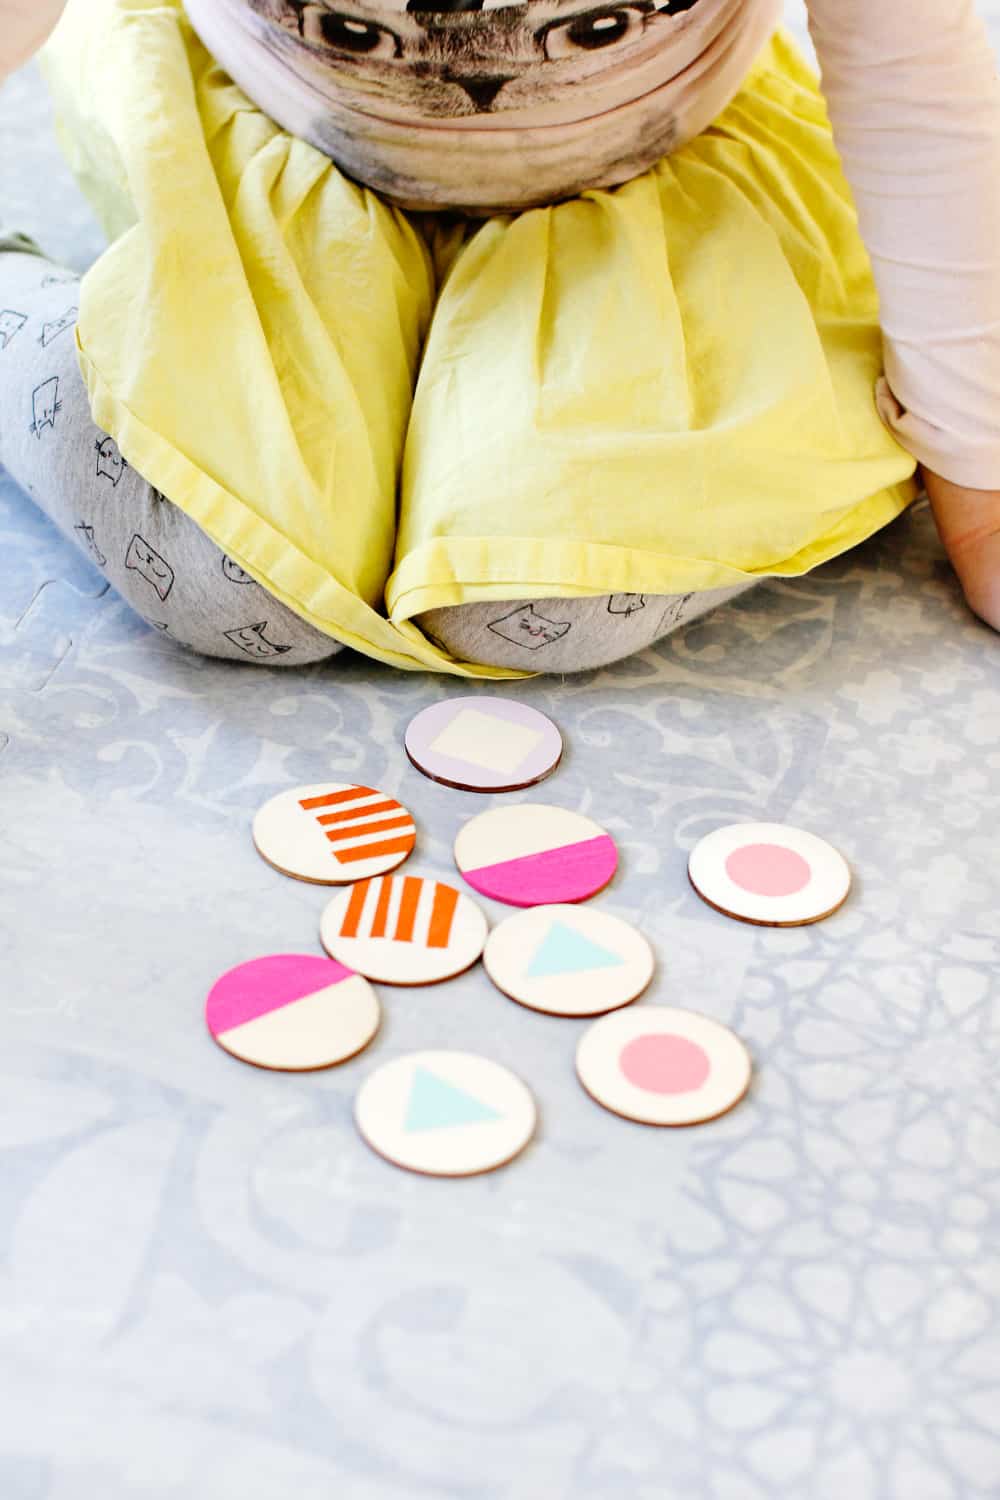
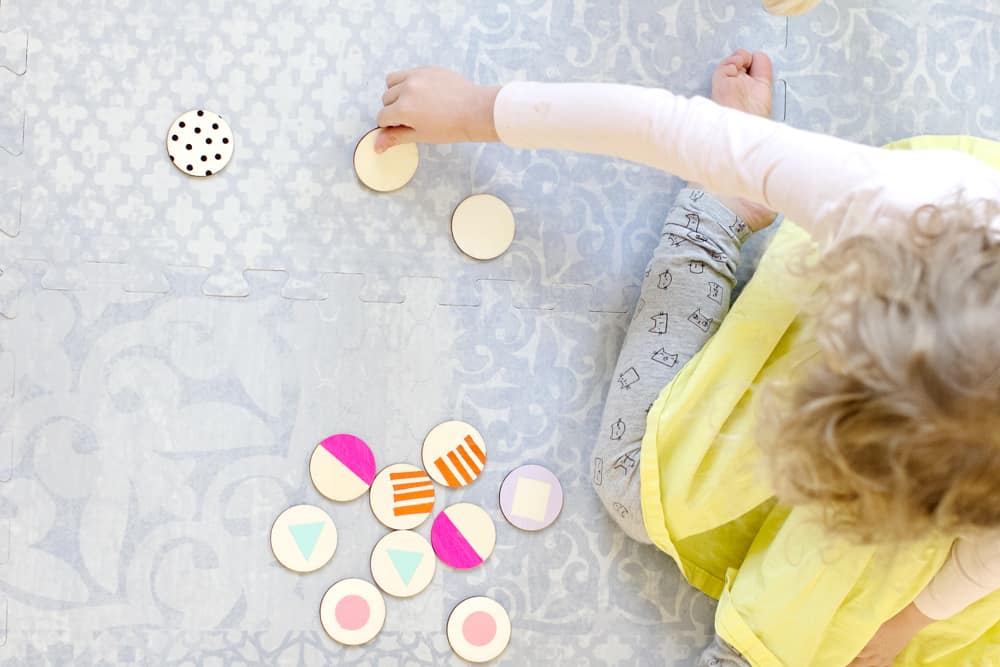
This post was originally shared at Gugu Guru! Time to bring it home so you can always find it in the Crafts and Baby Archives! I love this game for toddlers and now that we are right back to this stage, we’re playing lots of matching games again and we still love this mat! This DIY matching game for toddlers is made with paint on wooden discs. This is a pretty simple tutorial so you could involve your toddler in making it, if you want! The game itself helps teach colors, shapes and designs, which is an added bonus.
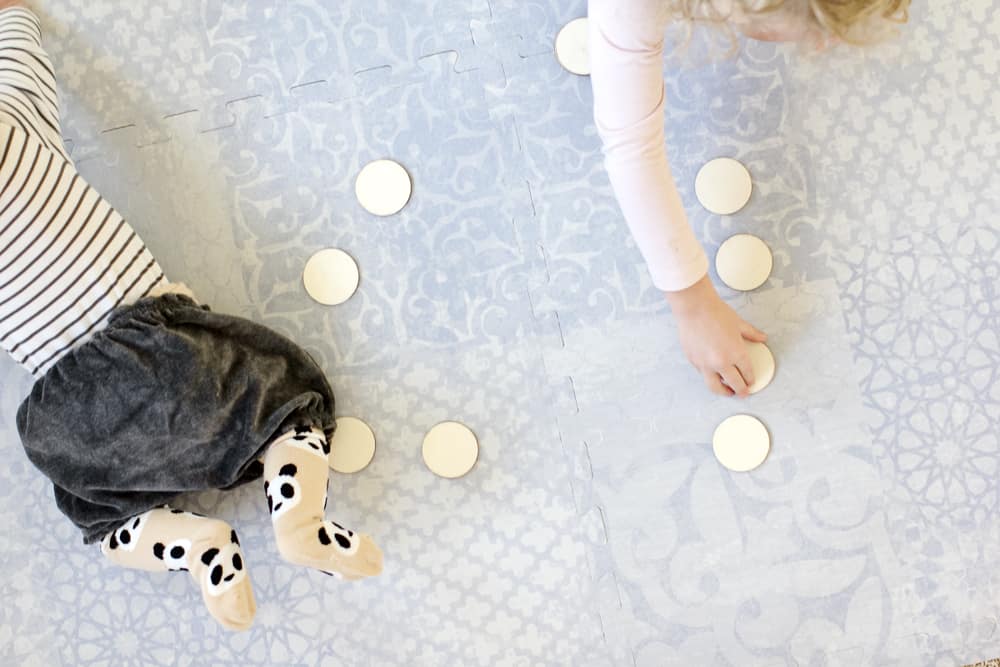
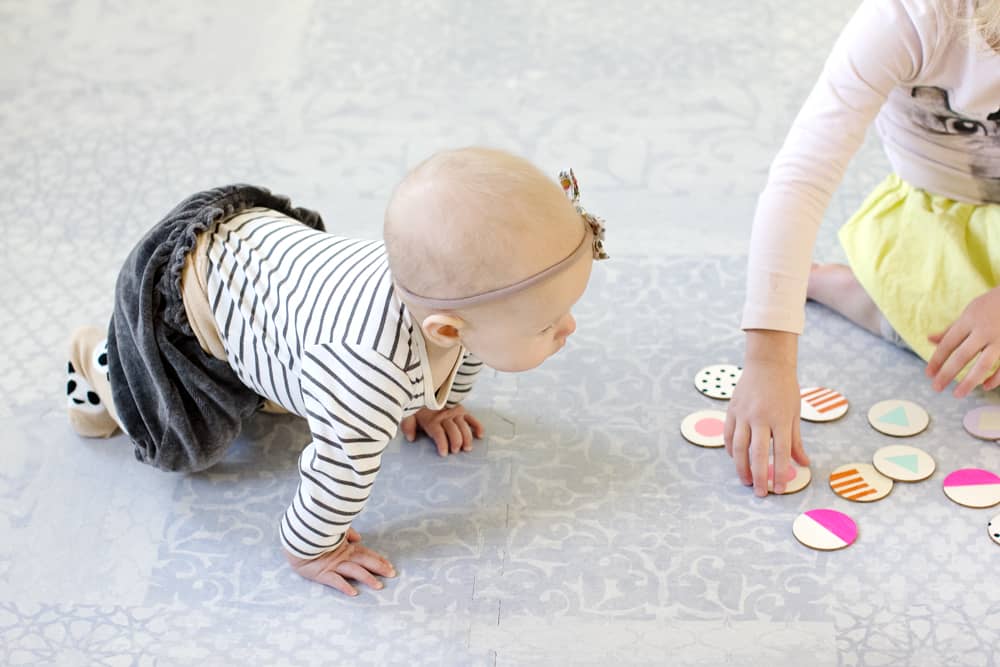
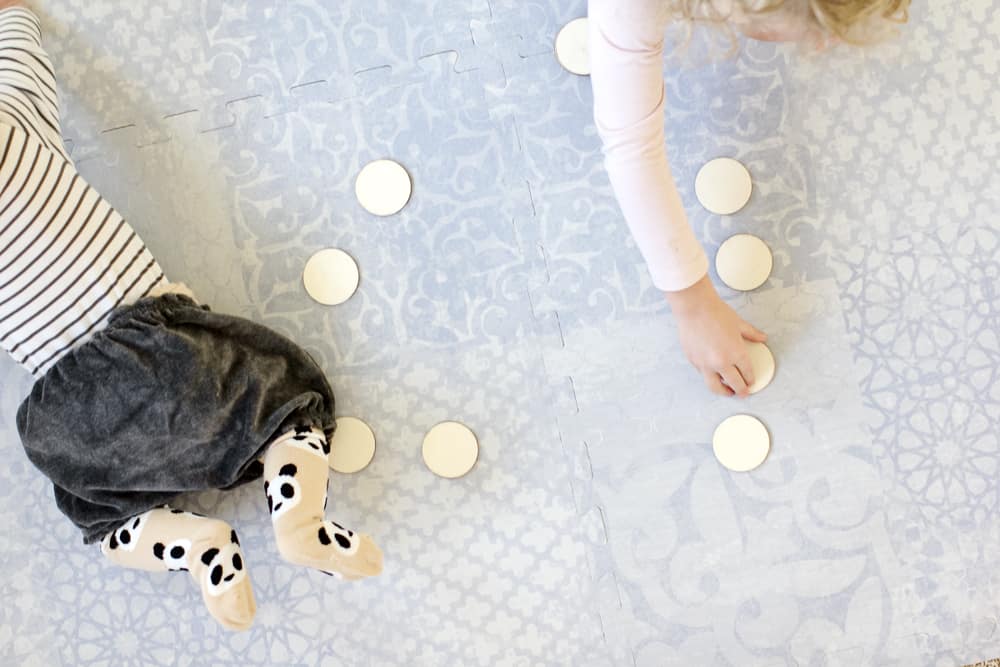
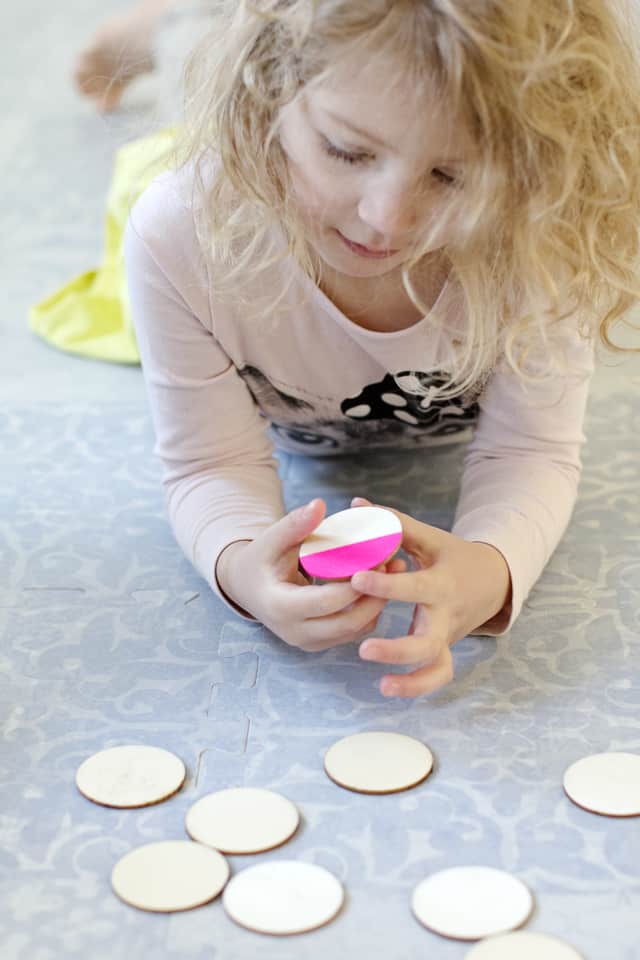
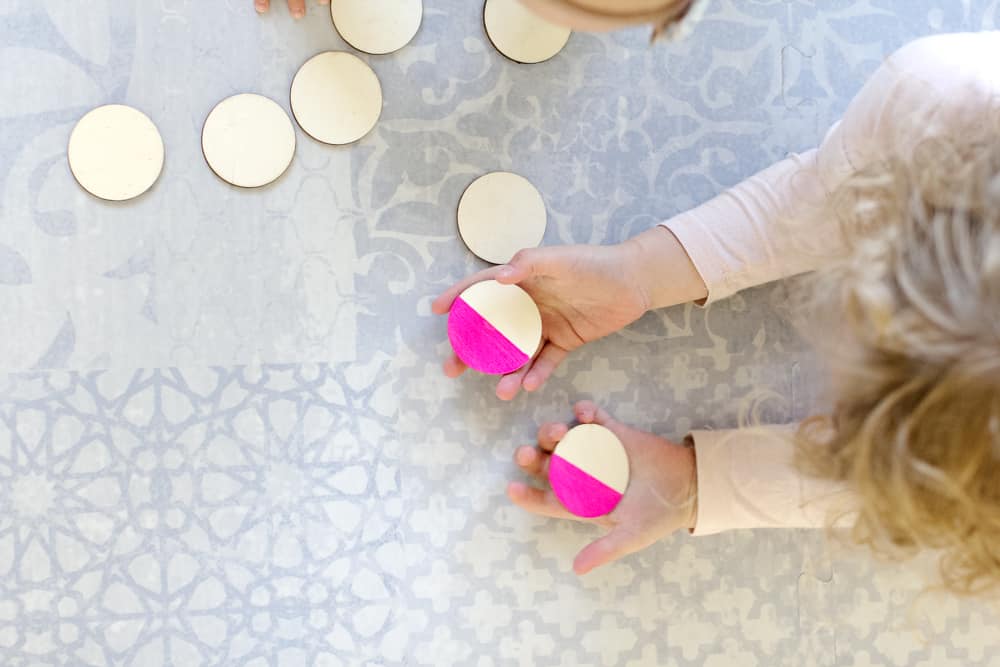
I’m always looking for activities I can do with my 4 year old while entertaining a baby as well and the Little Nomad mat has been a fun place for us to play together. We can pull out a little game or a story and set some toys out for the baby. Everyone is happy and we love gathering here.
This mat is so cute and flows nicely with my home decor. We have the mat in our living room and I love not having a primary color mat where we entertain! It’s nice and adult feeling but still functions perfectly for our little kids! The baby knows its her place space and loves to explore the mat! You can read more about it over at SeeKateSew.com!
Materials//
–2″ wooden discs
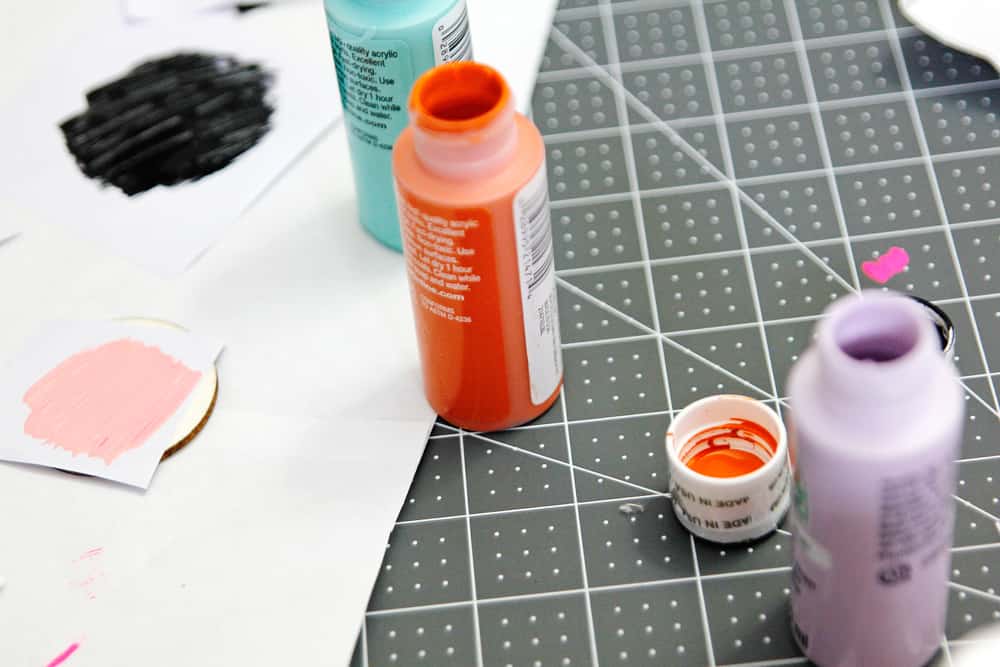
-colorful acrylic paints
-vinyl
-xacto knife

INSTRUCTIONS//
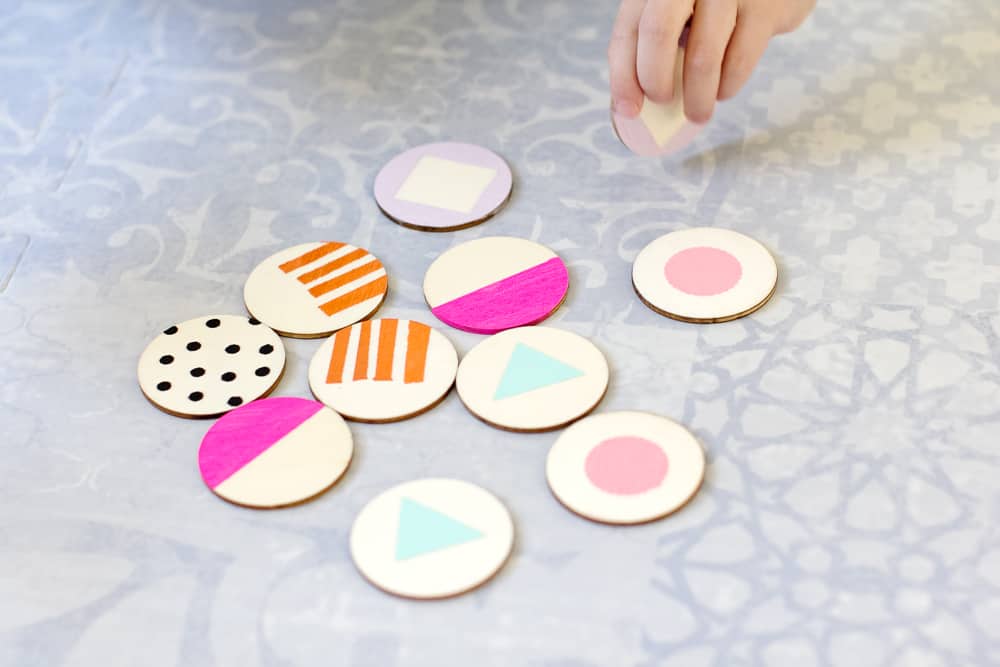
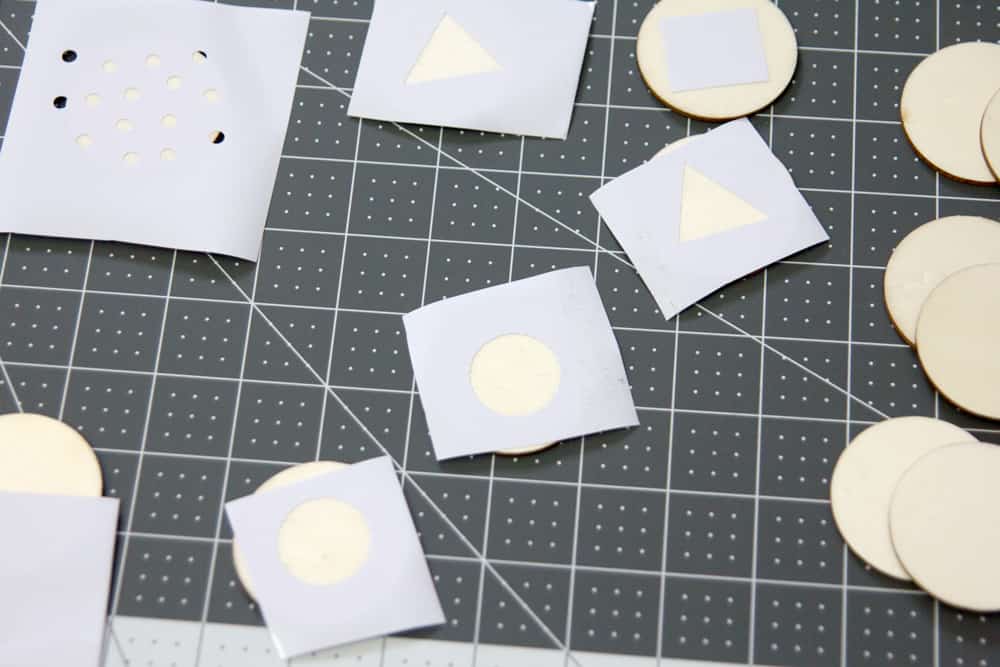
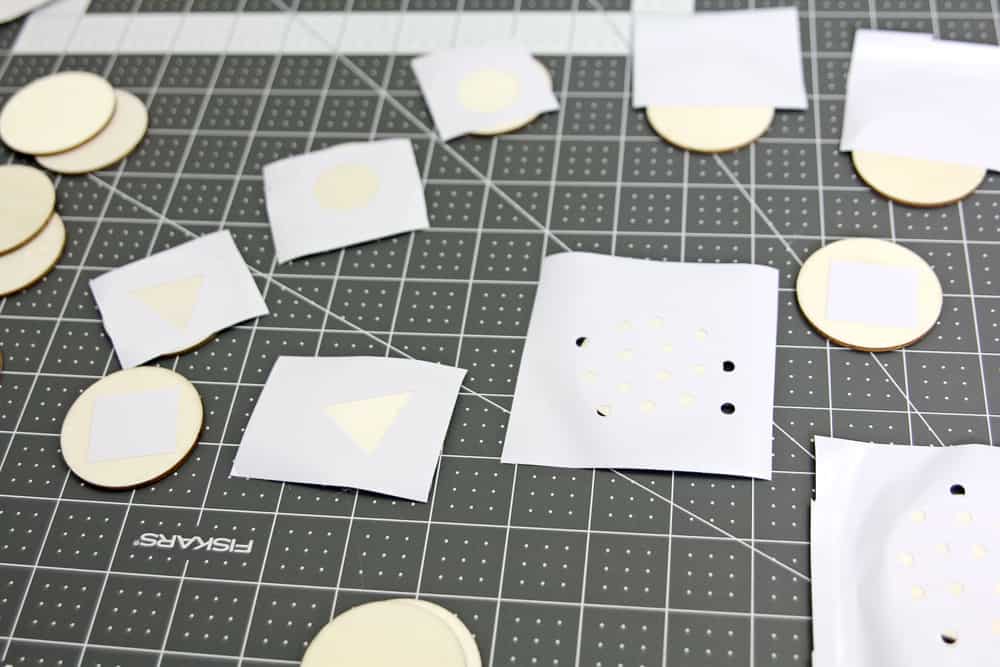
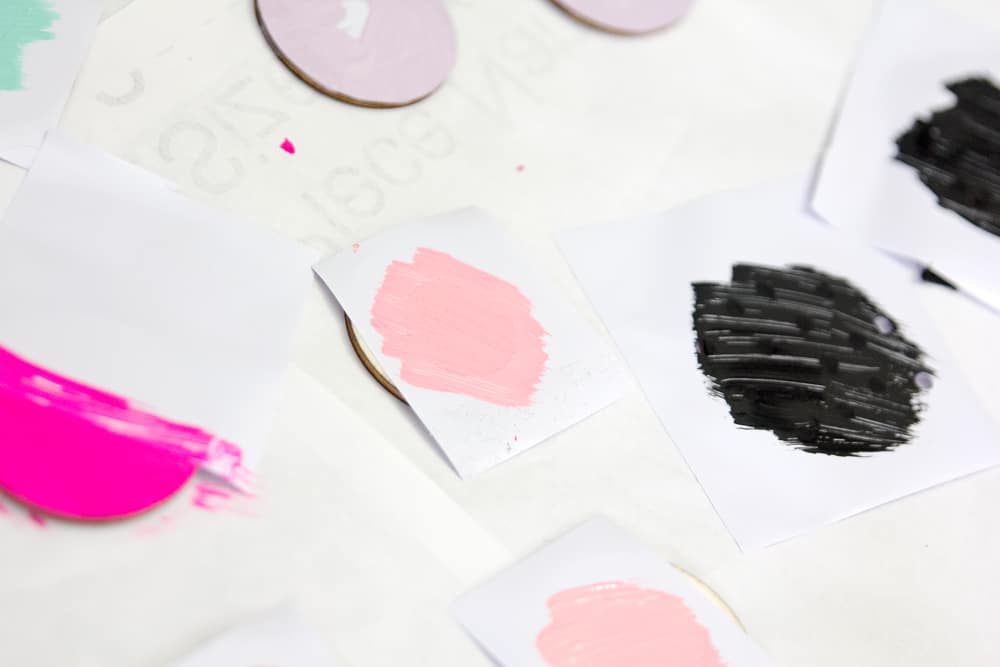
Cut out squares from the vinyl first and create shapes using an X-acto knife. Before cutting, layer 2 pieces of vinyl so you get two designs that are exactly the same.
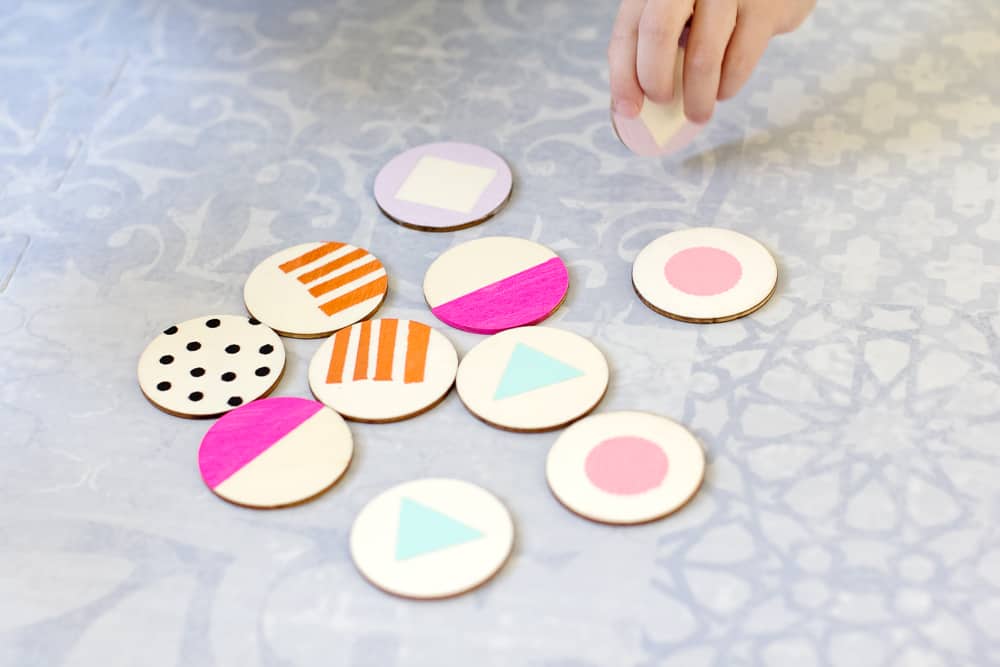
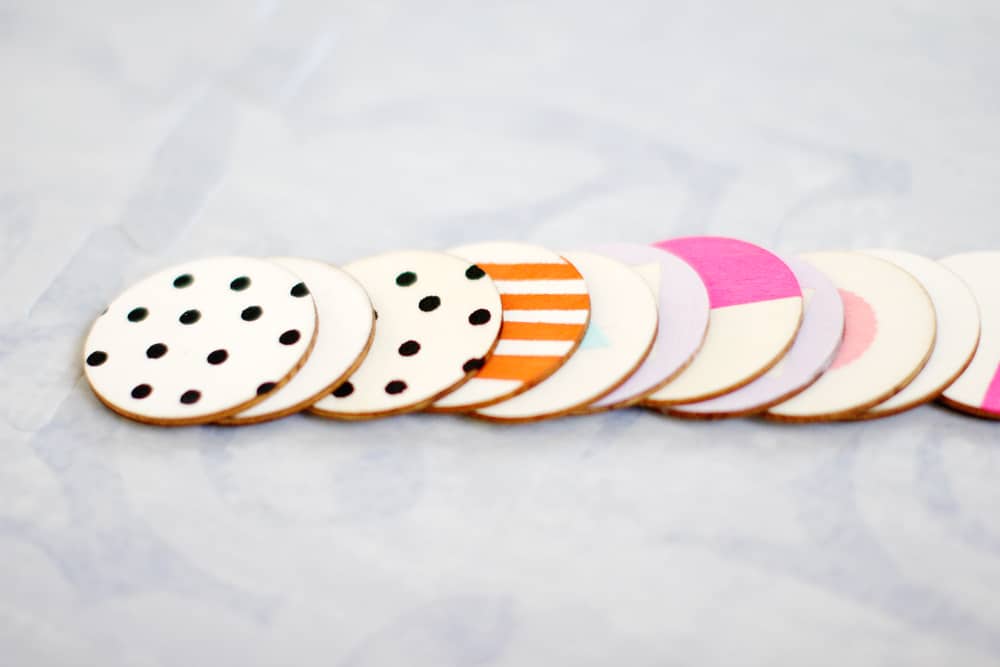
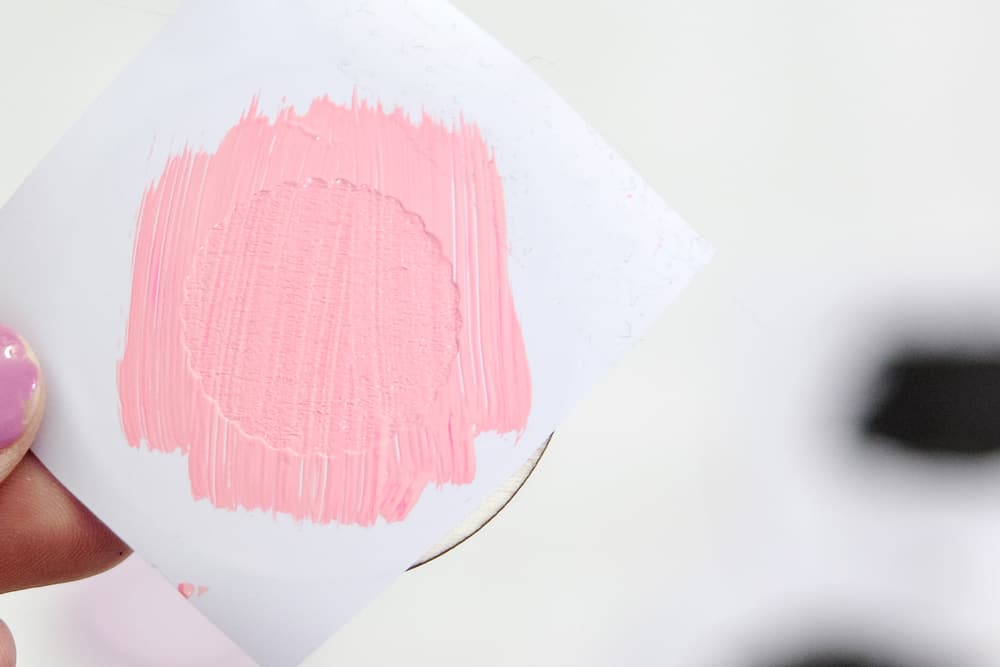
You can use a hole punch, craft punches and other tools to make different designs. I made polka dots with a hole punch, a scallop circle with a scrapbooking punch and then made another by covering half the wooden circle with vinyl. There are lots of possibilities and you can take input from your toddler or older child, too!
If you are low on shapes, make multiple circles, for example, and paint a pair a different color.
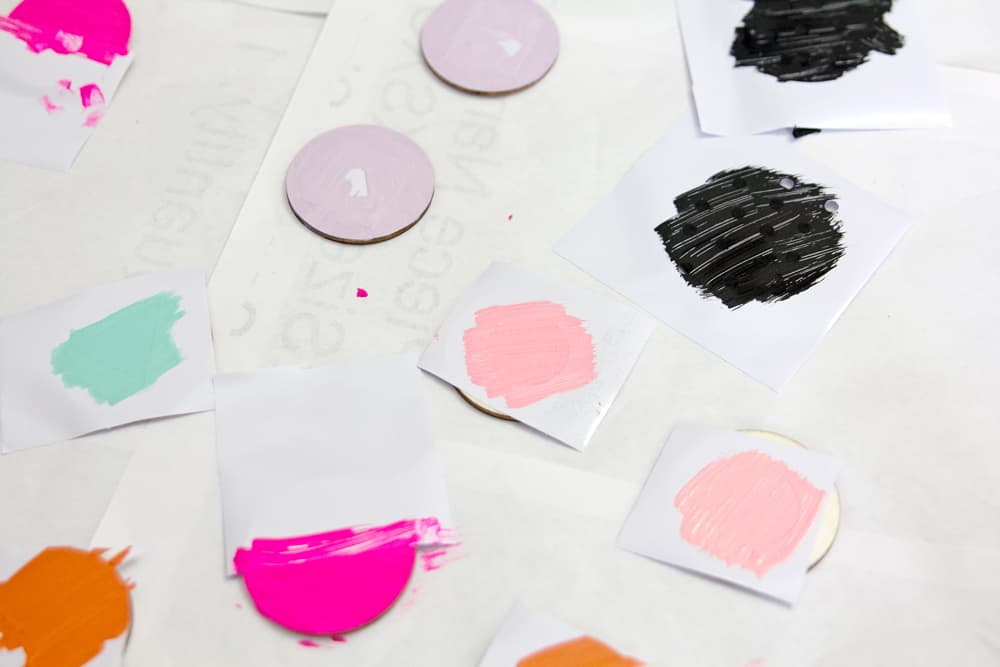
Use paints to paint over the the vinyl.
Let the paint dry, then peel off the vinyl. Your shape will be nice and dry and you’ll be ready to play!






What type of vinyl did you use?