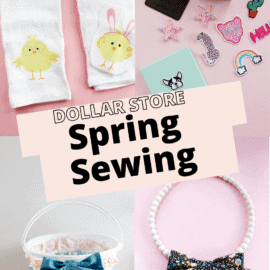
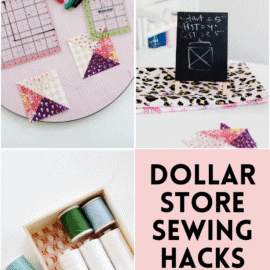
Did you know the Dollar Tree is a great source for inexpensive fabrics?! I’m sharing over 5 Dollar Store fabrics that you can use in your sewing projects!

This post also includes 3 projects using those fabrics – useful things you can make with supplies from the dollar store! These projects are fun, easy and budget friendly!
Dollar Store Fabrics
There are actually so many things you can use as fabric from the Dollar Tree! Here are my top 5, but there are another 2 in the projects – see if you can spot them!
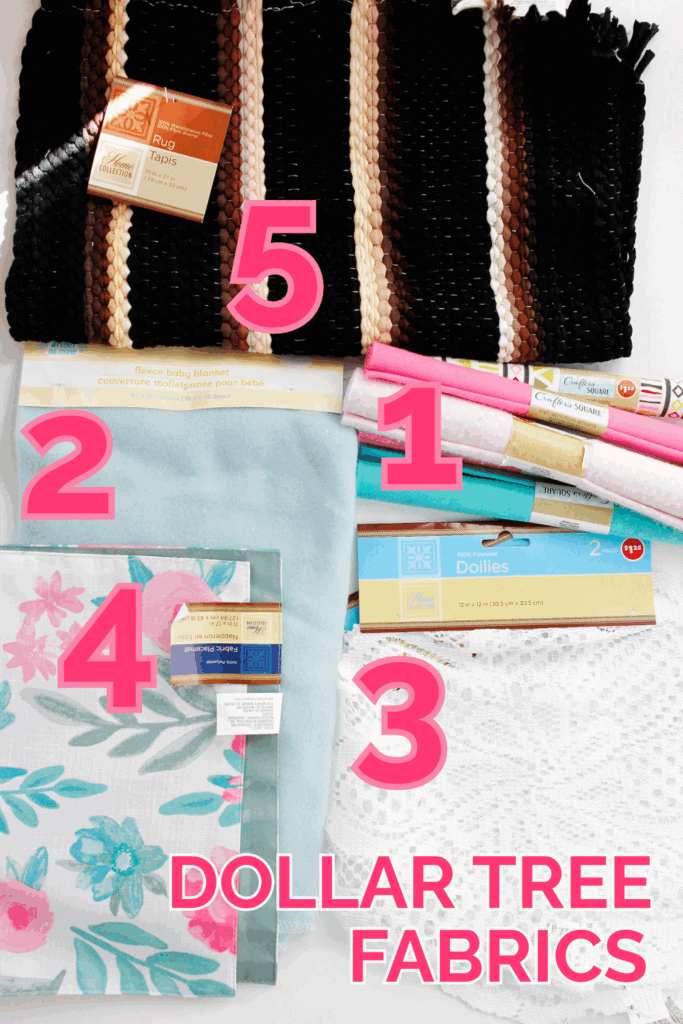
- Fat Quarters – This is an obvious one! The fat quarters are in the craft section and come in quilting cotton and flannel. These are great quality for the price and have a fun variety of patterns! I love to grab a few of the new prints every time I go to the store!
- Fleece – Check out the baby section for fleece baby blankets that will add a touch of softness to your sewing projects! This fabric is great for winter items and cozy projects!
- Doilies – How cute are these jumbo doilies? Find these in the kitchen section, I can’t wait to show you what you can do with these!
- Placemats – While you’re in the kitchen section browse through the placemats. These are a nice size for small projects and I think they are perfect for clutches!
- Woven Rug – Head to the home decor section to find these super soft woven rugs. I love this material and cant’ wait to use it!
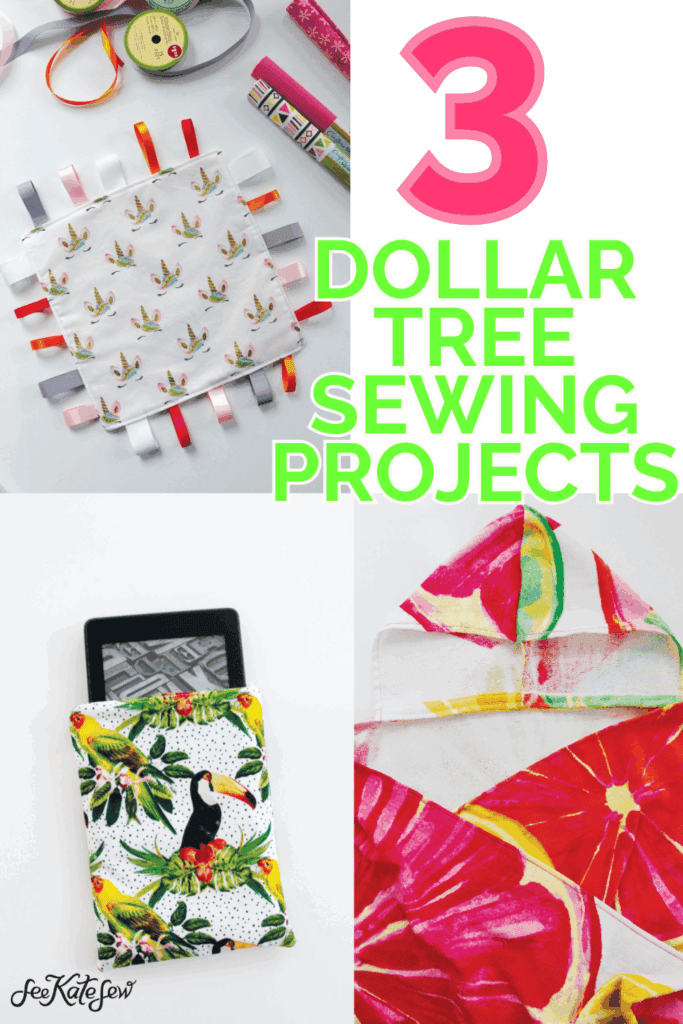
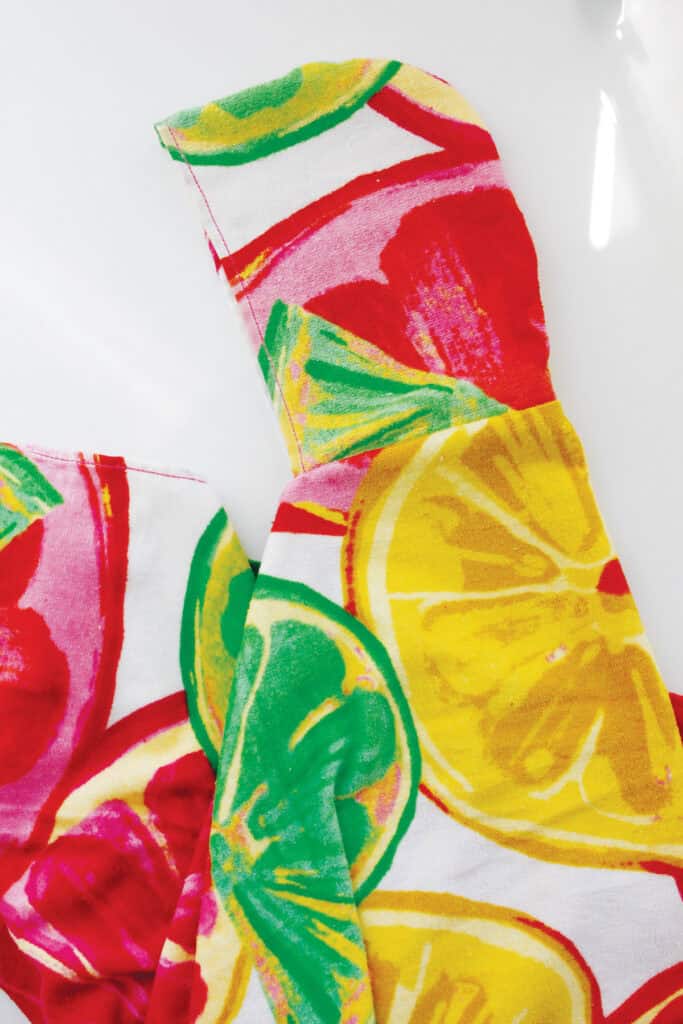
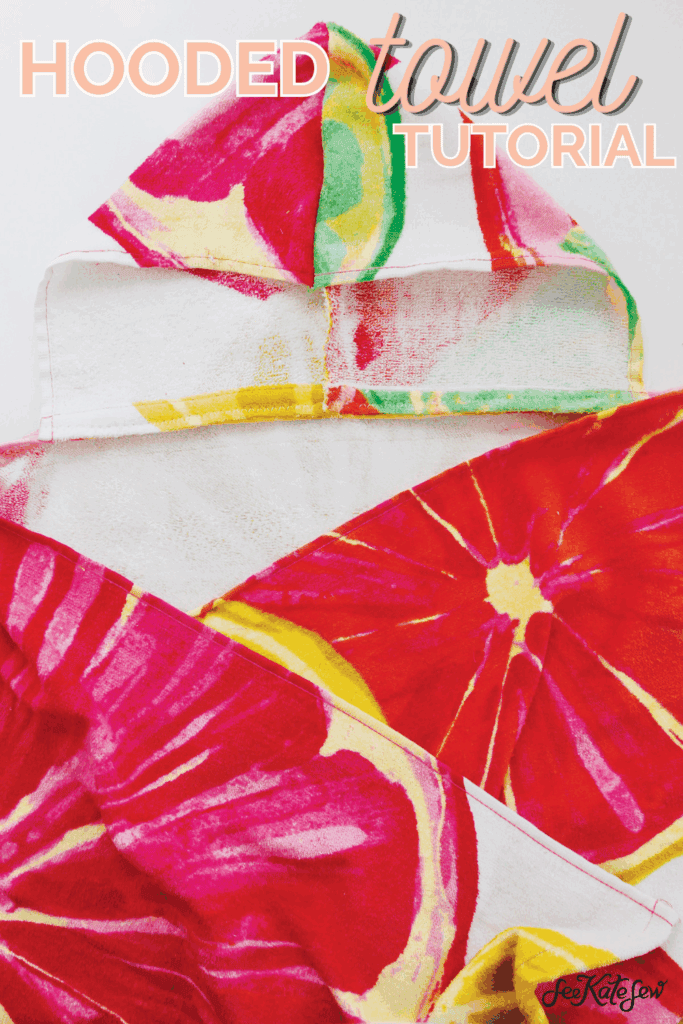
Hooded Towel
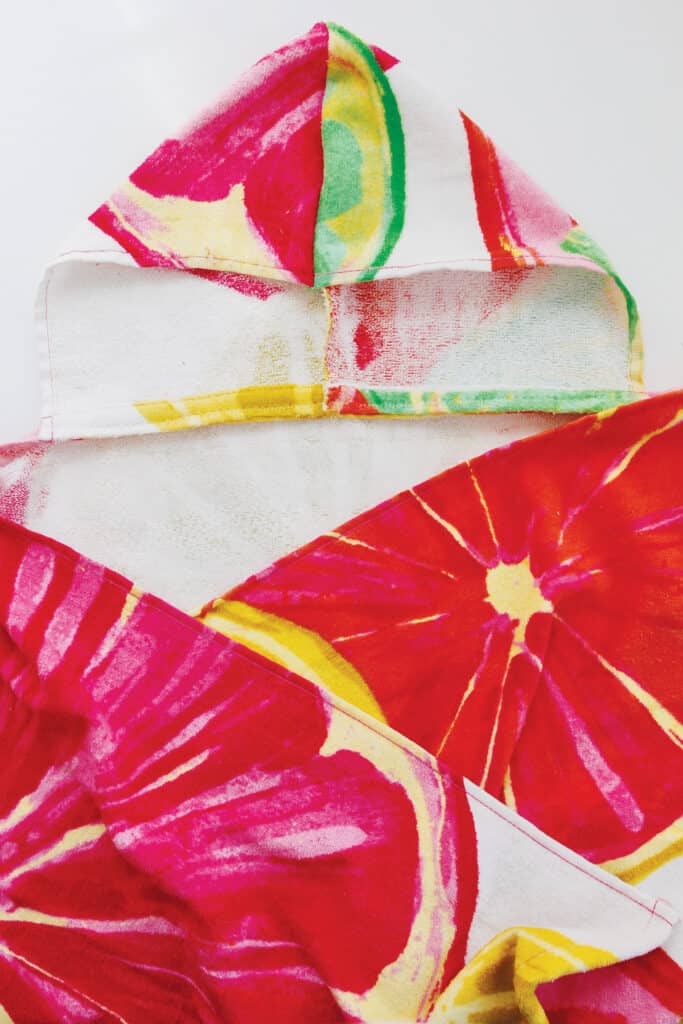
Let’s sew a hooded towel! These are so perfect for summer and you only need two towels to make it happen! We’ll only use a little bit of the second towel, so you can use it to make multiple hooded towels. Save the scraps for other towel projects.
Dollar Tree Hooded Towel Materials:
- 2 beach towels (seasonal summer endcap)
- Pattern piece download, see below
Get the hooded towel tutorial here!
Baby Tag Blanket with Dollar Store Fabrics
This baby tag blanket is super quick to sew and makes a great gift for a baby shower!

This is an easy sensory toy or security blanket plus it’s small and easy to stash in any bag! You only need a few items to make this tag blanket.
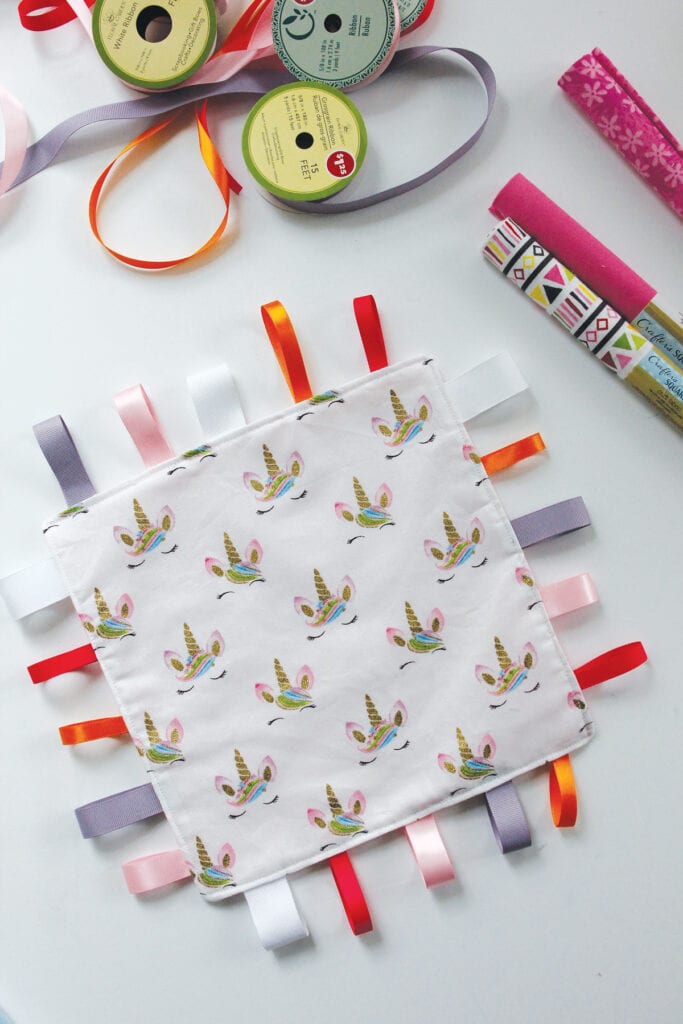
Baby Tag Blanket Materials:
- Cotton fabric fat quarter (flannel or quilter’s cotton both work!)
- Fleece for the back (fleece is in the baby section)
- Variety of ribbons
- Lightweight fusible interfacing
- Pattern download, see below
Print the pattern out at 100% or DO NOT SCALE. It will print on 2 pages. Trim along the dashed line and tape the pages together.
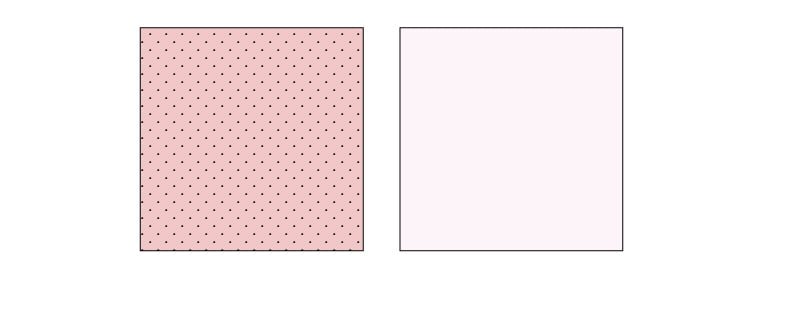
Use the pattern piece to cut out 1 layer of cotton fabric and 1 layer of backed fleece. If you prefer to use measurements, cut these pieces 10″ by 10.” Back fleece with fusible interfacing.
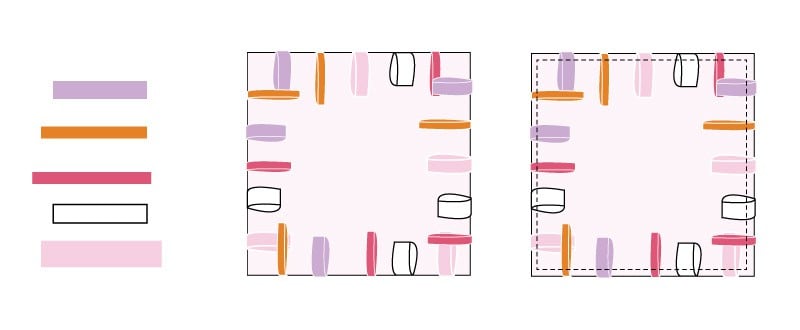
Cut pieces of ribbon into different lengths from 3-5.” Pin the ribbons into loops around the front fabric with 5 on each side.
Baste around the fabric 1/4″ from the edges to attach the ribbon loops to the fabric.
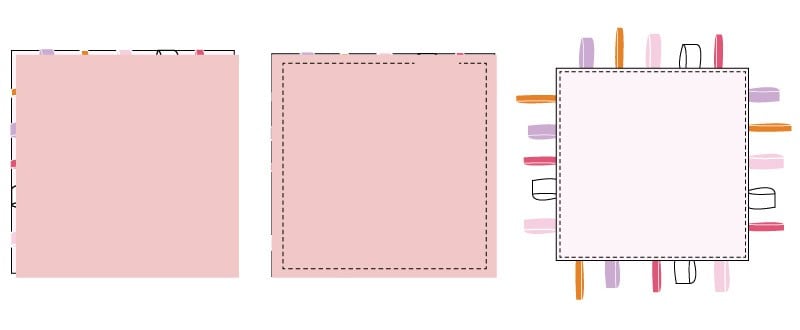
Remove pins, then pin the fleece layer face down on the ribbon side. Pin in the corners and sew around the edges with a 3/8″ seam allowance. Leave a 1.5-2″ opening on one side for turning. Clip corners and trim ribbon ends. Then turn right side out. Press well. Topstitch around the top of the fabric, closing the opening as you go.
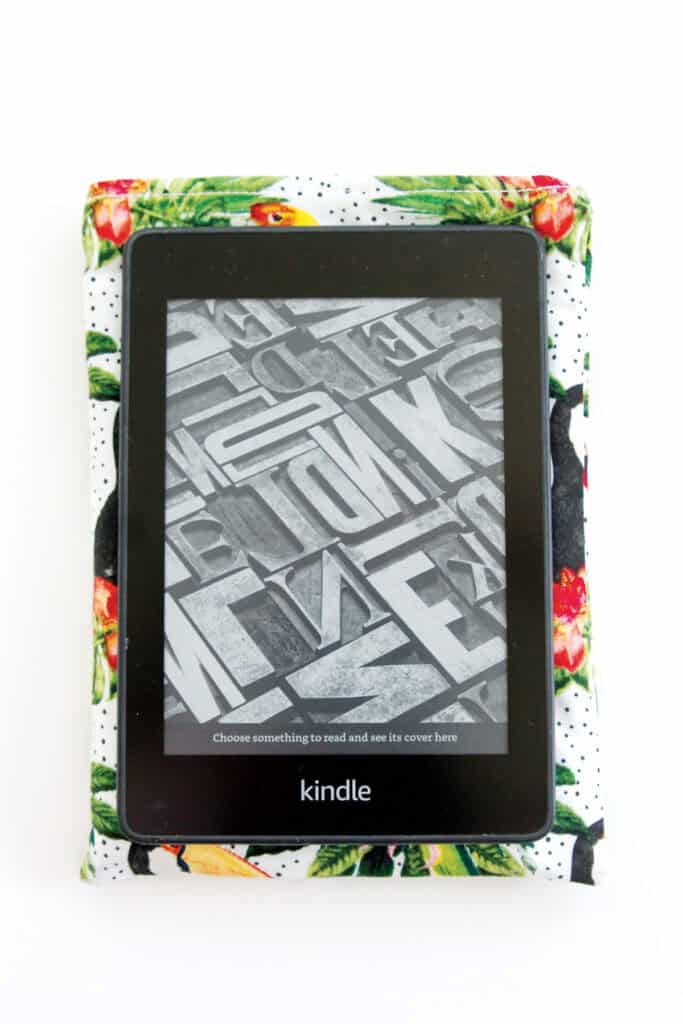
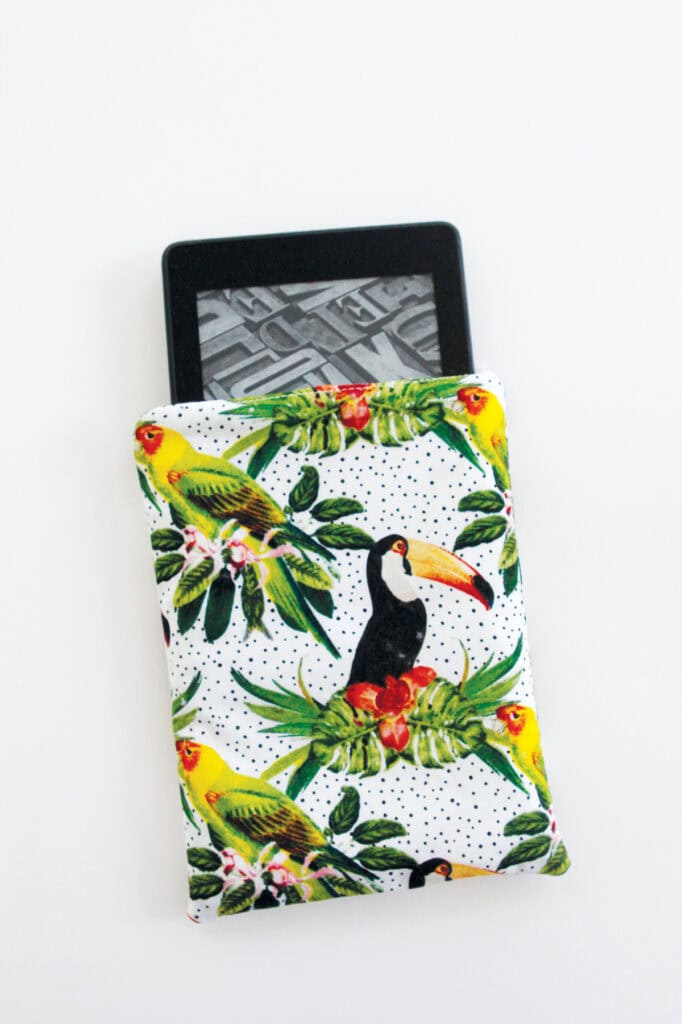
Dollar Tree Fabrics Project – Microfiber Lined Kindle Case
This project is perfect for summer reading! It will protect your Kindle with a thick sleeve while also cleaning it after every use!
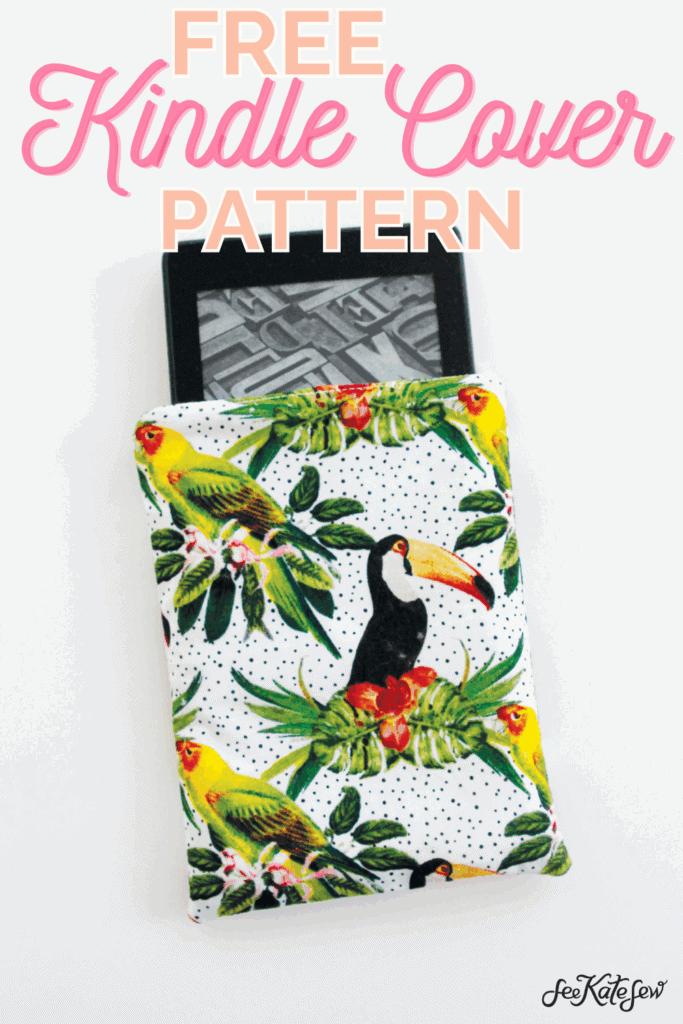
The trick is in the microfiber lining and you only need a few materials from the dollar store! This pattern fits a few different sizes of smaller kindles or tablets, shown here with a Kindle that measures 4.5″ by 6.5″.
Kindle Case Materials:
- Fat quarter cotton fabric
- Microfiber cloth
- Lightweight fusible interfacing
- Pattern download, see below
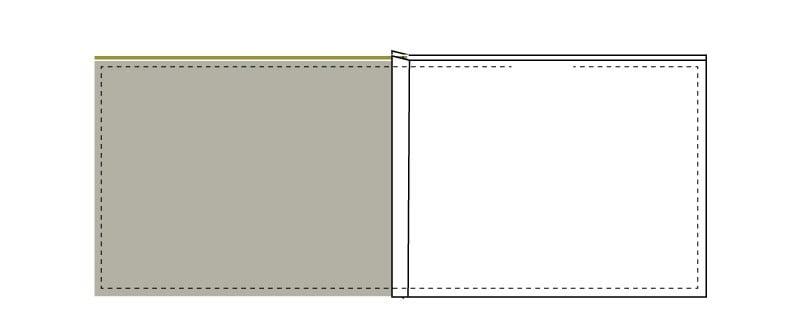
Fuse interfacing to the back of main fabric. Then cut 2 layers from the pattern piece, or use the measurements: 8.5″ x 6.25.” Cut 2 layers from microfiber using the same pattern piece.

Sew together right sides together along the top with a 3/8″ seam allowance. Repeat with second pair.

Open and press the seam allowance towards the cotton fabric. Topstitch along the top of the cotton about 1/8″ from the seam. Repeat with both pieces.

Place the two pieces together with right sides together, matching the cotton with the cotton and the microfiber with the microfiber. Pin all around and sew around the edges, pivoting at the corners and leaving a 1-2″ opening in the microfiber lining. Use a zig zag stitch on the microfiber to prevent stretching.
Clip the corners then turn right side out. Press well and stitch the opening in the lining closed.

Push the lining into the outer fabric to complete your tablet sleeve!