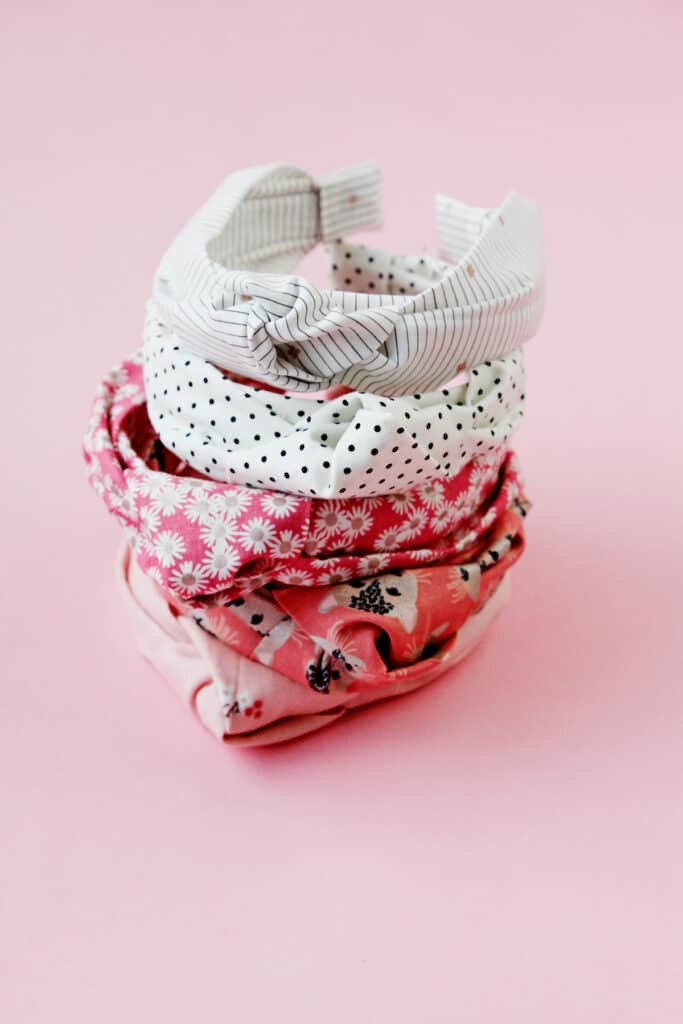
Here’s a super fun project you can make in a few minutes – fabric covered headbands! These adorable accessories are a great way to showcase your favorite fabrics in a wearable way! DIY fabric headbands are a great project for beginners!

All you need for this project is a basic plastic headband, some scraps of fabric and a glue gun.
Watch the video in this post for extra tips!
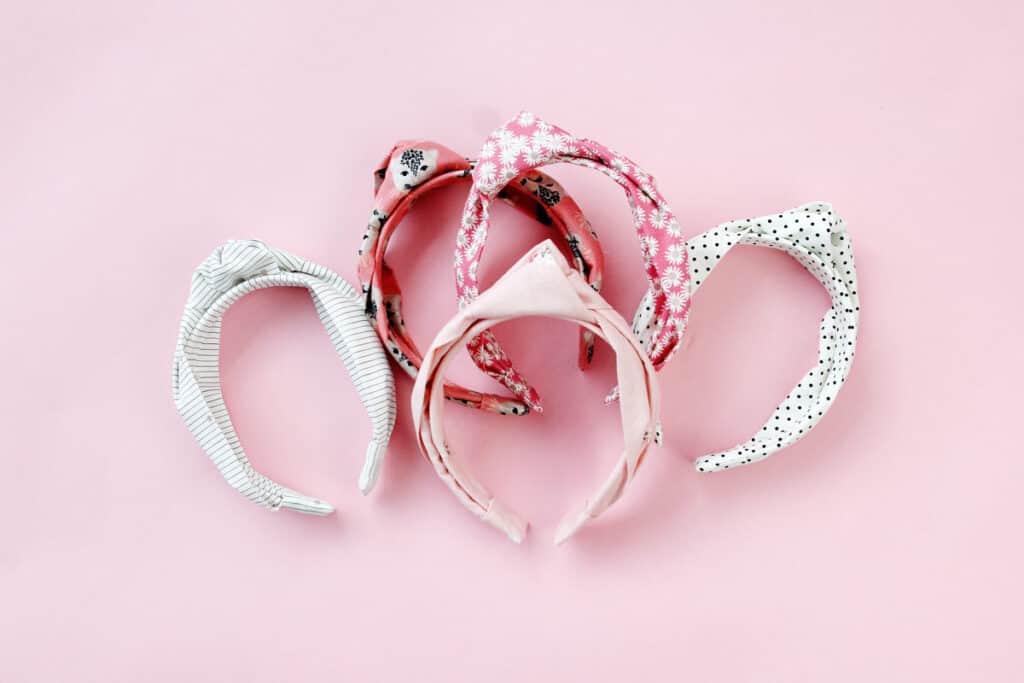
Fabric covered headband pattern download
Download the DIY fabric headband pattern below and print it out on paper or card stock. Print the pattern at 100% or DO NOT SCALE. It will print on two pages. Trim and tape together.
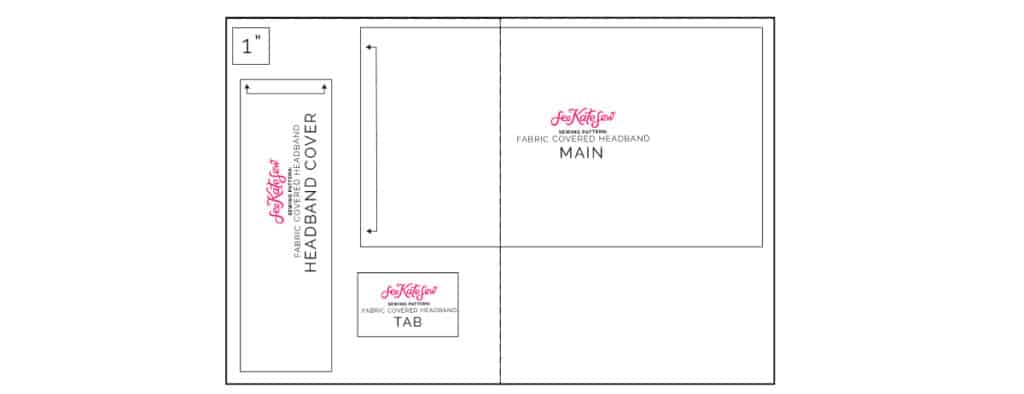
If you prefer to use measurements to cut the piece, follow these guidelines:
The main fabric piece is a large rectangle of fabric about 6″ by 22″.
You’ll also need another strip of fabric about 2.5″ by 16″.
Cut two end tab pieces measuring 2.75″ by 1.75″.

DIY Fabric Covered Headbands Materials
- 1″ wide plastic headband blanks
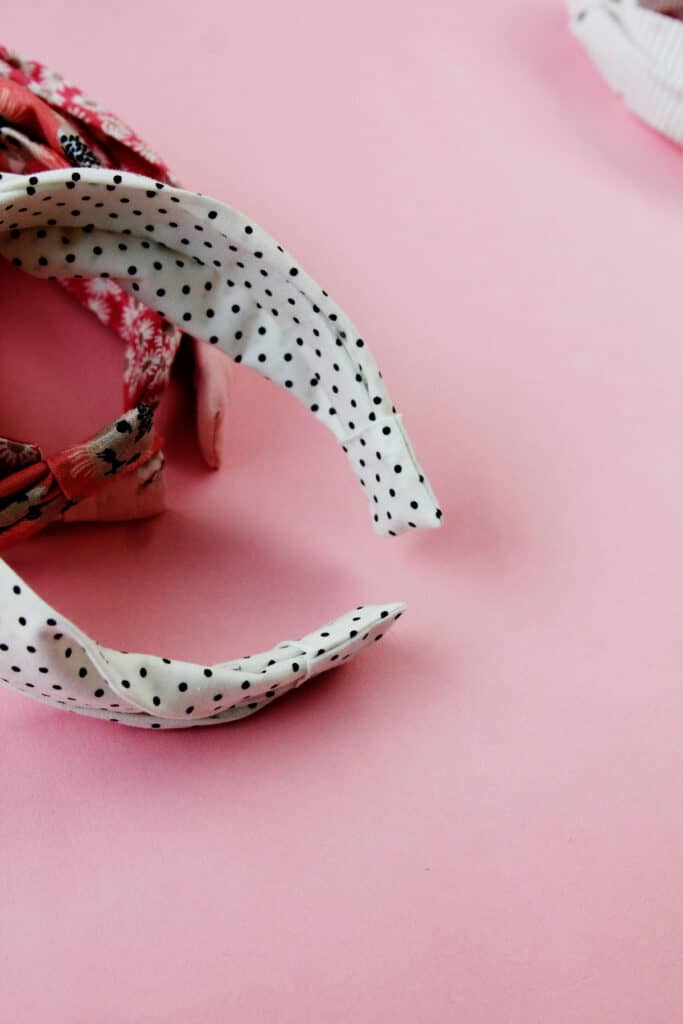
- Quilting cotton fabric, I’m using Spotted Fabric
- Hot Glue gun
- Safety pin
- Sewing machine, thread, rotary cutter, mat and acrylic ruler
Make fabric covered headbands
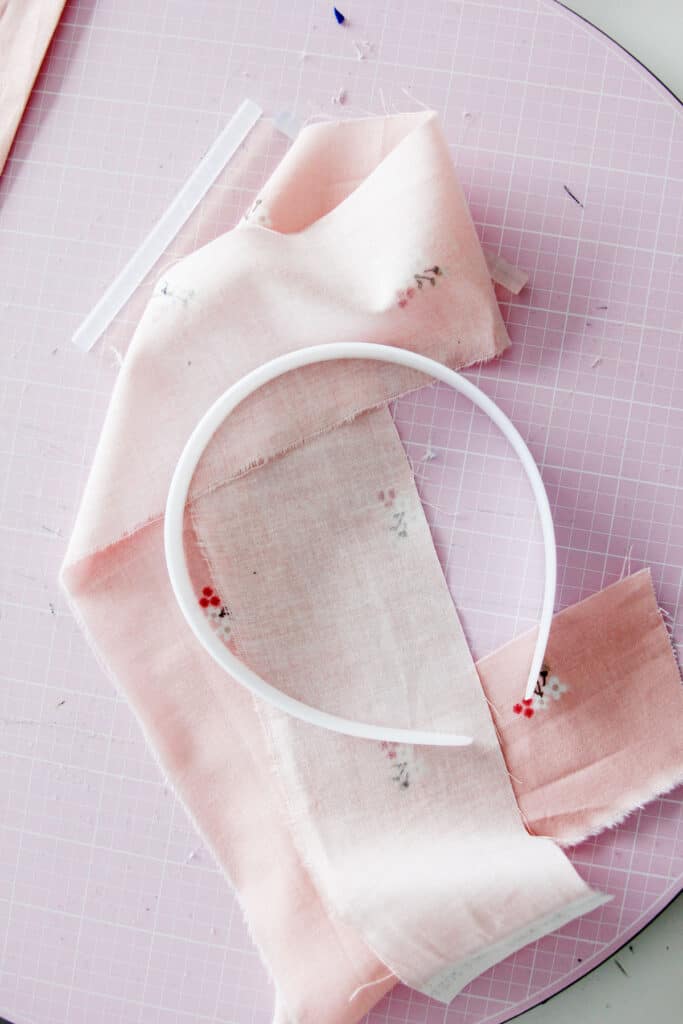
To cover the headband, glue the scrap fabric strip to the underside of the headband. Then wrap the headband one side at a time. Trim excess fabric as needed. This will also give you a bit of a padded headband which your head will appreciated!
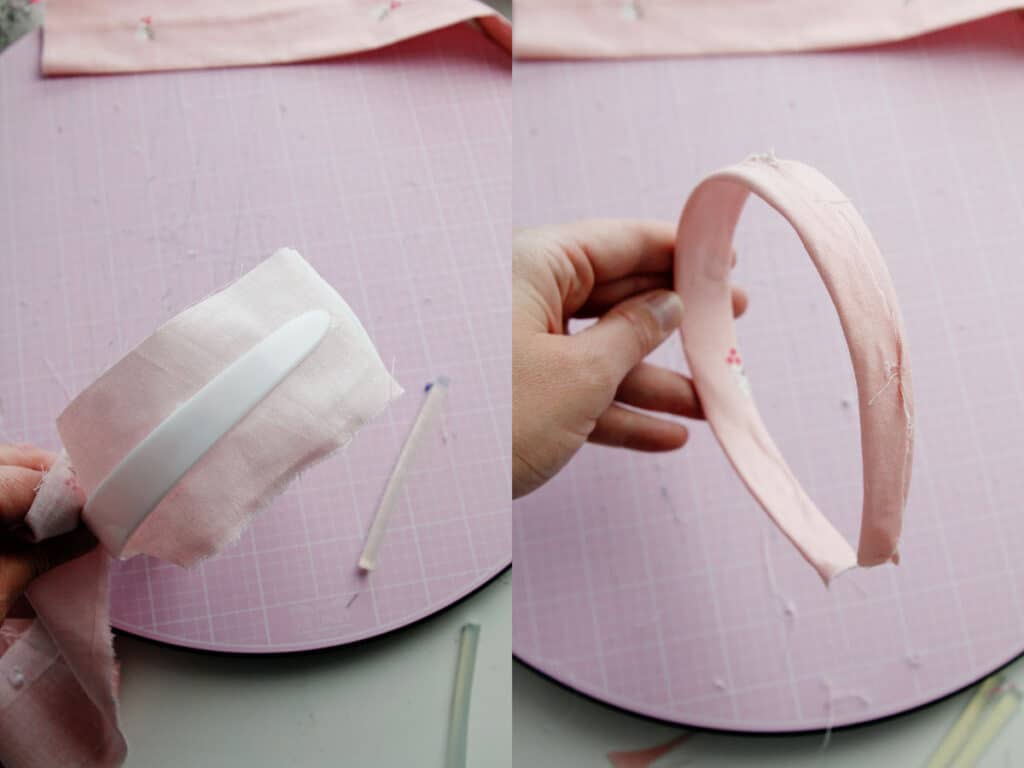
Fold the main piece in half lengthwise with right sides together matching the raw edges. Sew along the long edge 1/4″ from raw edges. Clip a safety pin to one side of the tube and push it inside and through the tube to turn the main headband piece right side out.
Press the main piece with the seam allowance centered on the back.
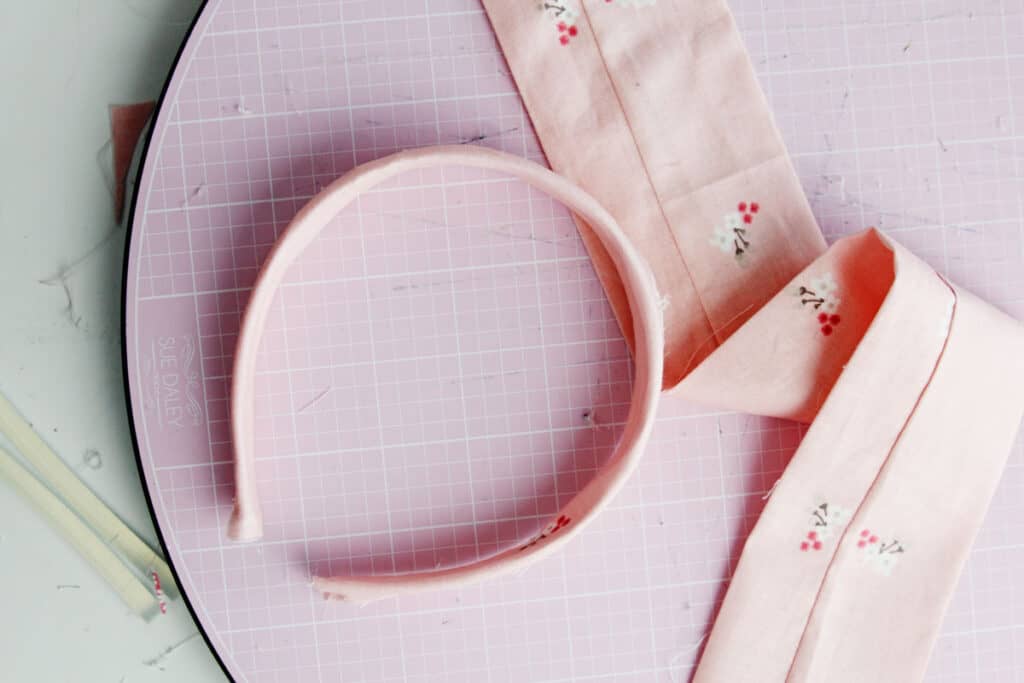
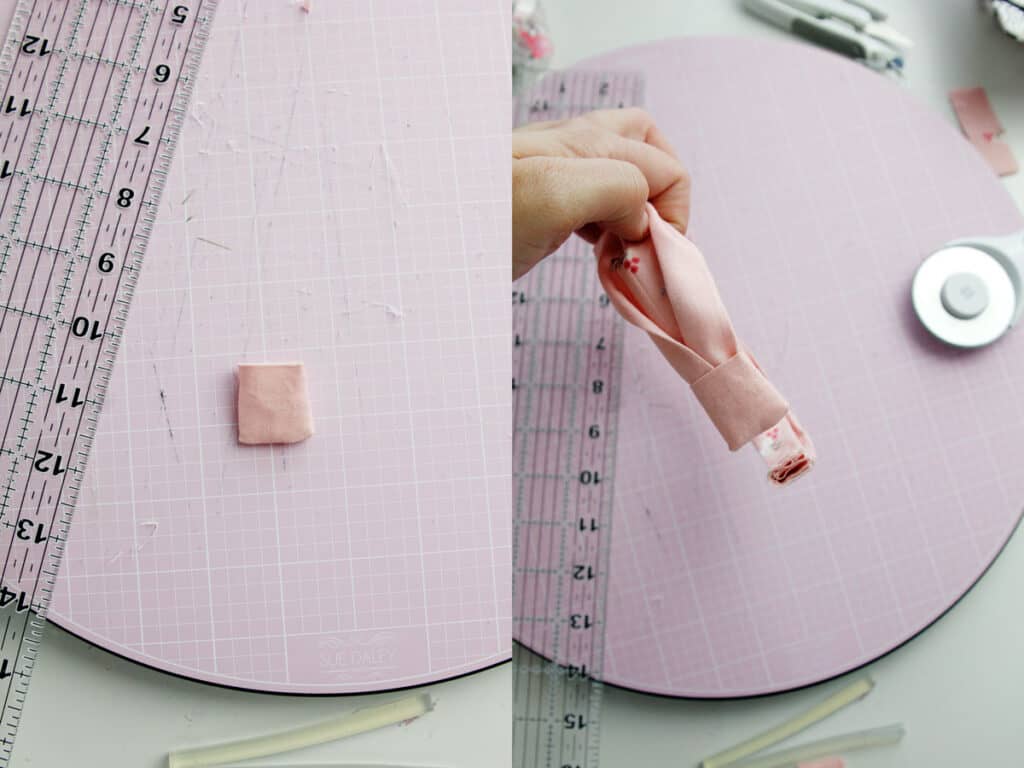
Tie the fabric in a knot right in the middle. Fold and glue pleats at the end of the knotted piece so the end is about 1/2″ to 3/4″ wide. You can play around with the way you pleat this part for different looks.
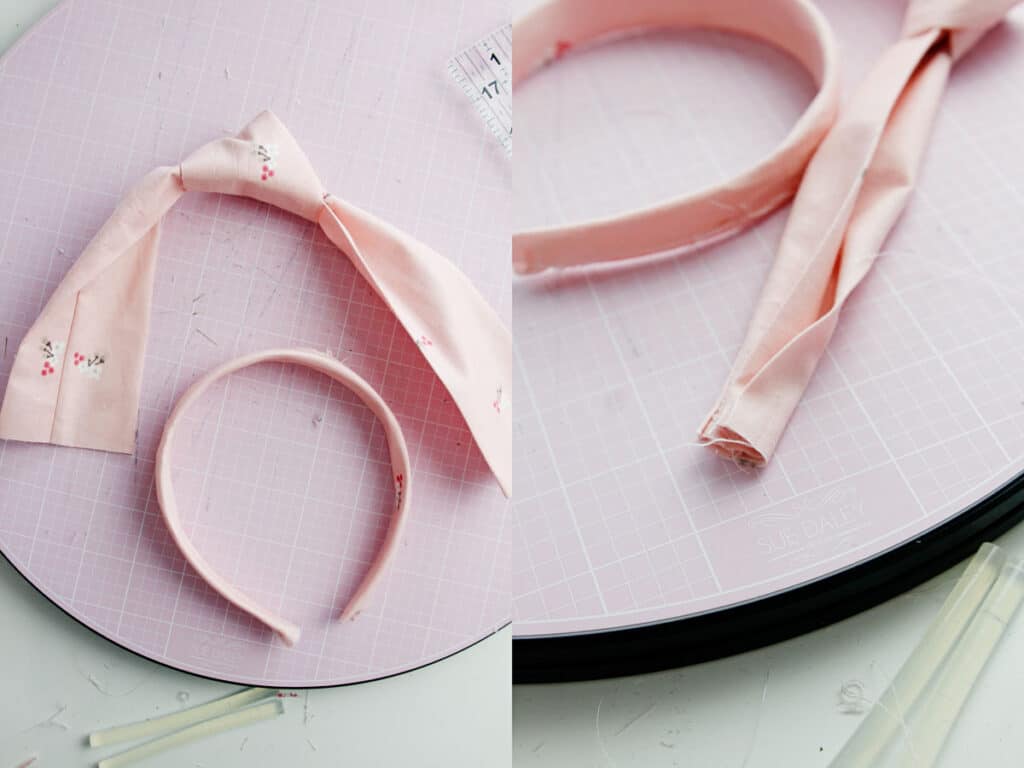
Glue the pleated end down at the end of the headband with the seam allowance on the main piece facing down. Continue gluing the main piece to the headband.
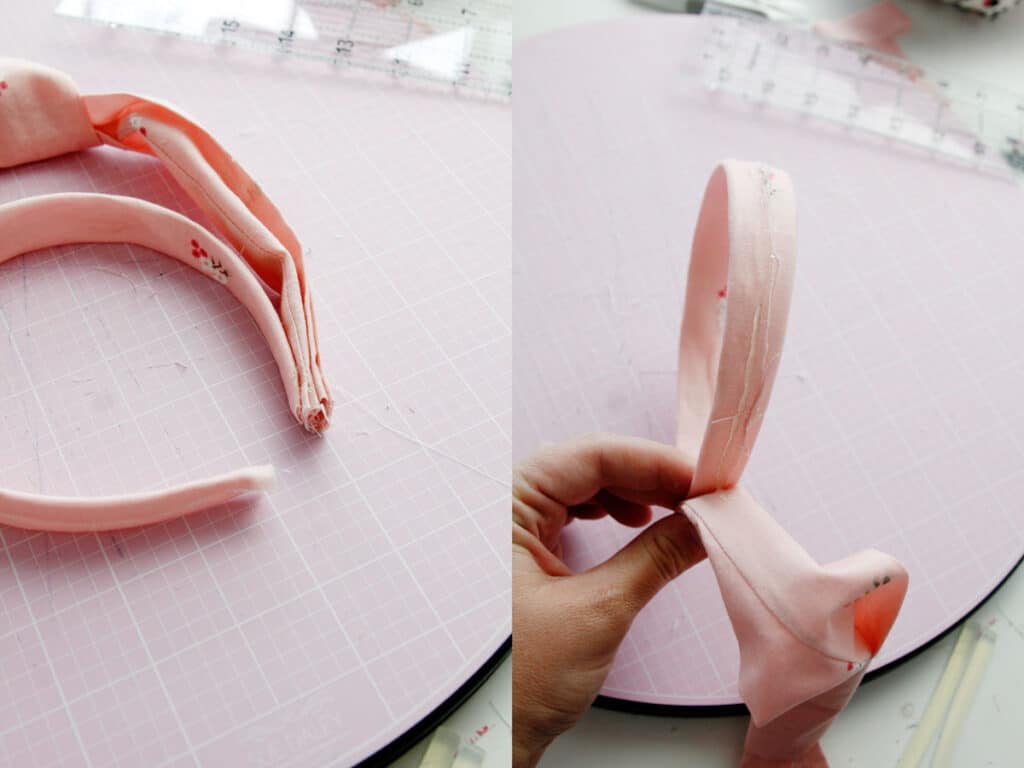
Trim off any excess fabric at the ends.

Sew the end tabs
Fold under 1/4″ on the long edge of the end tab. Press.
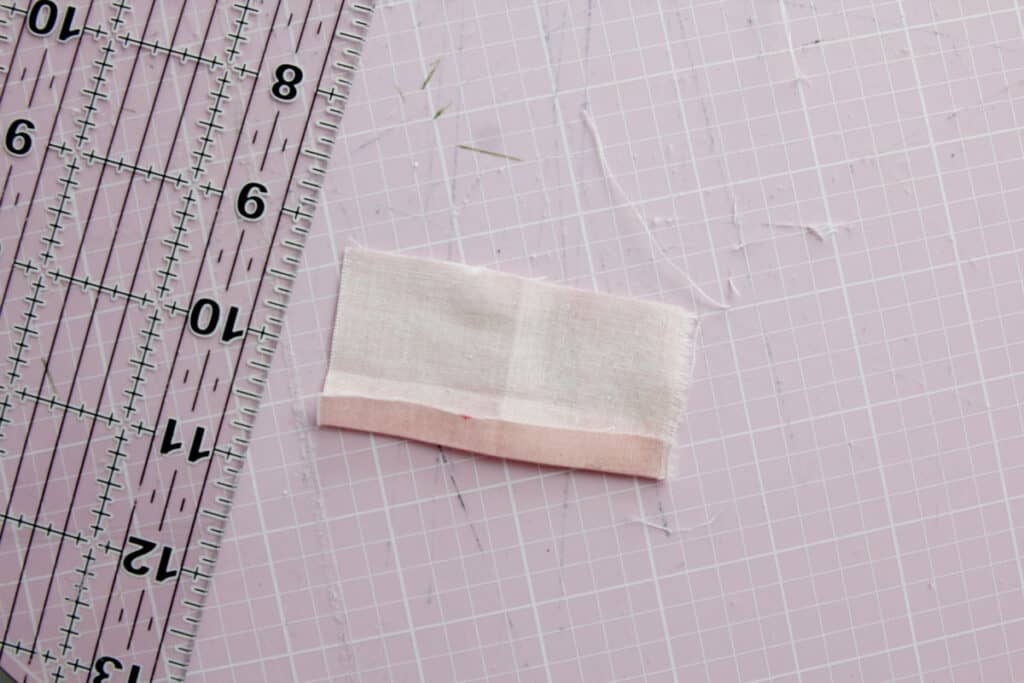
Fold in half and sew the side and bottom, backstitching at both ends. Clip corner and trim seam allowance.
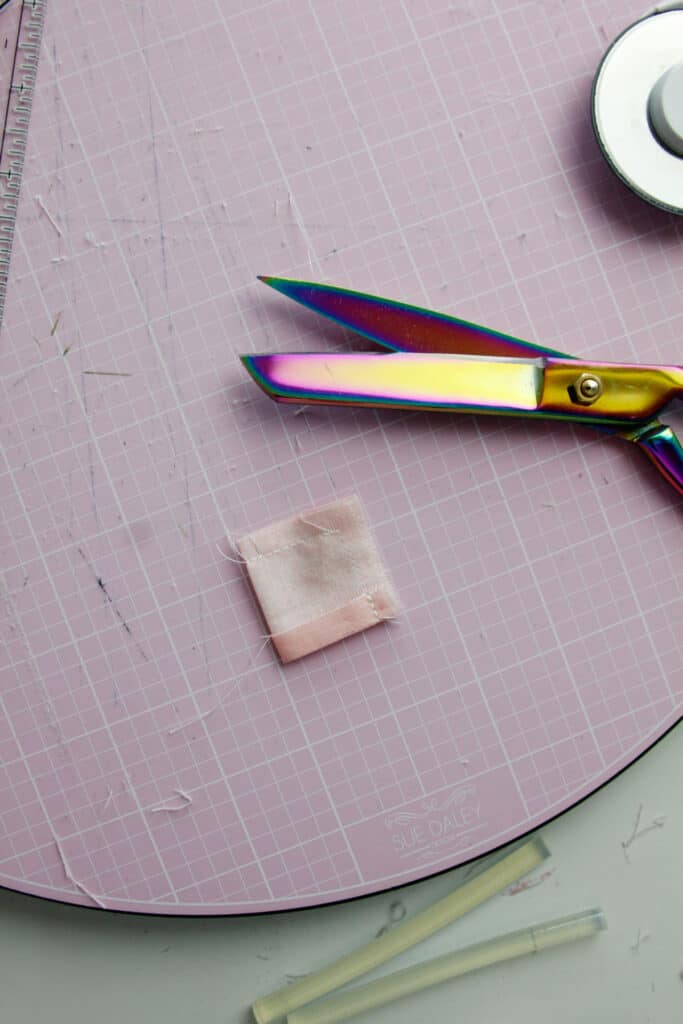
Turn end tab right side out and press well. Slide the end of the headband into the tab piece. Use your glue gun to shoot some glue into the tab to hold it in place. Repeat on the inside of the headband. And repeat the process with the second tab to finish your headband.
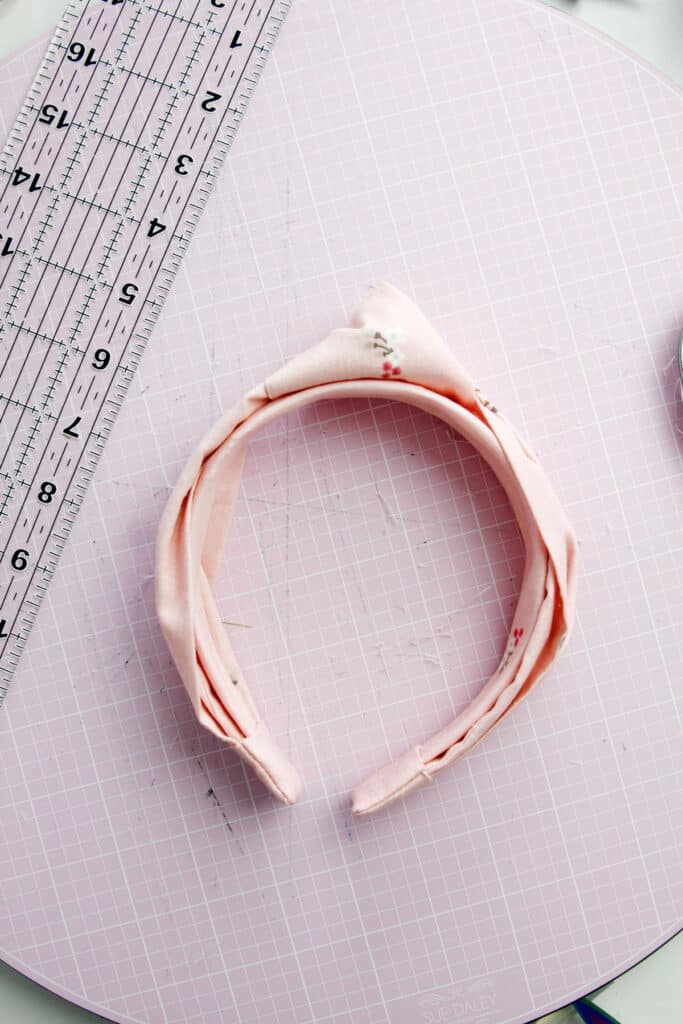
Ta-da!






Wheres the link to download the pattern???
The link is a pink button near the materials section