• Skip to main content
  • Skip to primary sidebar
  • Skip to footer
  • Blog
  • About
  • Contact
  • FAQ
  • Sponsor

see kate sew

sewing, crafts, tutorials, DIY

  • Patterns
    • Free Patterns
    • Pattern of the Month
  • Tutorials
    • Accessories
    • Bags and Pouches
    • Clothing
    • Costumes
    • Crafts
    • Cricut Projects
    • Holiday
    • Household
    • Kids
    • Maternity
    • Quilting
  • Topics
    • Baby
    • Boy
    • Christmas
    • dog
    • Dolls
    • Easter
    • Girl
    • Halloween
    • Lookbook
    • Party
    • pet
    • Printables
    • Training
    • women
  • No Sew
  • Sewing 101
  • Sew4Good
  • Pet
  • Sewing Room
    • DreamBox
  • Reviews
Home
  • Patterns
    • Free Patterns
    • Pattern of the Month
  • Tutorials
    • Accessories
    • Bags and Pouches
    • Clothing
    • Costumes
    • Crafts
    • Cricut Projects
    • Holiday
    • Household
    • Kids
    • Maternity
    • Quilting
  • Topics
    • Baby
    • Boy
    • Christmas
    • dog
    • Dolls
    • Easter
    • Girl
    • Halloween
    • Lookbook
    • Party
    • pet
    • Printables
    • Training
    • women
  • No Sew
  • Sewing 101
  • Sew4Good
  • Pet
  • Sewing Room
    • DreamBox
  • Reviews

11.16

gift idea: mini car playmat

Welcome to See Kate Sew! If you’re new here, sign up for my email newsletter for access to free patterns, tutorials and all the latest sewing news! Tour my sewing room HERE!

This was originally posted at Positively Splendid for the Swell Noel series! In case you missed it, this would make a great gift a for a little guy! It’s already wrapped up for my little guy. Shh, don’t tell!

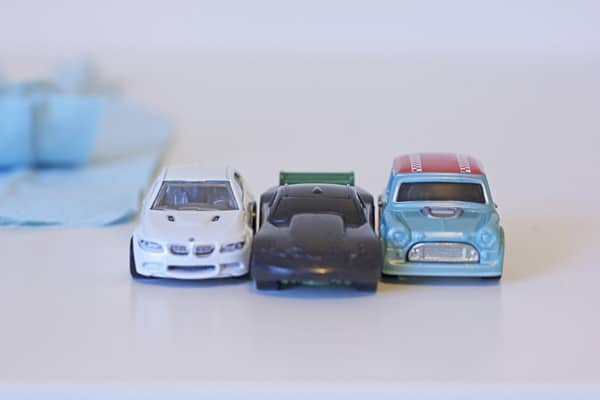
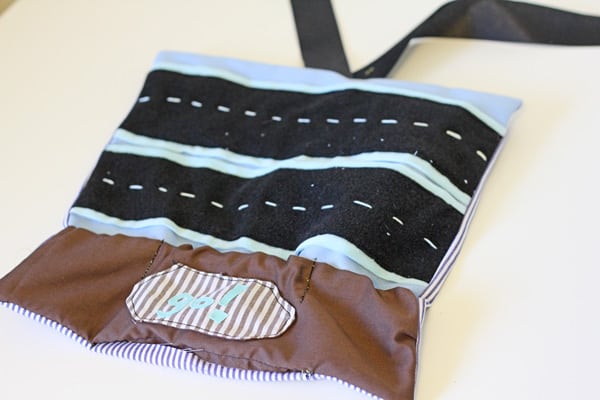
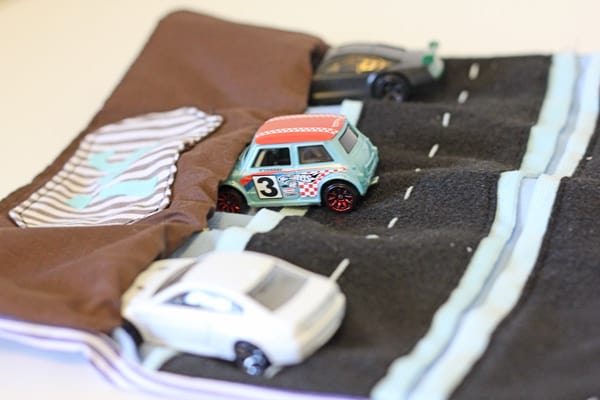
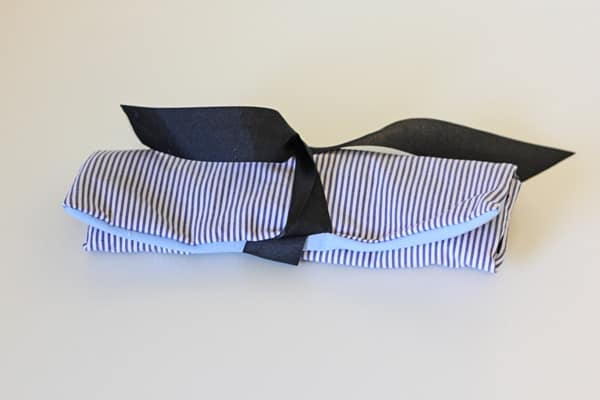
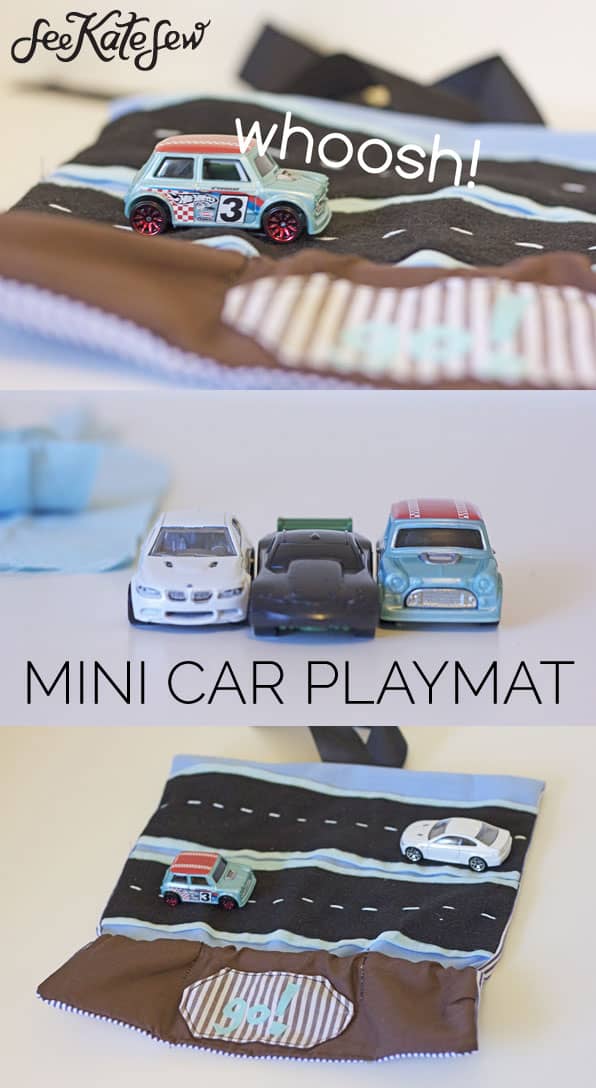
I’ve been so excited to make a car playmat for my little boy- since before he was born! Now that he is over a year I feel like he might be excited about it soon. I collected a few shiny new cars and made a mini car playmat that rolls up and ties. Perfect for on the go.

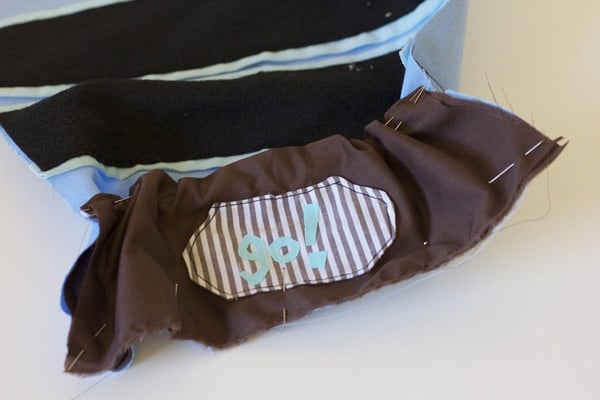
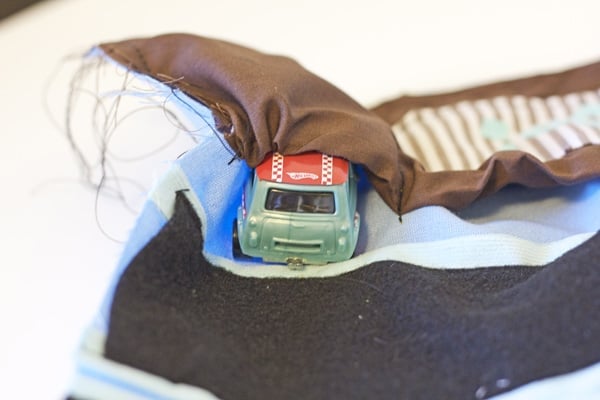
My biggest concern when thinking about the design of this car mat was making sure the cars stay put when we’re carting it around! I added some elastic to the car parking spots to keep them snug. Hopefully it might help prevent lost car syndrome!

Materials:
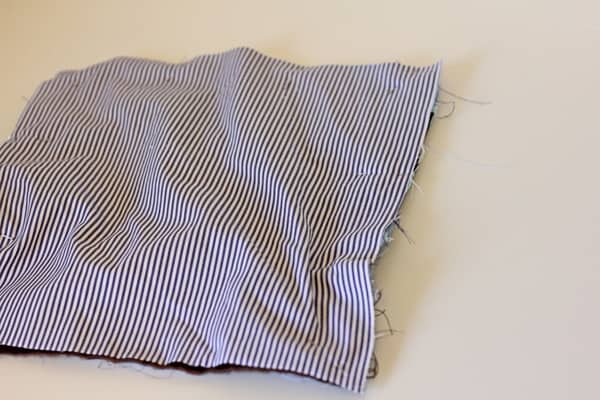
front and back: 2 pieces – 12″ tall by 11 1/2″ wide, any fabric
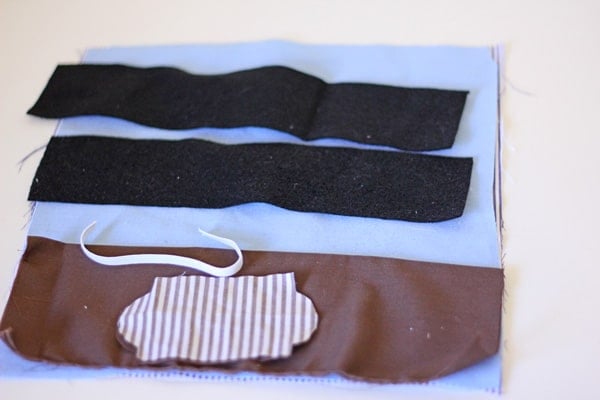
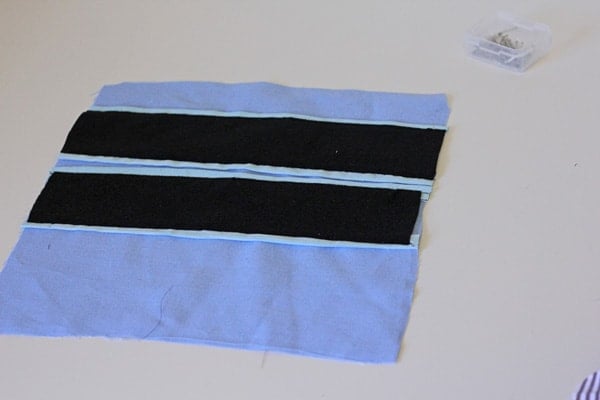
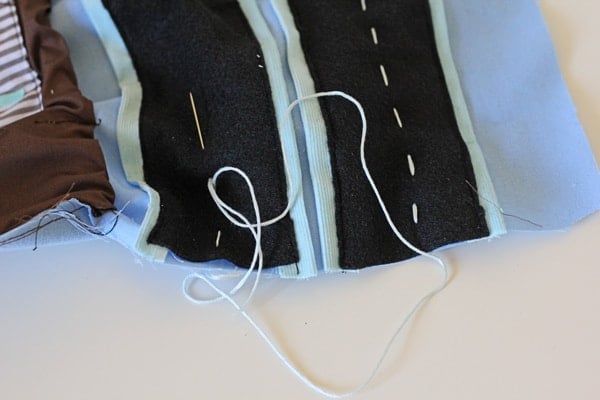
roads: black felt, 2 pieces – 11 1/2″ by 2 1/2″
parking spots: 7 1/2″ by 11 1/2″, folded in half
sidewalk: 4 pieces contrast cotton 11 1/2″ by 1″

9″ of 1/4″ elastic
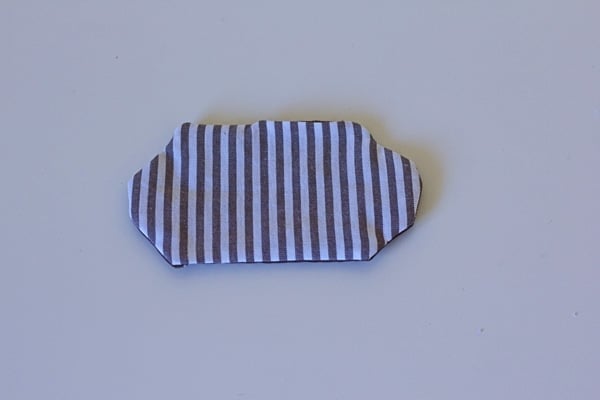
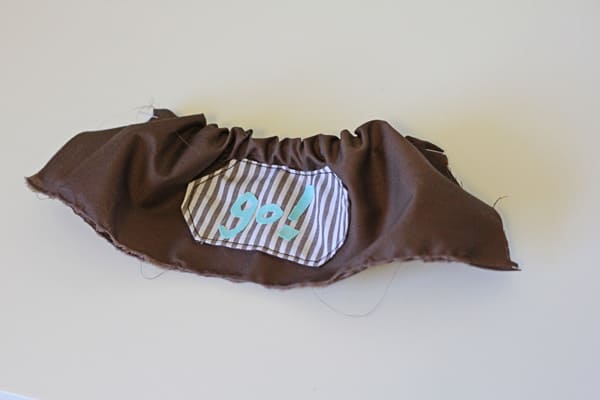
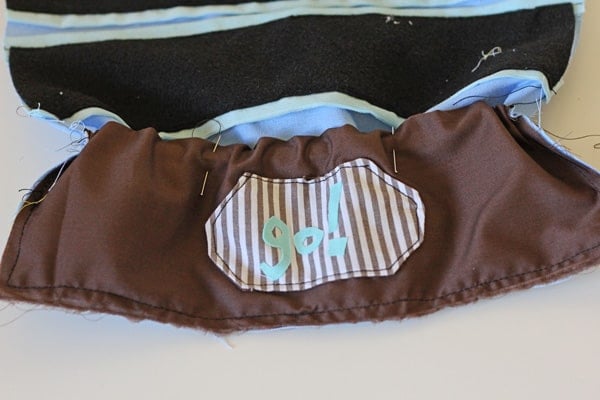
scraps for “go!” label
heat n’ bond
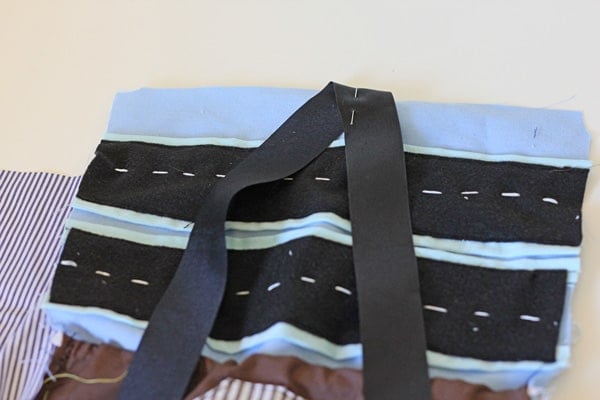
20″ of 1″ thick ribbon
embroidery floss
3 little cars

A note about fabric: You can use any weight fabrics for this project, since it’s just a little crafty project, although I recommend felt for the roads since it won’t fray. I used a home decor weight fabric for the top part, an old men’s shirt for the back and corduroy for the “sidewalk” pieces. Everything else is quilting weight cotton.

Alright, let’s go! We’ll start with the sidewalks. Or maybe they are bumpers. The felt looked like it was missing something, so I had to add a little something. Press your strips in half the long way.
Now place your felt strips on top of the “sidewalks” and pin them both down on your playmat, about 1 1/2″ from the top, with a 1/4″ in between. The “sidewalk” should poke out about 1/4″.
Sew them on using black thread 1/8″ from the edge of the felt.
The “go!” label is made with two pieces of cotton sewn together, and turned right sides out. Cut two like the one below, adding seam allowance. Size and shape are up to you!
For the “go!” letters, back a scrap of fabric with heat n’ bond. Cut out the letters and press them to your label.
Sew the label on your “parking spot” piece, which is already folded in half.
Then sew the elastic into the top of the parking spots. Slide it through and sew it at each edge.
Pin it onto the top part of your playmat, lining it up with the bottom edge and corners.
Sew it on, around the sides and bottom. Pin the top into thirds and sew down about 1″ at each pin to create three stalls.
Finished stall will fit a little car!
Using your embroidery thread, hand sew lines on the roads.
Pin the ribbon folded in half to the top of your mat.
Pin the back piece on top of the top piece, enclosing everything.

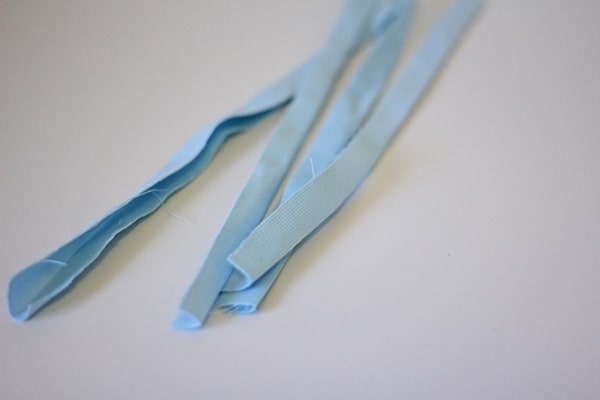
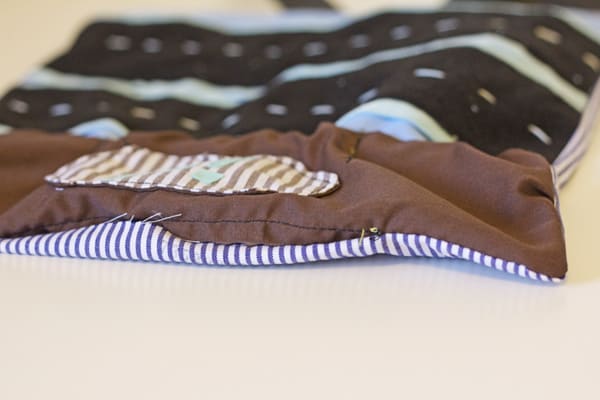
Sew, leaving a 3″ opening and turn right side out.

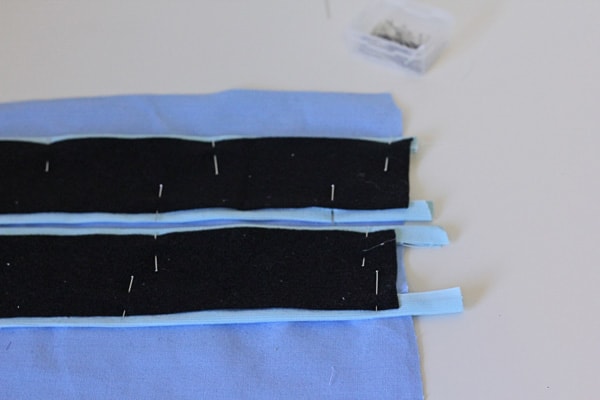
Pin your opening closed and either topstitch it or close with a blind stitch.

And you’re done!

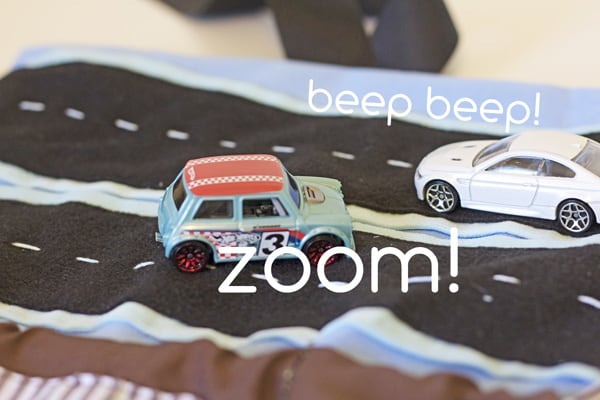
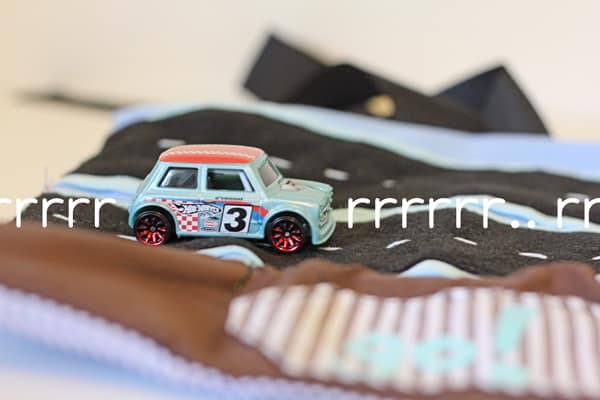
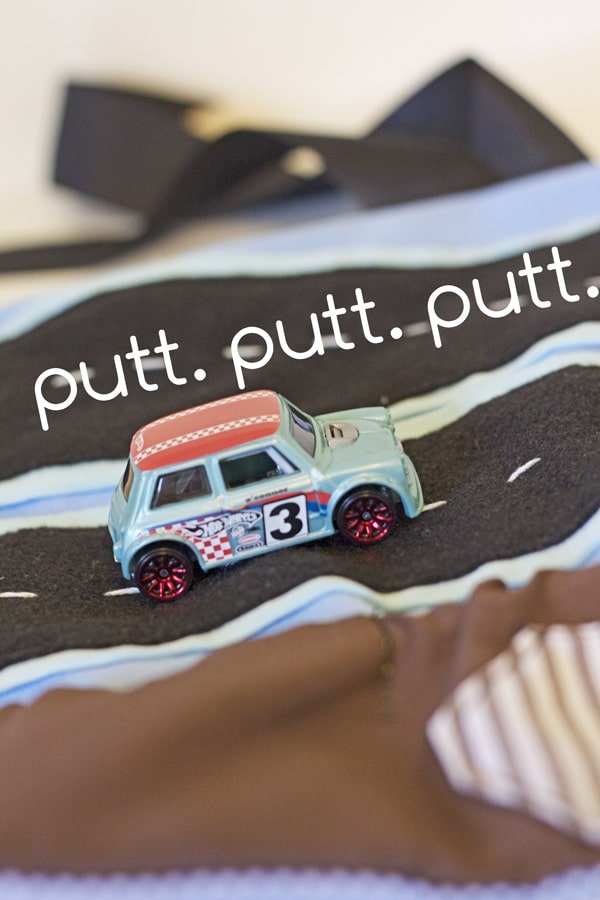
Let the boy noises begin!

DIY Gift Idea: Mini Car Playmat | diy gifts for boys | how to make a car playmat | gifts ideas for boys | boy gift ideas | handmade gifts for boys | sewing tips and tricks | hand-sewn gift ideas || See Kate Sew #giftsforboys #diygifts #carplaymat
(Thanks to my facebook and twitter friends for helping me brainstorm these noises!)

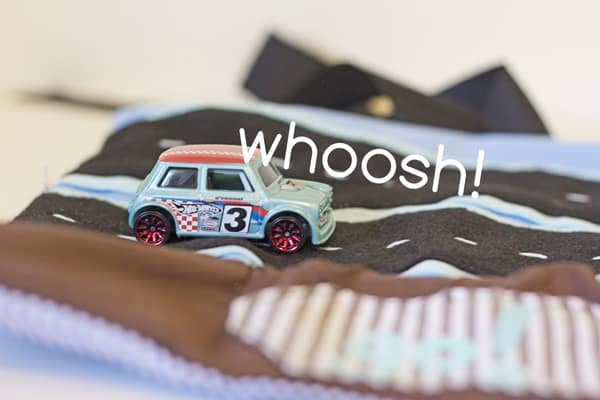
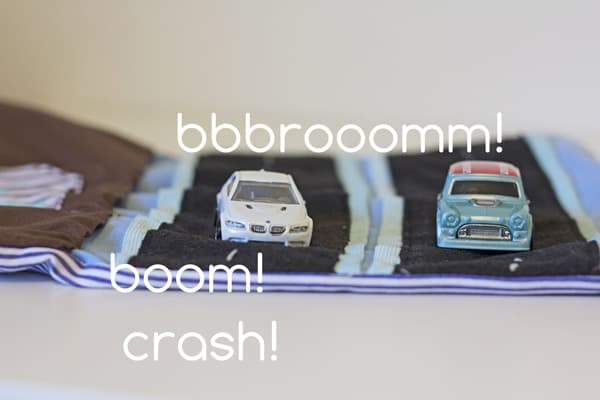
And when the cars are done playing, park them in their little special spots for the night.

And roll it up!

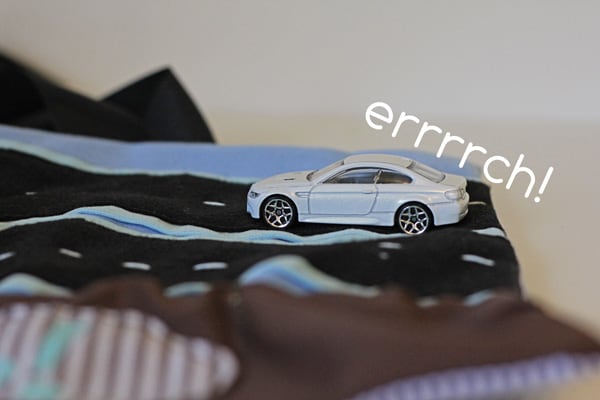
Do you have any more car noises to add?

Mini Car Playmat|See Kate Sew

5 Comments | Kids

Exclusive Free PatternRuffled Apron

Sign up for my email newsletter and receive my ruffled apron pattern totally FREE!

We take your privacy seriously. See our privacy policy here. Unsubscribe at any time.

You may also like these posts...

Chenille Yarn Sweatshirt Tutorial – Easy Faux EmbroideryOwl Plush Sewing PatternHow to Make a Reading PillowHow to make crayon letters – fun way to recycle old crayons!

Reader Interactions

5 Comments

  1. Jen

    11/16 at 2:15 PM

    I love this!! I honestly love EVERYthing you make, especially the tutorials! I’m so making this for my friend’s little boy this Christmas:)

  2. twelfthzodiac

    11/16 at 5:39 PM

    Cute! “vvvrooom!” is the only car noise I hear around here!

  3. handmedowndesigns.com

    11/17 at 1:02 PM

    This is a GREAT idea! Thanks for sharing!

  4. Jayna Rae

    11/18 at 7:59 PM

    We have hte full size car roll, but I have been wanting to amke a mini one like this. I think it is more appropriate for places like restaurants.

  5. to_does

    12/27 at 2:34 PM

    Thank you for this great idea. I made this for my little nephew. He loved it!!!

    http://to-does.blogspot.de/2012/12/frohe-weihnachten.html

Primary Sidebar

  • Facebook
  • Twitter
  • Instagram
  • Pinterest
  • Email

Exclusive Free PatternRuffled Apron

Sign up for my email newsletter and receive my ruffled apron pattern totally FREE!

We take your privacy seriously. See our privacy policy here. You can unsubscribe at any time.

Don’t miss these popular posts!

easy baby dress pattern for the summertime

easy baby dress pattern for the summertime

modern ombre + b/w triangle quilt tutorial + pattern

modern ombre + b/w triangle quilt tutorial + pattern

Fabric

Quilted Cosmetic Case Kiss Me KateKiss Me, Kate FabricOne Hour Granny Square Quilt Tutorial | See Kate SewModern Granny Square Quilt Whole Cloth

Pattern Hacks

Easy Baby Summer Dressthe EMMA pattern | See Kate SewThe EMMA Dress

Footer

Hello friends!

My name is Kate, a twenty something fashion lover and mother of two. When I’m not chasing kids you can find me at my sewing table or daydreaming up new designs. You can read more about me here. Thank you for visiting!

8a918f8da8e0e69102dc0f33a718de85a99c31a57283e0e3e2

FOLLOW ME HERE

  • Facebook
  • Twitter
  • Instagram
  • Pinterest
  • Email
  • Blog
  • About
  • Contact
  • FAQ
  • Sponsor

Copyright © 2025 See Kate Sew  •  All Rights Reserved  •  Privacy Policy  •  Site Design by Emily White Designs