This post, How to make Leather Earrings with the Cricut Maker, is sponsored by Cricut.
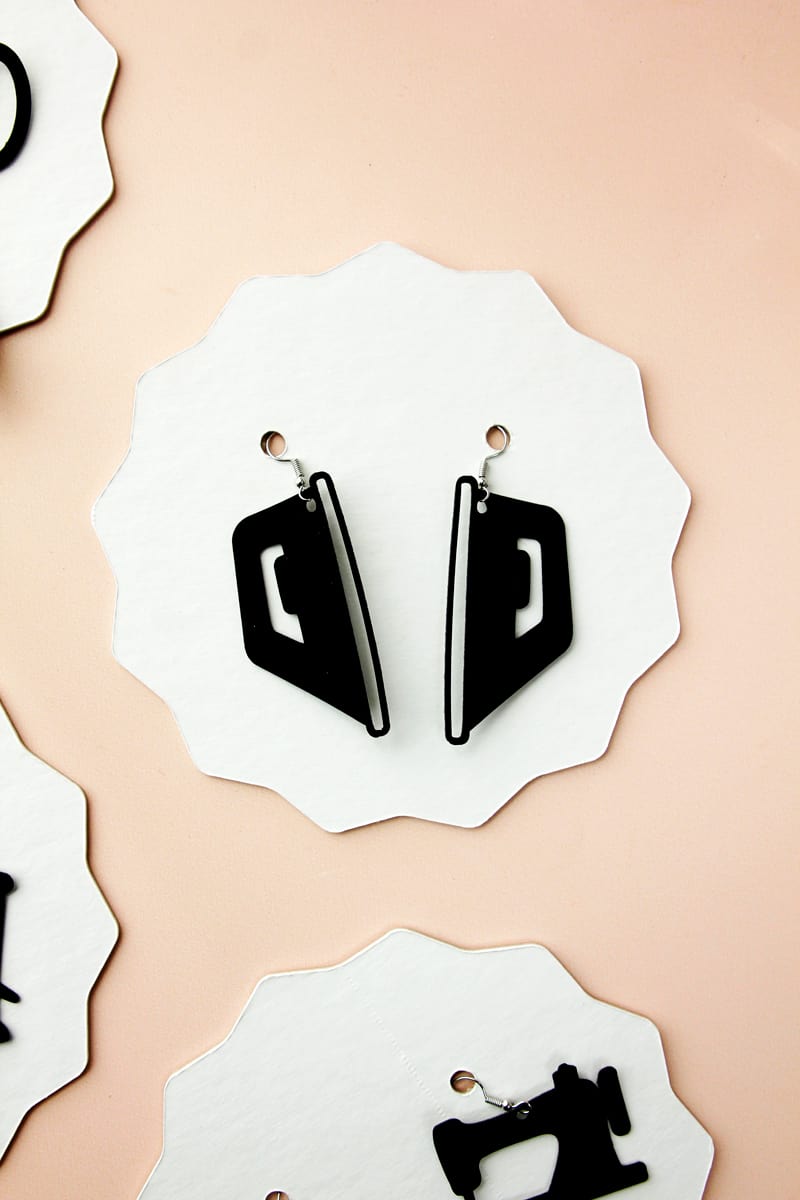
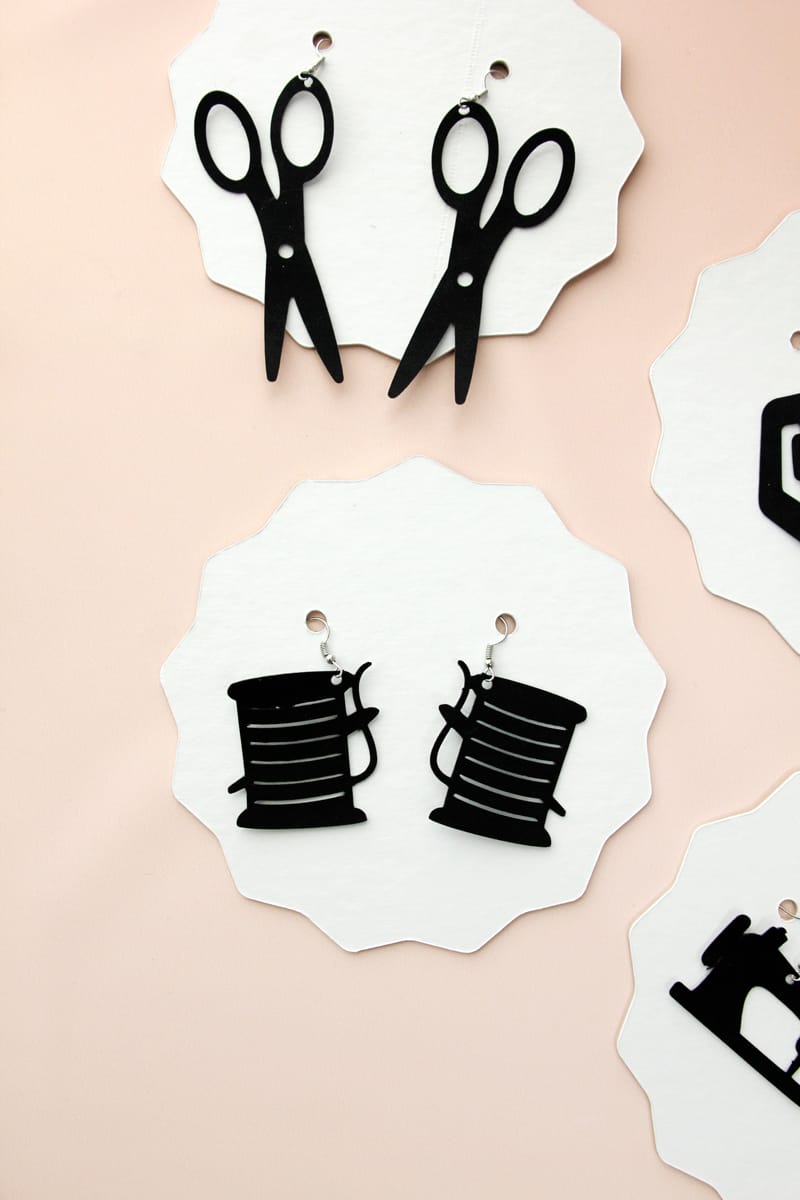
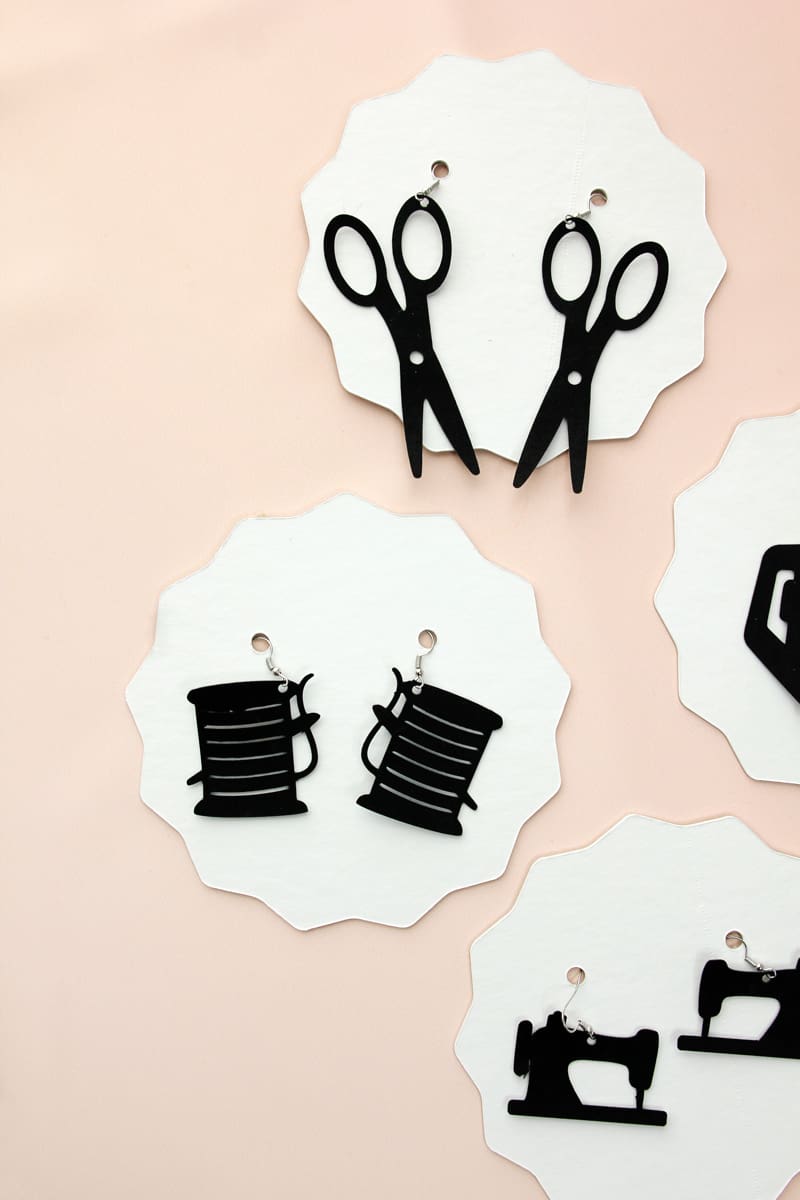
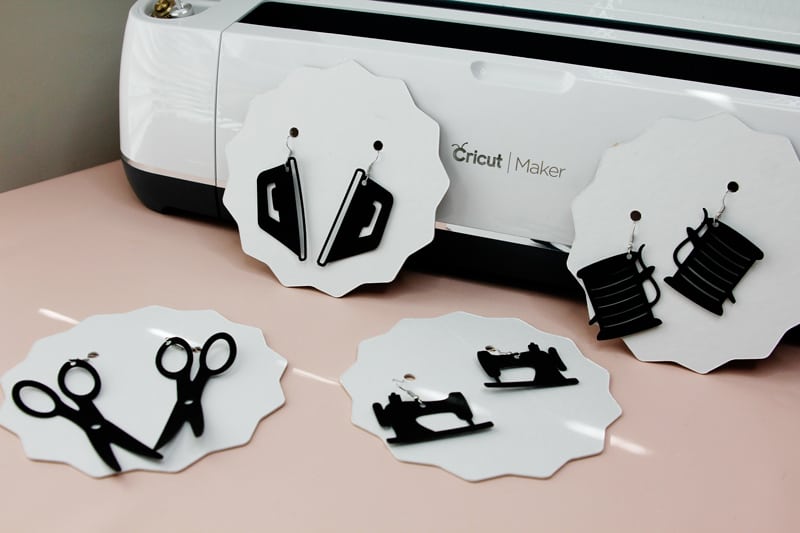
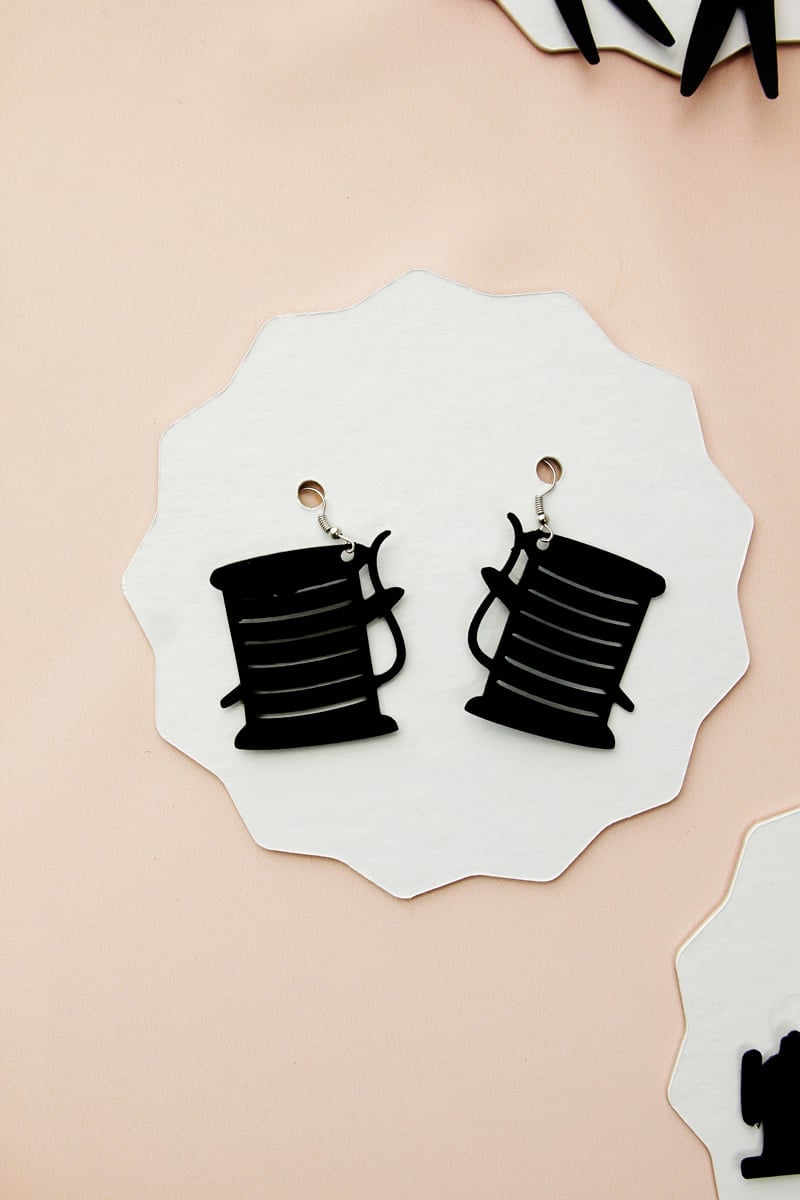
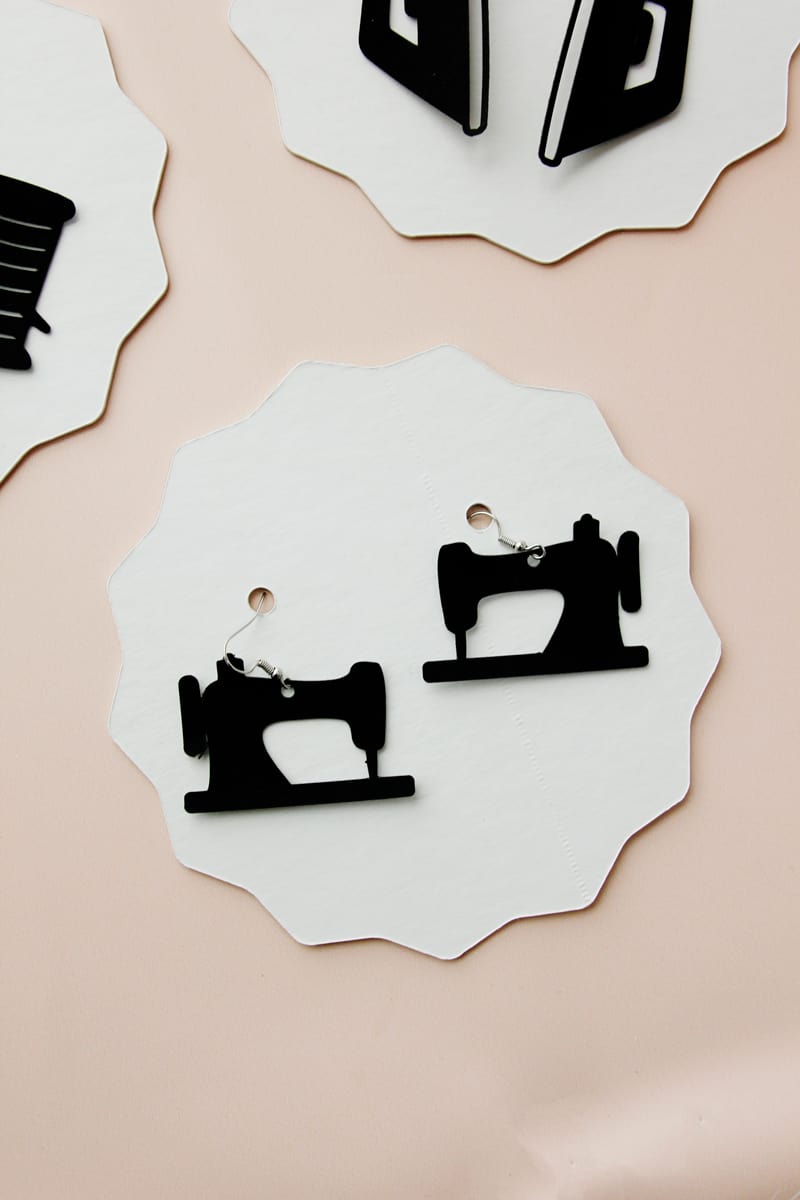
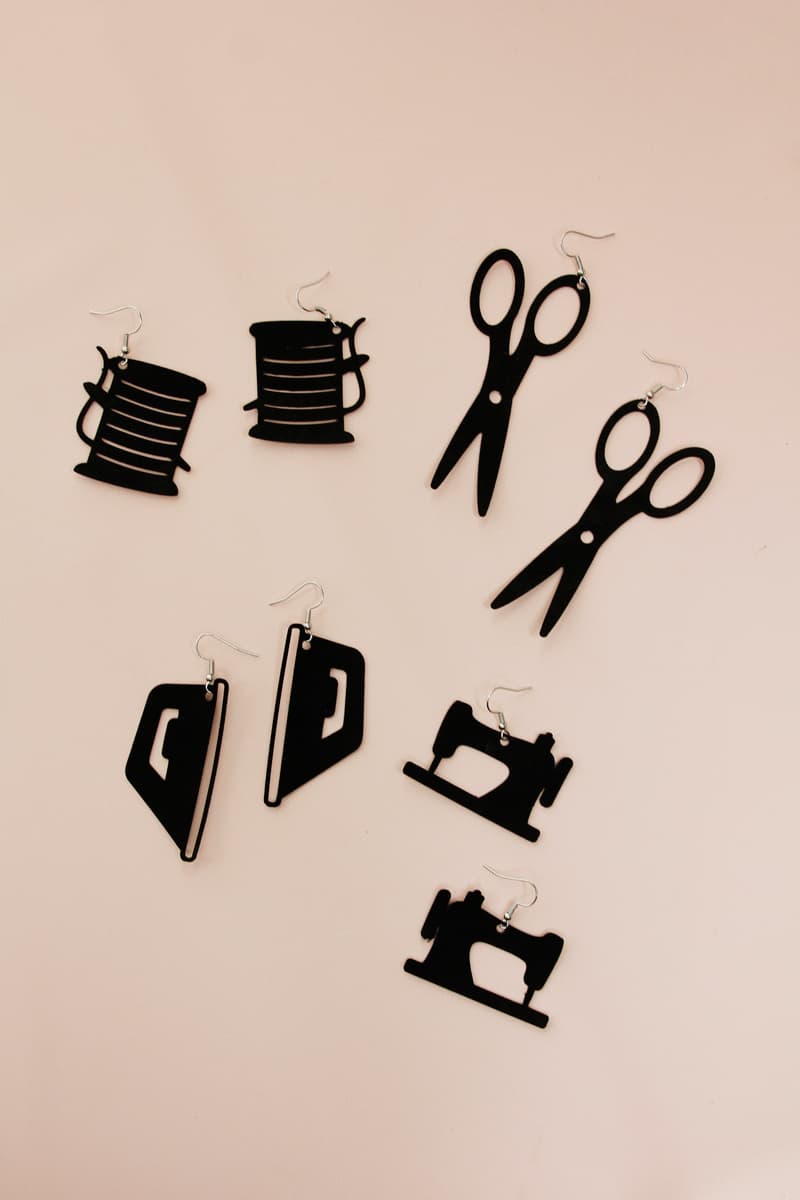
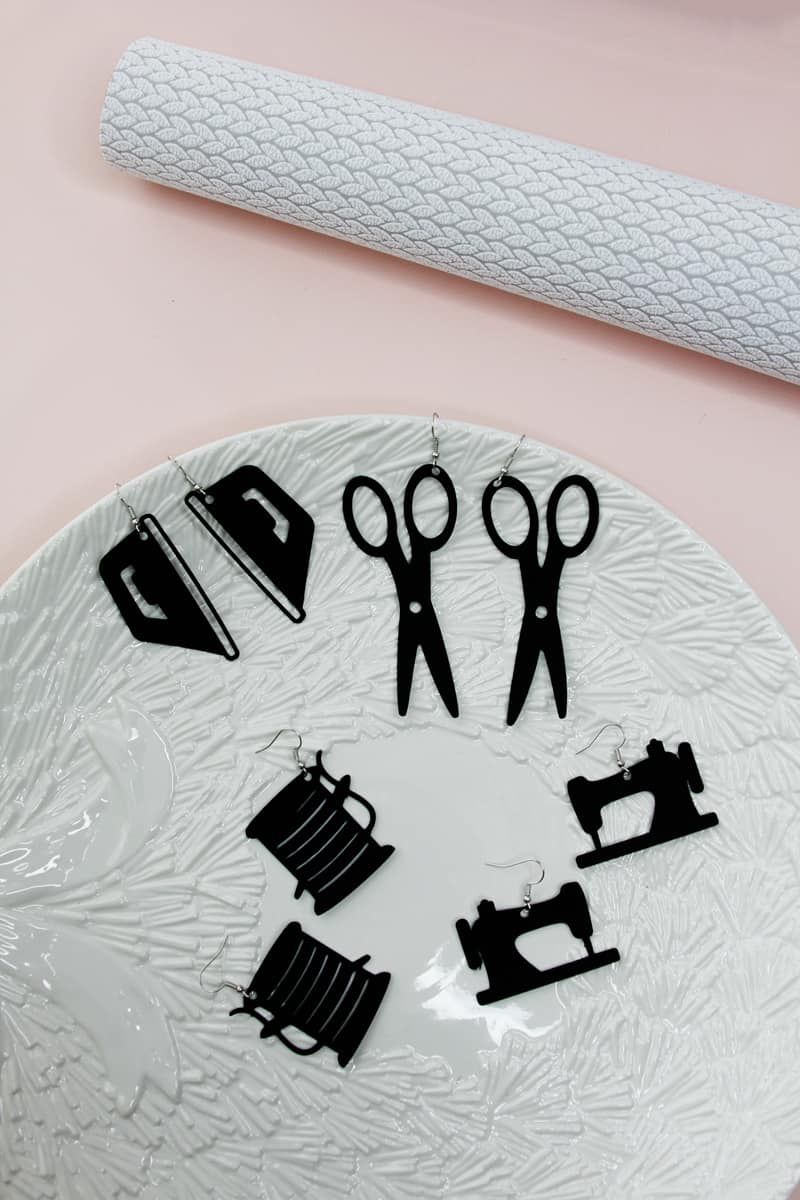
Leather earrings are such a fun and easy DIY project and perfect to give as gifts. In this post I will show you how to make leather earrings with the Cricut Maker. These sewing themed earrings are perfect for sewing friends and quilters – but you can use the same technique for any shape or theme!
These are the perfect gift for sewing and quilting friends. Leather earrings are so easy to make you can even whip up a few pairs for yourself!
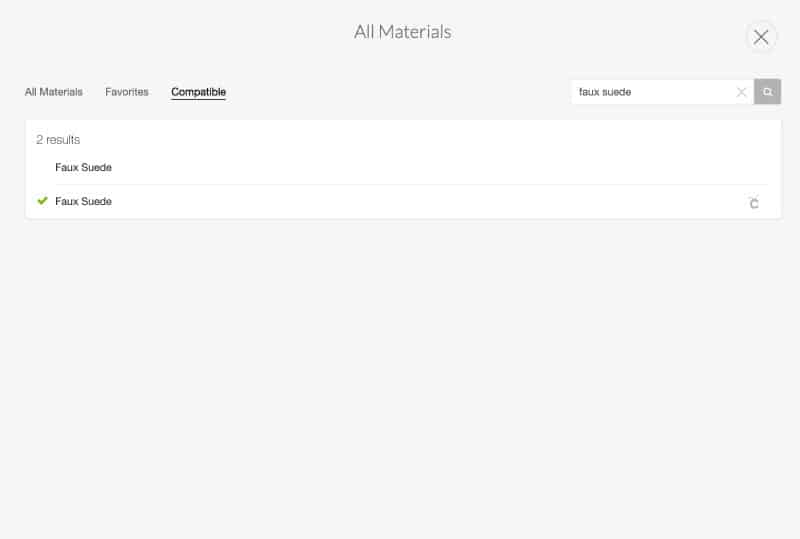
There are a few different Cricut materials you can uses for these earrings, I’ve listed them all under the materials section. I chose the faux suede because it is really lightweight and has some great colors. I wear a lot of black so I used the black sheet.
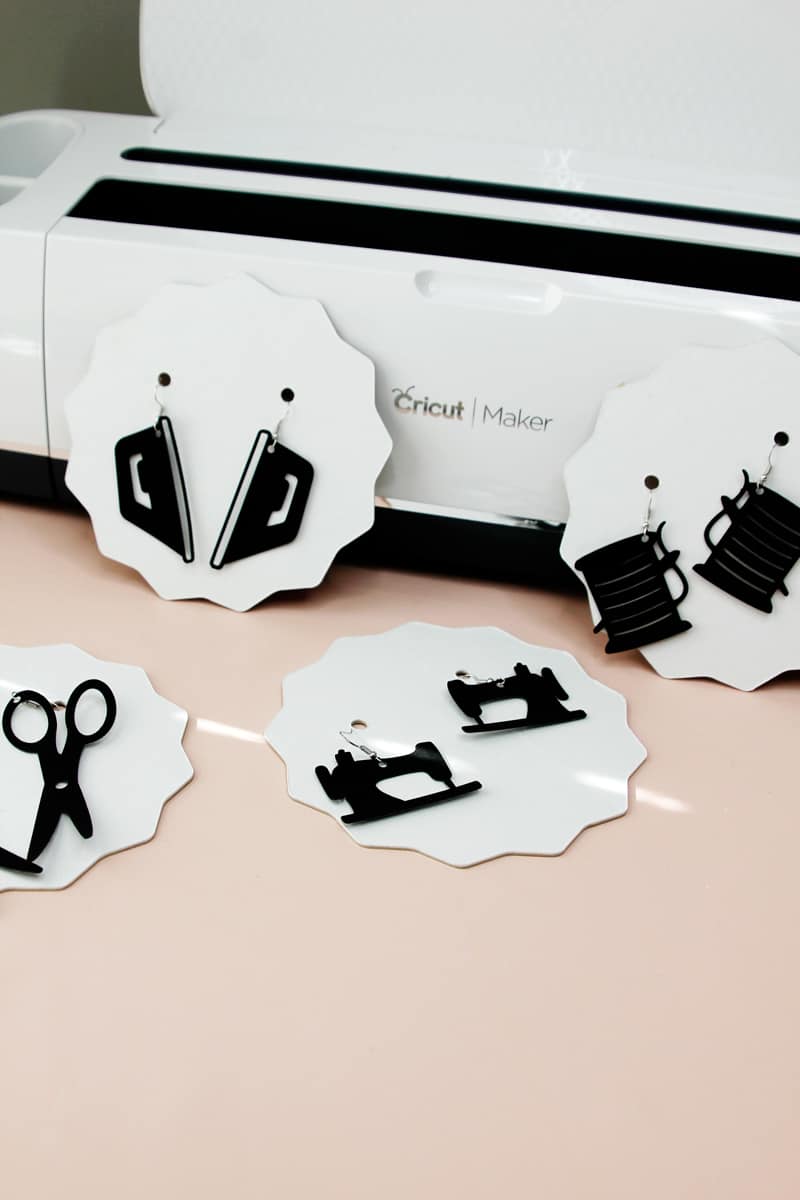
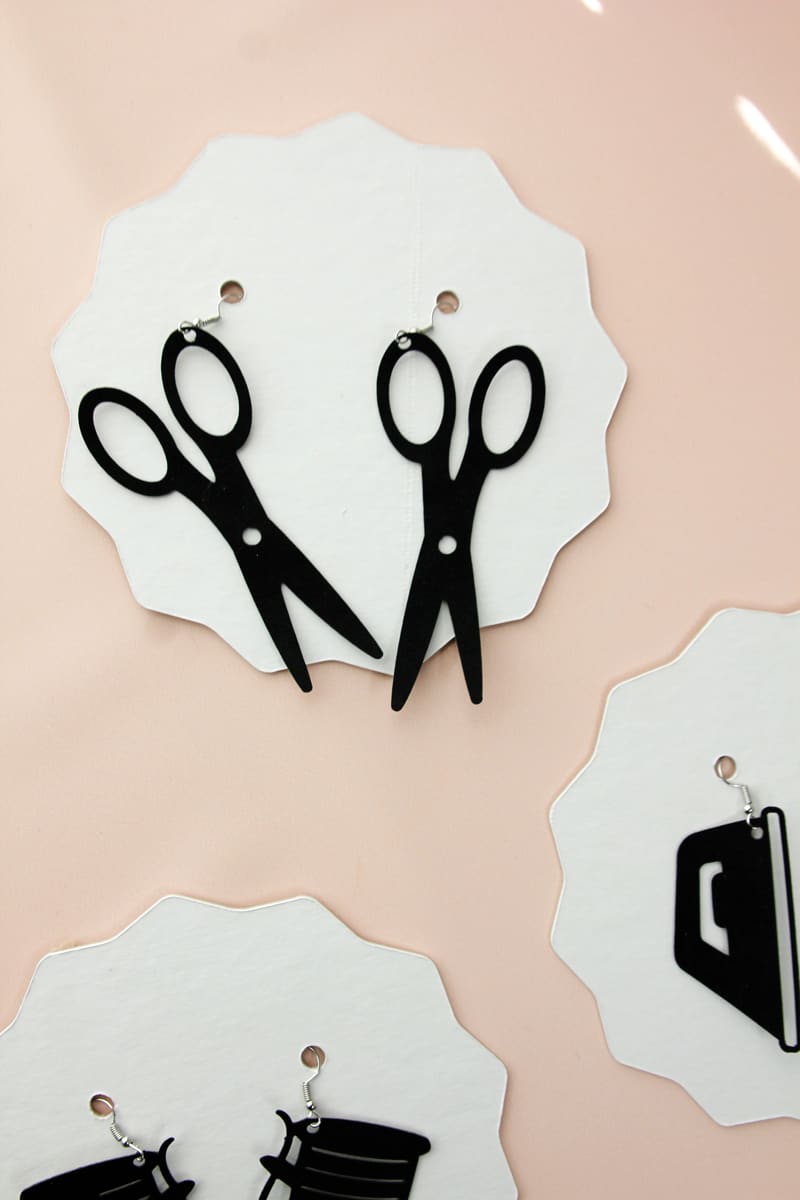
I also created a chipboard earring holder as packaging with the Cricut Maker and knife blade. It was so easy and will make the earrings easy to wrap and give. Cricut’s chipboard is so pretty for packaging! Add a little logo with vinyl for a professional look.
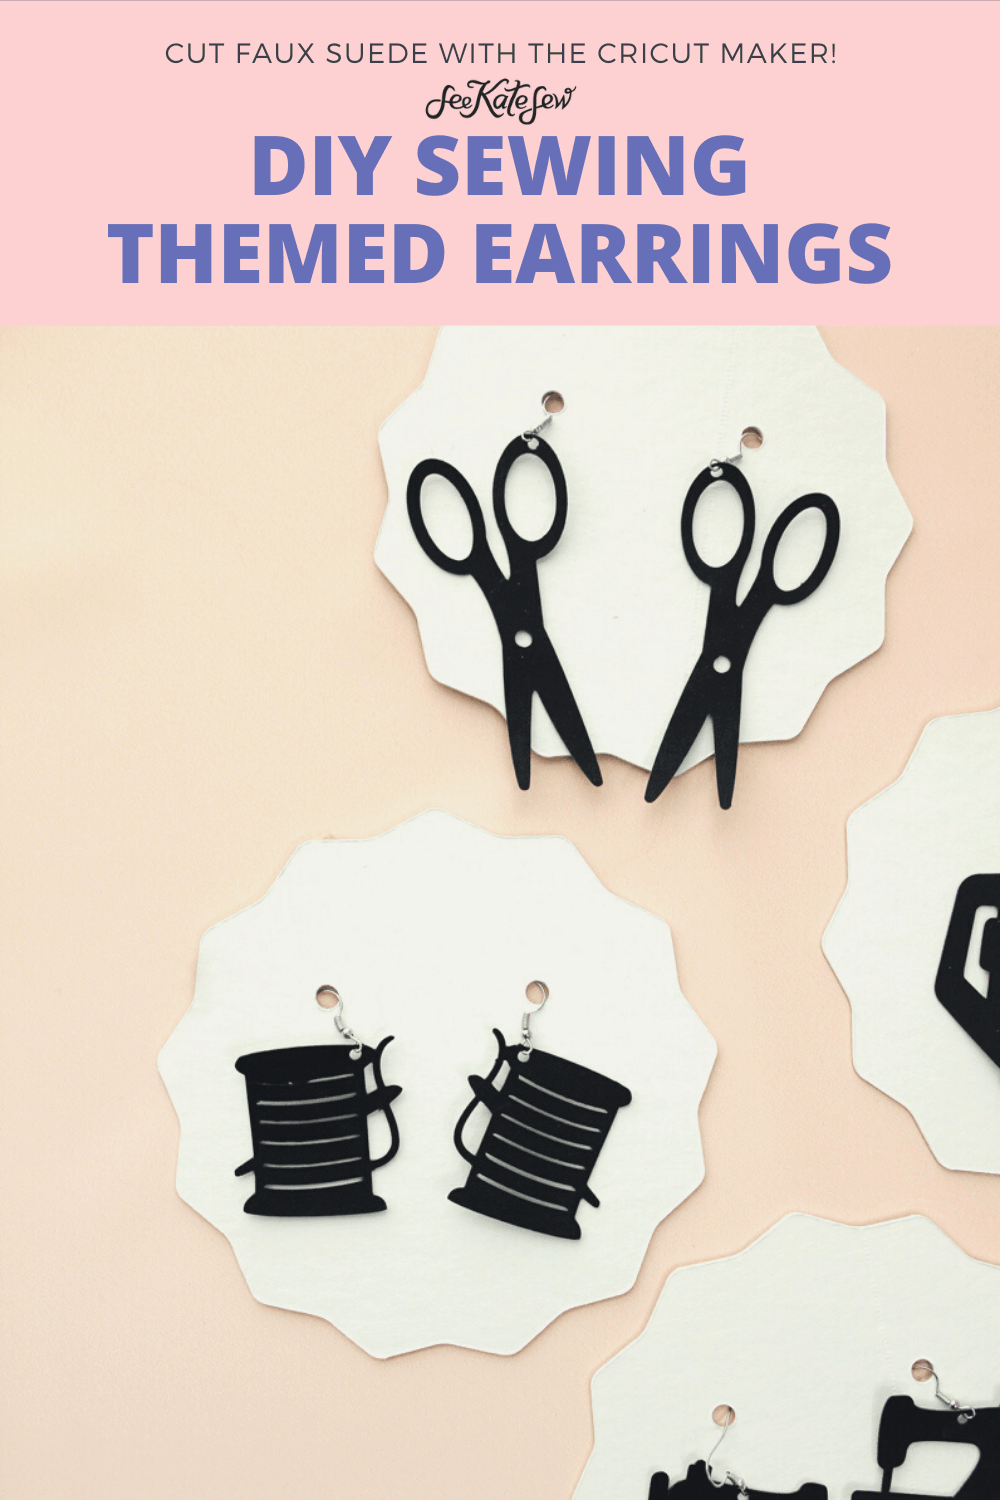
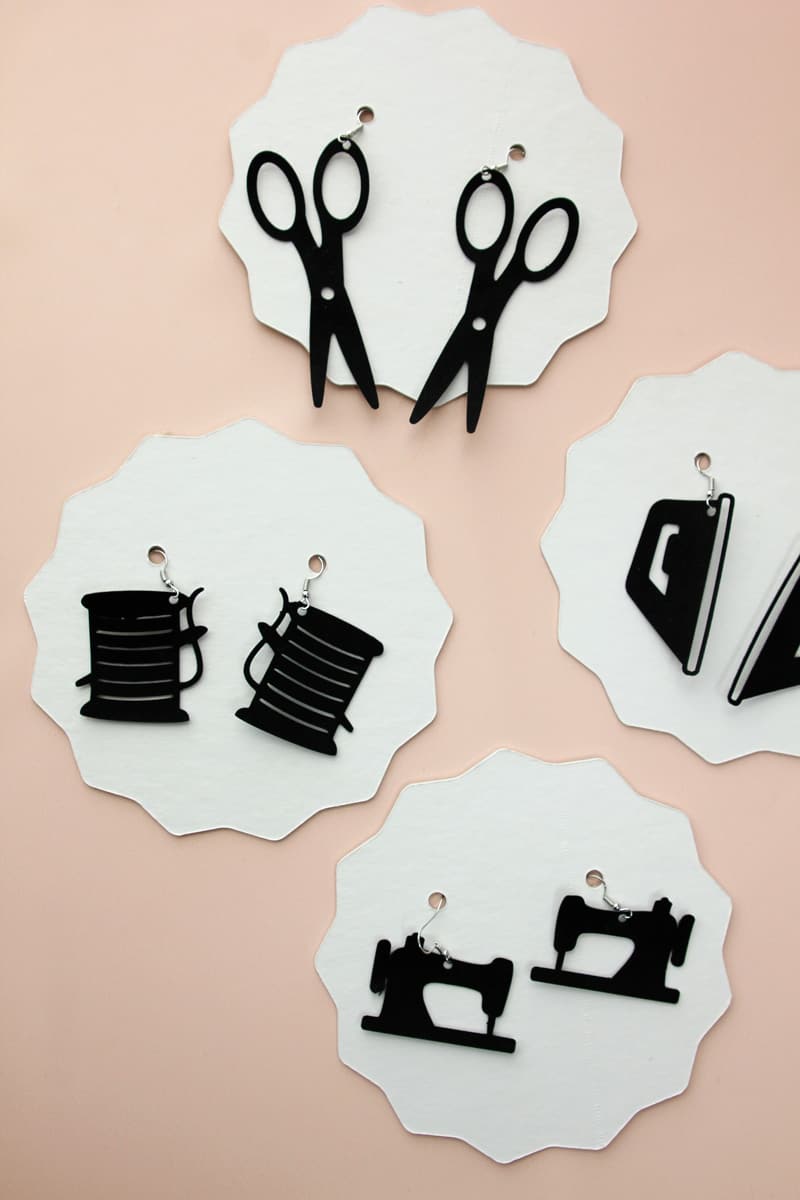
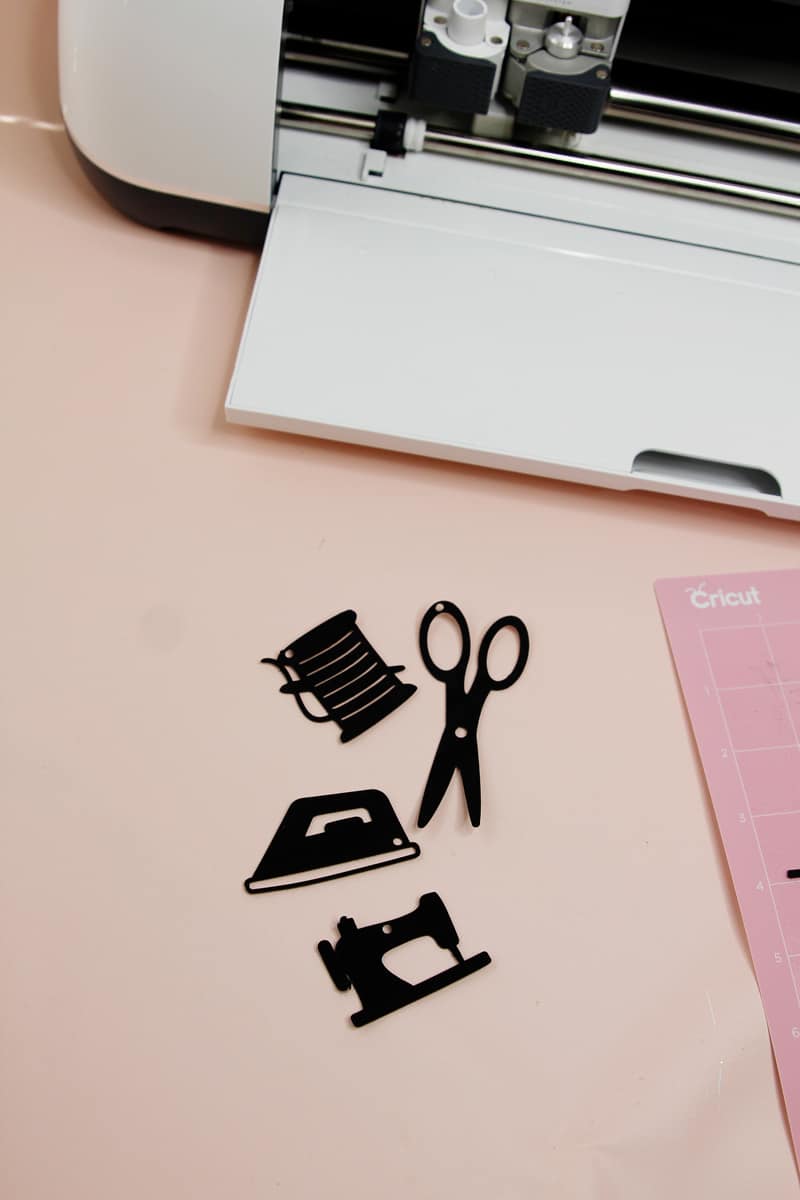
I think the irons are my favorite because at first glance they look like an abstract shape, which is trendy for earrings right now. If you look closely you can see the iron shape. I also love the long scissors. These are so lightweight they are easy to wear and add just a little quilty flair to your outfit.
This project took about 5 minutes total and it was so fun. Now I’m thinking I should make pencil earrings for teachers, controller earrings for gamers, dog earrings for animal lovers…the list goes on! You can really make this simple project for everyone on your list and they make great stocking stuffers, too!
Leather Earrings DIY Materials
- Cricut Maker
- Earring hardware
- Jewelry Pliers
- Geniune Leather
- Faux Suede (shown in post)
- Felt
- Faux Leather or
- Soft Metallic Leather
Which is your favorite pair?
How to design your earrings in Design Space
Before starting, browse through Design Space and find some designs.
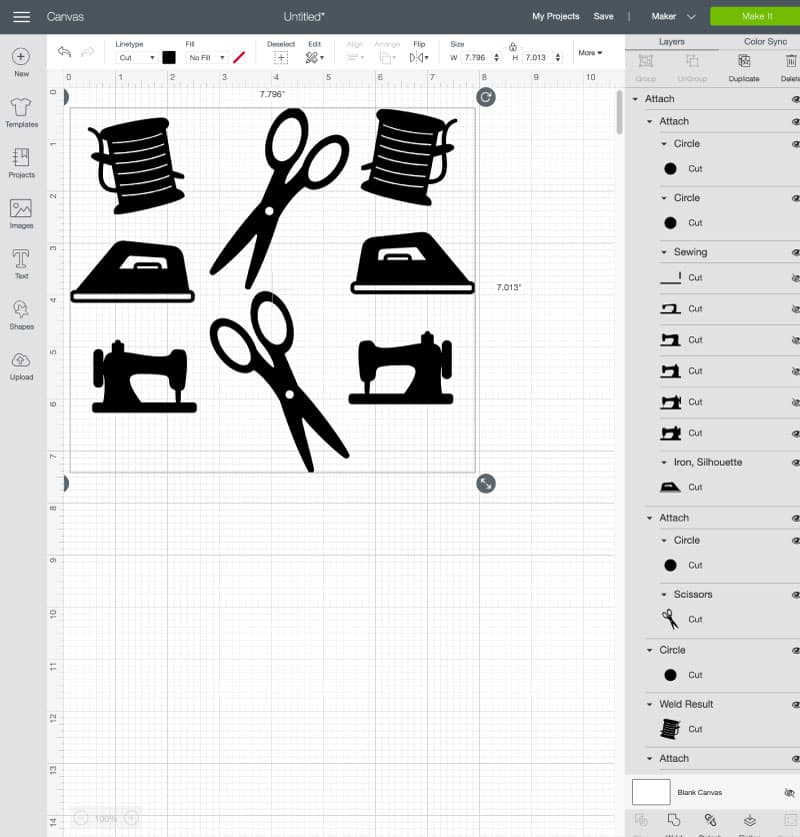
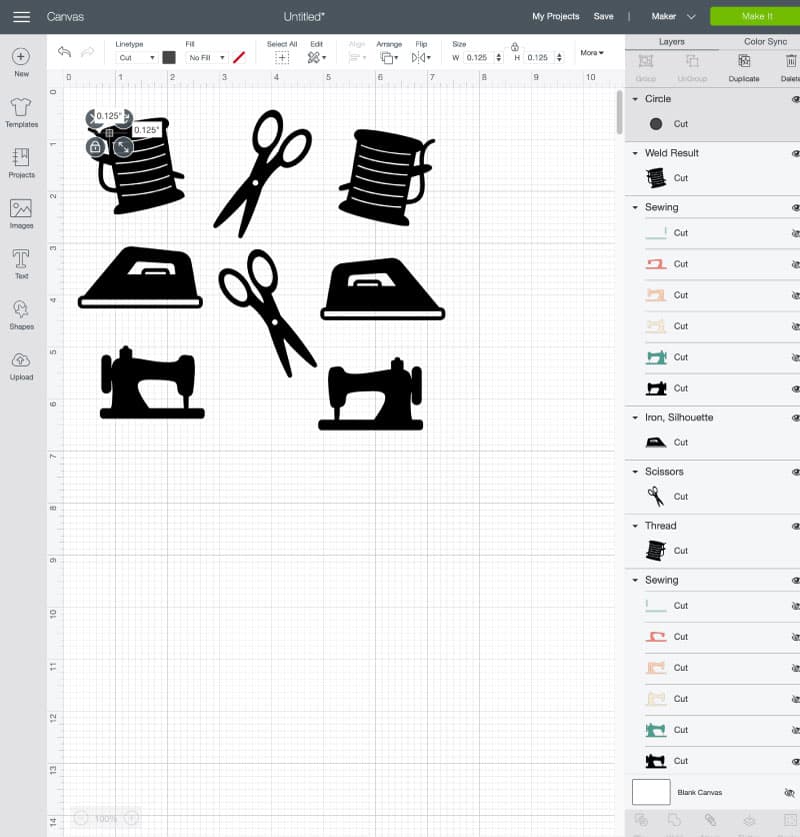
To start, sign into Cricut Design Space and find the shapes you want to cut. For sewing themed earrings, search “sewing,” “thread” “iron” and “scissors” to find the cute shapes I’m using. Join Cricut Access for more designs.
Insert the images and adjust them to the size you want for your earrings. Mine are around 1.5″ -1″ wide. The scissors are the longest pair but the others are around 2″ long.
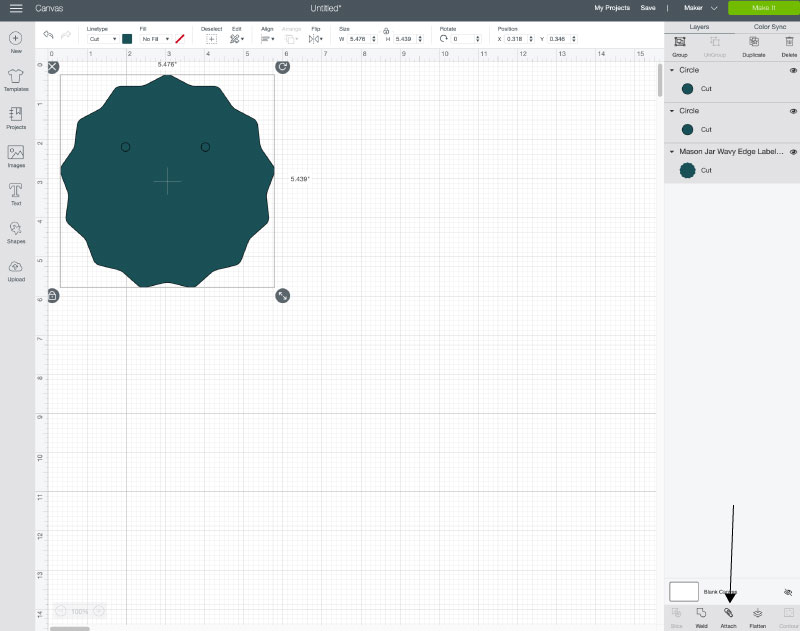
Add a little circle to each shape about .125″ square to make a place for your earring hardware to go. Drag the circle to your image where you want the hole to go. Make sure the circle is the same color as your design. Then click Attach to keep the circle in place.
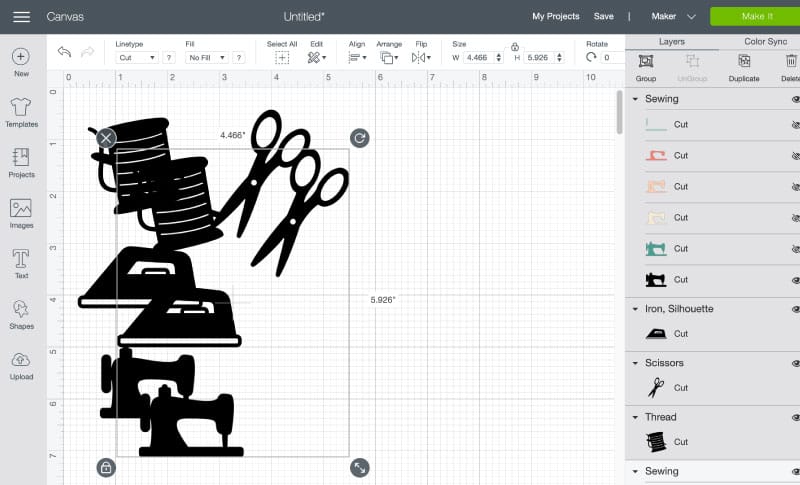
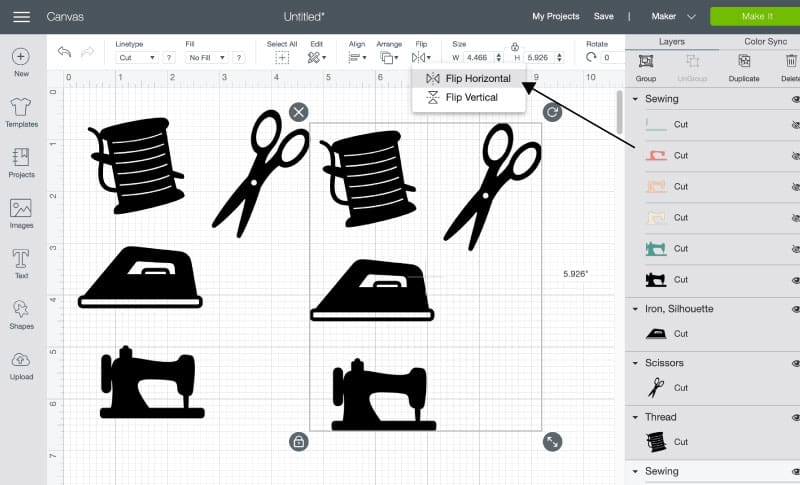
After adding the circles to each design, copy and paste the designs. Flip them horizontal to create a mirror-image of the design for the other earring.
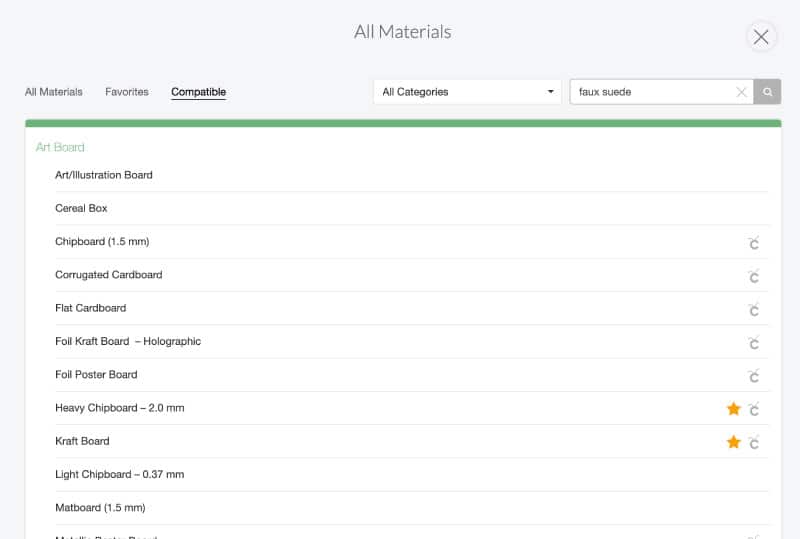
Click MAKE and choose your material from the list.
The packaging shape I used is called Mason Jar Wavy Edge Label and it’s so cute! You can add two circles and ATTACH like you did with the earrings. This will create the holes. Cut these from Cricut Chipboard, four will fit to each page if they are about 5.4″ wide.
How to make leather earrings
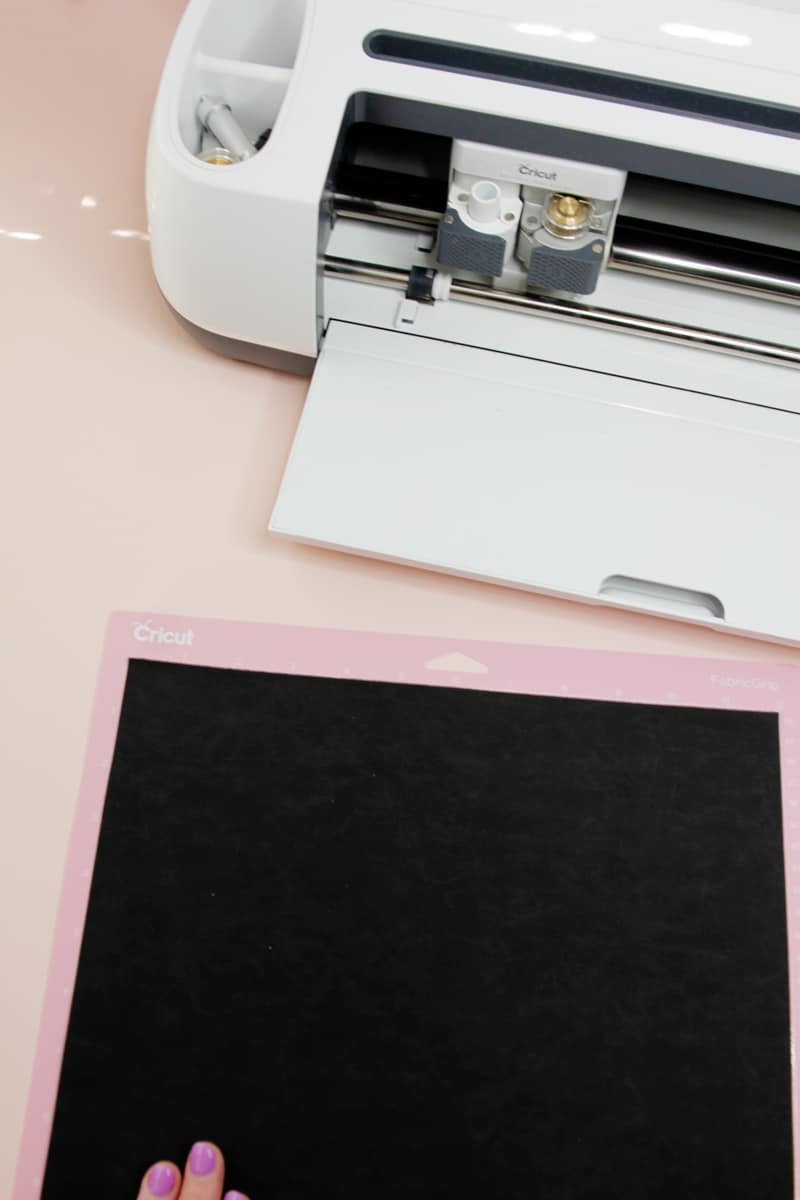
Once your design is ready to go, prep your mat and feed it into your machine. Cut!
Pop the shapes out of the suede and find the little circle.
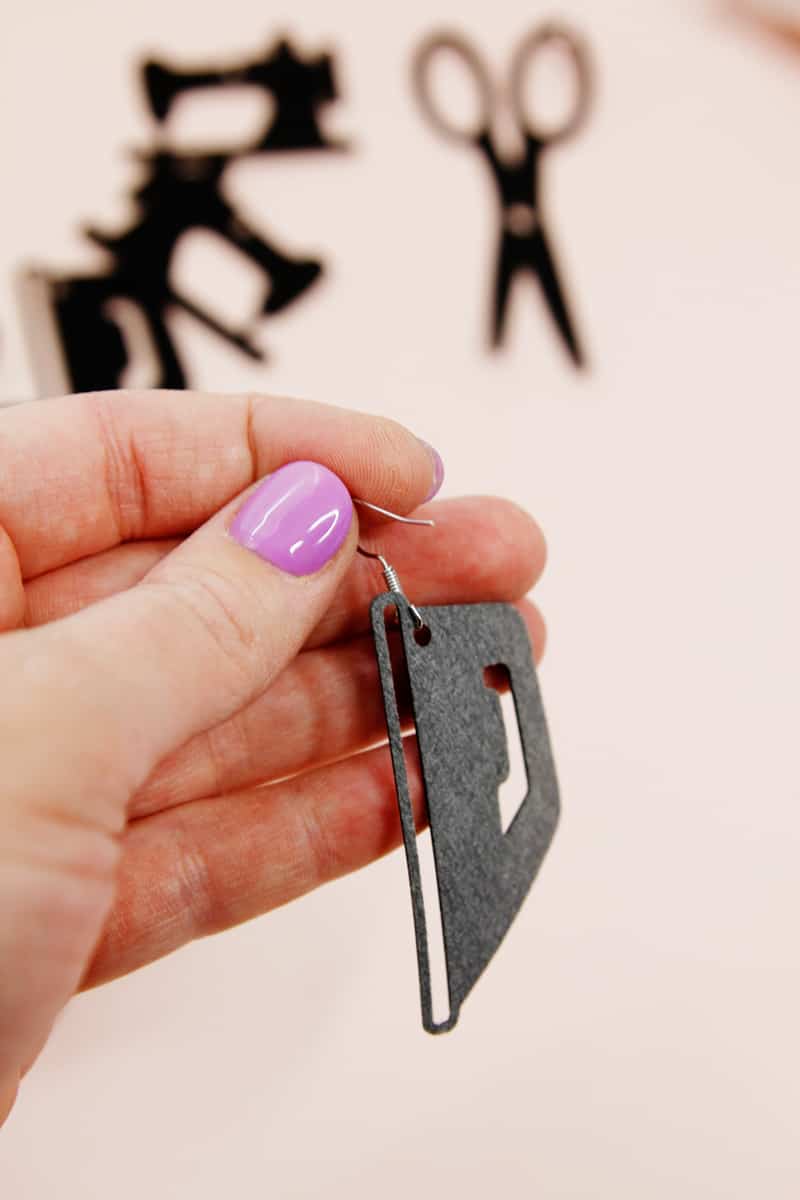
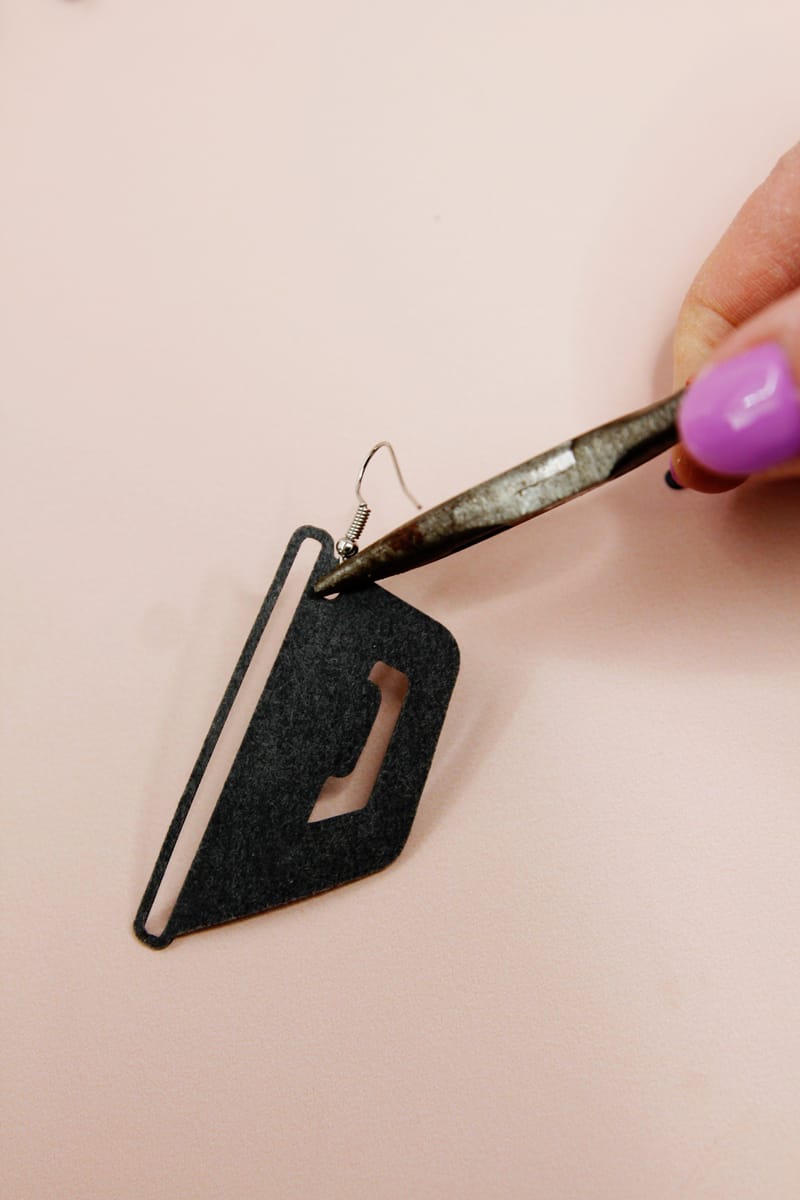
Open up your earring hardware and slip the shape onto the back. Make sure your nice side of the suede is facing out.
Close up the hardware.
And you’re done! These leather earrings are SEW easy!







This is a great design for all my sewing friends. I have an older Cricut that I seldom use, but I’m going to get it out and give this a try. Thanks for sharing.
Glad to hear that! They can be so fun!