This post is sponsored by Walmart Photo.
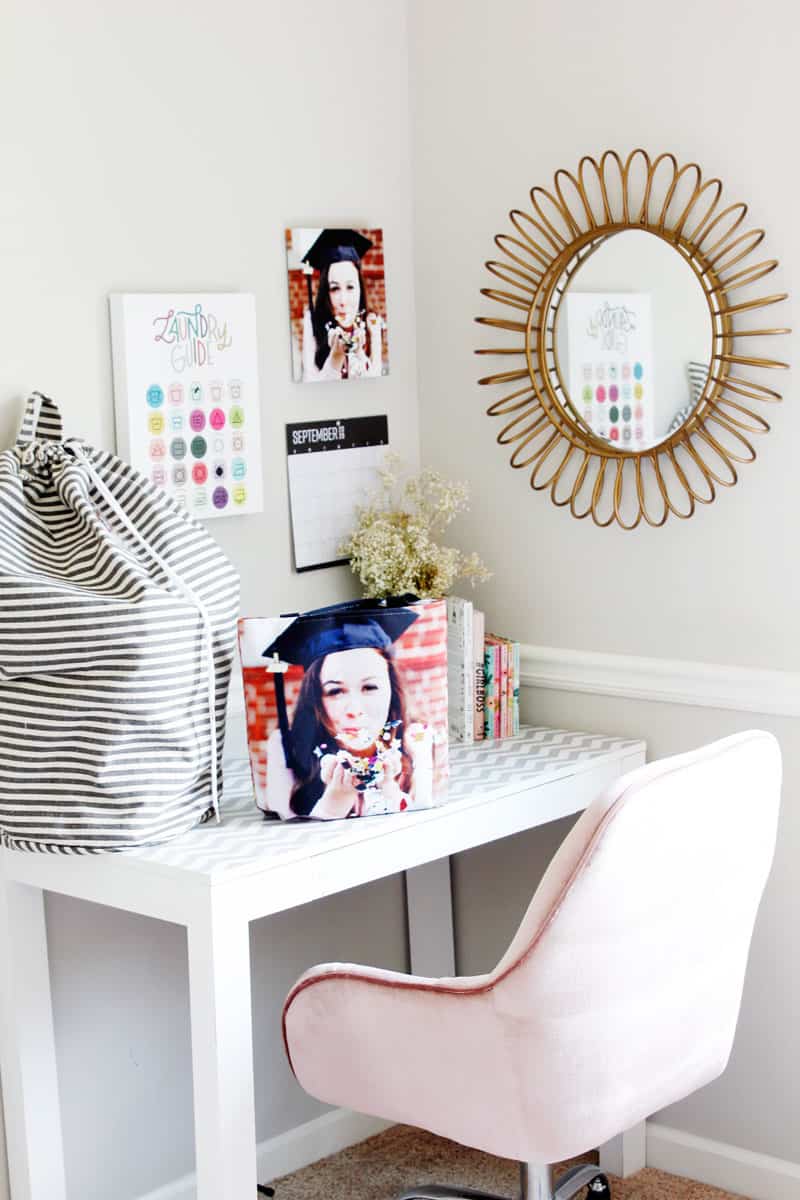
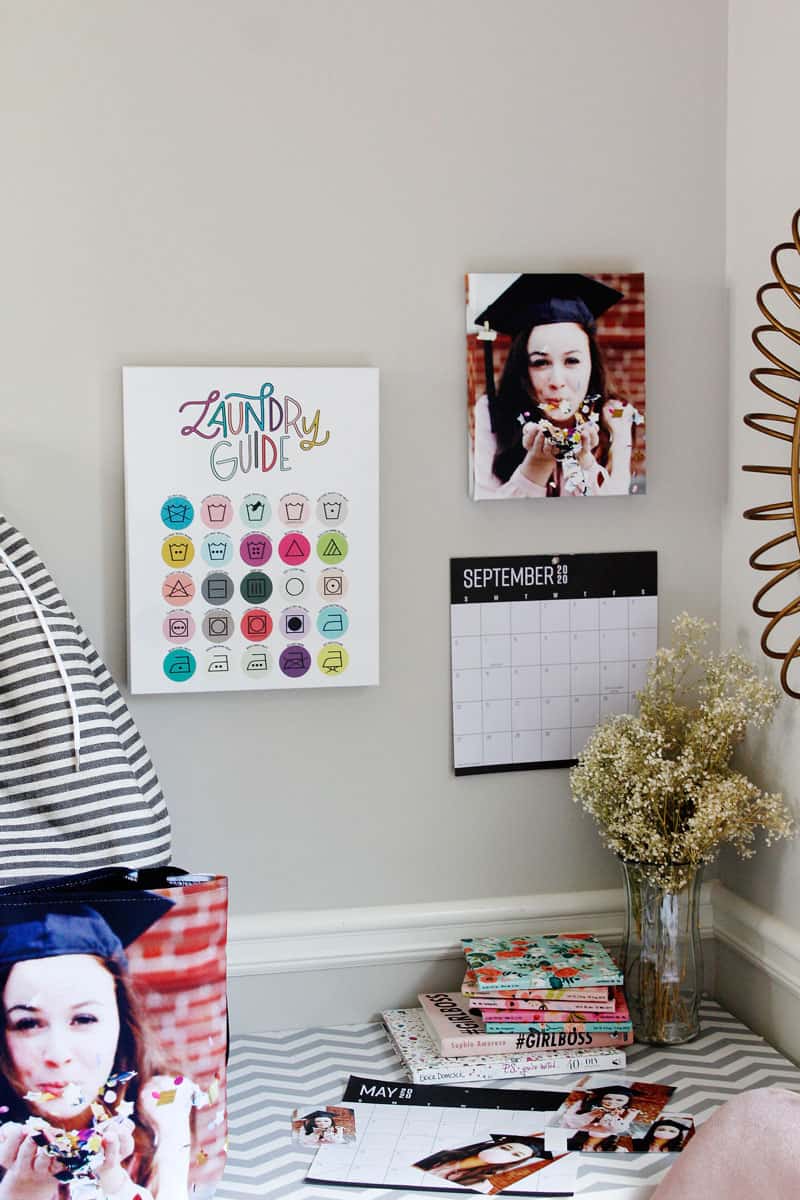
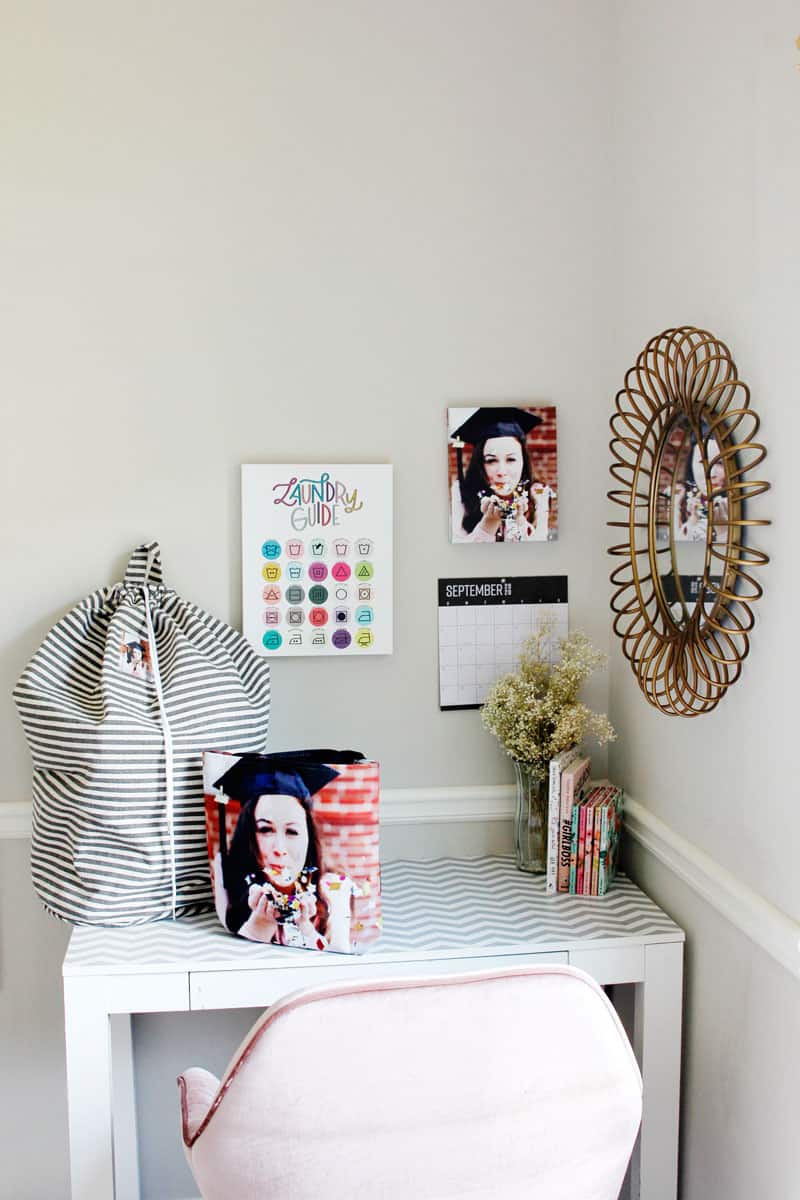
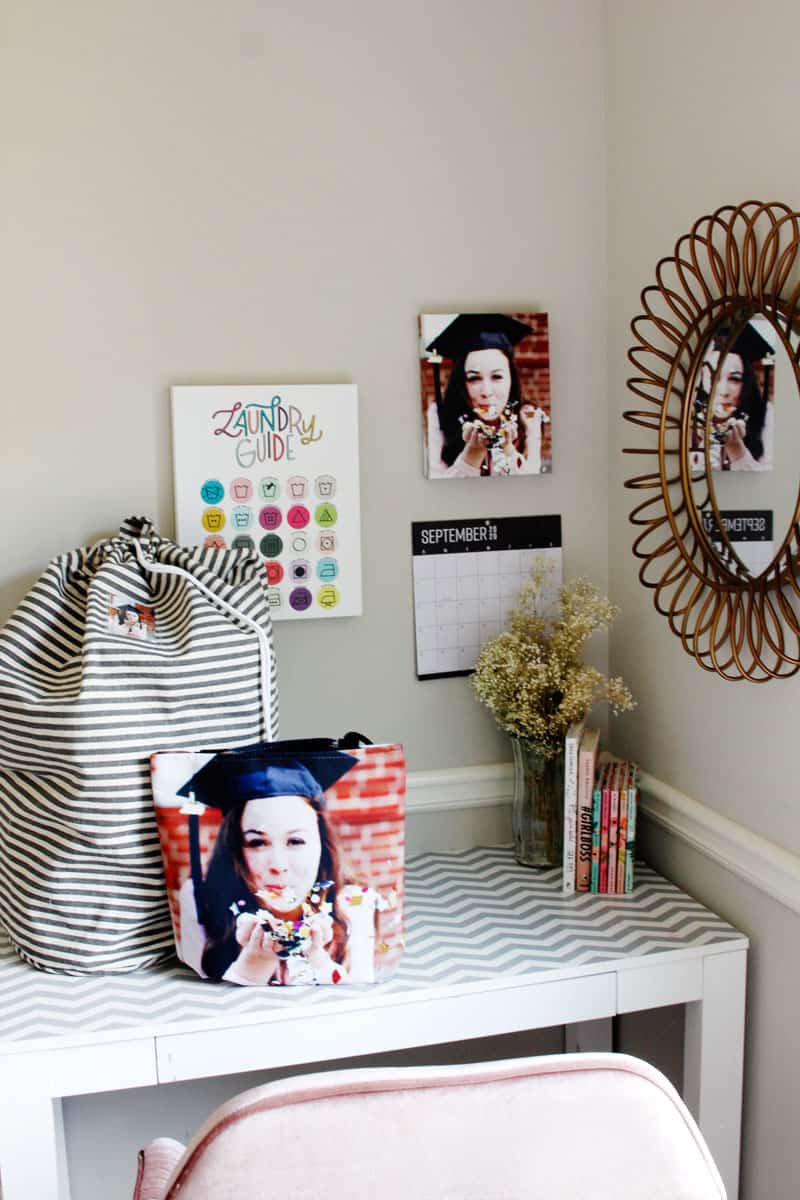
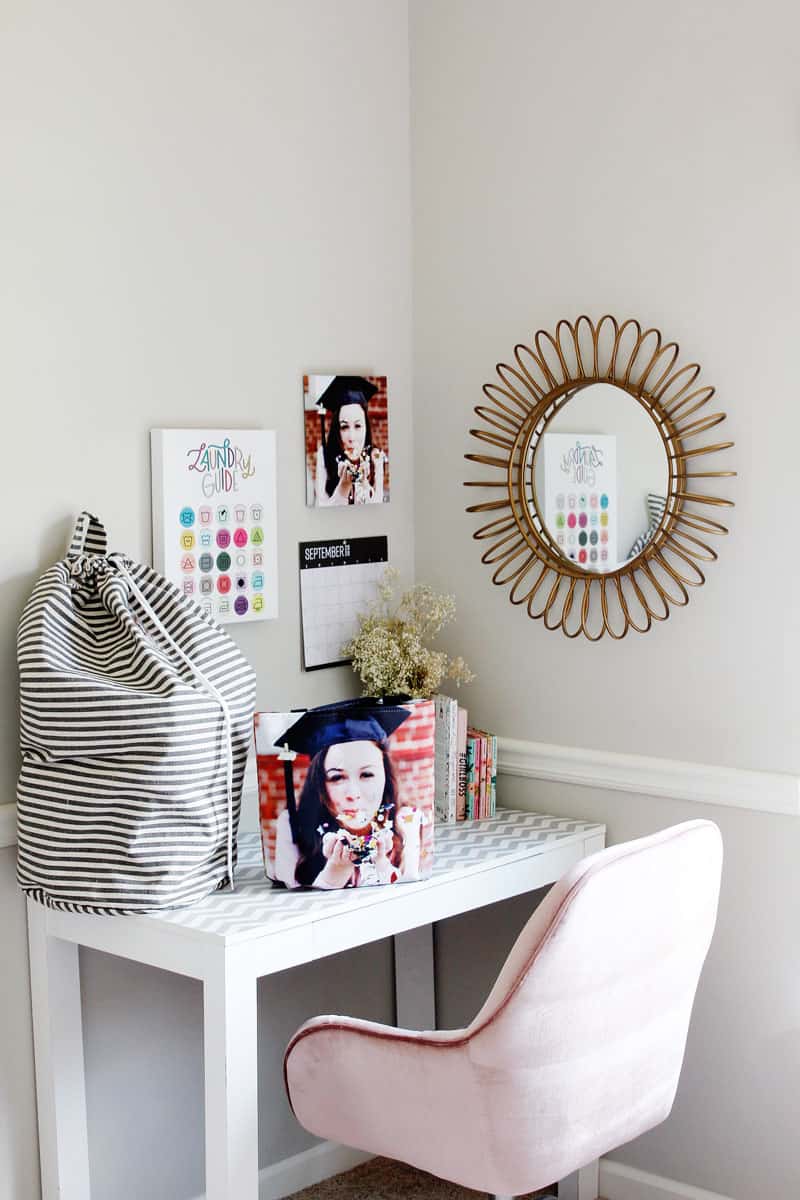
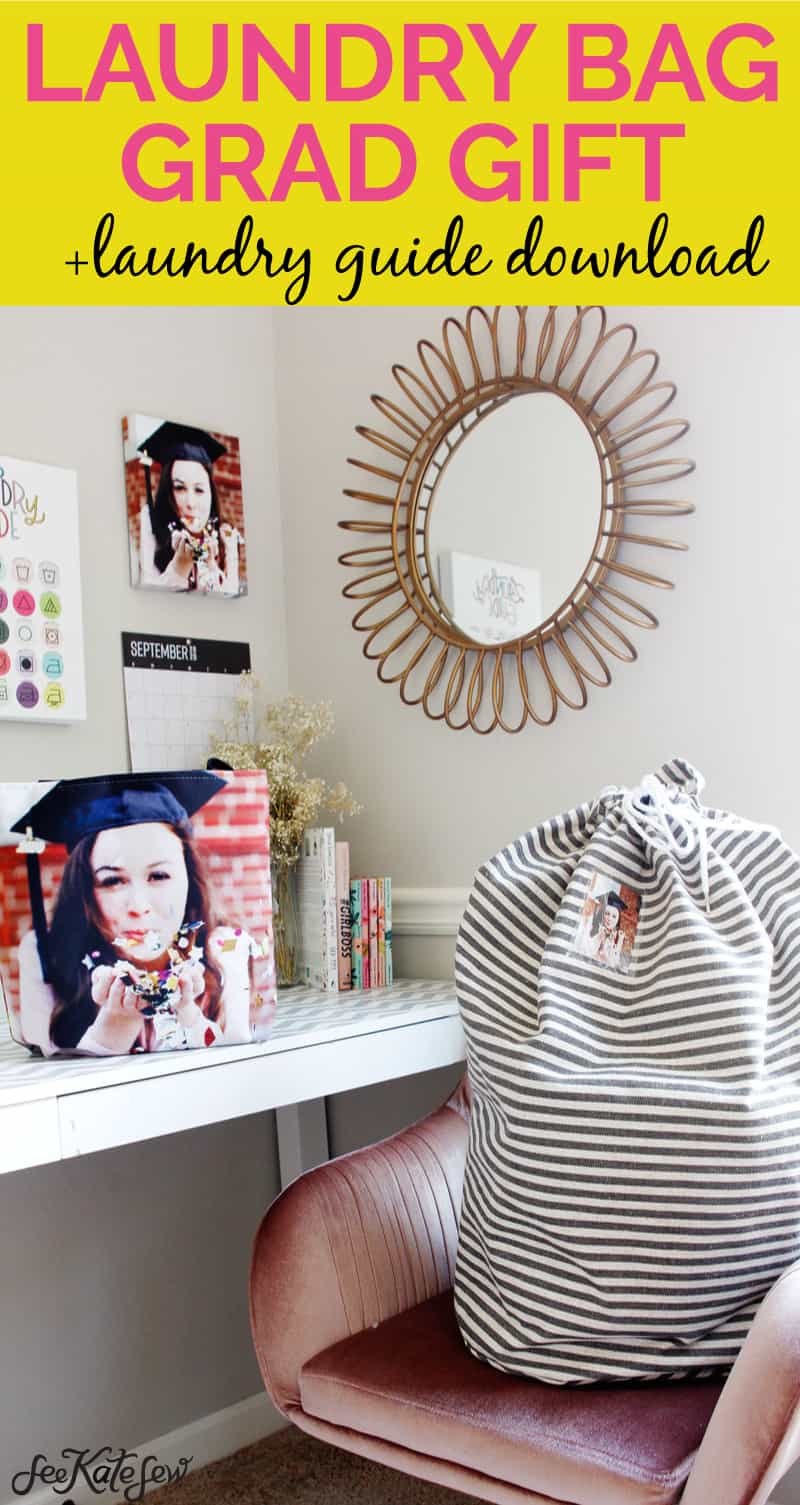
Since the end of the school year and graduation have been so thrown off this year, I think it’s important to honor the grads in your life a little extra! This laundry bag sewing pattern and printable laundry care guide will give high school grads the send-off they deserve and help them learn to do their own laundry!
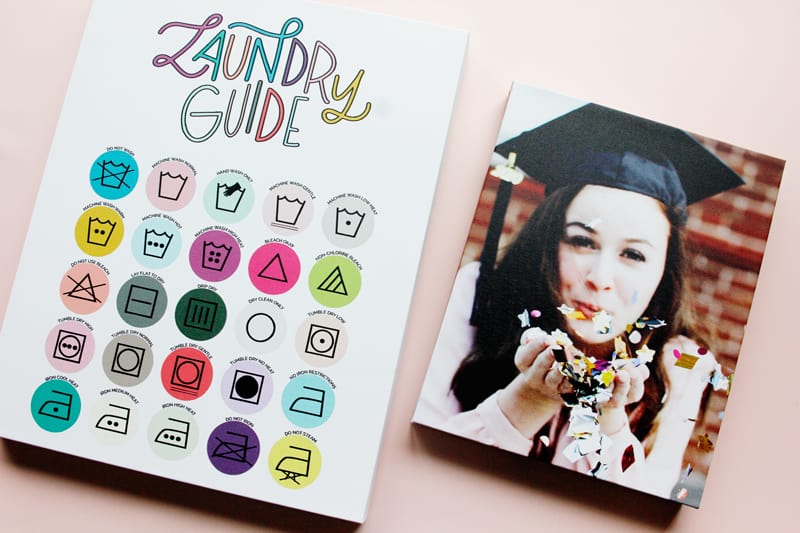
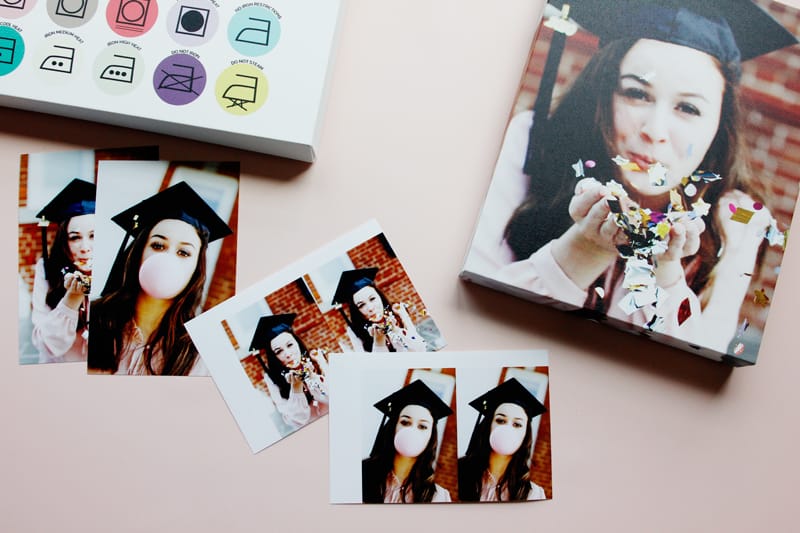
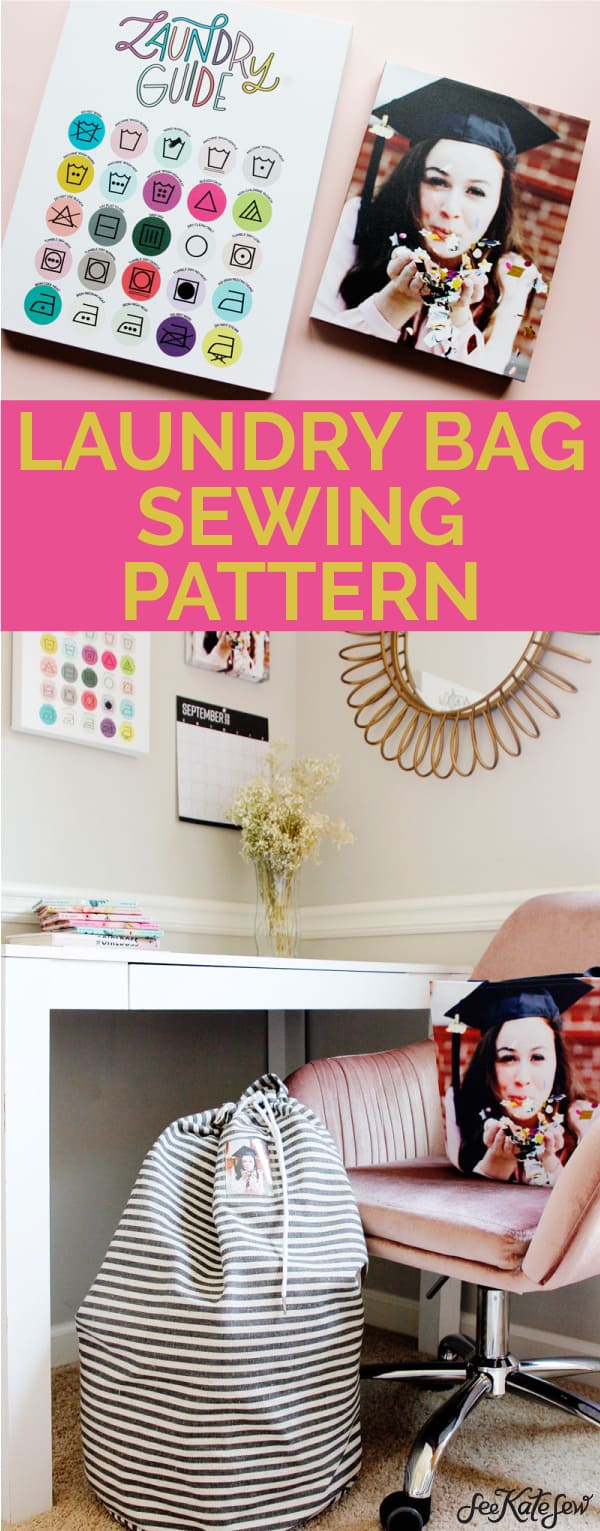
I used Walmart Photo’s Same Day services to print off a few custom items – including the laundry care guide on canvas.
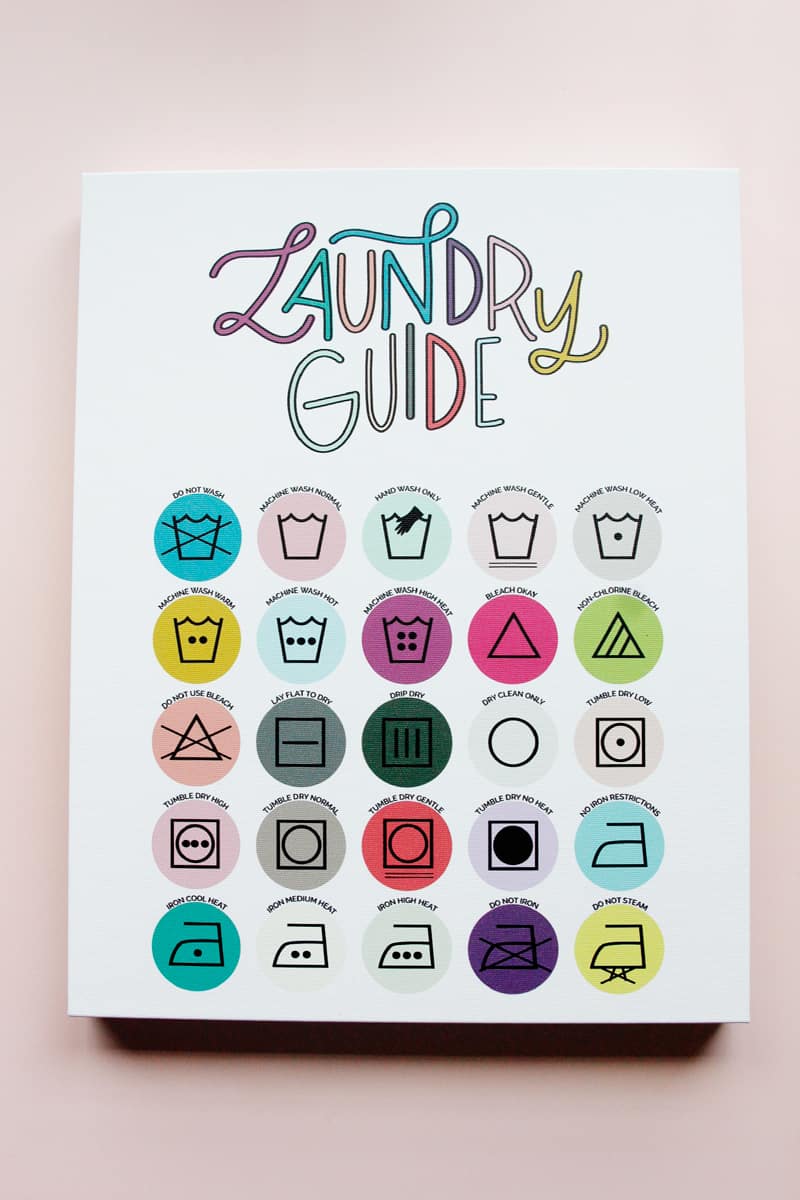
Upload this free download to Walmart Photo for an instant reference for laundry care and instant home decor!
The laundry care guide will help your graduate decode care symbols on their clothing, since laundry will be their responsibility now!
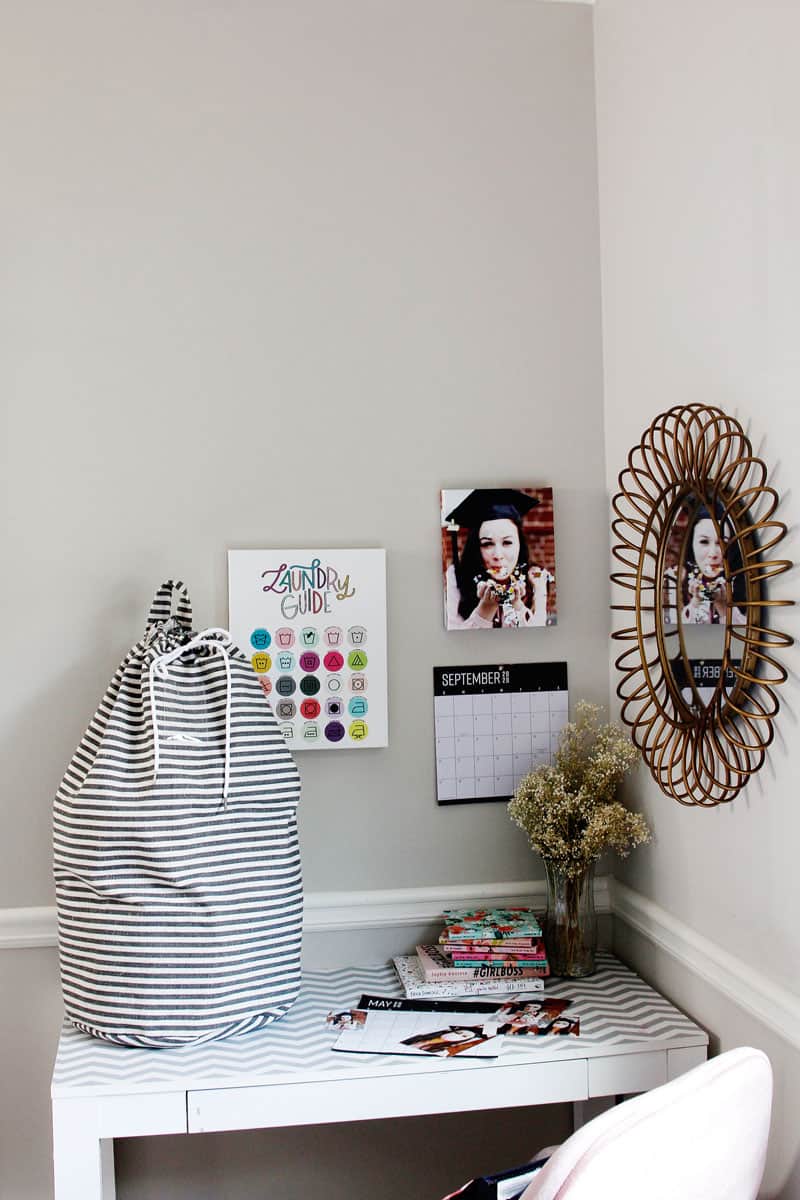
Print an extra for your home laundry room! It’s bright and colorful enough to make laundry fun!
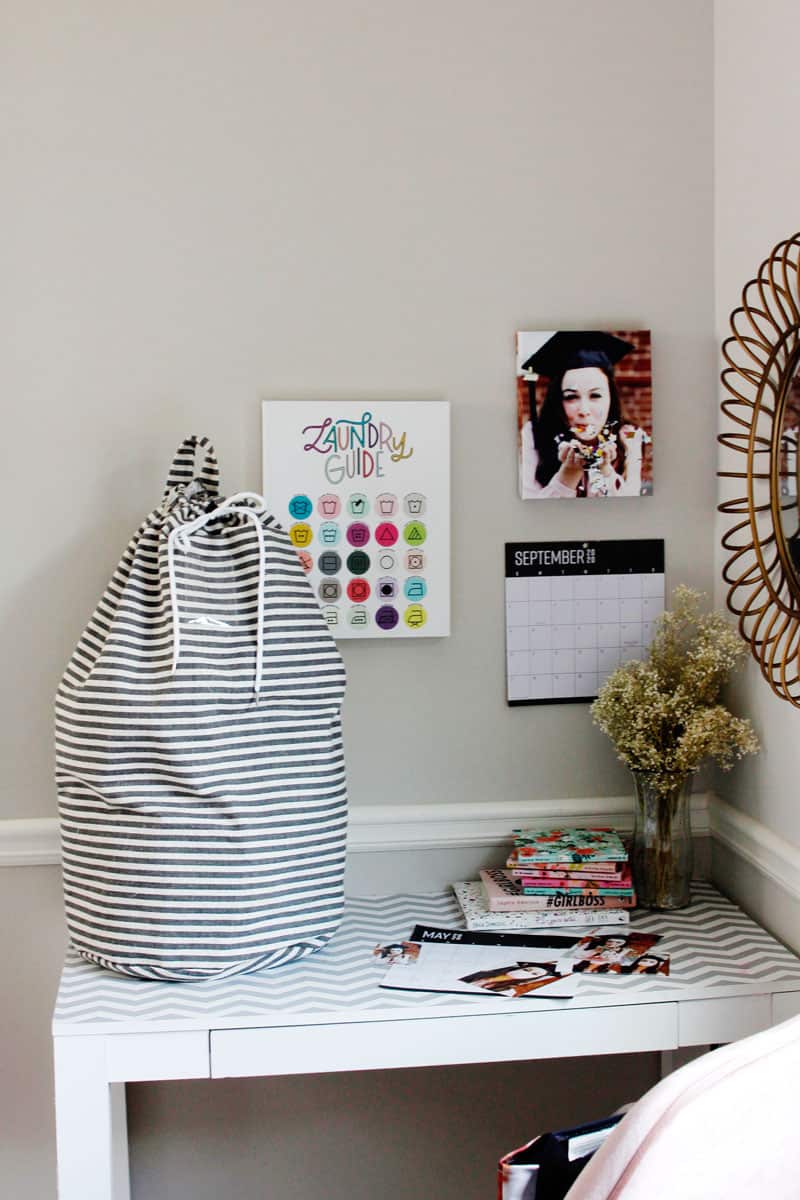
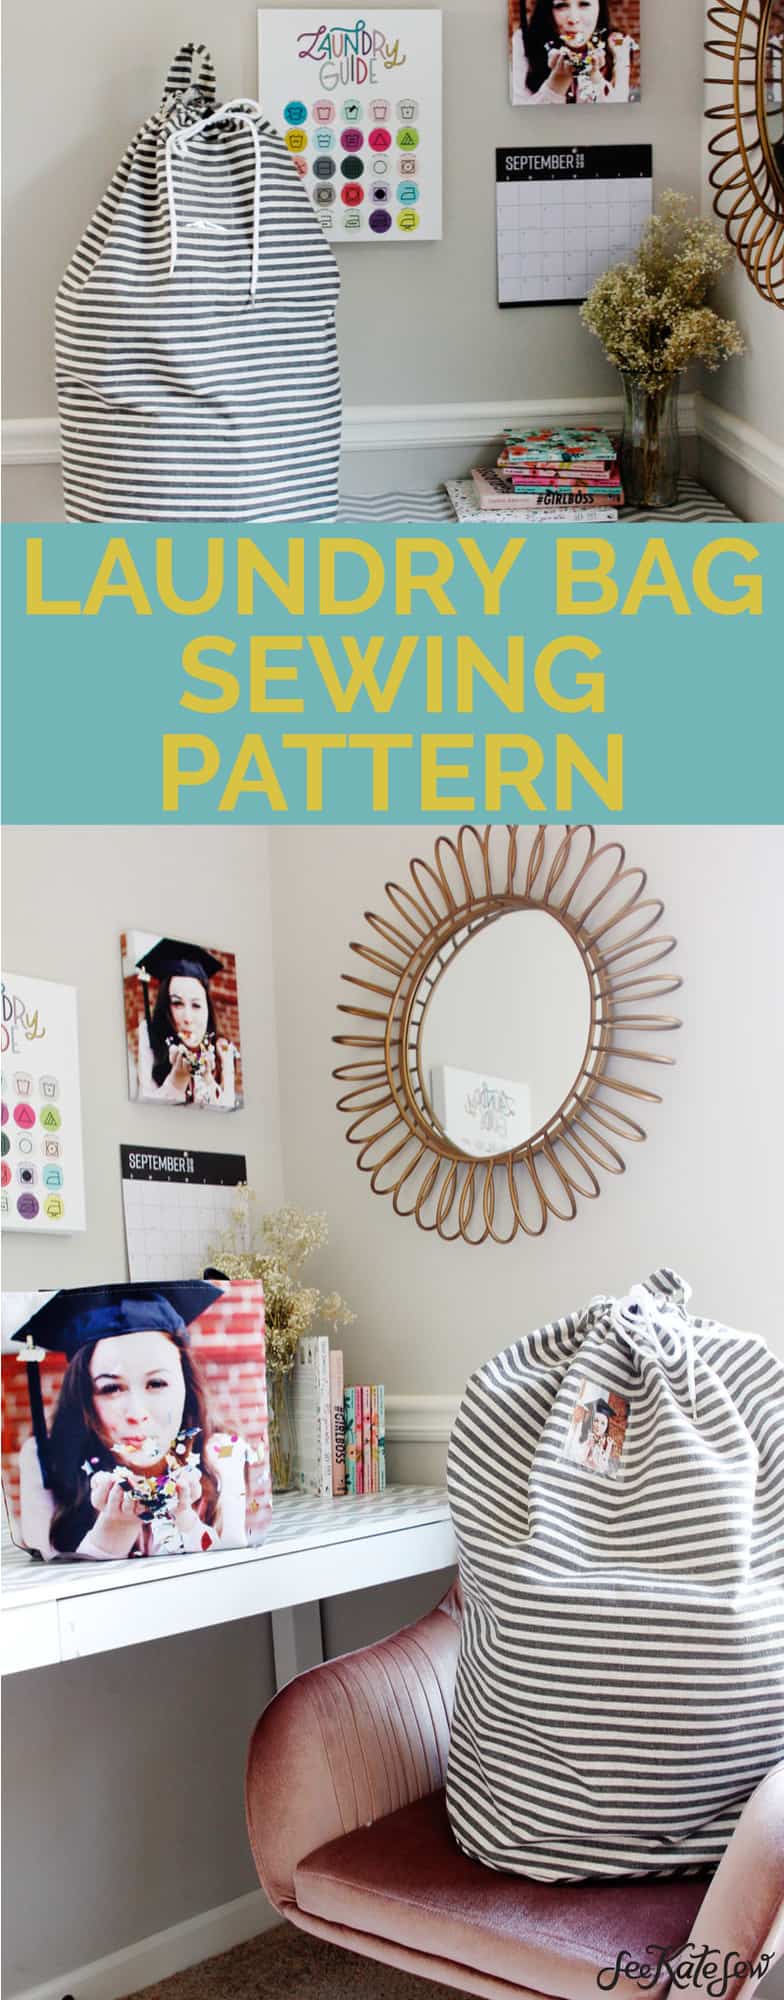
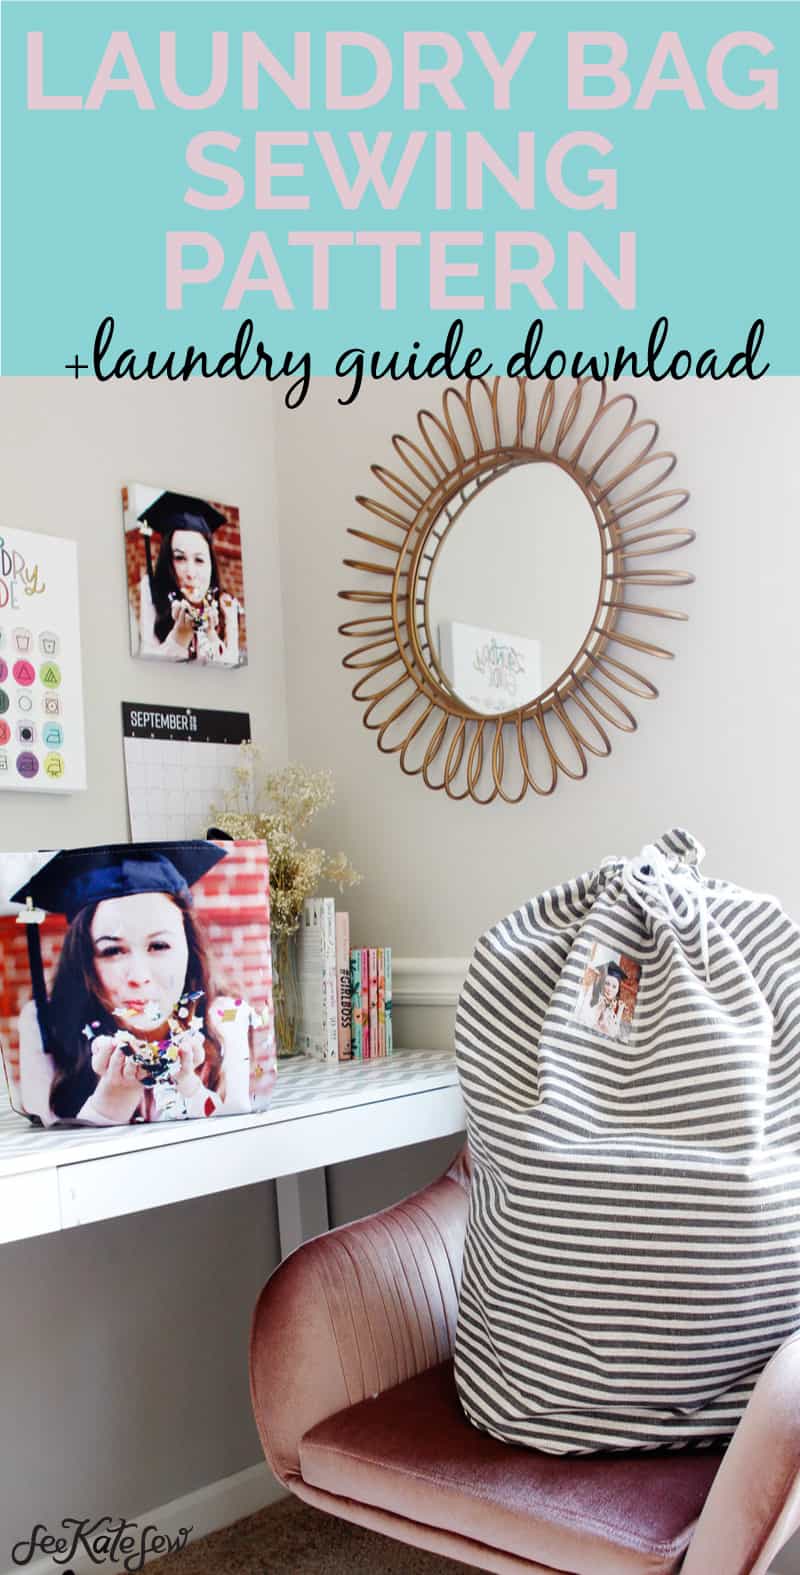
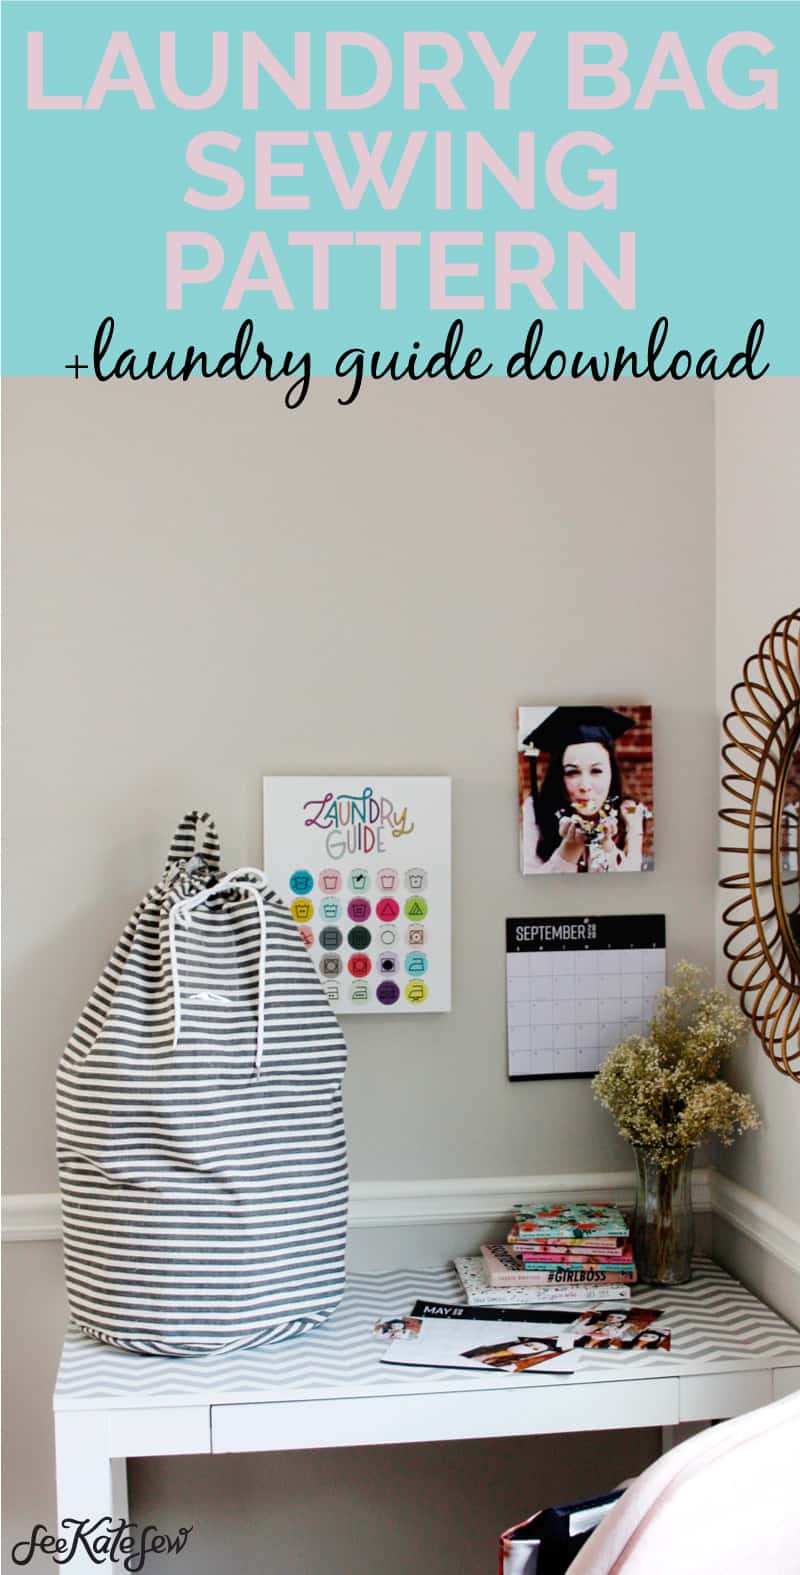
This post also includes the sewing instructions and pattern download for a drawstring laundry bag. It’s easy to sew and a perfect graduation gift!
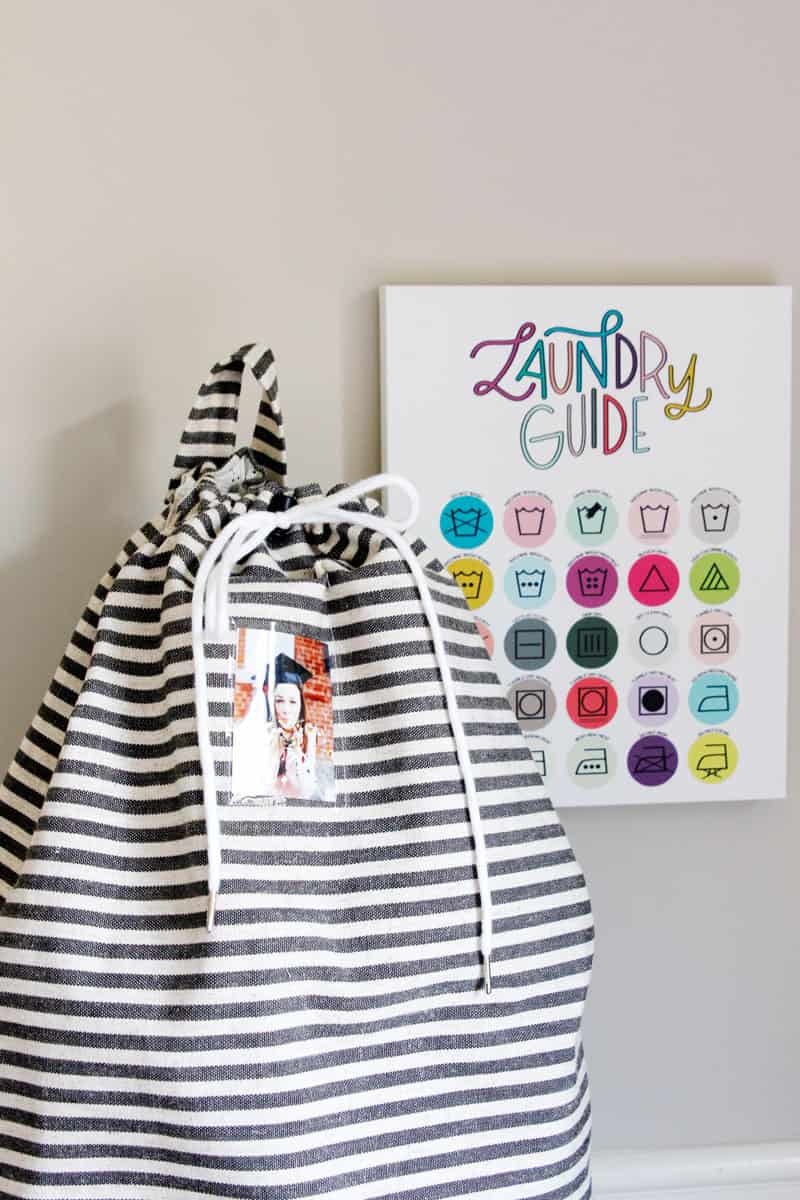
This sturdy bag has interfacing to help it stand up and a drawstring at the top.
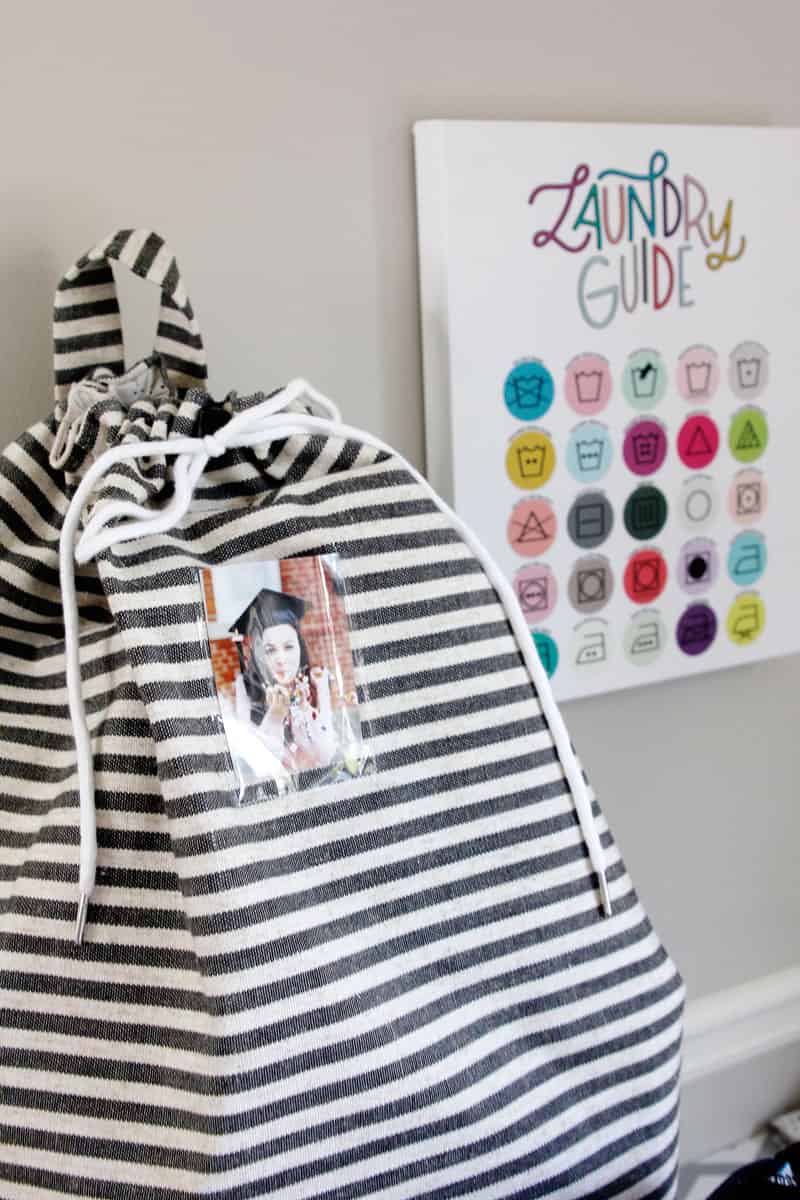
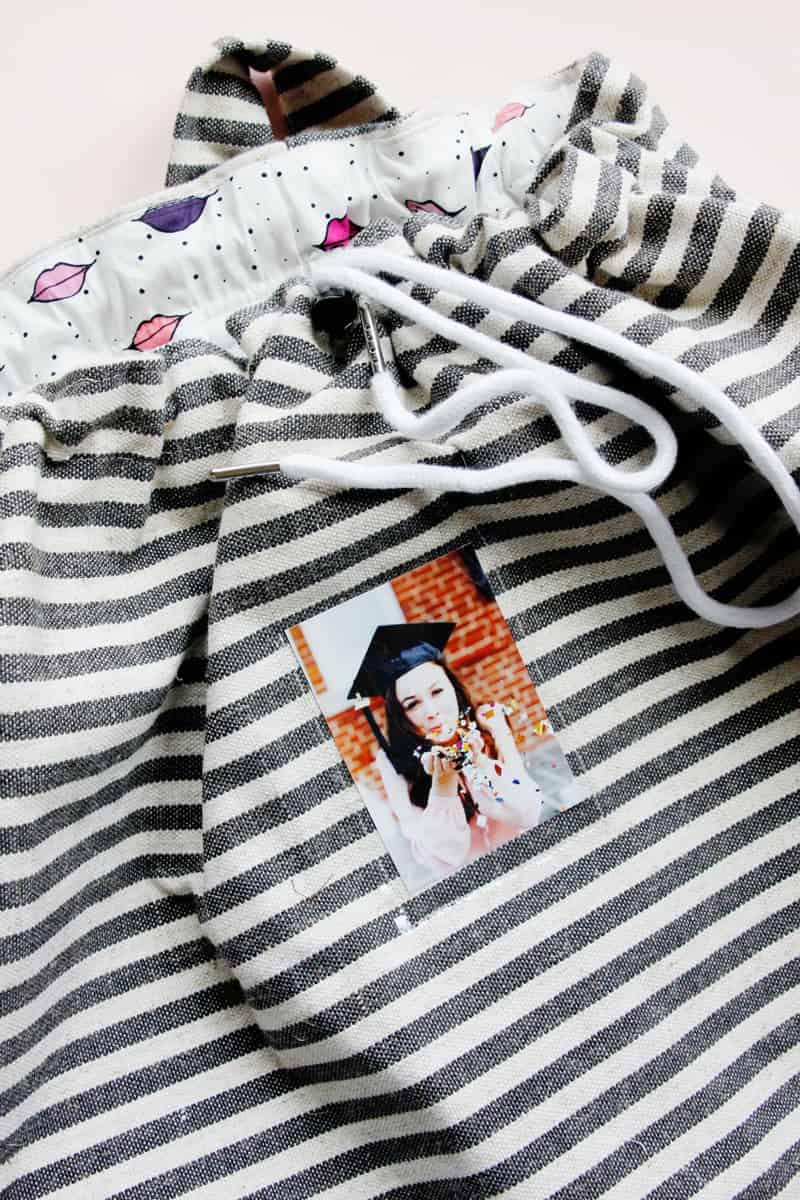
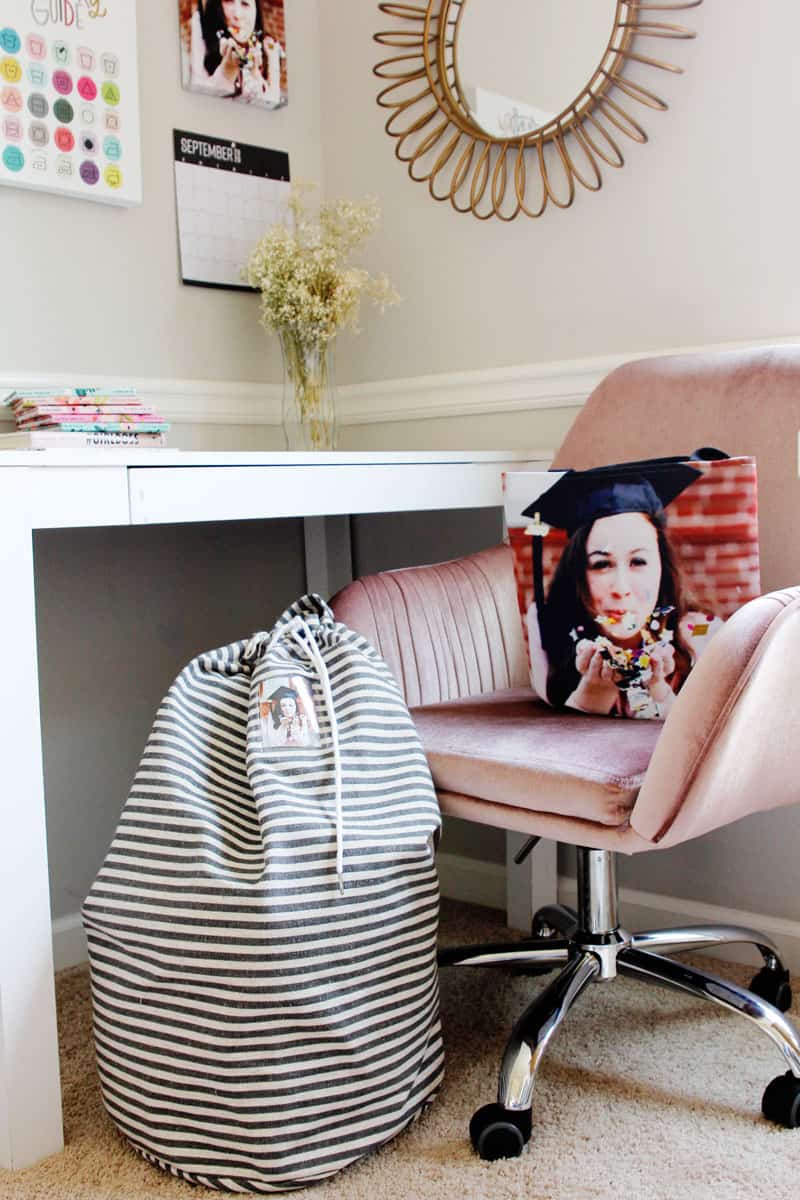
There is even a clear pocket on the front of the laundry bag for a name label or a photo! The top of the bag has a hanging loop, too!
Walmart Photo’s products, along with a homemade laundry bag, make a great gift for any college-bound graduate!
Laundry Guide Printable
Download the Laundry Guide JPG from the link above. Upload the file to Walmart Photo and choose your prints.
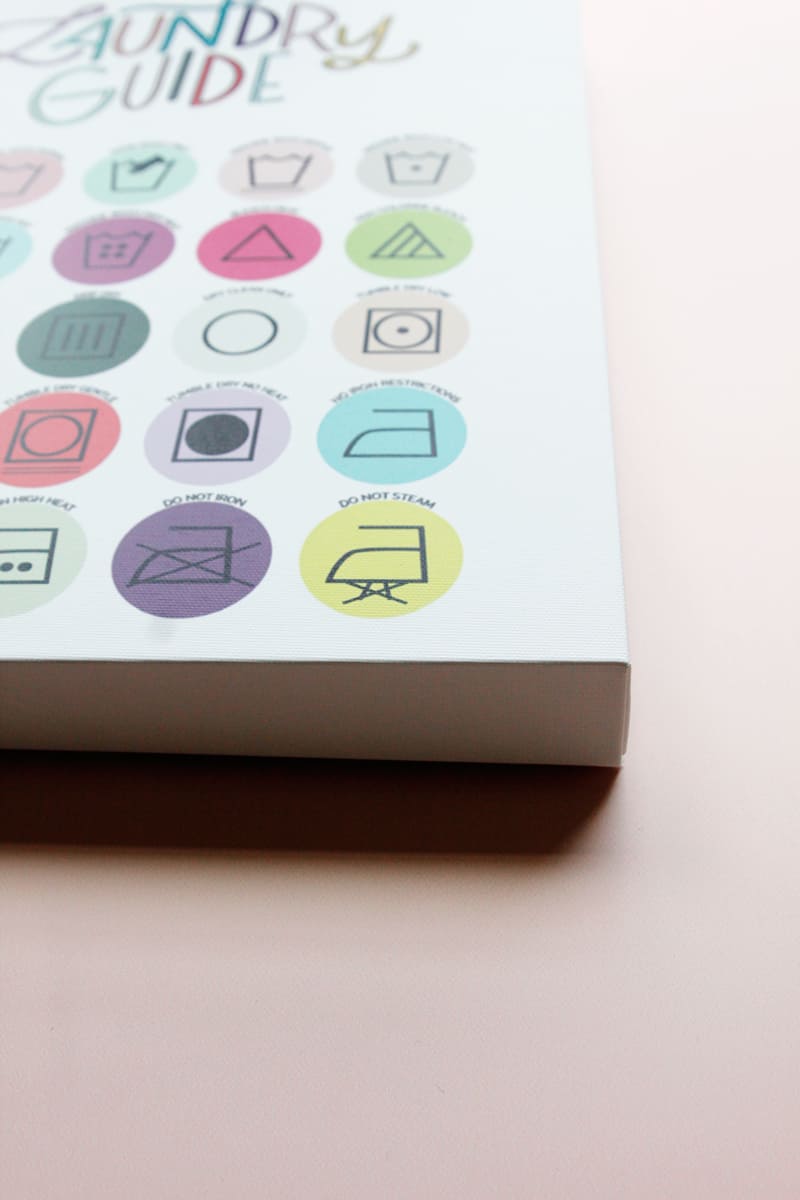
I printed this art onto an 11″ by 14″ canvas print which is an awesome option for dorm decor. I also included an 8″ by 10″ graduation photo on canvas. The canvas is a really nice quality and they look so good on the wall! I ordered the plain canvas but Walmart Photo also offers a framed canvas with a few different options. You can also opt to order a photo print and frame it in a classicl photo frame.
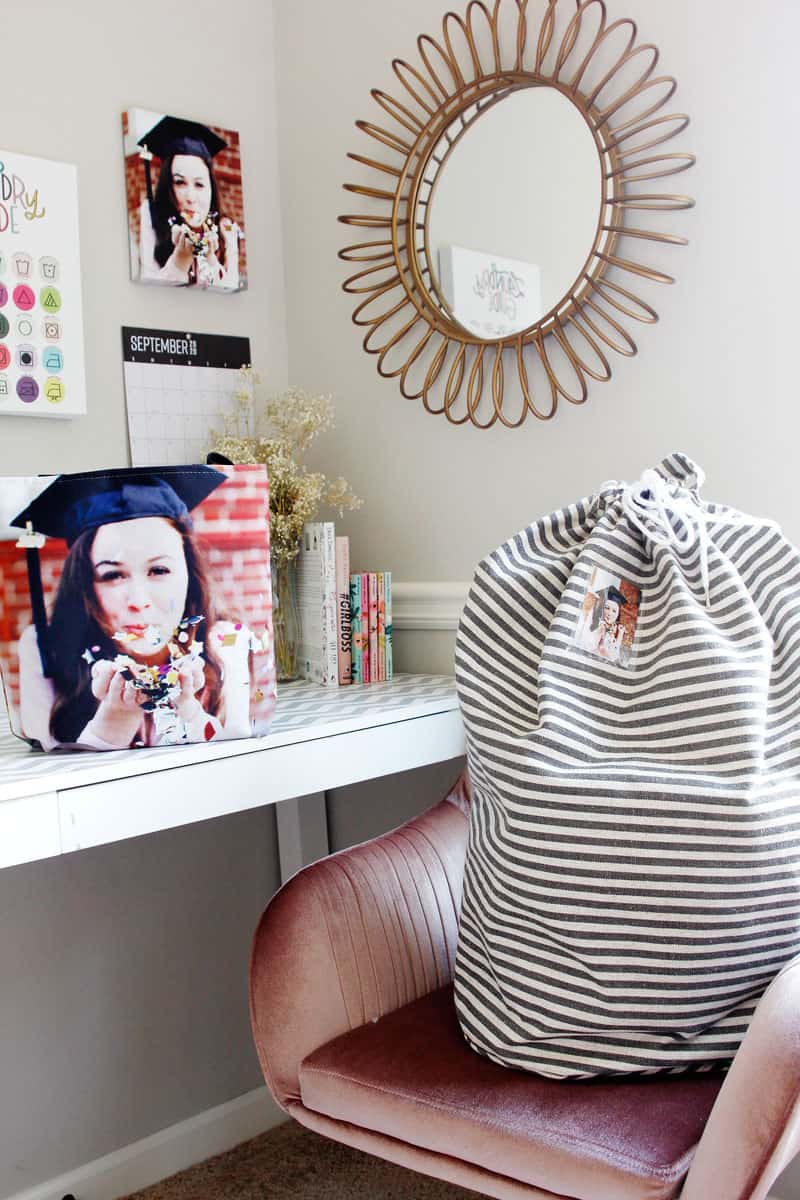
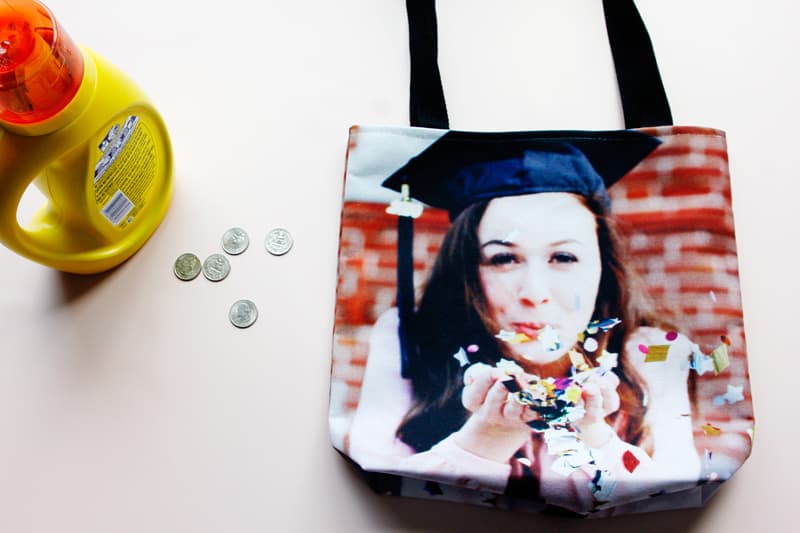
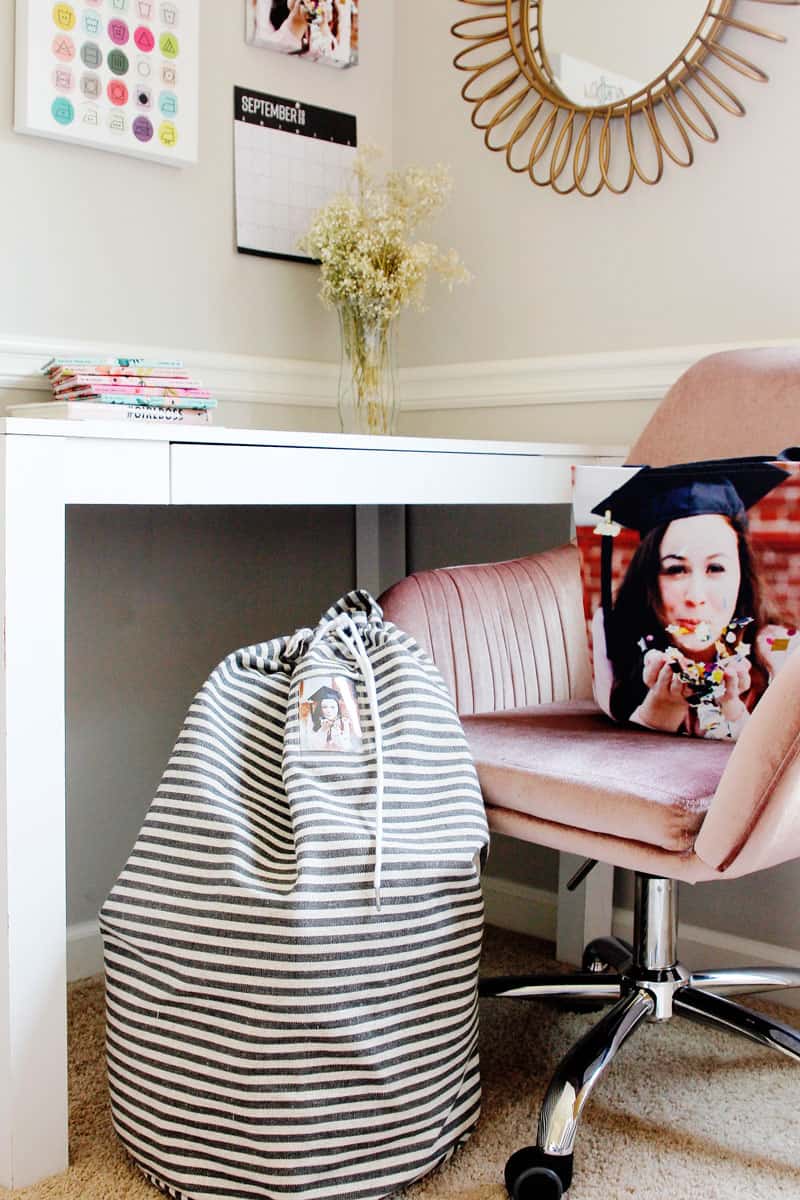
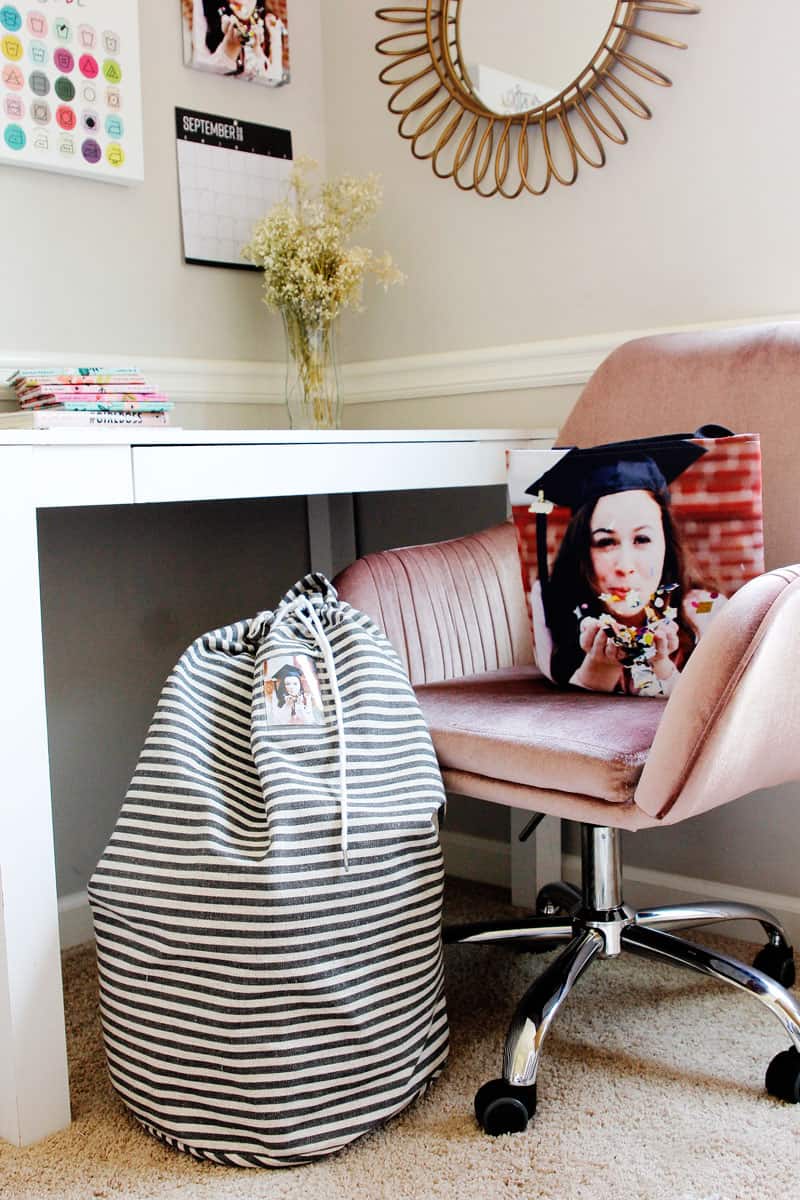
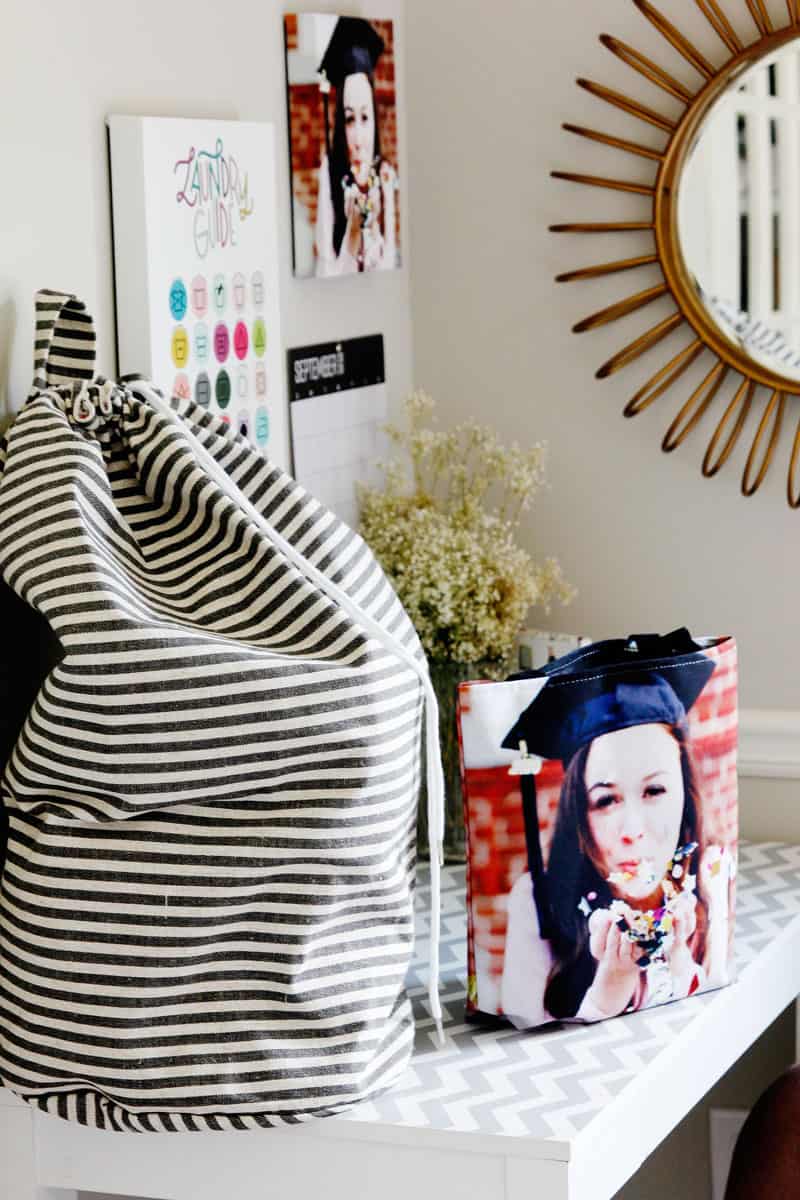
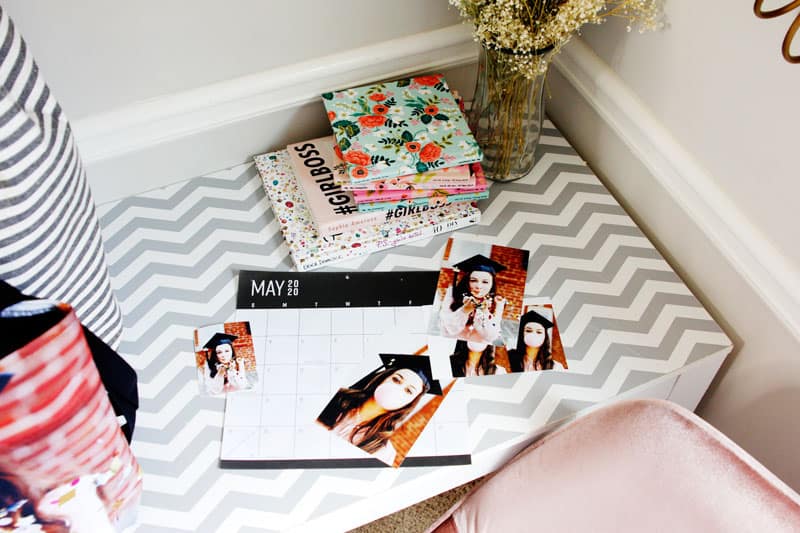
I used the same graduation photo on a bag – Walmart Photo also has super cute photo totes! This will be a great tote to hold laundry detergent and coins in when heading to the washer.
And how cool to have a tote with a photo on it. These are so fun for parents and grandparents, too!
I love the same-day photo options at Walmart Photo – these can either be picked up at the store or shipped to your home.
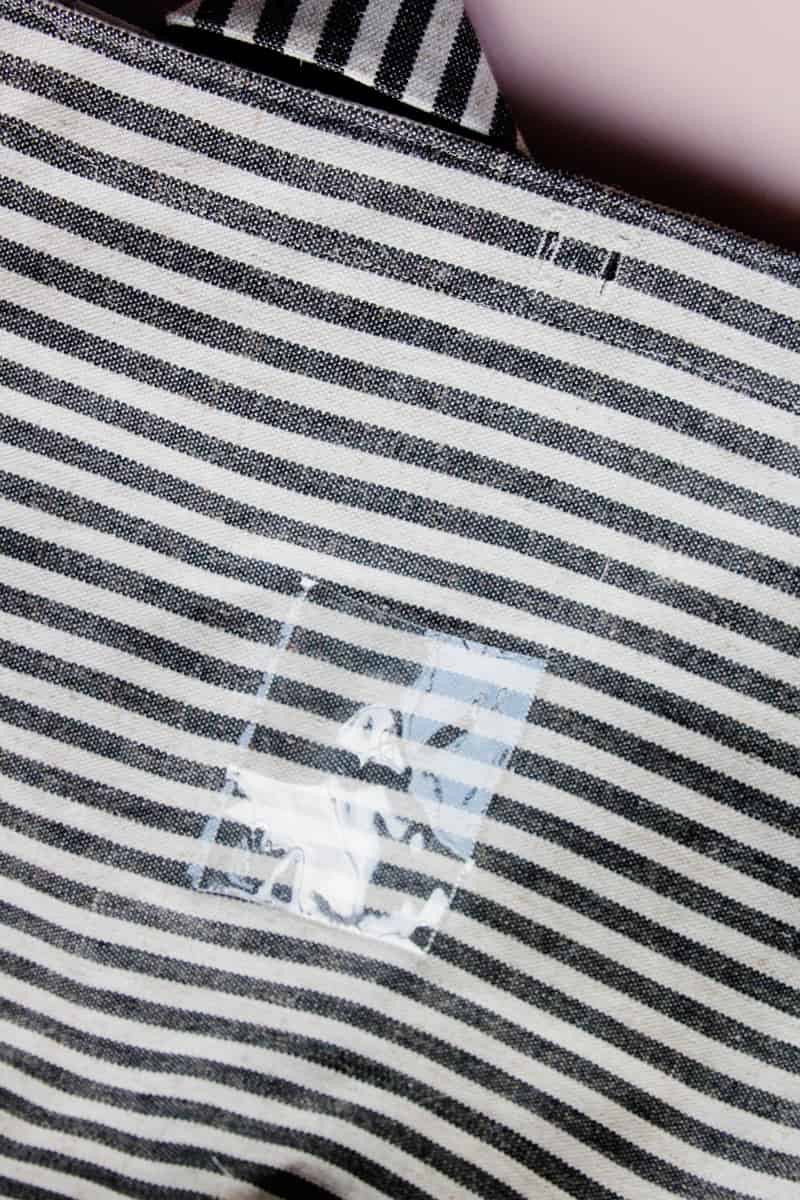
The laundry bag has a clear vinyl pocket sized for a wallet size photo.
This is a cute place to put a family photo so your grad doesn’t get homesick, or a cute photo of the graduate so everyone knows who the bag belongs to!
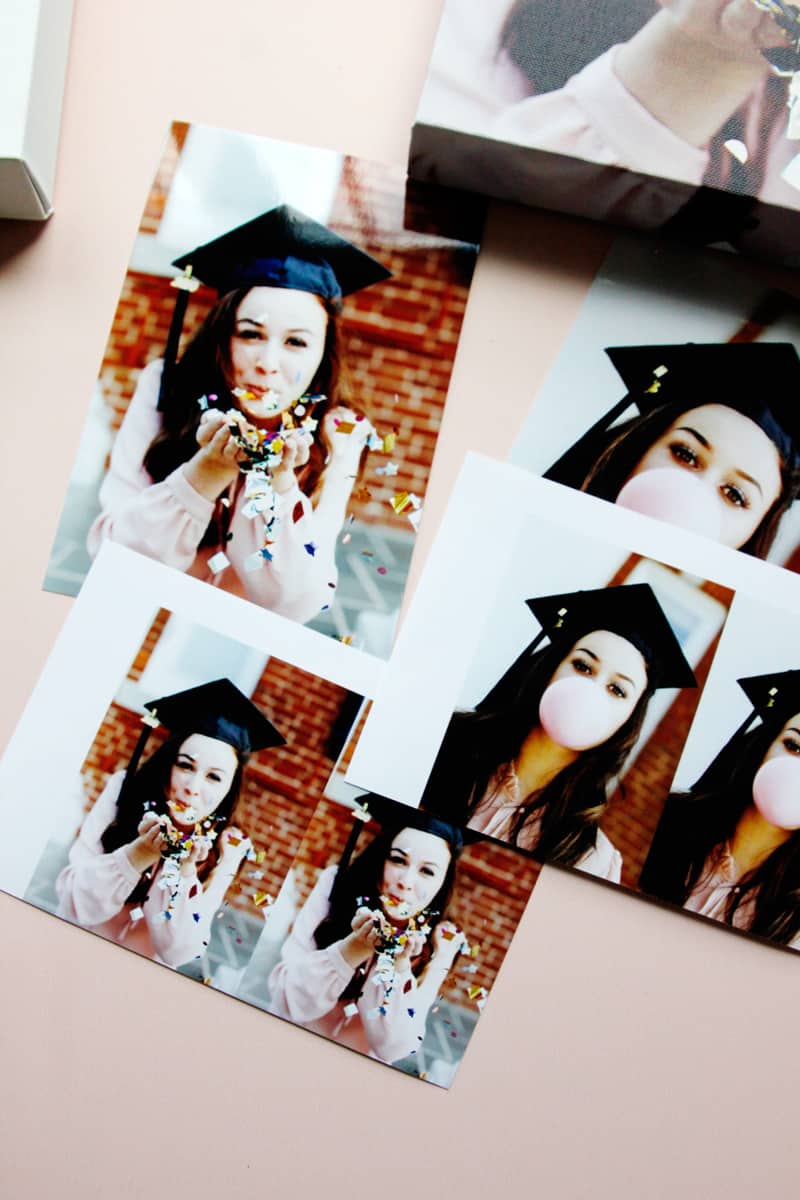
Walmart Photo offers wallet prints as a same-day service!
Your graduate will be excited to do laundry with this set!
Laundry Bag Pattern Materials
-Canvas or linen fabric, 2 yards
-100% cotton for lining, 2 yards
-Bag interfacing, optional
-Clear vinyl
-Drawstring toggle, 3/8″ opening
-Drawstring cord, 5mm diameter
-Buttonhole sewing machine foot or 3/8″ grommets
-Laundry bag pattern download
Laundry Bag Sewing Pattern Prep
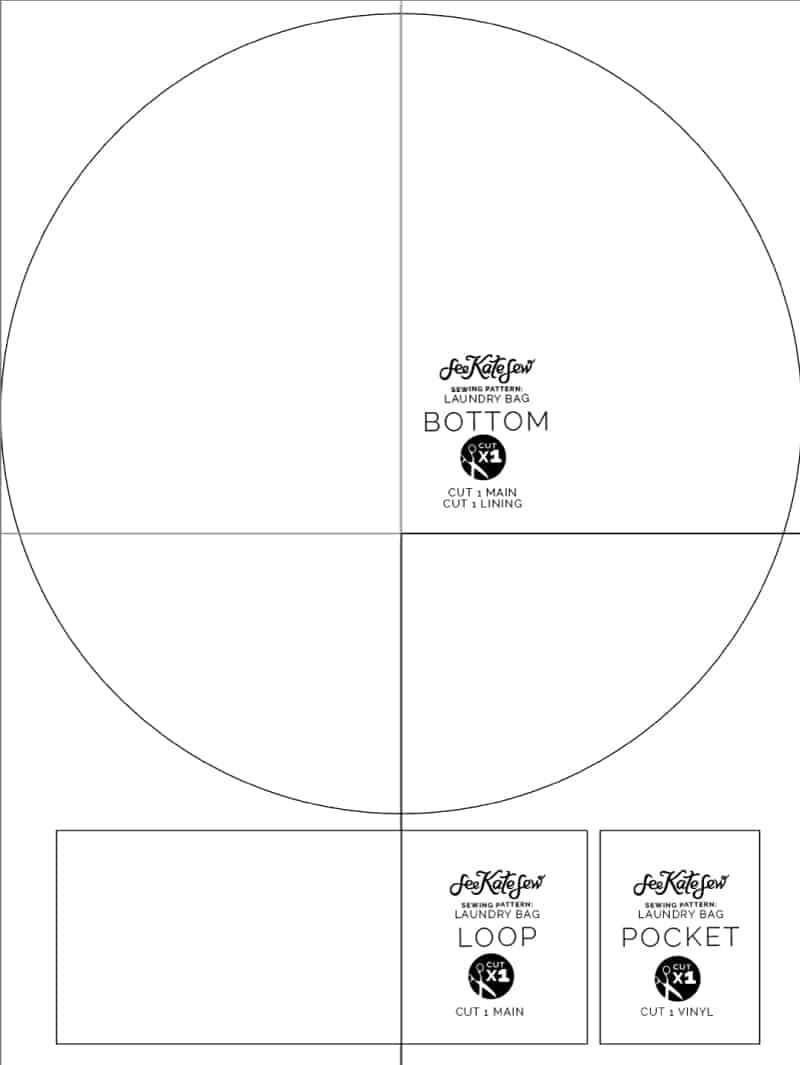
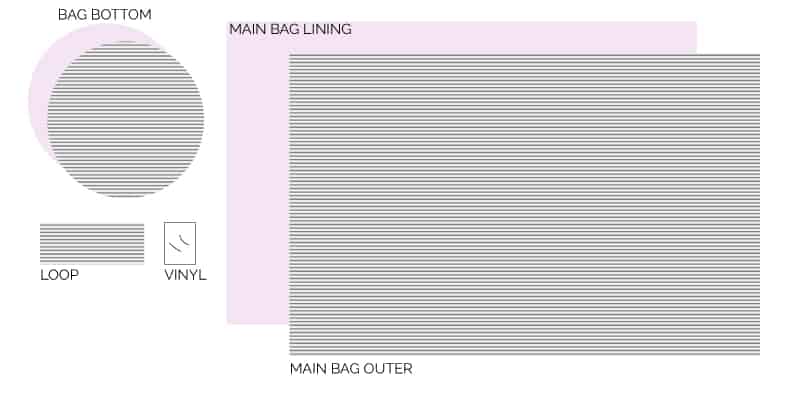
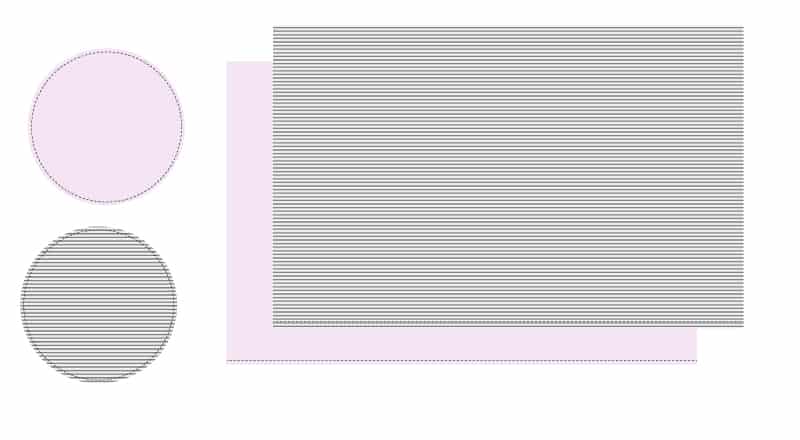
Print off the pattern pages at 100% or DO NOT SCALE. Trim edges of paper along the dashed line at the top and right sides of each sheet. Tape pages together and cut out pattern pieces. The pattern page includes a pattern for the bottom of the laundry bag, a top loop and the clear vinyl pocket. The pages fit together as shown in image below:
Cut 1 circle from each main and lining fabric. Cut 1 rectangle of each fabric from your yardage measuring: 45″ by 29″. If needed, piece fabric together to get the size necessary. Cut 1 photo pocket from clear vinyl.
Cut 1 of each circle and rectangle pieces from interfacing. Interfacing is optional but will add extra structure to your bag. I recommend interfacing because it will help the bag stay open and up a little bit when loading it up with clothes. Fuse interfacing to the back of main pattern pieces.
Sewing Instructions for Laundry Bag
Use a 1/2″ seam allowance.
Stay-stitch the bottom edge of the rectangle piece and all the way around the bag bottom circle piece, 1/2″ from the raw edges. Stay-stitching is regular length stitching that helps prevent unwanted stretching as you sew. This is especially important for curved pattern pieces.
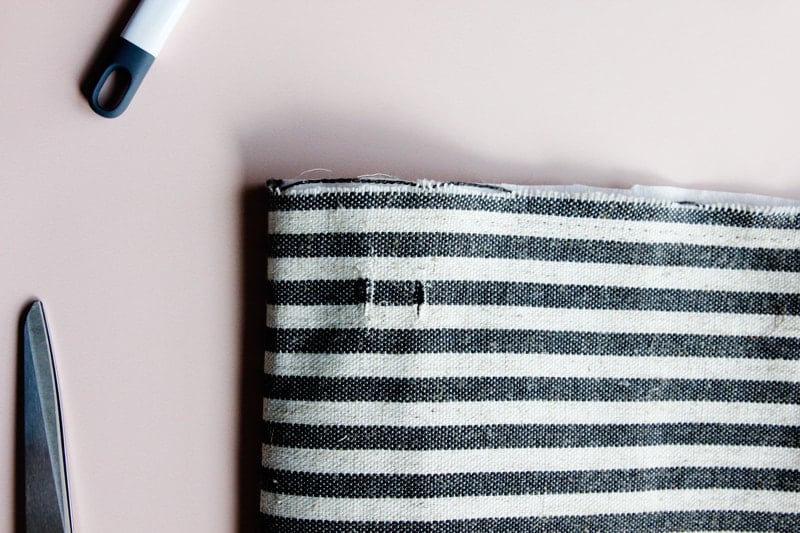
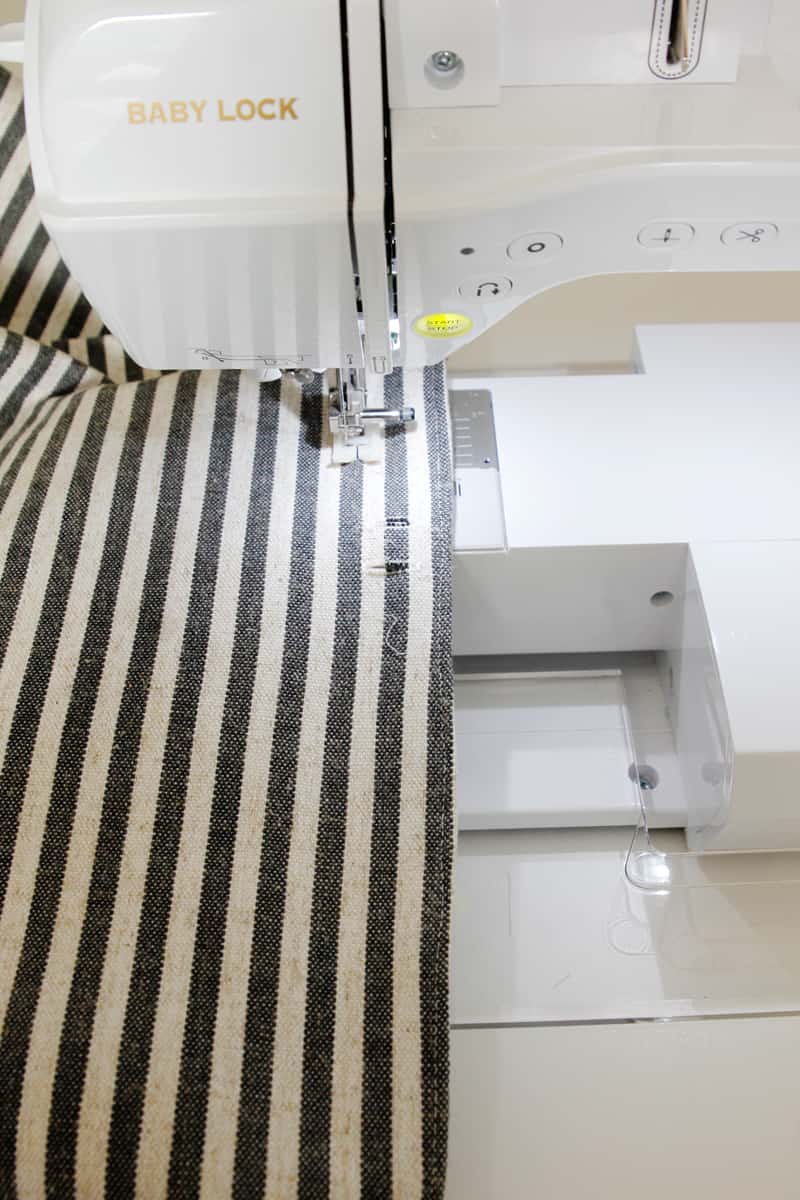
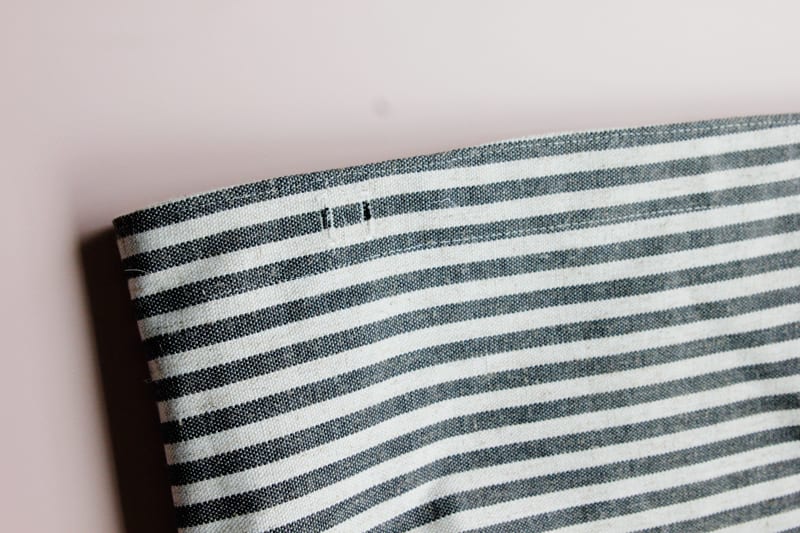
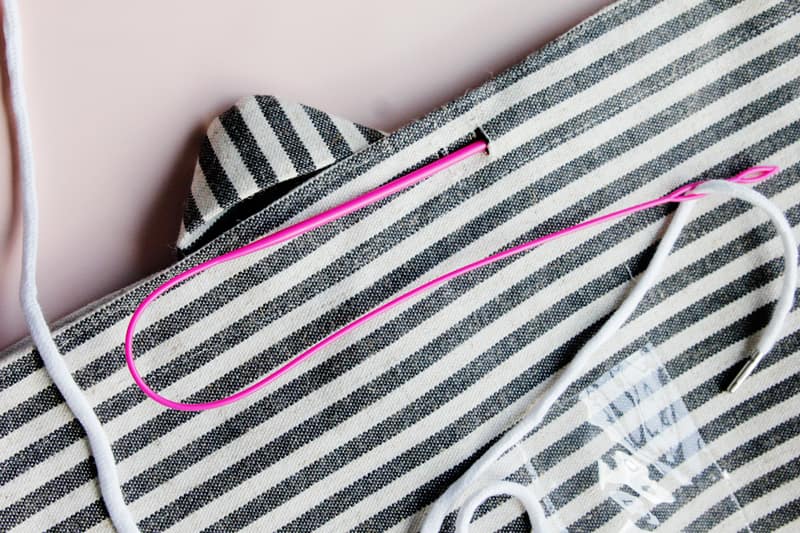
Create two 1/2″ buttonholes in the middle of the main bag piece, starting about 1″ from the top raw edge. If you prefer not to use buttonholes, you can place 3/8″ grommets here instead.
Fold the rectangle sides in half with right sides together and match raw edges. Pin and sew. Press seam allowance open.
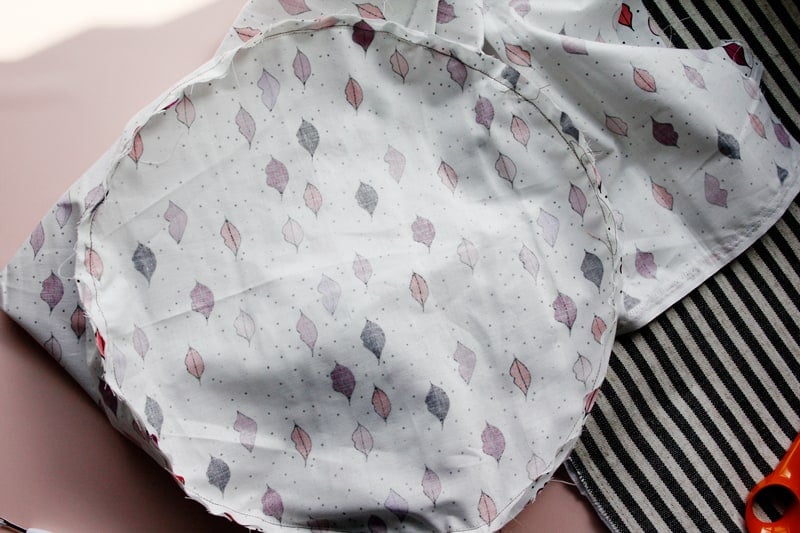
Pin circle piece to the main bag pieces with right sides together. Pin circle in quarter sections first and then all the way around. Pull stay-stitching slightly if needed to fit pieces together. Sew all the way around. Repeat with bag lining pieces.
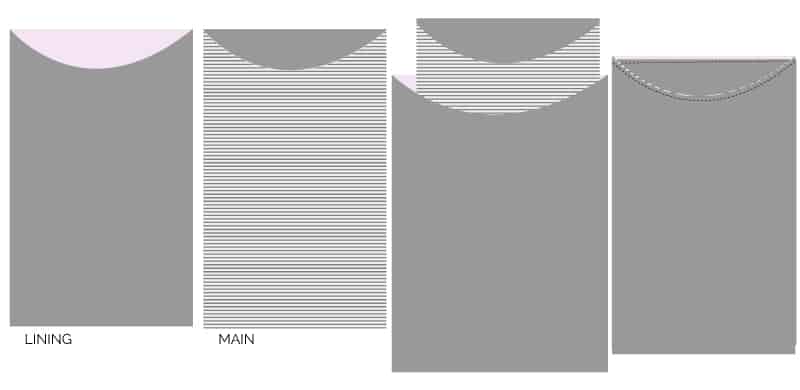
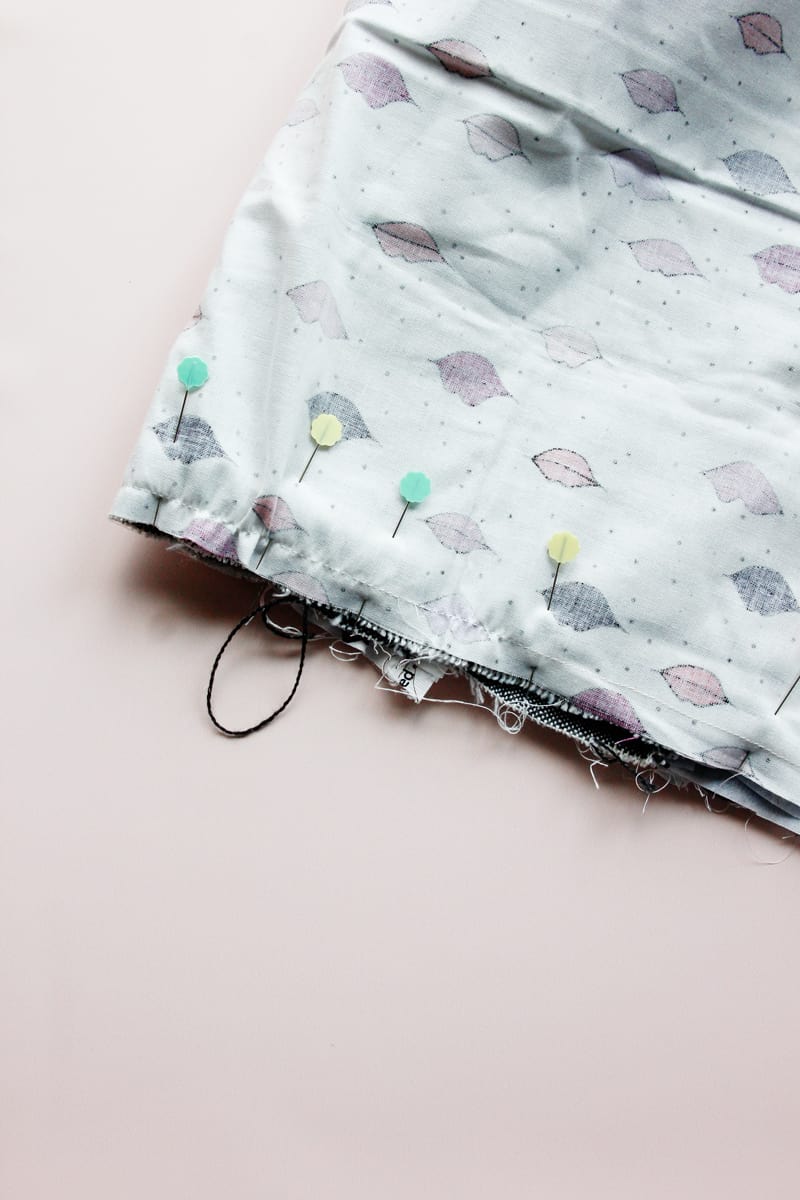
Turn main piece right side out and lining inside out. Slip main bag into the lining and pin the top edges.
Sew around the top 1/2″ from top edge.
Turn bag right side out through the opening in the lining. Sew the opening in the lining closed with your sewing machine or a hand needle.
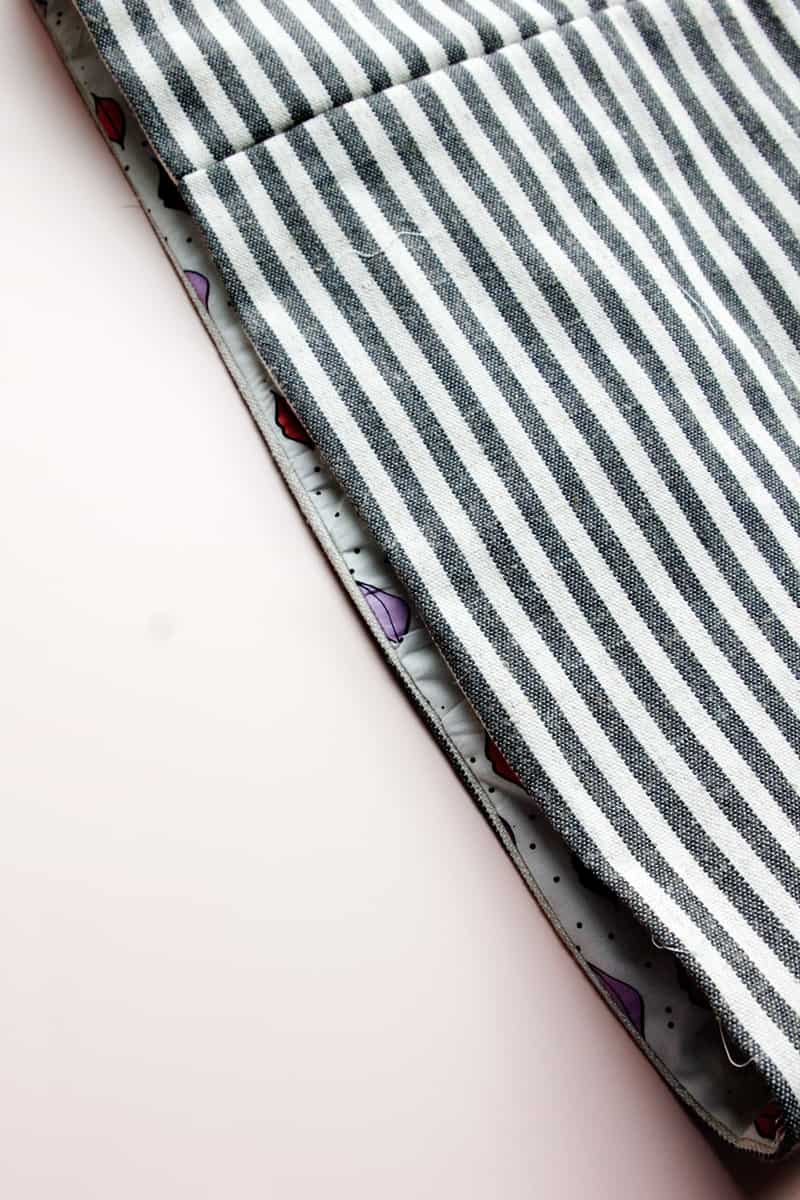
Push the lining into the main fabric and press the top edge.
Topstitch around the top of the edge, 1/8″ from the top.
Sew around the whole bag again 1.5″ from the top to create a casing.
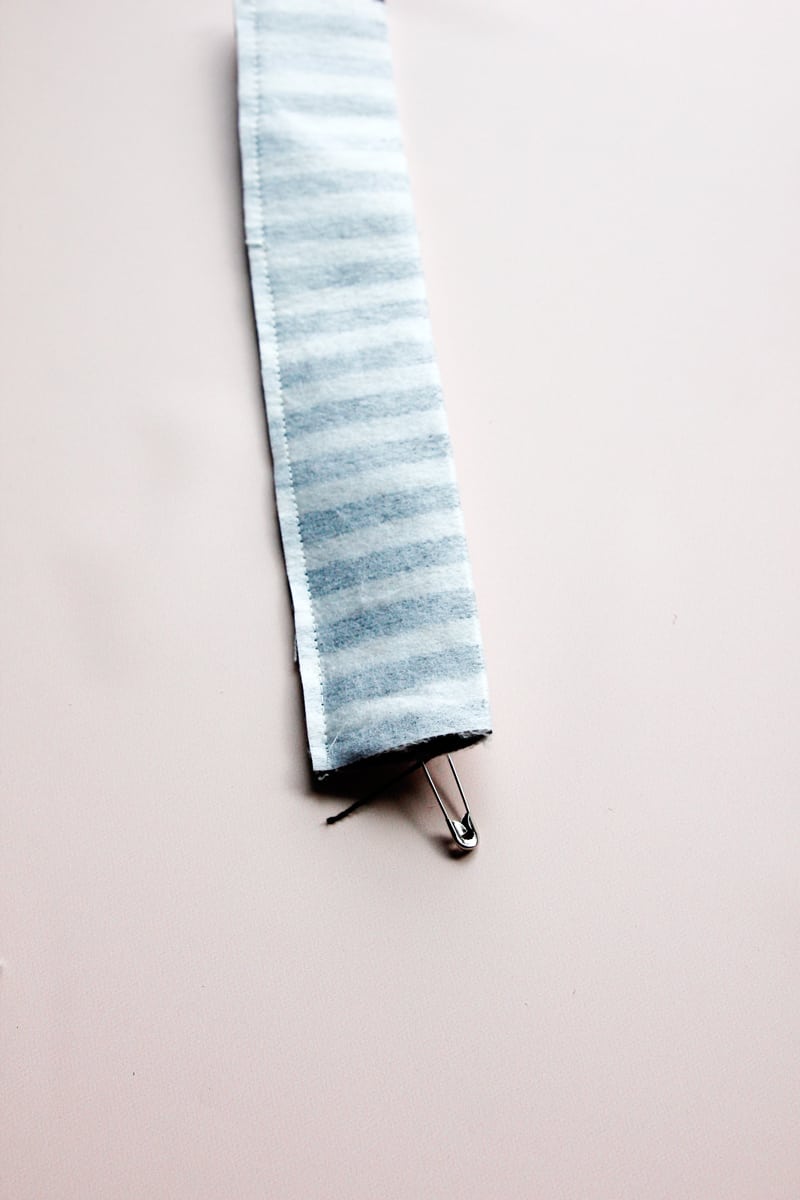
Fold loop piece in half lengthwise and press well. Sew 1/4″ from the edge. Trim edge and then use a safety pin to turn the loop right side out. Press well.
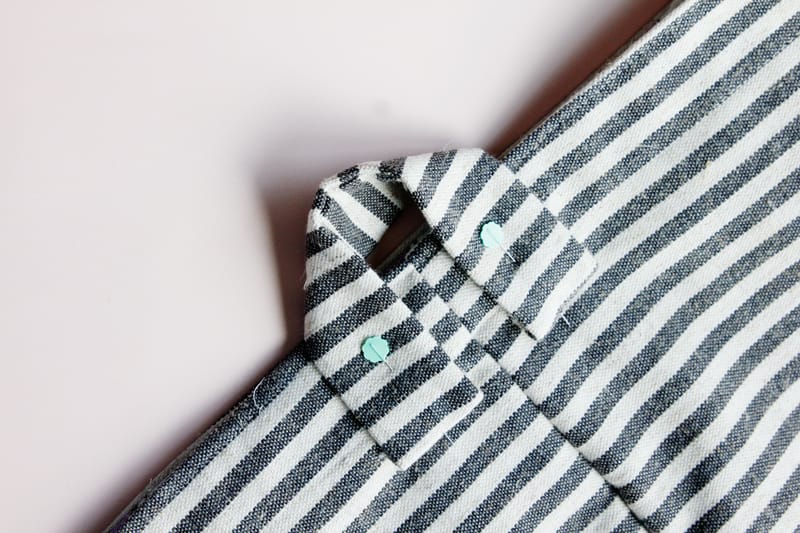
Press the short edges of the loop piece under 1/2″ and pin to the back of the bag, centered over the seam. The loop should extend 1/2″ past the casing. Sew loop edges onto bag by sewing a rectangle of stitching at each loop end. Backstitch. Do not sew into casing.
Place vinyl pocket centered below buttonholes, about 5″ from the top of the fabric edge. Sew around pocket along the sides and bottom, 1/8″ from the edge of the vinyl. Backstitch at the beginning and end of your stitching and pivot at the corners.
Lace drawstring through casing.
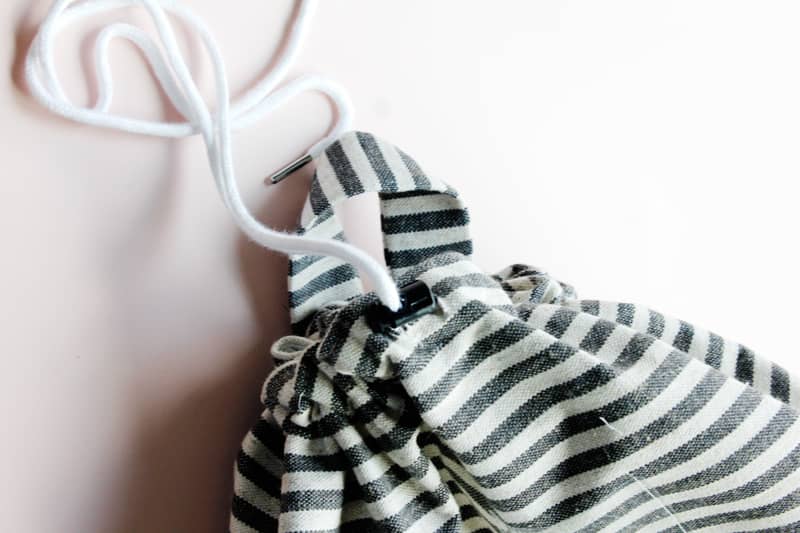
Thread ends of drawstring through toggle tool.
Cinch it up and you’re ready to hit the laundromat!
Check out Walmart Photo for more photo inspiration!





Hi Kate, thank you so much for this idea and pattern. I have a question as I’m not a frequent sewer of lined bags. In the step of sewing the bag and liner together at the top edge, it states to “turn the bag right side out through the opening in the lining.” Where should this opening in the lining be?-in the side seam, or at the top where you are sewing them together. Thank you