• Skip to main content
  • Skip to primary sidebar
  • Skip to footer
  • Blog
  • About
  • Contact
  • FAQ
  • Sponsor

see kate sew

sewing, crafts, tutorials, DIY

  • Patterns
    • Free Patterns
    • Pattern of the Month
  • Tutorials
    • Accessories
    • Bags and Pouches
    • Clothing
    • Costumes
    • Crafts
    • Cricut Projects
    • Holiday
    • Household
    • Kids
    • Maternity
    • Quilting
  • Topics
    • Baby
    • Boy
    • Christmas
    • dog
    • Dolls
    • Easter
    • Girl
    • Halloween
    • Lookbook
    • Party
    • pet
    • Printables
    • Training
    • women
  • No Sew
  • Sewing 101
  • Sew4Good
  • Pet
  • Sewing Room
    • DreamBox
  • Reviews
Home
  • Patterns
    • Free Patterns
    • Pattern of the Month
  • Tutorials
    • Accessories
    • Bags and Pouches
    • Clothing
    • Costumes
    • Crafts
    • Cricut Projects
    • Holiday
    • Household
    • Kids
    • Maternity
    • Quilting
  • Topics
    • Baby
    • Boy
    • Christmas
    • dog
    • Dolls
    • Easter
    • Girl
    • Halloween
    • Lookbook
    • Party
    • pet
    • Printables
    • Training
    • women
  • No Sew
  • Sewing 101
  • Sew4Good
  • Pet
  • Sewing Room
    • DreamBox
  • Reviews

08.21

Leather Tassel Necklace Tutorial

Welcome to See Kate Sew! If you’re new here, sign up for my email newsletter for access to free patterns, tutorials and all the latest sewing news! Tour my sewing room HERE!

Written by Jessica of The Ladyette.

DIY tassle necklace

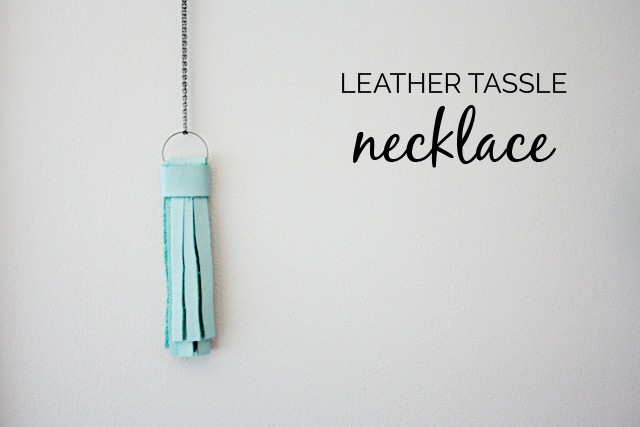
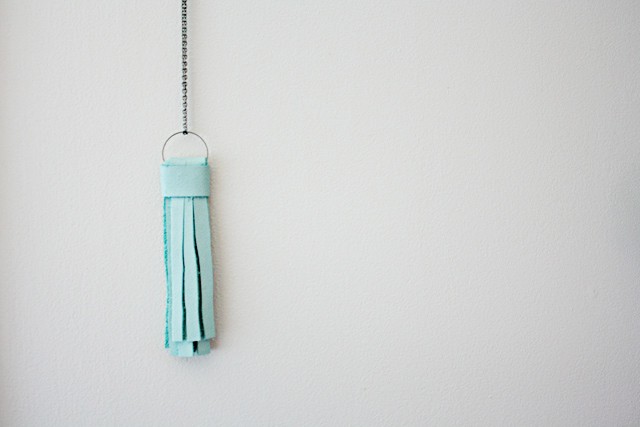
This summer I have practically worn out a black beaded tassel necklace of mine because I love the length and the bulk of it paired with flowly summer outfits.  This got me thinking I needed to add more tassel accessories to my wardrobe.  Today I have a leather tassel necklace tutorial to share with all of you See Kate Sew readers.  My favorite part is the turquoise color.  Turquoise is like a second black for me…it goes with everything.

10 11 tassel necklace 01

Supplies Needed: a small piece of leather about 9″ long and at least 2″ wide (I found this turquoise piece at Michael’s), a sharp pair of scissors, super glue, a large jump ring, two 18″ necklace strands (also can be found at Michael’s).

Step 1: I trimmed off the ends of my leather piece to get rid of the round edges.  Trim one end off by about 3/4″ because it will be used to wrap around the tassel ends later.  Then cut two long strips, each about 1″ wide.  You can easily eyeball the measurements and the piece will turn out imperfectly perfect.

tassel necklace 02

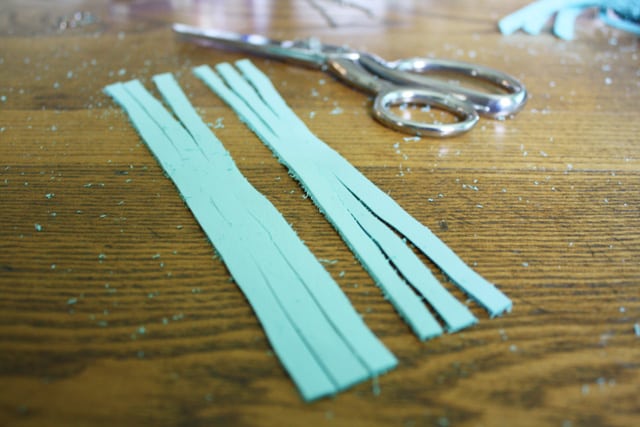
Step 2: Fold each strip in half so you know where the halfway point is, then cut long slits on each side stopping just a little short of the middle.  You can cut the leather folded or in single layers; I chose single layers to give it a more varied and random look.

tassel necklace 03 tassel necklace 04


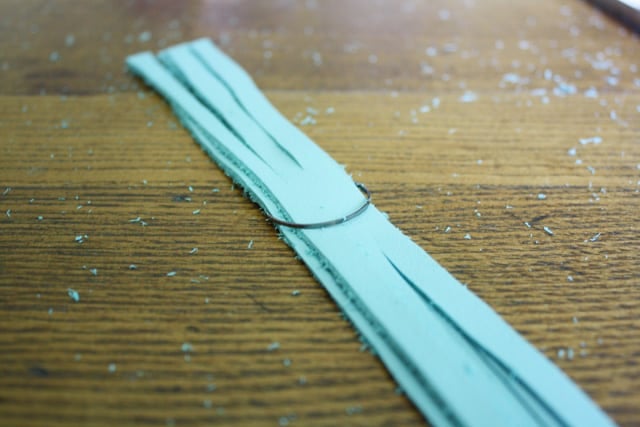
Step 3: Lay the leather pieces flat, one on top of the other as shown in the picture.  Slide the jump ring on to the middle of the leather and fold the leather in half around it.  You should start to see the tassel taking shape now.

tassel necklace 05 tassel necklace 06


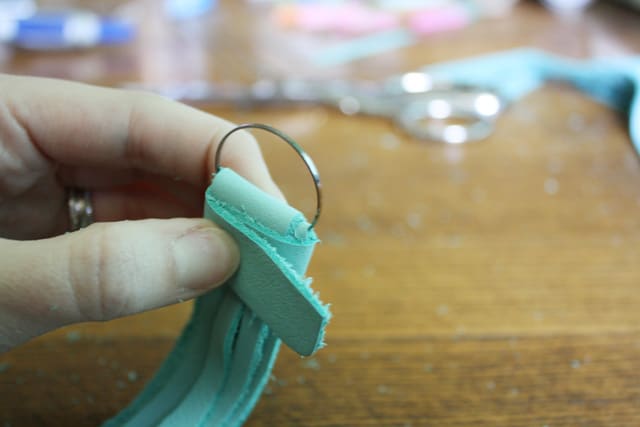
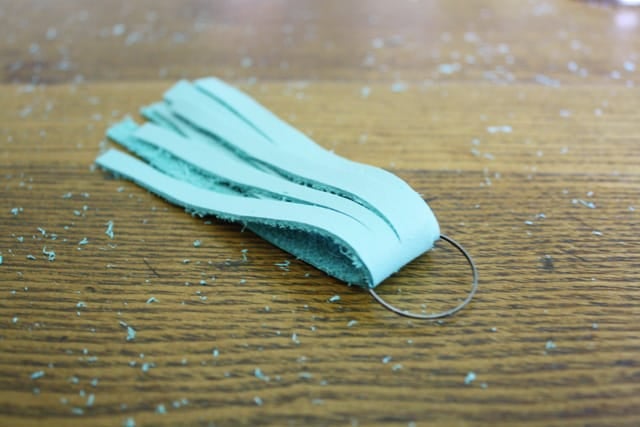
Step 4: Wrap the scrap of leather from Step 1 around the top of the tassel just under the jump ring and trim off any excess.  Super glue one end of the wrap to the tassel body and then glue the other end of the wrap on top of the first end, as shown in the picture.  Hold the leather down for about one minute to allow the glue to dry.

tassel necklace 07

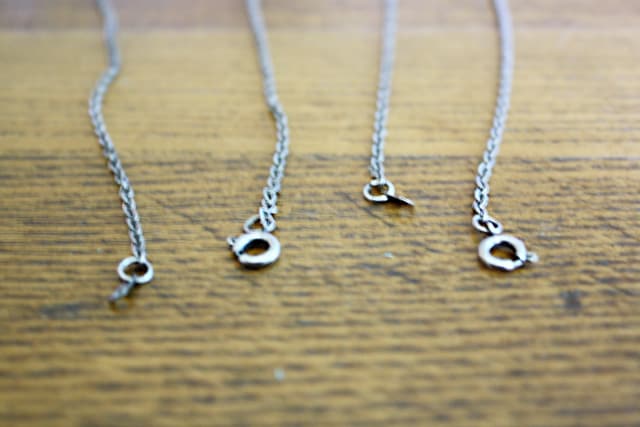
Step 5: Now hook the two necklaces together.  To do this, lay the end out as shown in the picture and clip the two middle pieces together first.  So the clasp of one necklace hooks to the eye of the other necklace and vice versa.  Before clipping the outside ends together, slide the jump ring with tassel onto the chain necklace.  After both ends are hooked, it will easily slide over your head.

tassel necklace 08 9


12

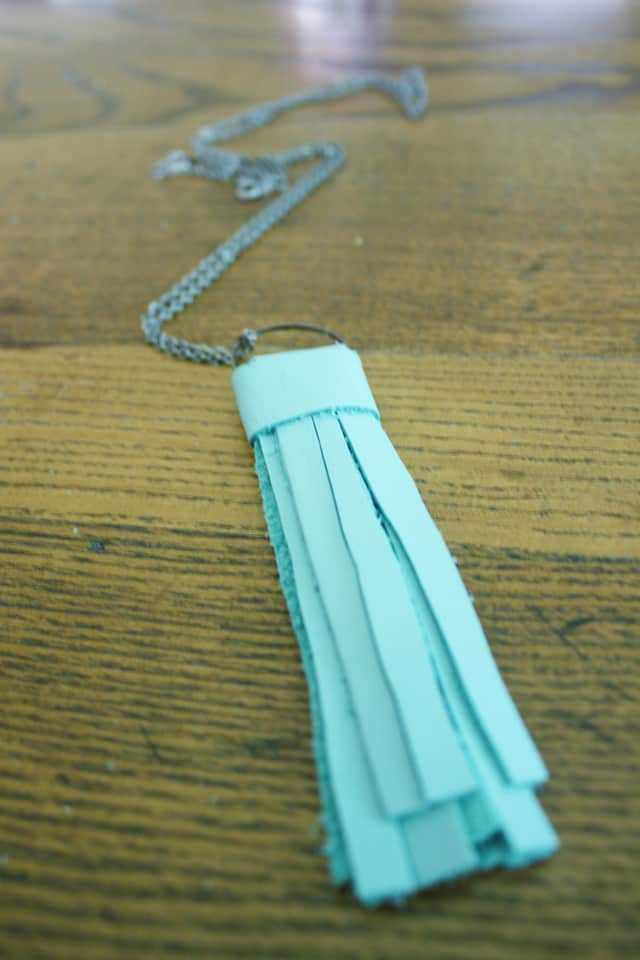
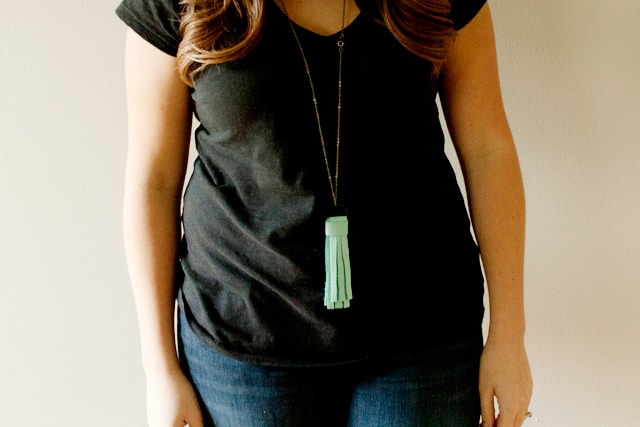
I love the length of this necklace, it adds a lot of interest to an outfit and could be easily layered with other necklaces.  And, because of using two necklaces to create one extra long necklace, you can always remove one and have just a short necklace if that’s the look you’re going for.  I can just imagine this tassel in so many different colors.  I think a metallic gold would be really lovely.


Happy creating!

Leave a Comment | Accessories

Exclusive Free PatternRuffled Apron

Sign up for my email newsletter and receive my ruffled apron pattern totally FREE!

We take your privacy seriously. See our privacy policy here. Unsubscribe at any time.

You may also like these posts...

SD card holder case tutorialbuy + diy: SD card holder tutorial + FREE PATTERNKnit Headbands for Baby + ToddlerCricut Maker Quilting // Coffee Cup BlockQBOM: Coffee Cup Quilt Blockbig huge pink bow tutorial

Primary Sidebar

  • Facebook
  • Twitter
  • Instagram
  • Pinterest
  • Email

Exclusive Free PatternRuffled Apron

Sign up for my email newsletter and receive my ruffled apron pattern totally FREE!

We take your privacy seriously. See our privacy policy here. You can unsubscribe at any time.

Don’t miss these popular posts!

easy baby dress pattern for the summertime

easy baby dress pattern for the summertime

modern ombre + b/w triangle quilt tutorial + pattern

modern ombre + b/w triangle quilt tutorial + pattern

Fabric

Quilted Cosmetic Case Kiss Me KateKiss Me, Kate FabricOne Hour Granny Square Quilt Tutorial | See Kate SewModern Granny Square Quilt Whole Cloth

Pattern Hacks

Easy Baby Summer Dressthe EMMA pattern | See Kate SewThe EMMA Dress

Footer

Hello friends!

My name is Kate, a twenty something fashion lover and mother of two. When I’m not chasing kids you can find me at my sewing table or daydreaming up new designs. You can read more about me here. Thank you for visiting!

8a918f8da8e0e69102dc0f33a718de85a99c31a57283e0e3e2

FOLLOW ME HERE

  • Facebook
  • Twitter
  • Instagram
  • Pinterest
  • Email
  • Blog
  • About
  • Contact
  • FAQ
  • Sponsor

Copyright © 2023 See Kate Sew  •  All Rights Reserved  •  Privacy Policy  •  Site Design by Emily White Designs