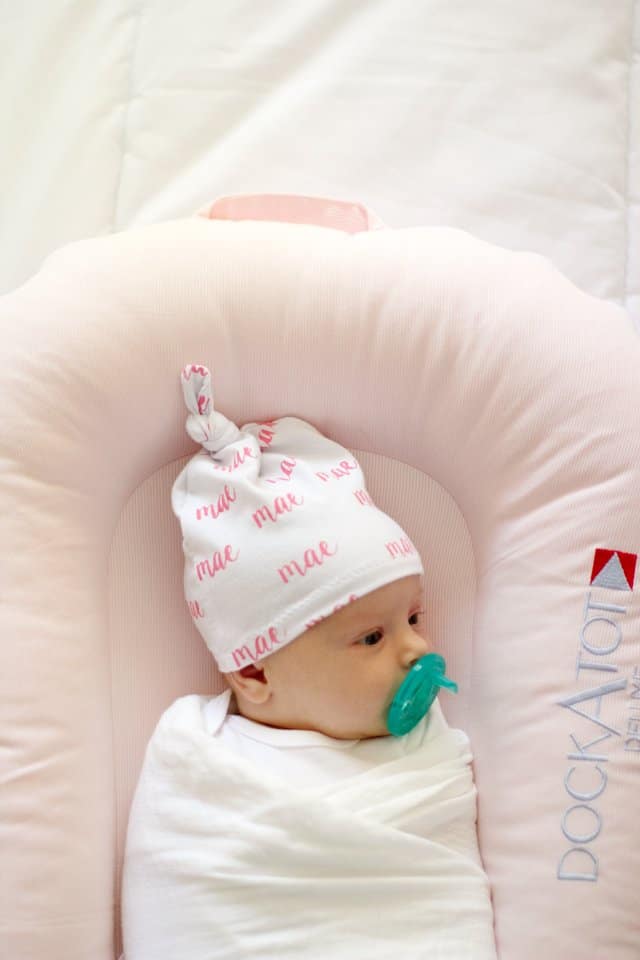
I originally shared this post at Gugu Guru where I write a monthly DIY column! I’m bringing it home today and gushing over these tiny baby pictures with the newborn knotted hat tutorial! Take me back!

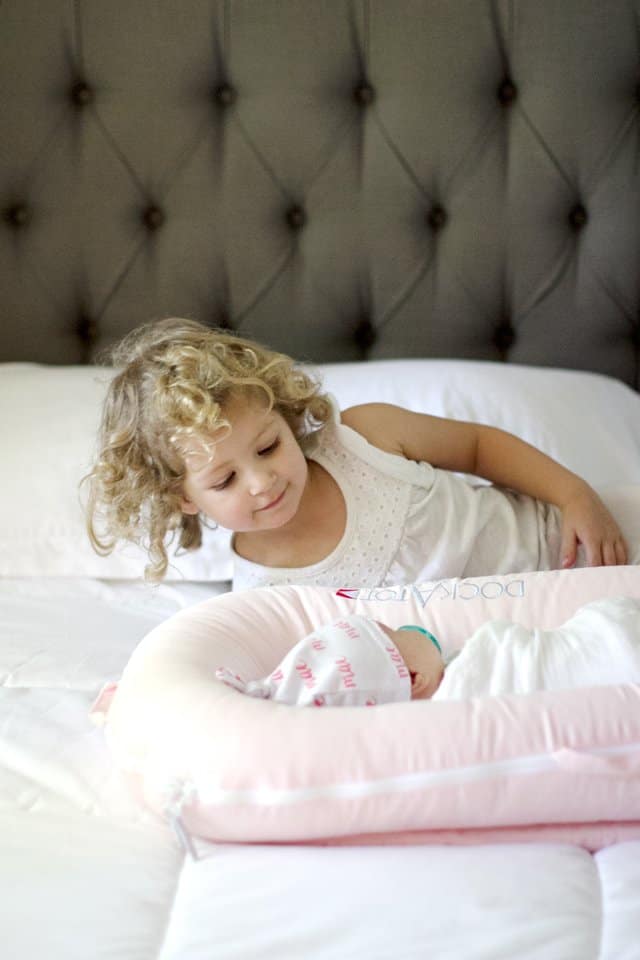
Okay so I’m a little more rested now than I was back then, but that smell is fading fast and it’s making me so sad and so happy at the same time! Mae has since grown out of her Dock-A-Tot, but we loved this thing hardcore for 6 months! You can read my full review of this sleep product in this post.
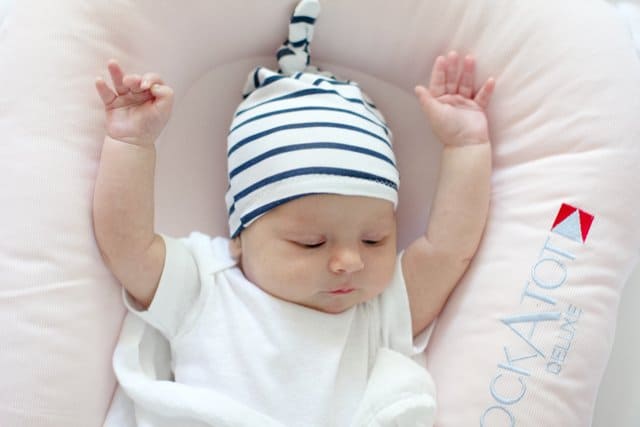
My sweet little chunk now has enough hair to make a tiny ponytail and this hat won’t fit her! But here are the instructions with a free download so you can make one for your tiny newborn!

There are also instructions below for personalizing the hat with a baby name or other design, scroll down for that!
Knotted Hat Materials
- 1/3 yard knit fabric
- coordinating thread
–
Newborn Knotted Hat Tutorial
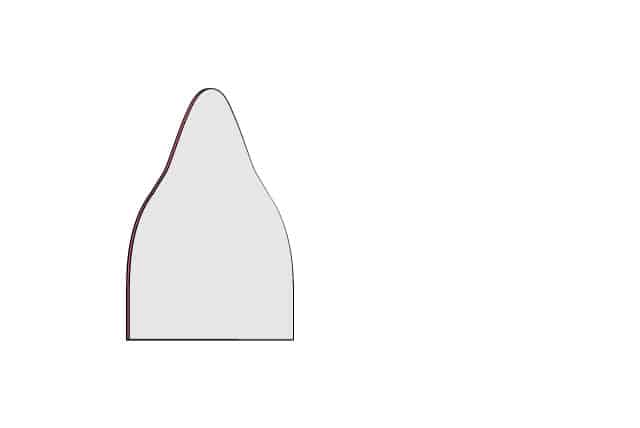
Print the pattern at 100% (do not scale) and trim off the edges. Tape the pattern piece together and cut out the hat pattern.
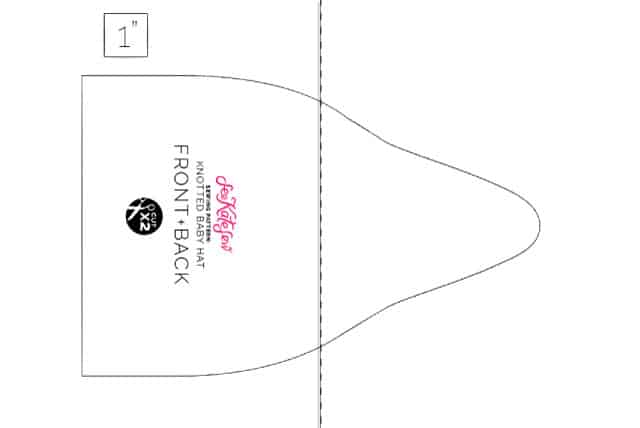
Pin the pattern to 2 layers of fabric and cut out 2 pieces.
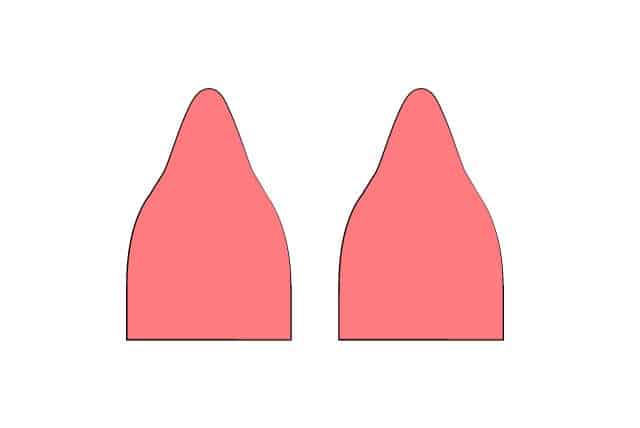
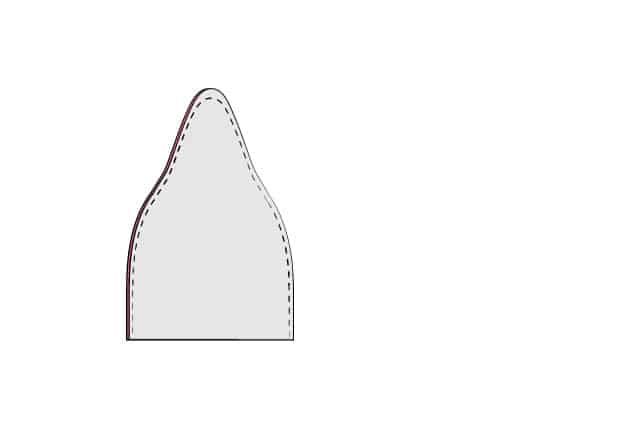
Pin the pieces together with right sides together.
Sew around the hat with a 3/8″ seam allowance.
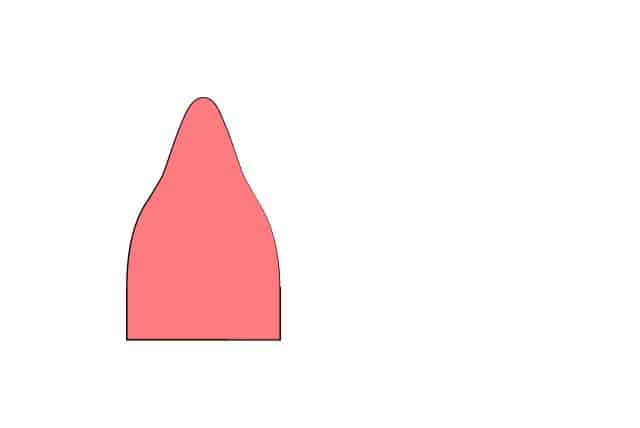
Turn the hat right side out.
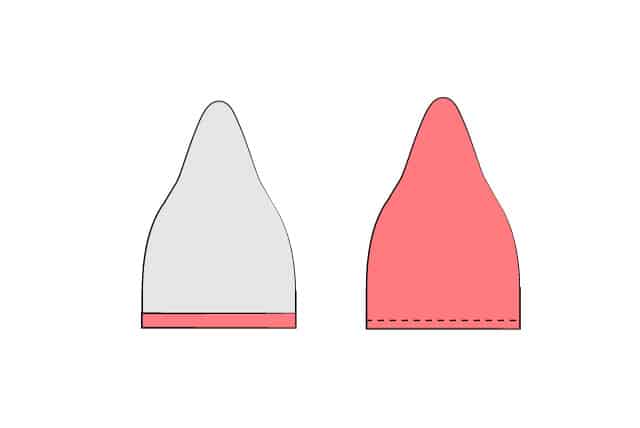
Finish the bottom edge of the hat with a zig zag stitch or a serger. Press under 1/2″ at the bottom of the hat. Sew to finish hem.
Tie a knot in the top of that, leaving about an inch or so at the top. 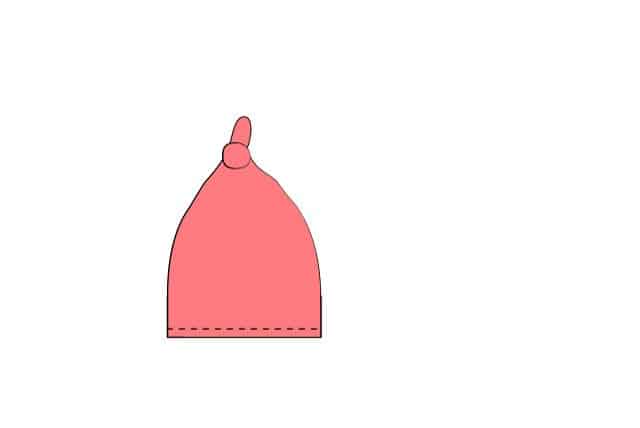
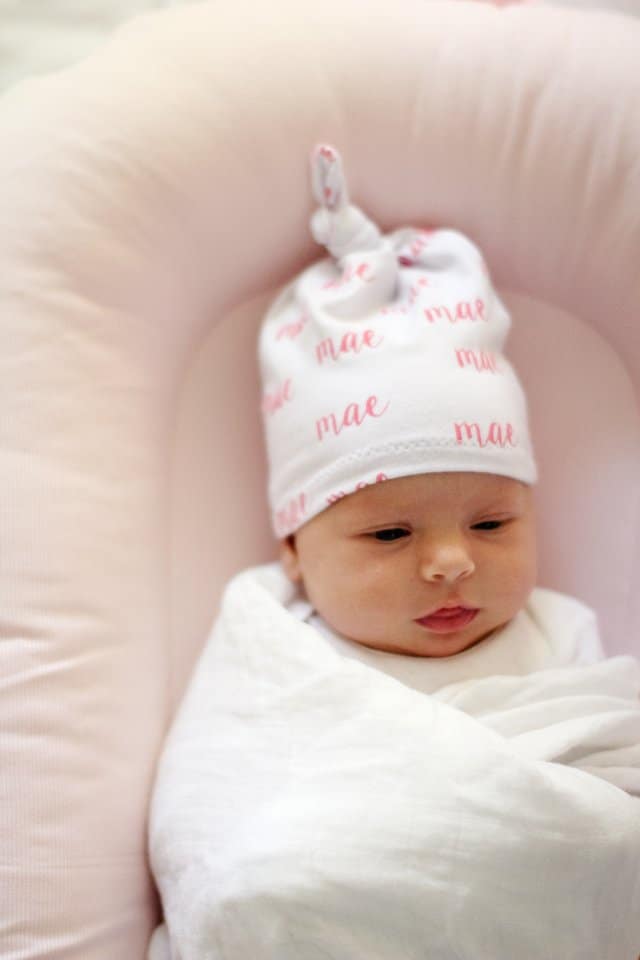
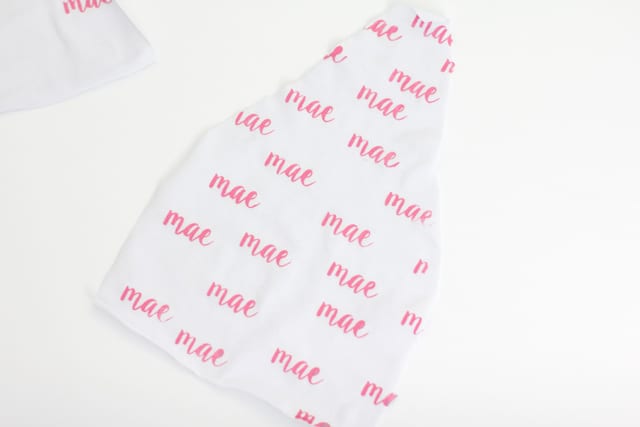
Personalize it! To make a name hat we’ll start with the fabric before you turn it into a hat. You can either use a square of fabric 12″ by 12″ or cut the pattern pieces out and just put names on the fabric you need.
Materials:
-baby hat fabric
-vinyl cutting machine, I used a Cricut Explore Air
-vinyl + transfer tape
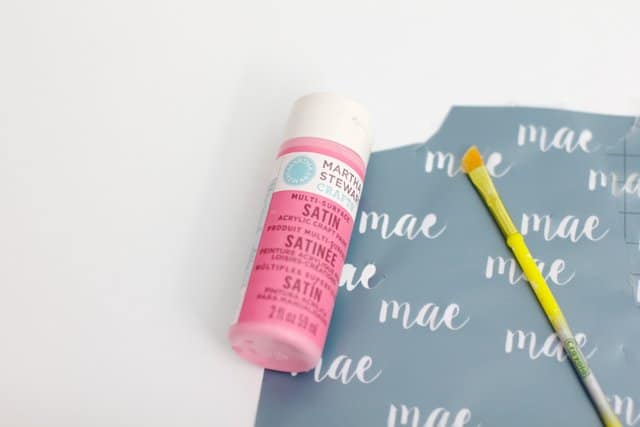
-fabric paint
-foam brush

Create a vinyl stencil with your cutting machine. You’ll need 2 if you’re using a standard 12″ by 12″ mat. Use transfer tape to transfer it from the vinyl’s backing to the fabric. Stick it on, making sure to press well around letter edges.
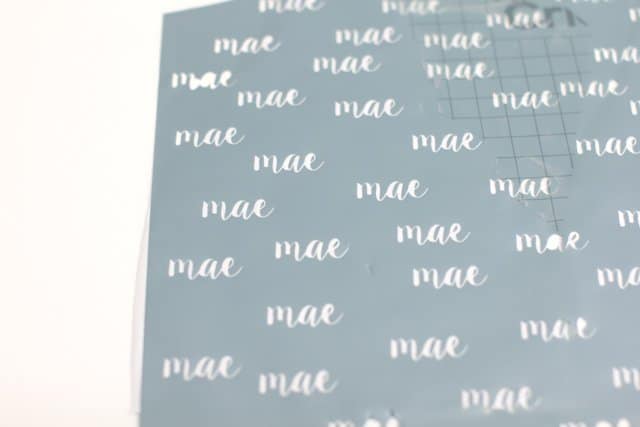
Use foam brush to dab paint into spaces.
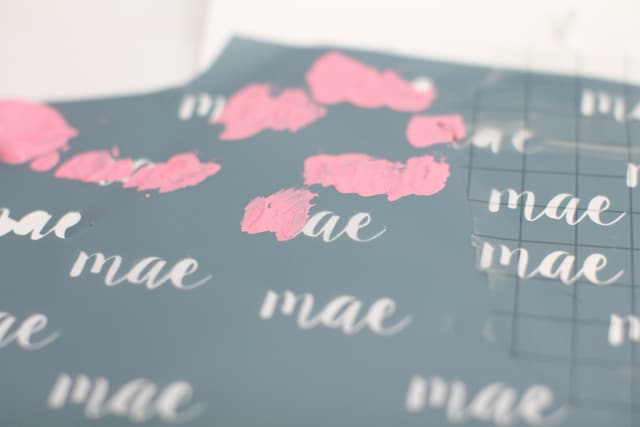
Let dry. Peel vinyl off and make sure you get all the middles from letters like “a” and “e”. Then use your fabric to sew the hat!

