• Skip to main content
  • Skip to primary sidebar
  • Skip to footer
  • Blog
  • About
  • Contact
  • FAQ
  • Sponsor

see kate sew

sewing, crafts, tutorials, DIY

  • Patterns
    • Free Patterns
    • Pattern of the Month
  • Tutorials
    • Accessories
    • Bags and Pouches
    • Clothing
    • Costumes
    • Crafts
    • Cricut Projects
    • Holiday
    • Household
    • Kids
    • Maternity
    • Quilting
  • Topics
    • Baby
    • Boy
    • Christmas
    • dog
    • Dolls
    • Easter
    • Girl
    • Halloween
    • Lookbook
    • Party
    • pet
    • Printables
    • Training
    • women
  • No Sew
  • Sewing 101
  • Sew4Good
  • Pet
  • Sewing Room
    • DreamBox
  • Reviews
Home
  • Patterns
    • Free Patterns
    • Pattern of the Month
  • Tutorials
    • Accessories
    • Bags and Pouches
    • Clothing
    • Costumes
    • Crafts
    • Cricut Projects
    • Holiday
    • Household
    • Kids
    • Maternity
    • Quilting
  • Topics
    • Baby
    • Boy
    • Christmas
    • dog
    • Dolls
    • Easter
    • Girl
    • Halloween
    • Lookbook
    • Party
    • pet
    • Printables
    • Training
    • women
  • No Sew
  • Sewing 101
  • Sew4Good
  • Pet
  • Sewing Room
    • DreamBox
  • Reviews

11.11

nip/tuck: men’s shirt 1.17 tutorial

Welcome to See Kate Sew! If you’re new here, sign up for my email newsletter for access to free patterns, tutorials and all the latest sewing news! Tour my sewing room HERE!

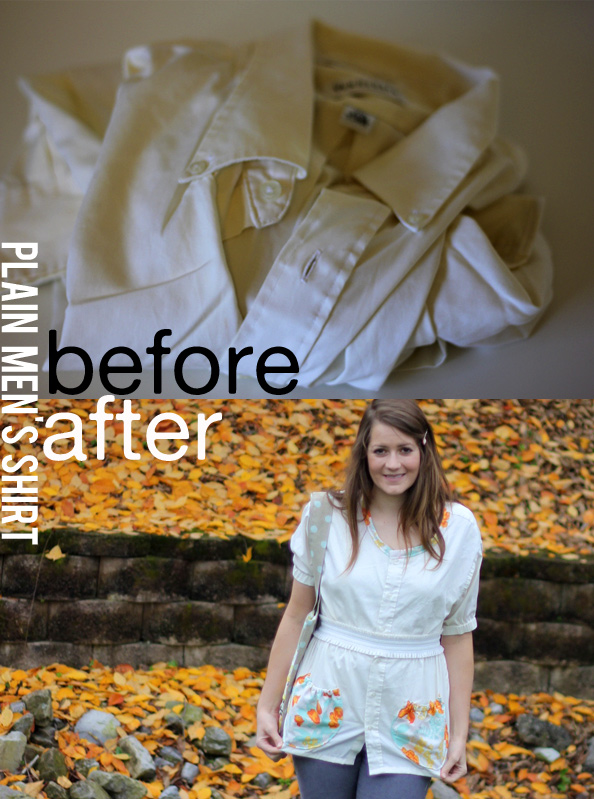
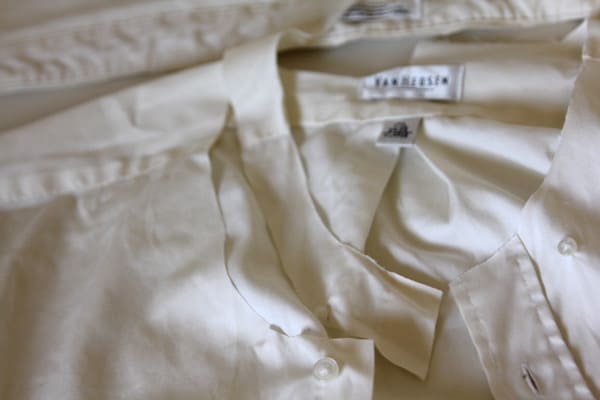
Yesterday I showed you this men’s shirt refashion in an outfit post. It’s from my stack ‘o free men’s shirts. I have lots more to go, so if you have a suggestion, you can add it to this brainstorm post!


Anyways, here’s the tutorial! You just need a plain men’s shirt, any color, any size! I used lots of gathering for this redo. Gathering is the easiest way to make a big thing smaller. Plus, gathers make everything so pretty! I used elastic to make it really easy to bunch in the waist and also the sleeves. I’m also wearing a belt on top of this shirt, though, but it’s cinched underneath, too. I just love belts. K, ready?


Materials:
1 men’s dress shirt
elastic
jumbo bias tape
fabric for pockets


I didn’t take a picture of the actual shirt on me, but here’s a chart of what I did on a white one.


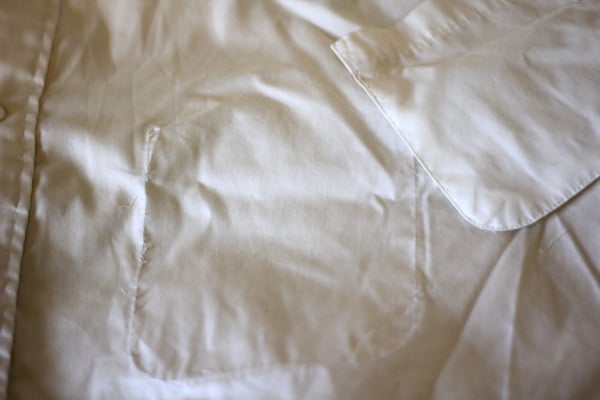
First things first, unpick that pocket! It just is sorta a weird place for a pocket when it’s on a girl. 


Next shorten your sleeve length. Mark where you want your sleeve to hit and then add 2 inches. We’ll need two extra inches later to make an elastic casing.

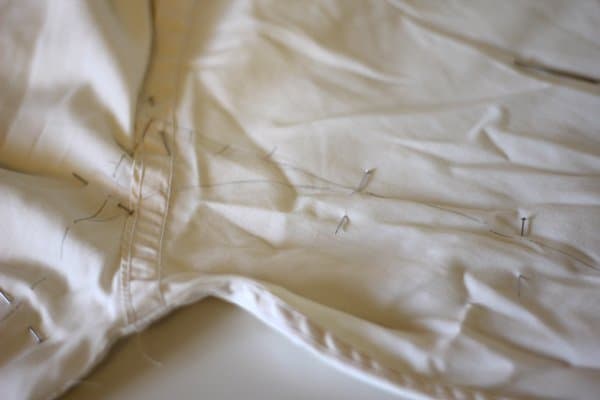
Once you’ve shortened your sleeves, try on your shirt again and decide how much you need to take in the underarms and undersleeves. You’re not really supposed to write on fabric with pencil, but I did it here to show you what I did! I used a ruler to make straight lines but curved the lines in the armpit.

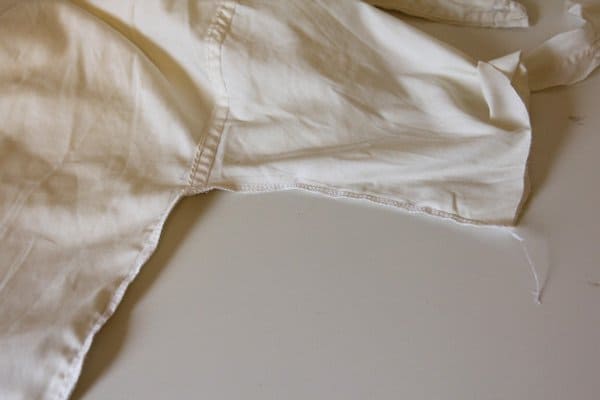
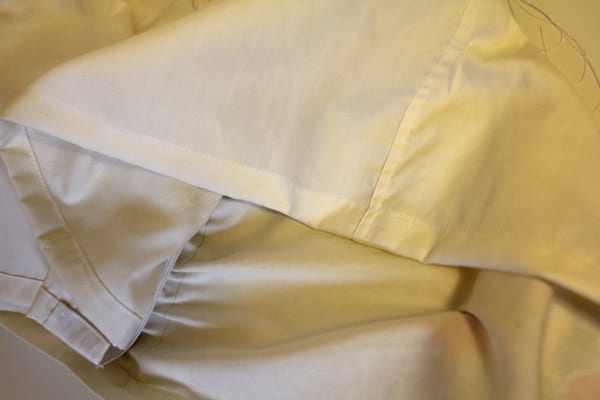
Sew it up and cut off your extra fabric. I serged my new seam allowance. You can also zig zag or use another method.

Cut off the collar.

I decided the neckline was still too high so I cut off a little more of the neck, making sure both sides were symmetrical. 

To finish the neckline, make jumbo bias tape using strips of fabric about 3″ wide.


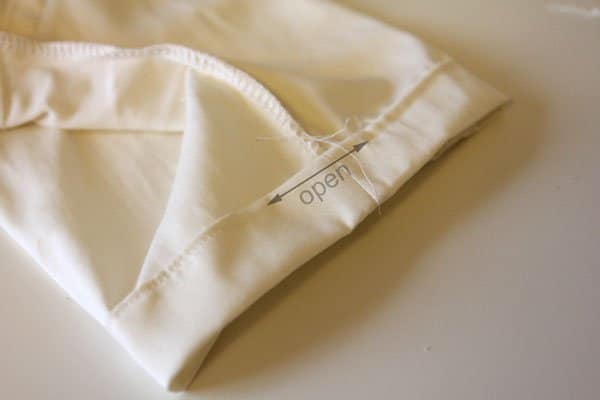
Pin it all around the neckline and sew it on.


Let’s finish the sleeves! Fold your sleeve up 1″ and then up another inch. 

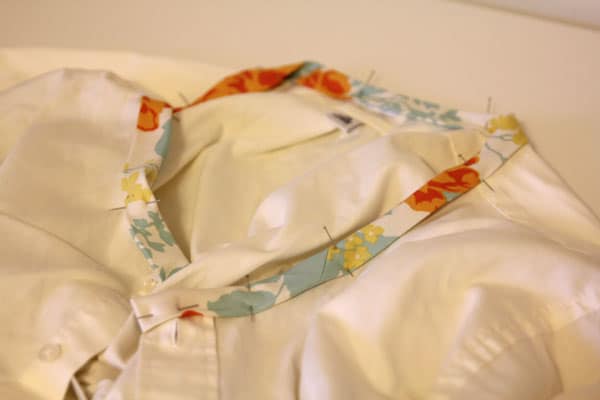
 Stitch all the way around, leaving a 2″ opening.

 Now we’ll thread elastic through. You need enough to fit snugly around your bicep plus an inch or two where we can sew them together.

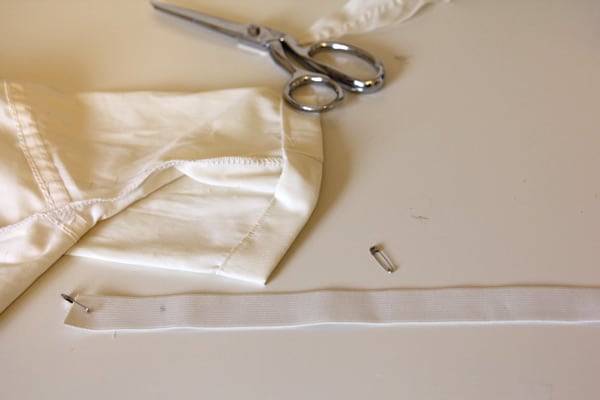
 Using a safety pin, guide your 1″ elastic through the casing. Pull both ends through and sew them together. Push all the elastic back in and finish closing up the casing.

 To cinch in the waistline, I used more 1″ elastic to gather it all up. You need enough to fit around your waist. You can use a smaller elastic, I just have a ton of 1″. 


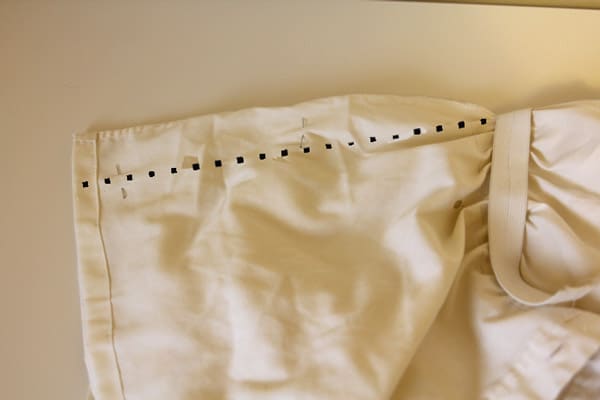
I tried on my shirt and marked where my waistline is. Then I drew a line on the inside of my shirt as my pinning guide. Pin the elastic at each end of the button placket. 

 Then pin the middle of the elastic to the middle of the shirt. Keep breaking it up into halves until you have a few more pins in there.

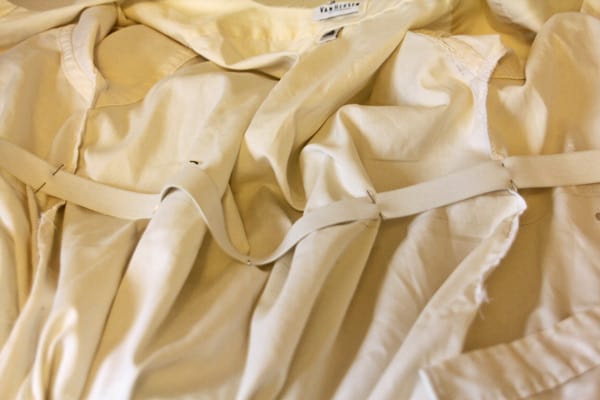
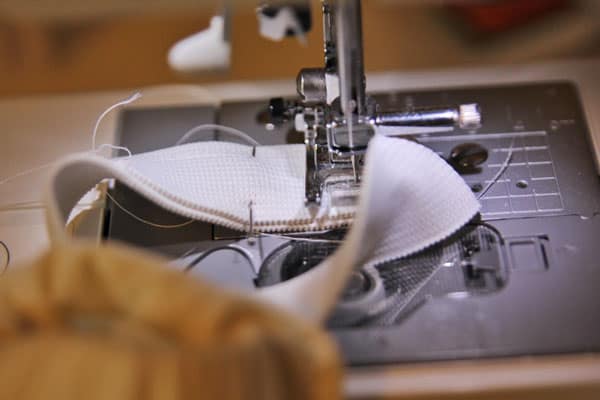
 Sew the elastic to the shirt, pulling the elastic taut as you go.


To shorten the shirt and straighten the bottom, just level the bottom out with a ruler and cut off the extra.

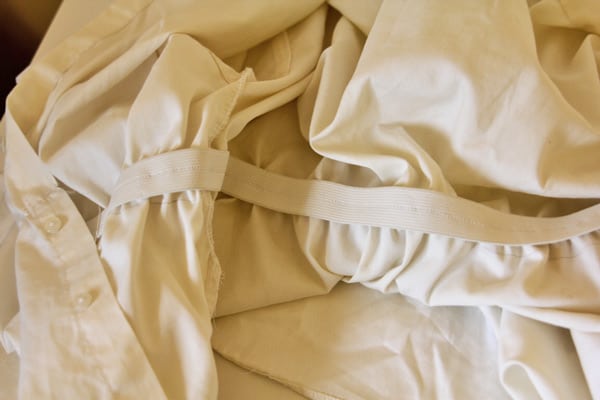
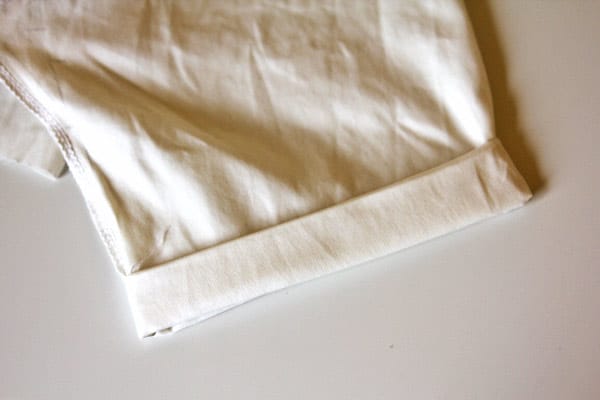
 Then fold up 1/2″ and press twice. Sew in place.

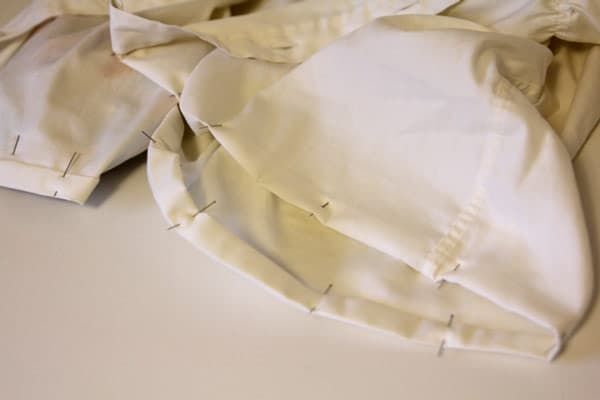
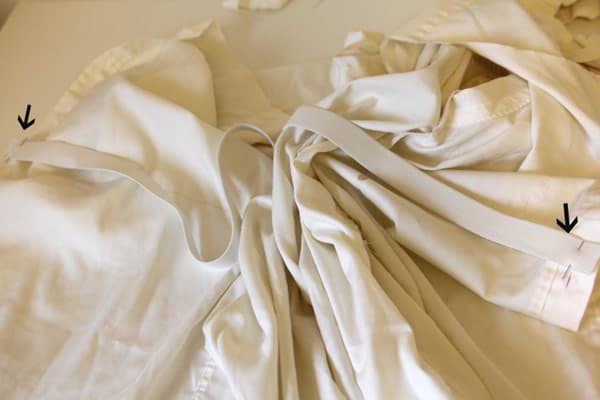
 After I had done all of that I decided the shirt poked out too much on the sides, so I took it in as shown below. You don’t have to do this, it’s just a preference thing.

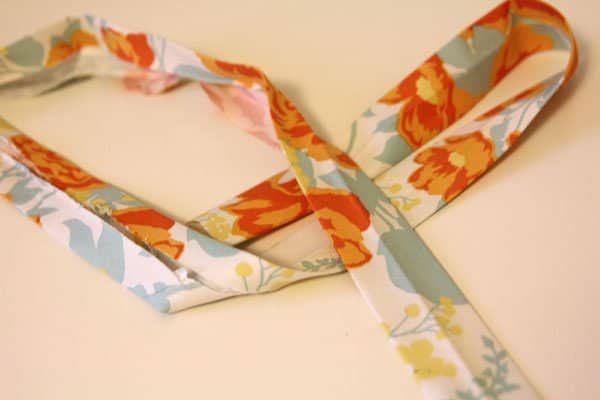
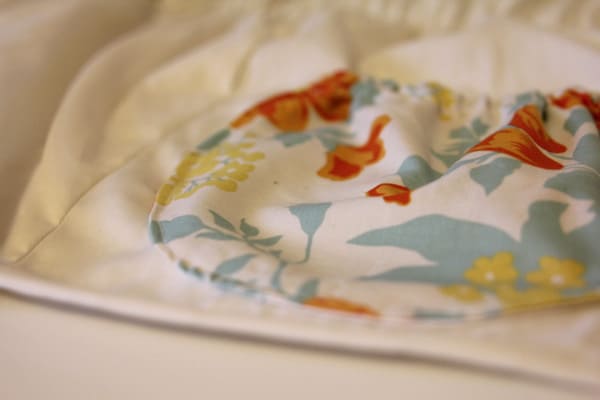
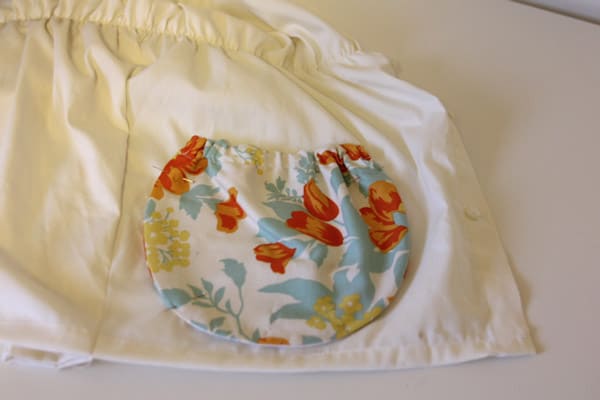
 Next I made some pretty rounded pockets with elastic on the top and sewed them on! I’ll give you a proper pocket tutorial soon, but any pocket will work! 

And then you’re done!

free blouse! yay!


One down, sixteen to go!

13 Comments | Clothing

Exclusive Free PatternRuffled Apron

Sign up for my email newsletter and receive my ruffled apron pattern totally FREE!

We take your privacy seriously. See our privacy policy here. Unsubscribe at any time.

You may also like these posts...

ZIPPY TOP WEEKEND: collect materialschambray maia top + jo totes abby bagUNBIASED // The Denver TopUnbiased// the Denver Topruffles 2012 guest: googiemomma

Reader Interactions

13 Comments

  1. Cherished Bliss

    11/11 at 3:03 PM

    so adorable! : ) I love the pockets!

  2. Ruby Jean

    11/11 at 3:03 PM

    You can’t beat FREE.. Very cute indeed :)

  3. aagjedoeken

    11/11 at 3:33 PM

    Very, very nice!

  4. Ashley

    11/11 at 3:46 PM

    Super cute! Do yo have a belt on in the pics or did I miss a step? I love the pattern you chose for the puckets and bias tape…very pretty.;)

  5. My Thrifty Chic

    11/11 at 5:05 PM

    Wow what a great transformation!! Thanks for sharing!

    http://mythriftychic.blogspot.com/

  6. calinai

    11/11 at 6:11 PM

    like!

  7. Rona

    11/12 at 1:50 AM

    I have become a big See Kate Sew fan! Love this shirt so much I’m just going to have to make one for myself. The hubs just cleaned out his closet and set some aside for me to use to make pants for our son(that is what I typically with his “retired” dress shirts), but momma needs a new shirt! :)

  8. Anna

    11/12 at 2:23 PM

    This turned out super cute! Totally pinning it :-)

  9. Katie

    11/14 at 1:26 AM

    Fun! I really like how feminine it is.

  10. Julie

    02/10 at 6:21 PM

    Darling!

  11. Melissa

    02/22 at 6:34 AM

    I love everything you do!!!!!

  12. MrsBeazley

    03/02 at 7:54 AM

    just thought I would share what I have done with men’s shirts! http://media-cdn.pinterest.com/upload/111816003218341500_dPcB6HIb.jpg

  13. kate

    03/02 at 2:45 PM

    so cute @MrsBeazley!!

Primary Sidebar

  • Facebook
  • Twitter
  • Instagram
  • Pinterest
  • Email

Exclusive Free PatternRuffled Apron

Sign up for my email newsletter and receive my ruffled apron pattern totally FREE!

We take your privacy seriously. See our privacy policy here. You can unsubscribe at any time.

Don’t miss these popular posts!

easy baby dress pattern for the summertime

easy baby dress pattern for the summertime

modern ombre + b/w triangle quilt tutorial + pattern

modern ombre + b/w triangle quilt tutorial + pattern

Fabric

Quilted Cosmetic Case Kiss Me KateKiss Me, Kate FabricOne Hour Granny Square Quilt Tutorial | See Kate SewModern Granny Square Quilt Whole Cloth

Pattern Hacks

Easy Baby Summer Dressthe EMMA pattern | See Kate SewThe EMMA Dress

Footer

Hello friends!

My name is Kate, a twenty something fashion lover and mother of two. When I’m not chasing kids you can find me at my sewing table or daydreaming up new designs. You can read more about me here. Thank you for visiting!

8a918f8da8e0e69102dc0f33a718de85a99c31a57283e0e3e2

FOLLOW ME HERE

  • Facebook
  • Twitter
  • Instagram
  • Pinterest
  • Email
  • Blog
  • About
  • Contact
  • FAQ
  • Sponsor

Copyright © 2023 See Kate Sew  •  All Rights Reserved  •  Privacy Policy  •  Site Design by Emily White Designs