• Skip to main content
  • Skip to primary sidebar
  • Skip to footer
  • Blog
  • About
  • Contact
  • FAQ
  • Sponsor

see kate sew

sewing, crafts, tutorials, DIY

  • Patterns
    • Free Patterns
    • Pattern of the Month
  • Tutorials
    • Accessories
    • Bags and Pouches
    • Clothing
    • Costumes
    • Crafts
    • Cricut Projects
    • Holiday
    • Household
    • Kids
    • Maternity
    • Quilting
  • Topics
    • Baby
    • Boy
    • Christmas
    • dog
    • Dolls
    • Easter
    • Girl
    • Halloween
    • Lookbook
    • Party
    • pet
    • Printables
    • Training
    • women
  • No Sew
  • Sewing 101
  • Sew4Good
  • Pet
  • Sewing Room
    • DreamBox
  • Reviews
Home
  • Patterns
    • Free Patterns
    • Pattern of the Month
  • Tutorials
    • Accessories
    • Bags and Pouches
    • Clothing
    • Costumes
    • Crafts
    • Cricut Projects
    • Holiday
    • Household
    • Kids
    • Maternity
    • Quilting
  • Topics
    • Baby
    • Boy
    • Christmas
    • dog
    • Dolls
    • Easter
    • Girl
    • Halloween
    • Lookbook
    • Party
    • pet
    • Printables
    • Training
    • women
  • No Sew
  • Sewing 101
  • Sew4Good
  • Pet
  • Sewing Room
    • DreamBox
  • Reviews

06.14

old pillowcase to new tote bag

Welcome to See Kate Sew! If you’re new here, sign up for my email newsletter for access to free patterns, tutorials and all the latest sewing news! Tour my sewing room HERE!


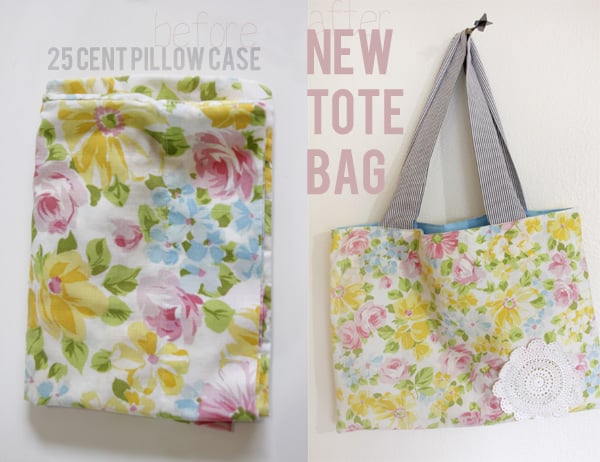
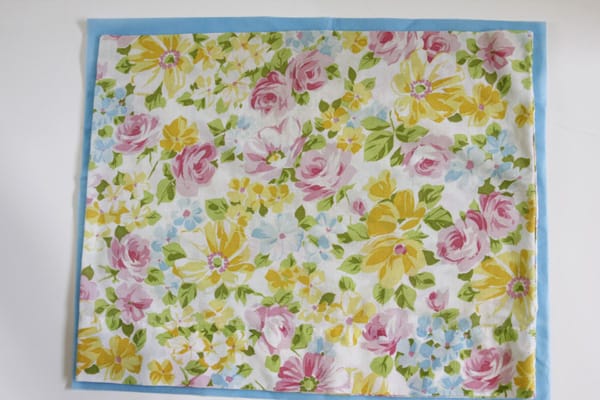
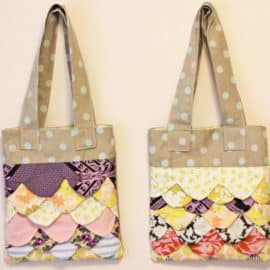
I found this pillowcase for 25 cents at a thrift store. Isn’t it gorgeous!? I think the print is so summery. It’s so easy to turn a pillowcase into a tote bag. I lined and interfaced it to give it more stability, and it still took less than an hour. 

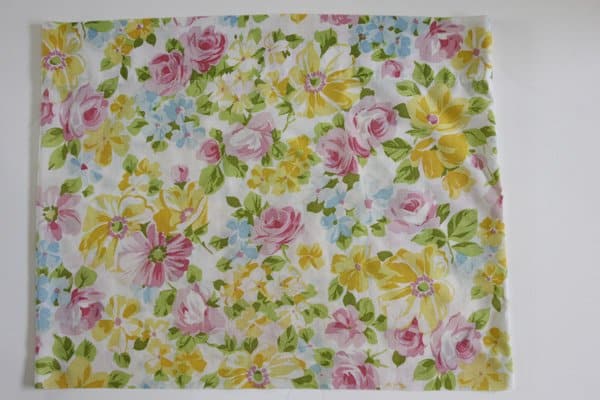
The first step is to cut your pillowcase in half.

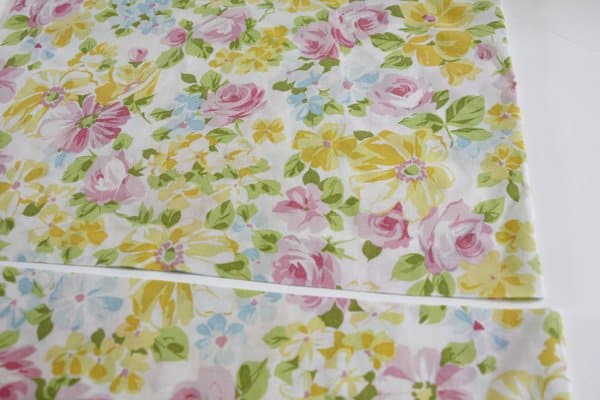
 We’ll use the nice top edge as the top of the bag. Sew the bottom edge together.
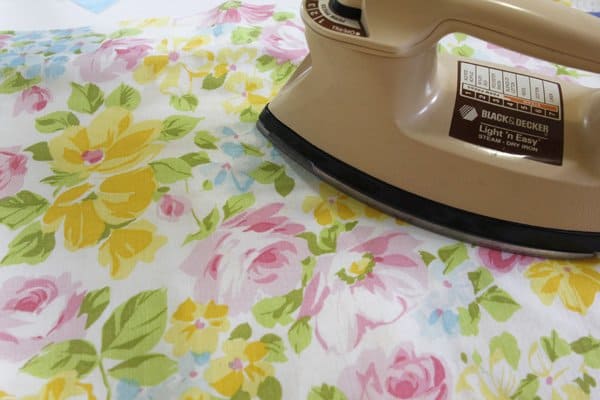
 I used Pellon Fusible Fleece to make my bag sturdy.
 Just cut it a little smaller than the pillowcase piece and stuff them in. Make sure the adhesive side is facing the inside of the bag piece.
 Iron it on.
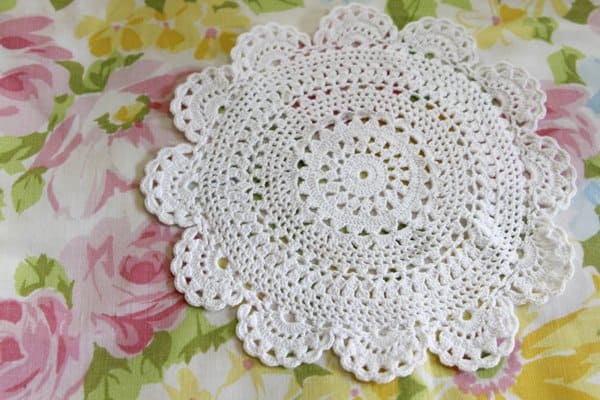
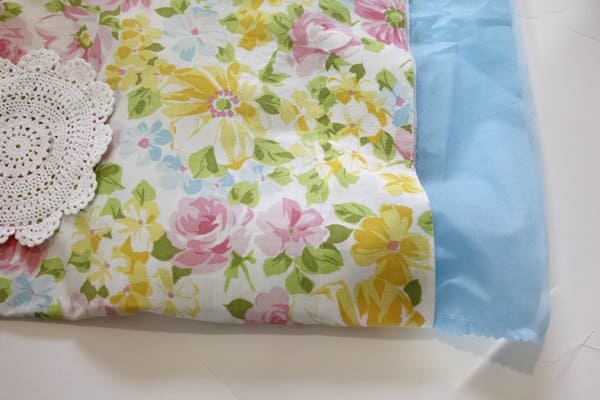
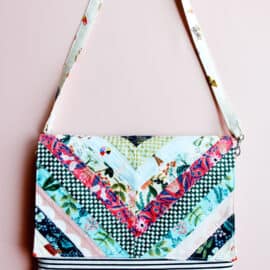
 If you want to add a little more vintage flair, pin a doily to the front.
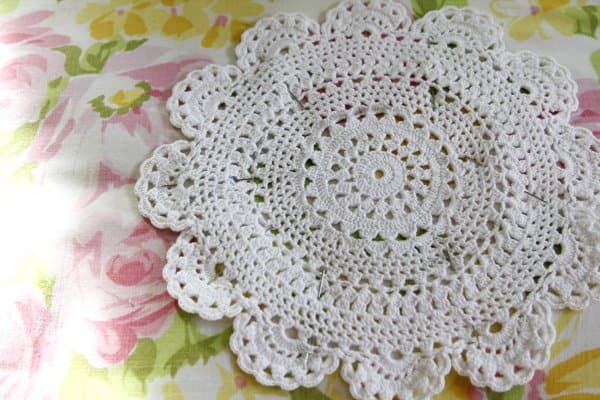
 I sewed around 1 time along the outside, leaving the scallops free to move.
To make the lining, cut two pieces of fabric 1/2″ larger than your bag.
 
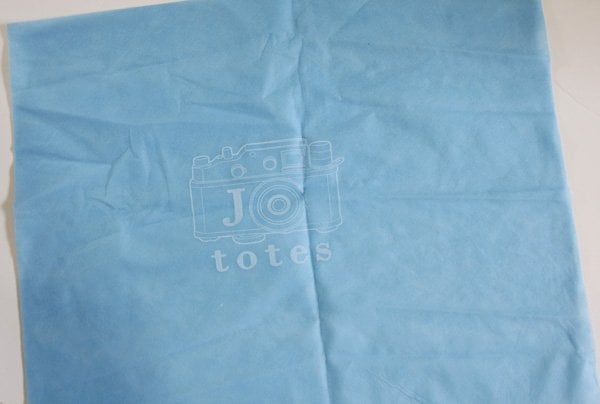
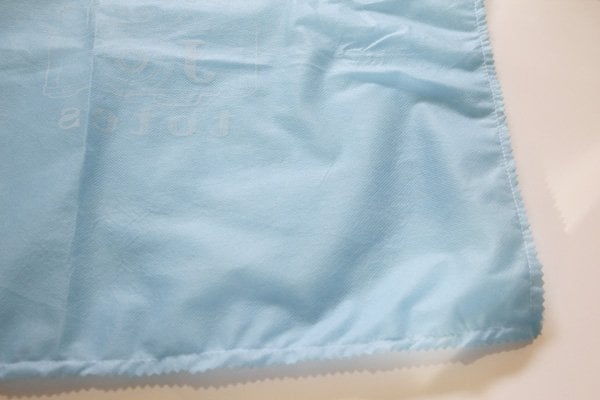
I repurposed the bag my camera bag came in. It’s a nice material and it has a cute little logo on it.
Sew the two pieces together, right sides together, and trim the edges. I used pinking shears.
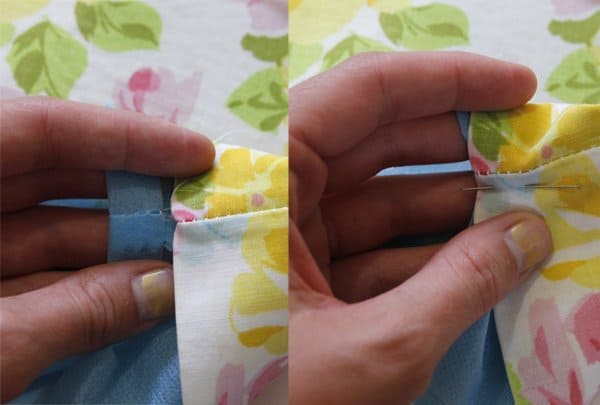
 Now insert your lining into the bag.
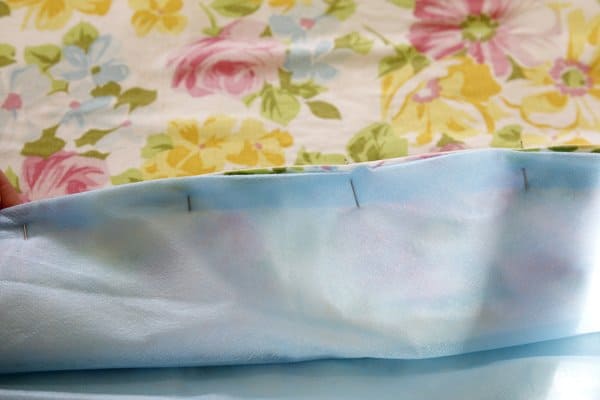
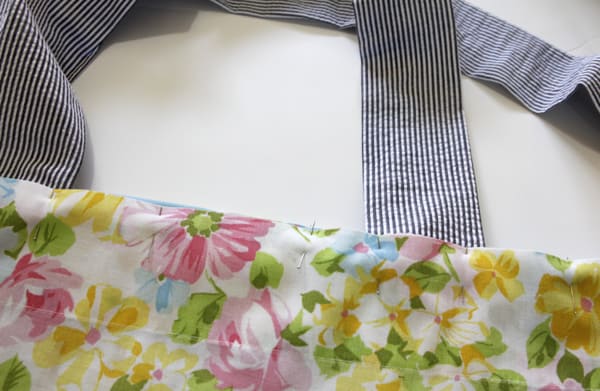
 Fold over the top 1/2″ and pin all along the top edge of the bag.

Use fabric or ribbon as handles. Insert the handles between the lining and the outer fabric before you stitch up the bag. Stitch right near the top and you’re done! 


Click here to see what Liz at Cotton & Curls is sharing today! 


15 Comments | Bags and Pouches

Exclusive Free PatternRuffled Apron

Sign up for my email newsletter and receive my ruffled apron pattern totally FREE!

We take your privacy seriously. See our privacy policy here. Unsubscribe at any time.

You may also like these posts...

fabric toy bucket tutorial - see kate sewboy friday: fabric toy bucket tutorialsweet scallops tote round-upFabric Gift Bag Patternfabric gift bag patternsweet scallops tote sew-a-long

Reader Interactions

15 Comments

  1. Stephanie - Swoodson Vintage

    06/14 at 3:29 PM

    I have those shoes! This is cute with the doily – vintage pillowcases are one of my favorites to find.

  2. Emily

    06/14 at 4:36 PM

    LOVE that pillowcase print!! Great repurpose too. :)

  3. jax

    06/14 at 4:51 PM

    That is really adorable.

  4. Laurel Walker

    06/14 at 6:19 PM

    This is such an amazingly simple and awesome project!!! There are all kinds of vintage bed sets that this would be perfect to work with!

  5. grandmatomato

    06/14 at 10:46 PM

    A nice way to re purpose something old in to something new.

  6. Ellen

    06/15 at 2:14 AM

    We are moving next week. Yesterday I packed up my sewing room, and today in clearing the linen closet found a bagillion pillowcases. Now I can give ’em to my beginning sewing friends with a link to this tutorial instead of dropping them off at the thrift store:)

  7. Jessica @ jessicaNdesigns

    06/15 at 2:34 AM

    I love this Kate!! And I love your shoes! :)

  8. Kim Mcilrath

    06/15 at 3:19 AM

    I love your posts. I feel like I can walk away and do them because of how you write.
    Kim @ Singledou[b]t

  9. MysticMandy

    06/15 at 3:26 AM

    Very resourceful use of packaging. I love recycling :)

  10. theremakery

    06/15 at 7:32 AM

    Hi Kate, I love this idea! I have just set up a sewing class for young girls and this will be a lovely tutorial to share with them. I have lots of vintage bed sheets that will be perfect for this make! I am going to use some old canvas bags as the lining (left over from my boys’ party!)
    Thank-you for such a simple but effective tutorial.

  11. Crissy

    06/15 at 9:48 PM

    This is so adorable! I’m going to try this out when I’m more experienced with sewing. I still have that jo totes blue bag. Now I know what I’ll use it for!!

  12. Justine of SewCountryChick

    06/19 at 4:52 PM

    I can’t wait for some me sewing time to try this with one of my many vintage pillowcases. I love the doily!

  13. Lolly Jane

    06/19 at 9:16 PM

    You would! lol Completely brilliant to use your cam bag, Kate! Pinning right now :)

  14. Linda Walker

    06/22 at 3:00 PM

    I have those sheets in my linen closet. They belonged to my grandmother….too funny! Love your site!

  15. http://www.artfire.com/users/auntiechrisquiltfabric

    07/07 at 11:08 AM

    I had those sheets too.Pretty bag.

Primary Sidebar

  • Facebook
  • Twitter
  • Instagram
  • Pinterest
  • Email

Exclusive Free PatternRuffled Apron

Sign up for my email newsletter and receive my ruffled apron pattern totally FREE!

We take your privacy seriously. See our privacy policy here. You can unsubscribe at any time.

Don’t miss these popular posts!

easy baby dress pattern for the summertime

easy baby dress pattern for the summertime

modern ombre + b/w triangle quilt tutorial + pattern

modern ombre + b/w triangle quilt tutorial + pattern

Fabric

Quilted Cosmetic Case Kiss Me KateKiss Me, Kate FabricOne Hour Granny Square Quilt Tutorial | See Kate SewModern Granny Square Quilt Whole Cloth

Pattern Hacks

Easy Baby Summer Dressthe EMMA pattern | See Kate SewThe EMMA Dress

Footer

Hello friends!

My name is Kate, a twenty something fashion lover and mother of two. When I’m not chasing kids you can find me at my sewing table or daydreaming up new designs. You can read more about me here. Thank you for visiting!

8a918f8da8e0e69102dc0f33a718de85a99c31a57283e0e3e2

FOLLOW ME HERE

  • Facebook
  • Twitter
  • Instagram
  • Pinterest
  • Email
  • Blog
  • About
  • Contact
  • FAQ
  • Sponsor

Copyright © 2023 See Kate Sew  •  All Rights Reserved  •  Privacy Policy  •  Site Design by Emily White Designs